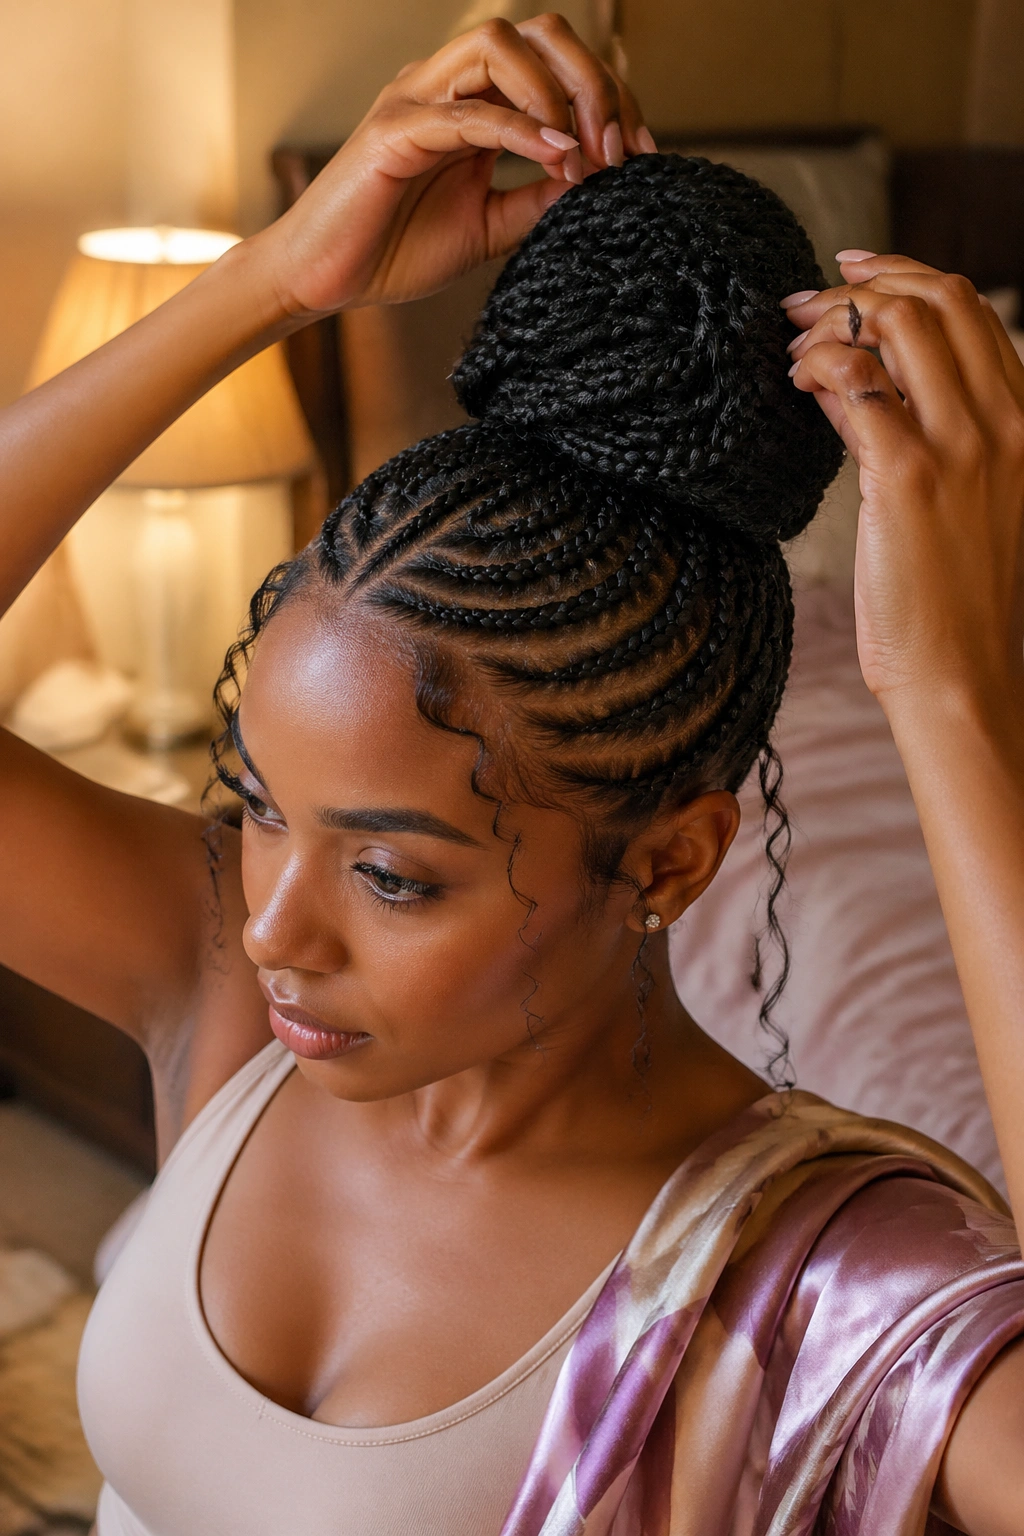
Goddess cornrow buns earned their name honestly. The cornrows sit low against the scalp. The bun rises at the crown or nape like a halo. Free tendrils sometimes spill around the face, softening everything. There’s a reason this silhouette has held its ground while trends have come and gone — it’s architectural and romantic at the same time, and very few hairstyles manage both at once.
I’ve installed goddess bun styles on more heads than I can count, and the pattern I notice is this: the ones that look the most effortless took the most planning. The bun that seems to have piled itself up naturally has usually been built over a sock form or a braid base, with every tendril placed deliberately. That’s the craft. And it’s learnable.
This guide covers twenty-two goddess cornrow bun variations — different bun placements, different bun volumes, different cornrow patterns feeding into them, different tendril treatments. No filler. No repeats. Each one a genuinely different silhouette.
What Makes a Goddess Bun Different
A standard cornrow bun is a functional gather — the cornrows end in a knotted bun. Done. That’s a workable style, but it’s not a goddess bun.
The goddess bun adds softness. There are free flowing tendrils — sometimes braided, sometimes curly, sometimes straightened — that escape the bun or frame the face. The bun itself is typically larger and more sculpted than a basic braid bun. And the cornrow pattern leading into the bun is designed with the bun in mind, not treated as a separate decision.
The whole styling approach is different. Goddess buns prioritize the soft-hard contrast: tight sculpted cornrows against a voluminous, sometimes messy, often glamorous bun.
The Anatomy of a Good Goddess Bun
Three elements matter.
Cornrow tension. Even tension, neither too tight nor too loose. Tight cornrows pull the face unnaturally and make the bun feel stretched rather than grounded. Loose cornrows fuzz by day three.
Bun foundation. A sock, a donut form, or a solid braid-wrap base. The bun needs something to be built on. Buns built purely from loose extensions tend to collapse or flatten over 48 hours.
Tendril placement. Random tendrils look random. Planned tendrils look ethereal. A goddess bun has intentional escape points — usually at the temples, behind the ears, and sometimes at the nape.
Get these three right and almost any cornrow pattern feeding into the bun will work.
Tools That Make This Easier
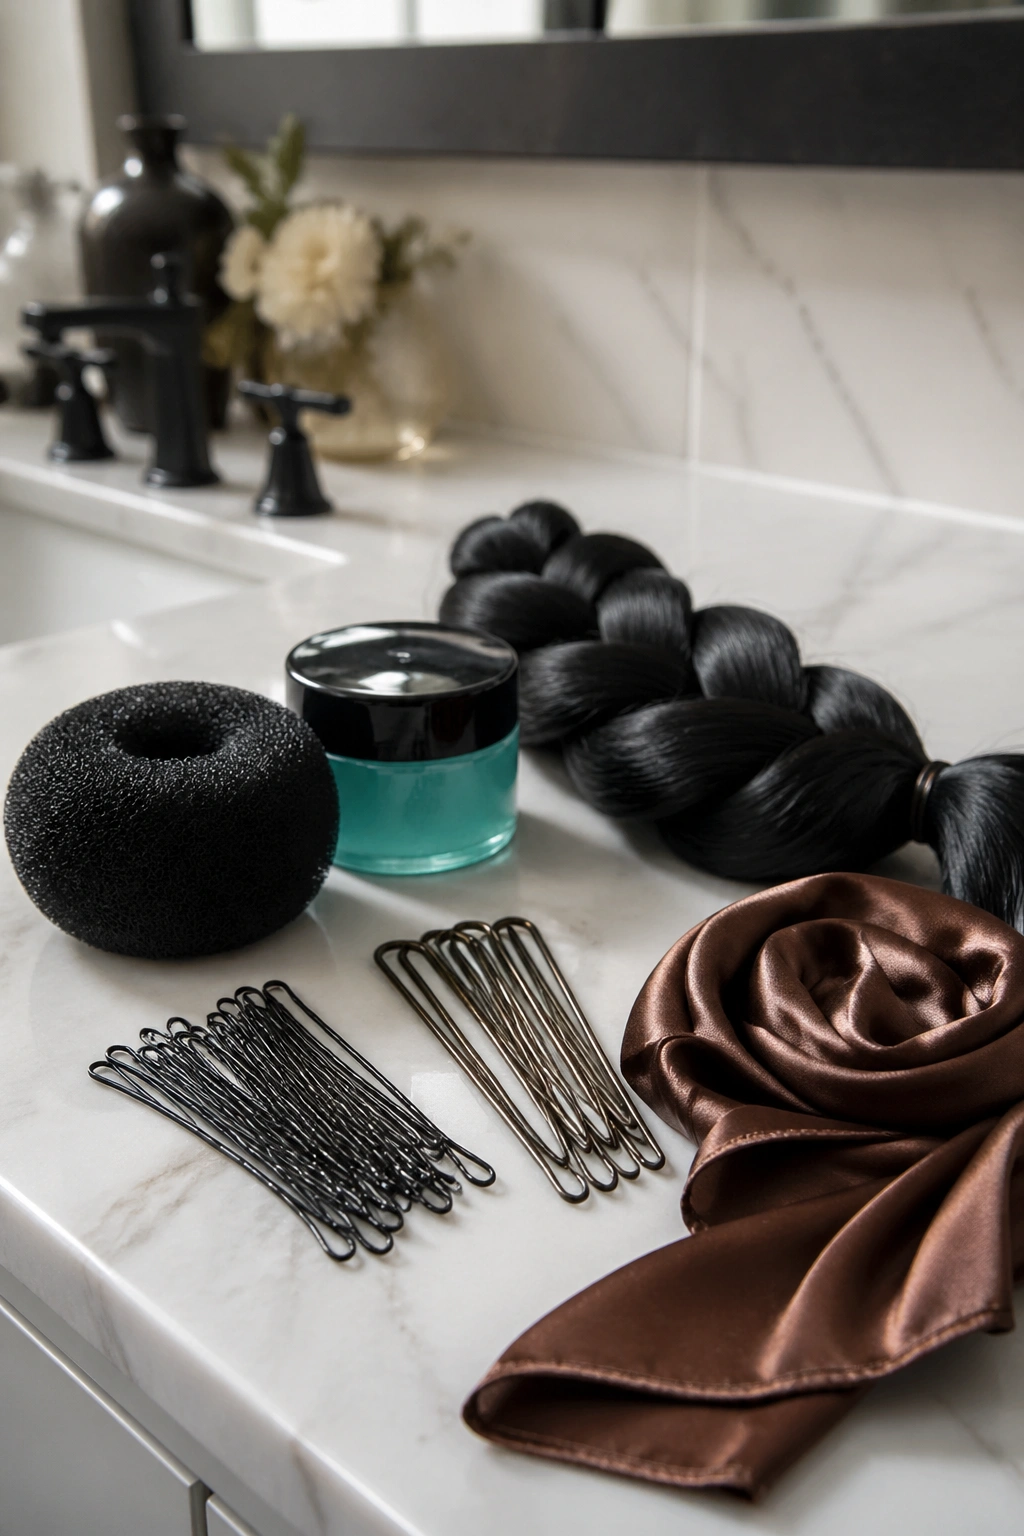
A bun form (donut or sock). Small hairpins. Large hairpins. Edge gel with firm hold. Kanekalon extensions if you want the bun bigger than your natural hair allows. A flexible smooth wrap fabric for emergency bun shaping — even a silk scarf works.
Skip elastic hair ties. They dent the extensions and leave marks when removed. Use firm bobby pins in a color matched to your hair or extensions.
Prep Before the Install
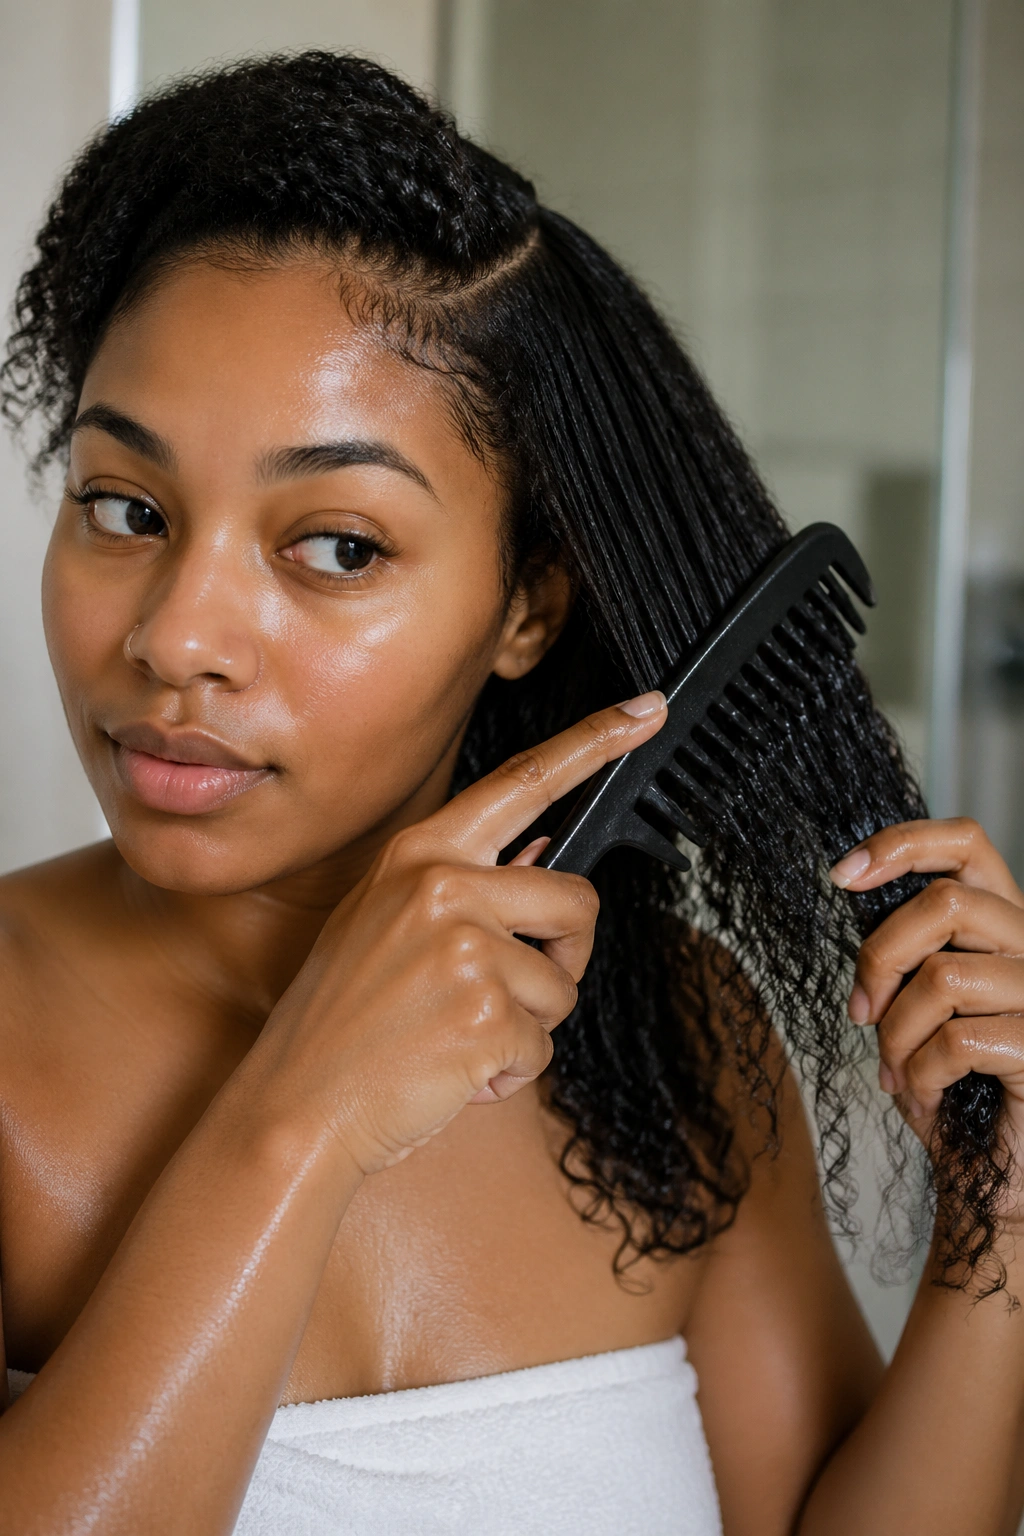
Wash and fully dry the hair 24-48 hours before installation. Day-of-wash hair is too slick for a grip. Two-day hair holds the cornrow pattern better.
Detangle thoroughly. Knots in the hair translate to bumps in the cornrow, which translate to bumps in the bun. Detangle from ends to roots with a wide-tooth comb.
Apply leave-in lightly. Heavy leave-in can cause the bun to feel weighed down after a few days.
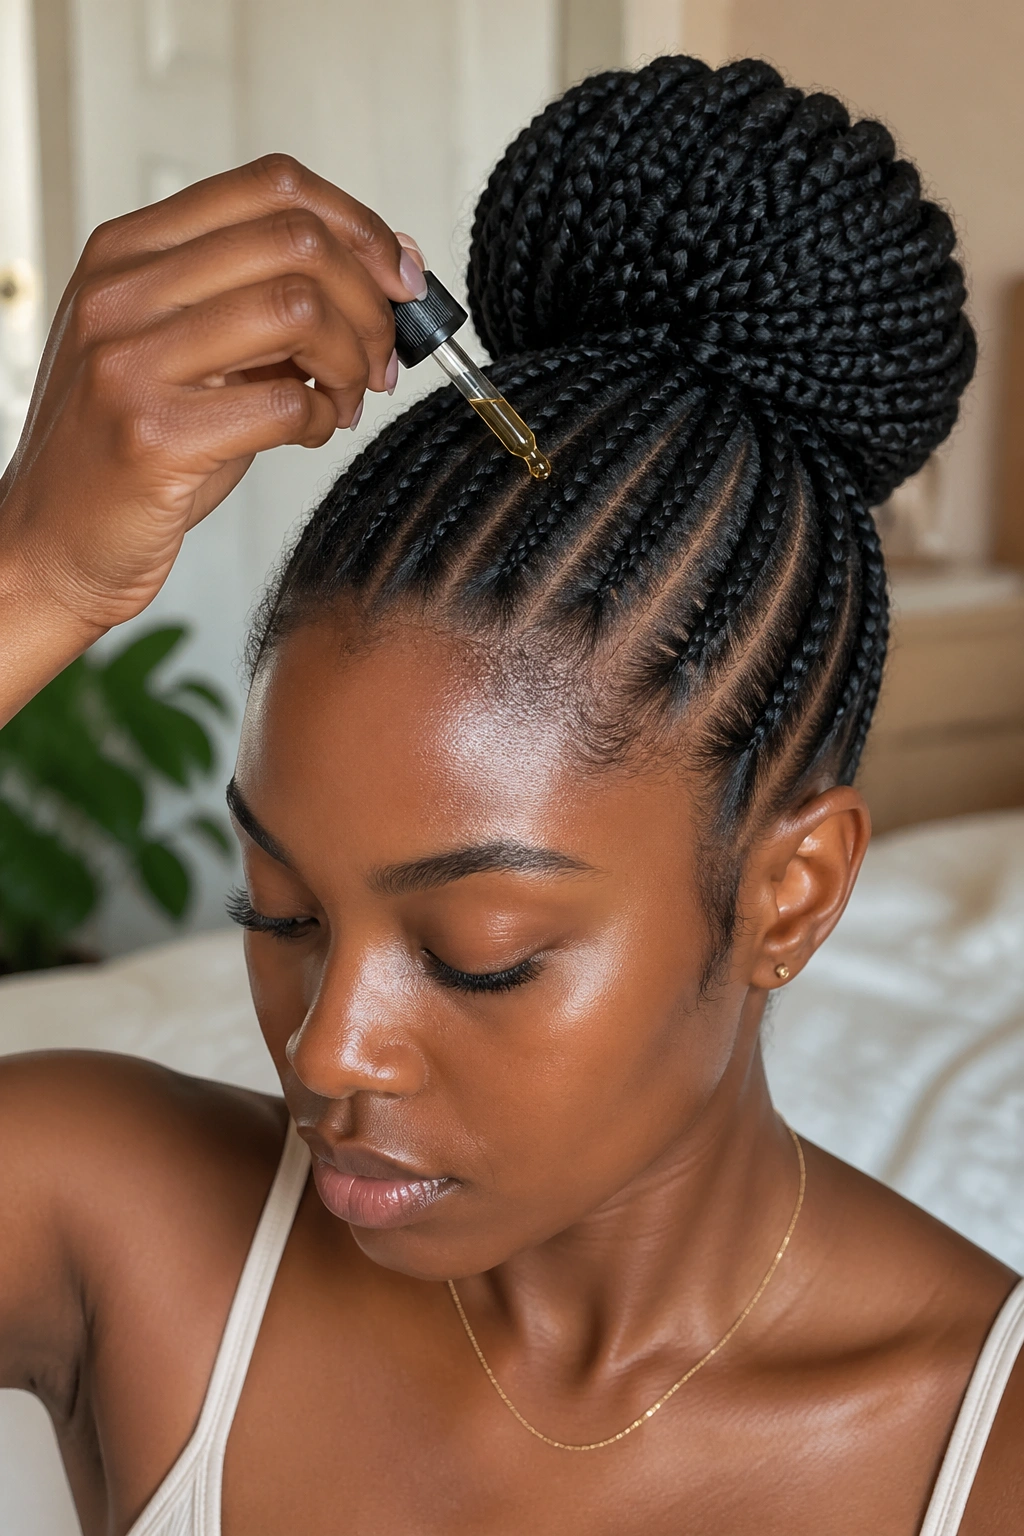
Moisturize the scalp with a light oil before install. Once the cornrows are in, scalp product access is limited, and pre-install moisture goes a long way.
Timing Expectations
Simple goddess buns take 90 minutes to 2 hours.
Styles with multiple cornrow rows and sculpted large buns take 3-5 hours.
Elaborate styles with curled tendrils and decorative elements — 5-6 hours.
Build more time into your install appointment than you think you need. The bun finishing usually takes longer than the cornrow portion.
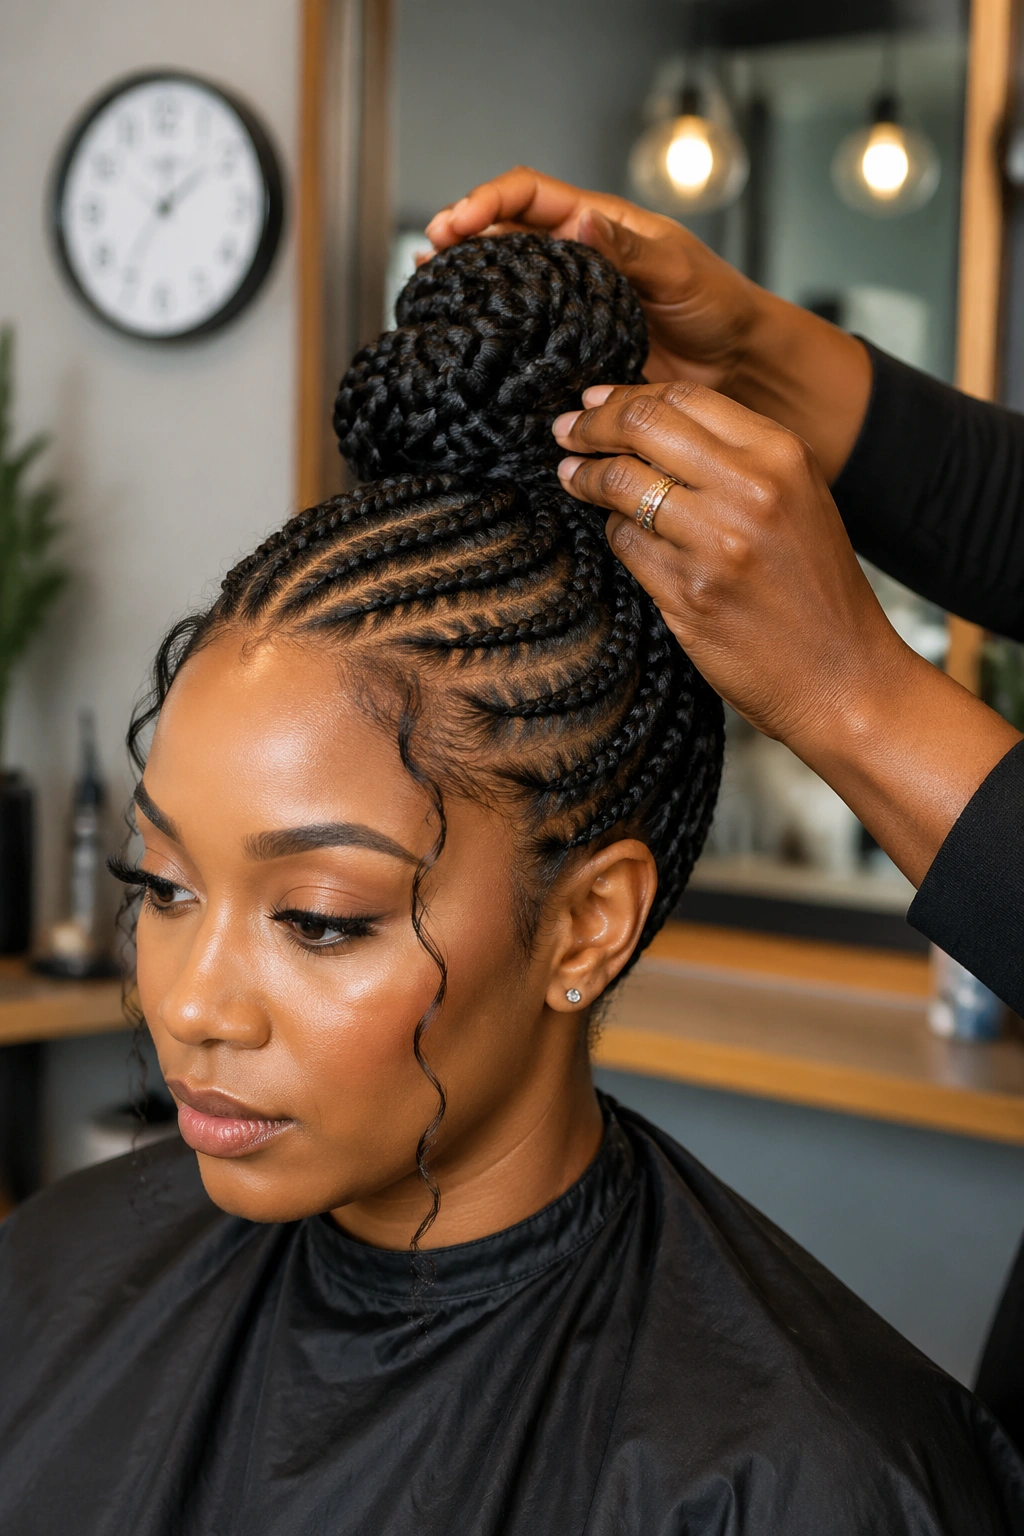
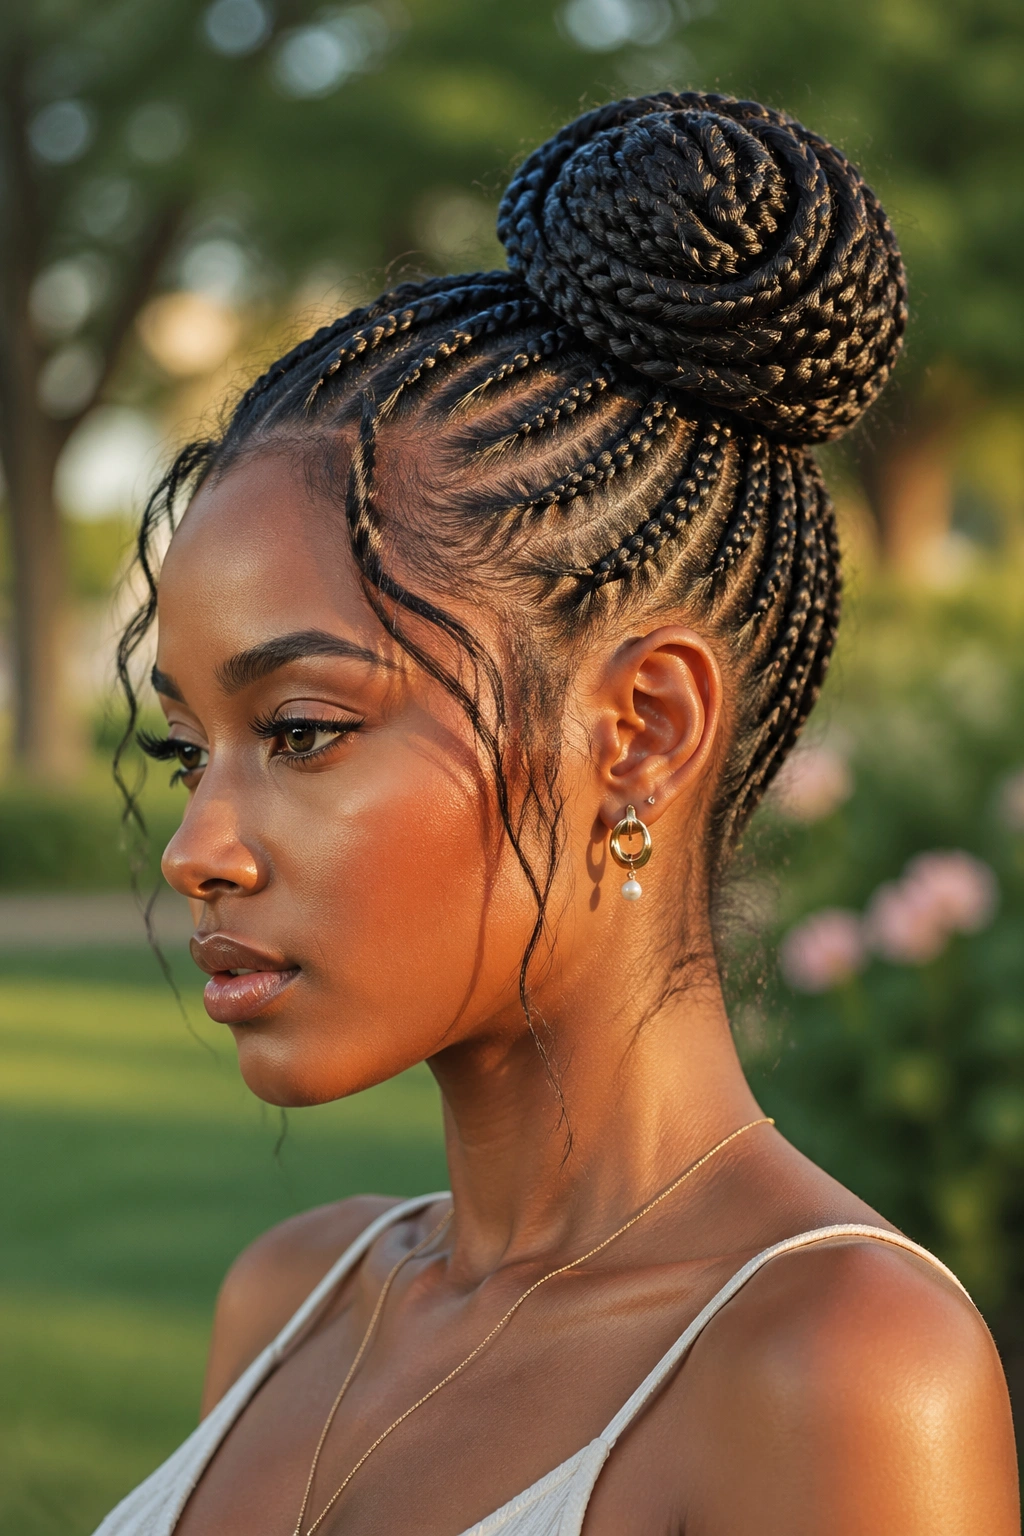
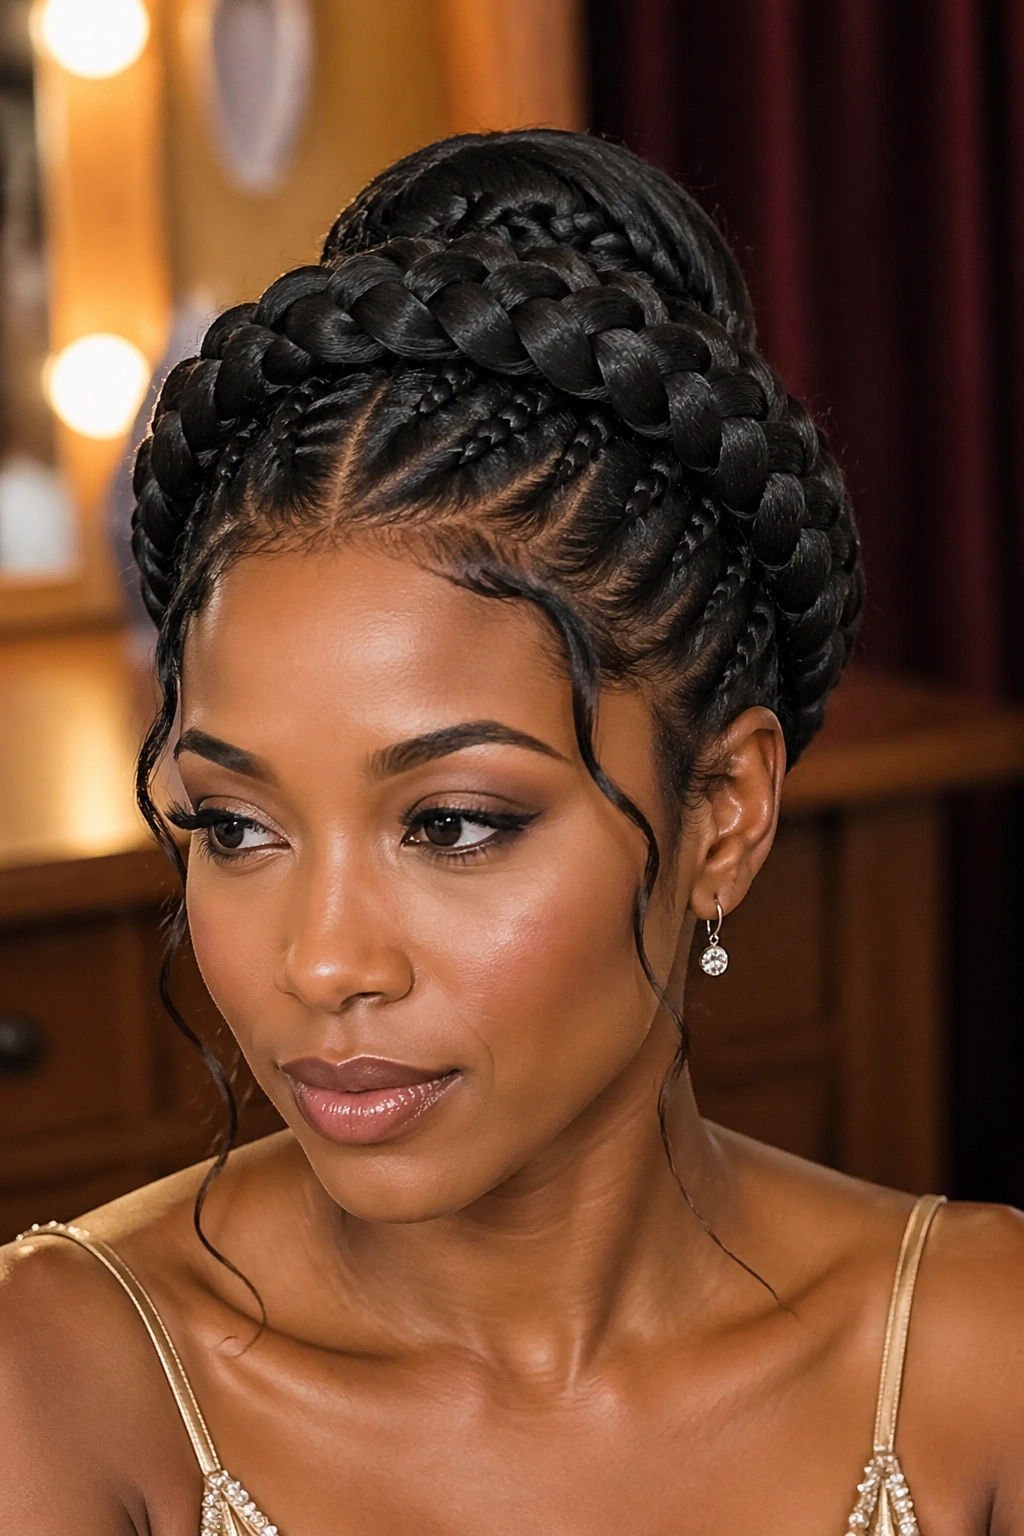
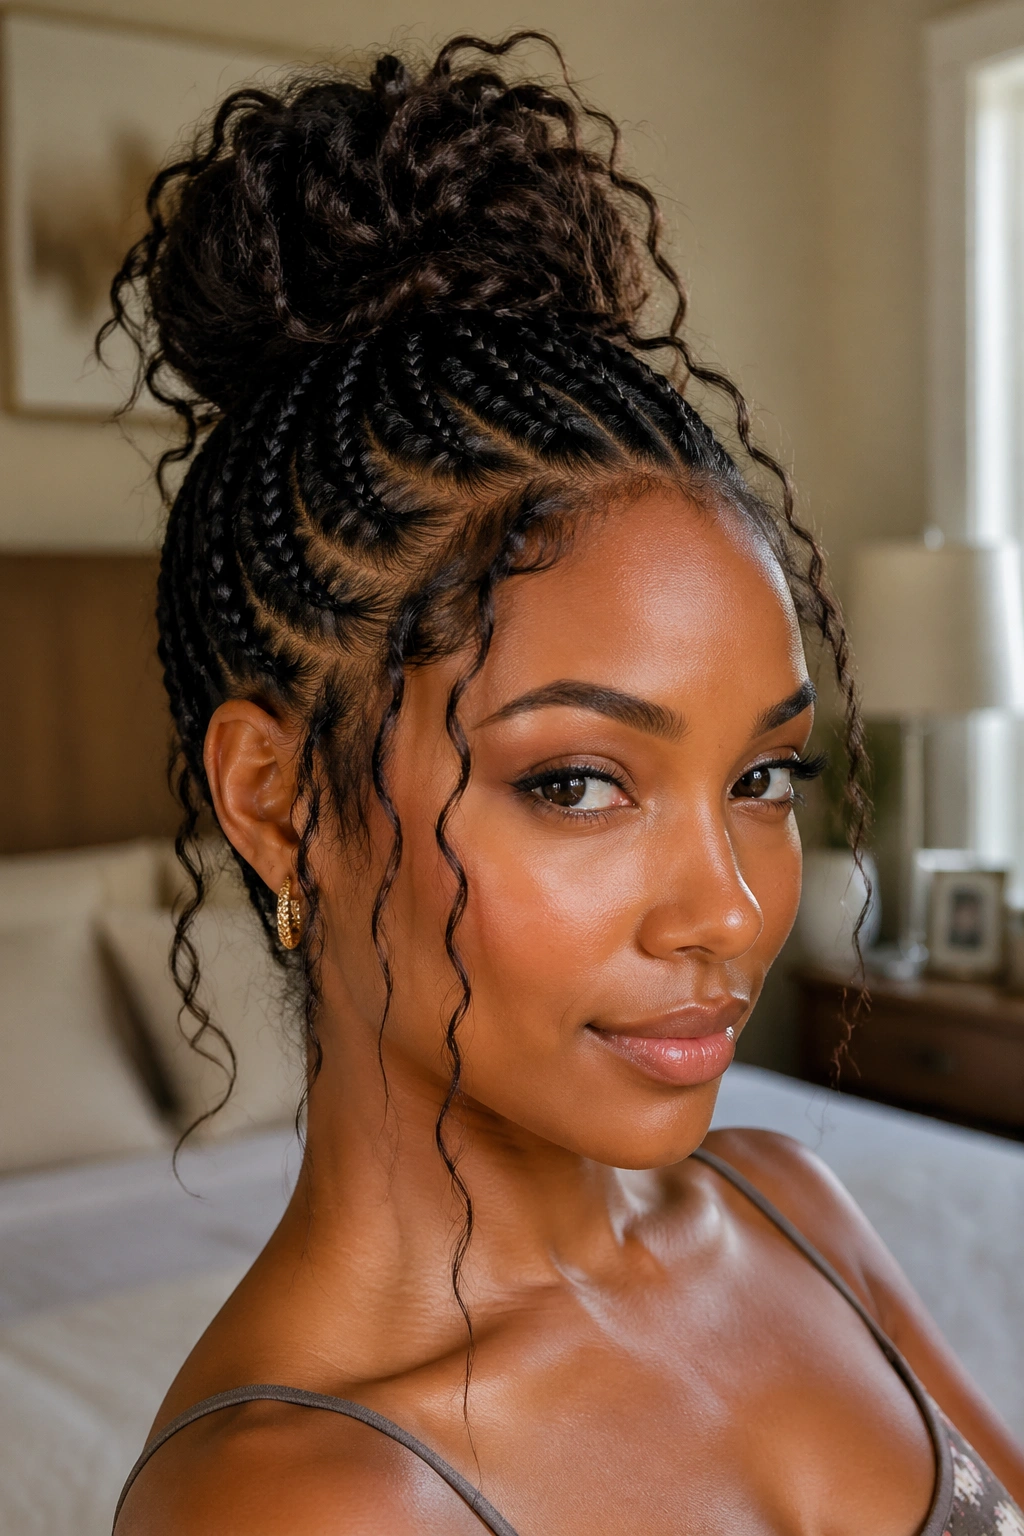
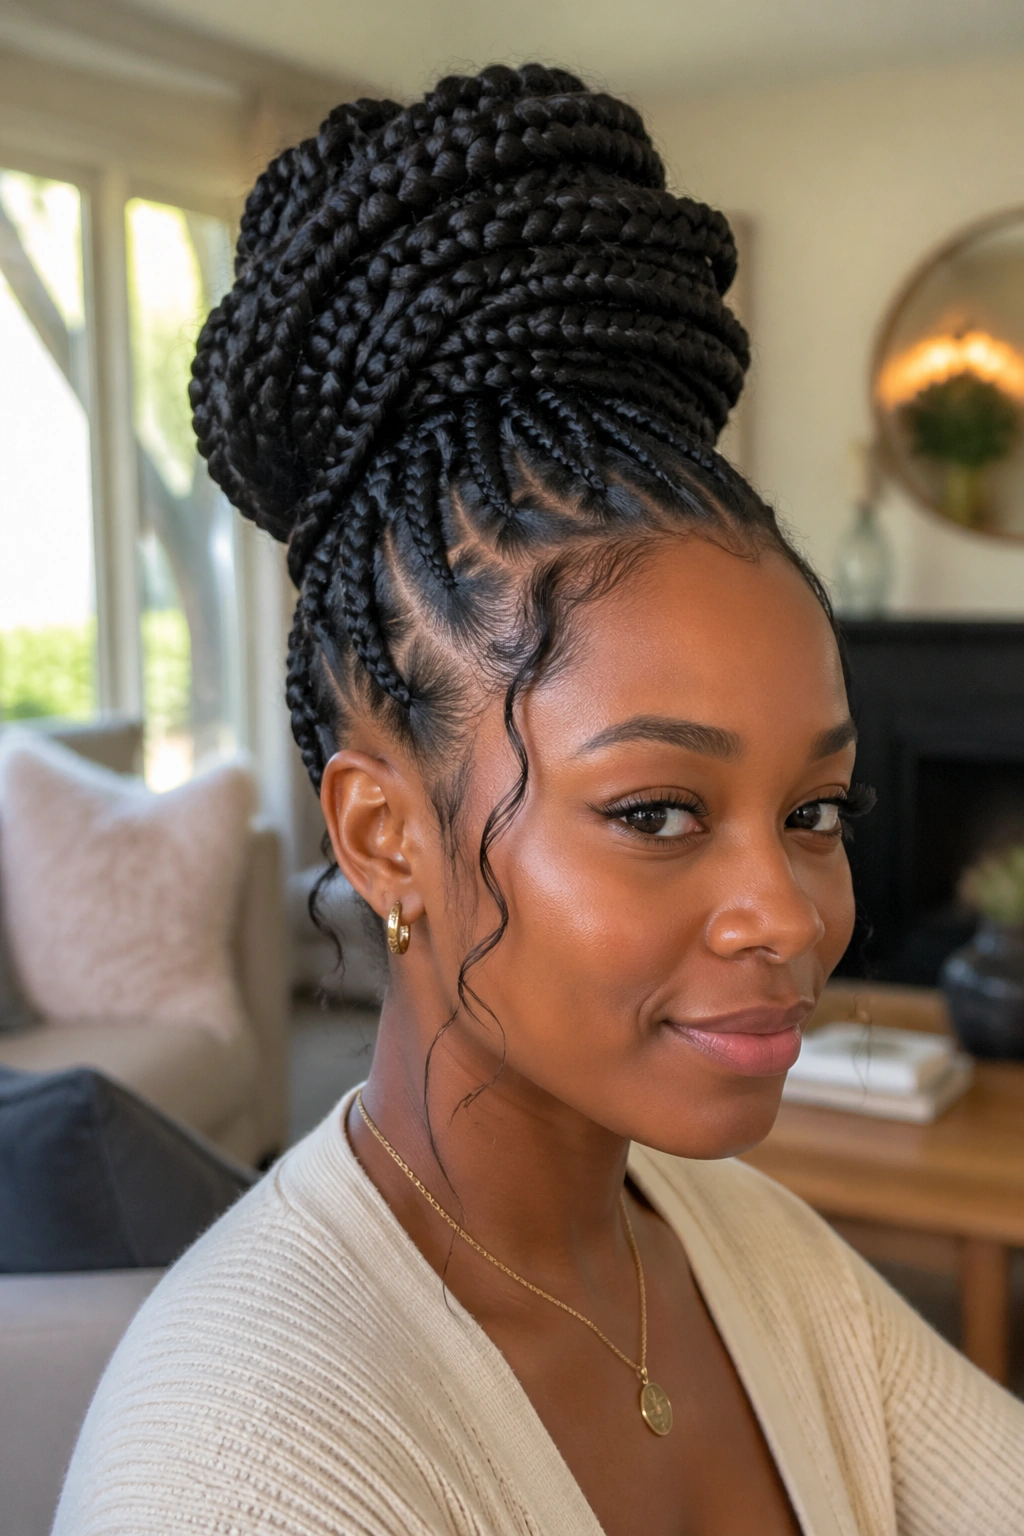
1. Classic High Goddess Bun
Cornrows going straight back, gathering into a large, slightly messy bun at the crown.
Why It Works
The high placement elongates the neck. The slight mess gives romance. The straight-back cornrows keep it clean.
- Use a donut bun form about 5 inches across
- Let 2-3 tendrils escape at each temple
- Keep the bun centered, not tilted
Tip: Spray the bun with a flexible-hold hairspray, then scrunch lightly with your fingers. The touch creates natural-looking texture without making the bun rigid.
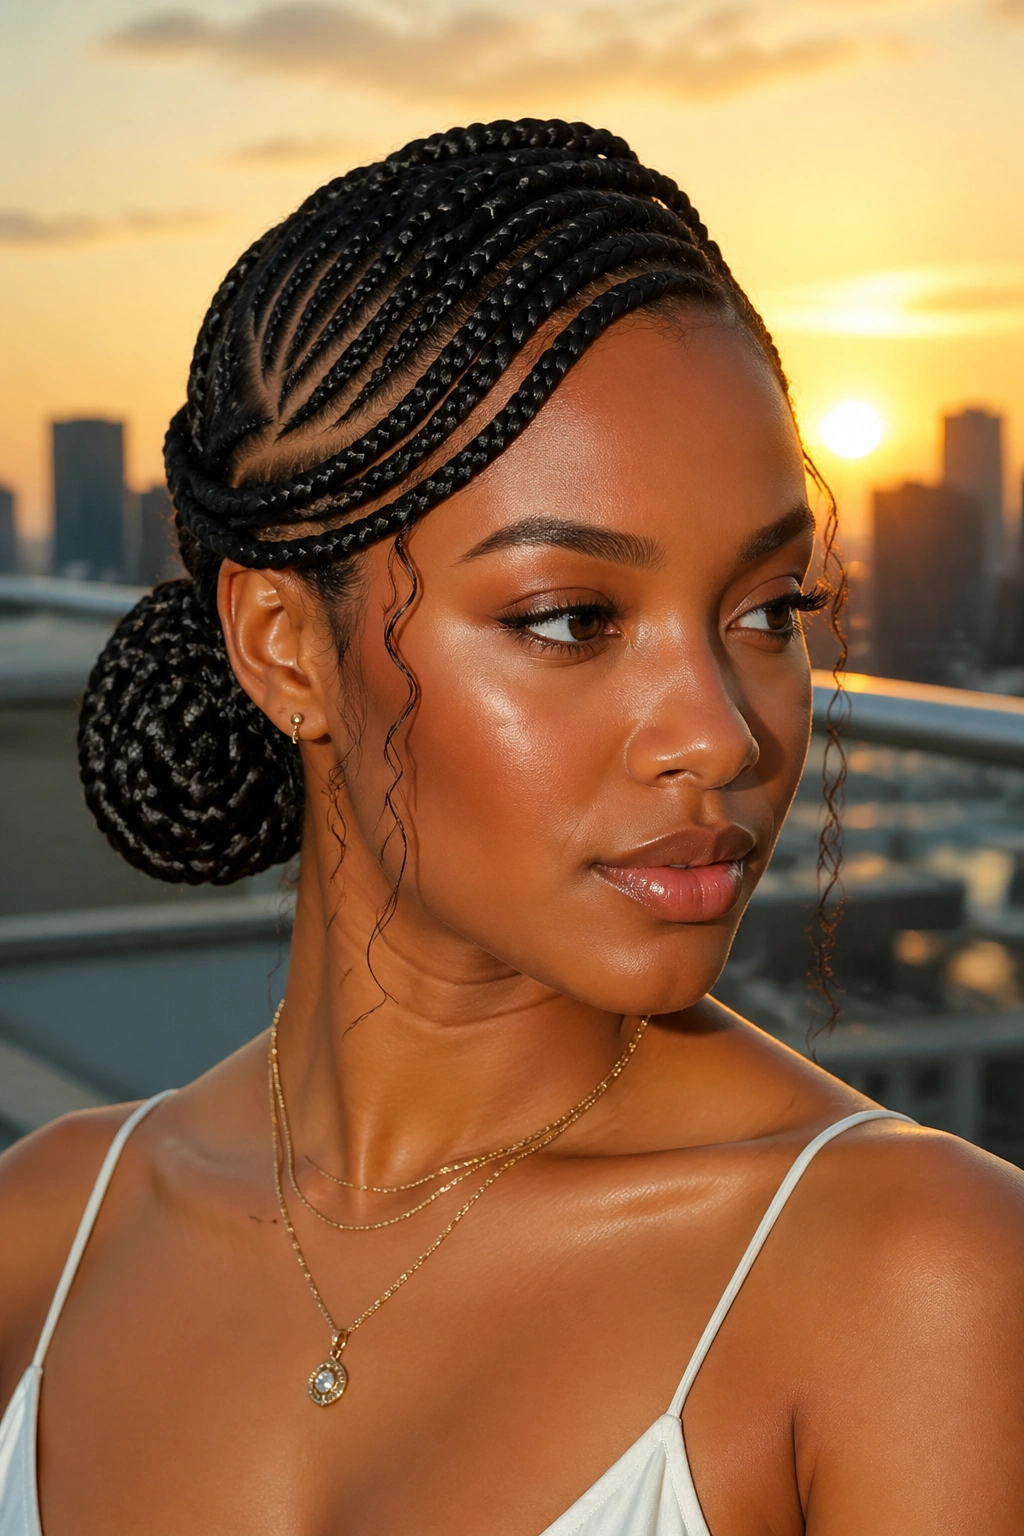
2. Low Goddess Bun with Side Cornrows
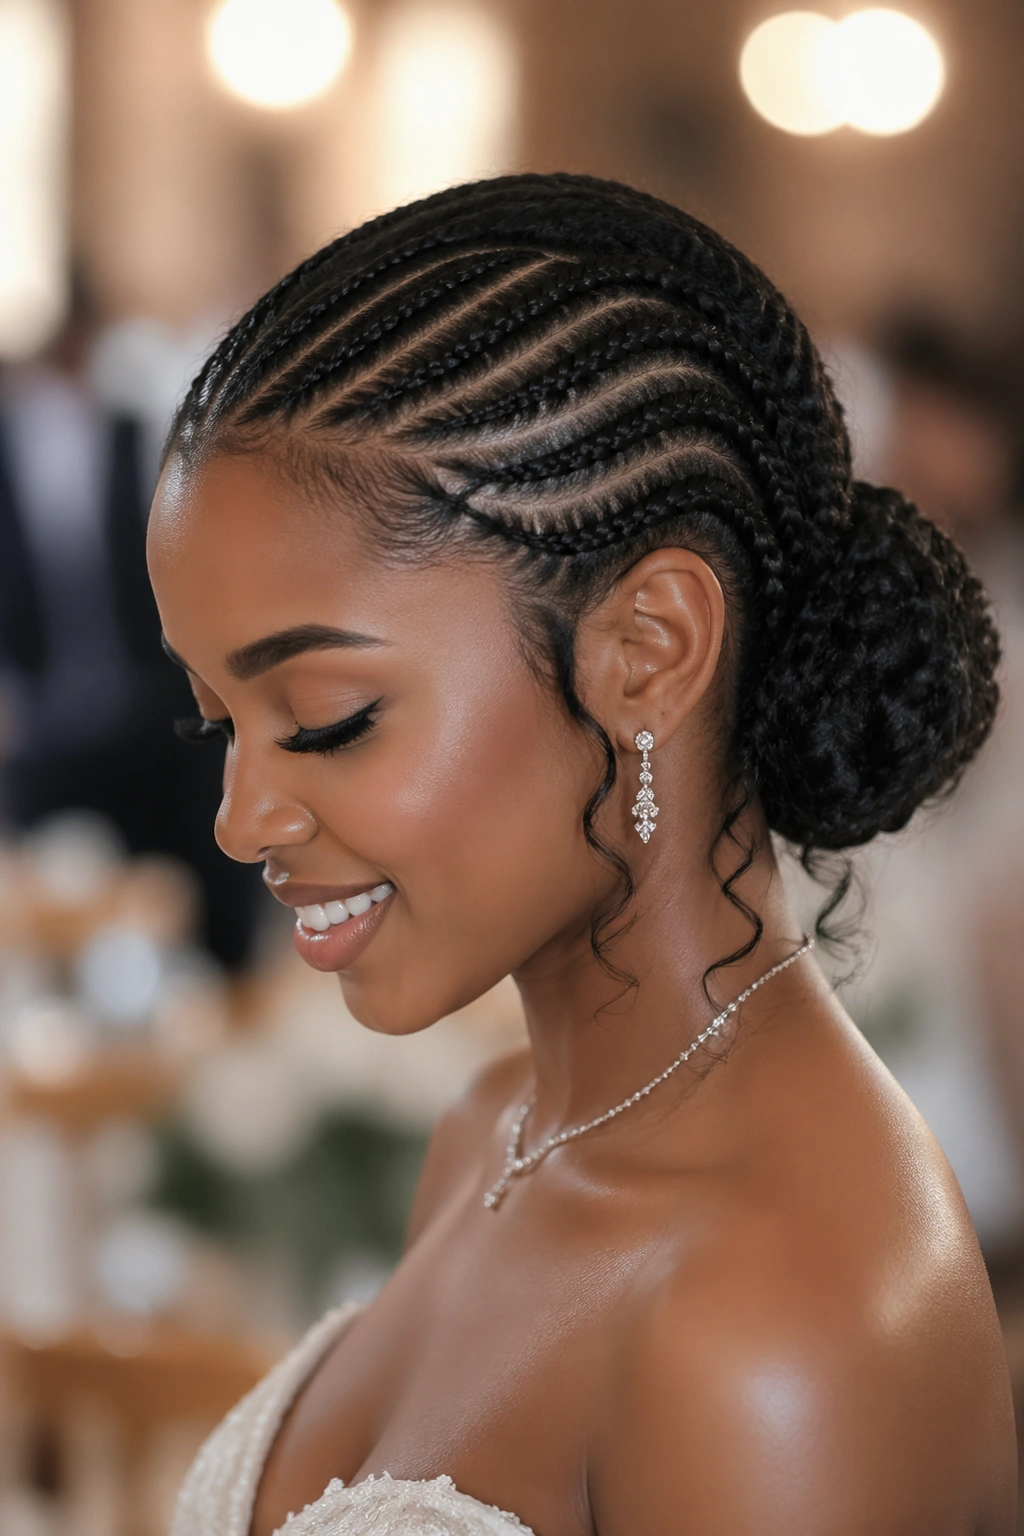
All cornrows sweeping from one side of the head toward the nape, gathering into a soft low bun. The asymmetry of the cornrow sweep makes this different from a basic low bun.
Low goddess buns suit formal settings — weddings, galas, anywhere the back of the head will be photographed as much as the front. The asymmetry ensures the back view isn’t just a round ball against the head.
Tendrils here fall naturally at the nape rather than escaping forward. Let them curl. Let them be present. The tendrils are part of the look.
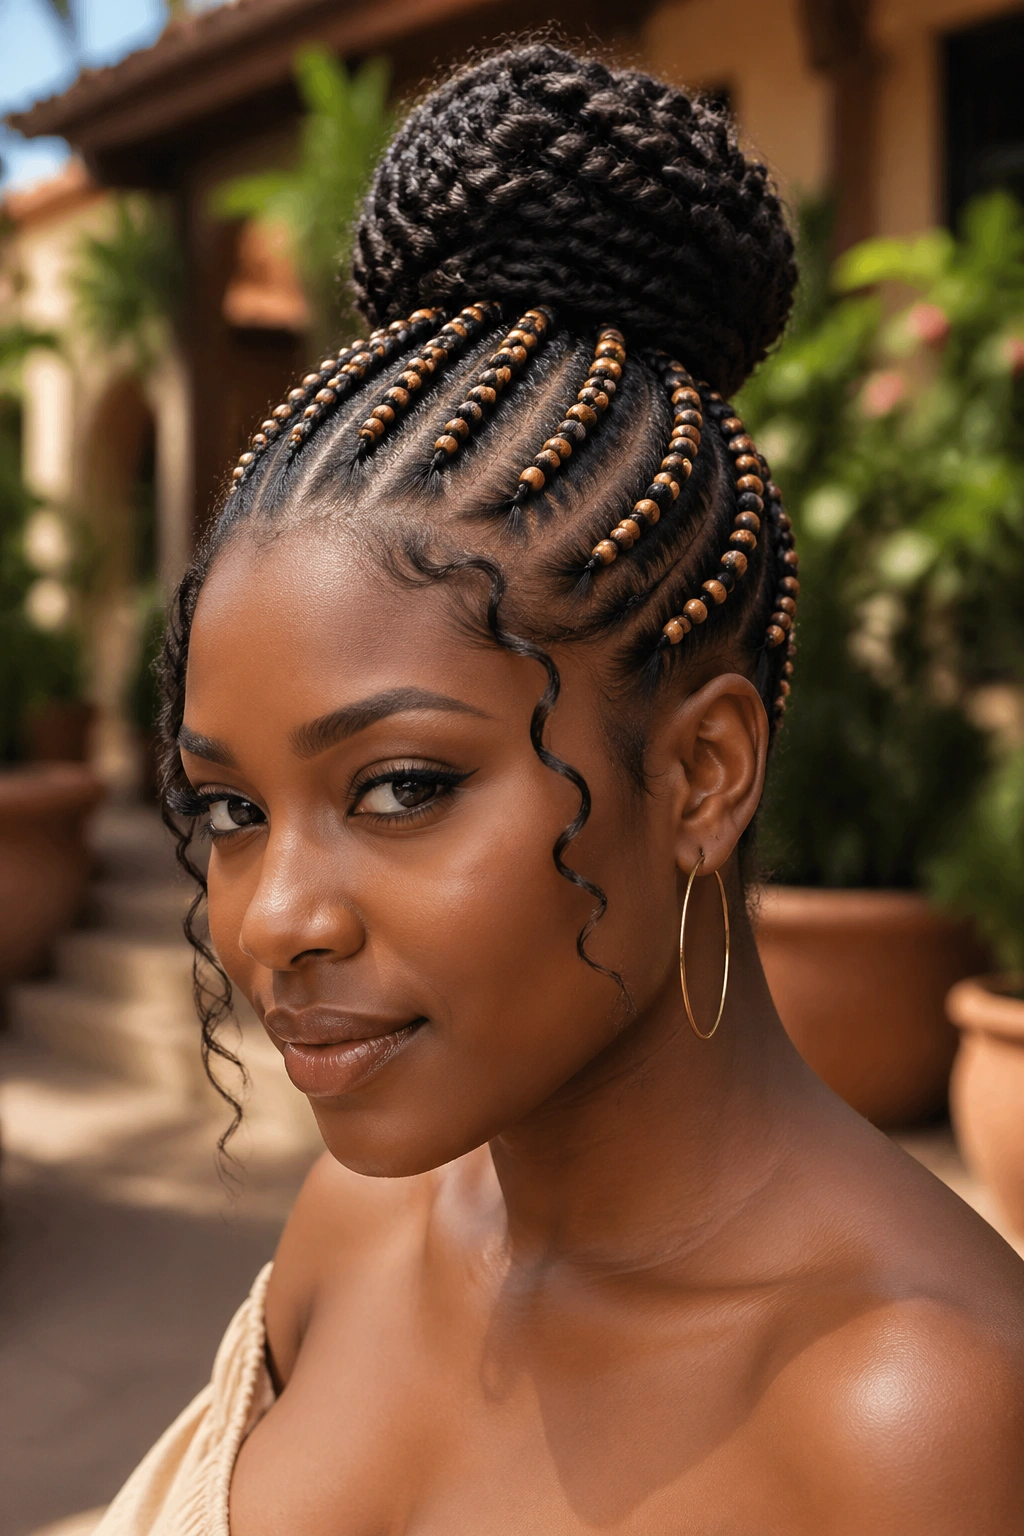
3. Fulani-Inspired Goddess Bun
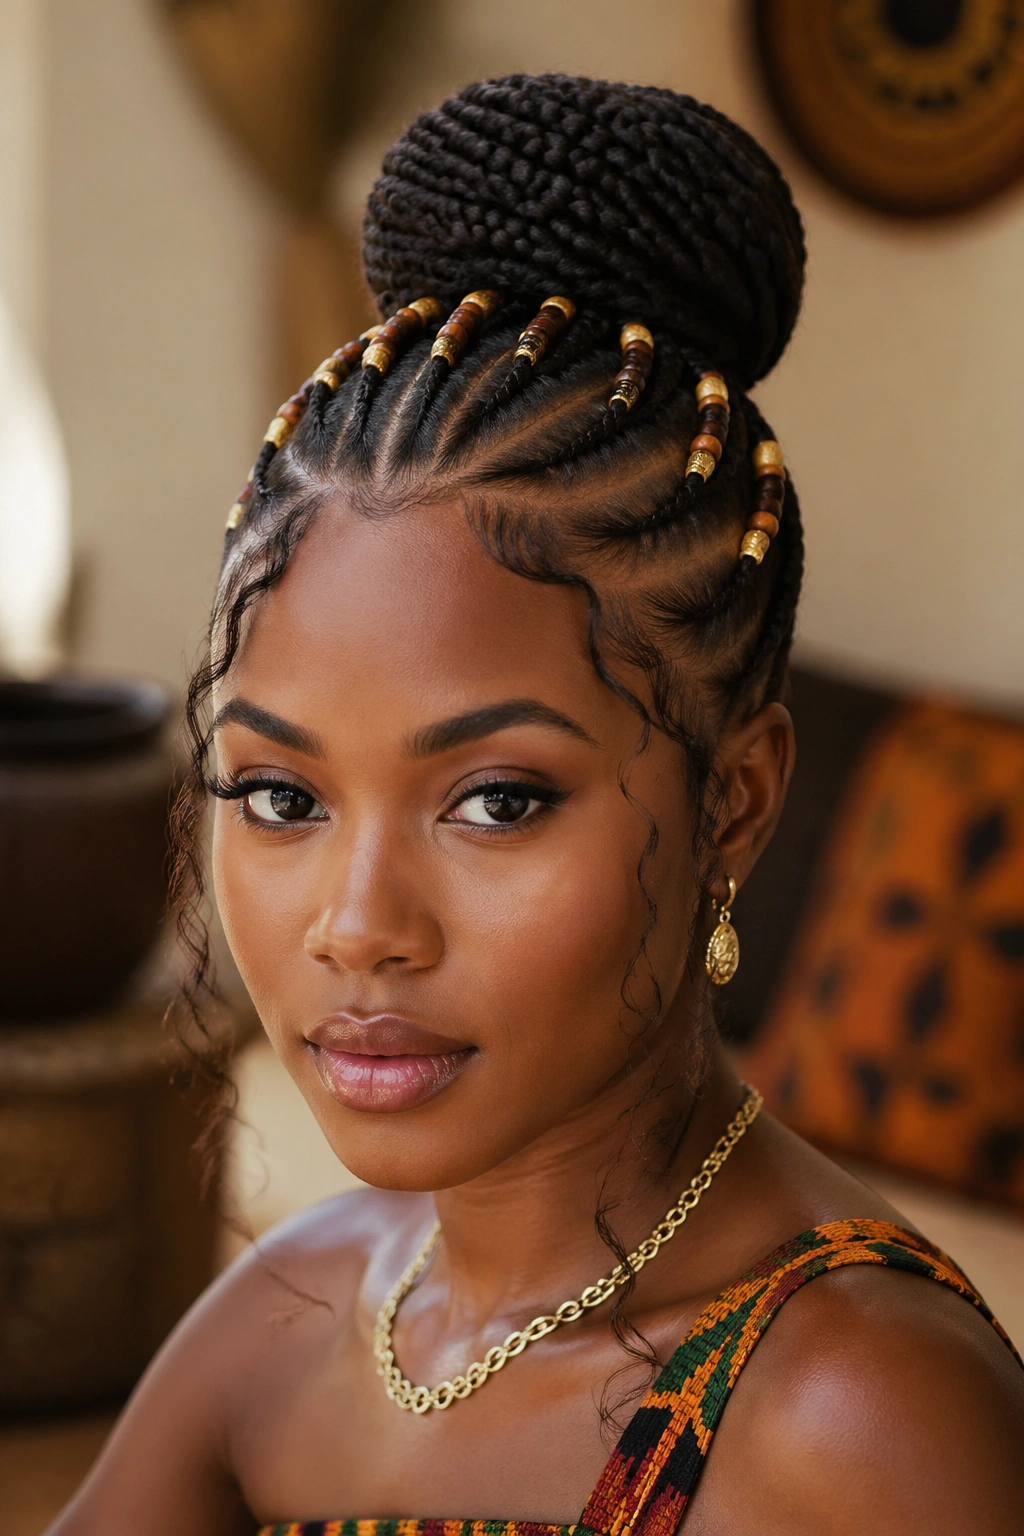
Fulani cornrow parting — center cornrow with angled side cornrows — feeding into a medium bun at the crown. Traditional beads along the cornrow length.
This style honors Fulani aesthetic while updating the silhouette with the goddess bun finish. The traditional Fulani often finishes with hanging braids. Replacing that with a sculpted bun creates a contemporary take.
Beads should stop before the bun — clustered near the face, not scattered into the bun itself. Beads within the bun create lumpy volume.
4. Small Goddess Bun with Face-Framing Cornrows
Two curved cornrows framing the face, leading into a small, tight bun. The rest of the hair is left curly or naturally textured between the face-frames.
Small goddess buns suit petite features or shorter natural hair. Large buns can overwhelm a smaller frame. The tight bun in this style isn’t about control — it’s about proportion.
The curly middle section is what makes this work. A head of smooth straightened hair with two cornrows feeding into a bun reads too spare. The texture contrast between cornrow and free curl is the whole appeal.
5. Jumbo Goddess Bun
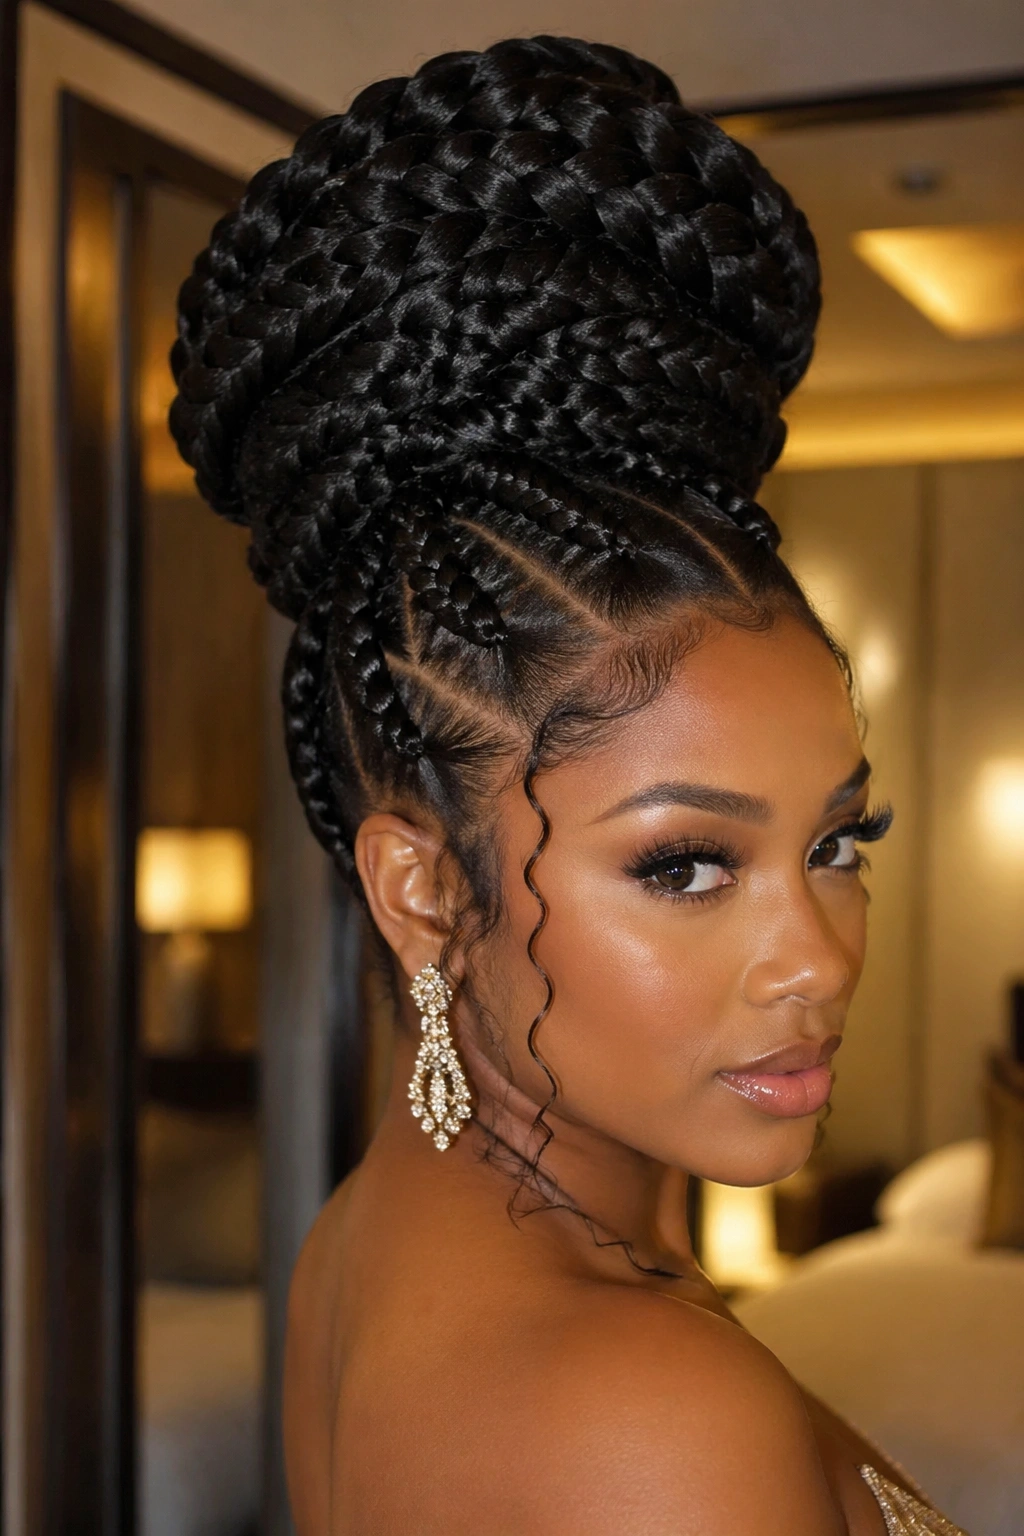
A massive bun — sometimes 8+ inches across — anchored by a handful of jumbo cornrows.
This is the drama version. Three to five jumbo cornrows feeding into a bun built with multiple extension packs. The scale of both the cornrows and the bun is oversized.
Jumbo goddess buns photograph stunningly but strain the hairline more than smaller versions. The weight of the bun pulls at the feed-in points over time. Limit wear to 3 weeks maximum.
6. Braided Bun Goddess Style
The bun itself is a coiled braid — not a loose mass of hair wrapped around a form, but a long single braid wound into a spiral bun shape.
This technique creates visible texture within the bun. You can see the braid pattern curling around itself. It reads more crafted and less freeform than a standard wrapped bun.
Braided buns hold their shape longer than wrapped buns. If you need a style that will still look right on day seven without touch-ups, this is it.
7. Double Goddess Buns
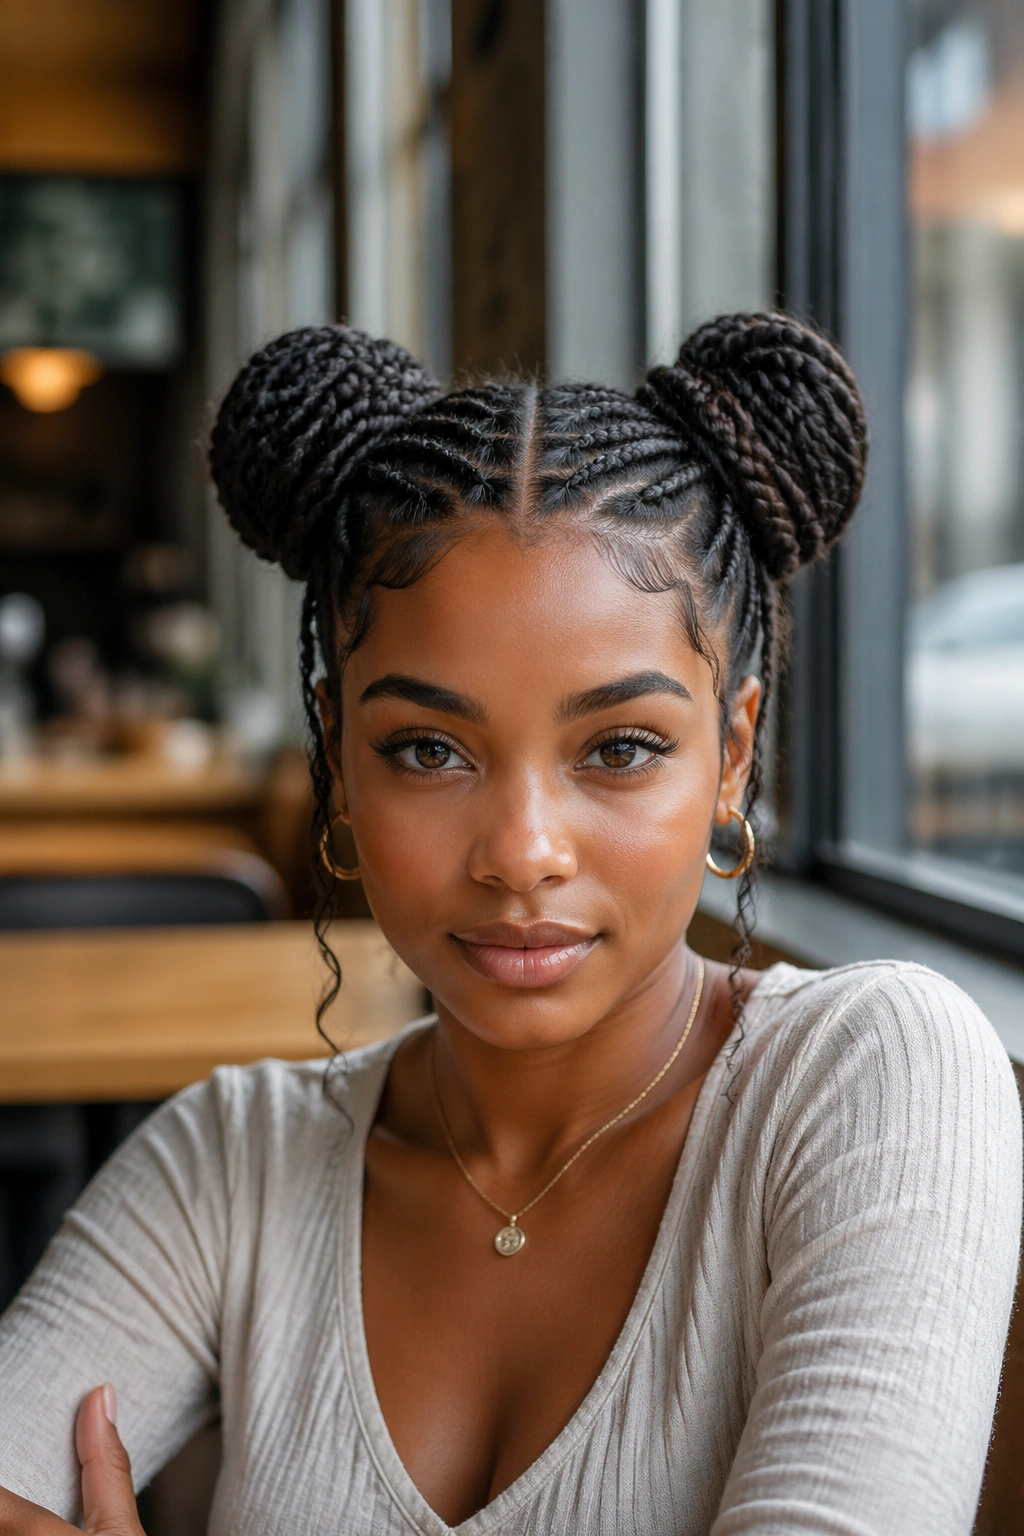
Two buns — side by side or top and bottom. Cornrows parted to lead into each bun separately.
How to Style It
Position the buns symmetrically. Uneven placement reads as a mistake rather than a style. Both buns should sit at the same height, the same distance from center.
The cornrow parting has to work for both buns simultaneously. A center part leading into two crown-level buns works cleanly. A horizontal part leading into a top and bottom bun takes more planning but creates a uniquely vertical silhouette.
8. Goddess Halo Braid Bun
A cornrow halo — one continuous cornrow circling the head from forehead to forehead — with a bun nested in the center of the halo.
The halo acts as a natural frame for the bun. The visual effect is crown-like, appropriate for formal wear or statement events.
Halo-bun combinations take longer than standard goddess buns because the halo itself is a patience-intensive cornrow. Plan 4+ hours for install.
9. Long Tendril Goddess Bun
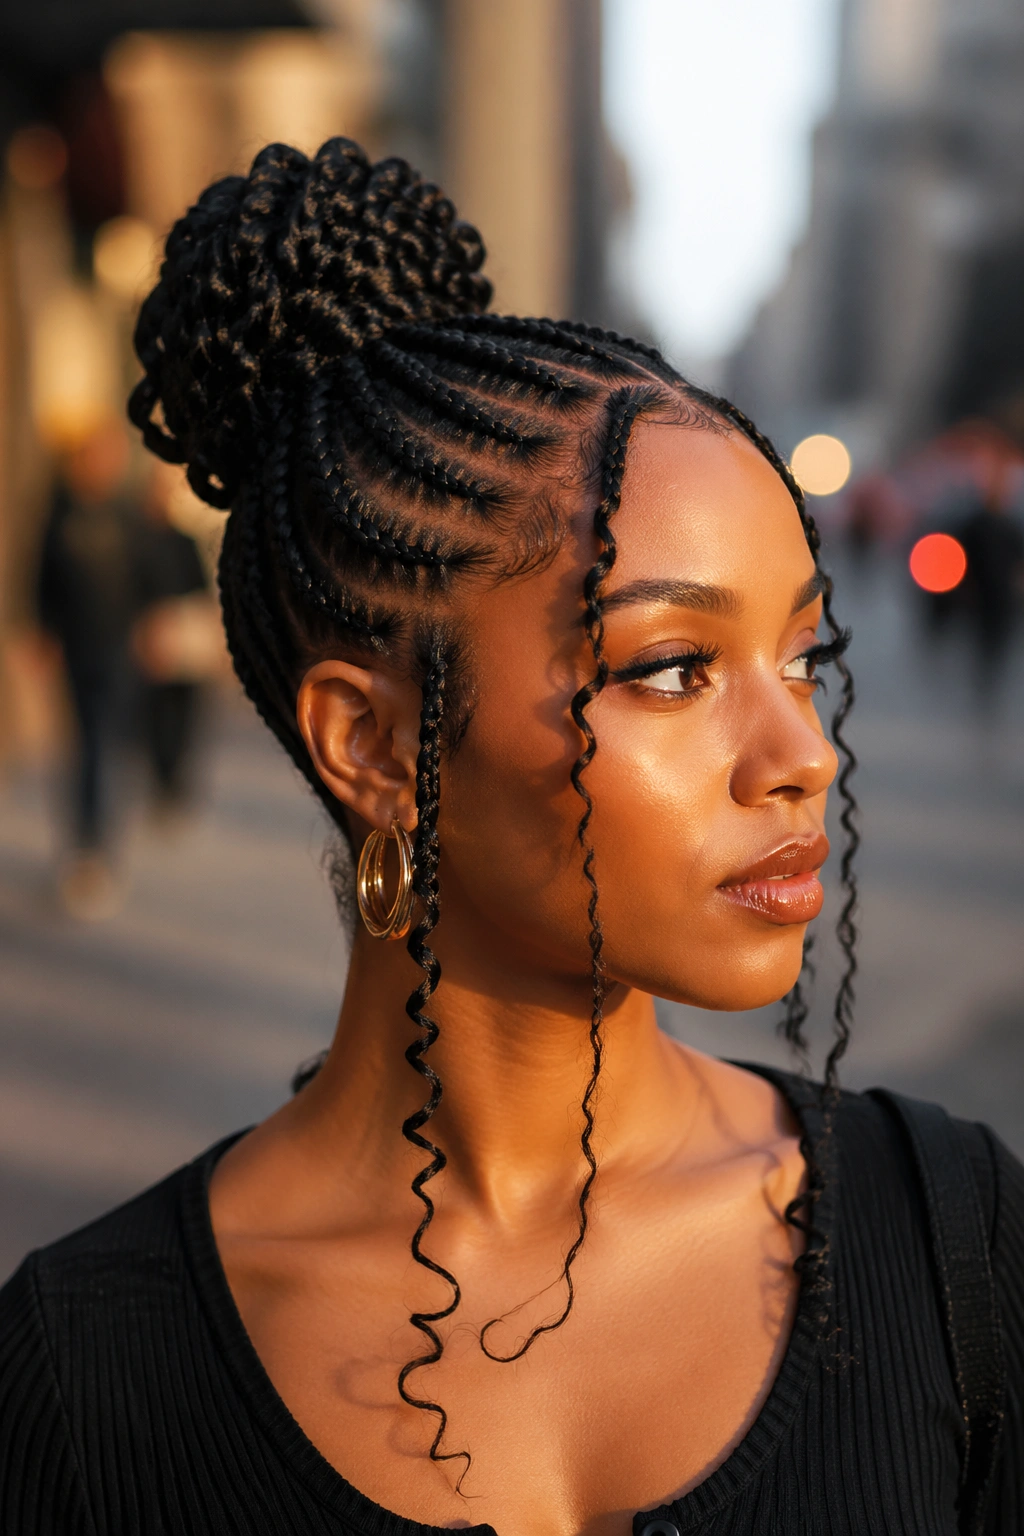
Cornrows leading to a medium bun, with two long braided tendrils hanging down the front on either side of the face.
The tendrils are the defining element. They shouldn’t be short wisps — they should reach the collarbone or lower. Each tendril is its own mini-braid, about the thickness of a thumb.
Pair this style with hoop earrings. The hanging tendrils and the earring hardware balance each other visually.
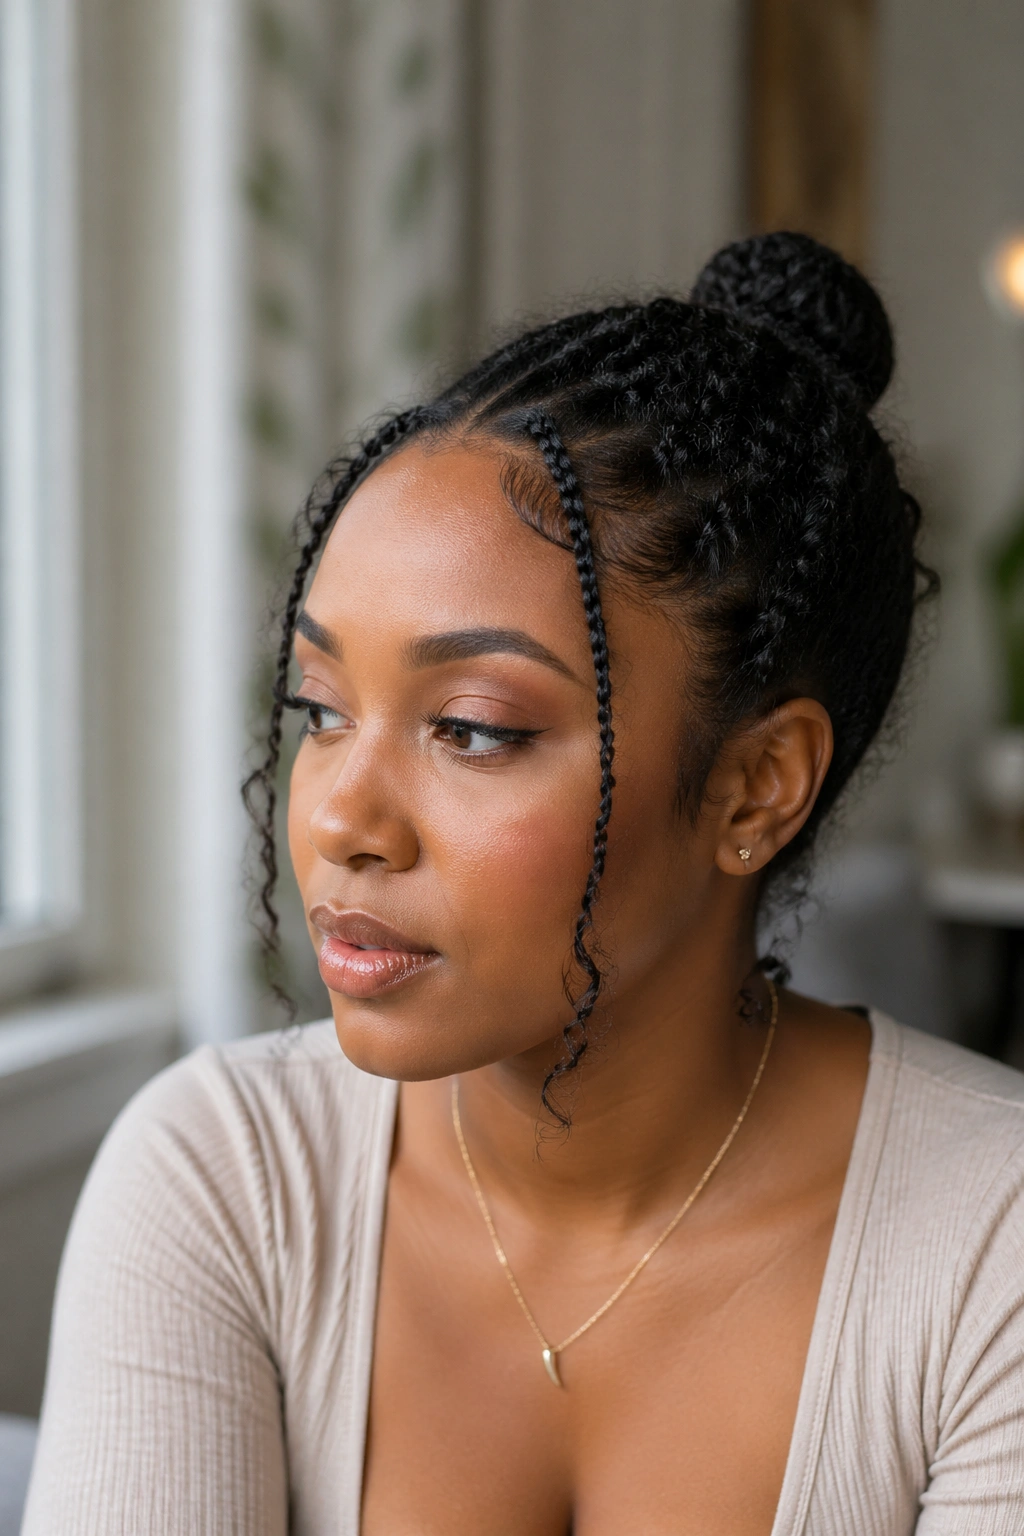
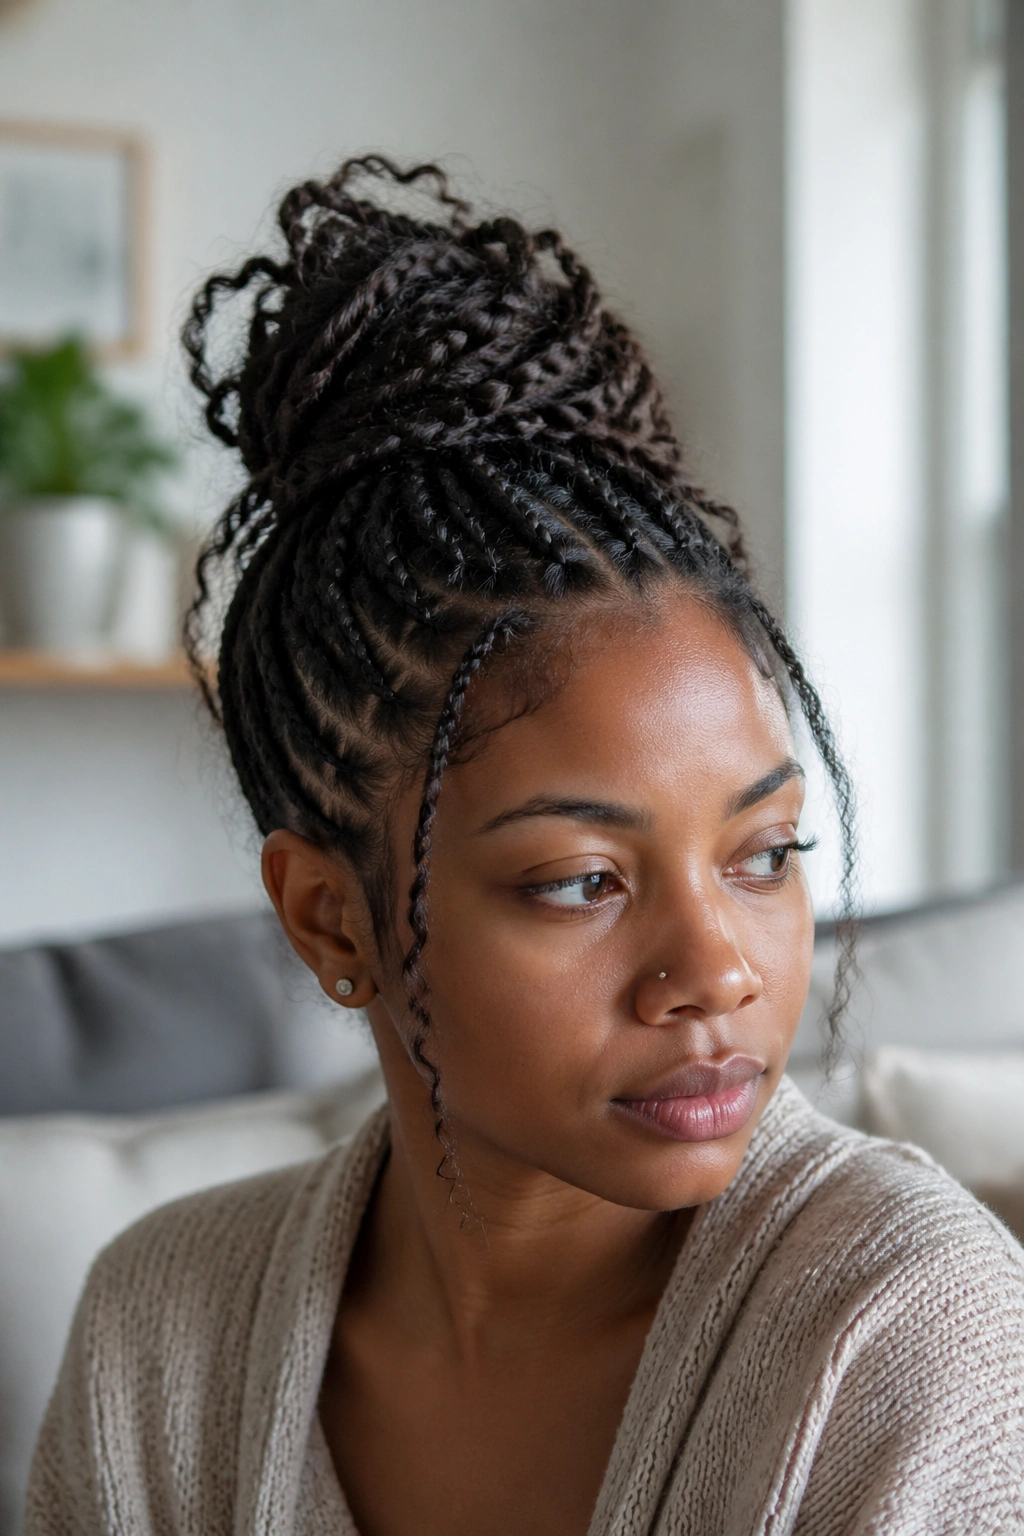
10. Curly Tendril Goddess Bun
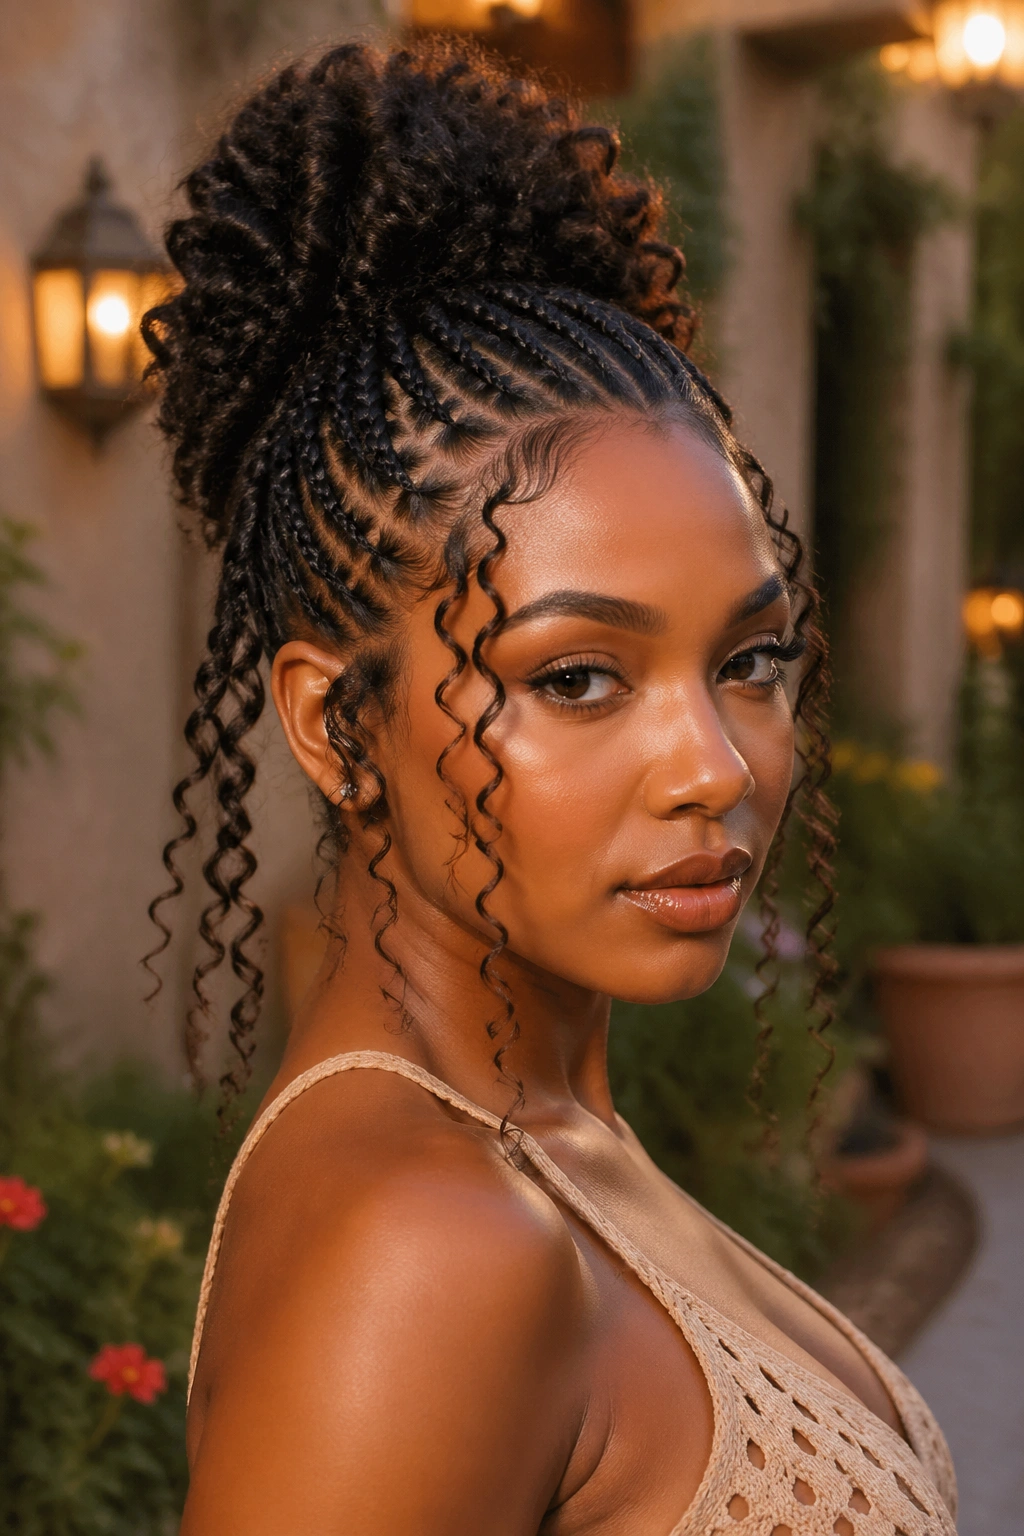
Same cornrow-bun base, but the tendrils are freed curls rather than braids. Natural coils or wefts of curly extension hair, left to hang softly.
Curly tendrils read softer than braided tendrils. This version suits more romantic styling — date nights, garden weddings, soft professional settings.
Avoid using curly tendrils with stiffly sculpted buns. The contrast between soft and rigid reads disconnected. Let the bun have some softness too.
11. Zigzag Cornrows into Goddess Bun

Zigzag parting across the head, cornrowed, gathered into a bun.
The zigzag adds visual interest to what is otherwise a standard silhouette. This is a good option for people who find straight-back cornrows too plain but don’t want a fully freestyle pattern.
Keep the zigzag peaks modest. Wide zigzag patterns draw too much attention to the cornrow section and make the bun feel like an afterthought.
12. Side-Swept Goddess Bun
Deep side part. All cornrows sweep to the opposite side. The bun sits low and off-center.
What Makes It Different
Most goddess buns are centered. The off-center bun is deliberately asymmetrical, which creates movement and visual weight to one side.
This works particularly well for face shapes that benefit from asymmetrical framing — rounder faces, wider foreheads, anyone whose natural symmetry reads as flat when paired with a centered bun.
13. Goddess Bun with Cornrow Bangs

A thick cornrow bang runs across the forehead. Behind it, cornrows feed into a crown bun.
The bang adds a defined hairline feature that most cornrow styles skip. If you want to draw attention to your eyes or soften a high forehead, the cornrow bang delivers.
The bang line should sit roughly an inch above the eyebrows. Too low and it reads as heavy. Too high and it floats disconnected.
14. Messy Goddess Bun
Cornrows fed into a deliberately undone bun. Loose strands. Uneven edges. Soft escape points all around.
The challenge is that messy buns require the most technical skill to get right. Truly messy looks amateurish. Planned-messy looks artful. The difference is which strands you let escape and which you pin down.
Three tendrils at each temple. Two at each nape corner. A single loose piece falling from the top of the bun. Everything else pinned firmly.
15. Beaded Goddess Bun
Cornrows decorated with beads along their full length, feeding into a bun. The beads stop where the cornrow enters the bun.
Beads here serve as decoration for the cornrow path. Choose beads by size: small glass beads look delicate, wooden beads look earthy, metallic beads look formal.
Match bead color to skin tone or contrast deliberately. Gold beads on deep skin, silver beads on cool skin tones, wooden beads are universally flattering.
16. Goddess Bun with Accessory Wrap
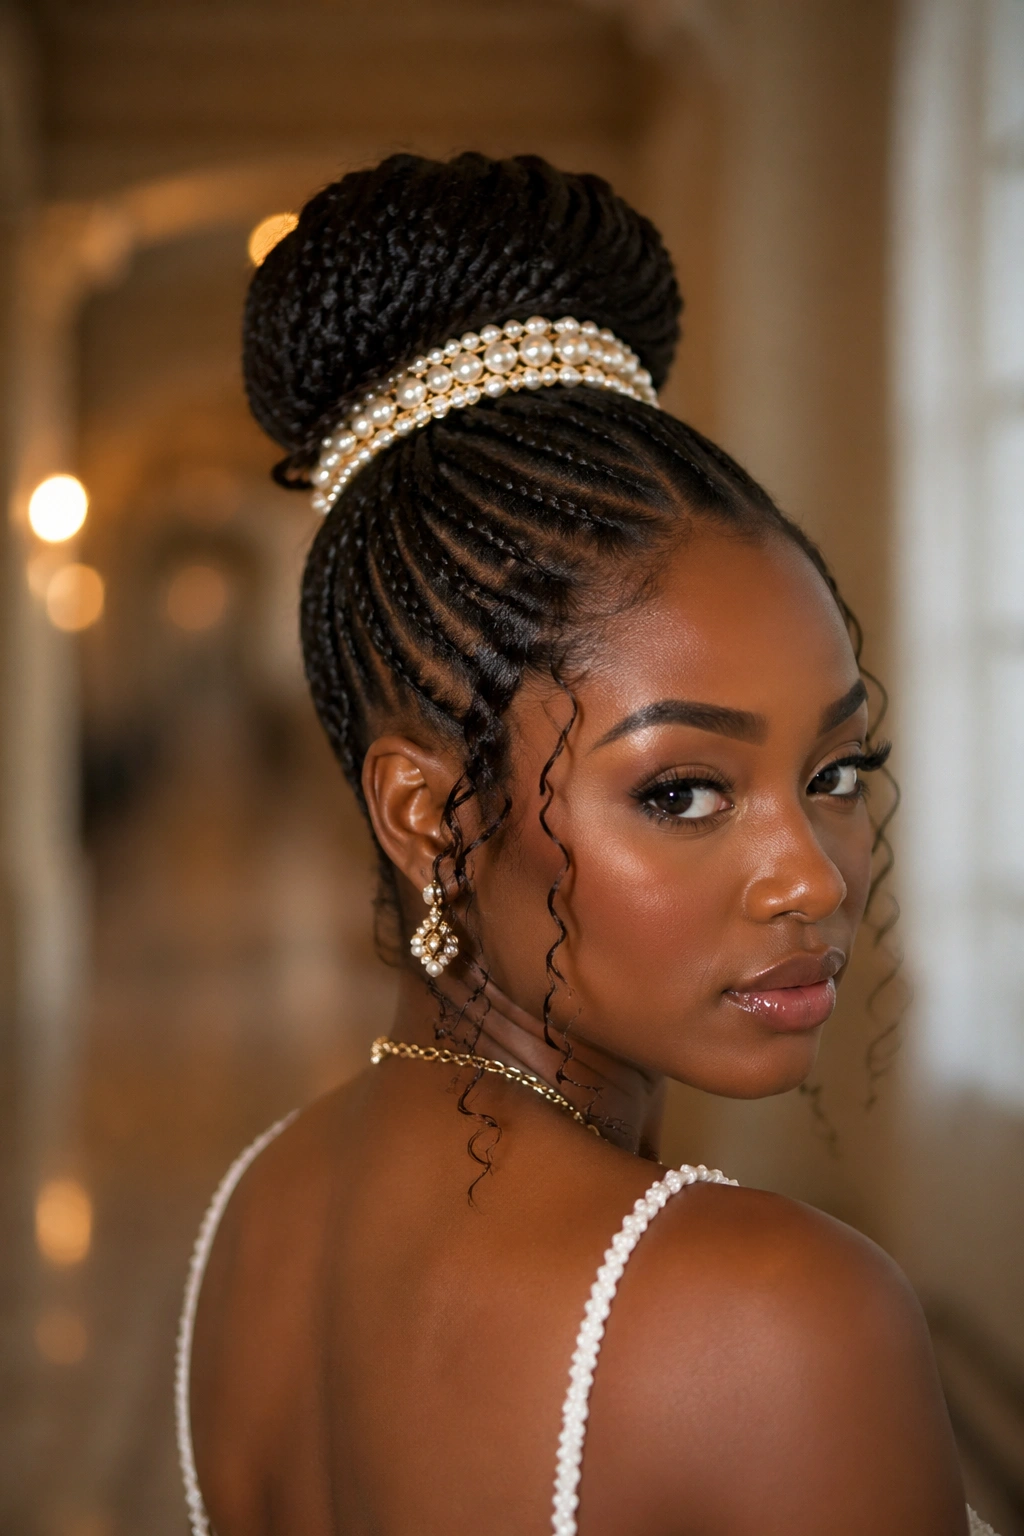
Cornrows fed into a bun, wrapped at the base with a decorative element — a fabric scarf, a metallic chain, a strand of pearls, a floral piece.
The wrap is the focal point. Choose something that coordinates with your outfit or event. Plain cornrow bun + decorative wrap = occasion hairstyle.
Who This Is For
Wedding guests, bridesmaids, prom attendees, anyone needing to elevate a standard goddess bun for a specific event.
The wrap should be pinnable. Loose wraps shift over the evening. Pinned wraps stay put.
17. Feed-In Cornrows with Voluminous Bun
Feed-in cornrows — meaning extensions are added gradually as the cornrow is braided — leading into a voluminous bun built from the extension length.
The feed-in allows for thicker, longer cornrows than your natural hair alone would provide. The bun built from the extension ends can be genuinely large without weighing down.
This is the style for naturally shorter hair that wants a fuller goddess bun silhouette. The feed-in bridges the gap between your natural length and the desired bun size.
18. Sleek Goddess Bun

Tight cornrows, smooth finish, bun pulled into a clean round form without escape tendrils.
Some styling occasions need precision more than softness. Corporate headshots, formal interviews, weddings with strict dress codes. The sleek goddess bun meets those needs.
The gel work matters here. Use a strong-hold edge gel with a toothbrush for perimeter smoothing. The edges should look painted on, not styled over.
19. Goddess Bun with Extended Cornrow Loop

One long cornrow extends past the bun and loops back around to frame the bun itself.
This looping technique is visual architecture. The loop creates a frame within the hairstyle, drawing the eye to the bun. It’s a sculptural element most goddess buns don’t include.
Not for beginners. Ask your braider if they’ve done it before. If not, pick a simpler style rather than a bad version of this one.
20. Short Goddess Bun on Natural Hair
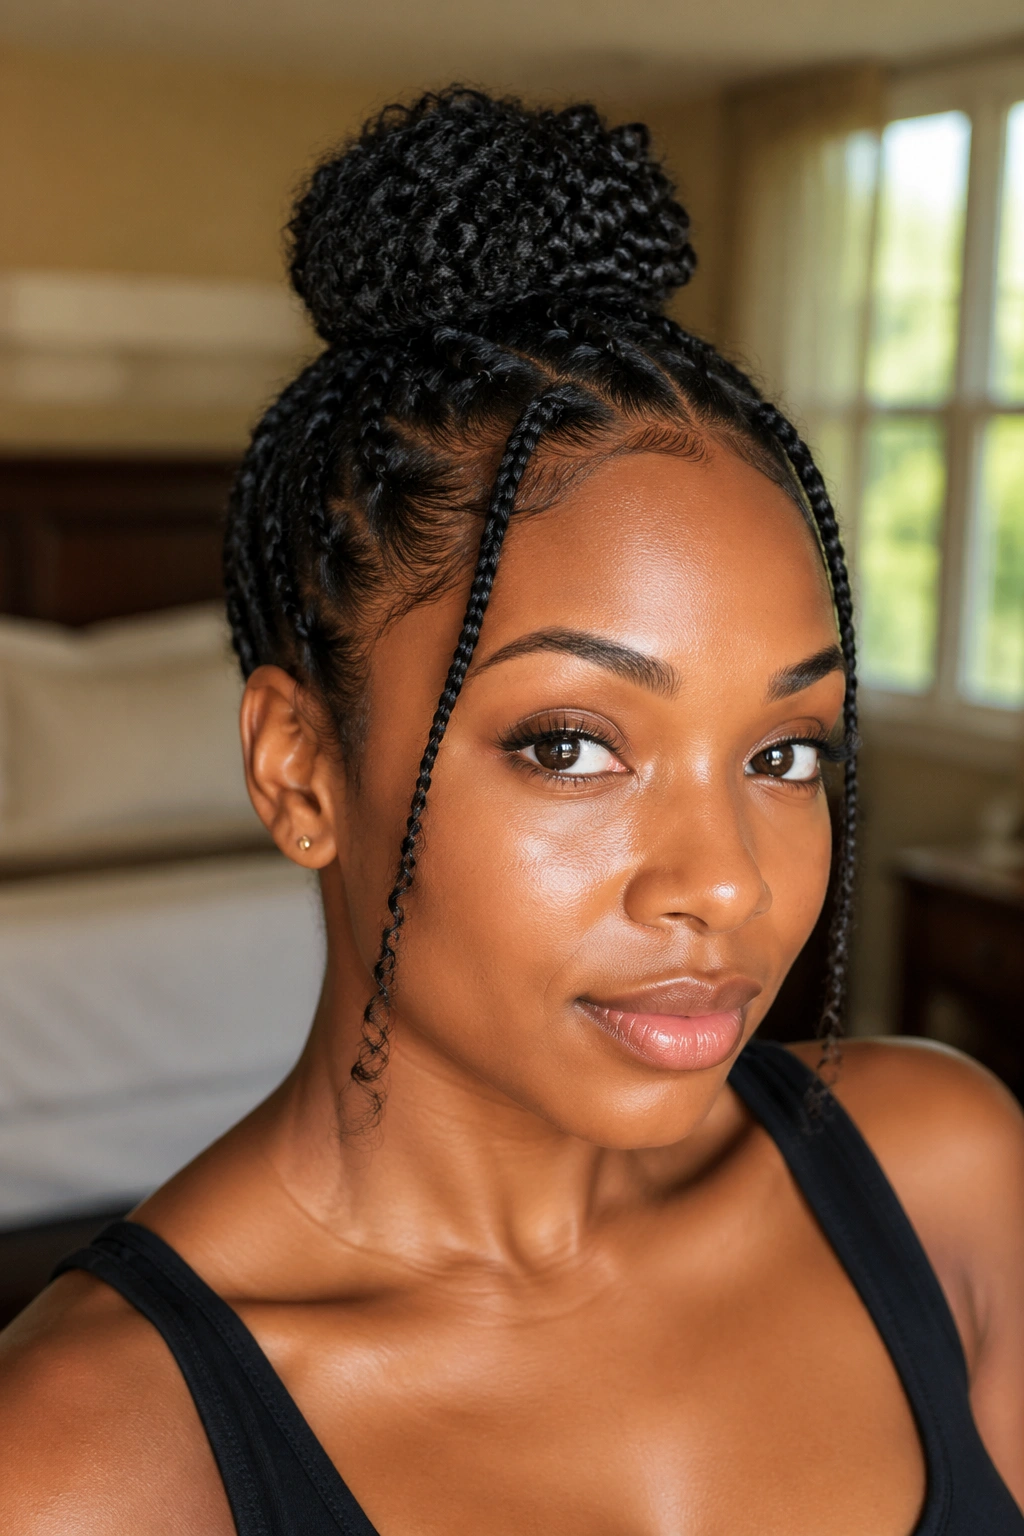
Natural TWA or short hair coiled and pinned into a small goddess bun, with two micro cornrows framing the face.
Short-hair goddess buns are legitimate. You don’t need 20 inches of hair to wear this silhouette. A well-coiled natural bun on 4-inch hair can be just as polished as an 18-inch extension bun, if the proportions are right.
The cornrow framing is what makes this read as a “goddess” bun rather than just a mini bun. Without the cornrow, it’s a puff. With the cornrow, it’s a styled look.
21. Goddess Bun with Ombré Cornrows
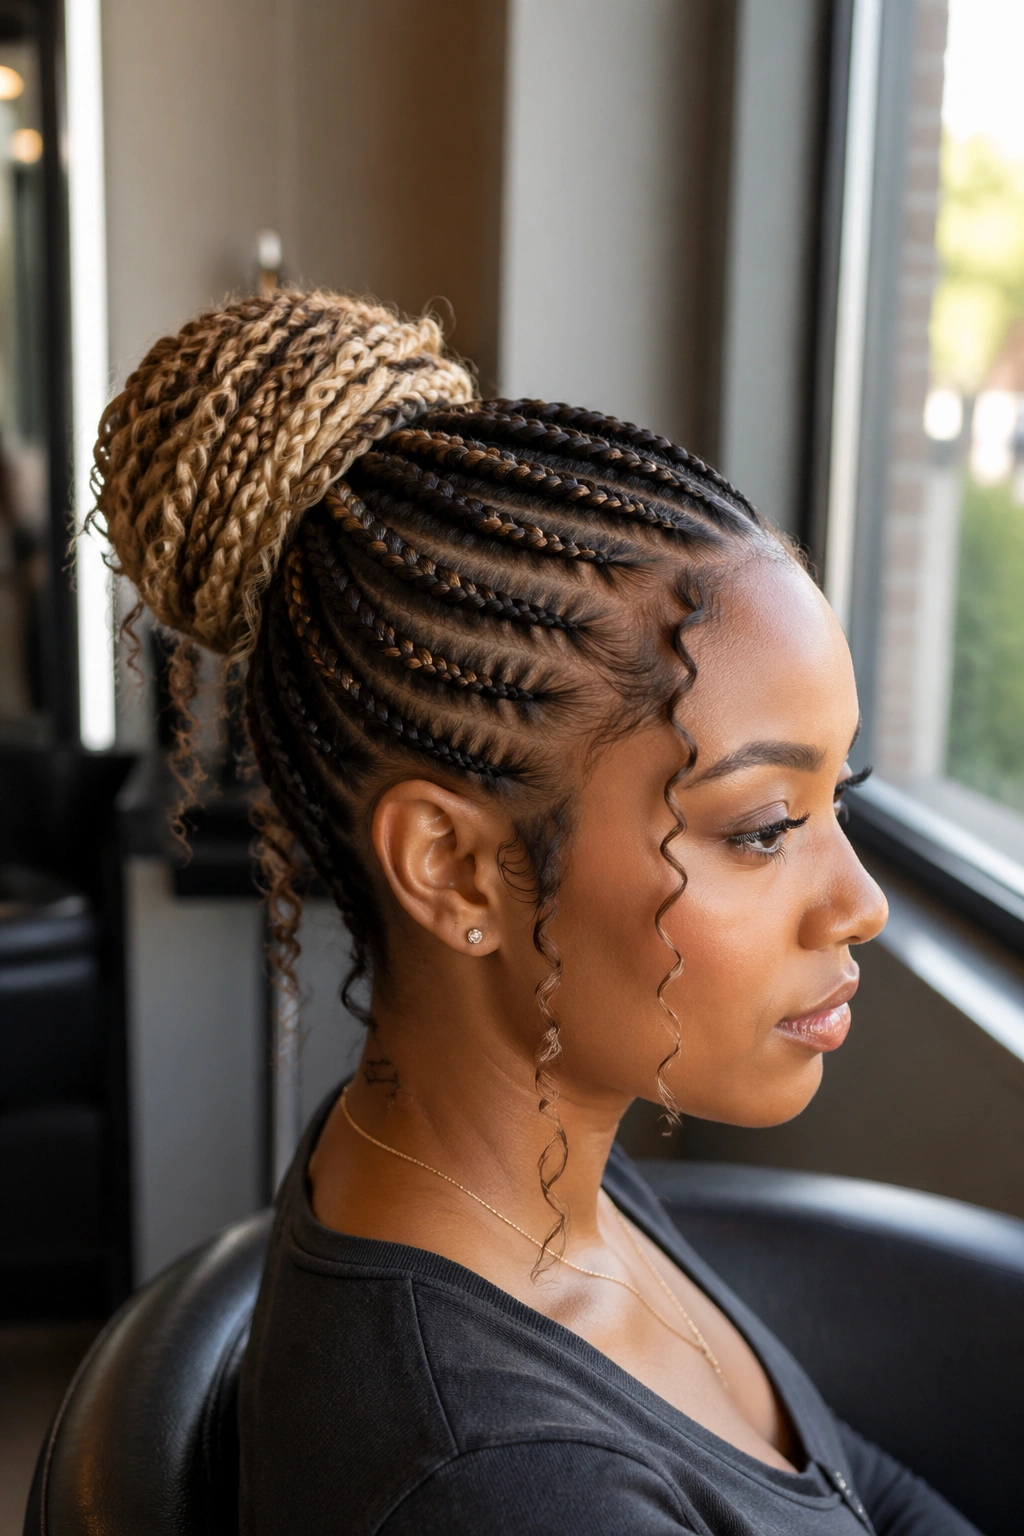
Cornrows that transition from dark roots to lighter ends, all gathered into a bun showing the lighter end color.
The bun becomes the color focal point because all the lighter-tipped extensions cluster there. If you’ve invested in ombré kanekalon, this style showcases that investment more than any other goddess bun format.
Pair dark-to-caramel ombré with gold jewelry, dark-to-ash ombré with silver. Color-metal matching makes the ombré read intentional.
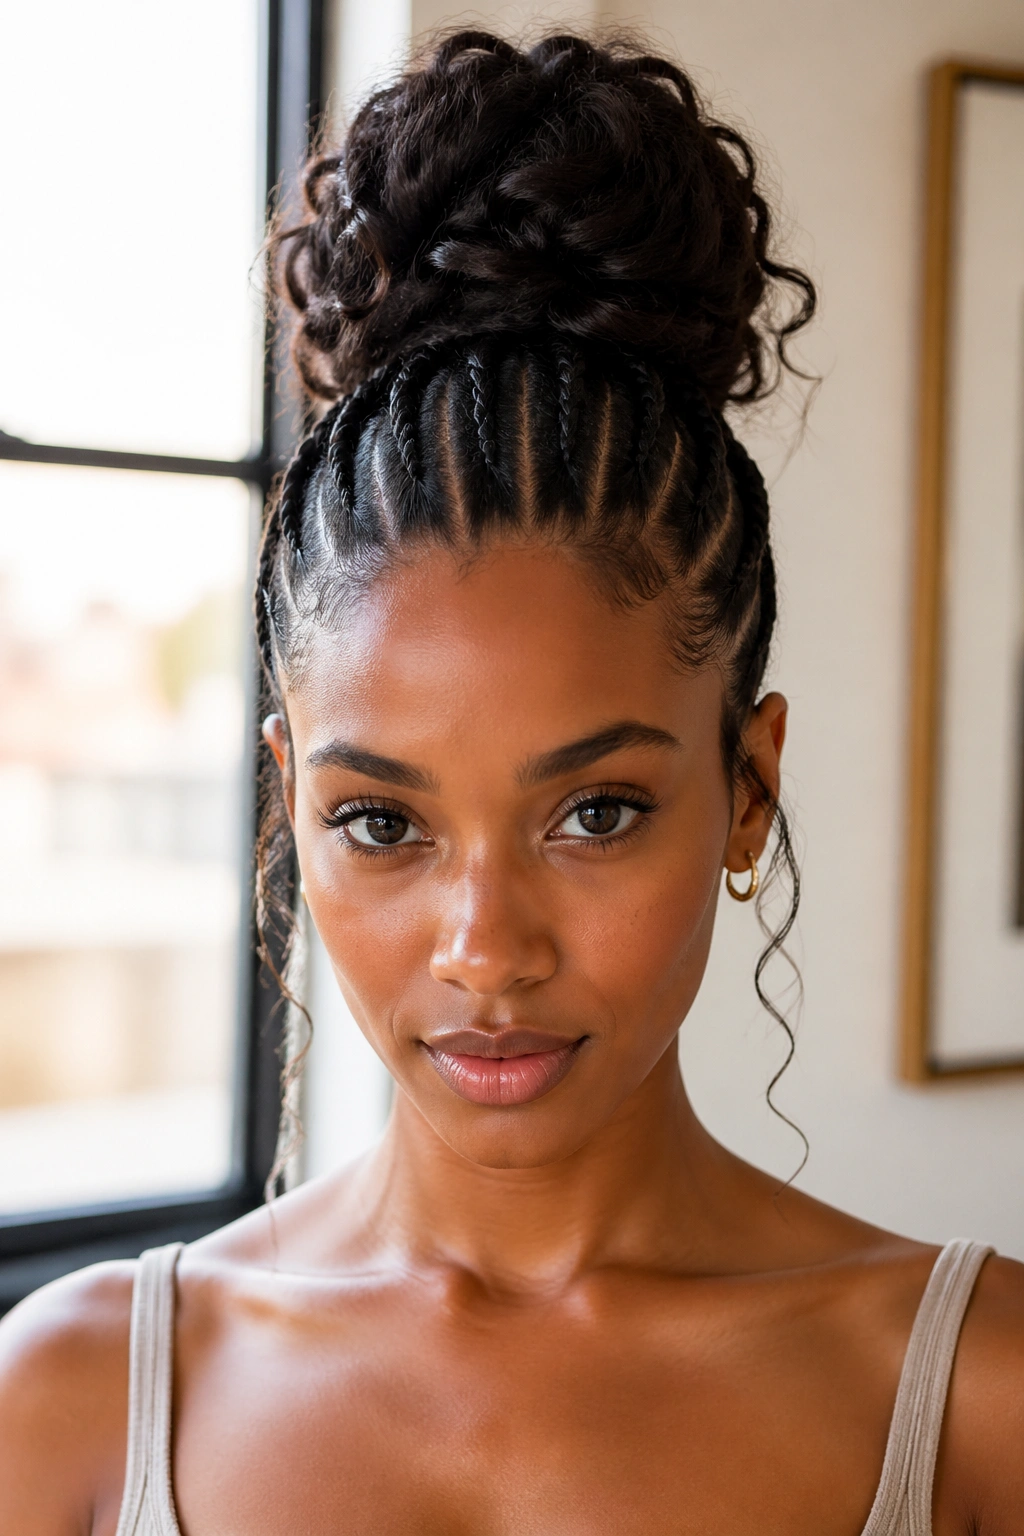
22. Crown Goddess Bun with Stacked Cornrows
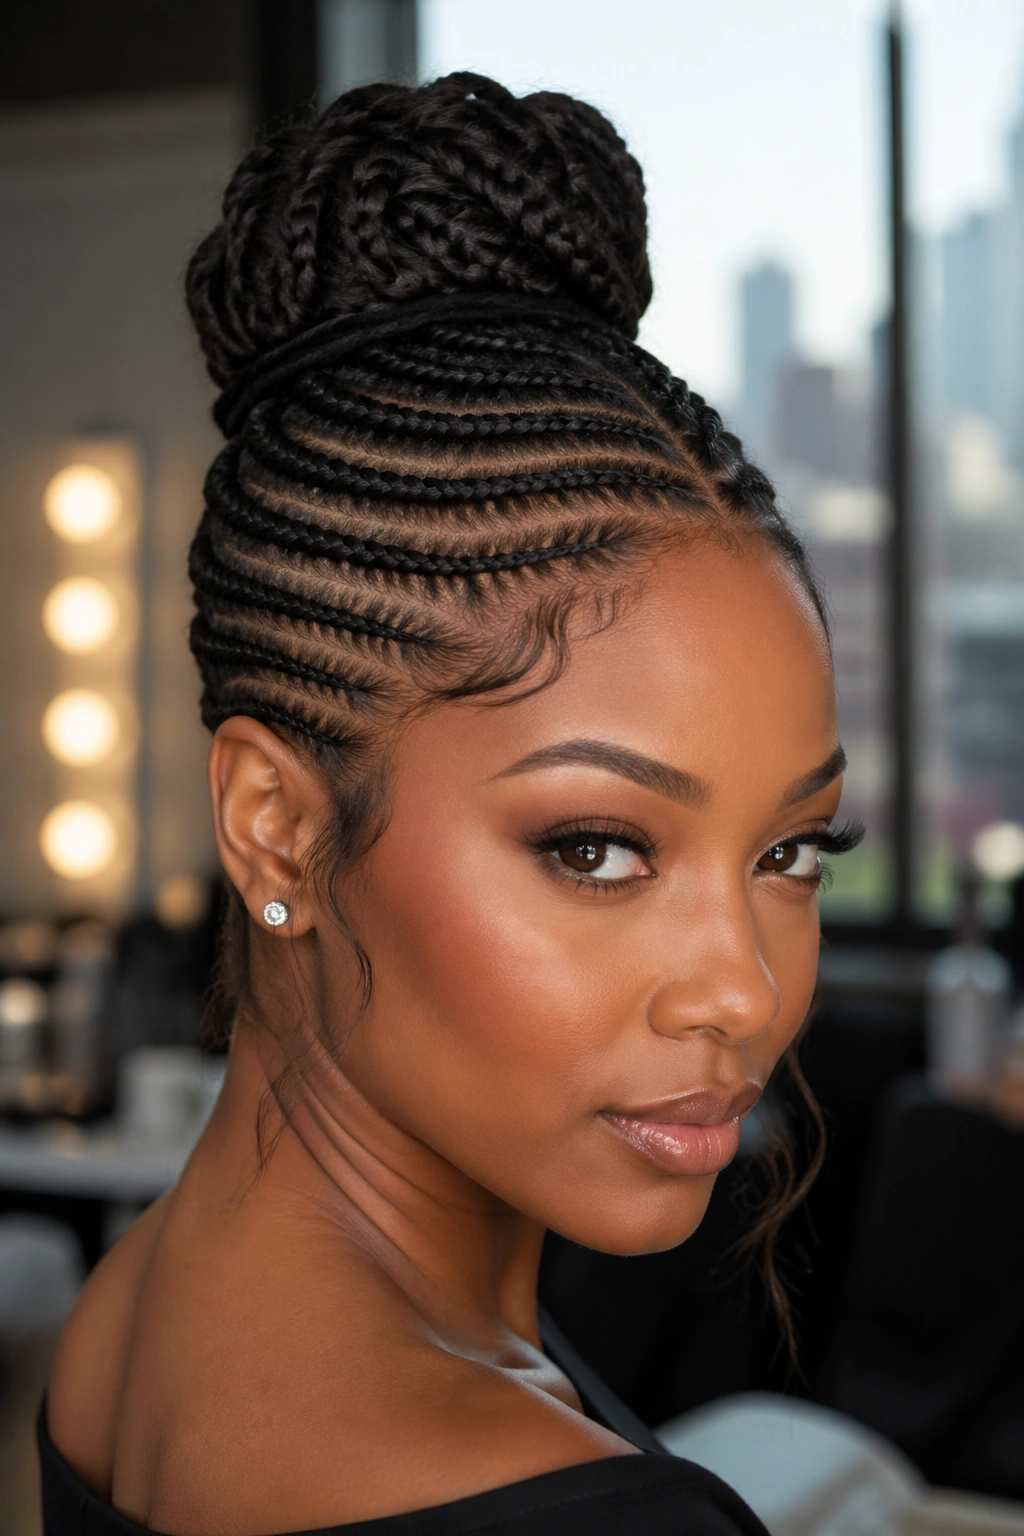
Multiple rows of cornrows stacked horizontally across the head, finishing at the crown with a mid-sized bun.
Maintenance Notes
Stacked cornrows — where cornrows are arranged in parallel horizontal rows rather than vertical straight-backs — fuzz faster at the intersection points between rows. A weekly edge-gel touch-up at those intersections keeps the geometry visible.
The crown placement of the bun works best with this style because the horizontal cornrow flow leads the eye upward naturally.
Stacked cornrows are visually dense. Pair with minimalist jewelry — small studs, a thin necklace — to avoid overcrowding the look.
Day-to-Day Maintenance
The first 24 hours are setting time for the cornrow base. Don’t touch the bun excessively during that window. The base needs to settle into place.
Wrap the bun loosely in a satin scarf overnight. A bonnet can be worn over a smaller bun but won’t fit large bun formats. In those cases, a wrapped scarf secured with a silk tie works.
Edge touch-ups every 3-4 days keep the hairline clean. Use an old toothbrush with a dollop of edge gel — better control than fingers.
Avoid wetting the bun. Water softens the structure and makes the bun re-settle into a messier form than you originally styled. If the bun absolutely must be re-styled, do it fully dry.
Scalp Care Under the Bun
The scalp under goddess bun styles can get tender if the bun is too heavy or installed too tight. Warning signs: tenderness at the crown where the bun sits, a pulling sensation at the temples, small bumps developing along the cornrow path.
If you feel tension forming, loosen the bun. Take out the form, let the hair rest, rebuild the bun looser. Your hairline is not worth enduring pain for.
Scalp oil: apply 3-4 drops of jojoba or argan along the cornrow parts every other day. The parts are where air exposure is greatest and where scalp dryness starts.
When to Take It Down
Goddess bun styles have a shorter wear window than standard cornrows because the bun creates continuous tension at the gather point. Two to three weeks is the reasonable limit.
Signs it’s time:
- Bun loosening daily despite rewrapping
- Cornrow frizz at the front and temples
- Tenderness in the crown area
- Edges lifting more than typical mid-install
Don’t extend past three weeks hoping the bun will hold. The structural integrity of the bun is typically spent by then.
Takedown Steps

Unpin the bun first. Work from the outside in, removing bobby pins and the form.
Unwind any braids that make up the bun’s structure.
Detangle the full head with conditioner and a wide-tooth comb once everything is loose.
The bun section will have accumulated product over 2-3 weeks of wear. A clarifying shampoo for the first post-takedown wash clears the buildup.
Follow with a deep conditioner. Goddess bun styles stress the hair at the crown gather point, and a restorative deep conditioner post-takedown reduces breakage.
Picking Your Style

For beginners to cornrow buns: start with classic high or low goddess buns. They’re forgiving and teach you what you like.
For face-framing needs: face-framing cornrows with curly tendrils, or the cornrow bang variant.
For formal events: sleek goddess bun, accessorized with a fabric wrap or decorative pins.
For statement looks: jumbo goddess buns or double buns with strong parting patterns.
For shorter hair: short goddess bun on natural hair, or feed-in variants that build length artificially.
For asymmetrical preferences: side-swept goddess bun with deep side part.
Match the silhouette to the occasion. A goddess bun at the grocery store should be simpler than one at a gala. Scale the drama to the context.
Mistakes That Kill a Goddess Bun
Bun too small for the head. Small buns on broad heads look unbalanced. Match bun scale to face and head size.
Uneven tendril placement. One long tendril on one side and none on the other looks like something fell out. Balance tendrils symmetrically unless the style is deliberately asymmetrical.
Over-gelled edges. A goddess bun relies on soft-hard contrast. Over-gelled edges kill the softness.
Elastic ties used to secure the bun. They dent, they show, they slide. Use bobby pins instead.
Re-wetting the bun mid-wear. Creates frizz and often permanent loss of original shape.
Pulling the cornrows too tight at install. Headaches start day one and don’t stop.
Goddess cornrow buns sit at the intersection of structured and soft — cornrow precision with bun romance. Worth the patience of a careful install, worth the maintenance of the wear period, worth every styling occasion they pull off. From coffee runs to altar vows, the silhouette delivers.