



Zig zag cornrows on natural hair are where geometry meets tradition. Instead of running in straight parallel lines, the parts between cornrows zigzag across the scalp in sharp angular paths — chevrons, lightning bolts, mountain peaks, switchback patterns — turning what could be a plain braid install into something architectural. On natural hair specifically, the zigzag technique works because tightly coiled textures hold the angular parts beautifully. The hair doesn’t slip back into a smooth straight position the way relaxed hair sometimes does, so the angles stay sharp for the full length of the install.
The style has roots in West African braiding traditions, where geometric parting patterns carried specific meanings about age, status, and tribe. The visual language survived migrations across centuries and now reads as both modern art and ancient heritage. Worn well, zig zag cornrows make the scalp itself a focal point — the negative space between the braids becomes part of the design, not just a separator.
Why Natural Hair Holds Zig Zag Patterns Best
Natural hair textures — 4A, 4B, 4C — grip the scalp differently than relaxed or chemically treated hair. The coiled cuticle catches at the parts and helps the angular shapes stay distinct. On relaxed hair, zigzag parts sometimes look softer, less defined, because the hair smooths back over the parting line.
Coily hair also pairs visually with sharp angles in a way silky hair doesn’t. The contrast between the geometric scalp work and the texture of the cornrows themselves gives the install dimension. Both elements heighten each other.
The Anatomy of a Good Zigzag Part
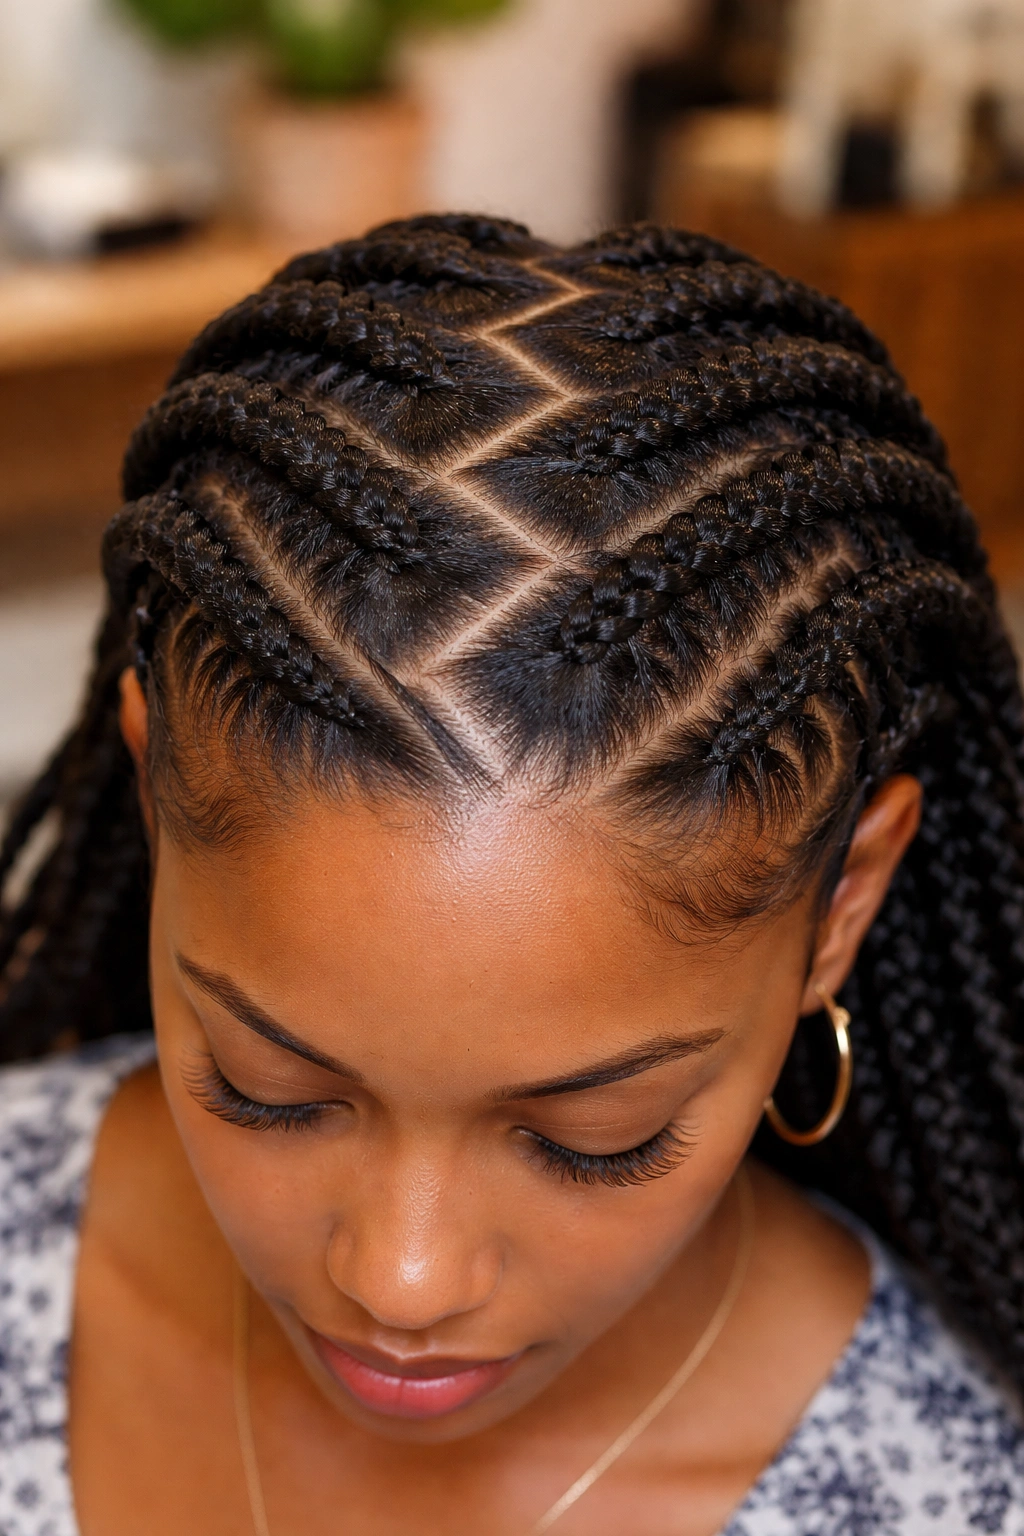
Three things make a zigzag part work.
- Sharp angles: Each corner should be a clean point, not a soft curve. Soft curves are wave parts, a different style.
- Consistent spacing: Each segment between corners should be roughly the same length. Wildly varied segment lengths read sloppy.
- Equal mirroring: If the zigzag has 5 corners on one side, the corresponding zigzag on the other side should match.
A zigzag part that lacks any of those reads off, even when the viewer can’t articulate why.
Tools That Make Zig Zag Cornrows Possible
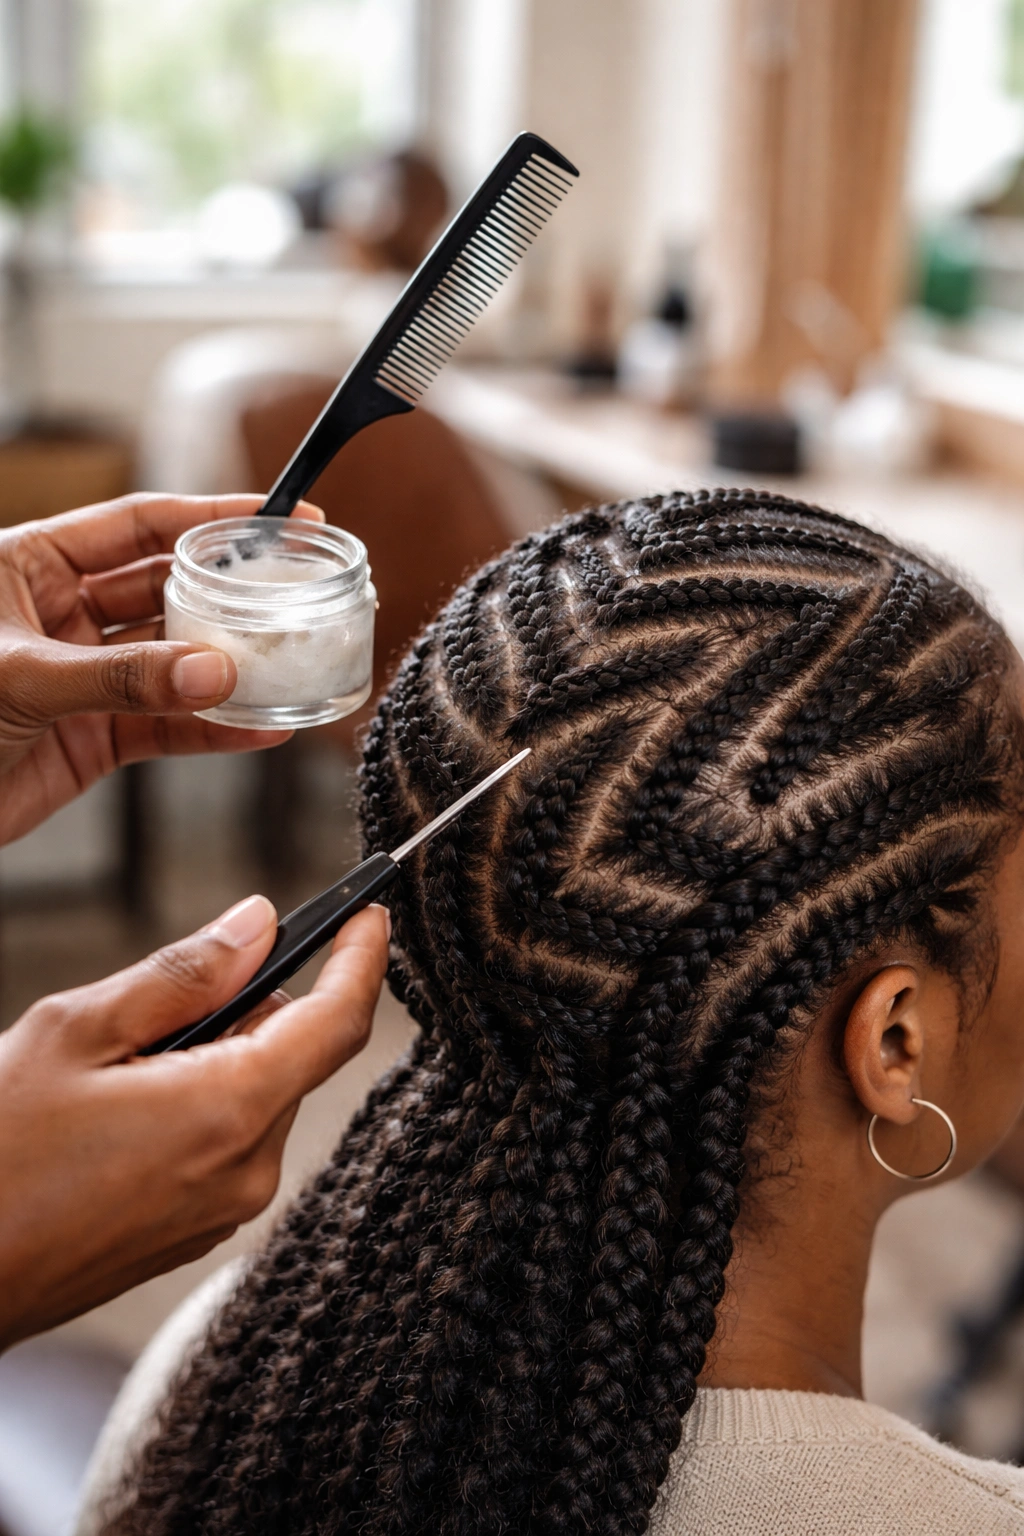
- Rat-tail comb with a fine metal tip — essential for sharp cornering.
- Pencil-tip applicator bottle with edge gel for tracing parts.
- Small mirror so the braider can check their work mid-section.
- Edge gel that holds without flaking.
- Pre-stretched natural hair (no extensions needed for most zigzag installs).
- Optional: kanekalon for length, but many zigzag styles look best with natural-only braiding.
Tip: Trace each zigzag with the gel-loaded applicator BEFORE braiding. Once the lines are inked, the braider has a guide that doesn’t shift as they work.
Prep for Natural Hair Before Zigzag Cornrows
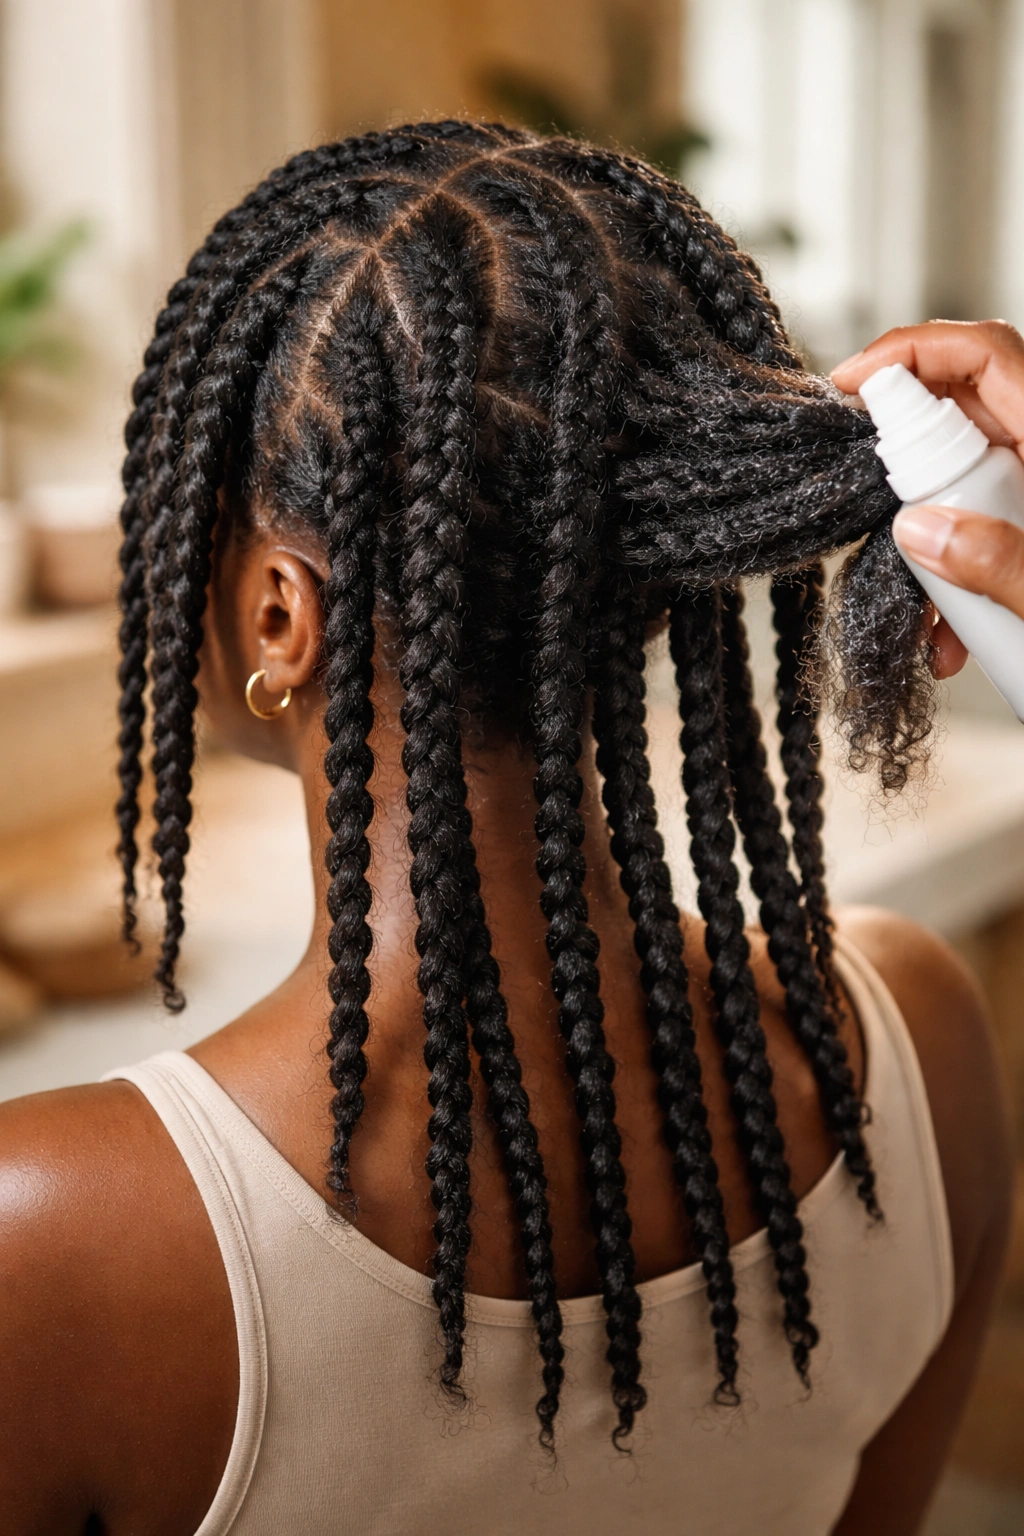
Clean, stretched, moisturized hair is the foundation. Skipping any of those creates problems within days.
- Wash with a clarifying shampoo to remove buildup.
- Deep condition with heat for 30+ minutes.
- Stretch the hair via two-strand twists overnight, or banding, or a low-heat blowout.
- Apply a leave-in conditioner the morning of.
- Skip heavy butters and creams that build up under tight braids.
Stretched hair is non-negotiable for zigzag work. Shrunken hair can’t show the precision of the parts.
How Long Zig Zag Cornrows Last
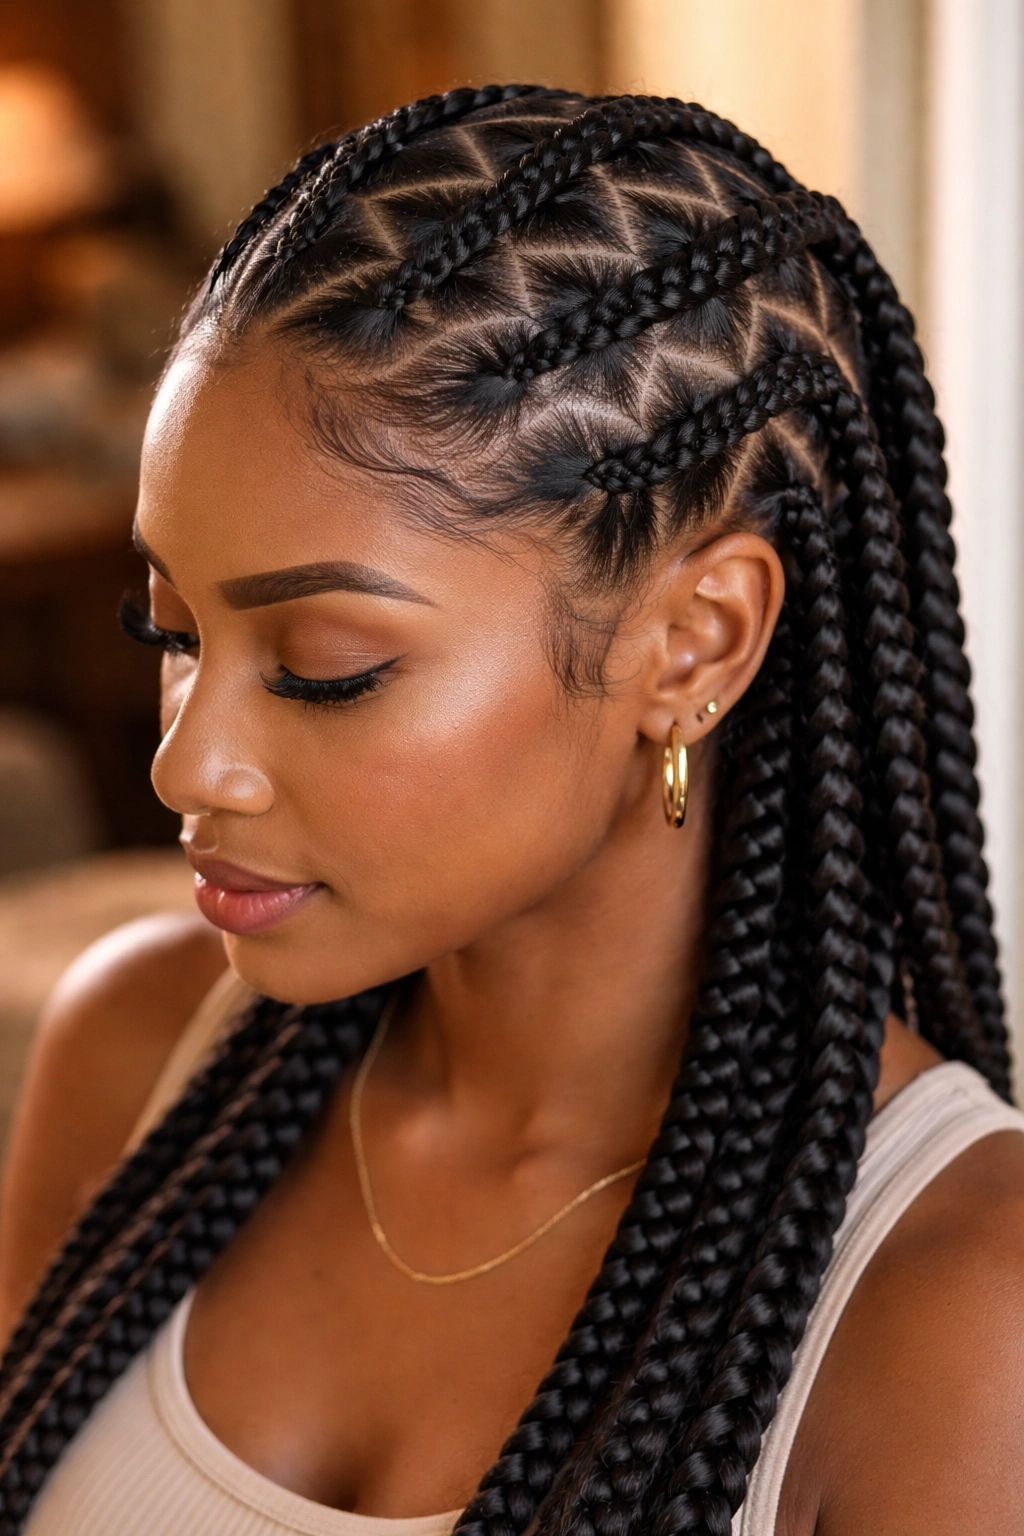
One to three weeks. The zigzag specifically holds its line for the full lifespan of the install if the parts were drawn cleanly. Curved parts and tribal parts sometimes fuzz before the cornrows themselves loosen. Zigzag parts, because of their sharp angles, tend to stay visible longer than other tribal patterns.
When to Reconsider Zig Zag
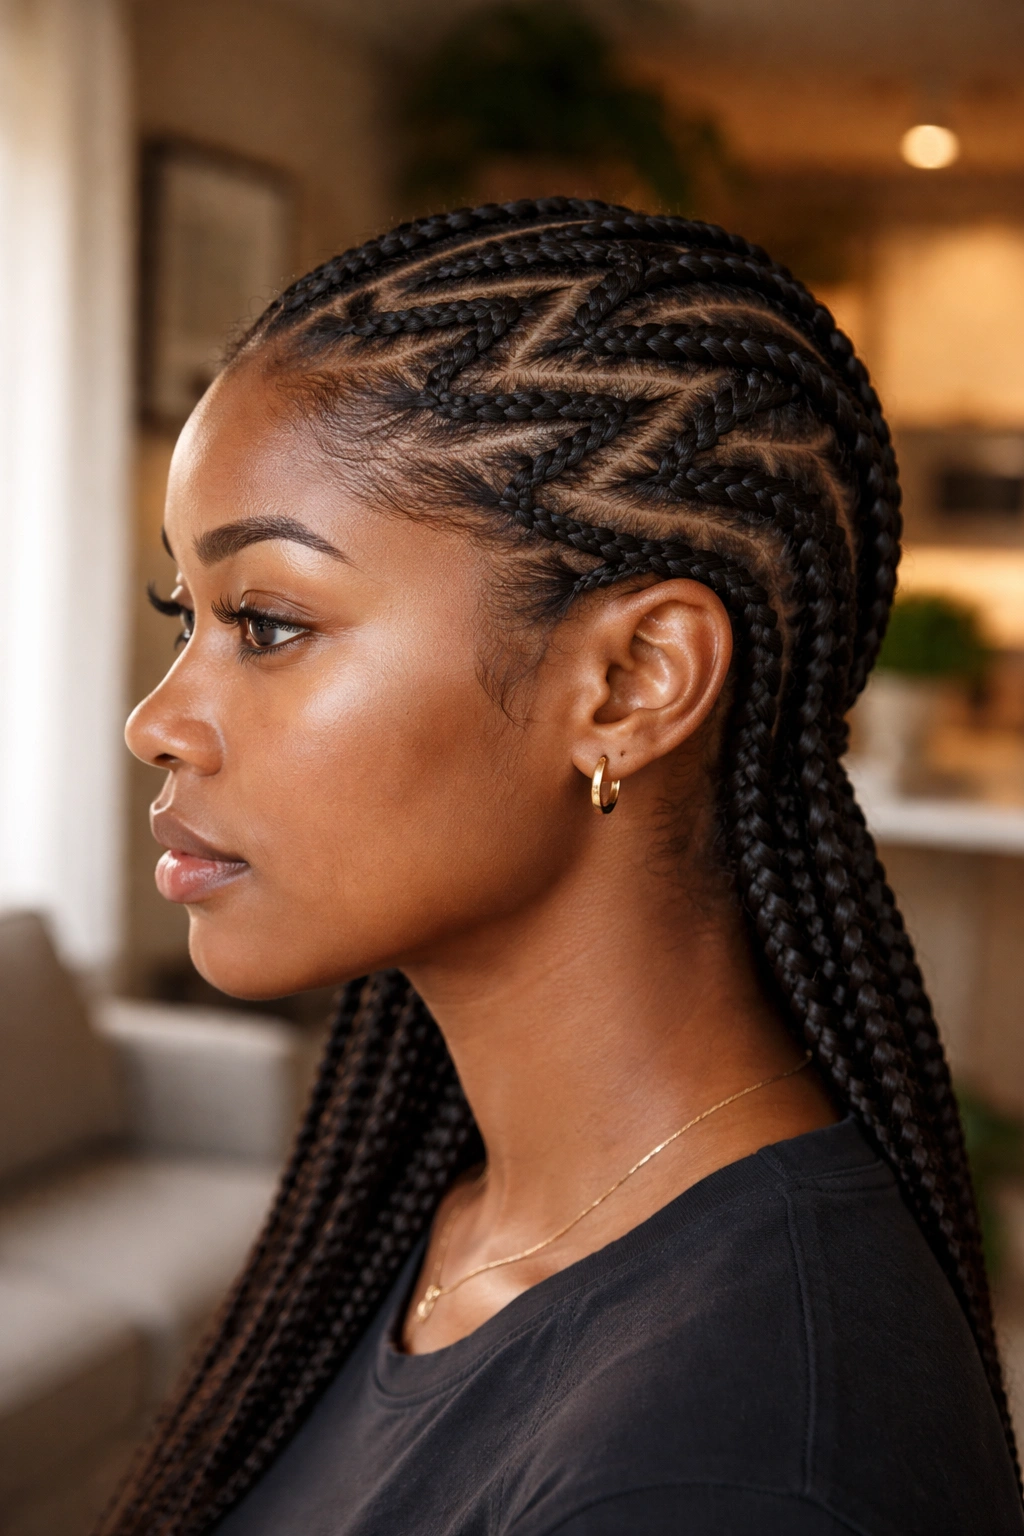
Zigzag cornrows aren’t the right choice if your scalp is sensitive or your hairline is recovering. The angular parts require precise pulling that can feel sharper than smooth straight parts. Wait until the scalp is healthy.
Also reconsider if you want a low-maintenance install. Zigzag cornrows photograph well but show fuzz and lift more obviously than less detailed styles. The crisp lines reward effort and punish neglect.
1. Single Zigzag Crown Part
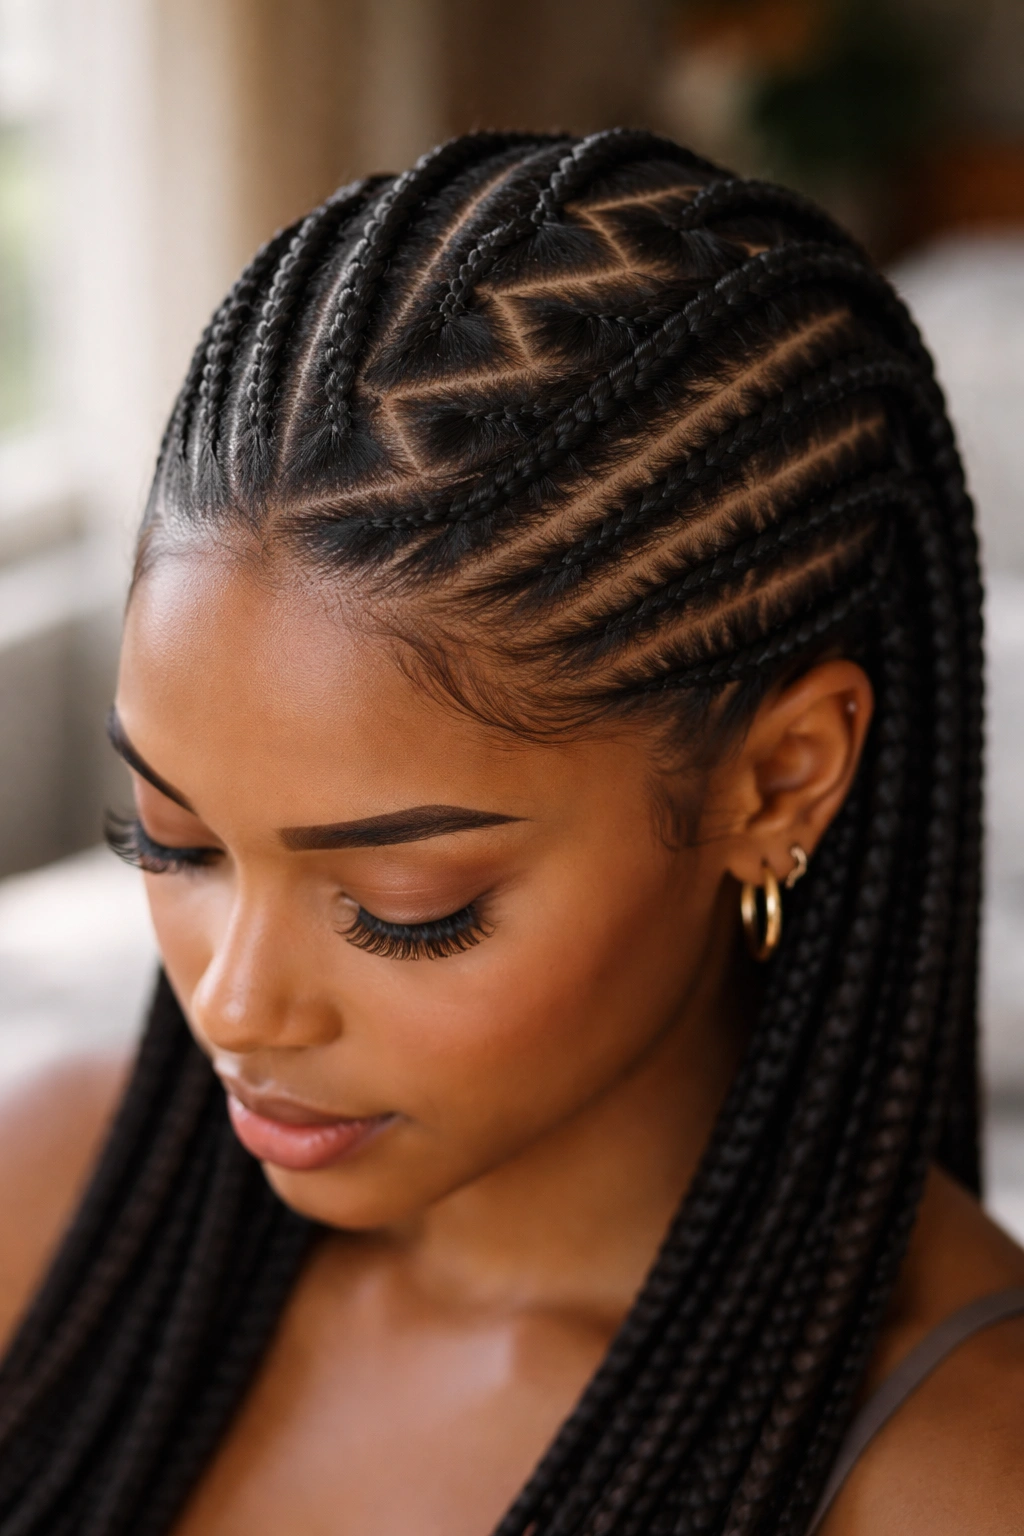
One bold zigzag runs across the crown of the head, with regular straight cornrows on either side. The single zigzag becomes the centerpiece of the whole install.
Why It Works
A single zigzag draws the eye without overwhelming the design. It’s a one-feature style — clean, intentional, and easier to install than a multi-zigzag piece.
- Install time: 2-3 hours.
- Lasts: 1-2 weeks.
- Best for: weekday wear, casual events, day-to-day protective styling.
Tip: Make the zigzag corners sharp and the segments slightly longer than you’d think. Tight little zigzags read busy. Big bold ones read confident.
2. Multi-Zigzag Front With Straight Back
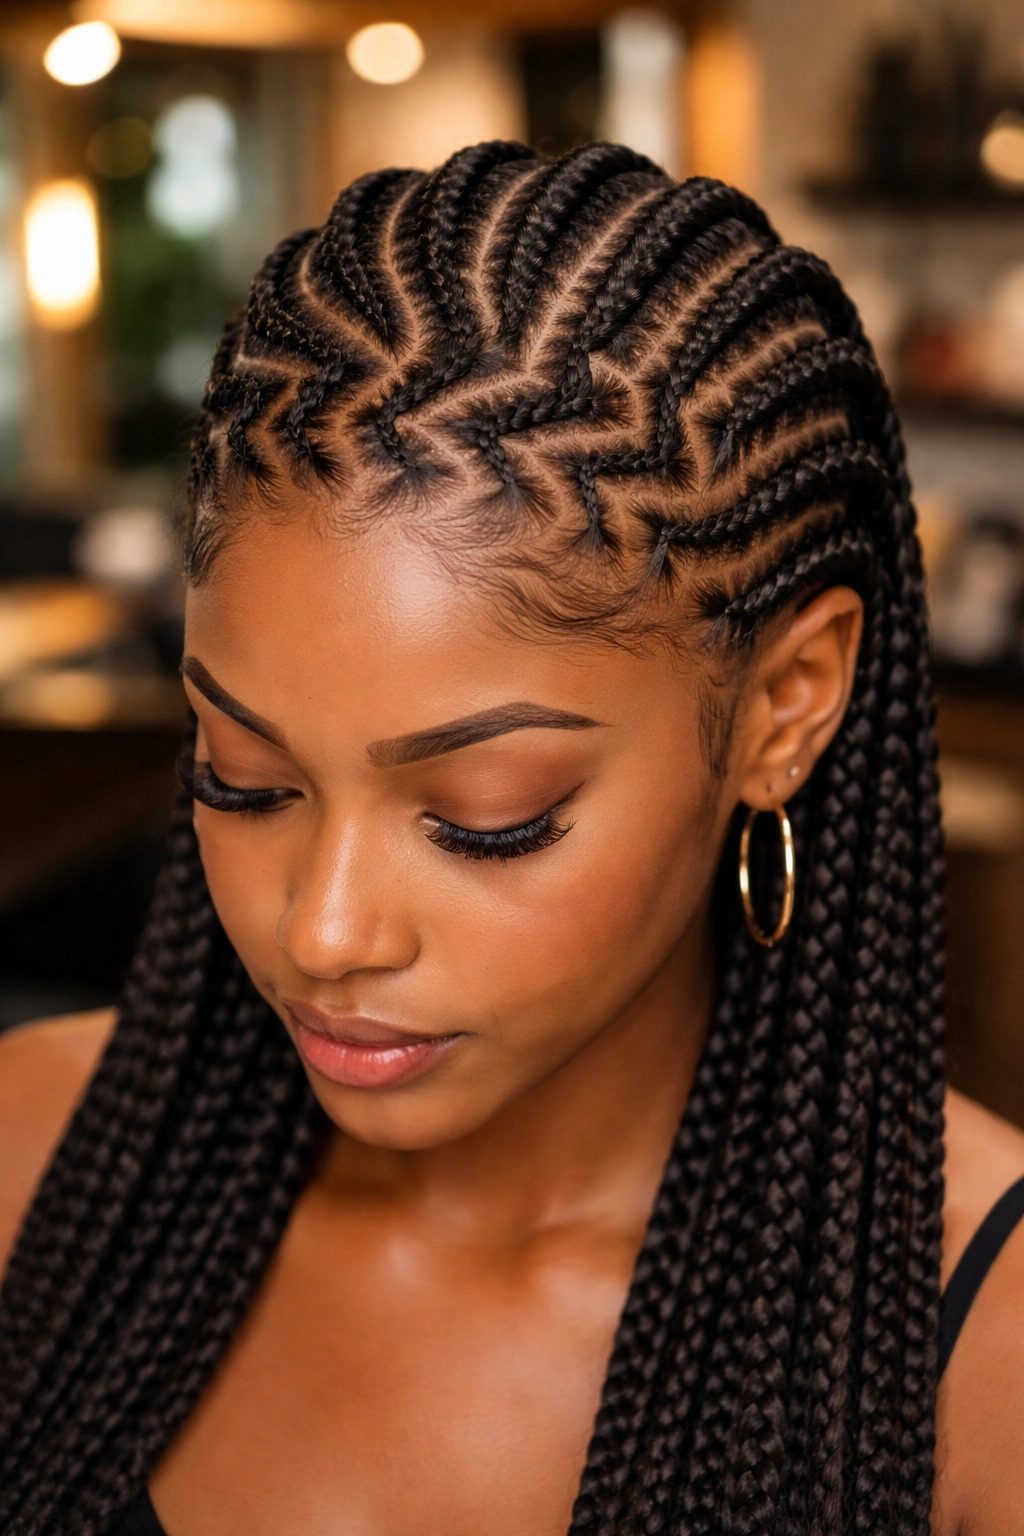
The front of the head — from hairline to crown — gets multiple zigzag parts. Behind the crown, the parts straighten into standard cornrows. The transition reads as front-of-house drama and back-of-house simplicity.
This style suits women who want their face frame to be the focal point. The zigzags work with your features when you face people; the back is along for the ride.
3. Lightning Bolt Center Part
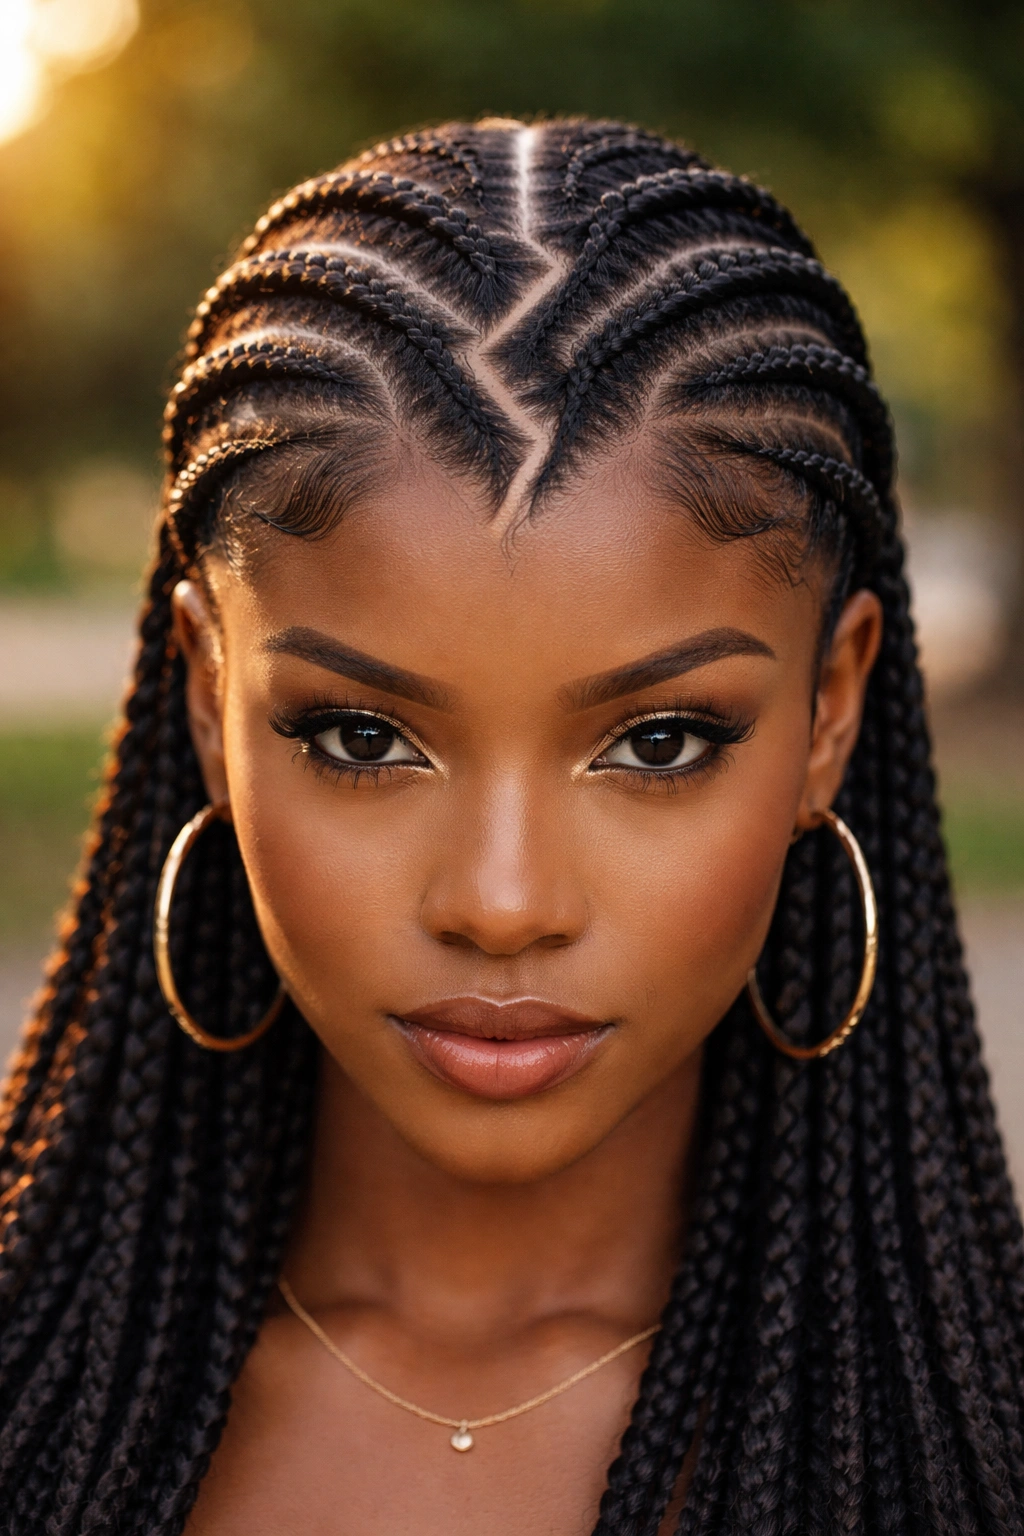
A single lightning-bolt-shaped part runs down the center of the head, splitting it into two sides. The cornrows on each side run in straight lines off the bolt.
The lightning bolt has more aggressive angles than a standard zigzag — bigger, sharper, more dramatic. Reads bold and slightly editorial.
Worn for events where you want to make an entrance. Not subtle. Not trying to be.
4. Chevron Pattern Throughout
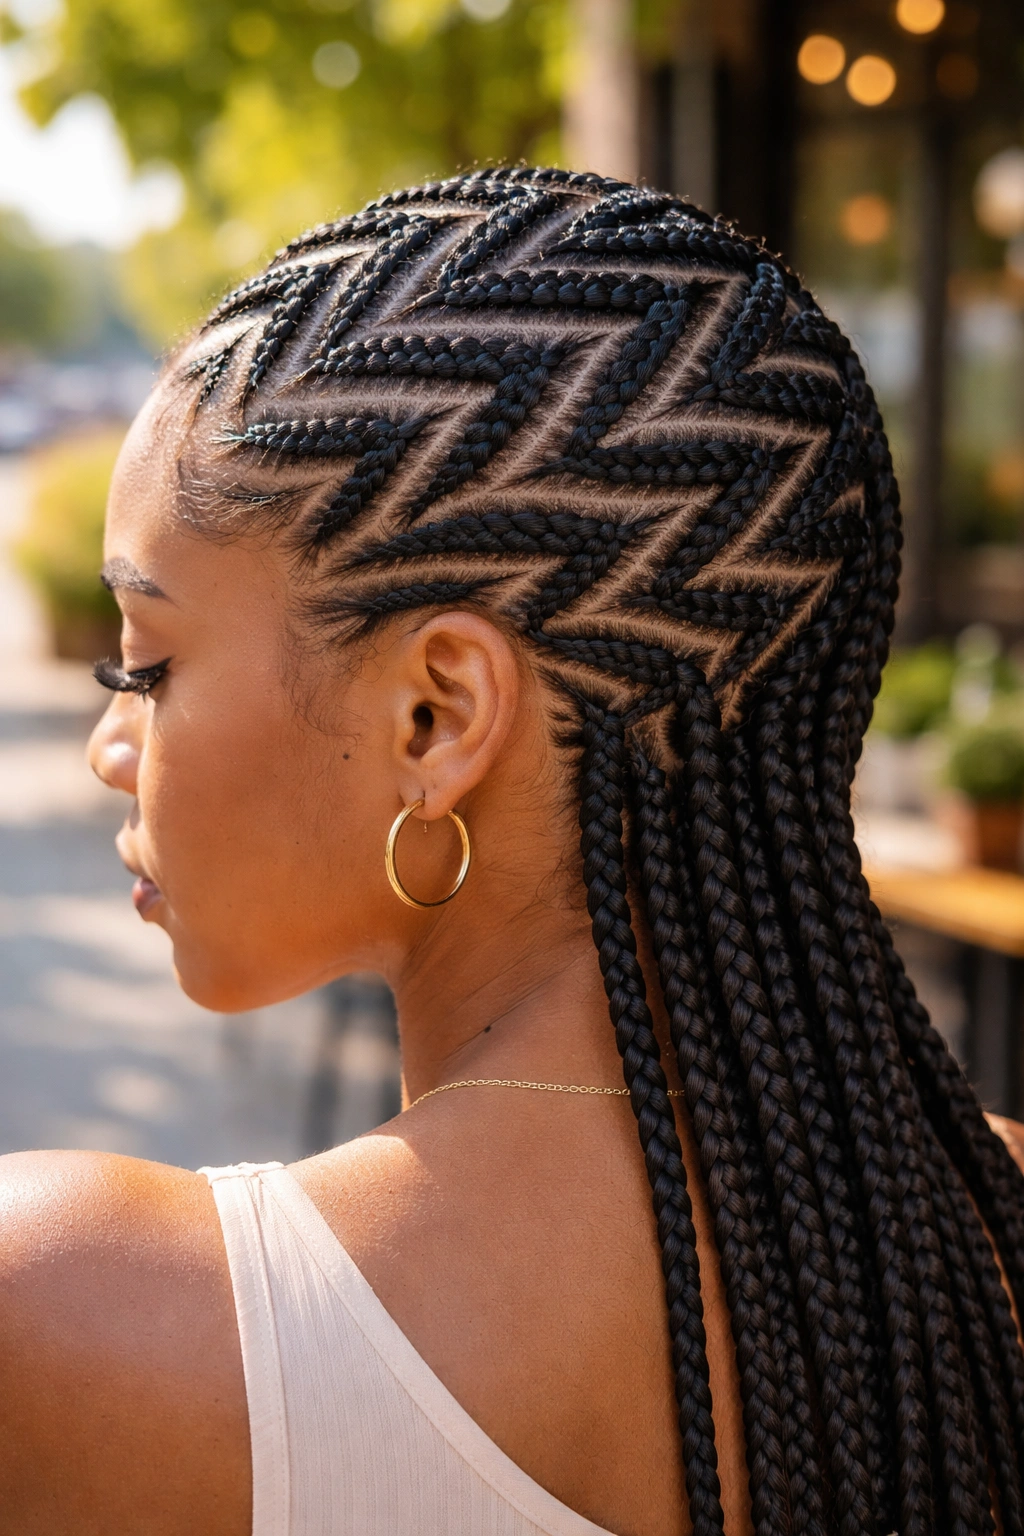
The entire head is covered in chevron-shaped parts — repeated V shapes pointing in the same direction. The chevrons stack like military insignia or fish scales.
Hard to install. Each chevron has to mirror the one above it perfectly. A skilled braider can manage 8-10 chevrons across a head; less experienced braiders should attempt fewer.
5. Switchback Mountain Pattern
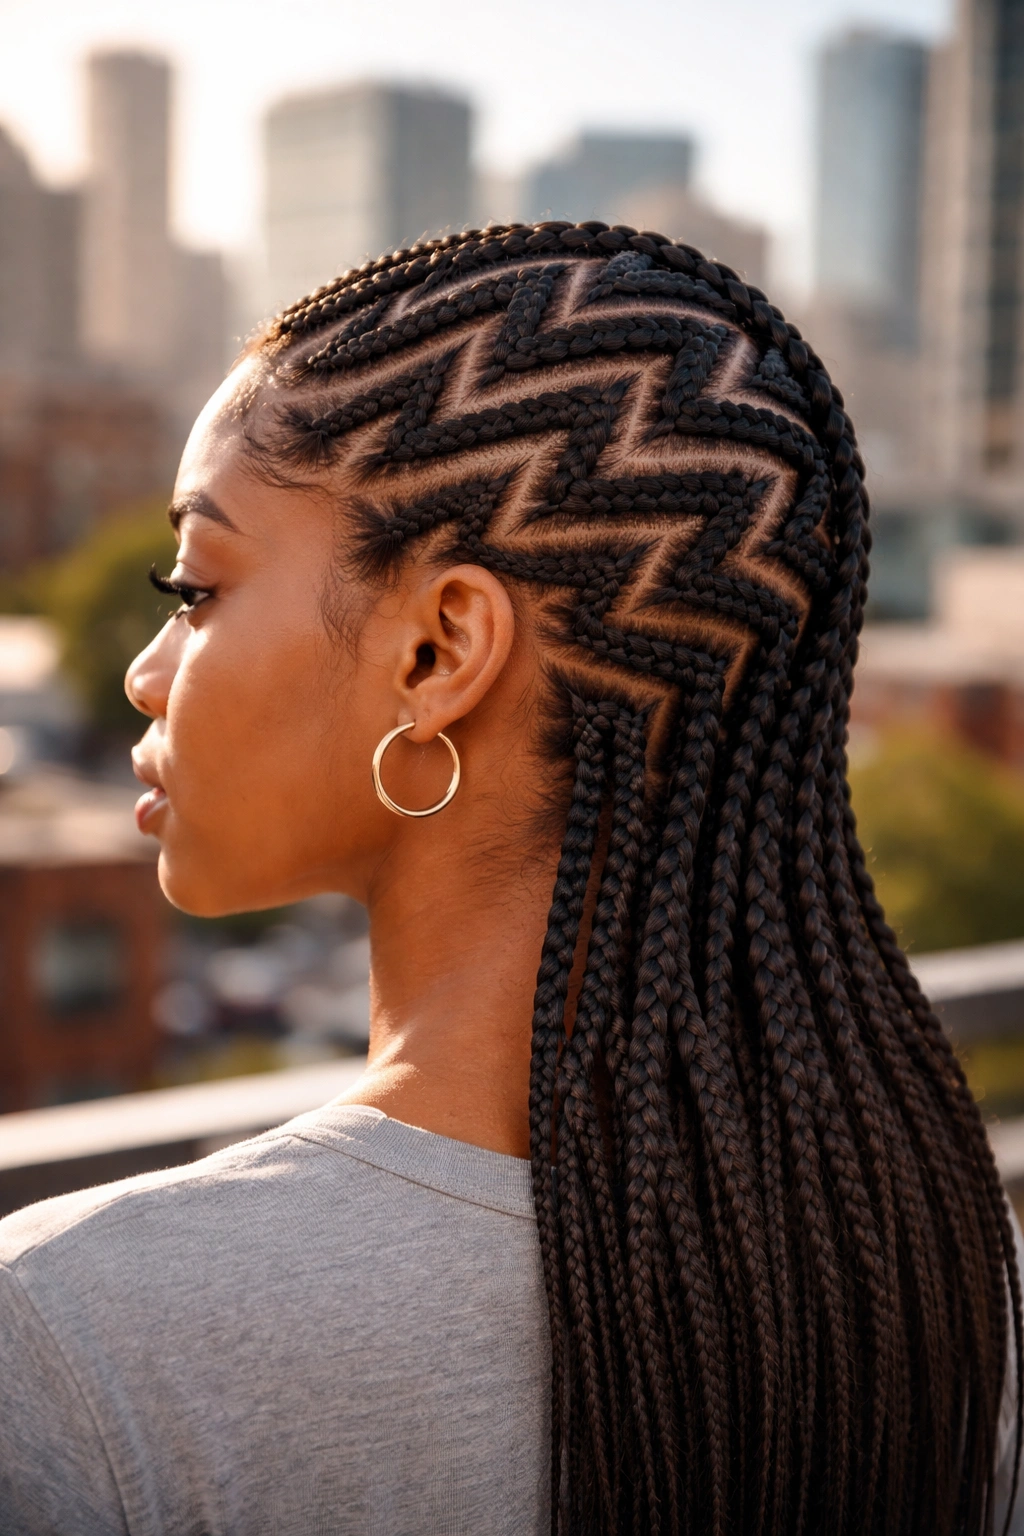
Zigzag parts that look like switchback hiking trails up a mountain — sharp turns at consistent intervals, all running roughly the same direction. The pattern flows downward from crown to nape in tight rows.
Visually intricate. Best appreciated in profile or from above.
6. Single Zigzag Down the Middle
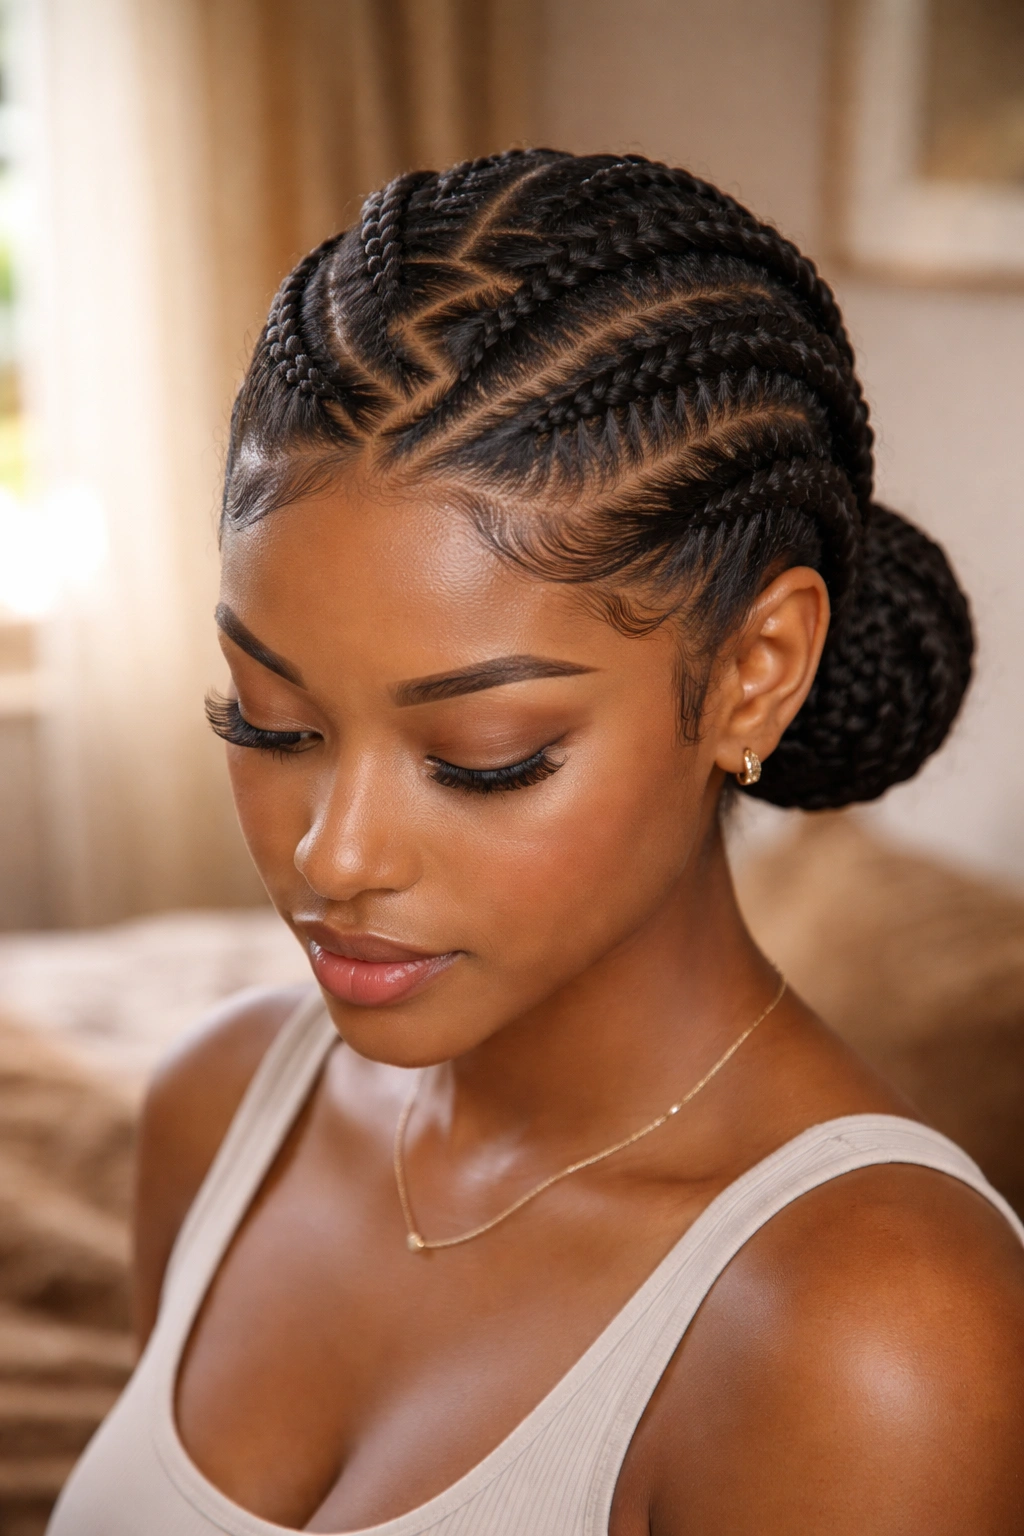
A center part that zigzags instead of running straight. The simplest variation — minimal extra install time but immediate visual difference from a standard center-part install.
How to Style It
- Mark the center axis of the head from forehead to nape.
- Trace a zigzag pattern along that axis with the gel applicator.
- Part along the trace.
- Install cornrows on each side, all running back from the zigzag.
- Finish with edges laid as desired.
Tip: A zigzag center part looks great with a low bun or low ponytail finish — the eye follows the part down the center to where the hair gathers.
7. Diagonal Zigzag Sweep
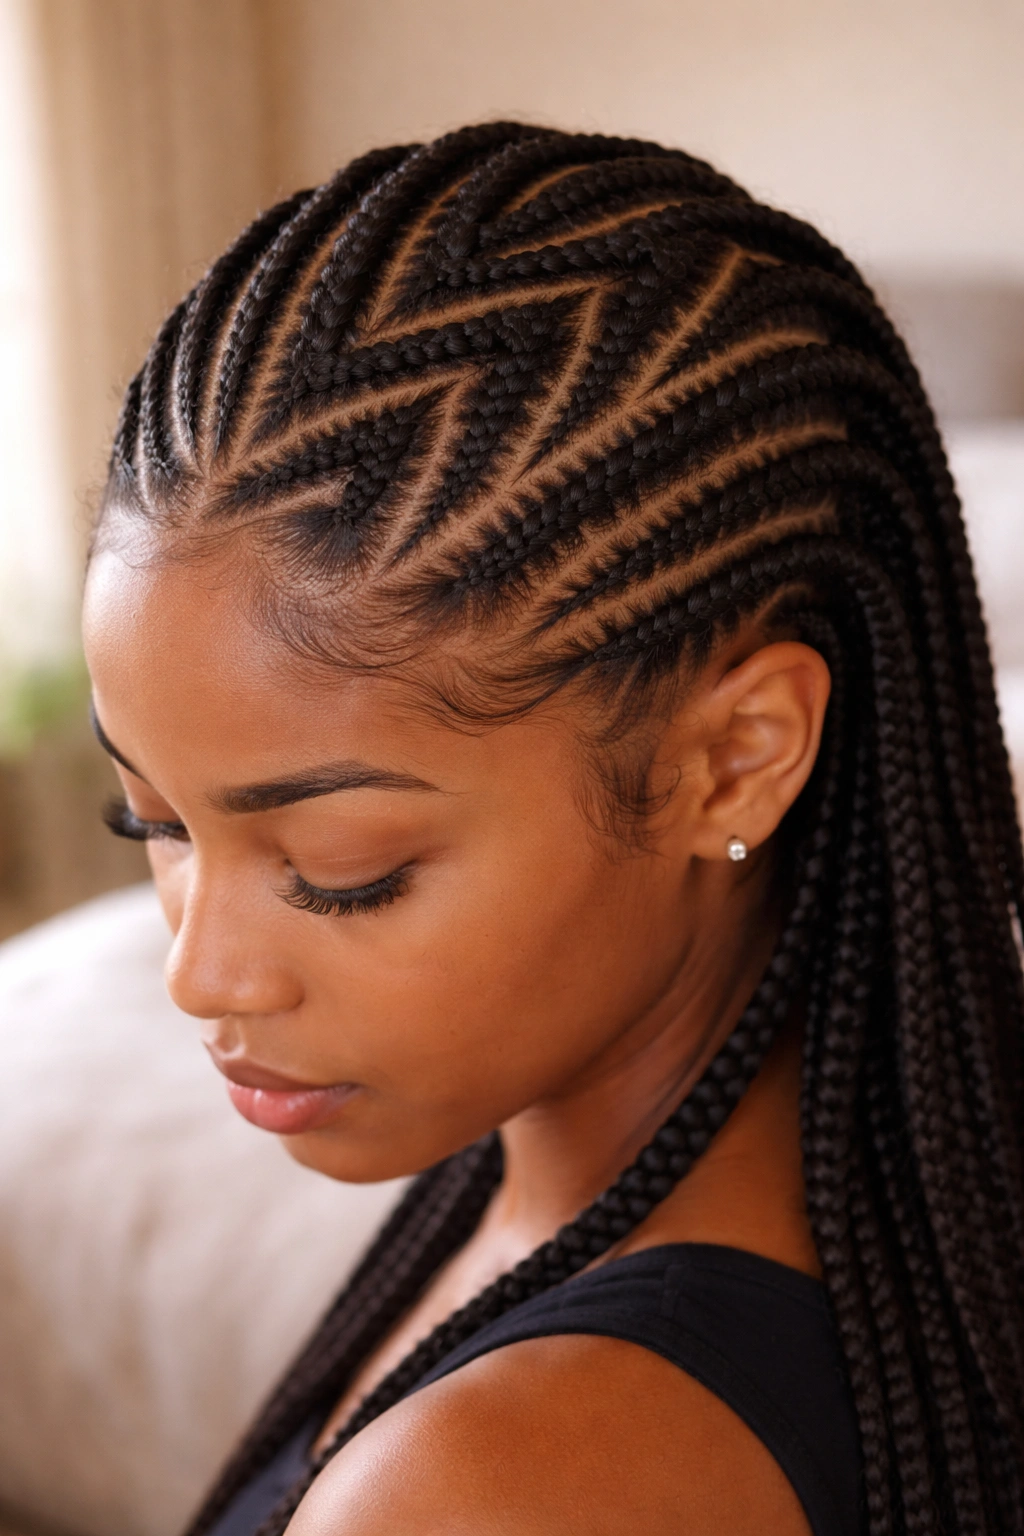
Zigzag parts that run diagonally across the head from one corner of the hairline to the opposite side of the nape. Adds asymmetry on top of the geometric pattern.
The sweep direction matters. Left-to-right sweeps flow with most face angles. Right-to-left can look reversed in photos.
8. Zigzag with Beaded Cornrows
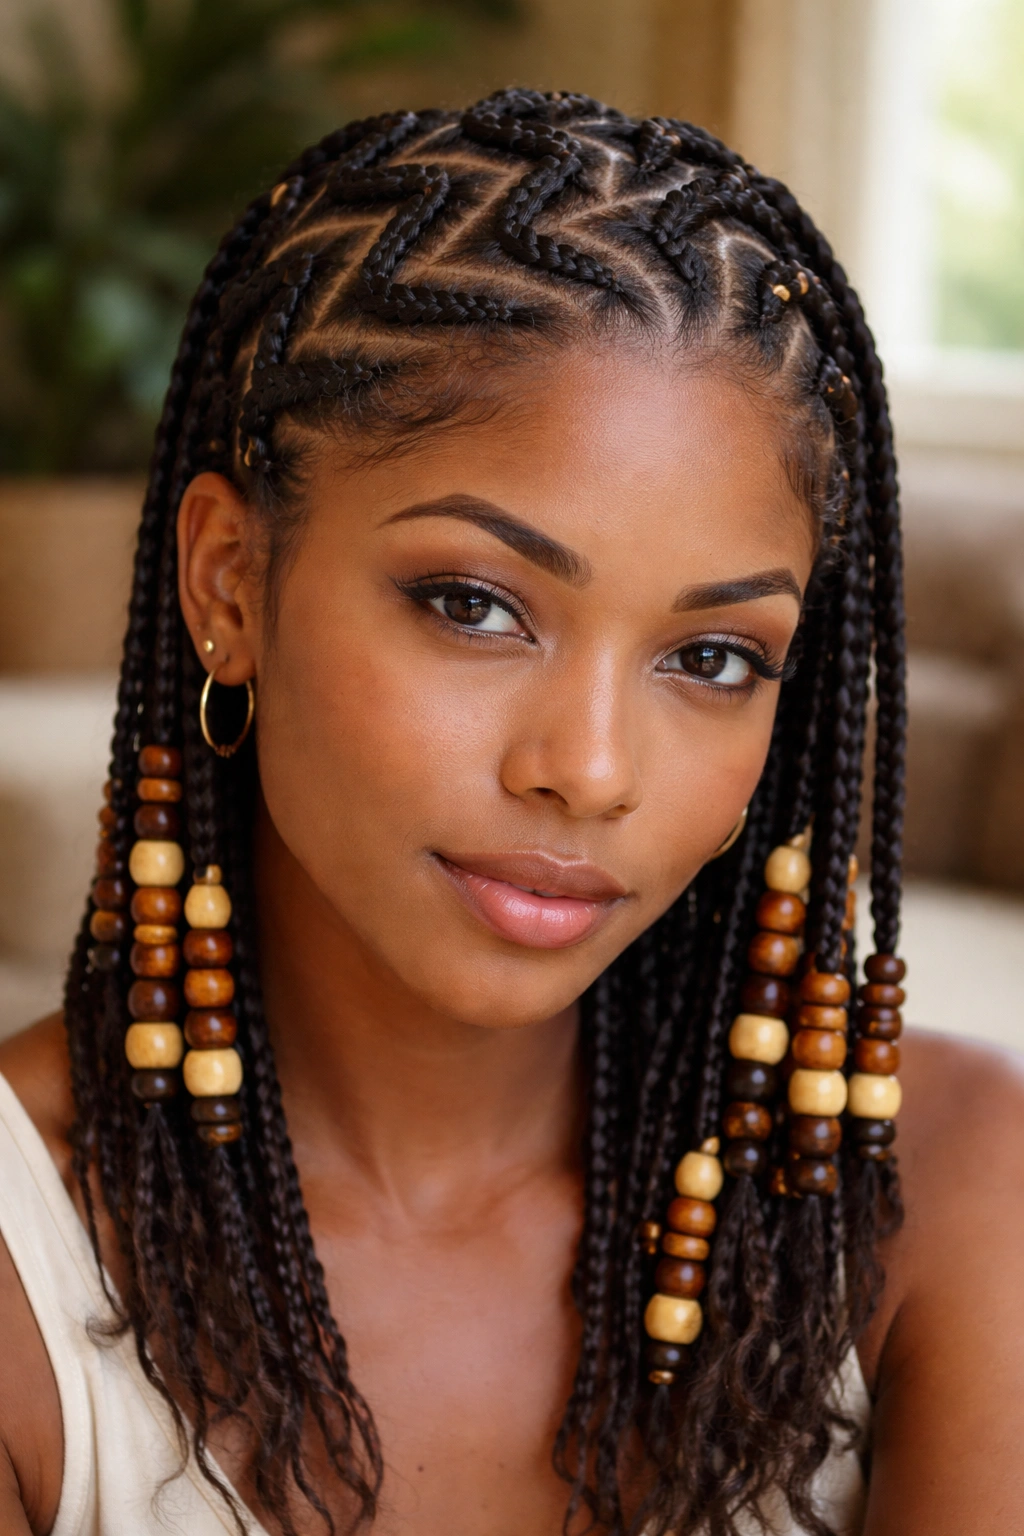
Zigzag parts with beaded cornrows in between. The beads punctuate the angles and add a percussive visual rhythm to the lines.
Stick to wood beads in earth tones. Neon plastic beads cheapen the effect of the zigzag.
Cap bead count at 4-6 per cornrow. Heavy beading on natural hair pulls the cornrow downward and disrupts the zigzag line above.
9. Reverse Zigzag (Front-to-Back Smaller)
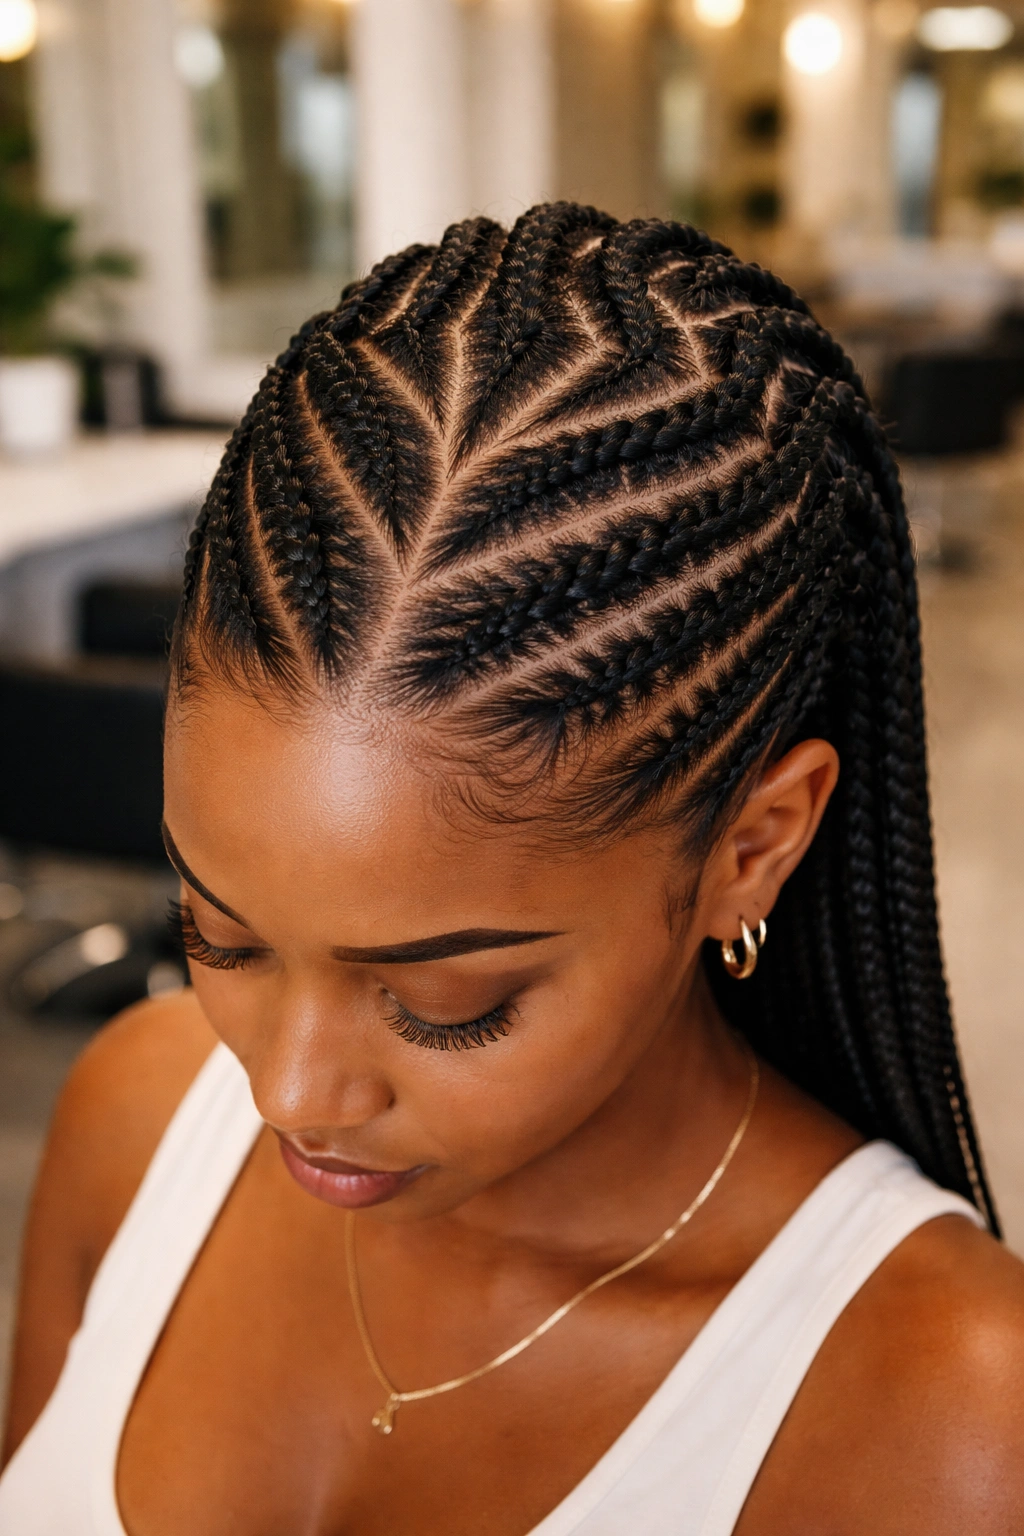
The zigzag parts start large at the front of the hairline and shrink as they progress backward. The pattern looks like it’s funneling backward into a focal point at the crown.
Unusual. Most zigzag installs keep parts the same size throughout. The graduated version reads more designed, more architectural.
10. Zigzag With Bun Finish
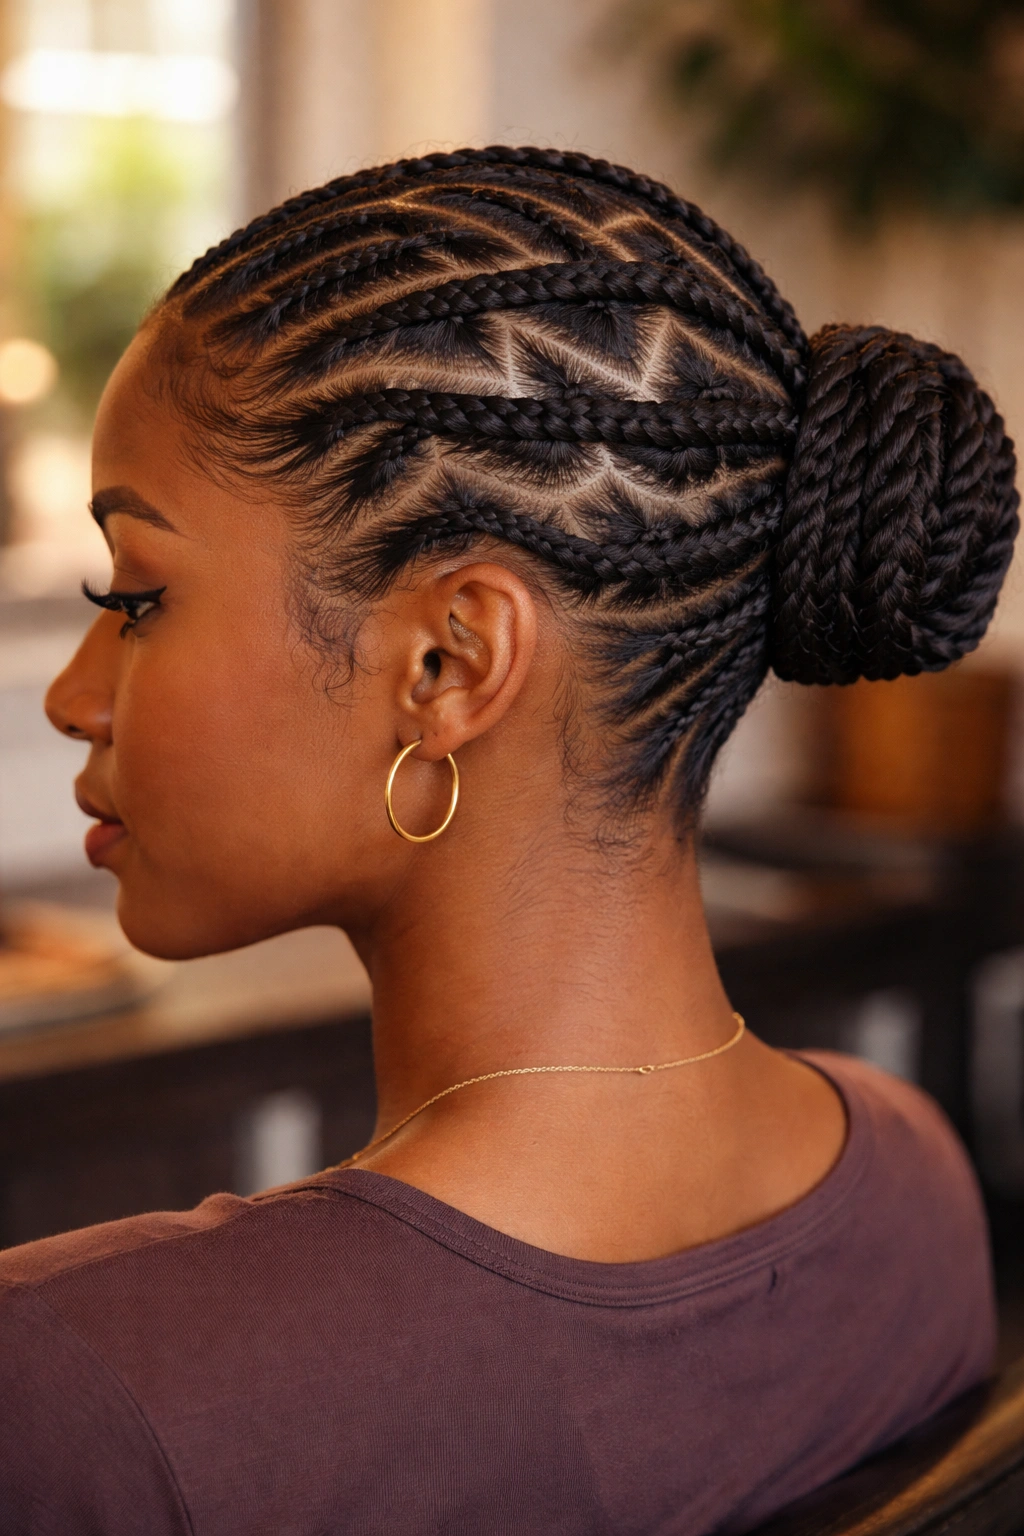
Standard zigzag parts feeding into a low or high bun at the back. The scalp work is the star; the bun is the support.
Best with 6-8 zigzag cornrows total. Too many braids dilute the angle visibility; too few leave gaps.
11. Half-Zigzag Half-Curls
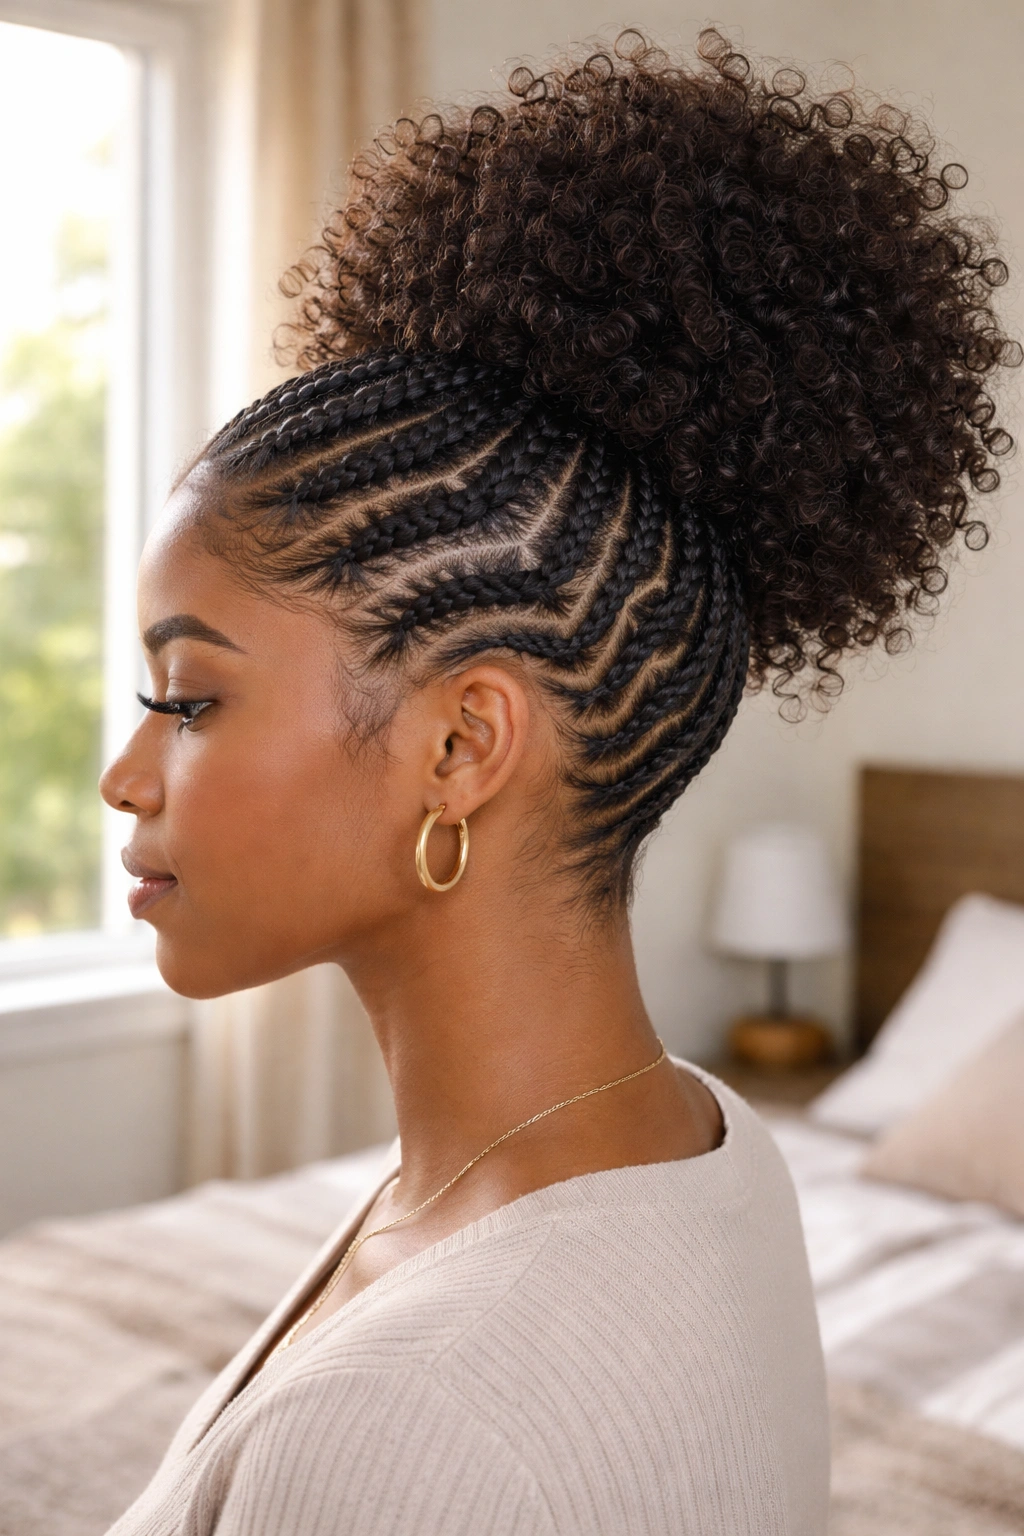
The bottom half of the head is covered in zigzag cornrows. The top half is left as natural curls, picked out into a fluffy puff. The contrast between sharp braids below and soft curls above makes a striking silhouette.
This is one of my favorite ways to wear zigzag cornrows — it lets you have the cornrowed protection without losing the natural texture you love.
12. Triangle-Shape Zigzag
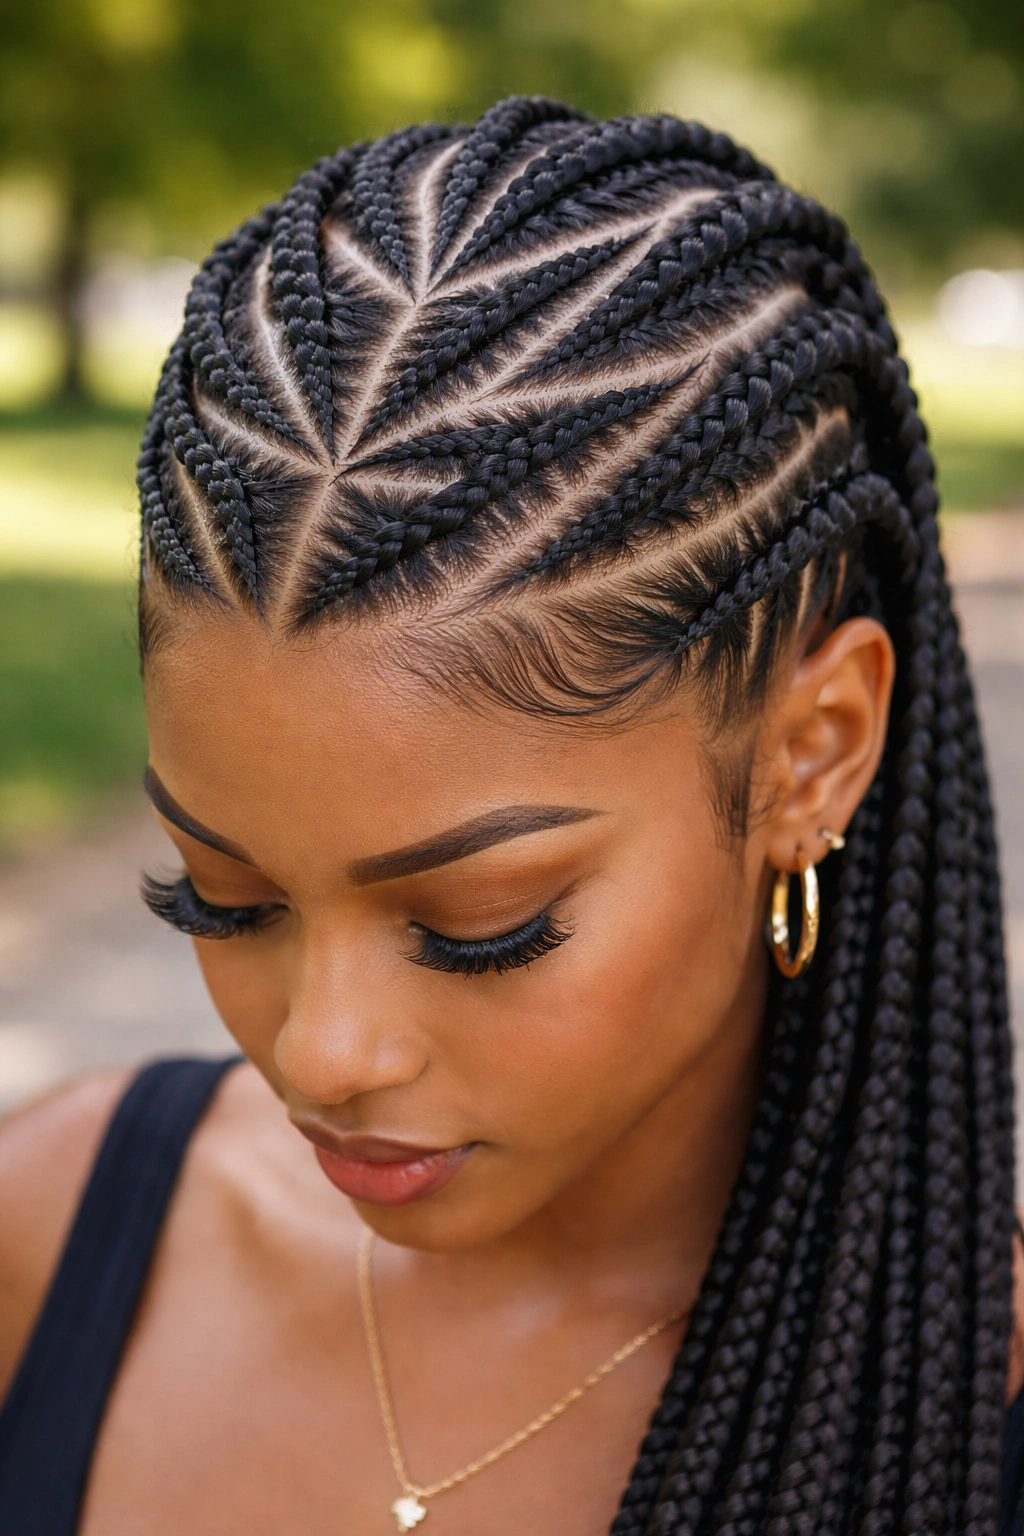
The zigzag parts form interlocking triangles across the scalp. Each triangle has straight sides; the corners create the zigzag visual.
A geometrically pure version of the zigzag style. Reads as graphic design rather than tribal pattern.
13. Asymmetric Zigzag
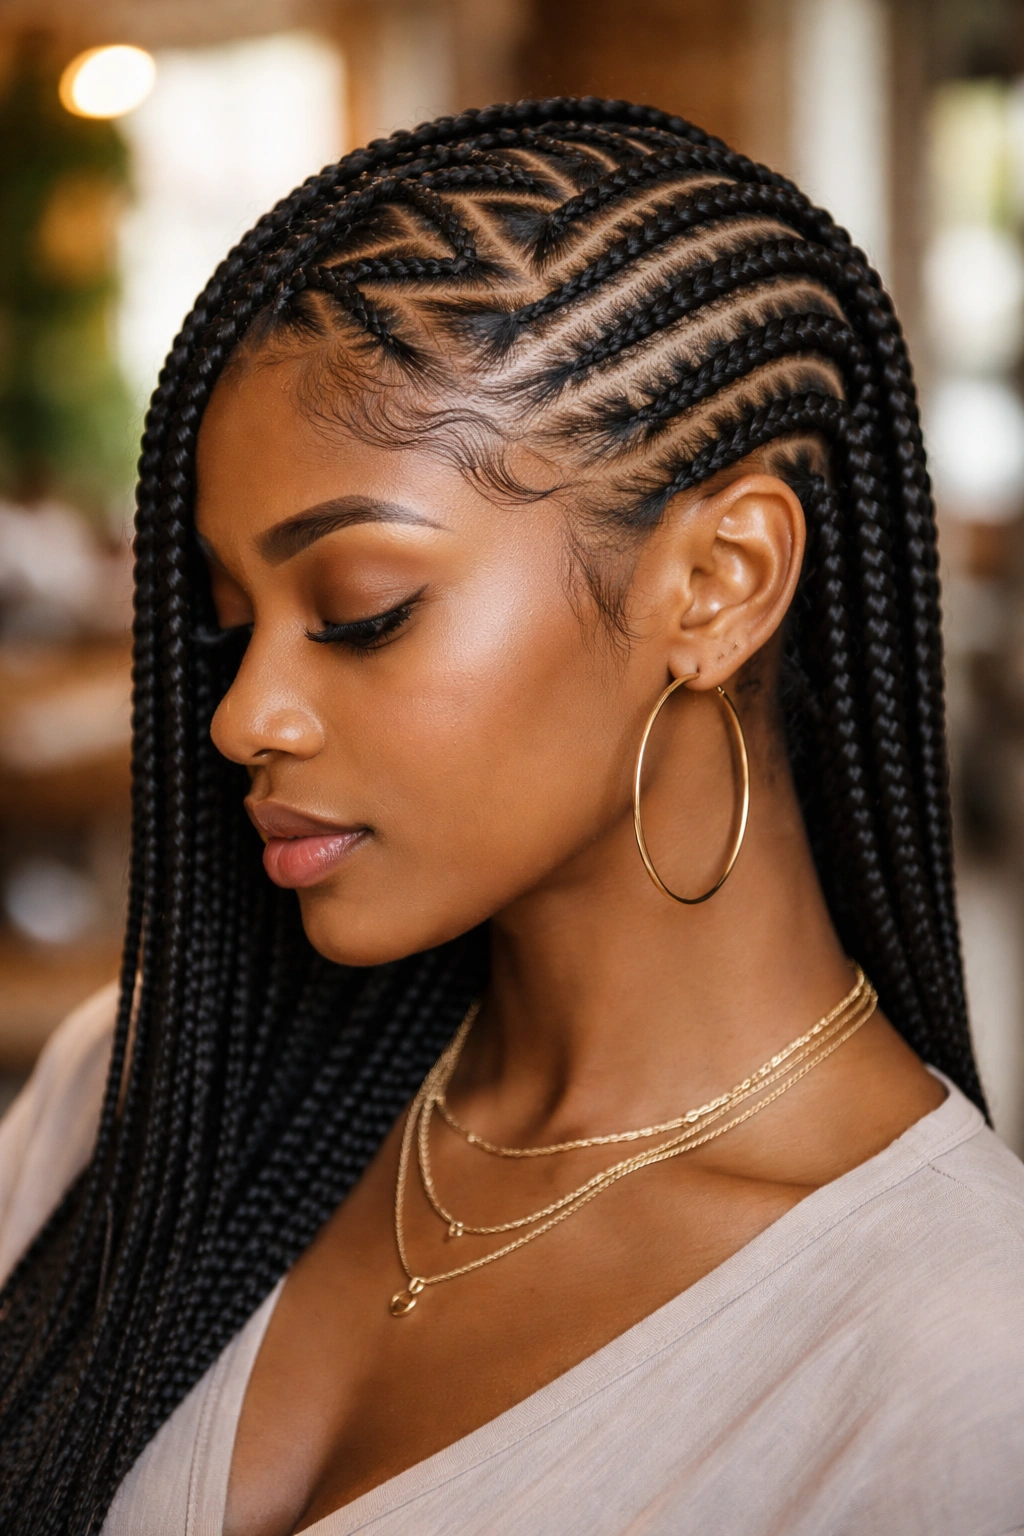
One side of the head has zigzag parts; the other side has straight parts. The contrast within a single install creates visual tension that draws the eye.
Pick the side that frames your stronger profile. The zigzag side becomes the photographed side.
14. Crown-Only Zigzag
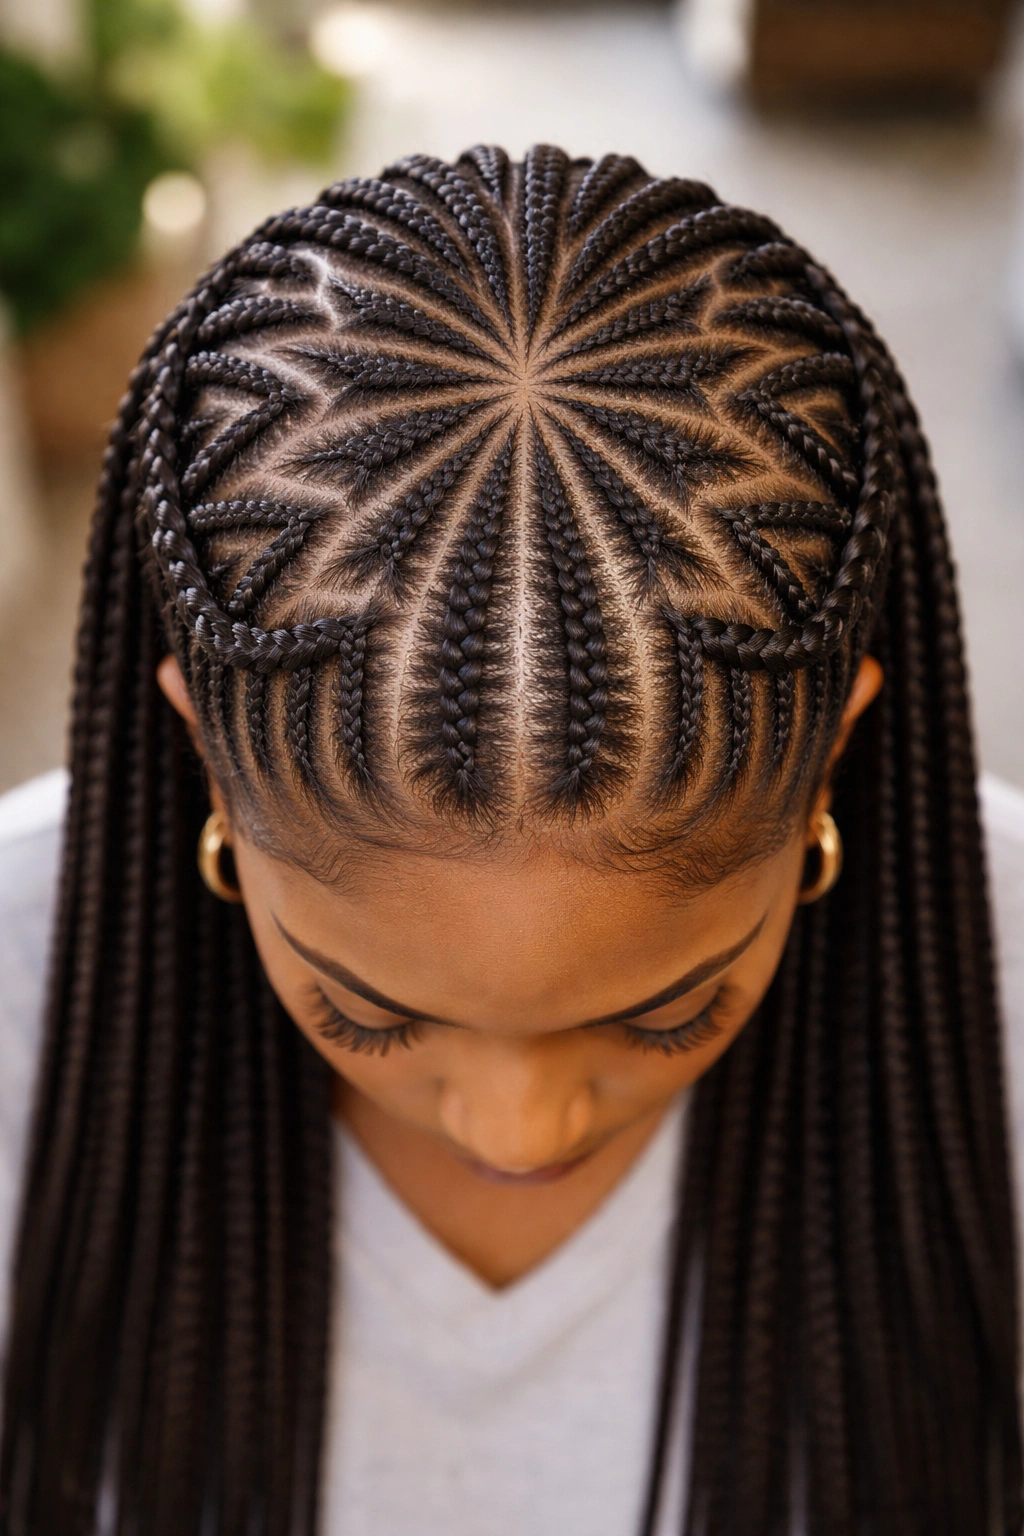
The crown of the head gets a halo of zigzag parts that wrap around the perimeter. The center of the crown and the rest of the head are styled in straight cornrows or freehand.
What Makes It Different
Most zigzag installs spread the pattern across the whole head. The crown-only version concentrates it as a circular feature, almost like a tiara woven into the scalp.
- Install time: 2-3 hours.
- Lasts: 1-2 weeks.
- Best for: events where you want a halo-style focal point.
Tip: This style photographs especially well from above. Capture overhead shots to show the pattern fully.
15. Zigzag Side Part Only
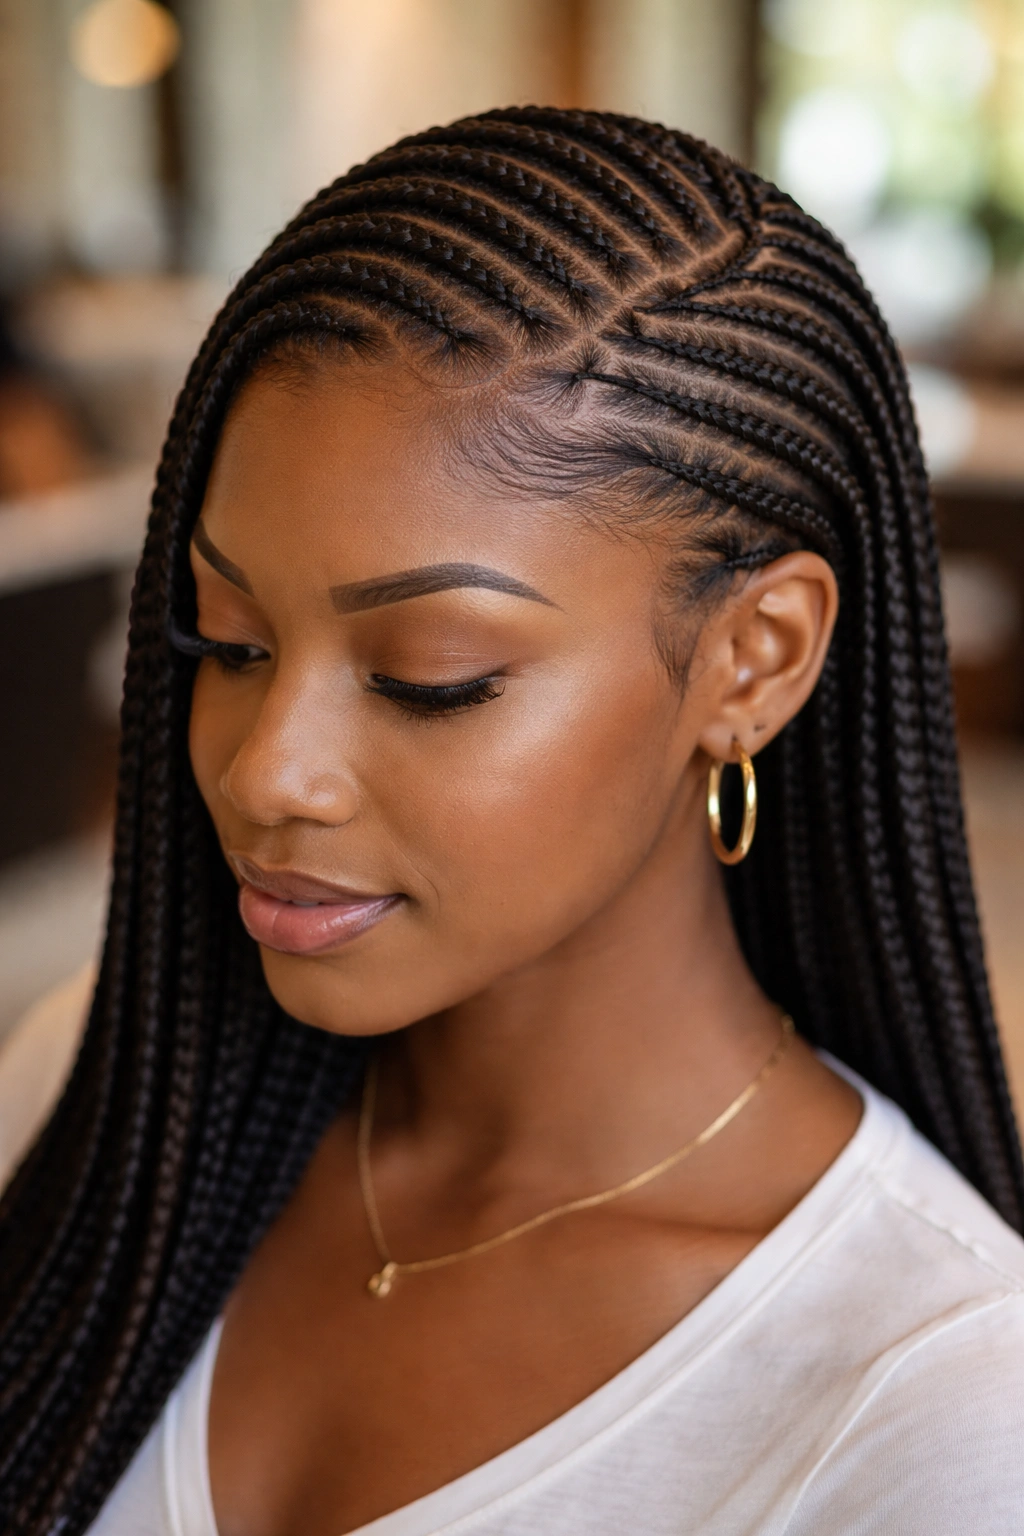
The side part itself zigzags, but all the cornrows beyond the part run in straight lines. The zigzag is decorative rather than structural.
Subtle. Reads as a small detail rather than a major design feature. Good for women who want zigzag elements in a more conservative install.
16. Diamond-Outline Zigzag
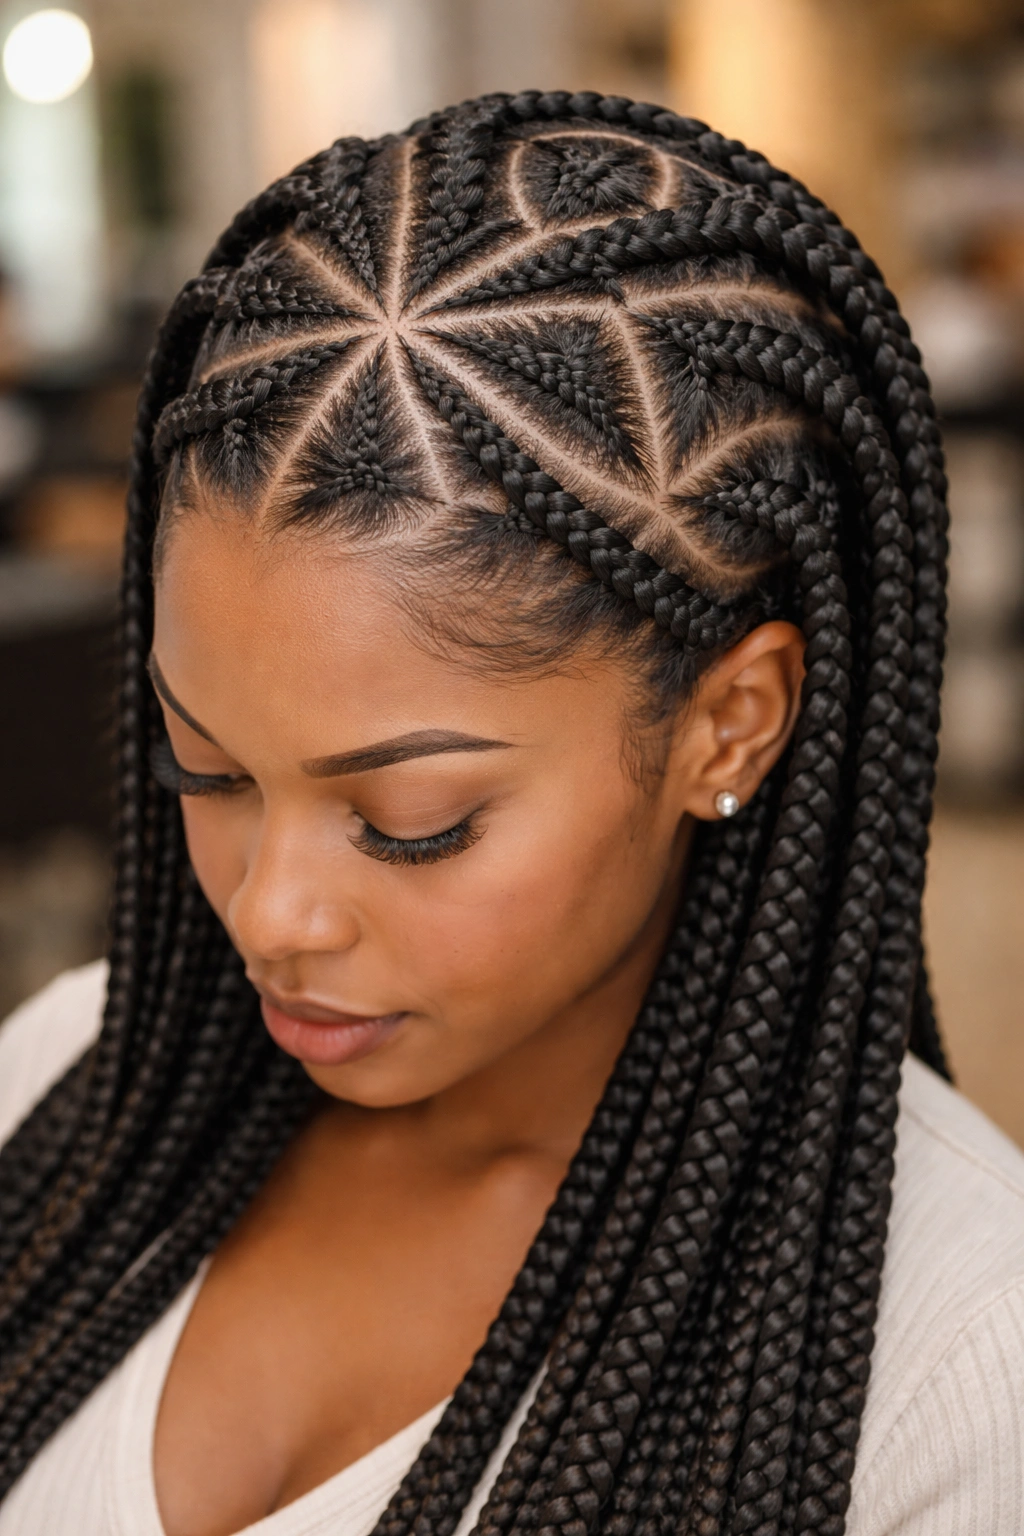
The zigzag parts trace the outlines of large diamond shapes across the scalp. Each diamond contains 1-2 cornrows running parallel to its sides.
Complicated parting. Not all braiders can execute it cleanly. Worth the time to find one who can — the result is exceptional.
17. Zigzag with Loose Curls in the Middle
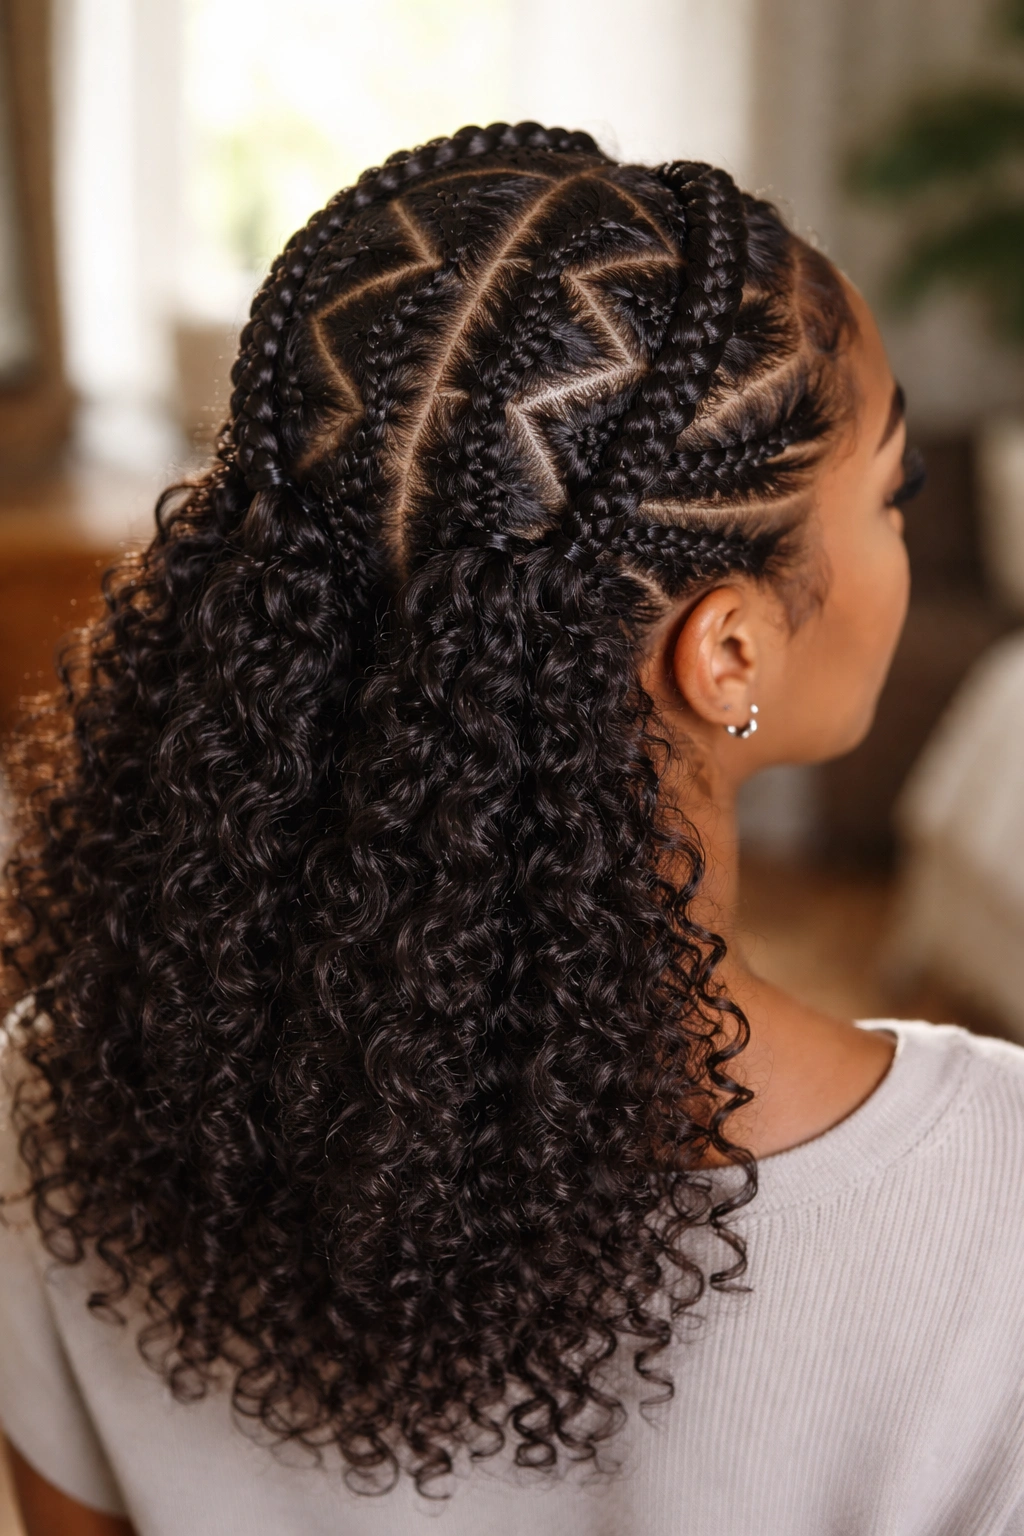
Two parallel zigzag parts run down the head with loose, free, natural curls in the channel between them. The cornrows are on the outsides; the texture is in the middle.
Unique silhouette. Showcases natural curls while still using the zigzag motif.
18. Mini-Zigzag Hairline
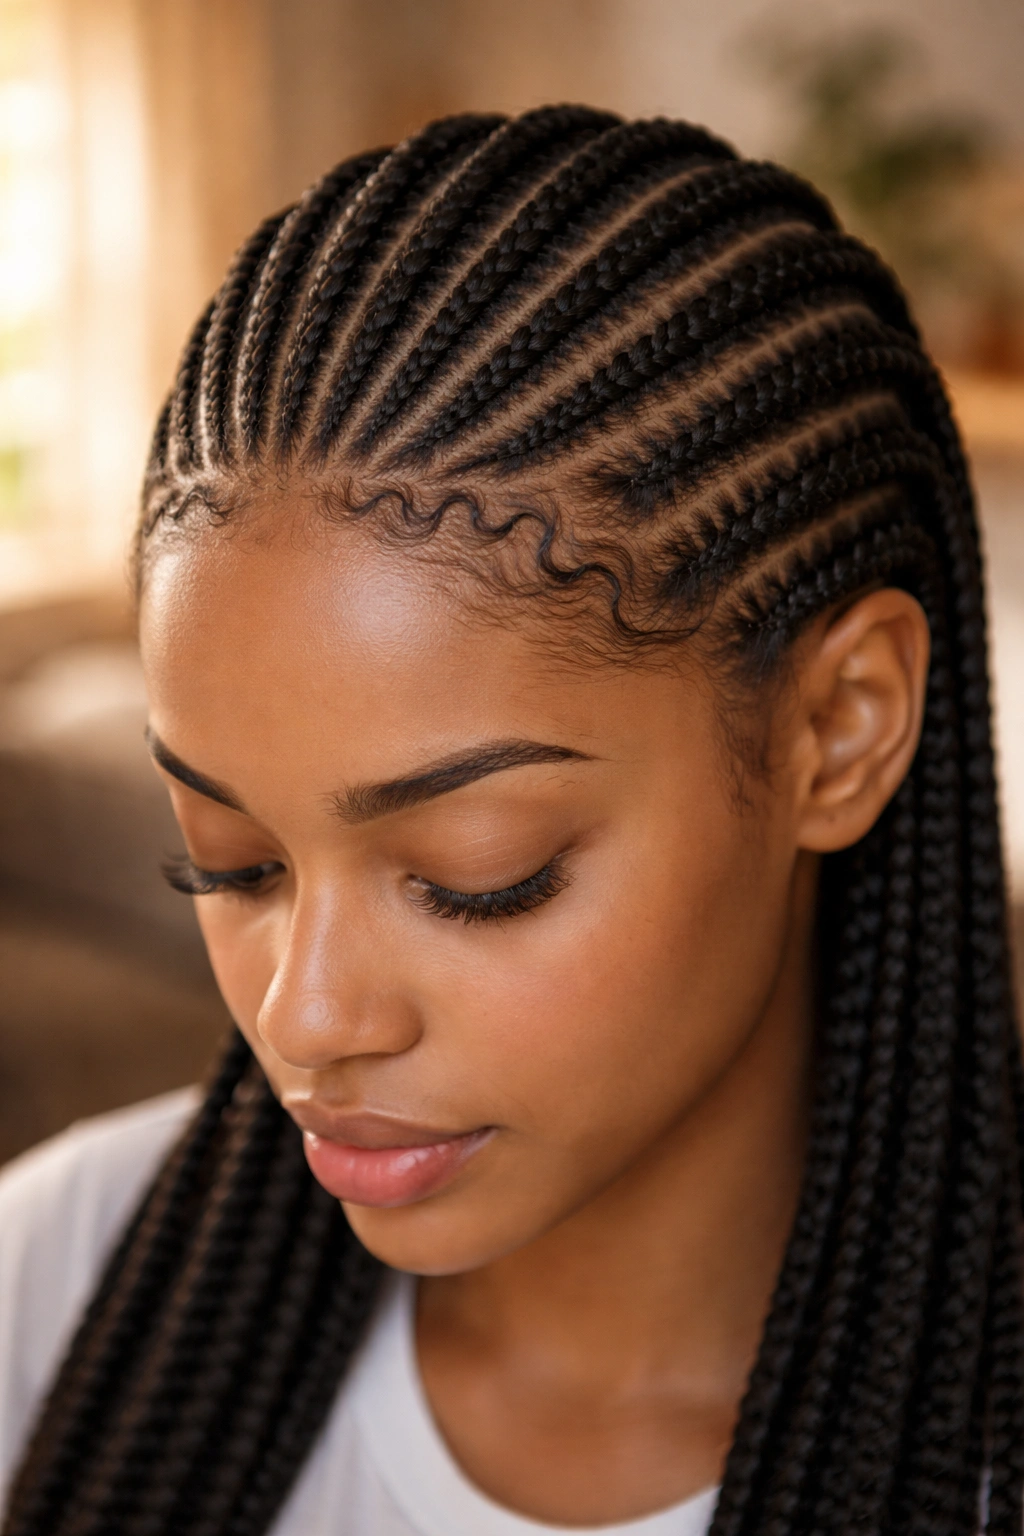
The zigzag pattern only appears at the very front hairline — about an inch back from the forehead. Beyond that, all cornrows run straight back. Just a hint of zigzag at the face frame.
Subtle and modern. Reads as detail rather than statement. Good for work environments that wouldn’t accept a full zigzag install.
19. Zigzag with Color Accents
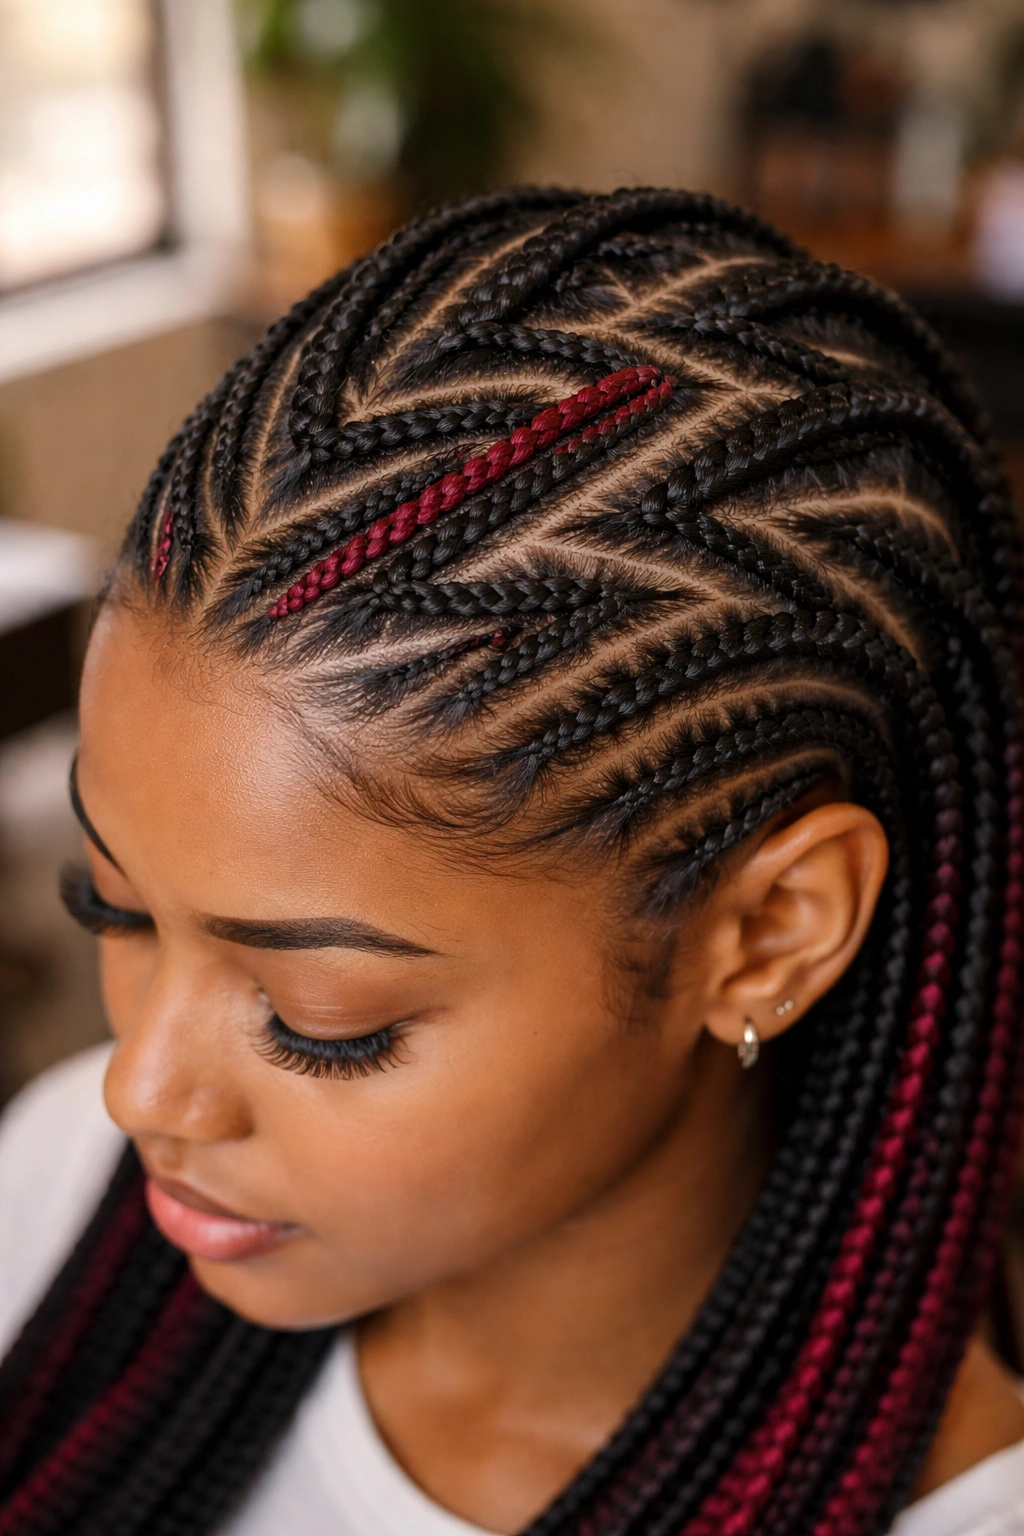
A few cornrows within a zigzag install are made with colored kanekalon — burgundy, copper, or rose gold. The colored braids run in the same zigzag pattern as the natural ones, but they pop visually.
Works best with one accent color, not multiple. Multi-colored zigzag installs read busy.
20. Two Long Zigzag Pigtails
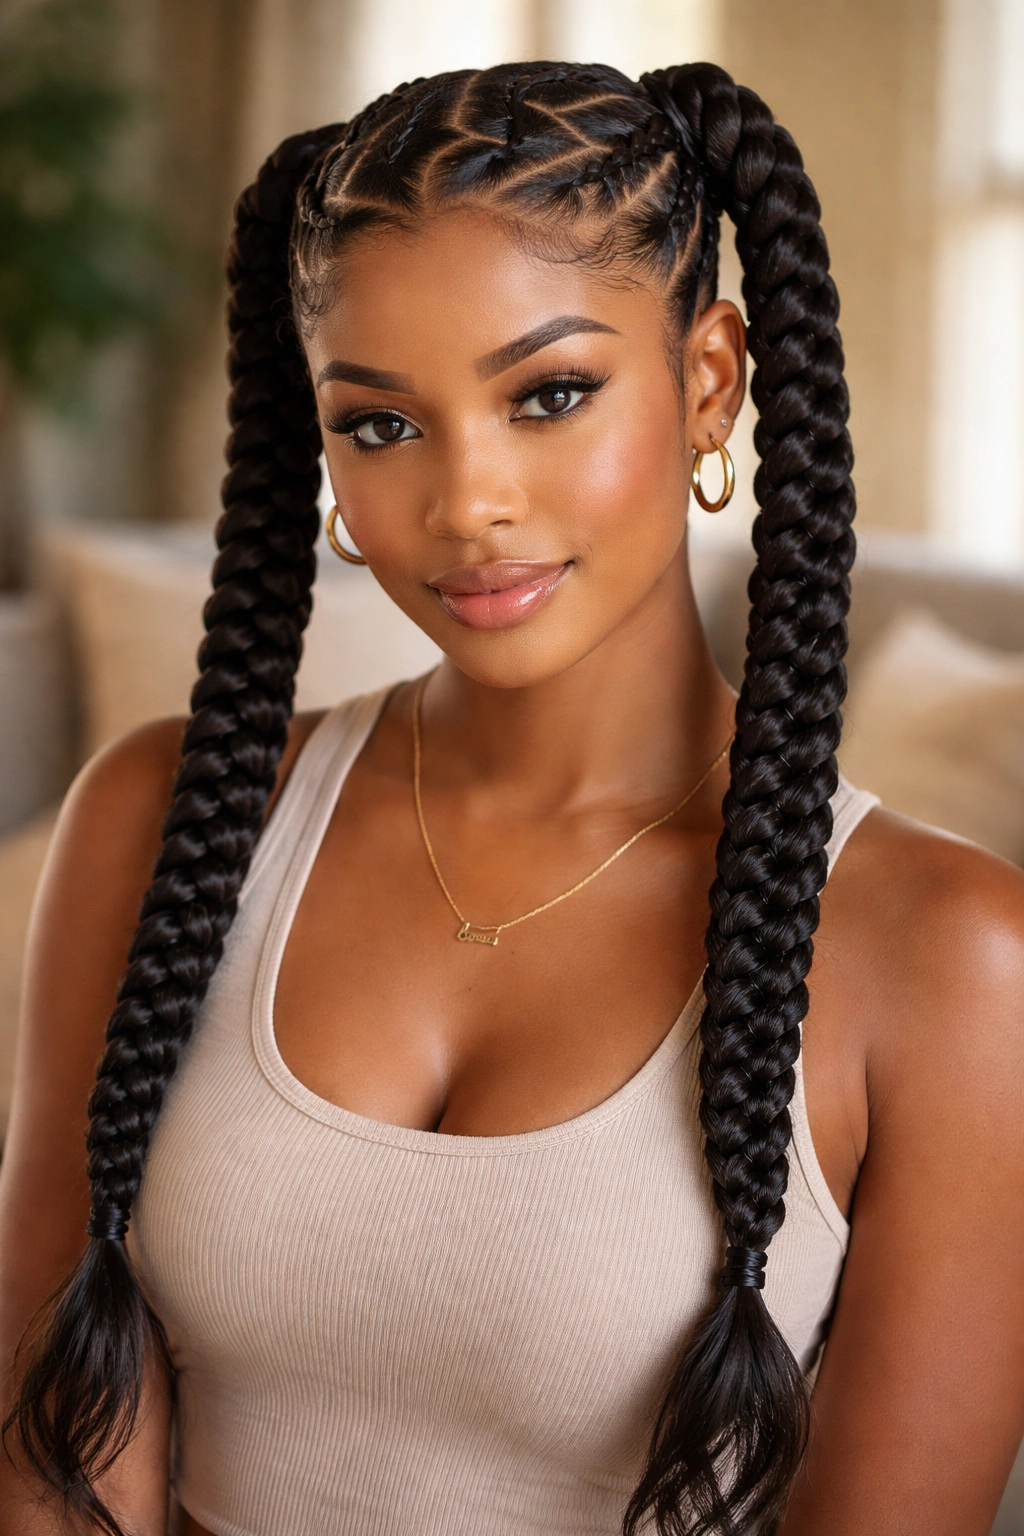
Two large zigzag-parted sections, each gathered into a long braided pigtail at the bottom. The zigzag part on each side defines the section.
Throwback style with a modern edge. Reads playful but composed.
21. Zigzag with Edge Art
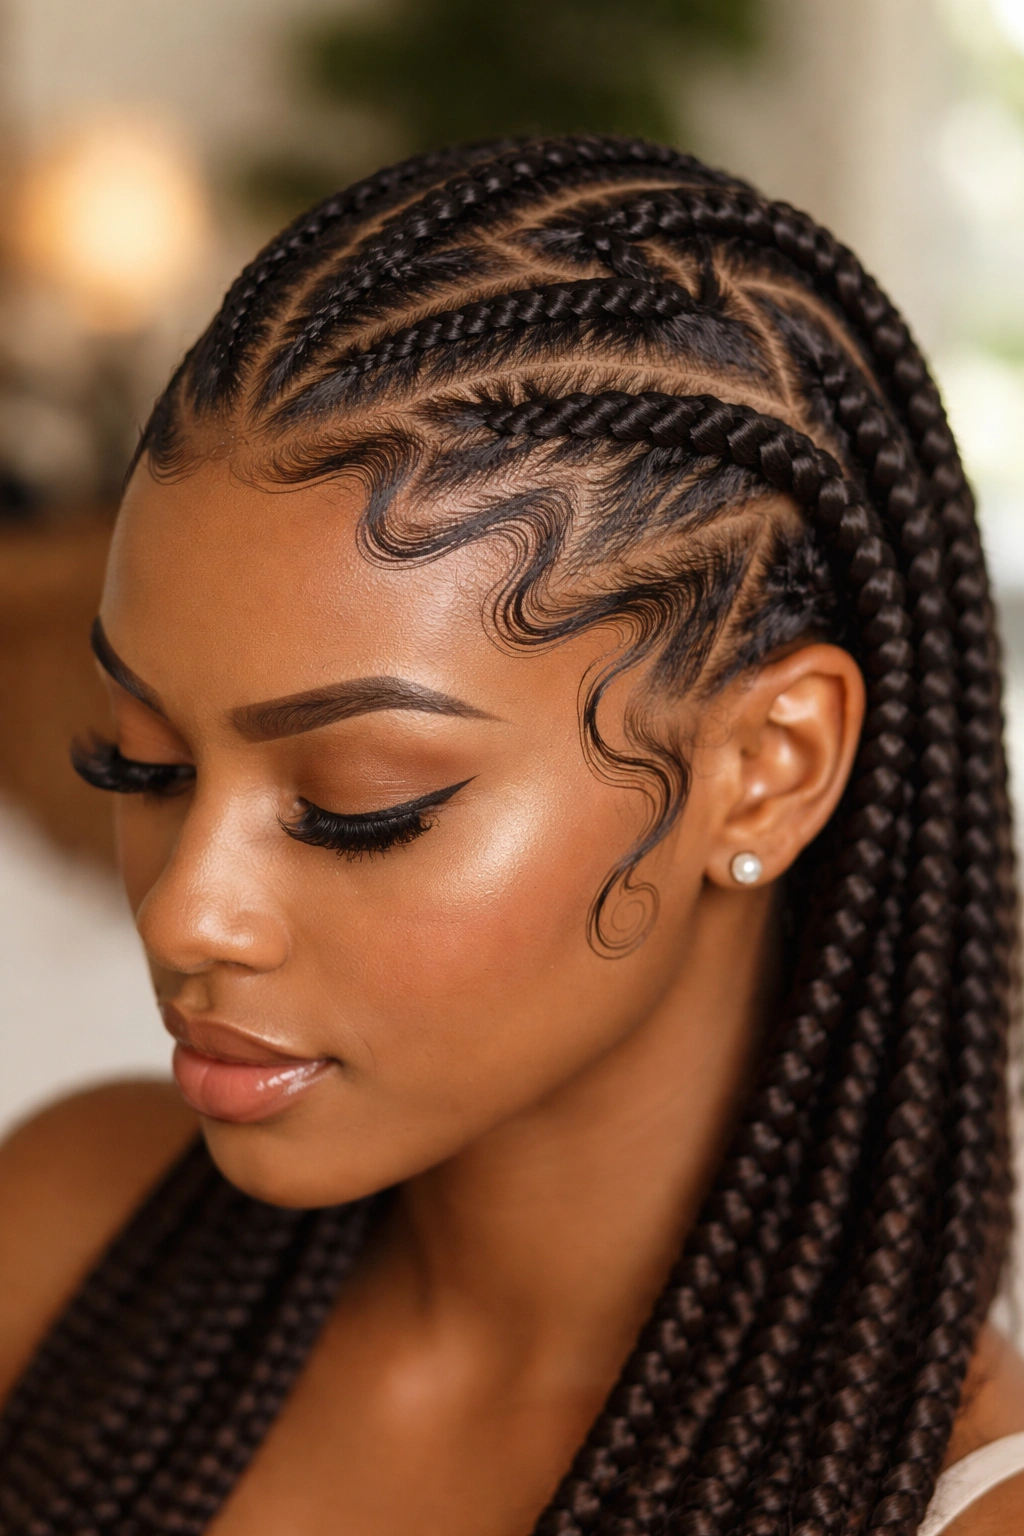
The zigzag pattern continues into the edge work. Baby hairs are styled in tight zigzag swirls along the hairline that echo the parts above.
Who This Is For
Anyone willing to commit to careful daily edge maintenance for the install duration. Edge zigzags read amazing day one but lose definition fast if not refreshed.
- Refresh edges every 2-3 days.
- Use a fine edge brush, not a toothbrush.
- Tie down with a satin scarf for 15-30 minutes after laying.
Tip: Take photos on day one before the install loses any sharpness. Edge zigzags rarely look as crisp on day five as they did on day one.
22. All-Over Zigzag Maze
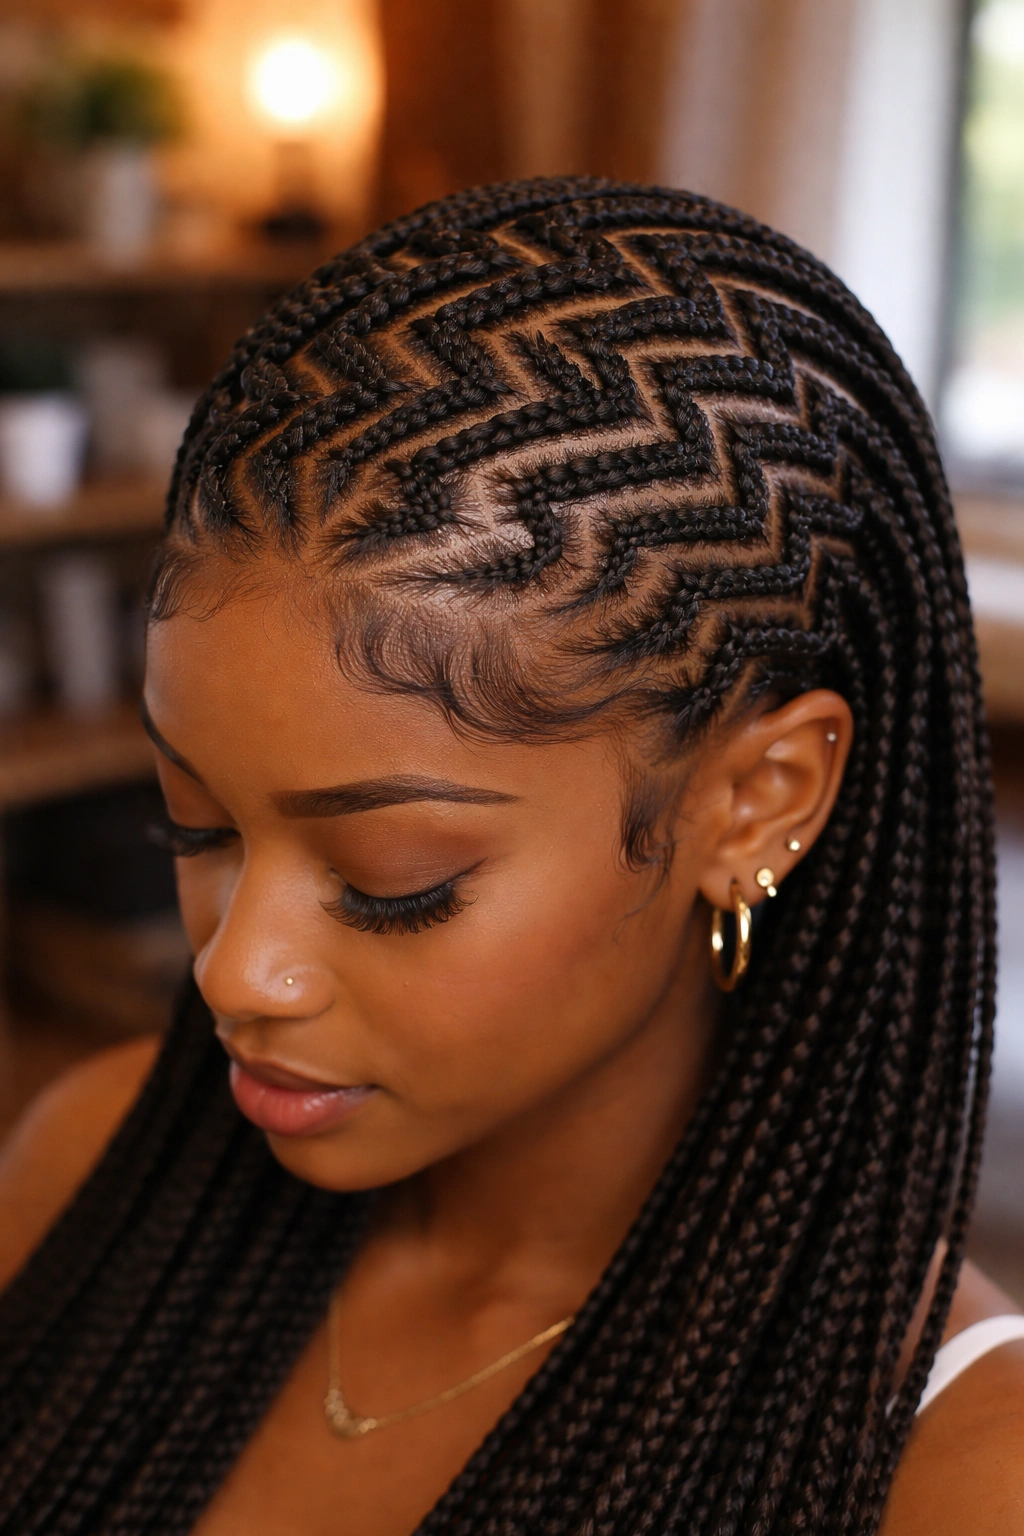
The zigzag parts cover the entire head in a maze-like pattern. Some parts run vertical, some horizontal, some diagonal — all interlocking like a labyrinth.
Most ambitious version of the style. Takes 5-7 hours to install properly. Lasts 2-3 weeks if done right.
Reserved for special occasions or for those who want their hair to be the artwork itself, not just an accessory to it.
Maintenance for Zigzag Cornrows on Natural Hair

The first 24 hours decide whether the zigzag stays sharp or fades. A satin bonnet on the first night, plus a satin pillowcase, plus light handling.
Day 2 onward: minimal touching. Every time you smooth the braids with your hand, you smooth the parts too. Resist the urge to fuss.
A light braid spray every 2-3 days for moisture. Spray from a distance, not directly into the parts.
Edge Care to Hold the Lines
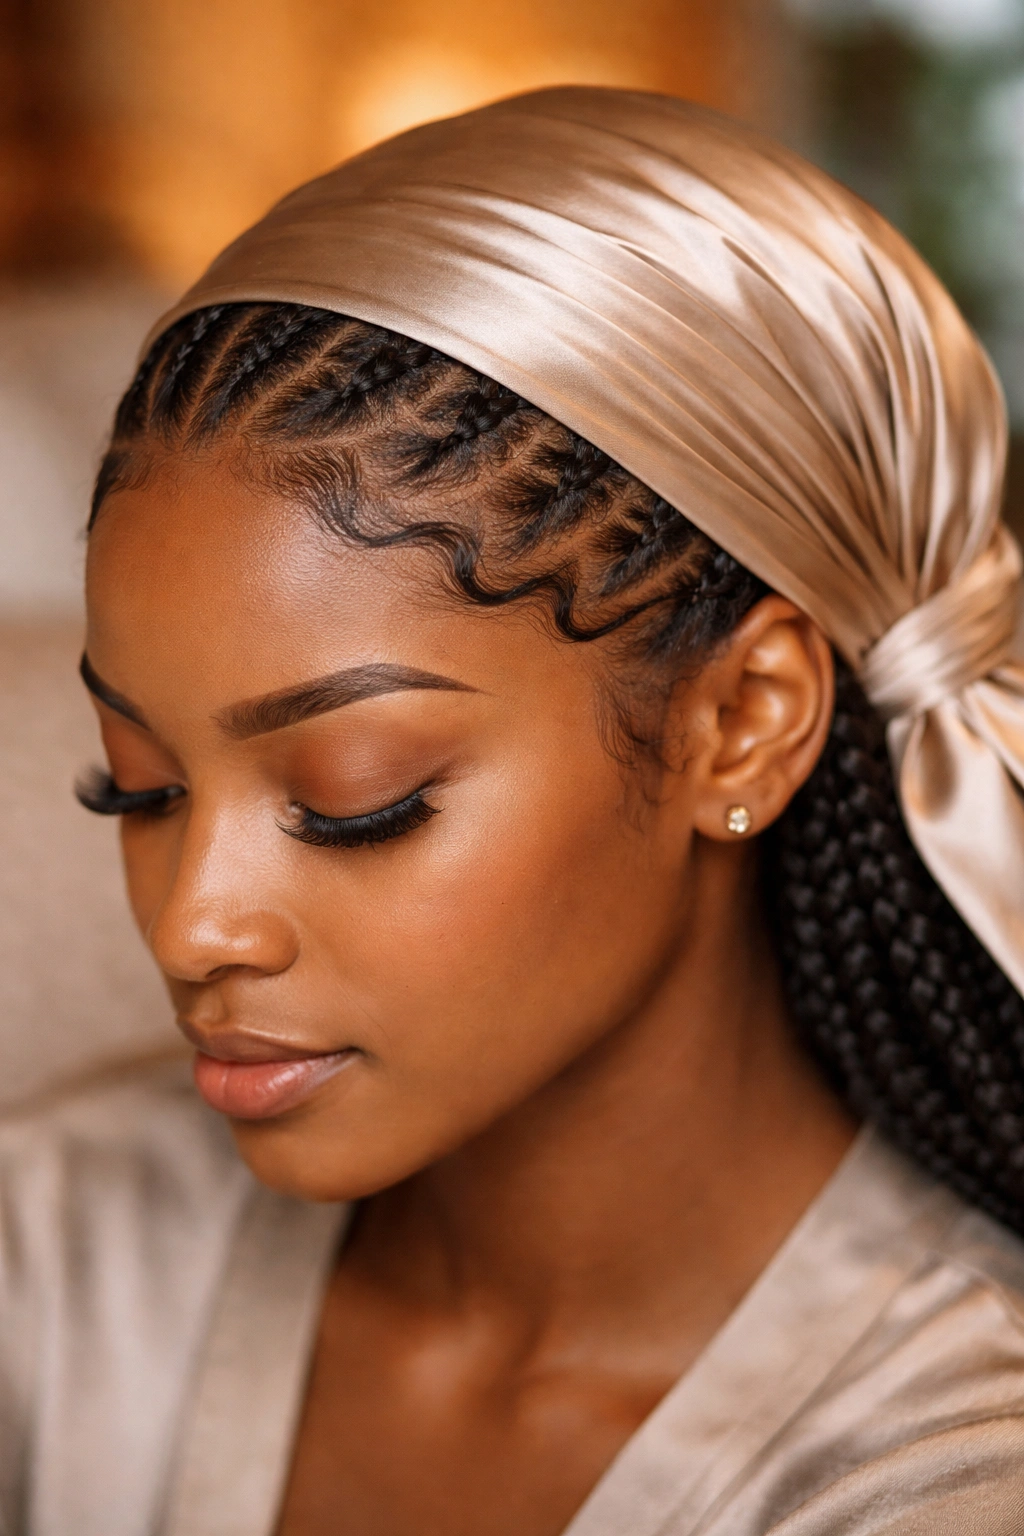
The hairline frames everything. Lay edges every 3-4 days for the install duration. Use minimal gel — too much builds up at the parts and dulls the pattern.
For bedtime: tie a silk scarf around the hairline before the bonnet goes on. Layered edge protection holds the front of the install crisper than bonnet alone.
Scalp Care Under Geometric Parts
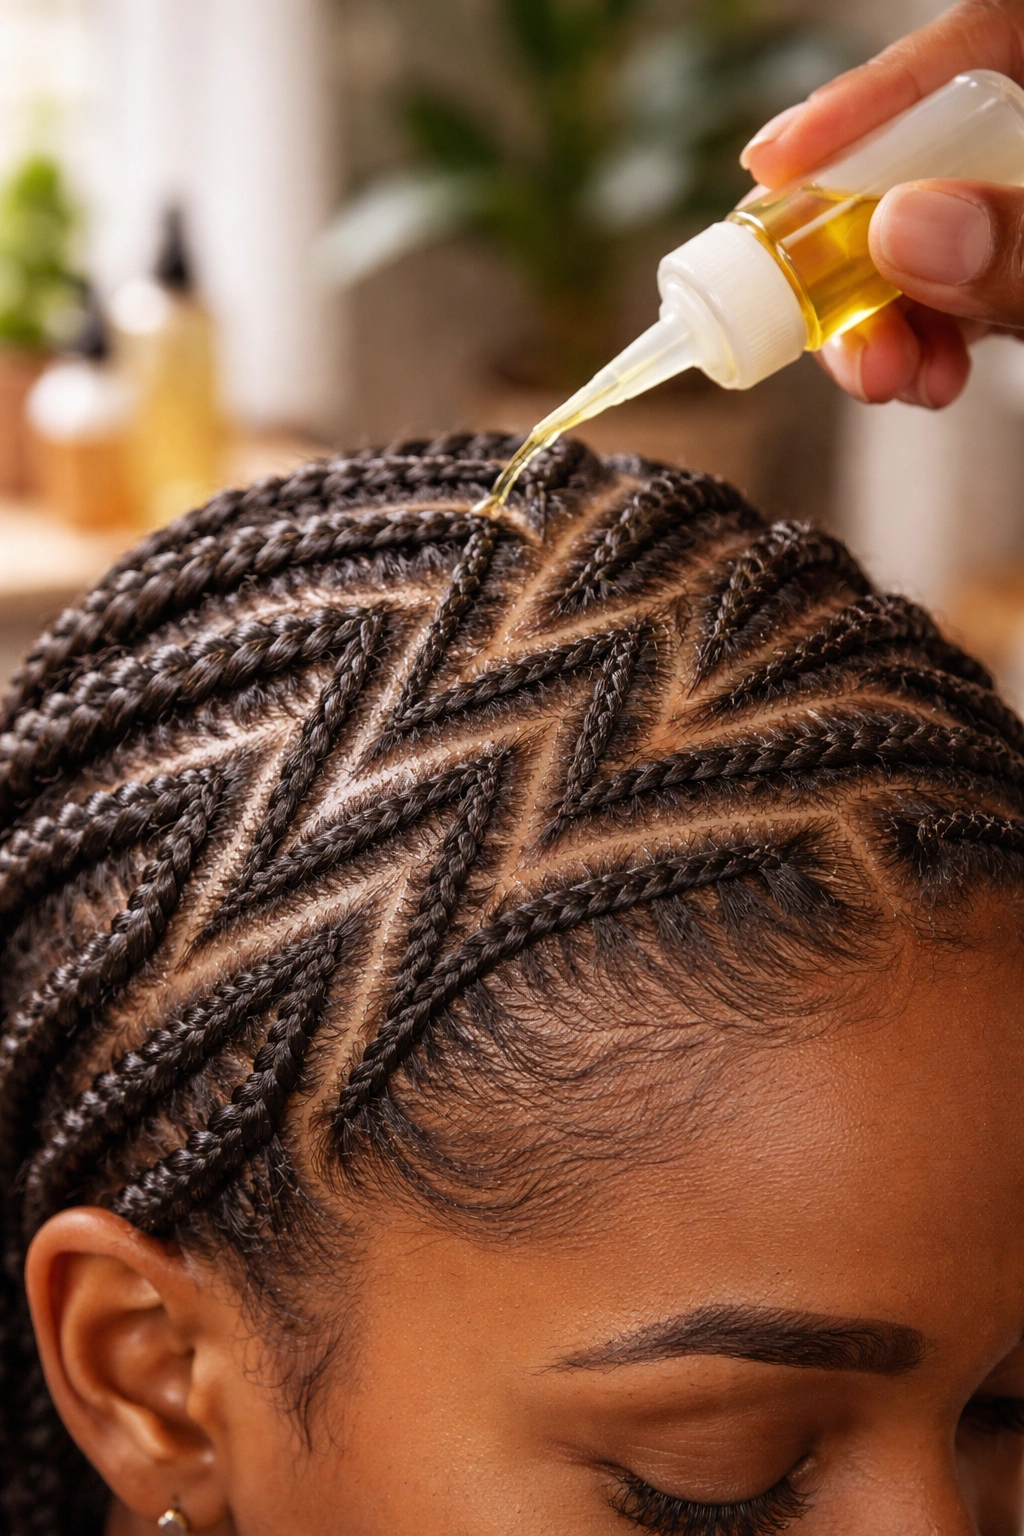
The exposed scalp at the parts can dry out faster than the scalp under unparted hair. Apply a light oil — jojoba or grapeseed — to the parting lines twice weekly using an applicator bottle.
Don’t use heavy oils. They build up, attract dust, and turn the crisp parts into greasy lines.
If itch appears, dilute apple cider vinegar (1 tablespoon to 1 cup water) and spritz the parts. Settles itch without disrupting the install.
Takedown for Zigzag Installs
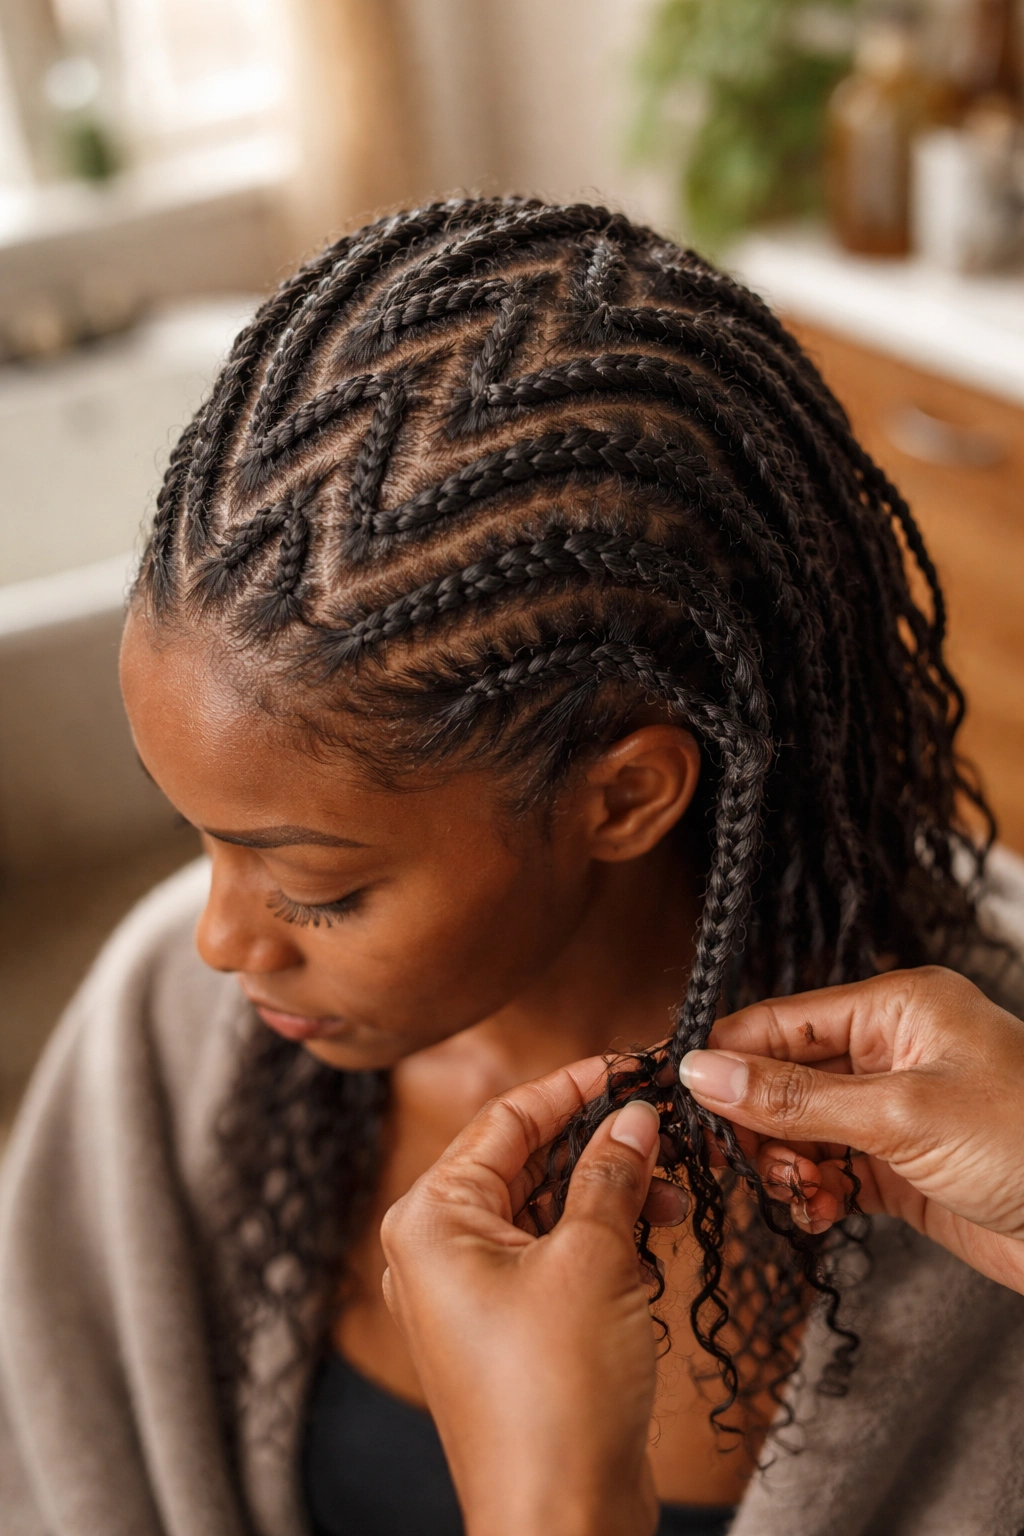
Standard cornrow takedown procedure works fine. Saturate, unravel from the tail up, finger-detangle, then comb.
The zigzag parts don’t make takedown harder — they were just decorative; the braids themselves come down the same as any other cornrow.
Wash and deep condition immediately after takedown. The hair has been in one shape for weeks and needs moisture and movement to recover its texture.
Picking the Right Zigzag Style for Your Hair
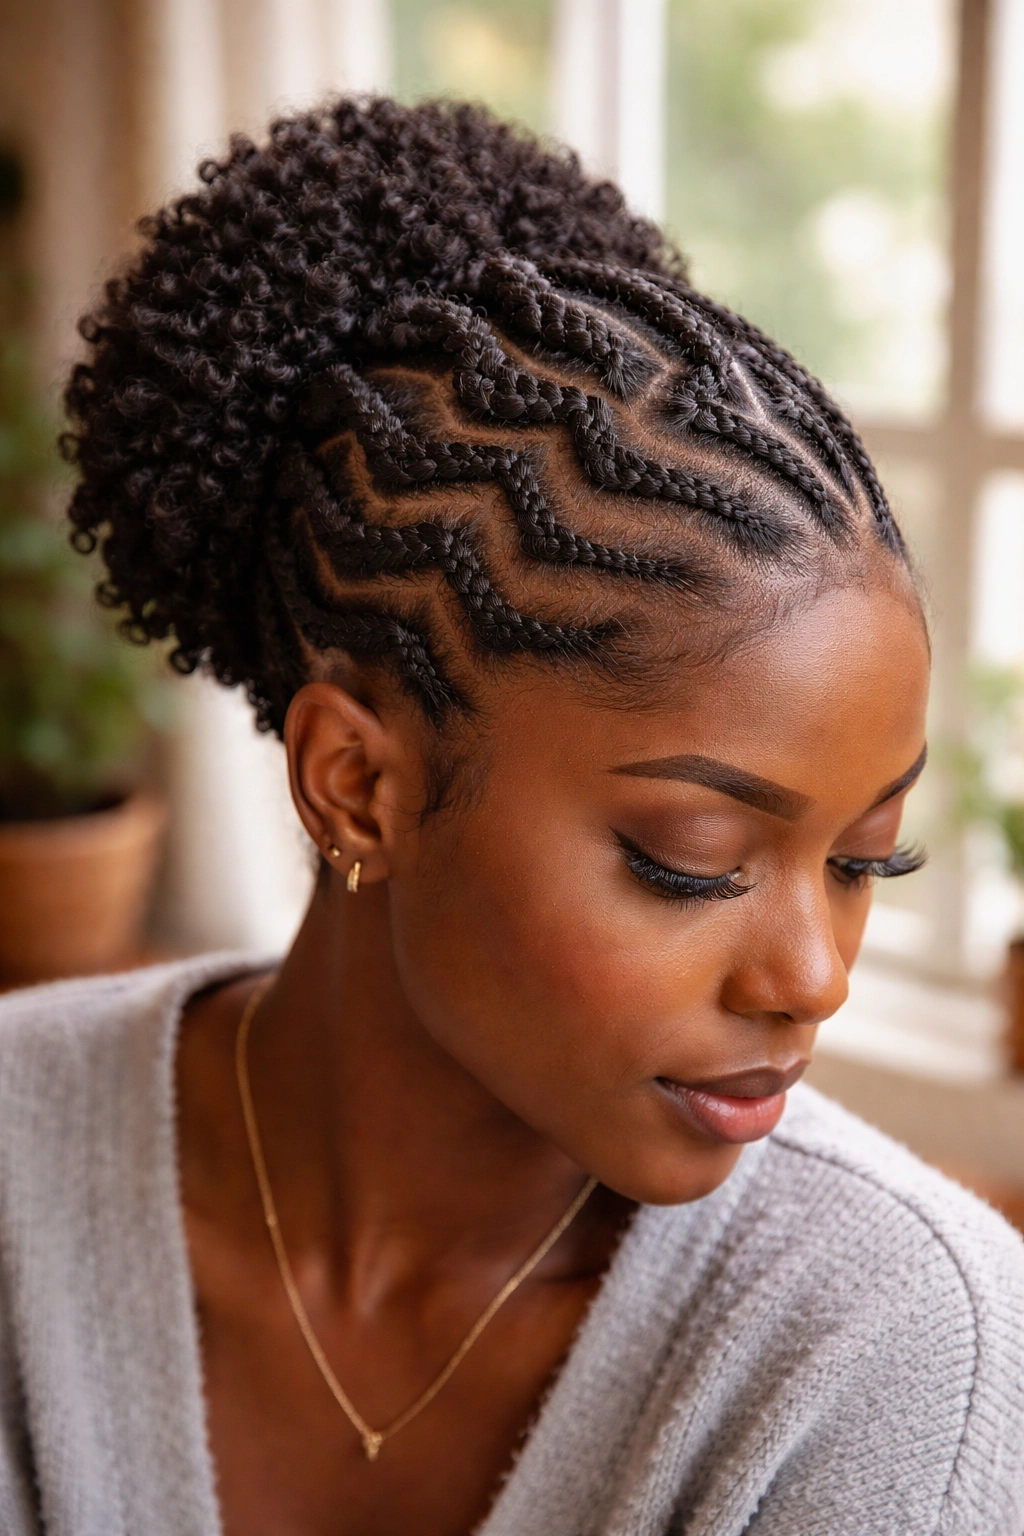
Hair length matters for some variations more than others. The all-over zigzag maze works on shoulder-length and longer natural hair. Single zigzag center parts work on TWAs and short natural hair just as well.
Hair density matters too. Fine natural hair shows zigzag parts more clearly because the parts contrast more visibly against thinner cornrows. Dense hair makes the cornrows themselves the visual focus, with parts secondary.
Face shape filters the variations. Round faces benefit from vertical zigzags that elongate the look. Long faces work with horizontal or chevron patterns that add width. Oval faces wear any zigzag style well. Square faces soften with diagonal zigzag sweeps.
The right zigzag style is the one that matches your hair’s character and your willingness to maintain the precision. A perfect install on day one means nothing if it looks fuzzy by day five. Pick the style you’ll actually keep up with — that’s the one worth installing.
