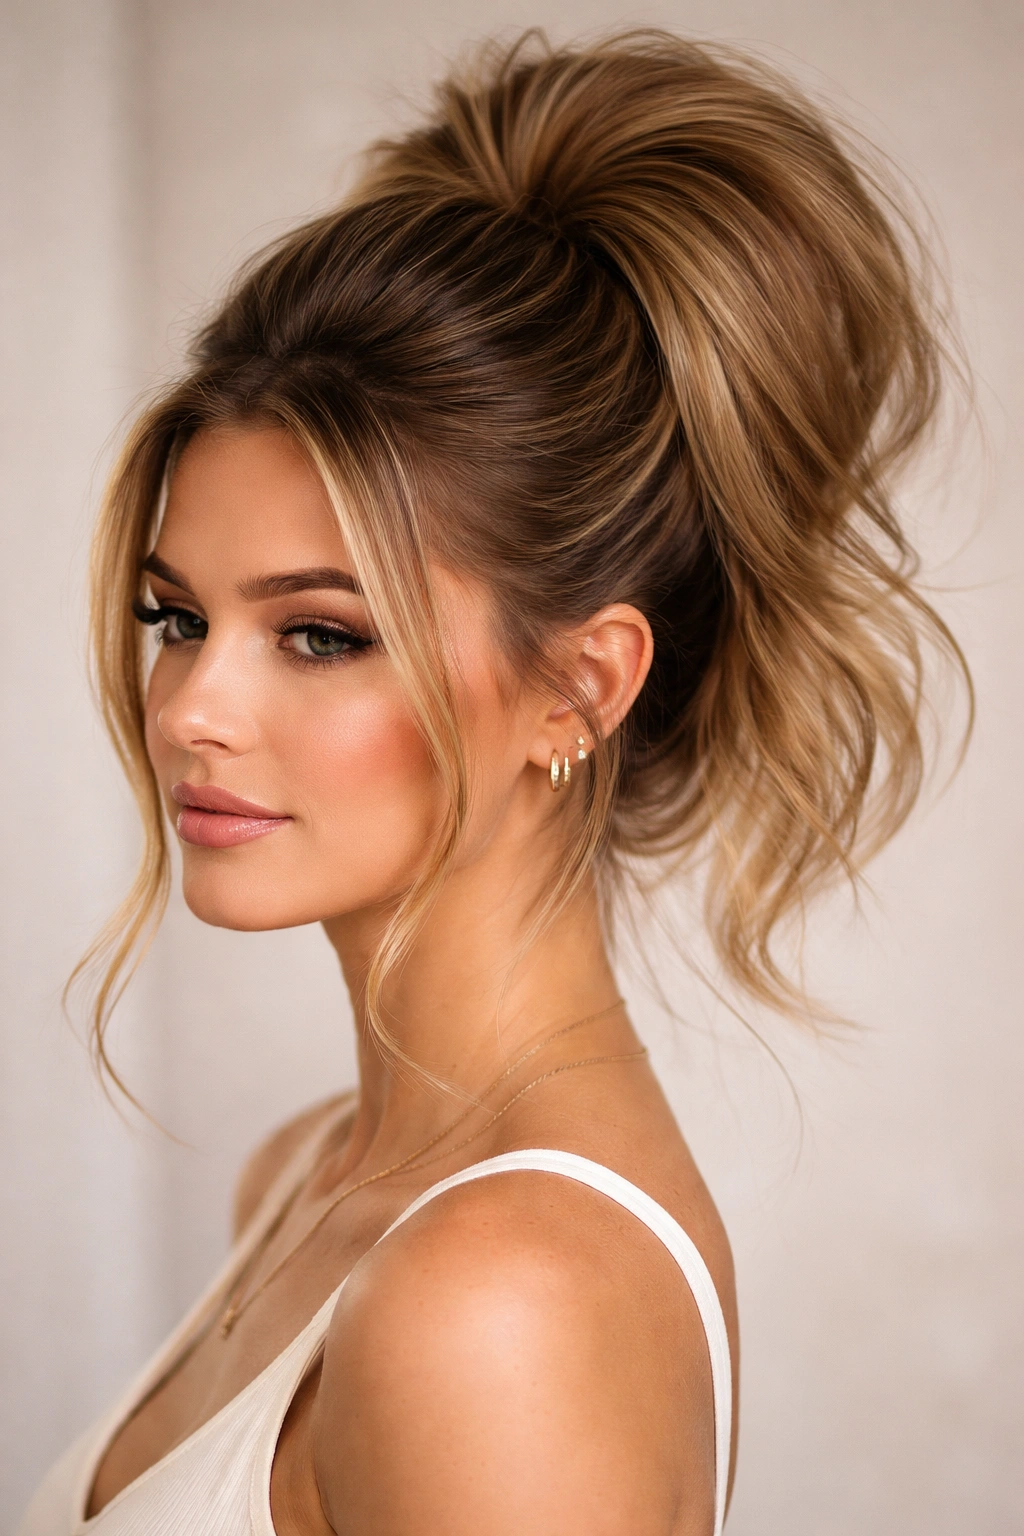
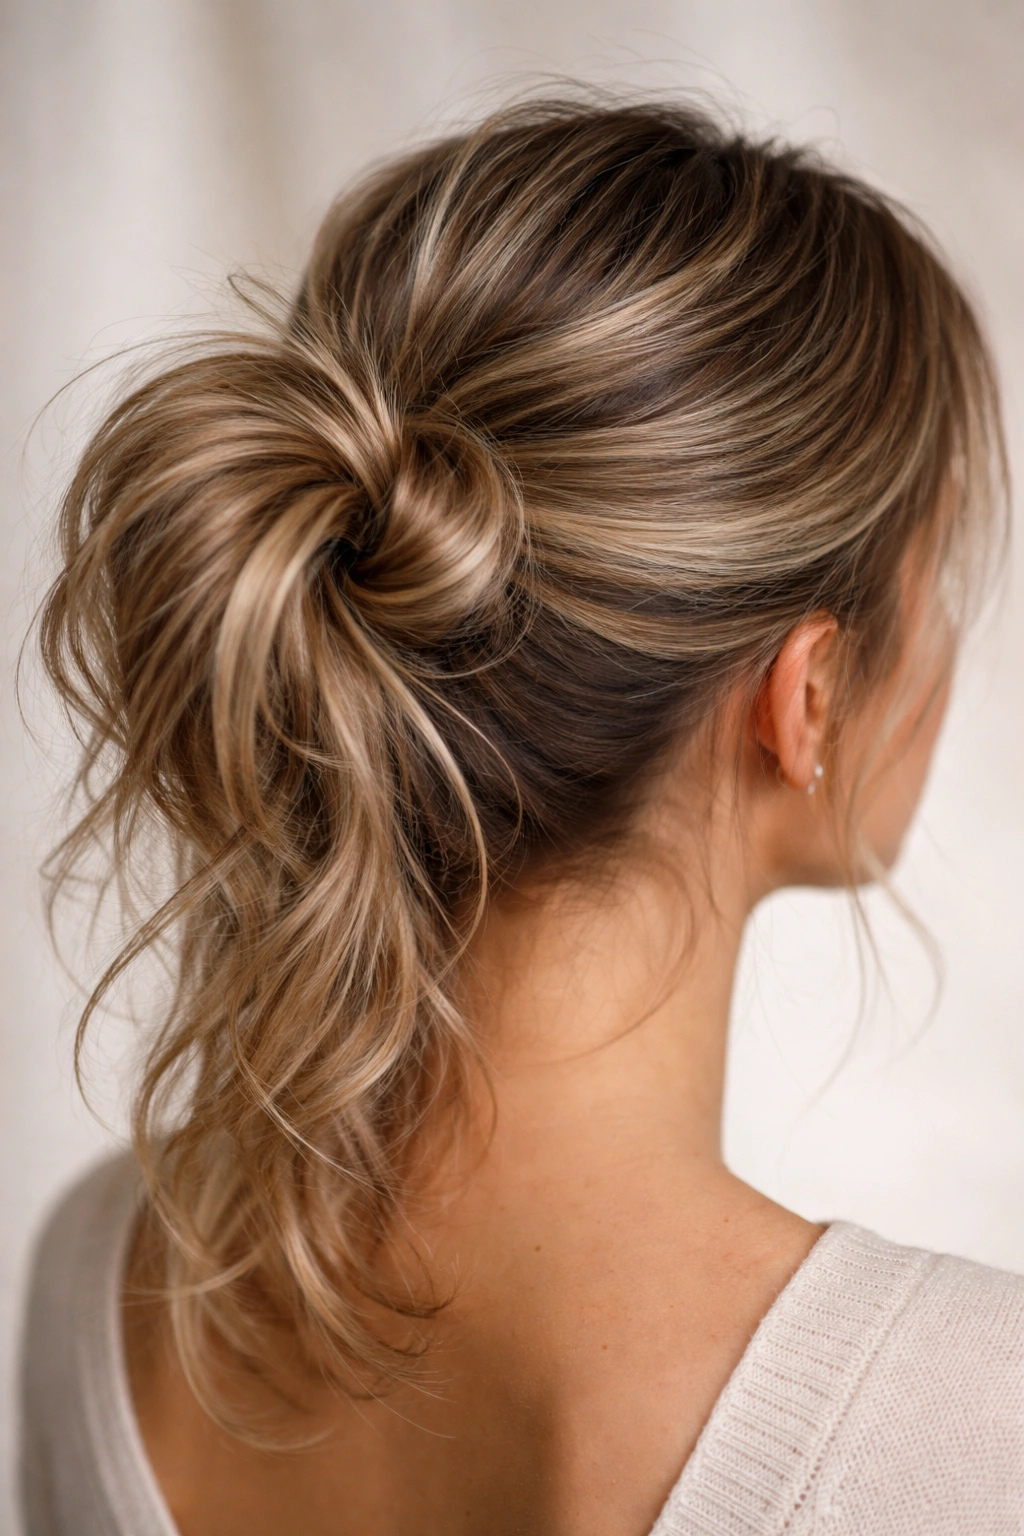
There is a very specific type of frustration that comes with pulling your hair up, only to look in the mirror and see a sad, flat nub where you were hoping for a voluminous, sophisticated bun. We have all been there. You want the height and the ease of a ponytail, but you need the polished structure of a bun. Most people assume that achieving that look requires an abundance of hair, but the truth is almost entirely about technique, texture, and how you manipulate the tension of your elastic. A full-looking ponytail bun is rarely about having thick hair; it is about knowing how to create the illusion of density where it counts.
Whether you are working with slippery, fine strands or heavy, coarse locks, the goal is to stop treating your hair like a single unit and start treating it like a collection of sections. If you pull everything back at once and cinch it tight, you crush the volume. You lose the lift. Instead, you need to build the foundation first. This is about leverage, bobby pins, and the strategic use of texture. Forget the generic top-knot you throw on before hitting the gym; we are talking about intentional, structured styles that hold their shape from morning until you take them down.
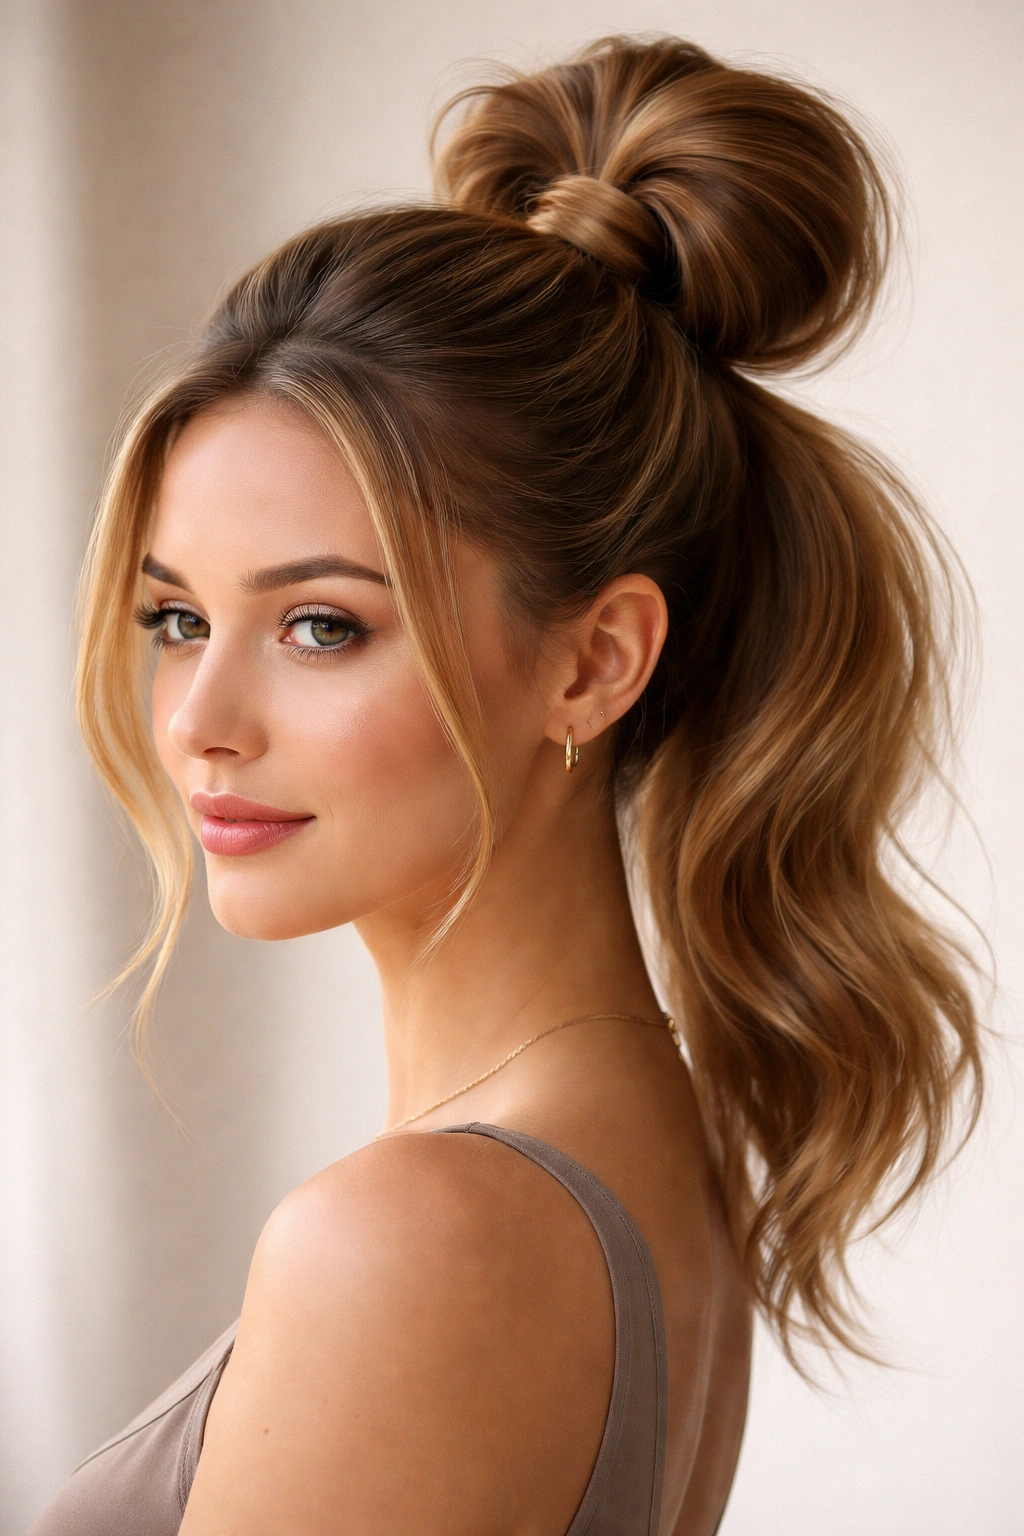
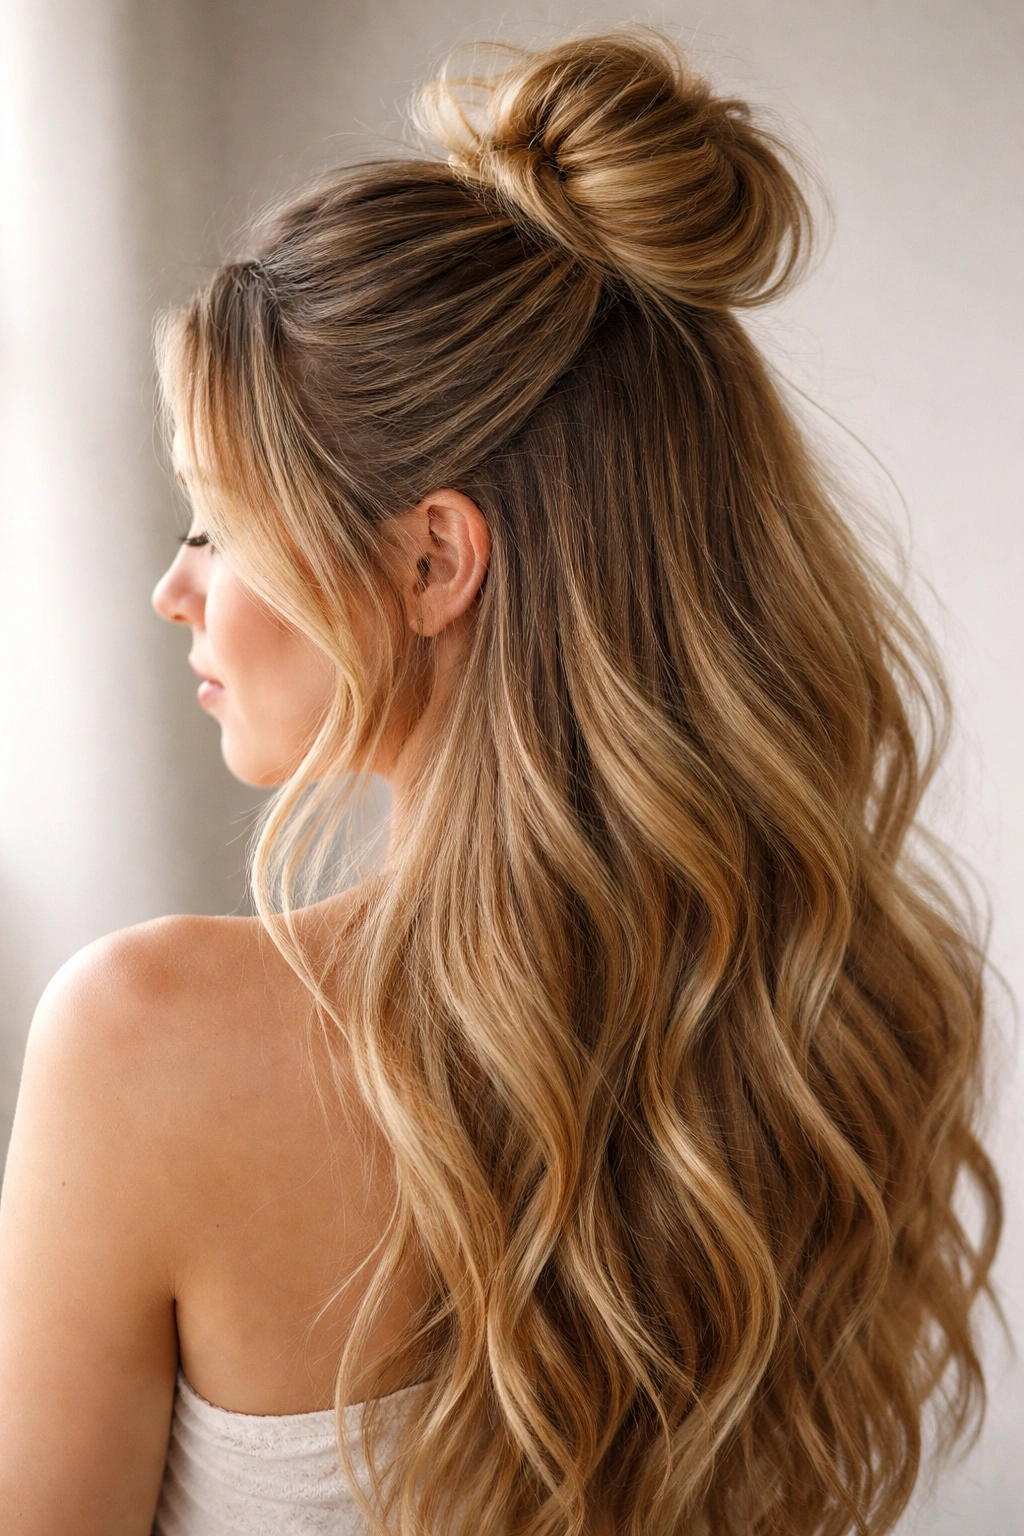
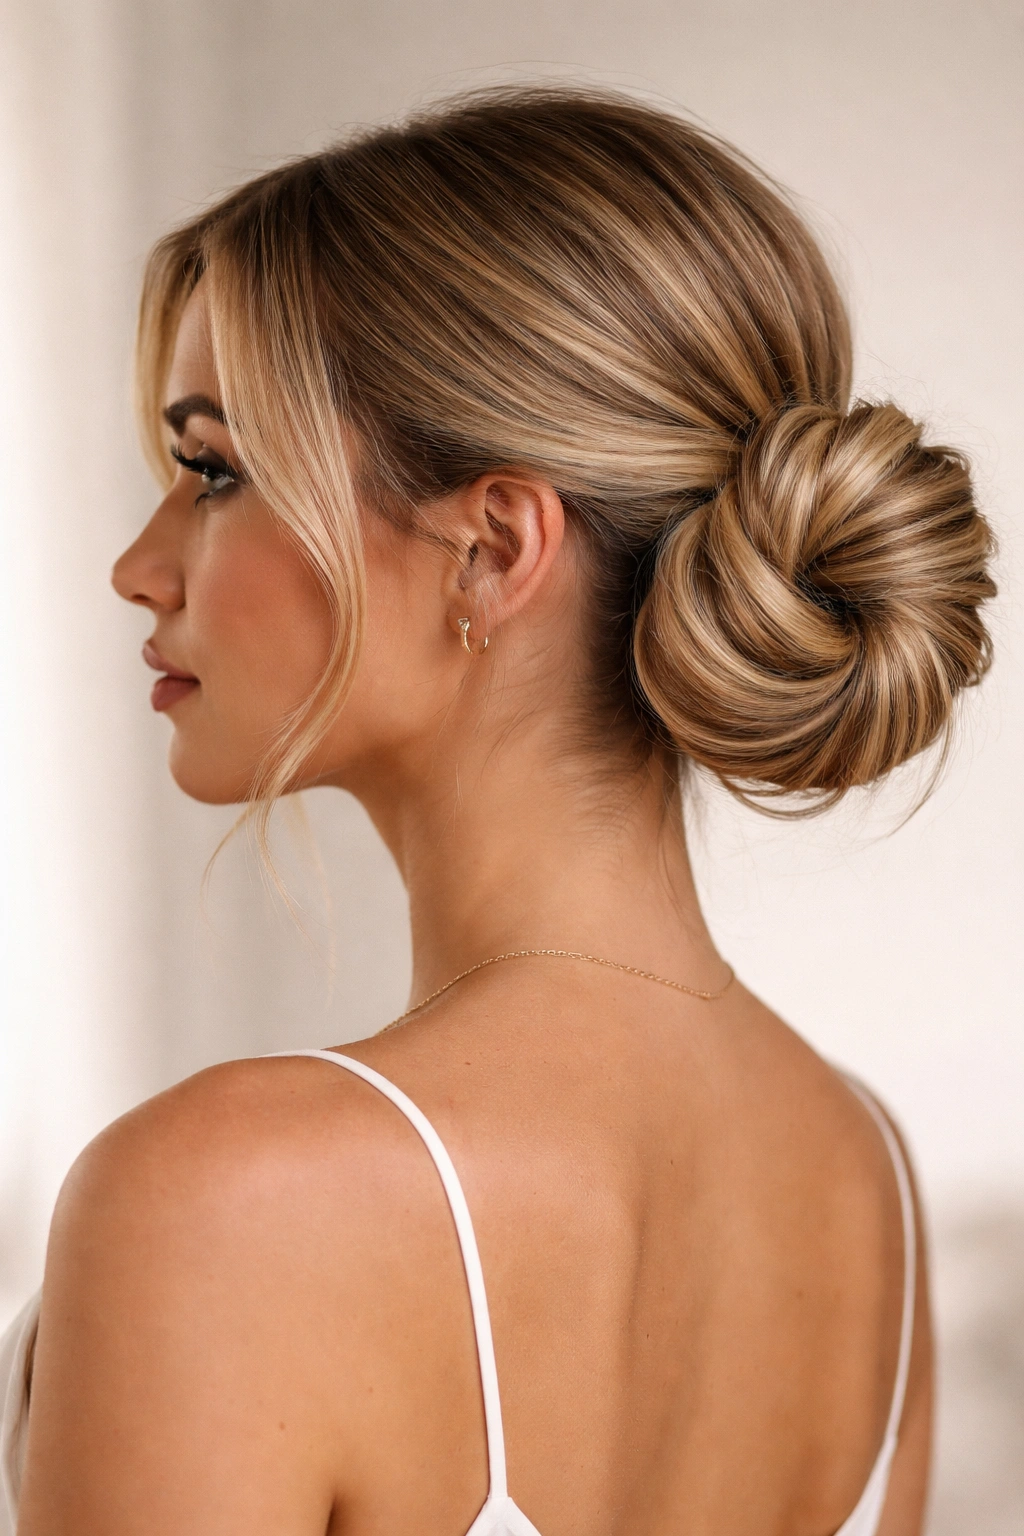
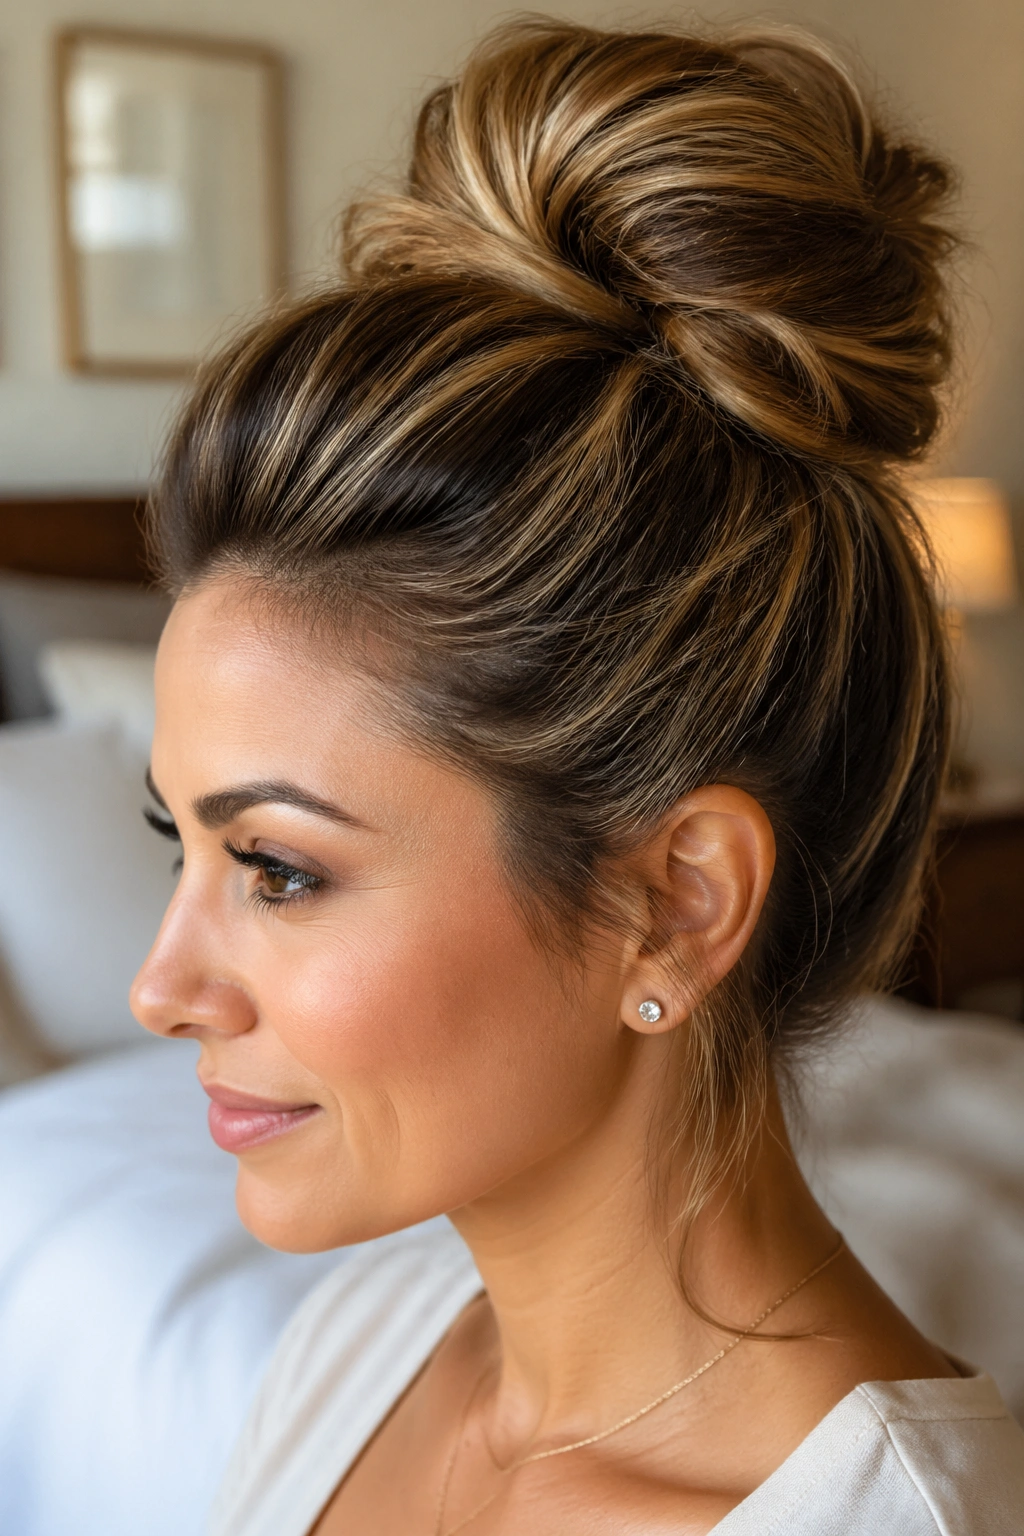
1. The Classic High-Pony Bun
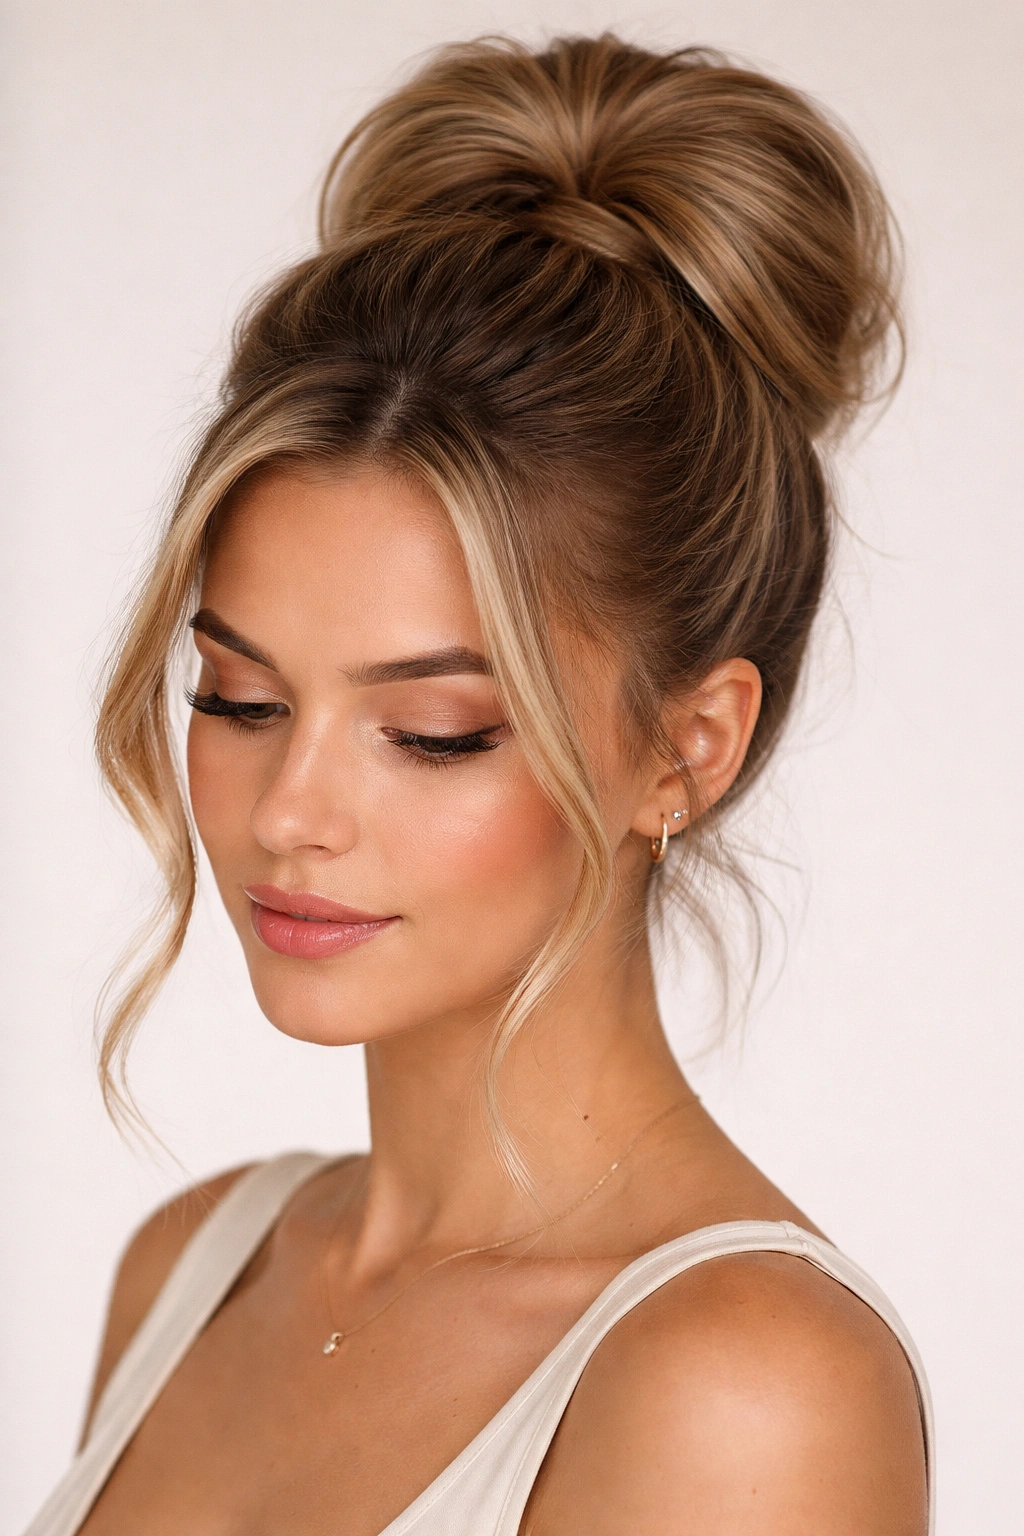
This is the foundational style for anyone wanting a fuller look. The secret here is not in how much hair you have, but in the base. Start by securing your ponytail with a strong elastic, but do not pull the final loop all the way through if you have shorter layers, or use a “hook” elastic for maximum tension. The key to the fullness is the tension at the crown. If your hair lies flat against your scalp, the bun will look small. You need to physically lift the hair at the crown before you tighten the elastic.
Why It Works for Thin Hair
- It concentrates all your mass at the highest point of your head, which creates a visual anchor.
- Leaving a few face-framing pieces out draws the eye away from the size of the bun itself.
- You can “pancake” the bun (gently pull at the outer edges of the loops) to double the apparent width.
Pro tip: Always use a texturizing spray on the ponytail itself before you begin the twisting process. This creates friction between the strands, which prevents the bun from collapsing under its own weight.
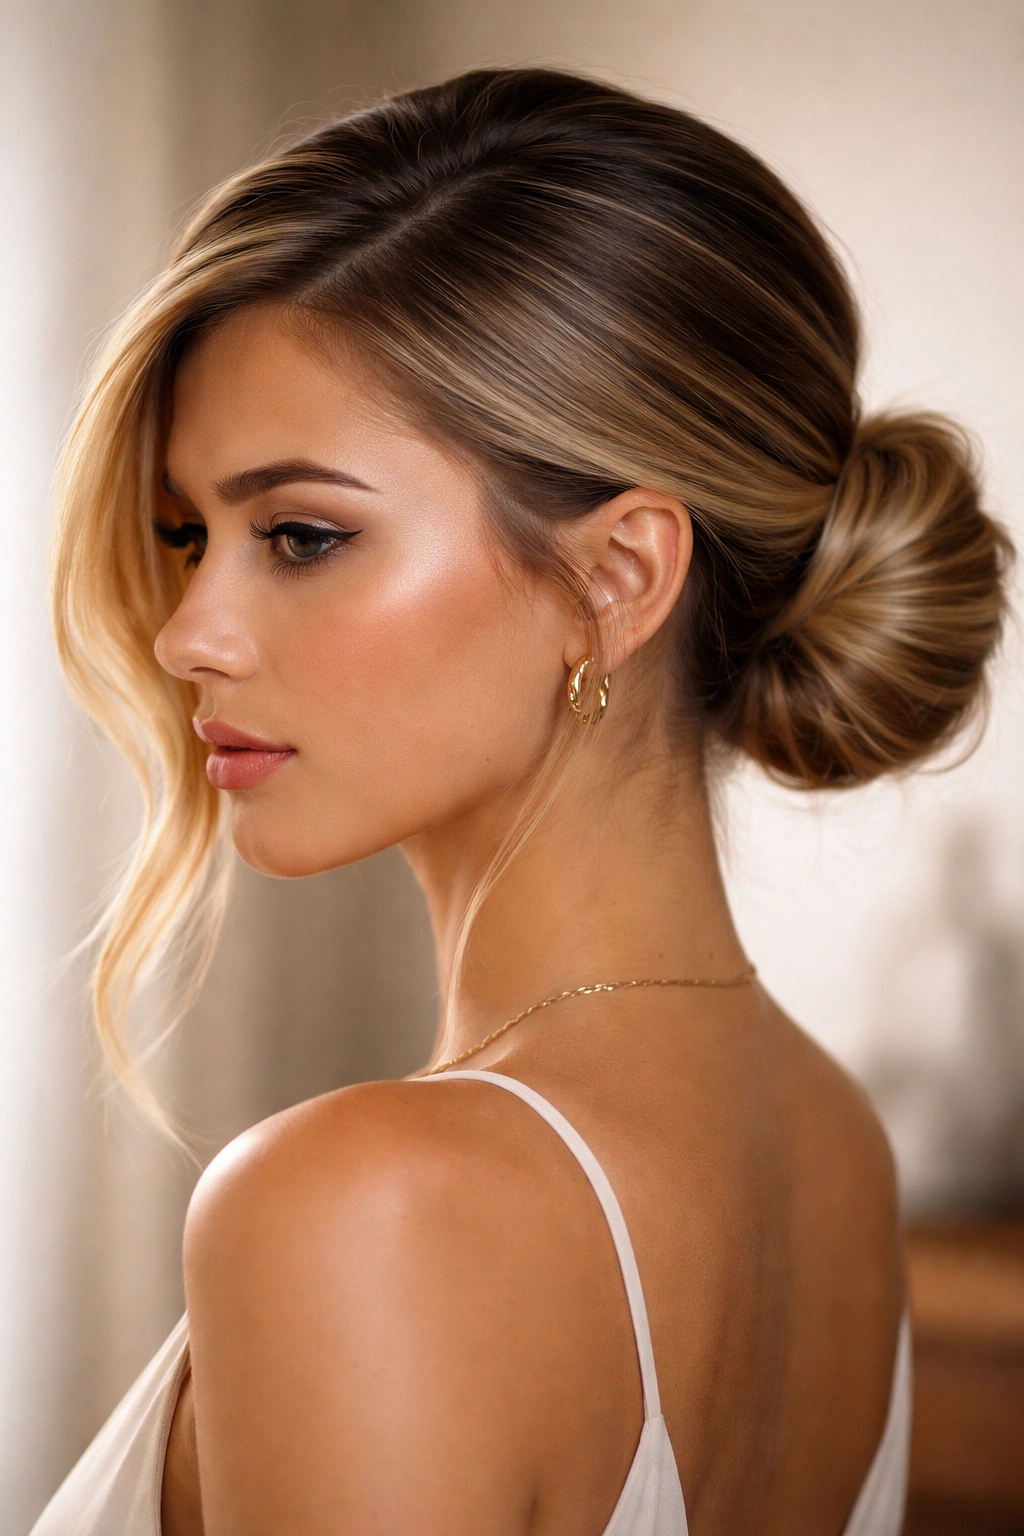
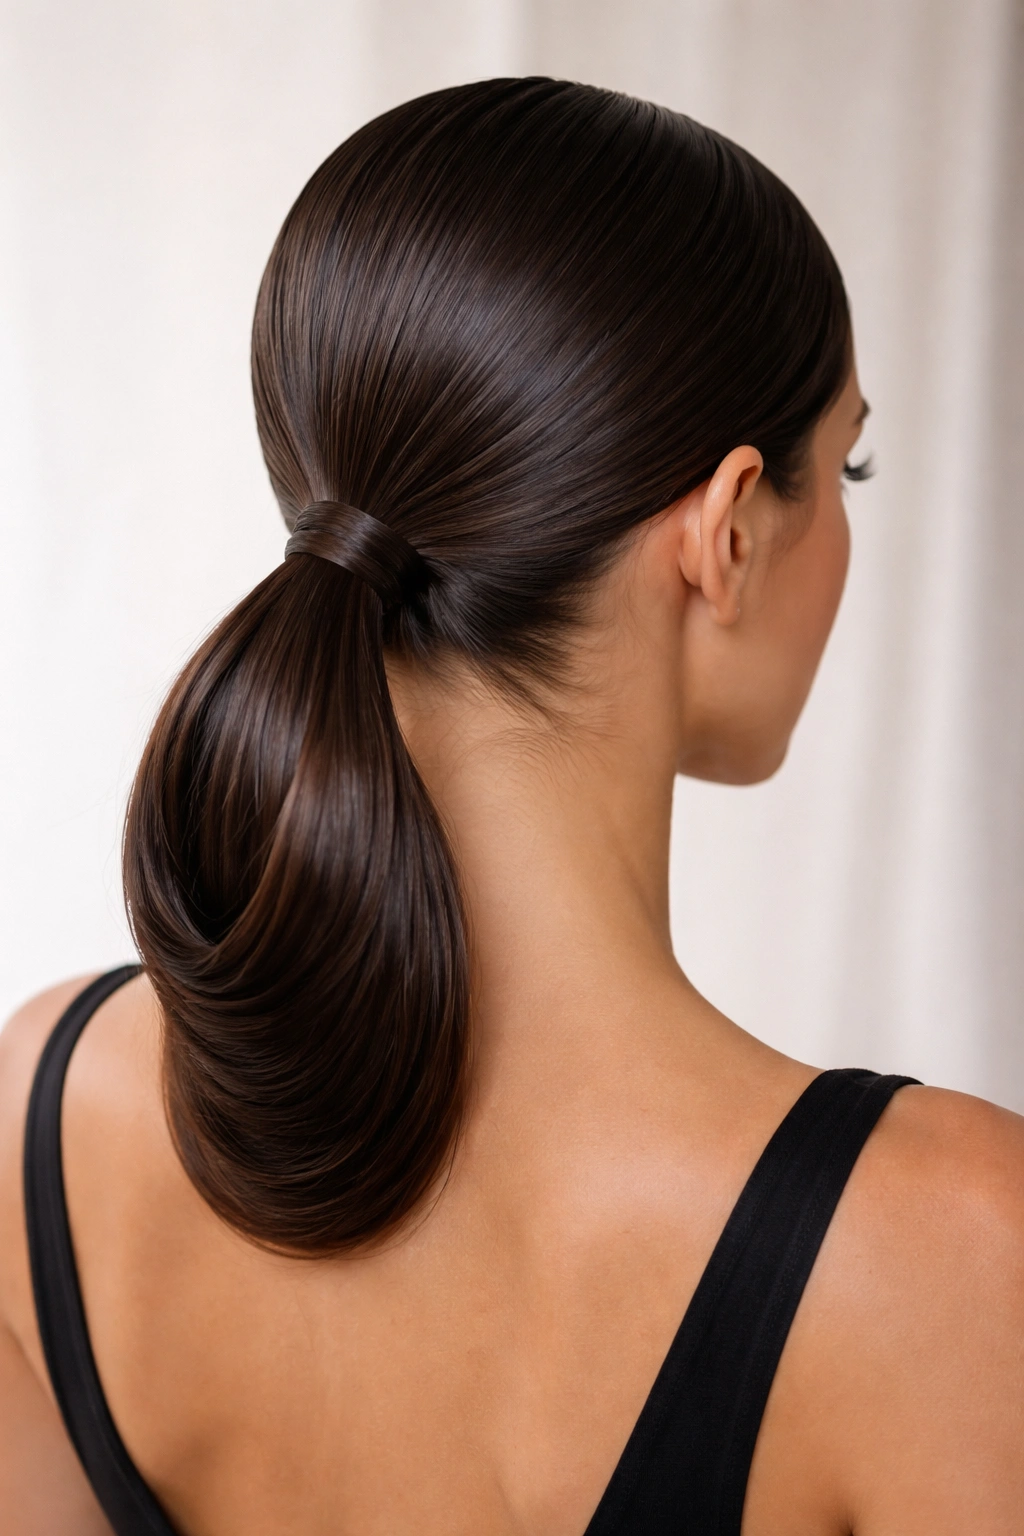
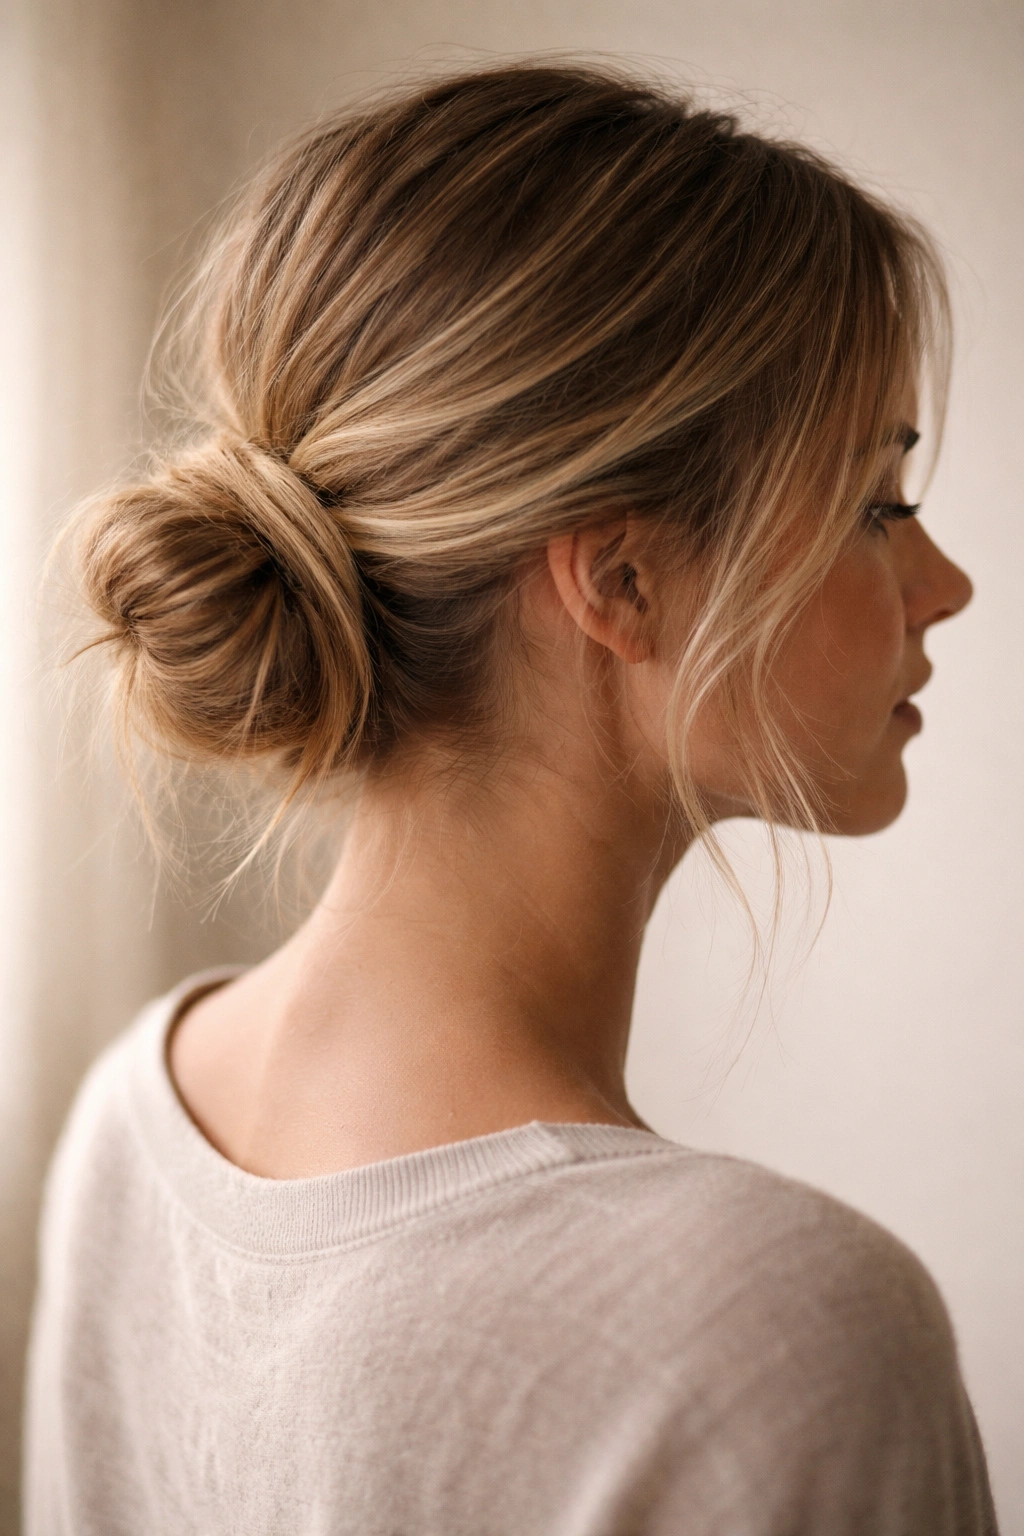
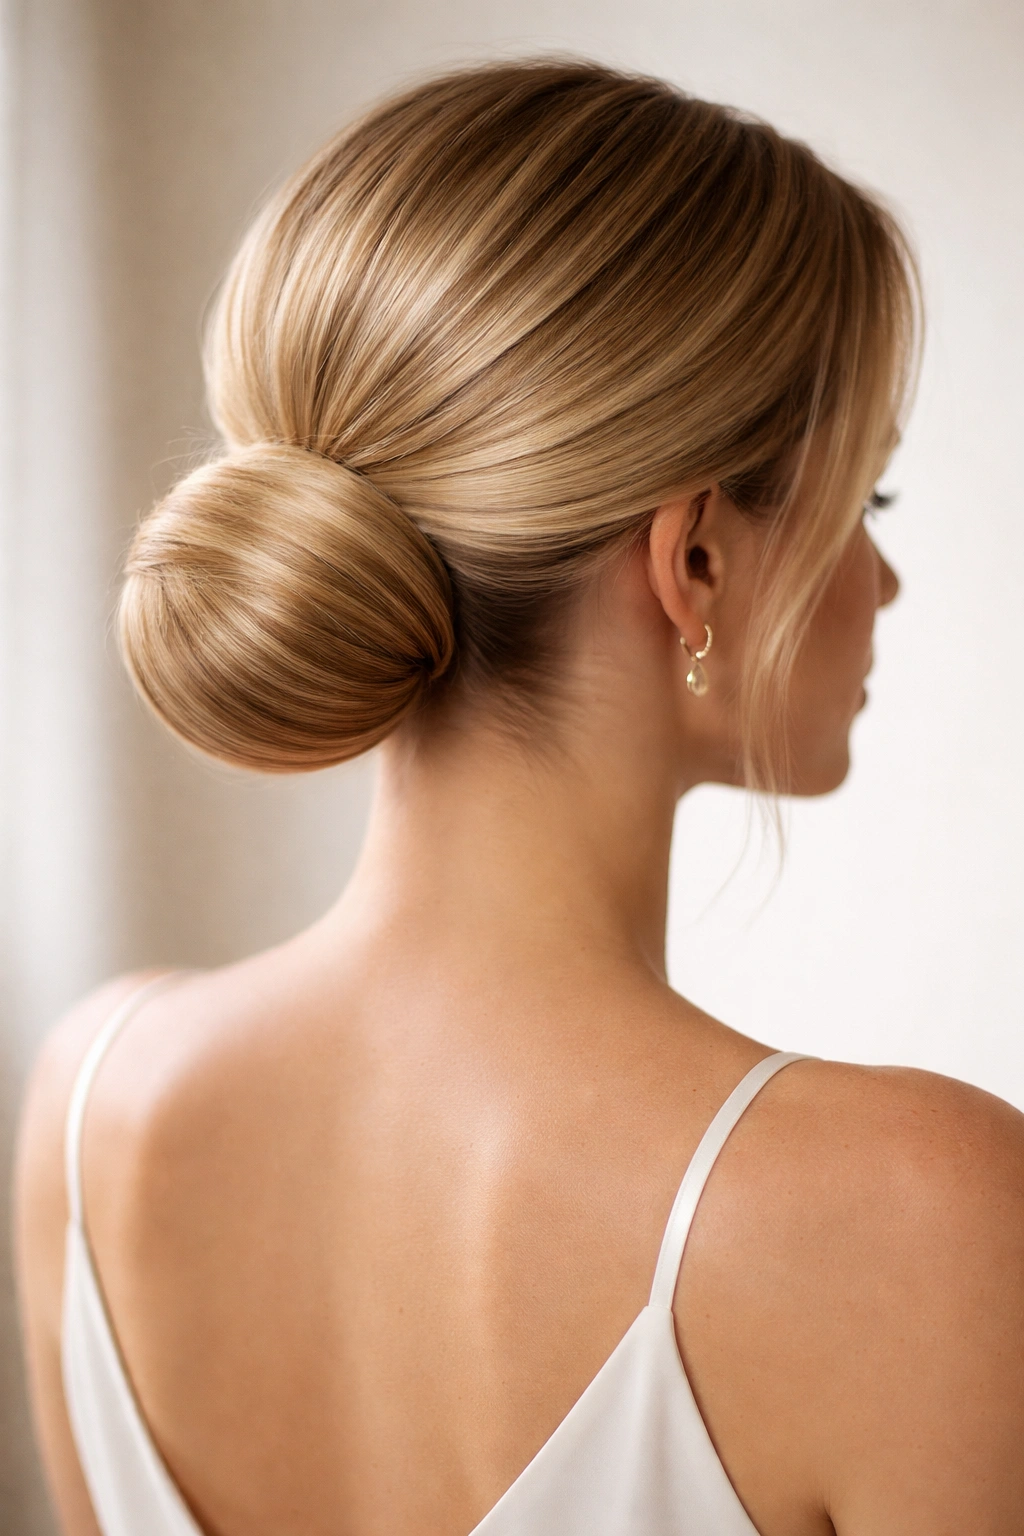
2. The Sleek Low-Nape Bun
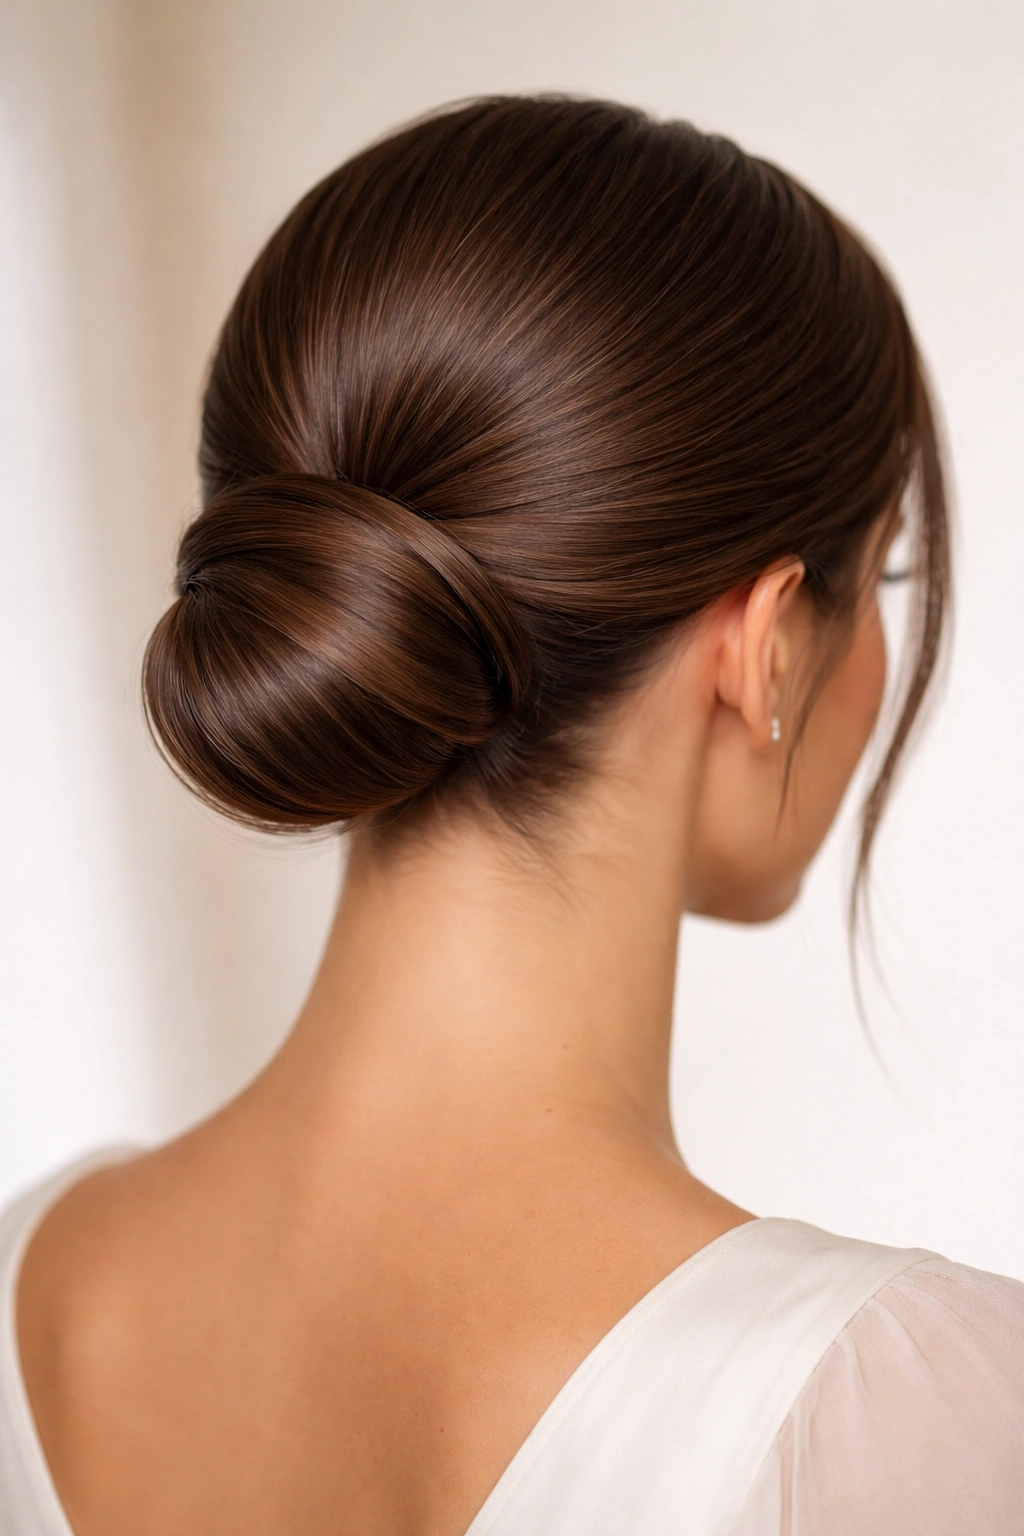
When you want a polished, professional aesthetic, the low-nape bun is the standard. Many people make the mistake of pulling the hair too tight against the neck, which pulls the scalp skin and creates a harsh, thin line. Instead, give yourself some grace. Gather your hair at the base of the neck, but keep the grip loose. Once you secure it, pull a tiny bit of hair upward at the crown to introduce a subtle bump. This soft silhouette is far more flattering than a severe, slicked-back look.
This style relies on the “loop and tuck” method. After securing your ponytail, fold the ponytail loop in half and secure it with a second elastic. Take the loose ends that remain—the tail—and wrap them around the base to hide the hair tie. Pin the ends underneath. This hides the elastic, which makes the whole structure look seamless and intentional. The density of the bun comes from the fact that you aren’t trying to twist it into a tight rope; you are creating a folded loop.
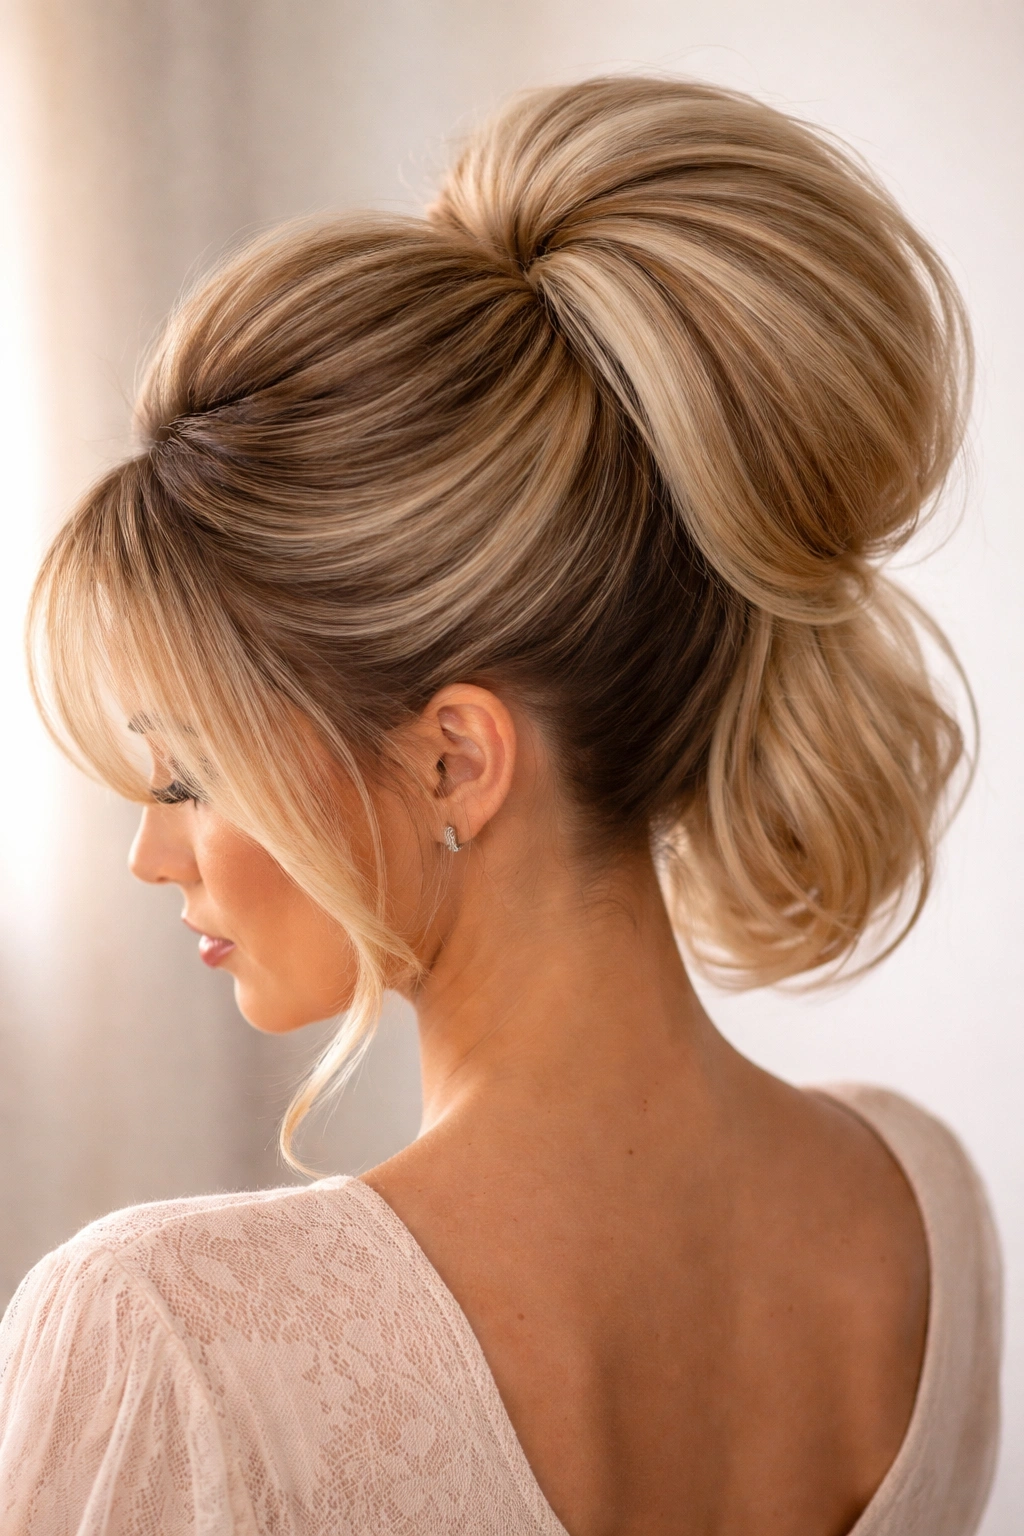
3. The Voluminous Crown Tease
Volume at the crown is the easiest way to make a bun look massive. Before you even gather your hair, section off the top part of your hair—the crown area. Use a fine-toothed comb to backcomb the underside of these sections. This creates a cushion of tangled hair that provides a permanent lift. Once you have that “bump,” smooth the top layer over it and gather everything into a ponytail.
How to Achieve This Look
- Section the crown.
- Tease the hair near the root.
- Smooth the top layer.
- Gather into a mid-height ponytail.
- Twist into a loose bun and secure.
This isn’t just about height; it’s about the shape. When you build that foundation on the crown, the bun that sits atop the ponytail doesn’t have to work as hard to look big. The proportion is already balanced by the volume of your head shape.
4. The Braided Wrap Detail
Adding a braid is a classic hack for making a thin ponytail look thicker. It creates an optical illusion of bulk by breaking up the visual line of the hair. Start with a high ponytail. Split a small section of the ponytail—about one-quarter of the hair—and set it aside. Braid this section all the way down, then secure it with a tiny, clear elastic.
Now, take the remaining bulk of the ponytail and form your base bun. Wrap the braid around the base of that bun. The texture of the braid adds a three-dimensional element that makes the bun look much larger than it actually is. It also acts as a natural structural reinforcement for the bun, holding the weight of the hair in place. The braid is essentially “padding” the base of your style, giving you a wider foundation to work with.
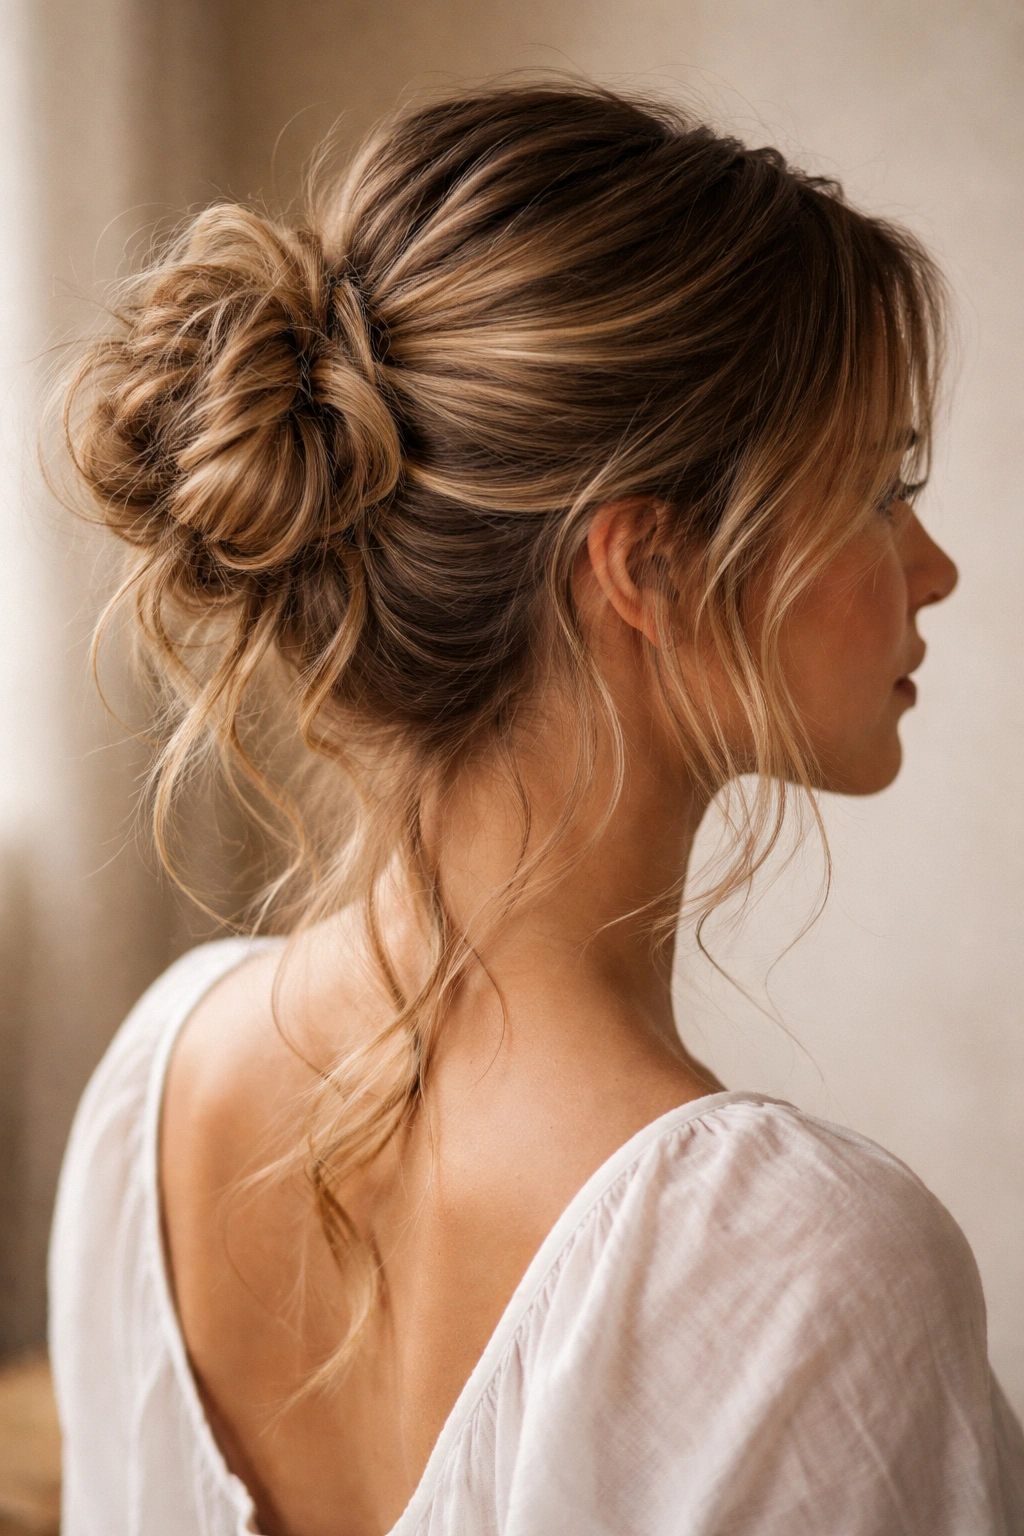
5. The Messy Textured Loop
A “messy” style that actually looks good is difficult because it requires intentional placement. You cannot just pile your hair up and hope for the best. To get this look, start with dry shampoo or texturizing powder throughout your hair—even if it is clean. You need the grit. Gather your hair into a ponytail but leave the tail of the last loop of the elastic pulled through only halfway.
You now have a “loop” bun with a tail hanging out. Take that tail and split it into two sections. Wrap them around the base of the loop in opposite directions. Pin them aggressively. The messiness comes from the loose ends of the hair that you pull out of the bun once it is pinned. Tug on the loops of the bun itself to widen them. If a piece falls out, let it fall; that is the point. The “fullness” here is visual, created by the chaotic, expanded shape of the loop.
6. The Claw Clip Hybrid
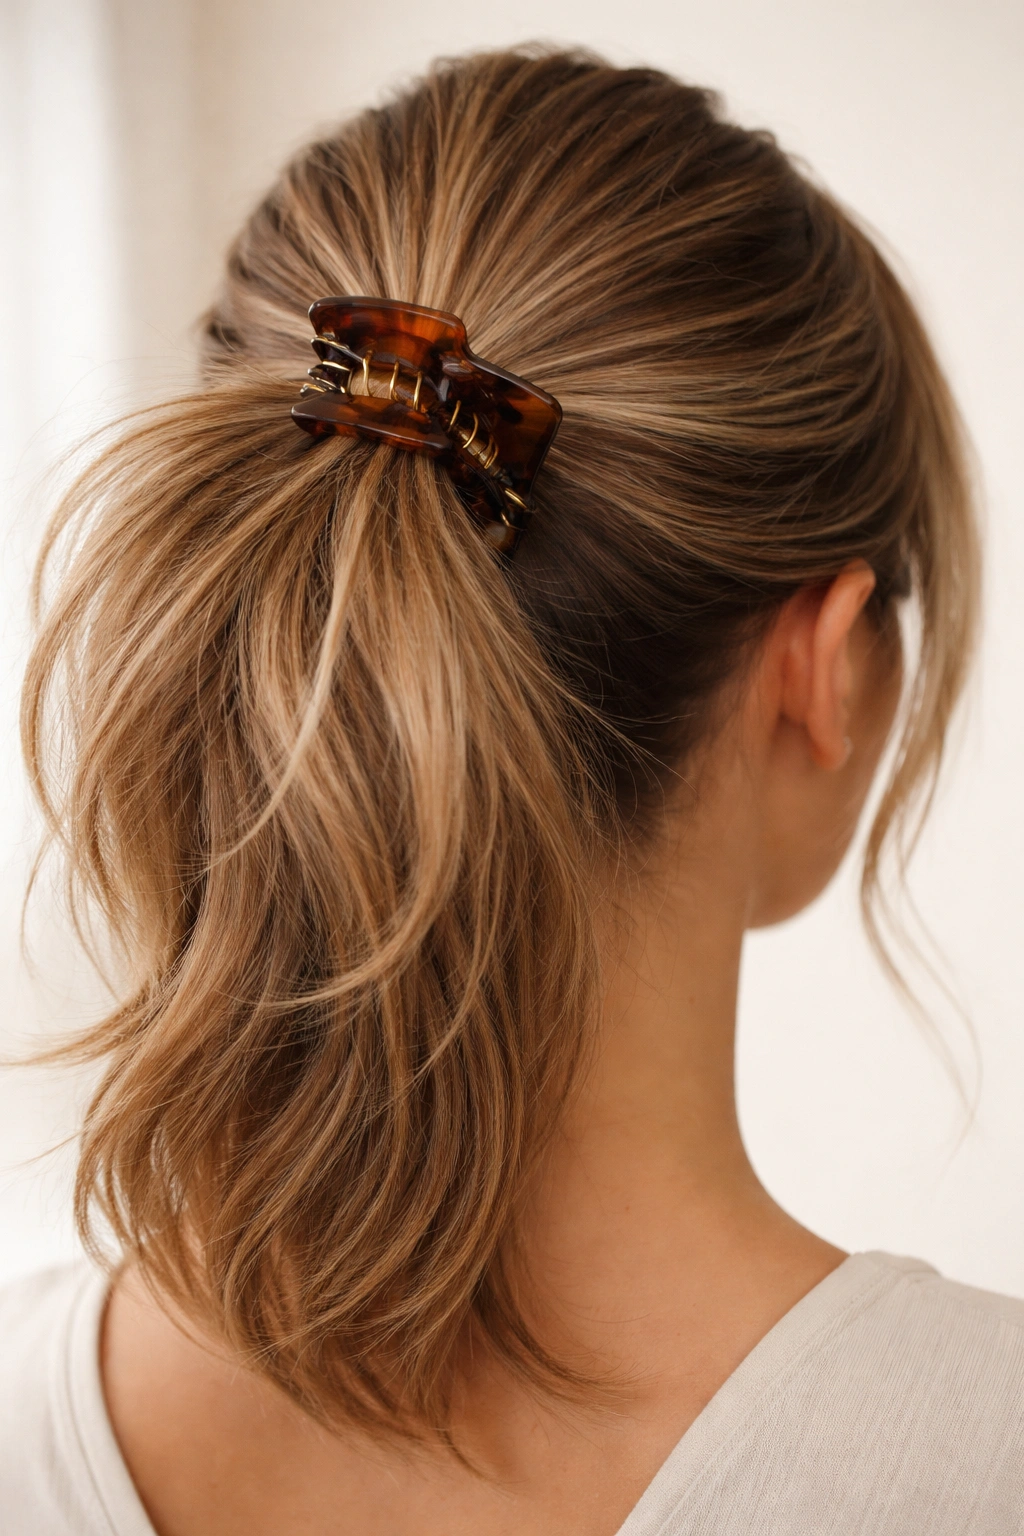
The claw clip has made a massive comeback for a reason: it provides structure without the crushing force of an elastic. For a fuller-looking ponytail bun, start by gathering your hair into a mid-height ponytail, but do not use an elastic. Instead, hold the ponytail with one hand and twist it at the base.
Take a medium-sized claw clip and clamp it over the base of the twisted ponytail. This allows the hair to splay out naturally, rather than being forced into a tight, thin coil. The clip acts as a structural prop that holds the hair away from your scalp. Because the hair is splayed out, it looks twice as voluminous as a standard hair-tied bun. This is perhaps the most hair-friendly method since it avoids the breakage often caused by elastics.
7. The Double-Bun Ponytail
If your hair is truly fine and you struggle with bun density, cheat. Create two separate bun bases instead of one. Pull the top half of your hair into a mini ponytail and create a small, tight bun. Then, pull the remaining bottom half of your hair up to meet the first, adding it into the ponytail.
Create a second bun with that larger combined section. You are essentially stacking the hair. This method uses the physics of multiple focal points to distract the eye. Instead of one sad, thin bun, you have a layered effect that creates the appearance of much more hair. Secure the two buns together with U-shaped hair pins. These pins are gentler on the hair than standard bobby pins and provide a more secure hold for heavy styles.
8. The Silk Scarf Accented Style
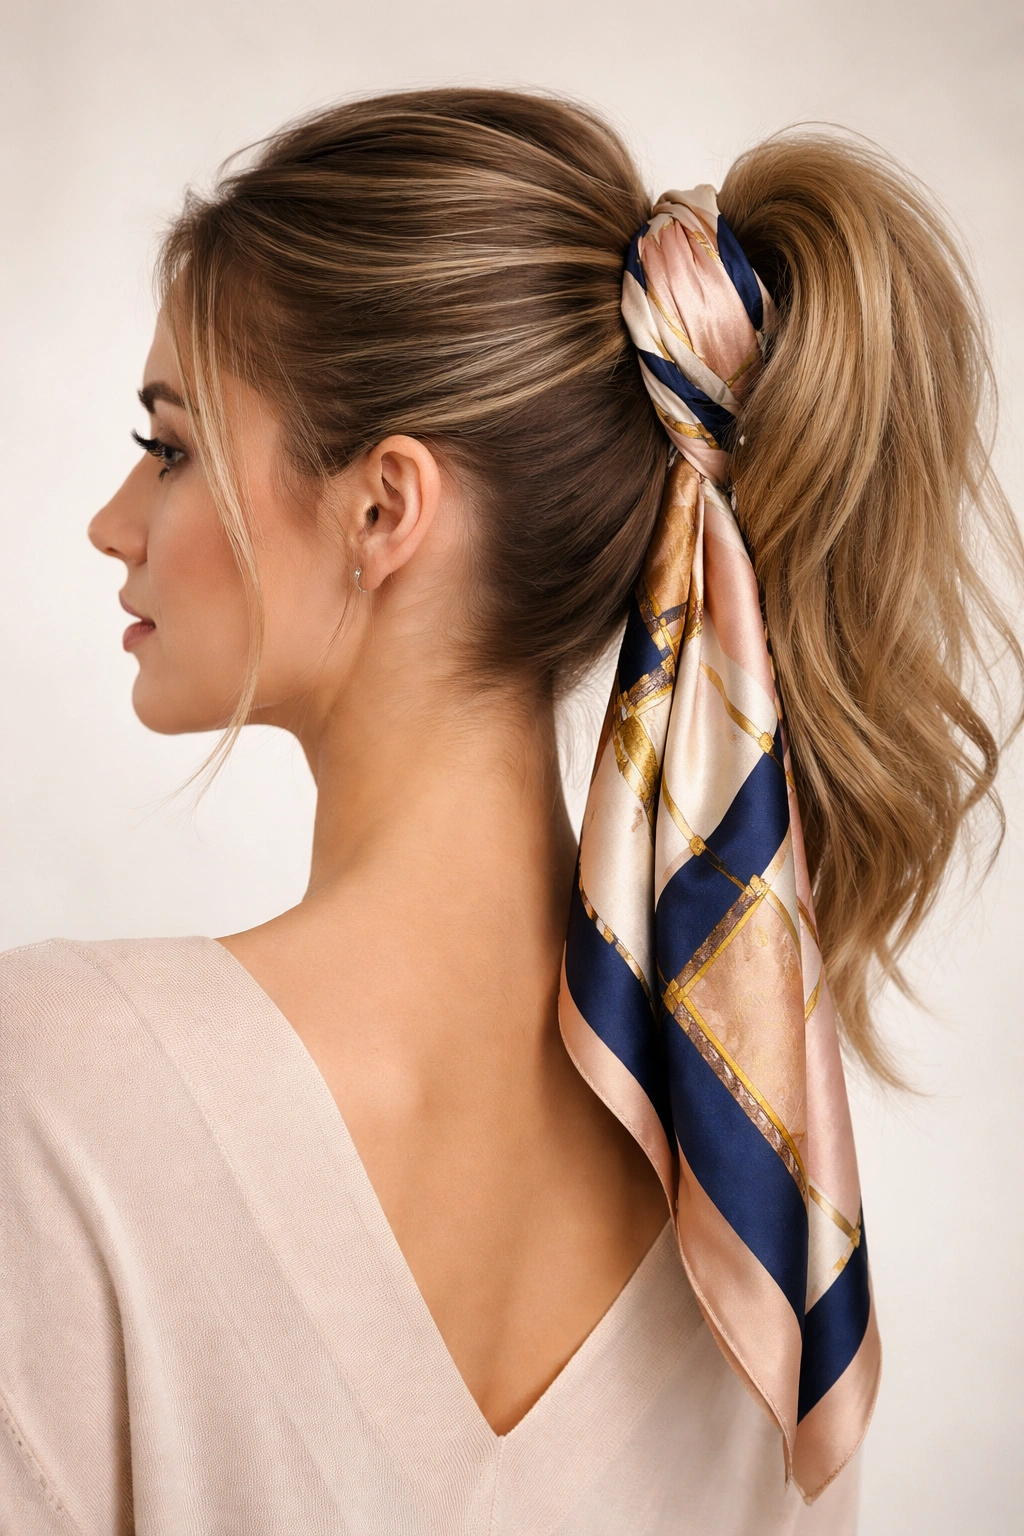
Accessories are your best friend when you want to fake fullness. A silk or satin scarf provides structure and bulk that your hair might lack. Gather your hair into a high ponytail and secure it with a standard elastic. Then, take a scarf and tie it around the base of the ponytail.
Now, incorporate the ends of the scarf into the bun. Twist your hair and the scarf together, wrapping them around the base. The fabric adds thickness to every twist. You aren’t just wrapping hair around hair; you are wrapping hair around fabric. This makes the bun significantly wider. It also helps grip the hair, preventing the style from sliding down throughout the day. It’s a trick that adds both color and structural volume.
9. The Half-Up, Half-Down Bun
This style is excellent for those who do not want to sacrifice the length of their hair but want the bun aesthetic. It takes the weight off the crown, which can actually help with overall volume by preventing the hair from being pulled down by its own weight. Section off the top third of your hair, from the temples to the crown.
Create a small bun with this section. Because you are using less hair, you can actually make this bun look “fuller” by aggressively pulling at the loops. Secure the bun, then leave the rest of your hair down. The contrast between the bun and the flowing hair makes the bun appear more deliberate. For extra fullness, use a dry texture spray on the bun itself to roughen up the strands.
10. The Deep Side-Part Variation
A deep side part adds an element of drama and redirects the flow of your hair. When you pull your hair into a bun, the direction of the hair is usually straight back. By creating a deep side part first, you force the hair to cross the scalp at an angle, which adds volume at the roots near the hairline.
Gather the hair into a low side ponytail, then form your bun. The angle of the ponytail creates a sweeping effect that makes the hair look thicker at the base. It also frames the face more softly than a center part. To maximize this, make sure the side with the most hair is swept over with a bit of “poof” or height before it enters the bun. That extra air underneath the hair is what creates the illusion of density.
11. The Wrapped Base Technique
The biggest mistake people make is leaving the hair elastic exposed. It makes the style look cheap and, more importantly, it highlights the lack of hair thickness. The “wrapped base” is a non-negotiable step for a polished look. After you have secured your ponytail, take a small strand of hair from the underside of the ponytail.
Wrap this strand tightly around the elastic until the elastic is completely covered. Use a bobby pin to tuck the end of the strand into the base. This tiny amount of hair changes the entire silhouette of the style. It creates a smooth, elevated start to the bun, which makes the whole thing look more professional and structurally sound. It essentially “cradles” the base of the bun.
12. The Wispy Face-Framing Style
Fullness isn’t just about the bun; it’s about the entire head. If the bun is the only thing with volume, your hair will look unbalanced. Pulling out thin, wispy pieces around your face and ears softens the look and creates a “lived-in” aesthetic. This distracts from the bun itself and makes the whole style feel more intentional and voluminous.
Use a curling iron on these wispy pieces to give them a slight bend. A straight, limp face-framing piece will make the rest of the hair look thin by comparison. When those pieces have body and wave, they suggest that your hair has natural texture and volume throughout, which primes the eye to see the bun as fuller than it might actually be.
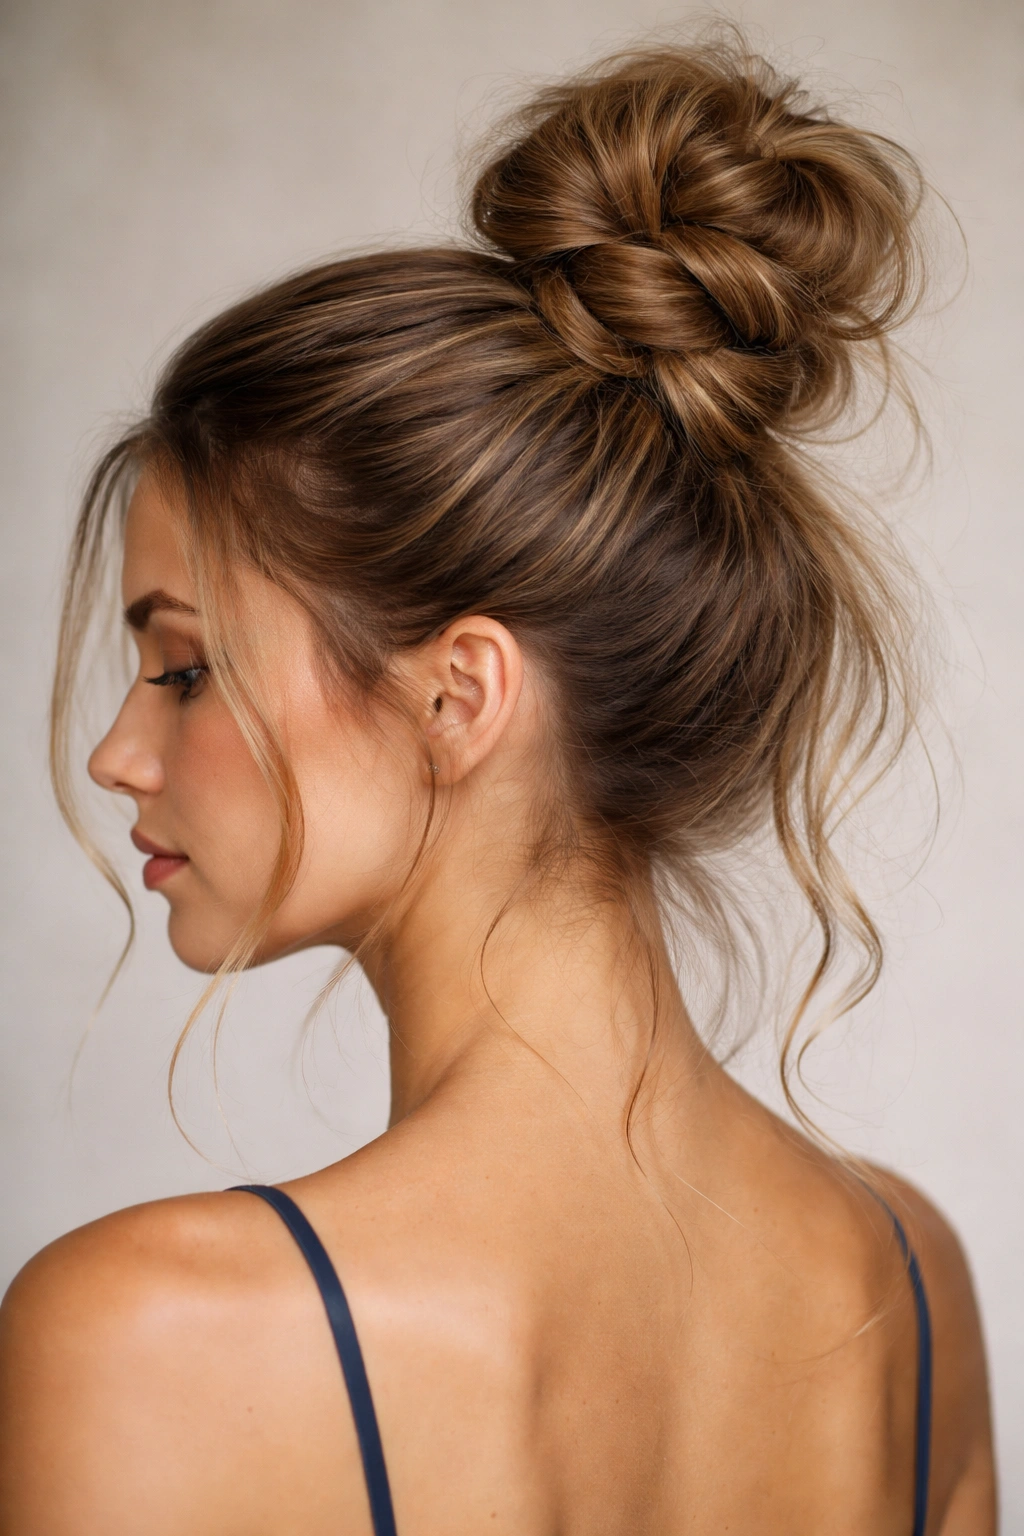
13. The Minimalist Geometric Bun
Sometimes, the attempt to make a bun look “big” backfires. If your hair is fine, trying to create a massive, messy bun can just look like a tangled knot. Instead, embrace the sleekness. A minimalist, geometric bun is all about precision. Use a high-quality smoothing pomade to slick your hair back completely.
Create a high, tight ponytail. Then, fold the hair into a flat, loop-shaped bun. Secure it with two long, U-shaped pins. The precision of the style draws attention to the smoothness of the hair, not the volume. It’s an “editorial” look that works because it ignores the volume requirement entirely. It says you chose a small, sleek bun, rather than having no other option.
14. The Bubble-Braid Bun
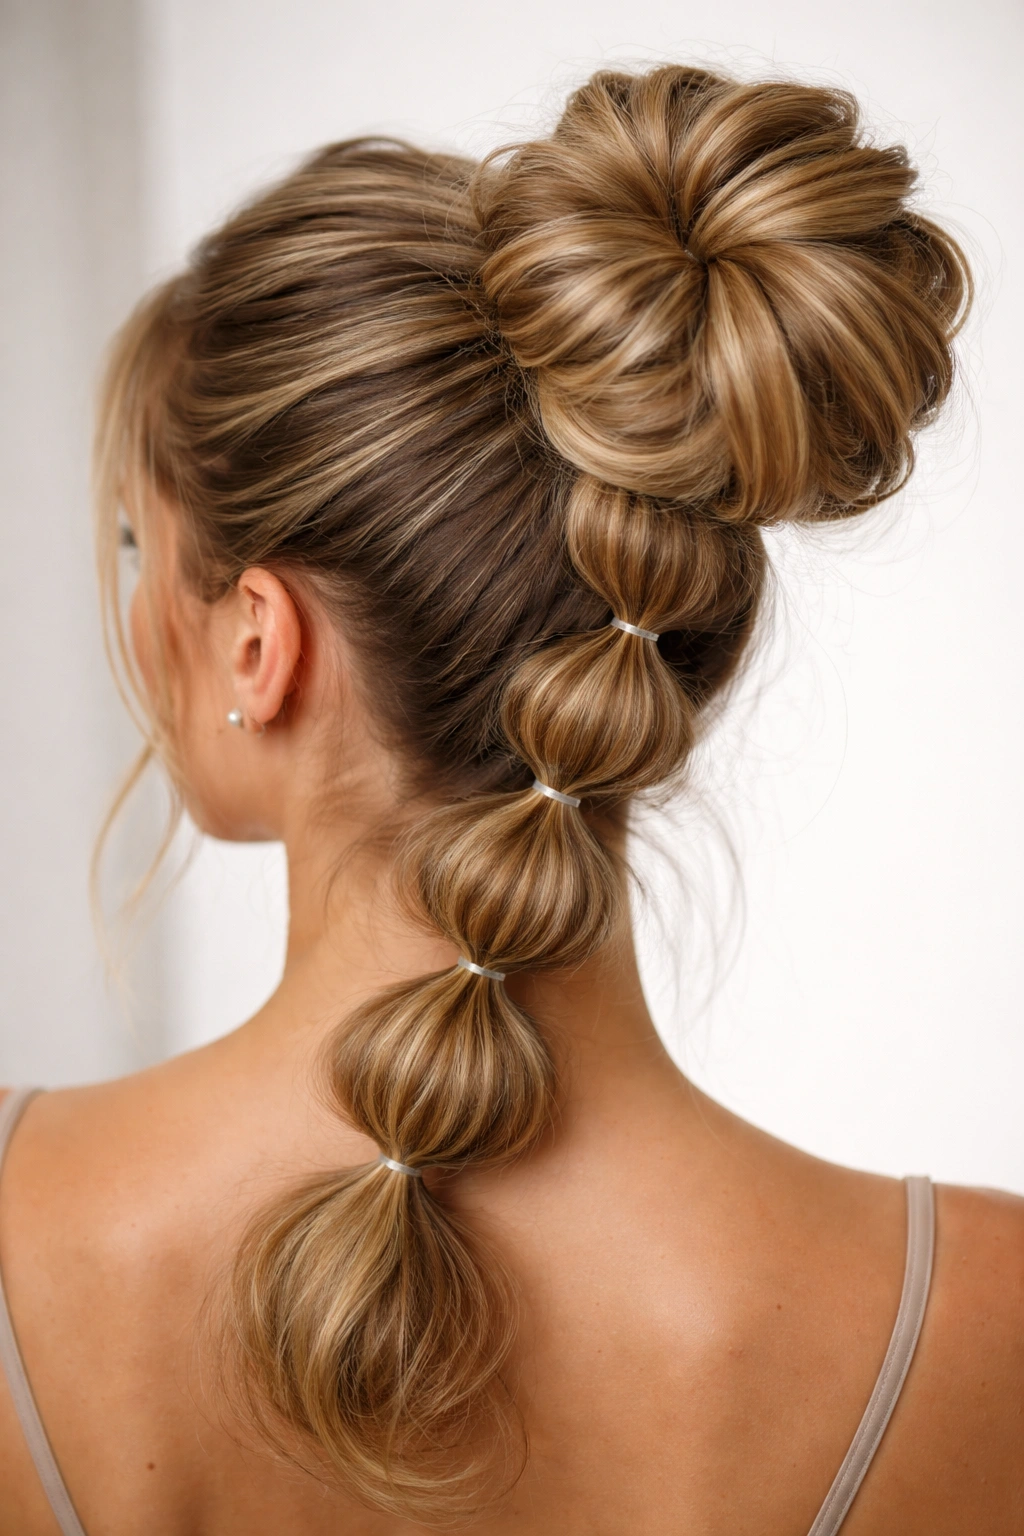
This is an advanced technique that relies on the “bubble” method. Gather your hair into a high ponytail. Secure it, then place additional elastics every two inches down the length of the ponytail. Once you have a series of segments, pull at the edges of each segment to create “bubbles.”
Now, take this long, bubbly, voluminous rope of hair and wrap it into a bun. The bubbles give you pre-fabricated volume. Because you’ve already expanded the hair with the elastics, the bun will be significantly larger than it would be if you just wrapped a plain ponytail. This is a game-changer for anyone with truly thin, straight hair.
15. The Knotted Top-Knot
A knot is often more secure and provides more texture than a smooth twist. Take your high ponytail and divide it into two equal sections. Tie them in a simple knot, exactly as you would tie a shoelace. Keep doing this until you run out of hair, then tuck the ends.
The resulting structure is a dense, tangled, yet intentional knot. It provides a ton of visual interest and takes up much more space on your head than a simple twist-and-wrap bun. It works best on hair with some natural wave or texture. If your hair is stick-straight, hit it with a sea salt spray before you start the knotting process to ensure the knot doesn’t slip out.
16. The Sleek Center-Part Loop
If you want to pull off the clean-girl aesthetic, the center-part loop is the way to go. This look is about structural discipline. Use a tail comb to create a razor-sharp center part. Slick the hair back with a small amount of gel or cream, keeping it glued to the scalp.
Gather the hair into a low ponytail. Fold the loop back over itself so the ends are tucked at the nape of the neck. Secure it with a flat barrette or a pin. The contrast between the sleek, glued-down front and the loop bun in the back is visually striking. It’s a deliberate choice that works for any hair texture, and the sleekness prevents the “thin hair” look because you aren’t trying to fake volume—you are celebrating the flat texture.
17. The Twisted Side Bun
Asymmetry is a powerful tool. By pulling your bun to one side, you change the way the hair hangs and how the scalp shows. Start by parting your hair to the side. Gather the hair into a ponytail behind one ear.
Instead of a simple wrap, twist the ponytail into a rope. As you twist, gently pull the edges of the rope to “fluff” it up. Then, coil this rope into a bun. The twisting creates a textured, thicker appearance. Because the bun sits to the side, it creates a different silhouette against your jawline, which can be very flattering. The twist method is excellent for adding body to limp hair.
18. The Retro-Volume Beehive Hybrid
This style channels a bit of the 1960s. You need a teasing comb and a steady hand. Tease the hair at the crown aggressively. Don’t worry about how messy it looks; you are going to cover it. Once the crown is sufficiently teased, smooth the top layer back and gather it into a ponytail.
The “beehive” effect gives you a permanent lift at the scalp. When you pull the ponytail into a bun, the hair is already elevated, which prevents it from flattening against your skull. This style creates a rounded, soft look that is very forgiving if your hair lacks natural density. It’s a vintage-inspired look that remains a staple for a reason: it works.
19. The Undone, Ultra-Low Loop
There is an art to looking like you just rolled out of bed. The ultra-low loop bun sits right at the hairline of your neck. It’s almost a ponytail, but not quite. Pull your hair into a low elastic, but again, leave the tail of the last loop pulled through only halfway.
The key to the “full look” here is to leave the ends of the hair tucked into the elastic, but make them messy. Pull at the sides of the bun to create width. The wider the bun, the fuller it looks. This style works best when the hair is a bit dirty or texturized. It feels relaxed and sophisticated without looking like you tried too hard.
20. The Bohemian Messy Knot
Bohemian styles are defined by their loose, airy quality. For this, you want to curl your hair before you put it up. Waves and curls occupy more physical space than straight hair, which is an automatic win for fullness. Gather the hair loosely—don’t use a brush; use your fingers.
Gather it into a medium-height ponytail. Twist it loosely and pin it. The key here is to let strands fall out. A tight, perfect bun looks thin, but a loose, falling-apart bun looks like it has “too much hair to contain.” That’s the vibe you want. The loose strands and the curl pattern give the style an organic, abundant feel.
21. The Structured Chignon-Pony
A chignon is essentially a bun that sits very low. This is a very structured, elegant look. The trick is to create a “roll.” Tuck the ponytail under itself at the nape of the neck and pin it securely. You aren’t twisting it into a ball; you are rolling it into a cylinder.
This creates a thicker appearance because the hair is layered upon itself in a horizontal plane. It fills the space across the back of the neck, which makes it look much more substantial than a standard twisted bun. It’s a very sophisticated, classic look that works perfectly for formal settings where you want to look put-together.
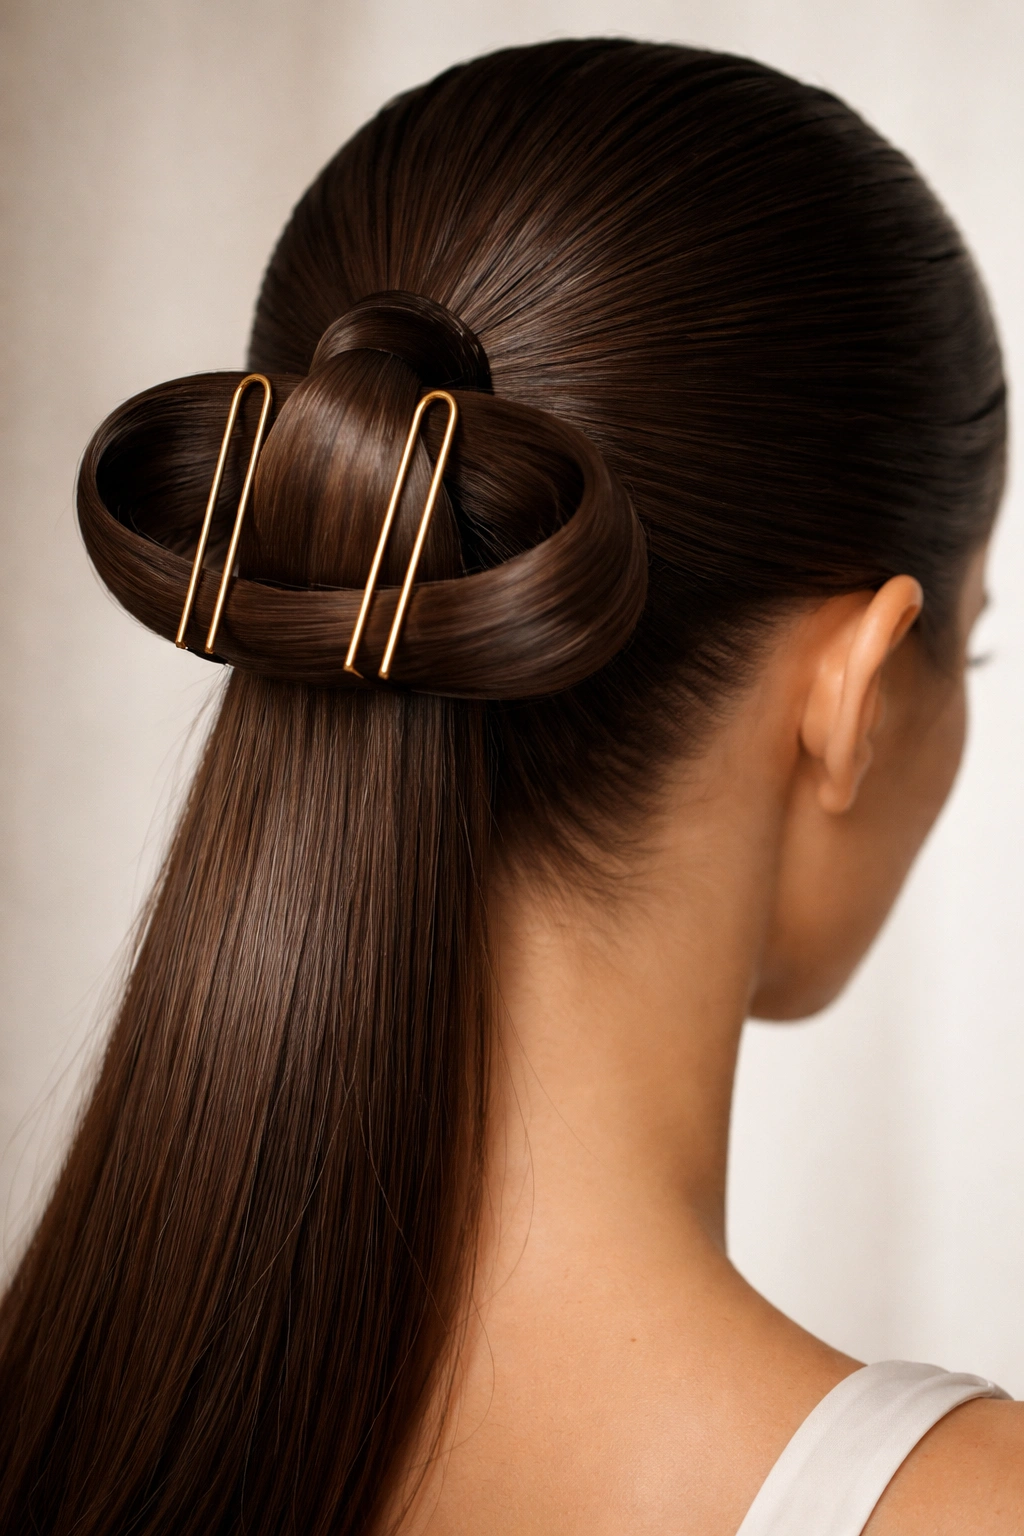
22. The Jeweled Pin Enhancement
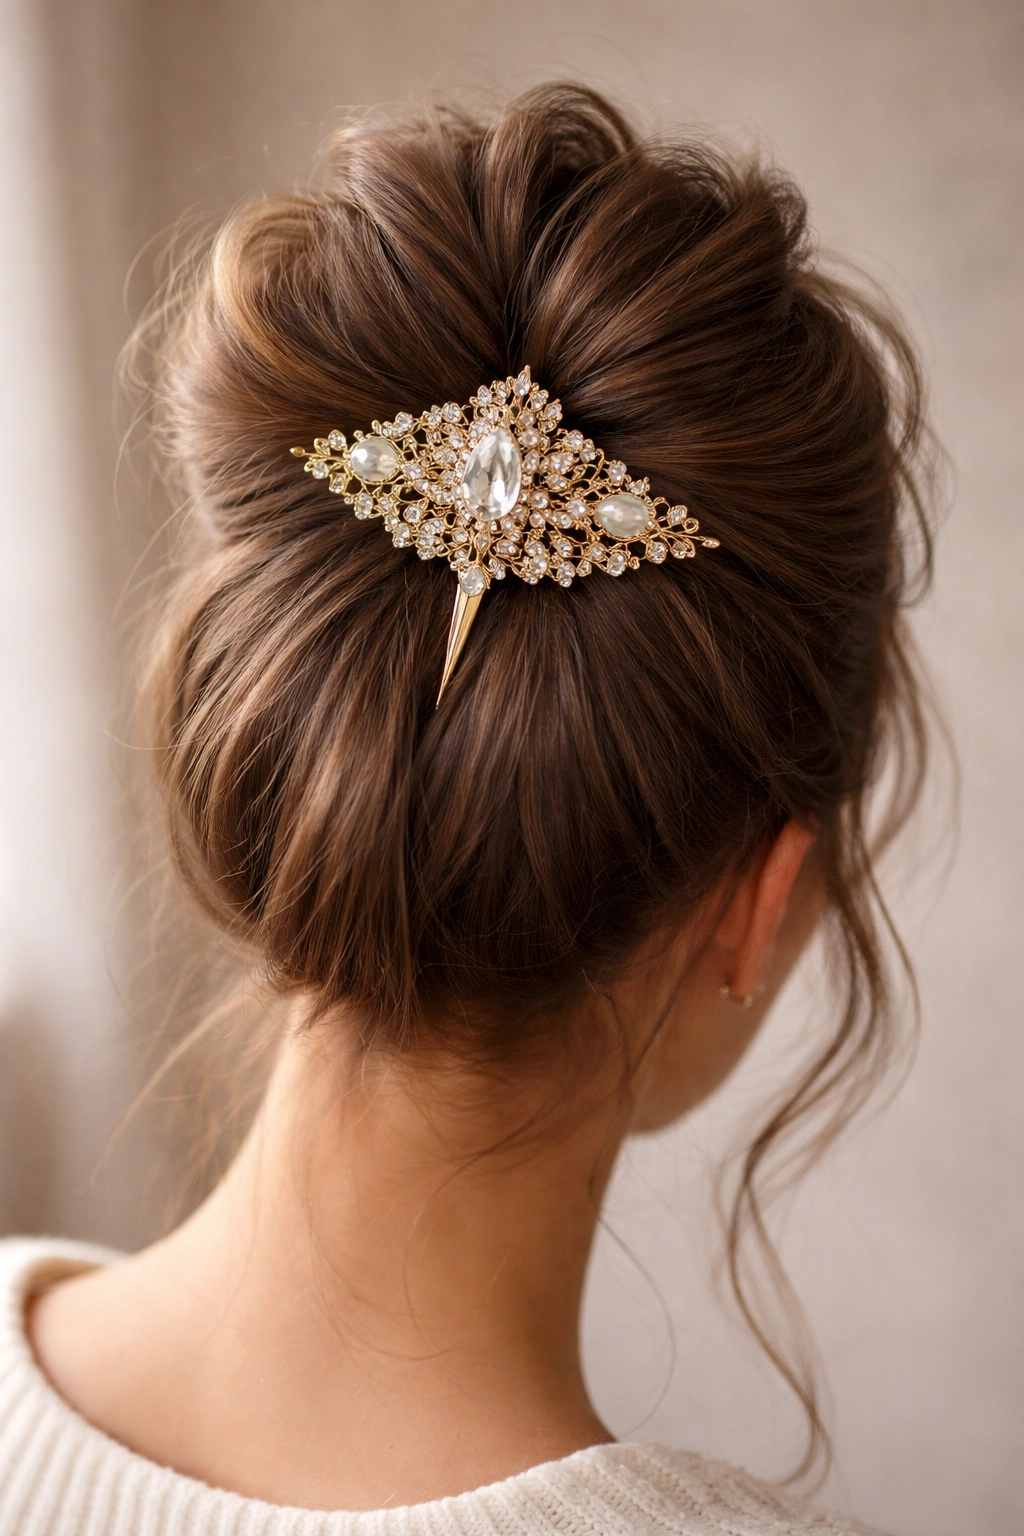
Sometimes, the best way to make your hair look fuller is to add hardware that occupies space. A large, ornate hair pin or a jeweled clip can act as a structural anchor. Gather your bun as you normally would, then insert a large, decorative pin through the center.
The pin does two things: it helps keep the bun in place, and it takes up visual space. It draws the eye to the center of the bun, which can distract from its size. Furthermore, if you place the pin strategically, it can push the hair outward, effectively “puffing” up the bun from the inside. It’s a utilitarian hack that doubles as an accessory.
23. The Curly Texture Showcase
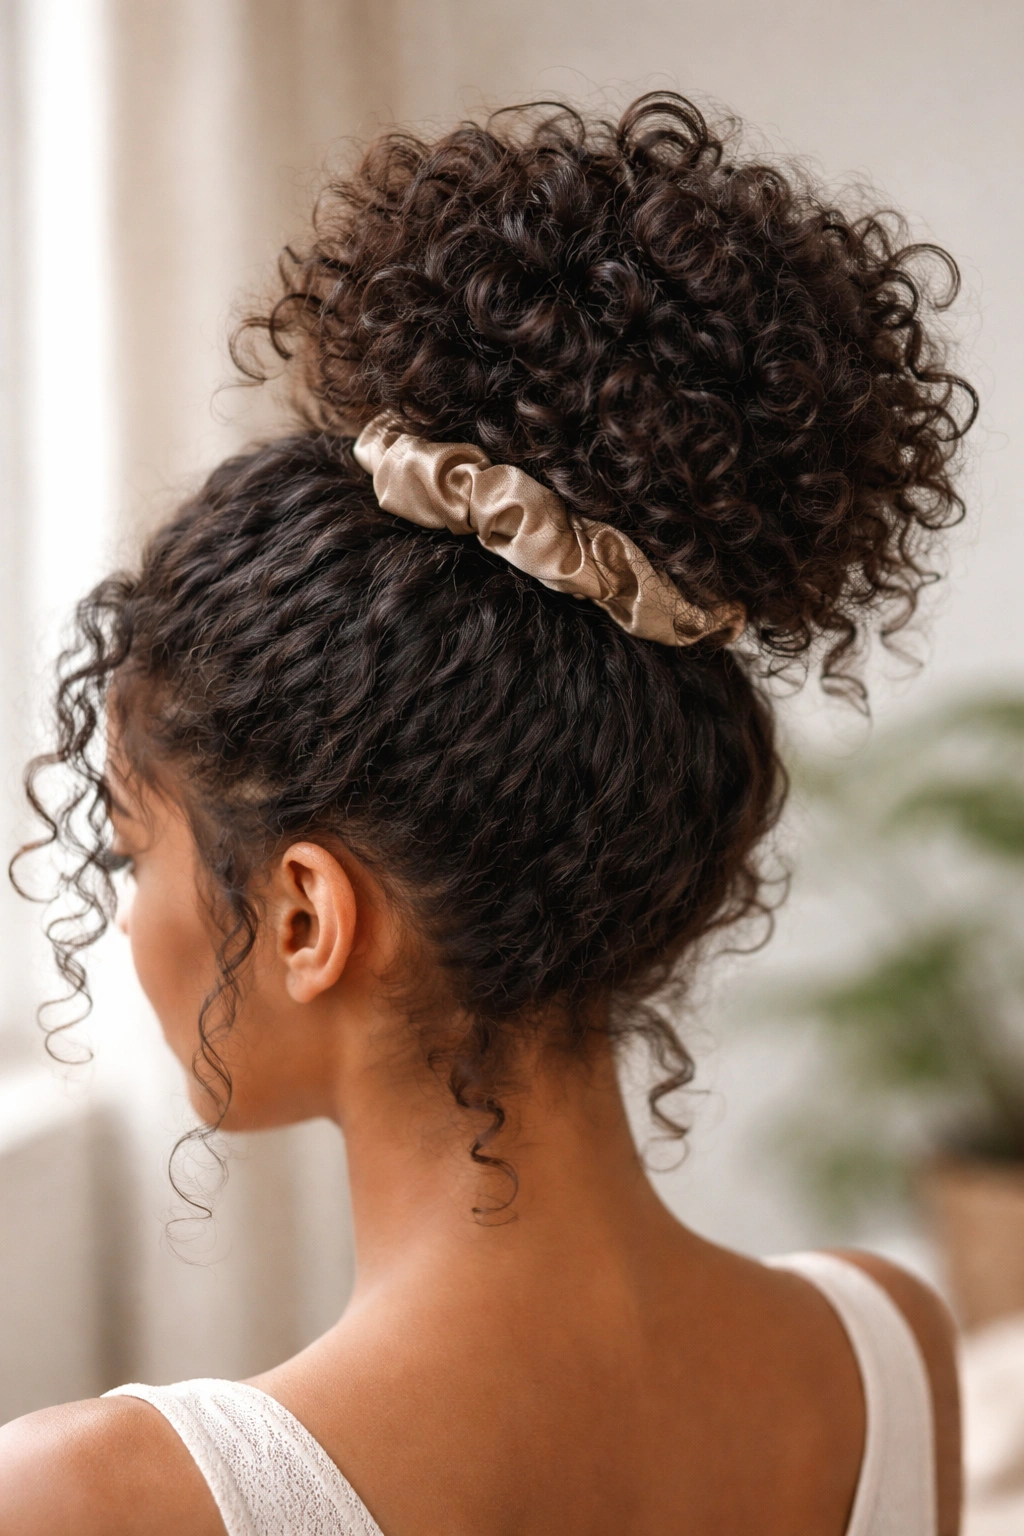
If you have naturally curly or coily hair, you have an inherent advantage. You don’t need to do much to create fullness; you just need to avoid squashing it. The best technique for curly hair is the “pineapple” method, modified for a bun. Gather your hair at the very top of your head, but do not use a tight elastic.
Use a satin scrunchie. The satin prevents friction and doesn’t pull the curls tight. Gently tuck the ends of the curls around the base, pinning them loosely. Do not comb or brush the hair; let the individual curls stack on top of each other. This creates a rounded, dense, and naturally voluminous bun that looks incredible. The key is to handle the hair as little as possible.
The Secret to Consistent Fullness
Creating the appearance of a full, voluminous bun is rarely about the sheer volume of hair you were born with. It is about understanding how to use texture, tension, and placement to your advantage. Most of the styles we have covered rely on the same core principles: backcombing for a foundation, twisting for added structural girth, and strategic pinning to widen the shape.
If you find that your buns are still falling flat, re-evaluate your base products. A light, buildable texturizing spray is the most important tool in your kit. It gives your hair the grip it needs to stay twisted and pinned without sliding out. Without that grip, even the most perfect technique will eventually succumb to gravity. Experiment with these styles, focus on building the foundation before you secure the bun, and you will find that “full” hair is something you can build, not just something you have.