



A cornrow bun is the closer move. You sit through hours of intricate braiding, and at the end, every loose strand gets gathered, twisted, coiled, and secured into a bun that finishes the whole composition. Cornrow bun styles read as polished and intentional in a way few other protective styles can match — the cornrows handle structure, the bun handles drama, and together they cover every angle of the head.
I wear cornrow buns to job interviews. They communicate competence without being aggressively professional. They show off detail without screaming for attention. And they get my hair completely out of my face, which matters when I’m trying to focus on something other than what’s touching my neck.
What follows is 25 distinct bun finishes — high buns, low buns, double buns, side buns, woven buns, statement buns. Some take 4 hours to install. Some are pulled together in 90 minutes. The bun position, size, and surrounding cornrow pattern change everything about how the style reads.
Why a Bun Finish Changes the Whole Style
Loose cornrow ends hang. They move when you turn your head. They tickle your neck. A bun finish stops all of that, locking the entire style into a sculpted shape that doesn’t shift as you go about your day.
Buns also redistribute weight. Long cornrow ends pull on the scalp from a downward angle. A bun gathers that weight and centers it at the bun position — typically the crown or nape — which can actually feel lighter than letting long braids hang free.
Visually, a bun adds a focal point. The eye naturally moves to the bun position, which means the surrounding cornrow pattern becomes a frame rather than the main event. This shifts how you accessorize, how you wear earrings, and what neckline works with the style.
The bun’s position dictates the mood. High buns read as energetic. Low buns read as classic. Side buns read as fashion-forward. Double buns read as playful.
How Bun Volume Is Built
A bun’s apparent size depends on the hair you’re working with. Six cornrows ending at shoulder length give you a small bun unless you add bulk.
Bun volume gets added in three ways:
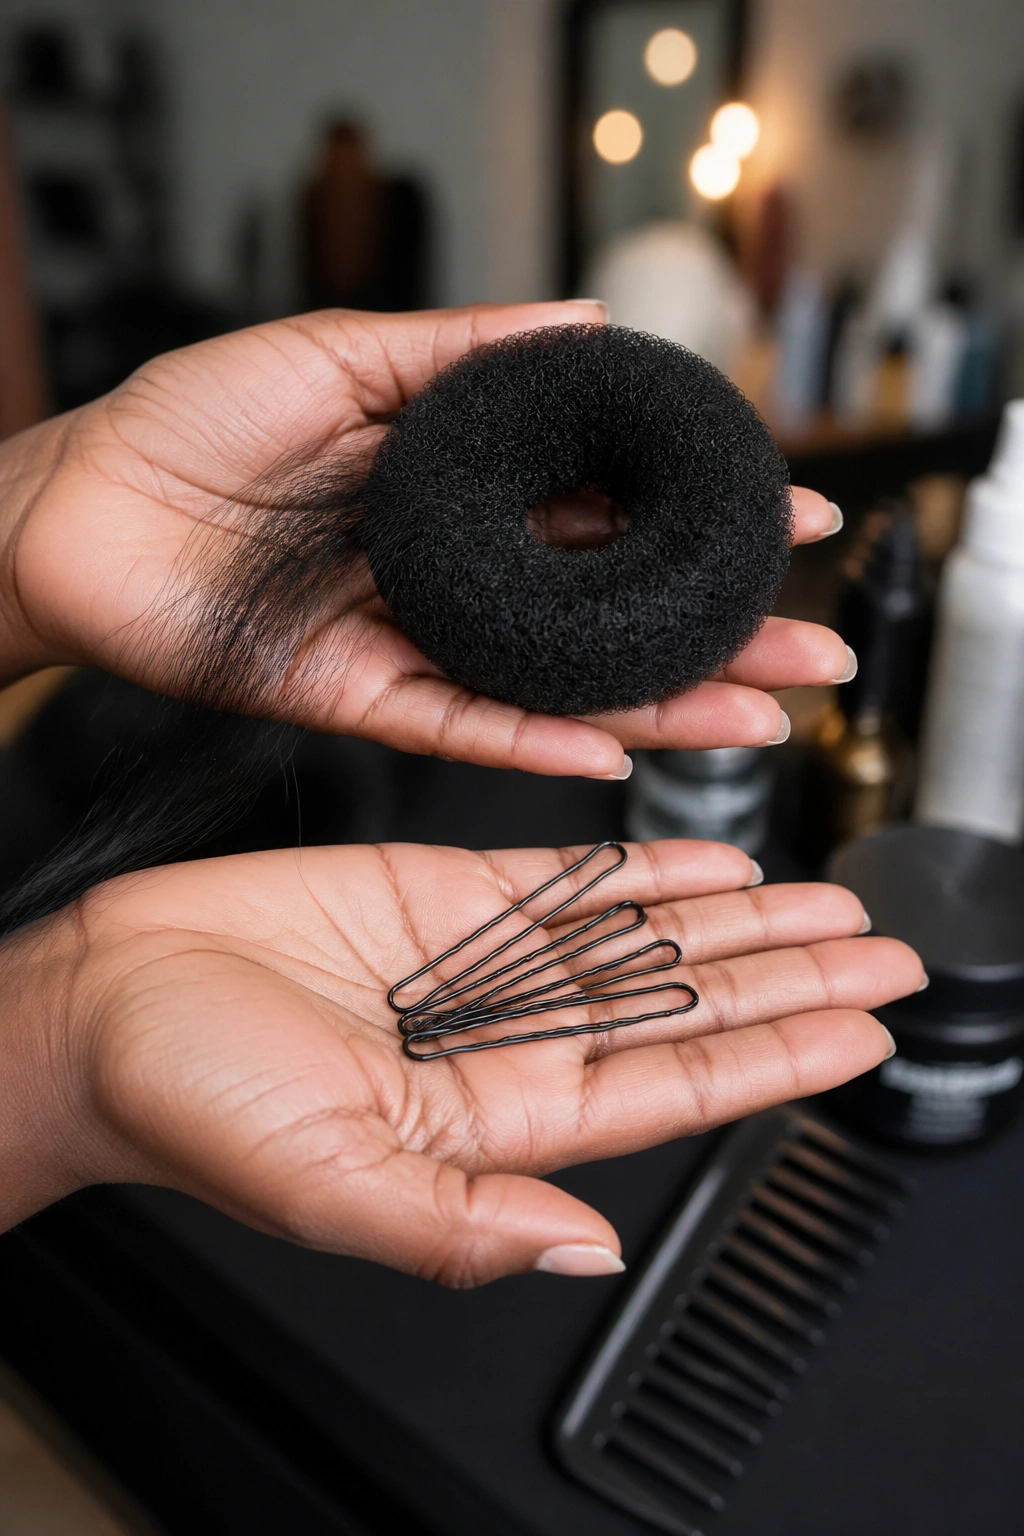
A bun donut (a foam ring you wrap hair around) creates a uniform circular shape and adds volume without using your own hair.
A bun maker (a banana-shaped foam piece) creates a larger, fuller bun that’s especially good for low buns and side buns.
Stuffing kanekalon directly into the bun structure as you wrap. This is the most natural-looking method but takes longer to set.
For most cornrow buns, a bun donut is the standard tool. Inexpensive, reusable, and matches well to most hair colors with neutral foam tones.
Tools and Materials
Hair pins (U-pins, not bobby pins) for securing the bun. U-pins disappear into the hair; bobby pins show.
A wide-tooth comb for gathering cornrow ends without snagging.
Edge gel for smoothing flyaways at the bun base.
A bun donut or bun maker if your hair volume is limited.
Holding spray for setting the bun in place. A flexible-hold spray is better than a stiff hairspray because the bun needs slight movement to look natural.
Hair tie or scrunchie for the initial gathering before the bun shape is set.
Prep Before the Cornrow Bun Install
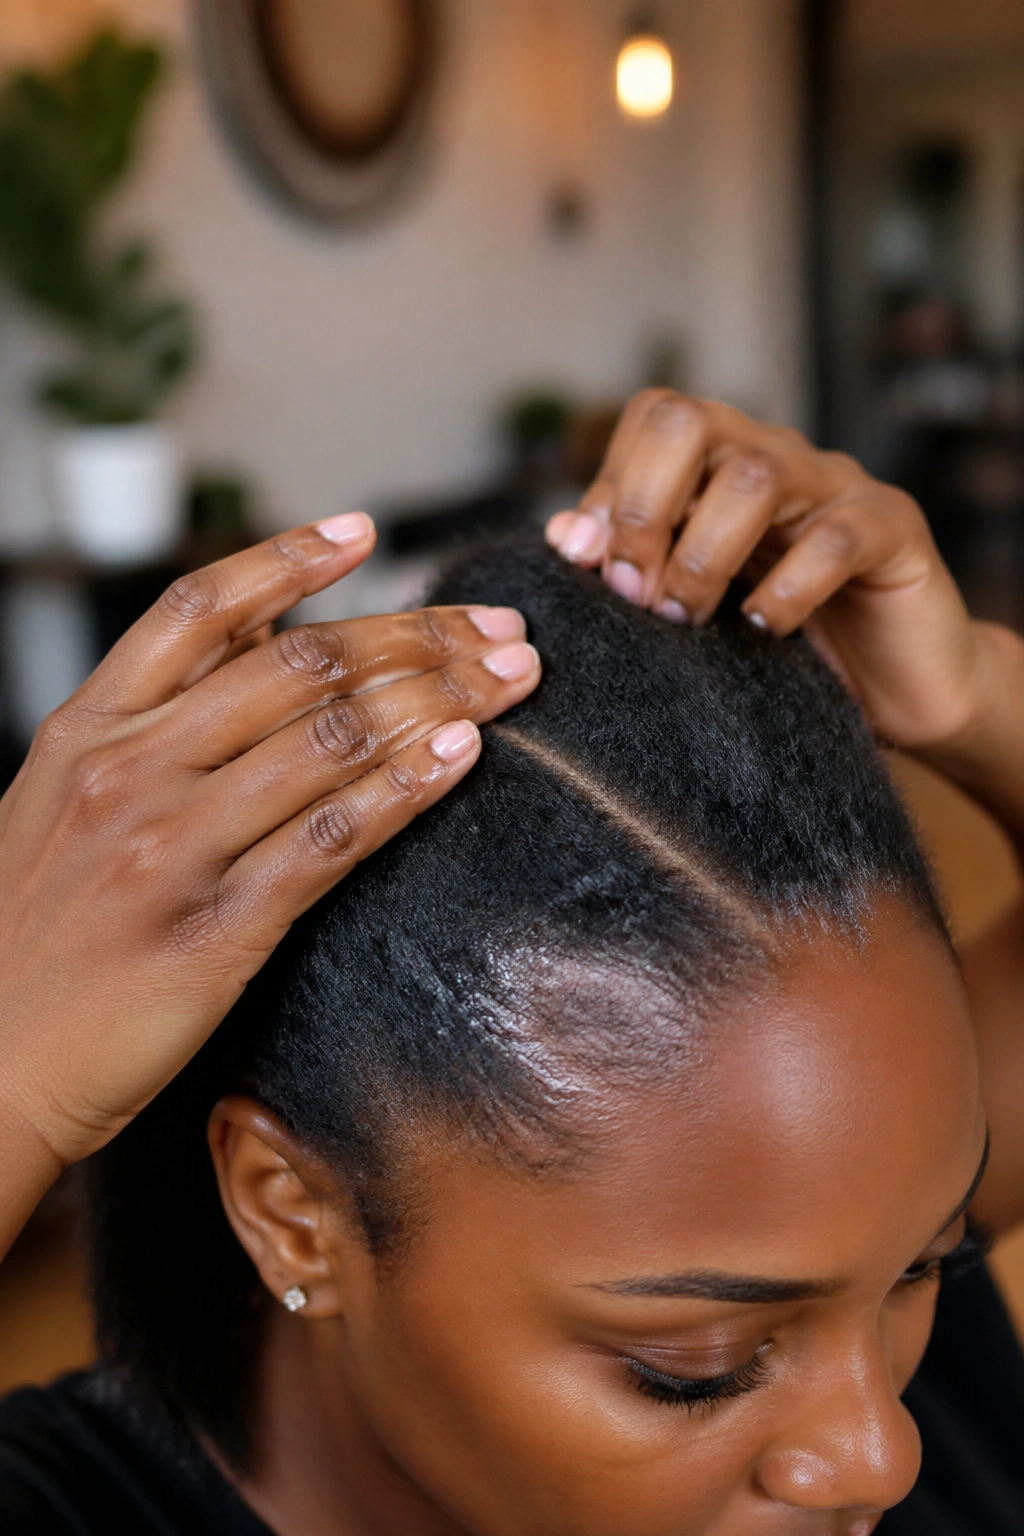
Standard cornrow prep applies. Wash 2-3 days prior. Deep condition. Stretch the hair. Lightly moisturize.
Decide bun position before the install begins. The cornrow direction needs to support the bun position — cornrows running back and down for a low bun, cornrows running back and up for a high bun, cornrows angling to one side for a side bun.
Bring reference photos to the braider. Cornrow bun aesthetics vary so widely that verbal description rarely conveys what you want.
Eat something substantial before the install. Cornrow bun installs typically take 3-6 hours including the bun setup at the end.
Choosing the Right Bun Size
Bun size should balance your face shape and head proportions.
Small buns (golf-ball size) work for small head circumferences and delicate facial features. They read as understated and refined.
Medium buns (tennis-ball size) suit most face shapes and head sizes. They’re the default for everyday wear.
Large buns (softball size or larger) work for taller women, large head circumferences, and bold face shapes. They photograph well and create dramatic silhouettes but can overwhelm small features.
When in doubt, go medium. Small buns can look thin; large buns can look like a bun ate your head.
How Long Cornrow Buns Actually Hold
The cornrow base lasts the standard 4-8 weeks if maintained well. The bun itself, however, gets restyled regularly.
Most cornrow buns get redone daily or every 2 days. The bun structure loosens with movement, sleep, and time. Re-tucking and re-pinning the bun takes about 5 minutes once you have the technique.
For longer-lasting buns, secure with extra pins and a setting spray, then sleep on a high bonnet that accommodates the bun shape without compressing it.
For event wear, get the bun set fresh that morning or even the hour before. Cornrow buns photographed at peak look noticeably better than 3-day-old buns.
1. High Cornrow Bun on Top of the Head
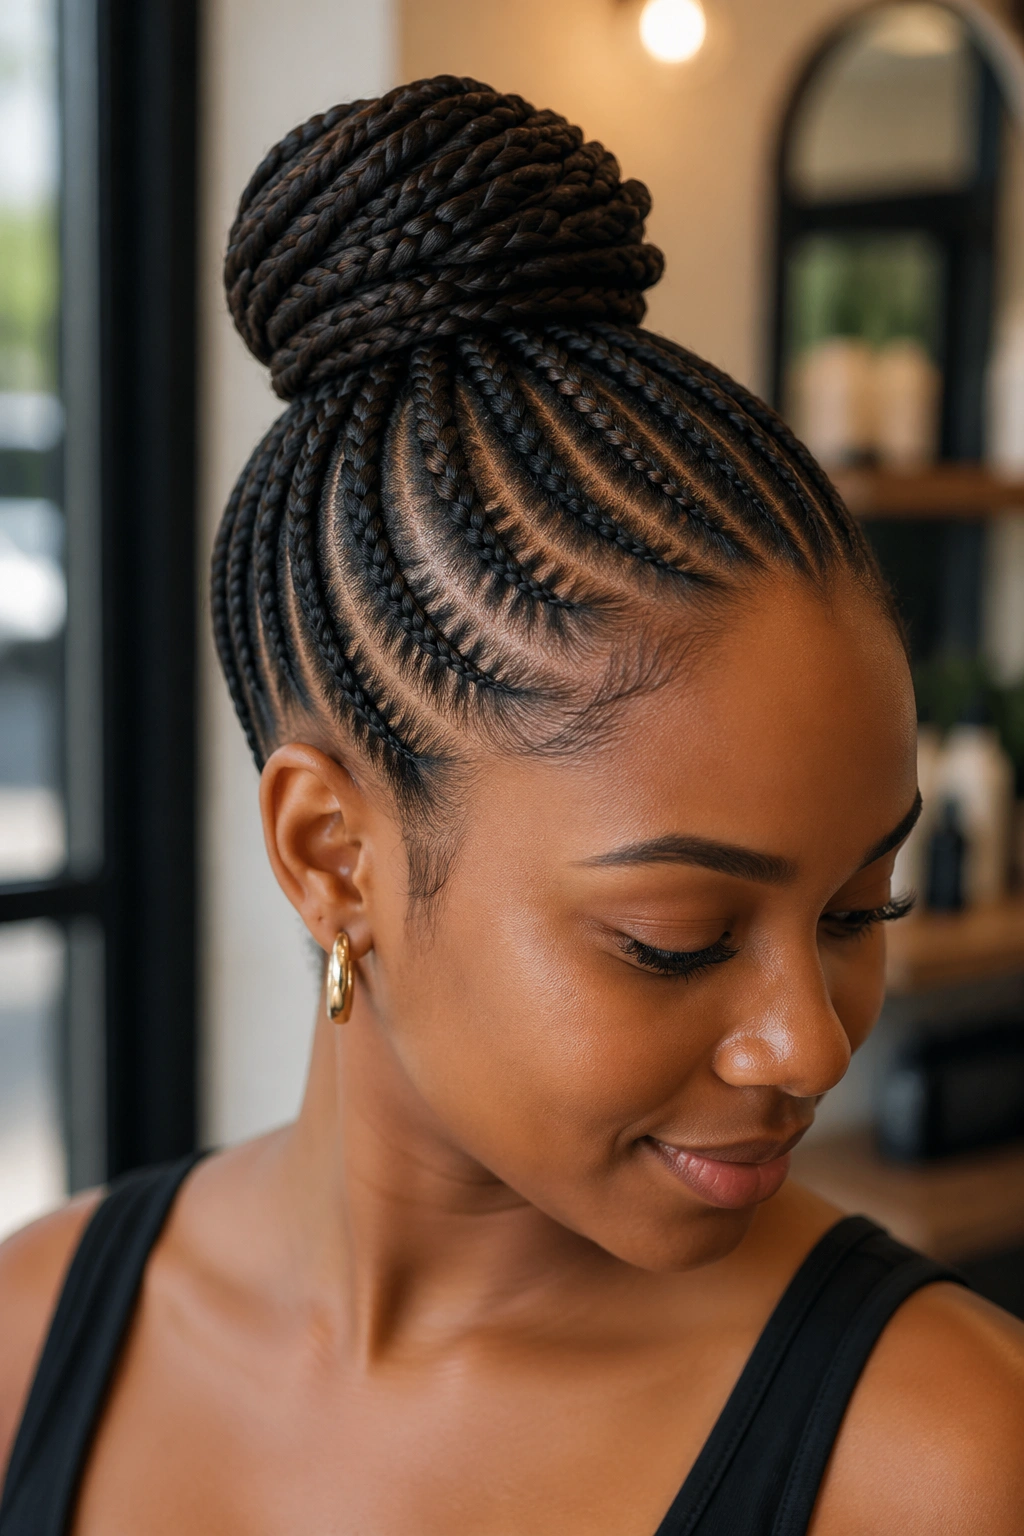
The classic. Cornrows running from forehead to crown, all gathered at the highest point of the head, twisted into a tall bun. The bun sits prominently above the head silhouette.
Why It Works
A high bun elongates the silhouette and creates the illusion of more height. It’s flattering on shorter women especially because it adds visible vertical inches.
- Cornrow count: 6-10 depending on hair density
- Cornrow direction: angled slightly upward toward the crown
- Bun height: 3-5 inches above the crown
- Bun secured with: U-pins and a hair tie underneath
The bun should sit at the very top of the head, not slightly back or slightly forward. The position centers the visual weight and reads as intentional.
2. Low Cornrow Bun at the Nape
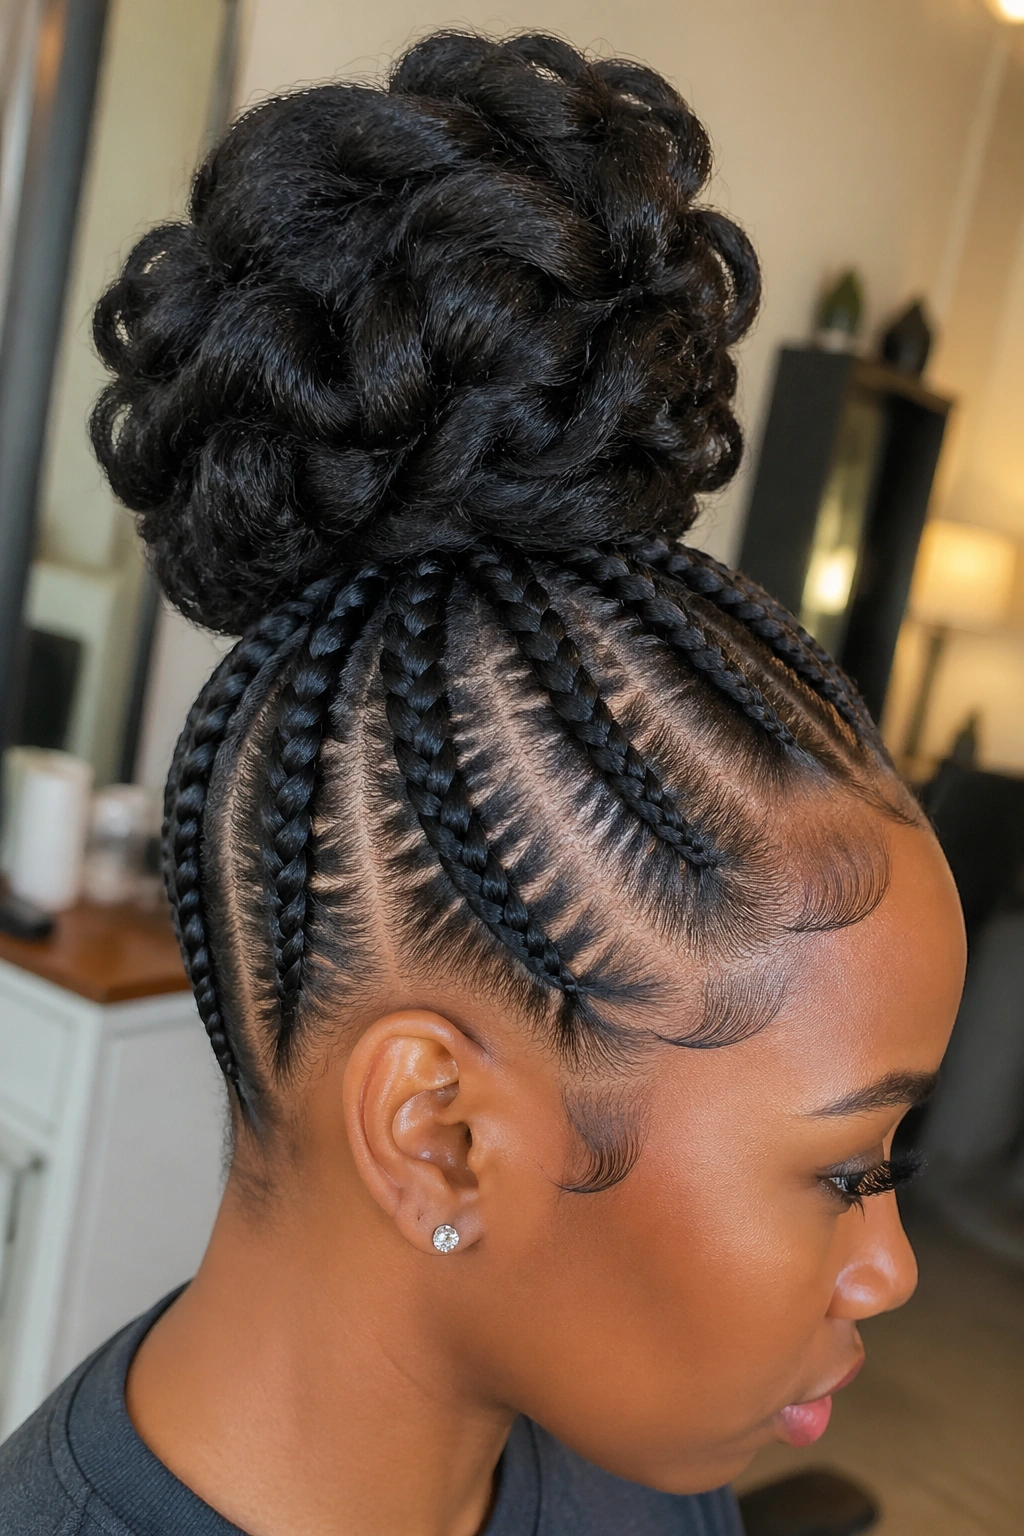
Unlike a high bun, a low bun sits at the base of the skull. Cornrows run from forehead straight back to the nape, where they gather and form the bun.
Low buns suit formal occasions — weddings, business events, religious ceremonies. They read as classic and timeless.
The bun position should be at the base of the skull, just above where the hairline naturally ends at the back of the neck. Higher than that and it loses the “low bun” silhouette; lower than that and it sits awkwardly against the neck.
Best for oval, heart, and oblong face shapes. Round faces can wear low buns but benefit from adding a small height accent at the crown to create vertical balance.
3. Cornrow Bun With Loose Curls Around the Bun
Cornrows lead into a bun, with loose curly extensions woven into the bun and pulled out around the bun’s perimeter. The curls soften the bun’s edges and create a halo effect around it.
The curls are wet-and-wavy human hair sections, similar to bohemian cornrow technique. They’re added during the bun shaping, not during the cornrow installation.
This style reads as bohemian-formal — appropriate for outdoor weddings, garden parties, and dressy casual events.
4. Stitched Cornrows Into a Side Bun
Bold claim: stitched cornrows leading into a side bun is one of the most photogenic protective styles you can wear. The stitch detail catches light along the cornrow length, and the side bun provides asymmetric balance.
Stitched cornrows are cornrows with small horizontal mini-braids crossing them at intervals. The stitches add texture and visual interest.
The side bun sits above one ear, slightly behind the temple. The bun is small to medium — large side buns can overwhelm the cornrow detail.
5. Double Cornrow Buns
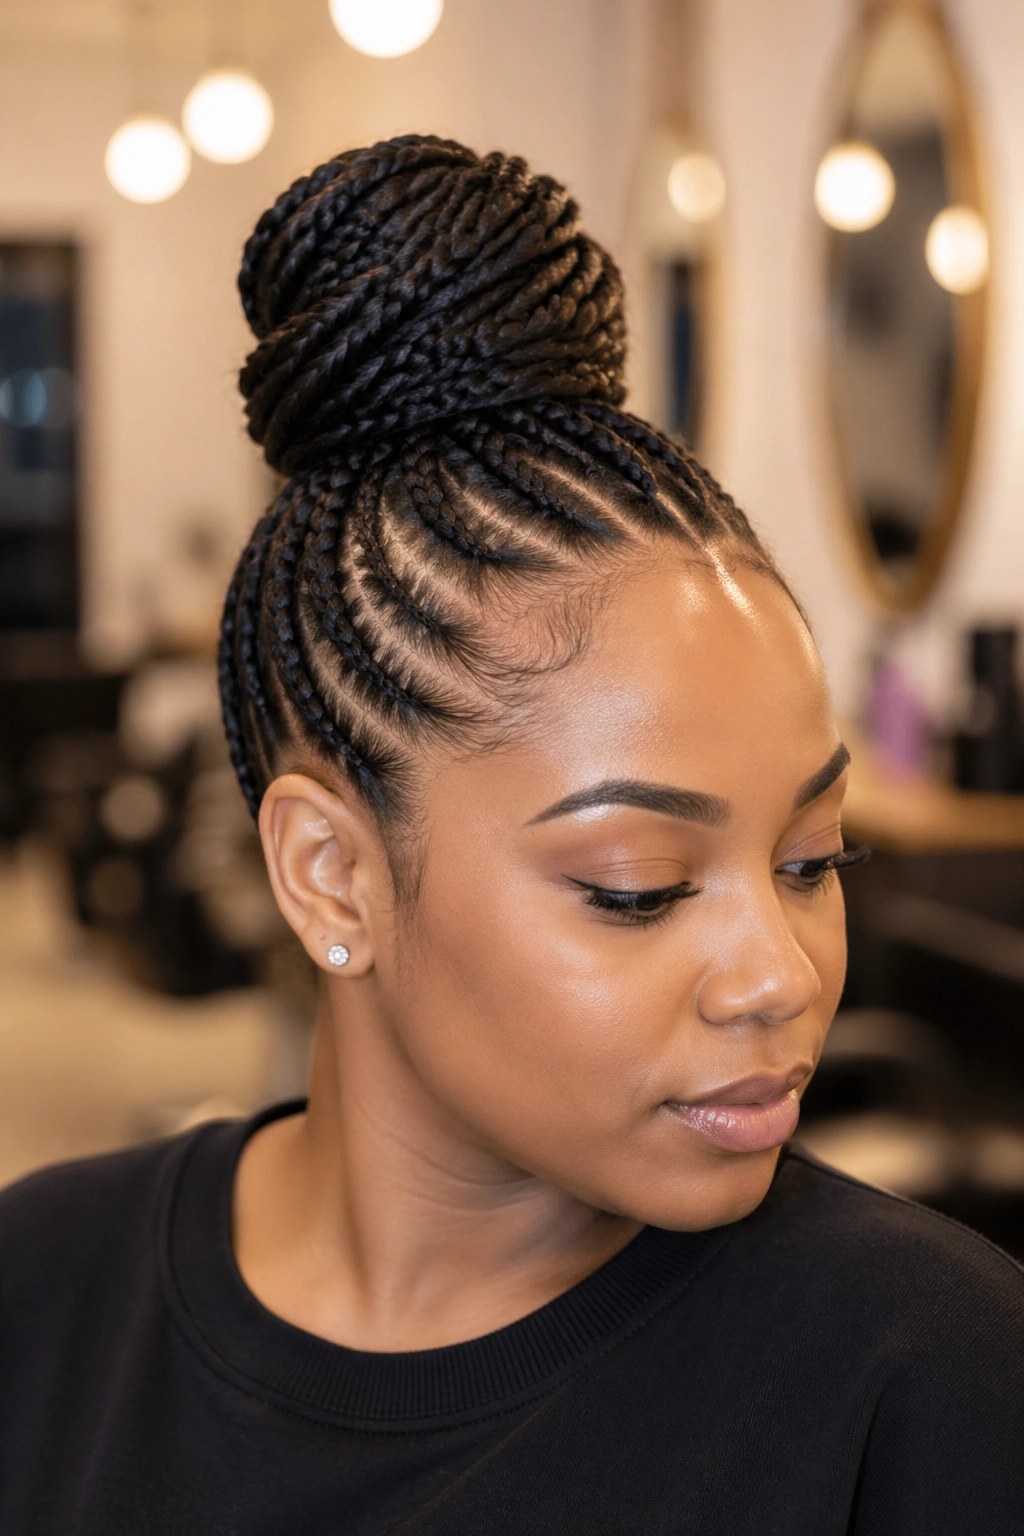
Two buns instead of one. Cornrows split down a center part, with each half gathered into its own bun on opposite sides of the head. The buns sit symmetrically at the crown level.
Double buns read as playful, youthful, and fashion-forward. They’re a statement style — not subtle, not professional.
Best for casual events, music festivals, photoshoots, and any context where bold styling is welcome.
6. Cornrow Bun With Beaded Wraps
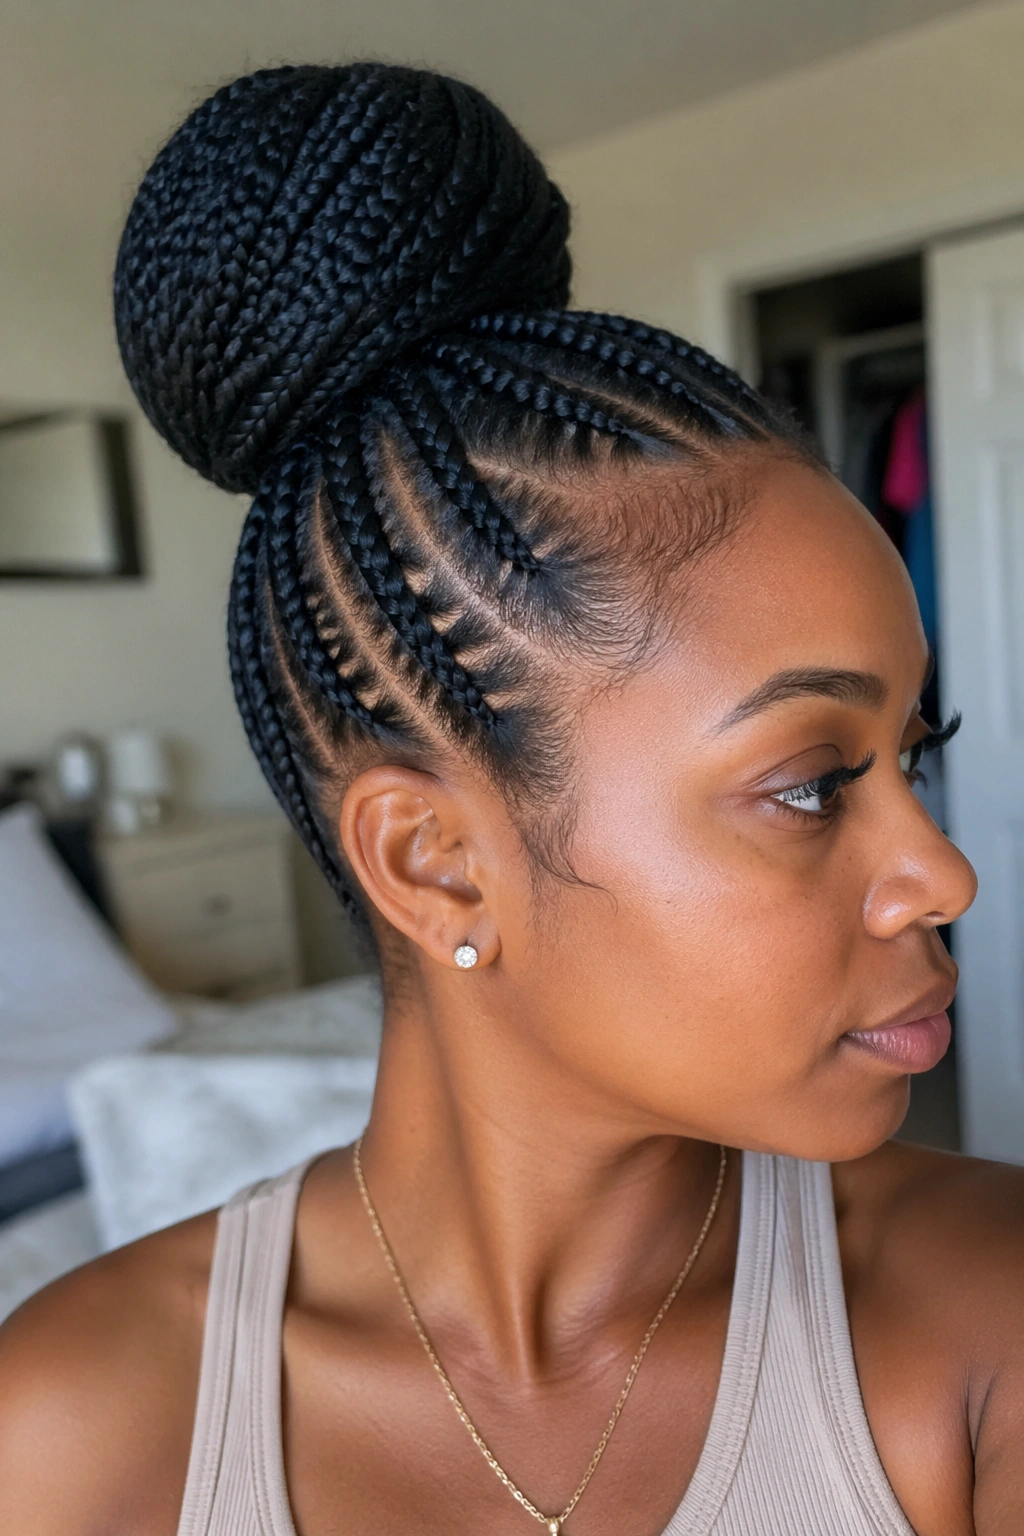
Cornrows lead into a high or low bun, with the bun base wrapped in beads. Multiple strands of beads loop around the bun’s circumference, creating a beaded crown effect.
How to Style It
- Choose 3-5 strands of beads in coordinated colors
- Wrap each strand around the bun base, securing with bobby pins
- Layer strands for fuller coverage
- Pair with simple earrings to avoid competing accessories
The beaded wrap turns a basic cornrow bun into an event-ready style. It’s a good option for wedding guest looks, formal dinners, and cultural celebrations.
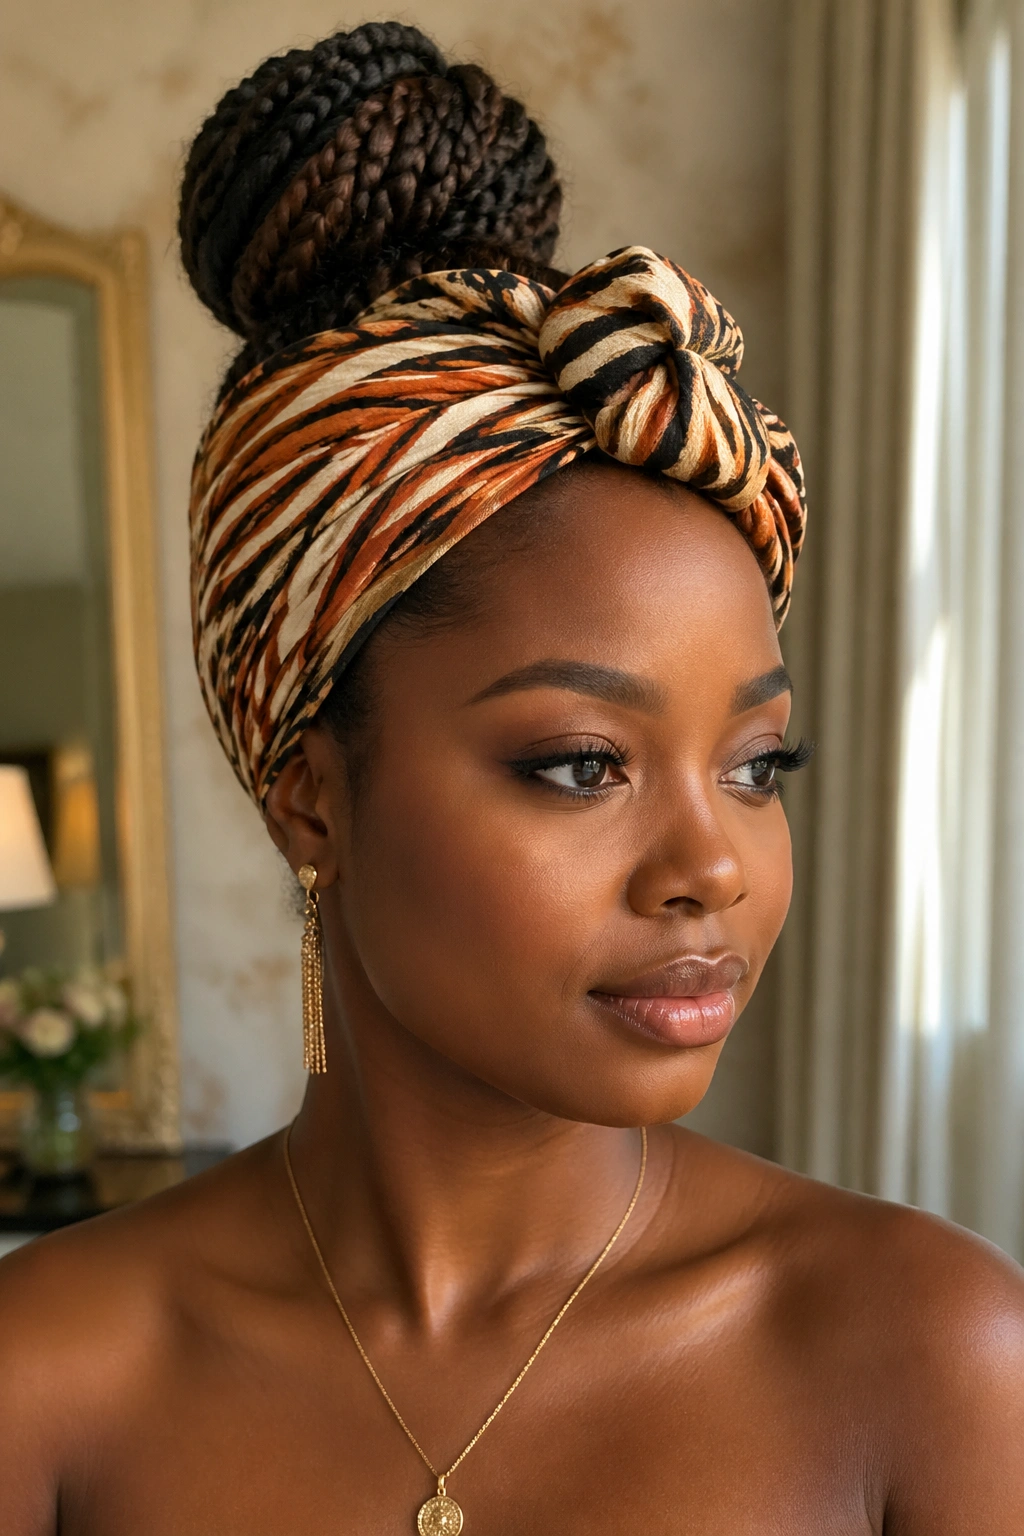
7. Cornrow Bun With Headwrap Accent
Cornrow bun installed normally, then a fabric headwrap tied around the head with the bun visible above the wrap. The wrap covers the front cornrow section while leaving the bun on display.
This style references African fashion and reads as elegant when the wrap fabric is high quality (silk, satin, or printed cotton).
The wrap should complement the cornrow color and any clothing colors. Bold prints work for casual wear; solid colors work for formal events.
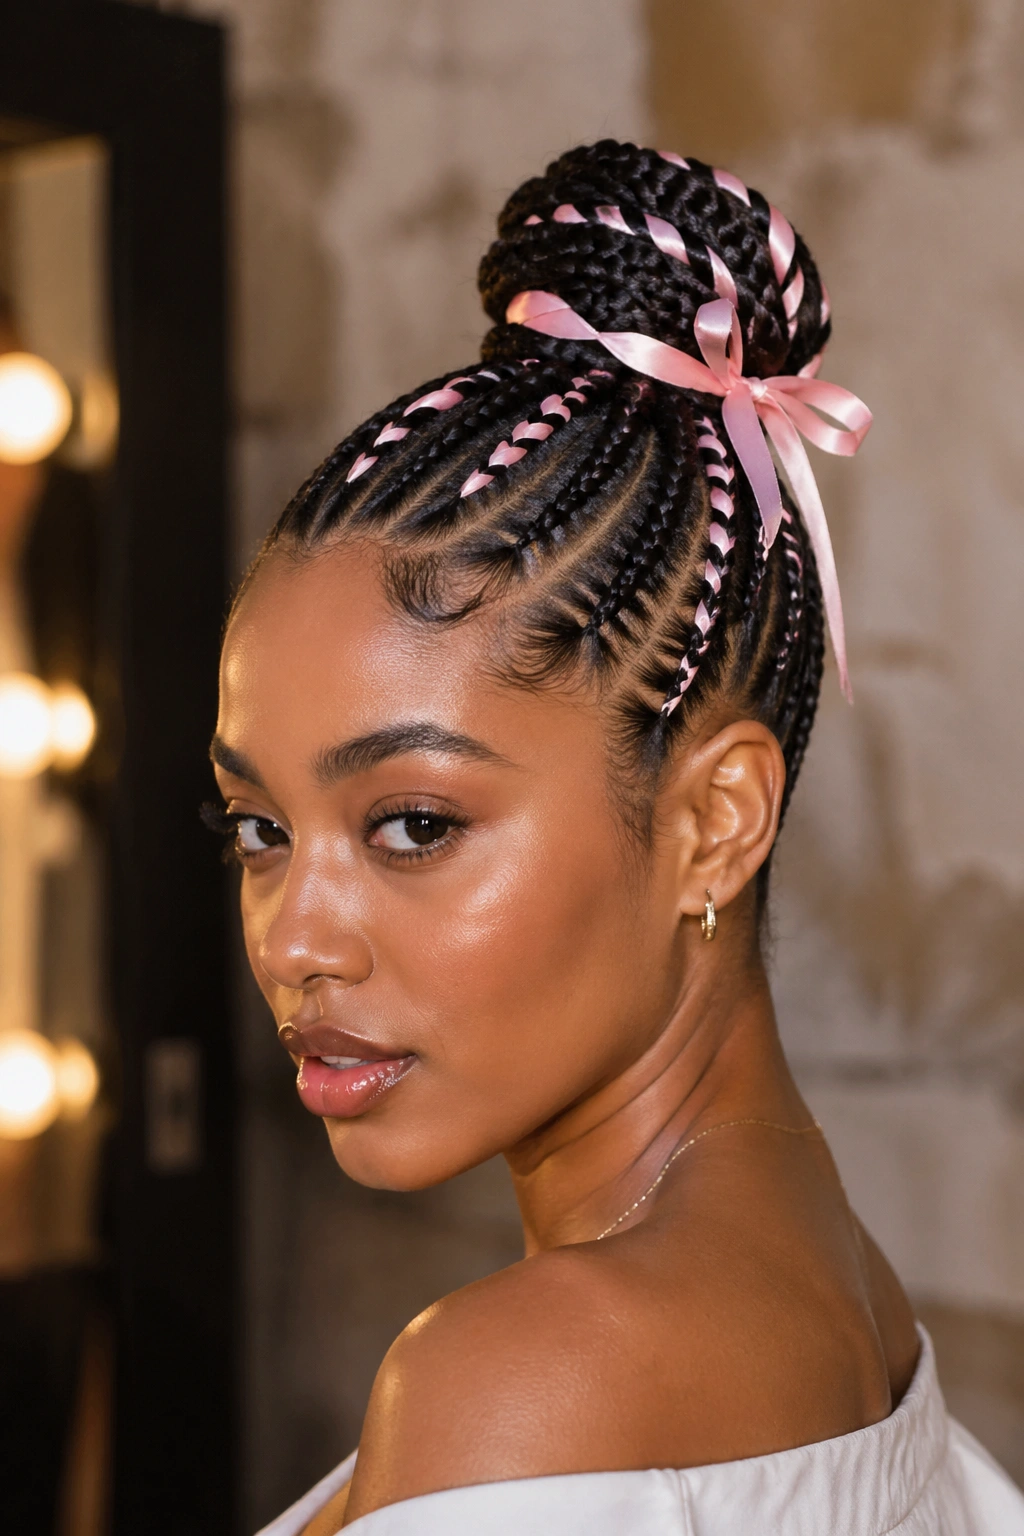
8. Cornrow Bun With Ribbon Threading
A satin ribbon threaded through the cornrows and tied at the bun. The ribbon enters the cornrow pattern at one side, weaves through several cornrows, and ends at the bun where it ties into a small bow.
Ribbon colors should match the event or outfit — never the cornrow color. Matching ribbons disappear; contrasting ribbons create the visual accent the style is meant to provide.
This is a delicate style. Plan for the ribbon to need re-tying or replacement after 2-3 days because ribbon flattens and creases with sleep.
9. Cornrow Bun With Halo Pattern
The cornrows form a halo pattern around the head before gathering at the crown into a bun. Each cornrow starts from a different point along the hairline and curves toward the bun position.
The halo effect requires precise braider planning. Each cornrow’s starting point determines the visual flow toward the bun.
This style reads as architectural and editorial — it photographs exceptionally well from above, which makes it good for events where you’ll be photographed from multiple angles.
10. Donut Cornrow Bun With Visible Donut
Scenario: most bun donuts are hidden by the hair wrapping around them. This style intentionally shows part of the donut, creating a peek-a-boo effect where the bun base is part of the design.
The mechanism is reverse engineering the typical bun. Instead of hiding the donut, you treat it as a structural feature. Use a donut in a complementary color (often a darker tone if your hair is lighter, or a lighter tone if your hair is darker).
- Cornrows gathered loosely at the bun base
- Donut visible at the bun’s center hole
- Hair wraps around the outside of the donut, leaving the inside ring visible
- Bobby pins anchor the wrap; outer wisps pulled out for softness
Best for fashion-forward styles and unconventional event looks.
11. Cornrow Bun With Curly Tendrils at the Face
Cornrow bun installed normally, with a few strands of curly hair pulled out at the temples to frame the face. The tendrils are loose curls that hang at the cheeks.
This softens what would otherwise be a severe pulled-back style. The tendrils balance the tightness of the cornrow base and add face-framing softness.
Tendril count: 2-4 strands per side. More than that looks unintentional rather than styled.
12. Cornrow Bun With Curved Hairline Cornrows
The cornrows curve along the hairline before gathering at the bun. Instead of running straight back, they follow the curve of your hairline from temple to temple, then redirect toward the bun position.
Curved cornrows read as more refined than straight-back cornrows. The curves add visual movement to the front of the style.
Best for oval and heart-shaped faces. Round faces can wear curved cornrows but should pair them with a high bun rather than a low bun for vertical balance.
13. Cornrow Bun With Mohawk Cornrow Strip
A central mohawk strip of cornrows runs from forehead to bun position. The sides of the head have larger cornrow sections that converge at the same bun.
The mohawk strip is the focal cornrow detail. The side cornrows act as supporting structure leading toward the bun.
This style references punk-influenced styling within a traditional cornrow bun framework. It works for fashion contexts and edgy event wear.
14. Cornrow Bun With Side Part Drama
A deep side part — about 4 inches off-center — with cornrows flowing from the part down both sides and gathering into a side bun on the heavier-cornrow side. The asymmetry runs from the part to the bun position.
What Makes It Different
Most cornrow buns balance evenly. This one deliberately weights the style to one side, creating dramatic asymmetric flow.
- Side part: 4 inches off-center
- Heavier side: 5-6 cornrows
- Lighter side: 3-4 cornrows
- Bun position: above the ear on the heavier side
Best for photography and events where you’re often photographed from one primary angle. The asymmetry reads as intentional drama in photos.
15. Cornrow Bun With Gold Cuffs
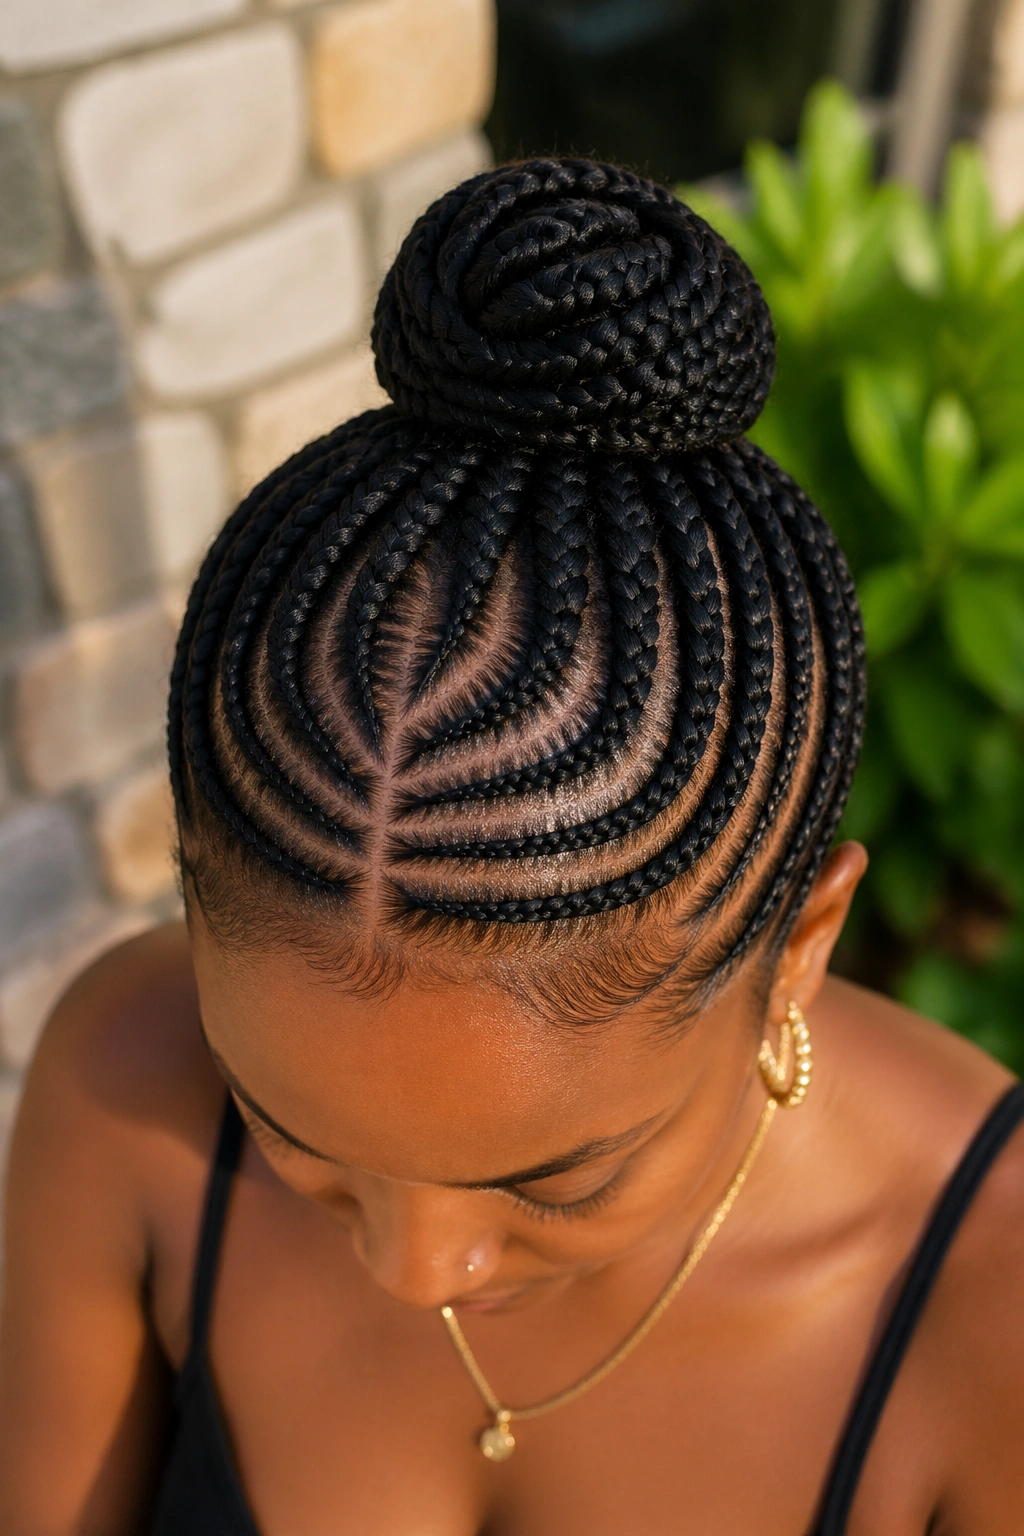
Gold metal cuffs placed along several cornrows leading to the bun. The cuffs catch light as you move and add metallic accents to a style that would otherwise be all hair texture.
Cuffs sit on the cornrows, not the bun itself. Placement is typically near the front of the cornrow (closer to the hairline) for maximum visibility.
Pair with gold jewelry — earrings, necklaces, rings. Avoid mixing gold cuffs with silver jewelry; the metal mismatch reads as uncoordinated.
16. Cornrow Bun With Burgundy Accents
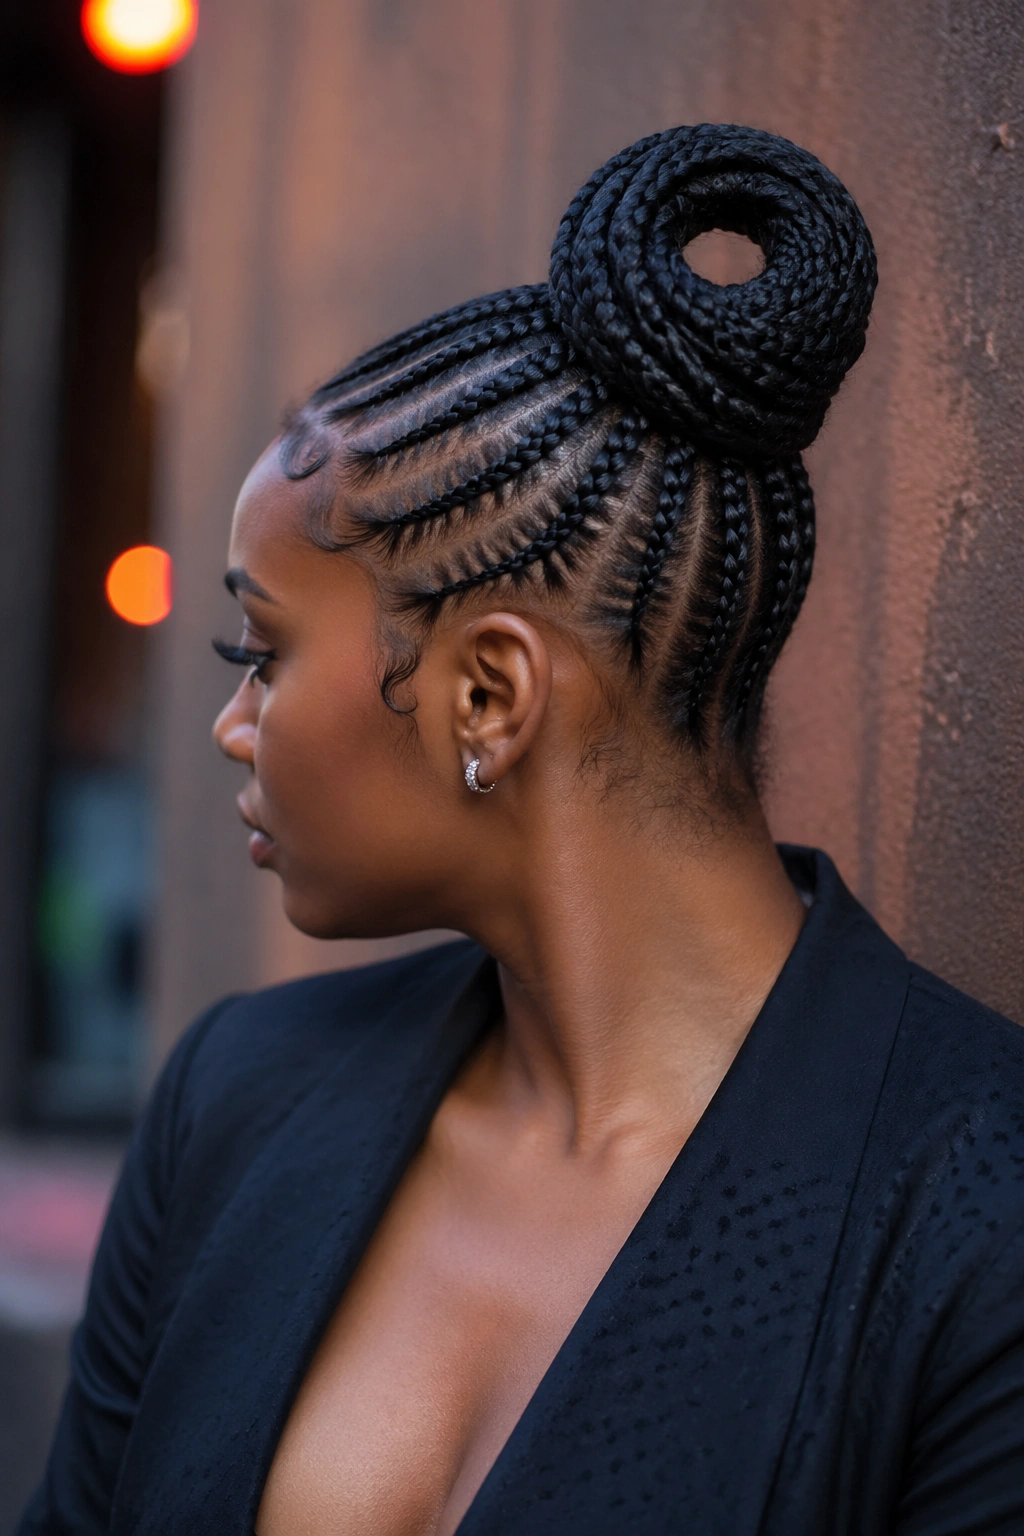
Burgundy kanekalon woven into select cornrows leading to the bun. The bun itself can be solid color or burgundy-accented.
The contrast between natural-color cornrows and burgundy accents creates dimensional color throughout the style. The bun anchors the look at the back.
Burgundy works across most skin tones but flatters warm undertones especially. It reads as autumn-appropriate, formal, and sophisticated.
17. Loose Cornrow Bun With Visible Texture
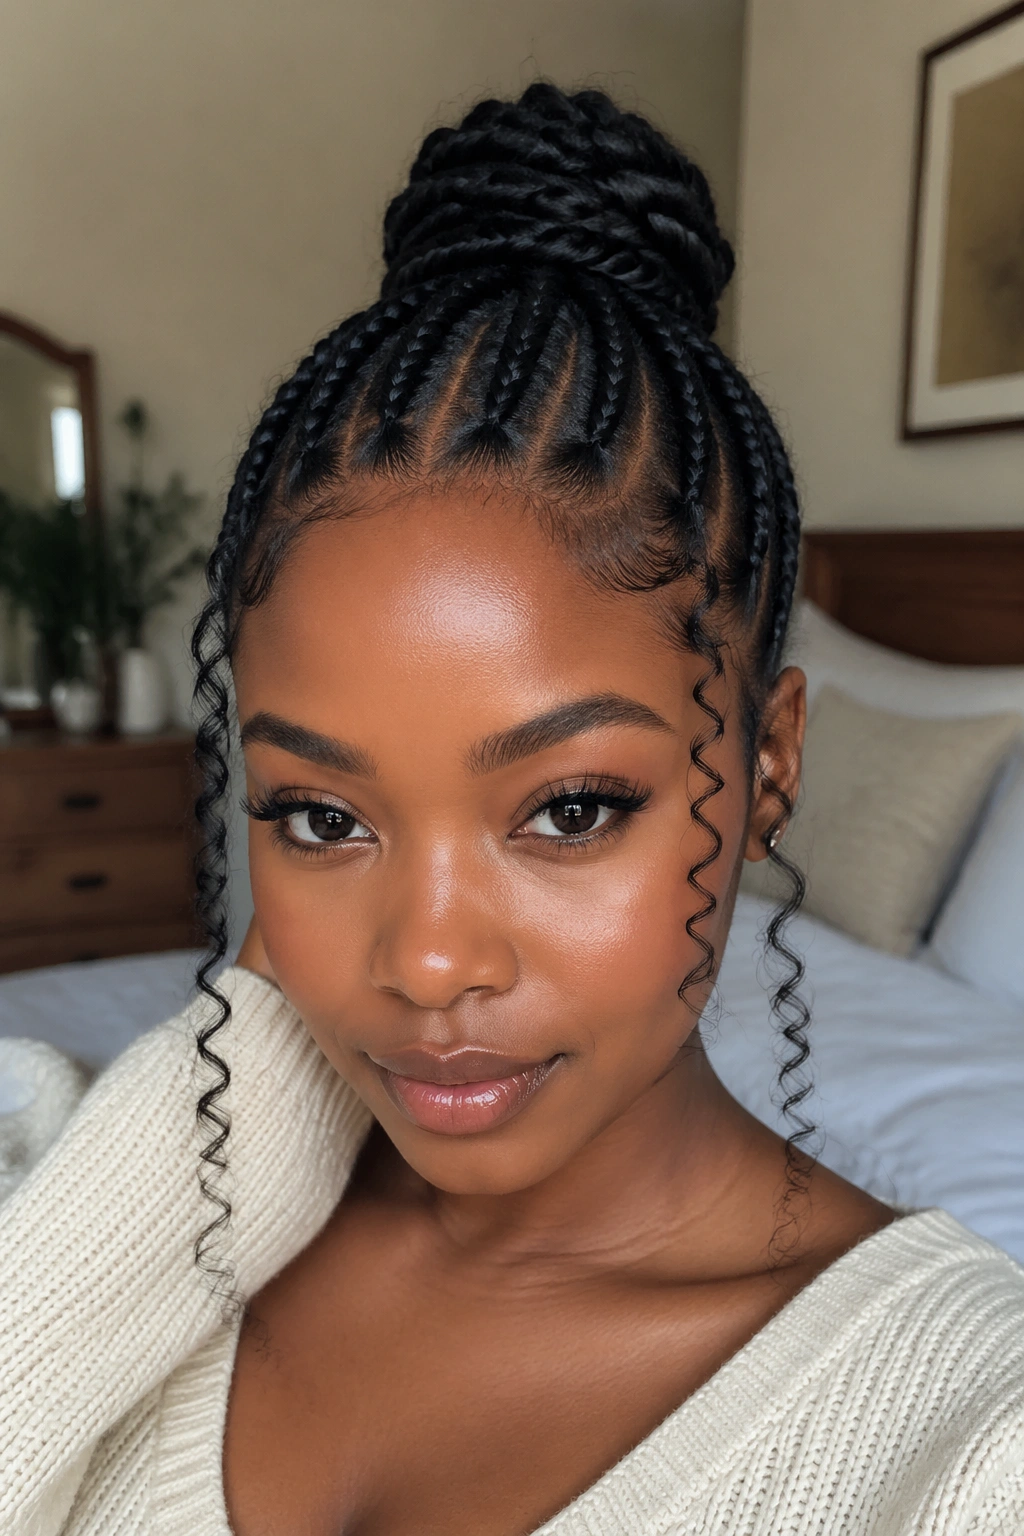
Most cornrow buns are tightly secured. This version intentionally leaves the bun looser, with visible braid texture showing in the bun structure rather than a smooth wrapped finish.
The bun is built by coiling the loose cornrow ends rather than smoothing them. You see individual braid lines forming the bun’s shape.
This style reads as casual-cool. It’s good for everyday wear, weekend events, and contexts where over-polished hair would feel out of place.
18. Triple Cornrow Bun
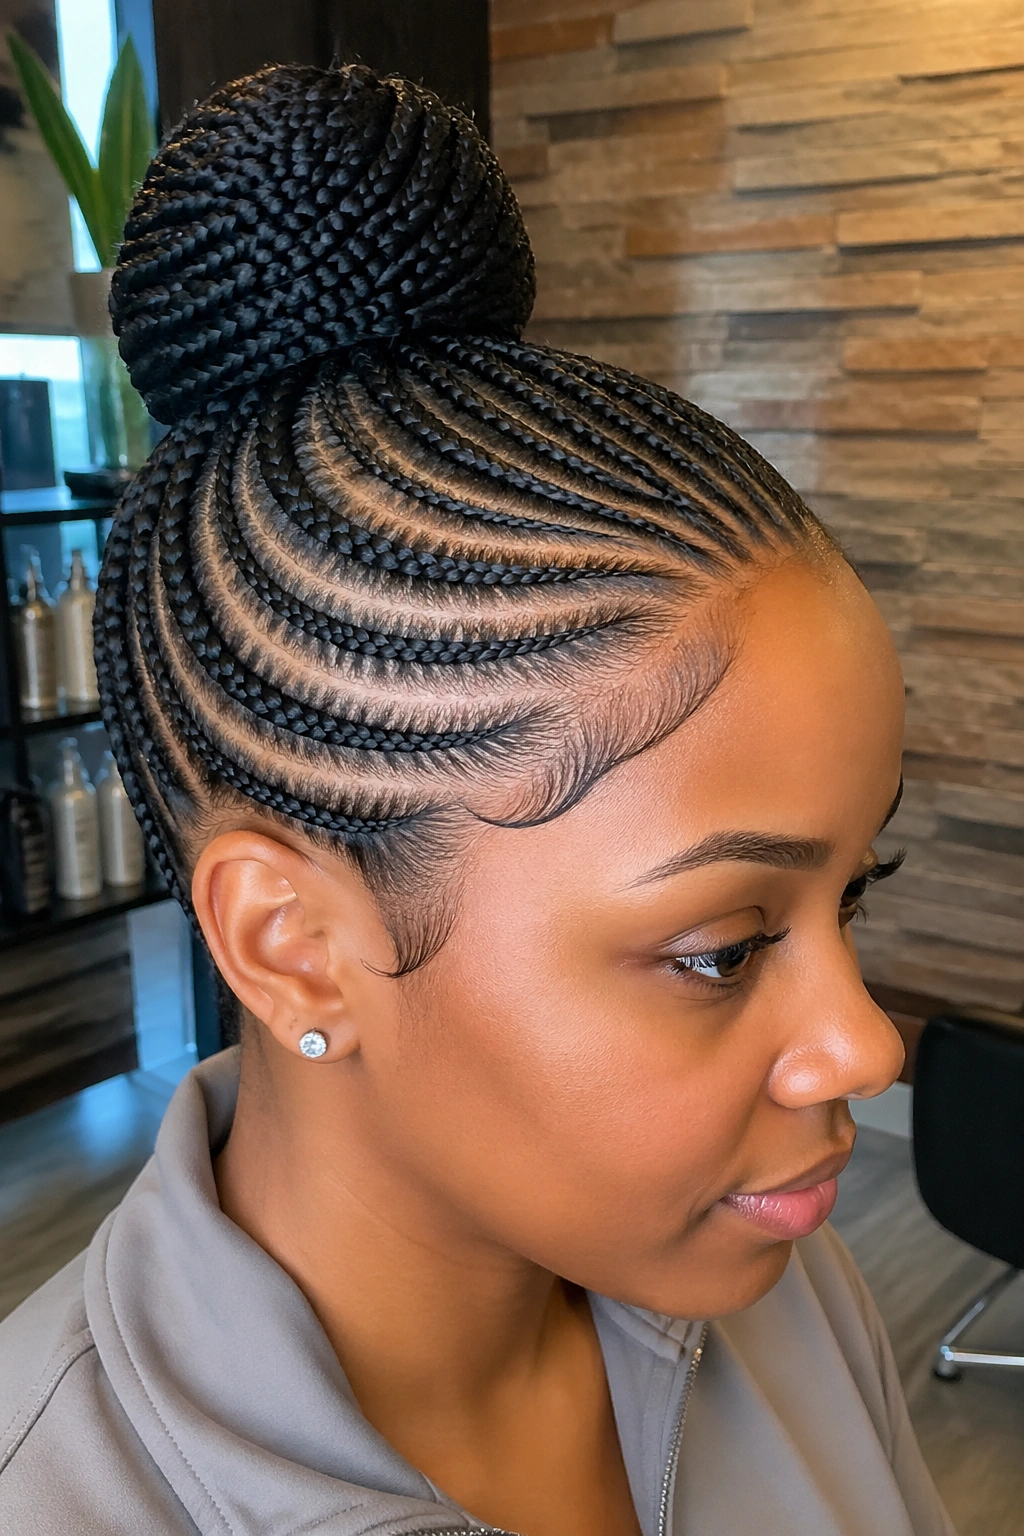
Three small buns instead of one large bun. The buns sit in a row along the back of the head — usually one at the crown, one at the mid-back, and one at the nape.
Triple buns require a clear plan for cornrow distribution. Each bun gets a specific section of cornrows, with parts dividing the cornrow groups.
This is a fashion-forward style. Reads as editorial and styled-for-camera.
19. Cornrow Bun With Crochet Curls
Cornrows lead to a bun built with crochet curl pieces. The curls are pre-made bohemian-style crochet hair pieces secured into the bun structure.
The bun looks fuller and softer than a tightly coiled cornrow bun. The curls provide volume without adding hair from your own ends.
Install method: complete the cornrow base, then attach crochet curl pieces at the bun position before securing the bun shape.
20. Cornrow Bun With Fishtail Front
A fishtail braid runs along the front of the hairline before transitioning into cornrows that lead to the bun. The fishtail is a four-strand braid with characteristic V-shape pattern.
Fishtails are slower to braid than cornrows. The front fishtail section adds 30-45 minutes to the install time.
Best for events where the front of the style is heavily photographed. The fishtail adds a distinctive textural detail that traditional cornrows don’t provide.
21. Cornrow Bun With Ribbon Bow Accent
A satin ribbon tied into a bow at the base of the bun. The bow can be small (delicate accent) or large (statement piece) depending on the look you want.
Ribbon material matters. Satin holds bow shape better than grosgrain. Velvet looks luxurious but flattens quickly.
Bow size guidance: small bows for everyday wear, medium bows for events, large bows for photoshoots or theatrical contexts.
22. Cornrow Bun With Diagonal Cornrow Pattern
Cornrows run diagonally from the lower hairline on one side, across the head, to the bun on the upper opposite side. The diagonal pattern creates strong directional movement leading the eye to the bun.
This style works for asymmetric head shapes and creates flattering visual lines for narrow faces.
The diagonal angle should be consistent across all cornrows. Inconsistent angles look messy rather than designed.
23. Cornrow Bun With Wraparound Braid
A single thick braid runs around the perimeter of the bun, creating a braided crown effect at the bun base. The wraparound braid is made from kanekalon hair separately and pinned into place around the bun.
The wraparound adds a regal, finished detail to the bun. It’s especially good for cultural celebrations and formal events.
Color match the wraparound braid to the cornrow color or to a complementary accent color in your outfit.
24. Cornrow Bun With Statement Hair Pin
A single decorative hair pin or brooch placed at the bun base. The pin is the focal accessory — large, ornate, or in a contrasting metal finish.
This is the easiest way to elevate a basic cornrow bun. The pin does the styling work; the cornrows stay simple.
Pin placement: typically at the lower edge of the bun, where it’s visible from the back and partially visible from the side.
Styling Tips
- Choose one statement pin, not multiple
- Match metal finish to your jewelry
- Position the pin where it won’t catch on collars or jackets
- Remove the pin at night to prevent scalp pressure during sleep
25. Cornrow Bun With Braided Headband
A separate braid (made from kanekalon or your own hair) wrapped across the head as a headband, with cornrow bun behind. The headband sits at the front of the cornrows, framing the hairline.
The headband braid can be a single thick braid, a fishtail, or two thinner braids twisted together. It’s secured with bobby pins on the underside where it crosses over the cornrows.
This style references bohemian and folk hair traditions. It works for outdoor weddings, festivals, and cultural events.
Maintaining a Cornrow Bun Day to Day
Re-pin the bun in the morning. Sleeping shifts the bun’s position and loosens U-pins. Pull all pins out, smooth the bun shape with your hands, re-pin tightly.
Smooth flyaways with a small dab of edge gel. Apply to your fingertips, press onto any loose hairs around the bun base, smooth into the bun shape.
Refresh edges with edge gel and a soft toothbrush. The front edges flatten as the install ages; daily re-laying keeps them sharp.
If the bun donut starts to show, hide it by wrapping a small section of hair across the visible portion or by using a darker bun donut that blends with your hair color.
Sleeping in a Cornrow Bun
A high bonnet that accommodates the bun shape. Standard bonnets compress the bun and ruin its shape by morning.
Alternative: take the bun down before bed. Loose cornrows under a regular bonnet at night, re-bun in the morning. This adds 5-10 minutes to your morning routine but gives the bun a fresh look every day.
For events where the bun needs to last overnight (you have an event the next morning), use extra pins and a holding spray, then sleep on your back with the bun positioned to one side. This minimizes pressure on the bun structure.
When the Cornrow Bun Aesthetic Doesn’t Work
Cornrow buns aren’t the right call for every context. Helmets, hard hats, or any head protection at work won’t accommodate a high bun. Choose a low bun that sits below the helmet line, or skip the bun entirely.
Casual outdoor activities — hiking, beach trips, camping — make cornrow buns impractical. Wind, sweat, and physical activity loosen the bun structure rapidly.
Some workplaces have grooming standards that consider buns “too casual” or “too elaborate.” Know your workplace culture before showing up with a triple bun.
Common Cornrow Bun Mistakes
Bun too far back. The bun should sit at the high point of the crown for a high bun, or right at the base of the skull for a low bun. Buns positioned too far back look like they’re falling off the head.
Too few pins. Three U-pins won’t hold a heavy bun overnight. Use 8-12 pins distributed around the bun’s circumference.
Skipping the bun donut on thin hair. If your hair is thin or short, a bun without a donut looks small and sad. The donut adds the volume your hair can’t provide naturally.
Over-using hairspray. Stiff, crunchy bun texture looks dated and reads as “trying too hard.” A light flexible-hold spray is enough.
Ignoring the bun base hairs. The hair right at the bun base — where the cornrows meet the bun — gets fuzzy fastest. Smooth this area with edge gel each morning to keep the bun base looking fresh.
A cornrow bun done well becomes a signature look. Once you find your bun position, your cornrow count, and your bun size, you’ll wear that combination for years. The investment in finding the right braider and the right routine pays back every time you walk into a room and feel your hair holding its place exactly as you intended.
