



Needle cornrows are the precision sport of braiding. The technique uses a needle (or a fine pick) to lift tiny amounts of hair into the cornrow as it’s being braided, creating impossibly clean stitch lines and parts so sharp they look drawn in pen. Done well, the result is the most polished version of cornrows you can wear. Done poorly, you end up with a sore scalp and fuzzy parts within a week.
The first time I had needle cornrows installed, I was suspicious. The whole concept of a needle anywhere near my scalp made me hesitant. Five hours later I was a convert. The lines were sharper than any cornrow style I’d worn before. The pattern looked deliberately designed rather than improvised. And — this is the part that surprised me most — the fit was less painful than my standard installs because the needle work allowed for cleaner sectioning without aggressive tension.
This guide breaks down twenty-five needle cornrow styles, with the techniques, the timing, the wear expectations, and the honest pros and cons of each. Needle work isn’t for every install, but when it suits the style, nothing else compares.
What Needle Cornrows Actually Are
A needle cornrow uses a thin metal or plastic needle to feed small additions of hair into the braid as it’s woven. The result is a cornrow with cleaner edges, more visible stitch detail, and more uniform thickness along its length.
The needle itself is usually a curved or straight thin tool — sometimes called a stitch needle, a feed-in needle, or a braiding pin. It looks like a long sewing needle, sometimes with a flat eye or a slight hook.
The technique is most commonly used for stitch braids — those horizontally ridged cornrows where the stitch lines are clearly visible — and for ultra-clean feed-in styles where invisible feed-in transitions are the goal.
Why Needle Work Beats Hand Feed-In
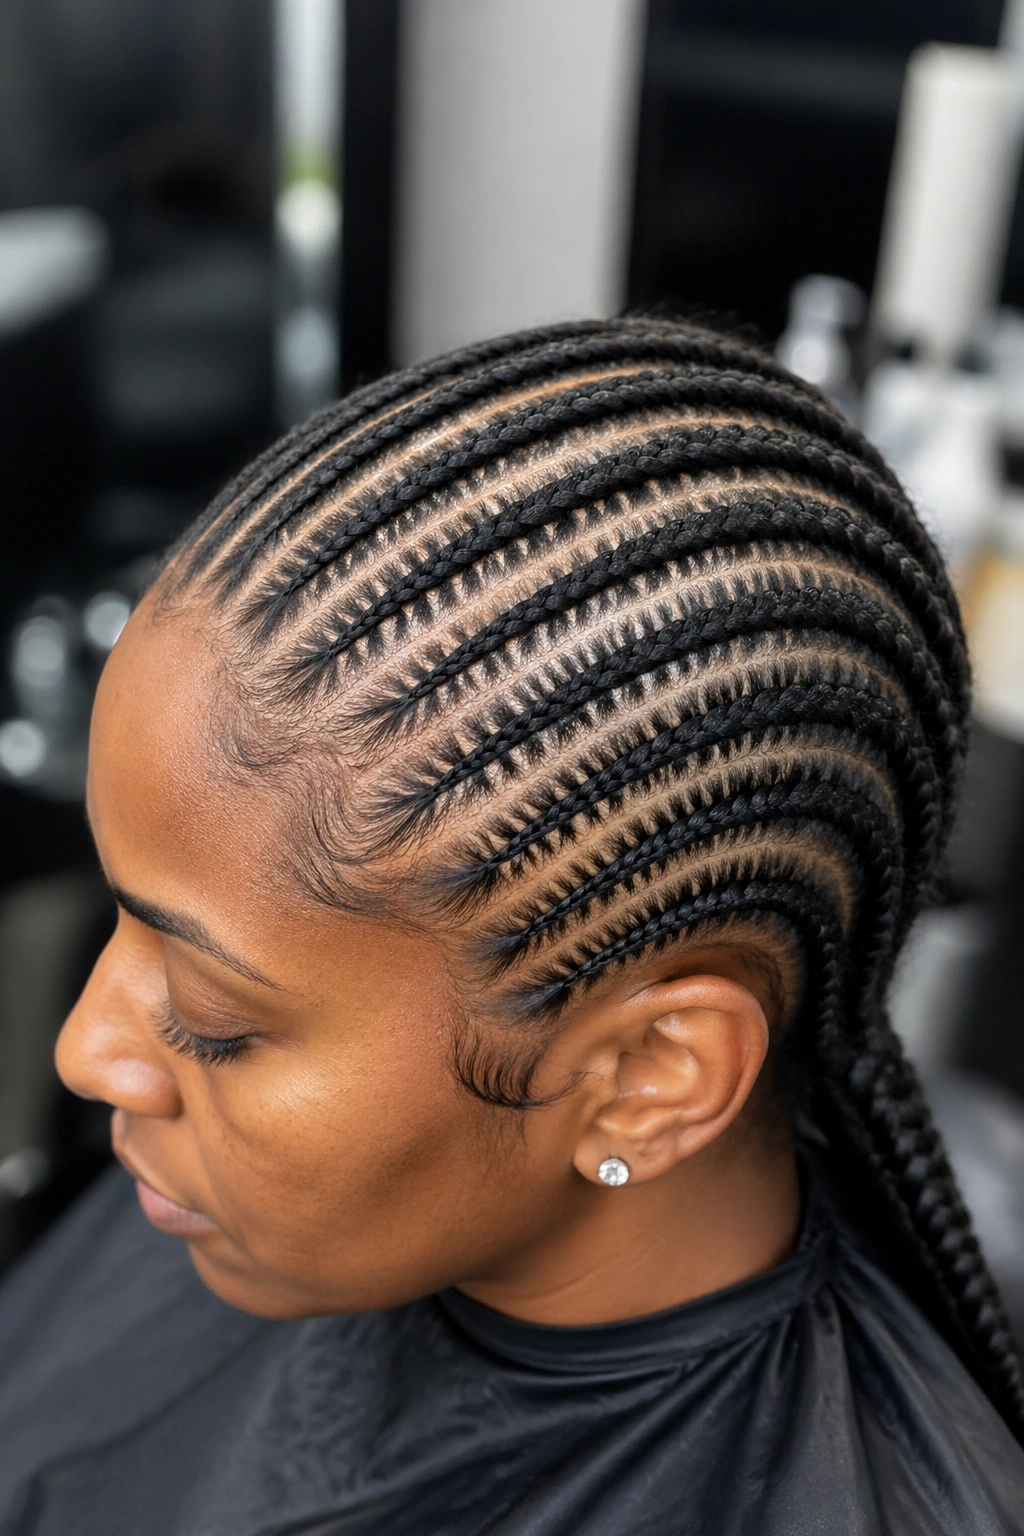
Standard feed-in cornrows pick up hair using fingers. The braider grabs a small section, twists it into the existing braid, and continues. This works fine but creates uneven additions when the braider’s grip varies — which it does over the course of a 4-hour install.
Needle work standardizes the additions. Each pickup is the same width because the needle eye determines the section size. The result is cornrows that look machine-uniform along their full length.
Needle cornrows also create cleaner stitch detail. The horizontal stitch lines that define stitch braids are much more visible when the additions are uniform. The pattern reads as deliberate design rather than incidental texture.
When NOT to Use Needle Technique
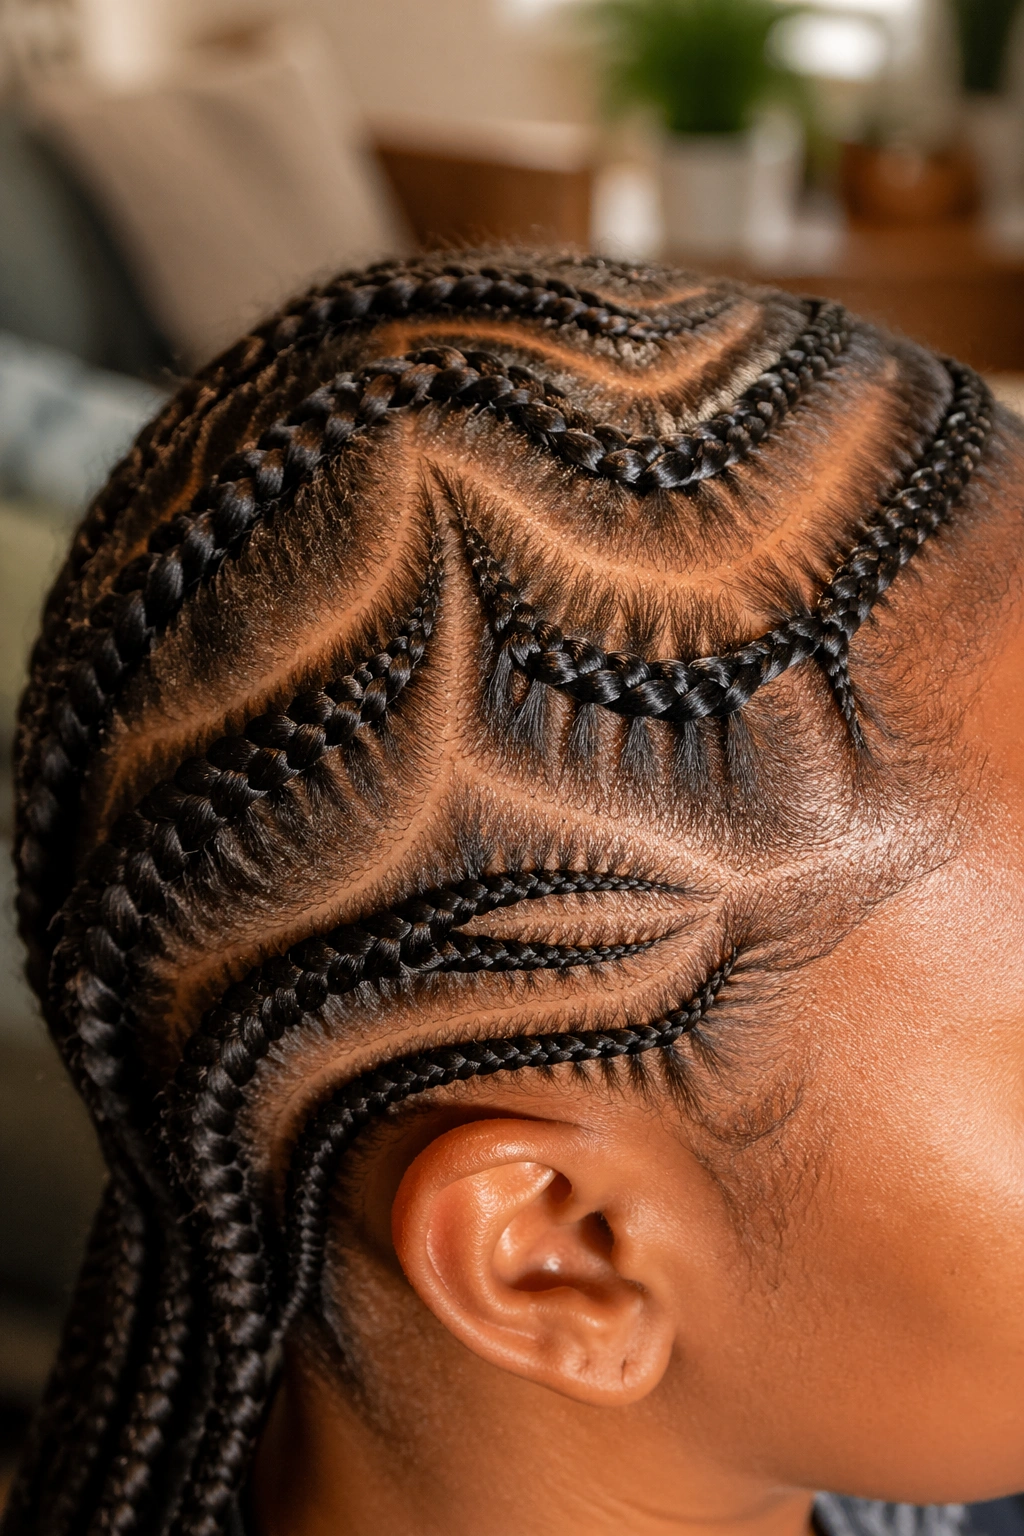
Needle work isn’t always the right answer.
For freestyle cornrows with curves and irregular widths, hand feed-in serves better. The needle imposes uniformity that fights against the freestyle aesthetic.
For jumbo cornrows where the section sizes are large, the needle’s small pickup width is wasted. Hand work is faster and the visual difference is minimal at large scales.
For braiders not trained in needle technique, the tool causes more problems than it solves. A poorly handled needle can scrape the scalp or create uneven sections worse than hand feed-in would.
Match the tool to the style.
Tools and Setup
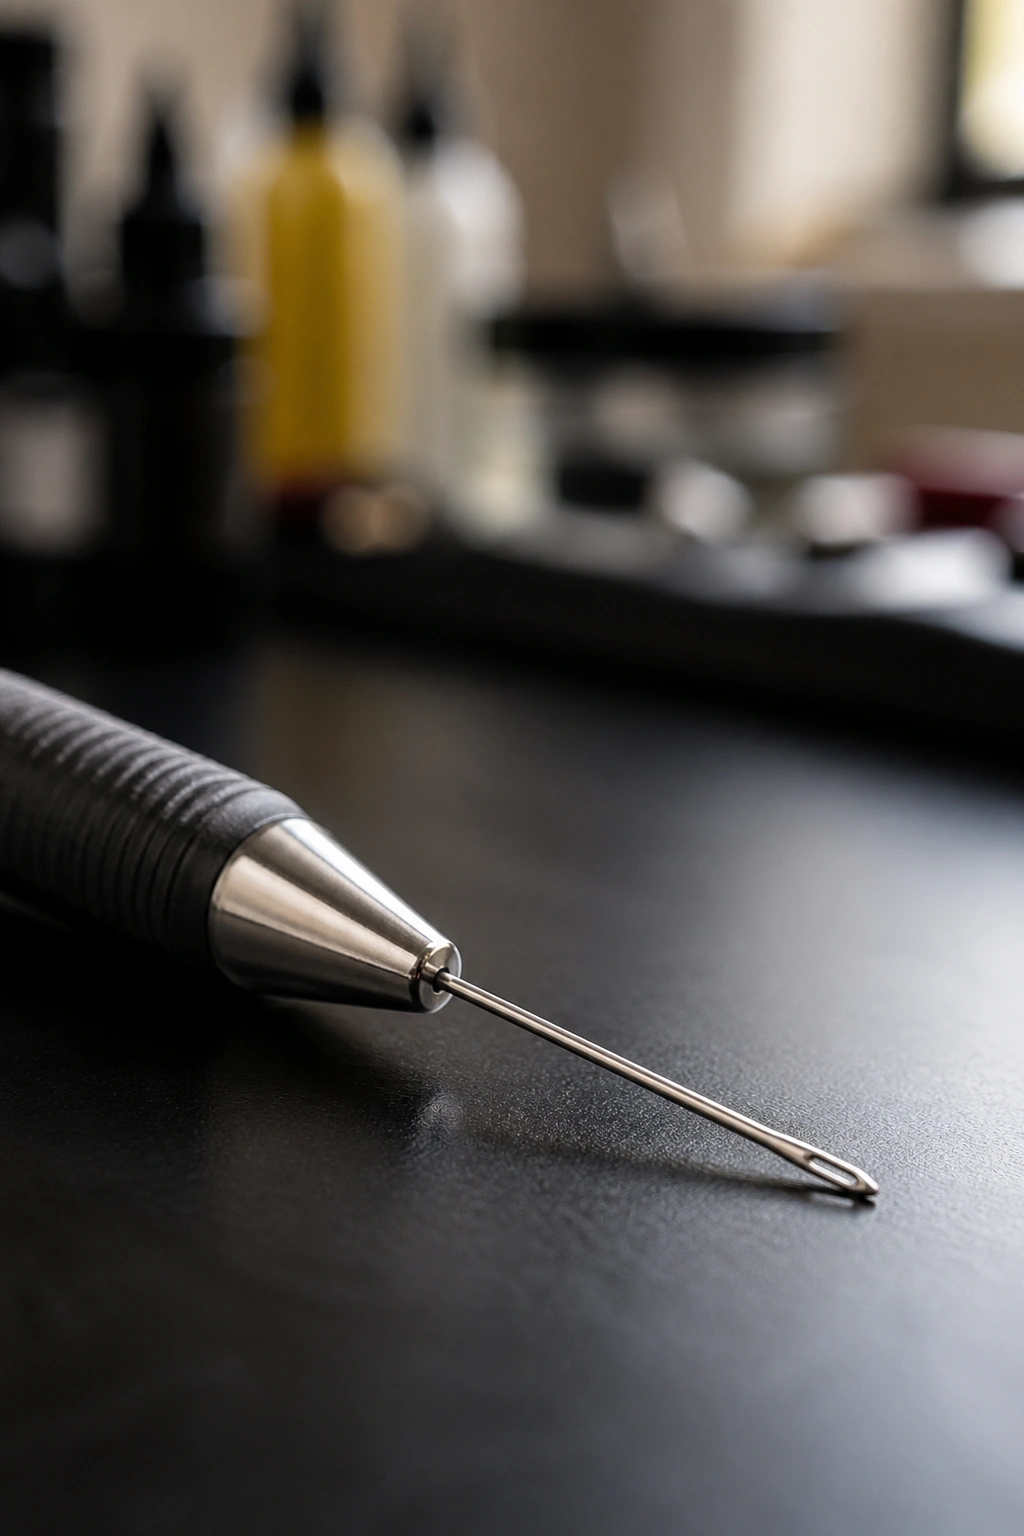
A braiding needle (long thin metal or plastic tool with an eye for hair pickup). Pre-stretched kanekalon. Standard rat-tail comb. Edge gel. Clips. The usual prep.
The needle should be sterilized between clients if you’re a professional braider. Even at home, wash the needle in hot water and a small drop of isopropyl alcohol before use.
Have the kanekalon pre-portioned into small bundles ready for feed-in. Needle work goes faster when the additions are pre-prepared rather than torn from a larger pack mid-install.
Prep Considerations
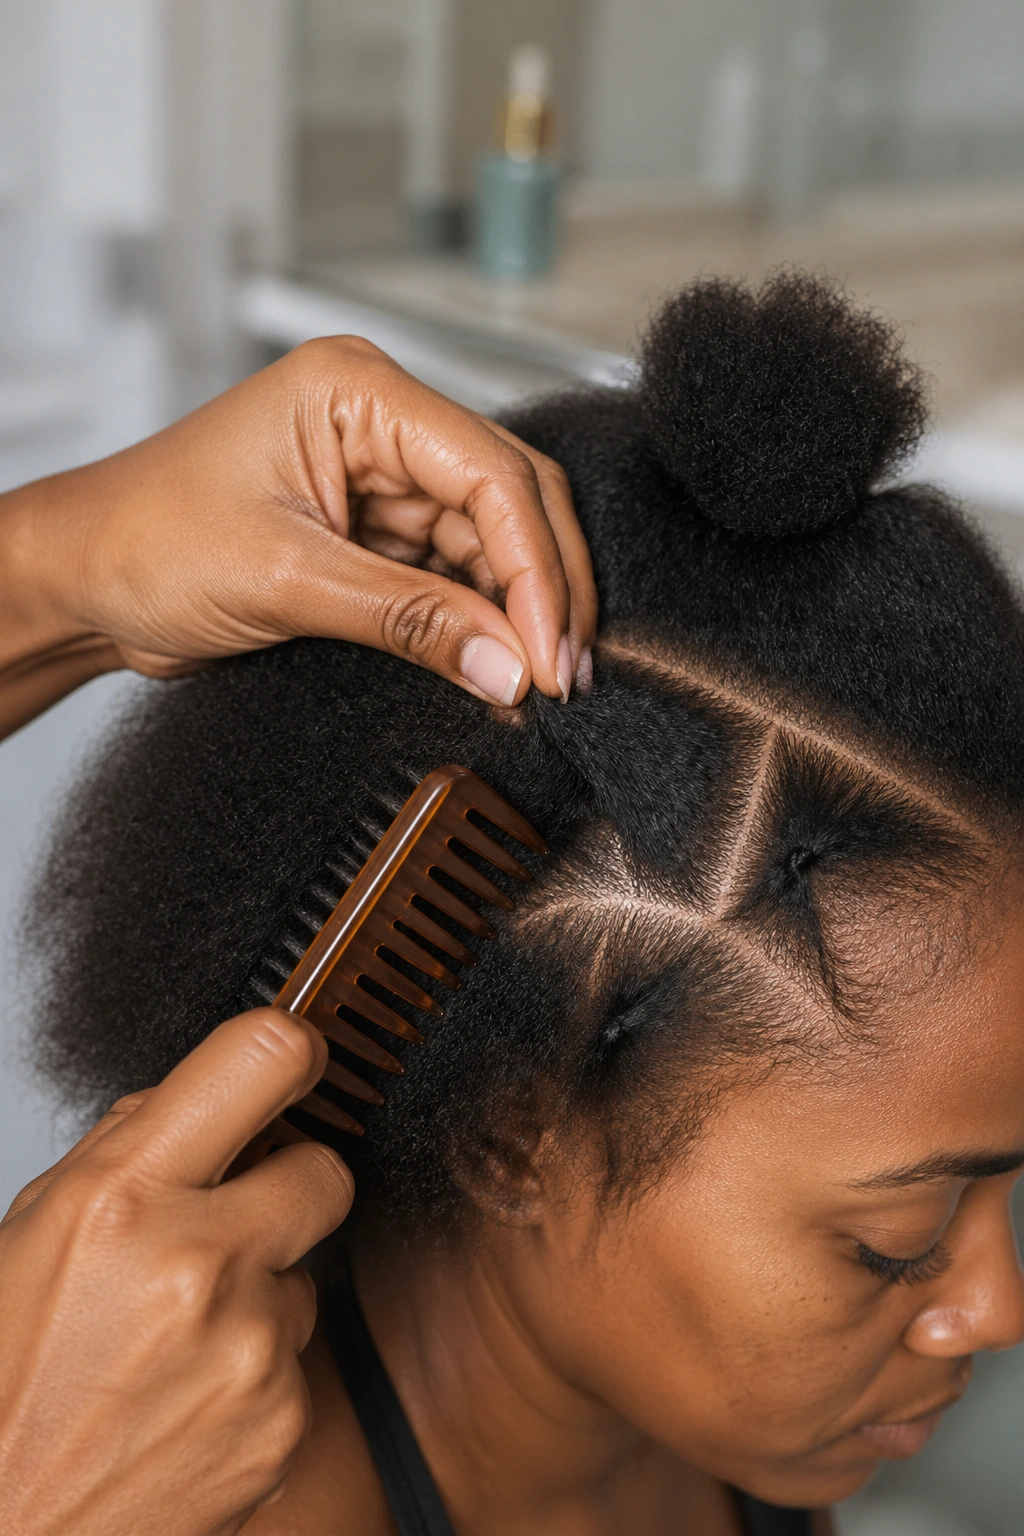
Wash hair 48 hours before install. Day-of-wash hair is too slick for needle pickup — the needle slides through without catching the small section it should grab.
Detangle thoroughly. Knots disrupt the needle’s pickup and create lumpy additions.
Apply a light scalp moisturizer the night before. Scalp comfort during a 4-6 hour needle install matters.
Clip sections cleanly. Needle work requires precise sectioning to be effective. Sloppy sections produce sloppy results no matter how careful the needle work.
Timing Reality
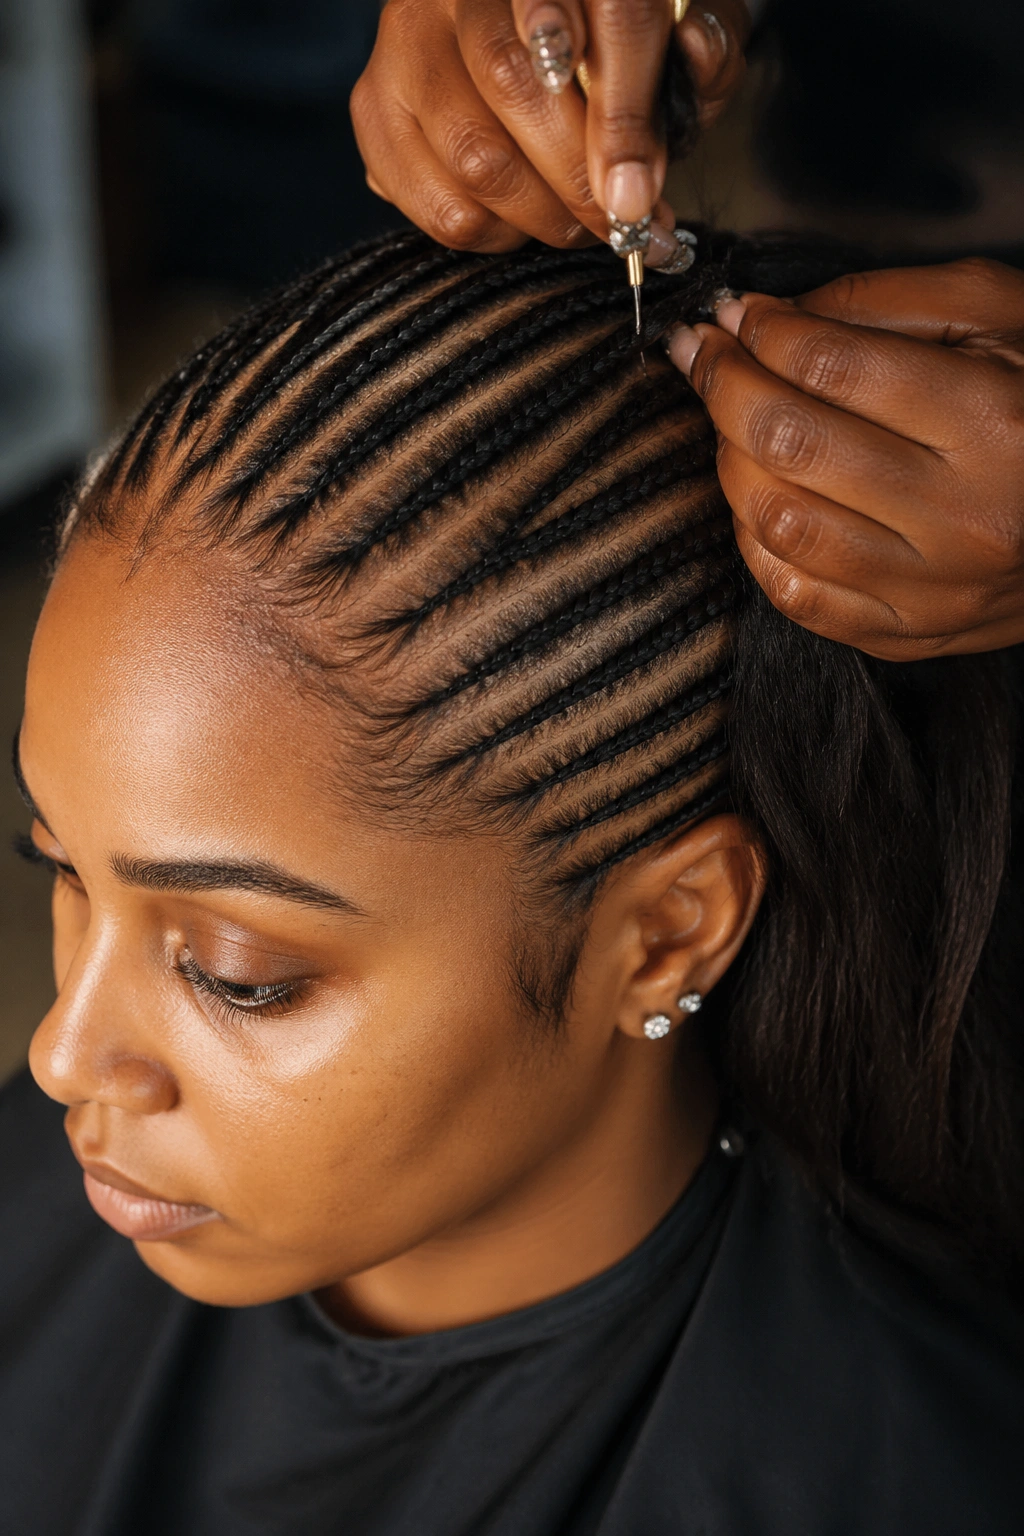
Needle cornrows take longer than hand feed-in. A simple six-cornrow needle install runs 4-5 hours. An elaborate stitch pattern can push 7+ hours.
If your braider quotes a needle install in under 3 hours, ask questions. Either they’re skipping the needle for parts of the install, or the result will be less precise than needle work should produce.
The trade-off is wear time. Needle cornrows typically hold their look 1-2 weeks longer than equivalent hand-fed styles because of the uniformity.
1. Classic Six Stitch Needle Cornrows
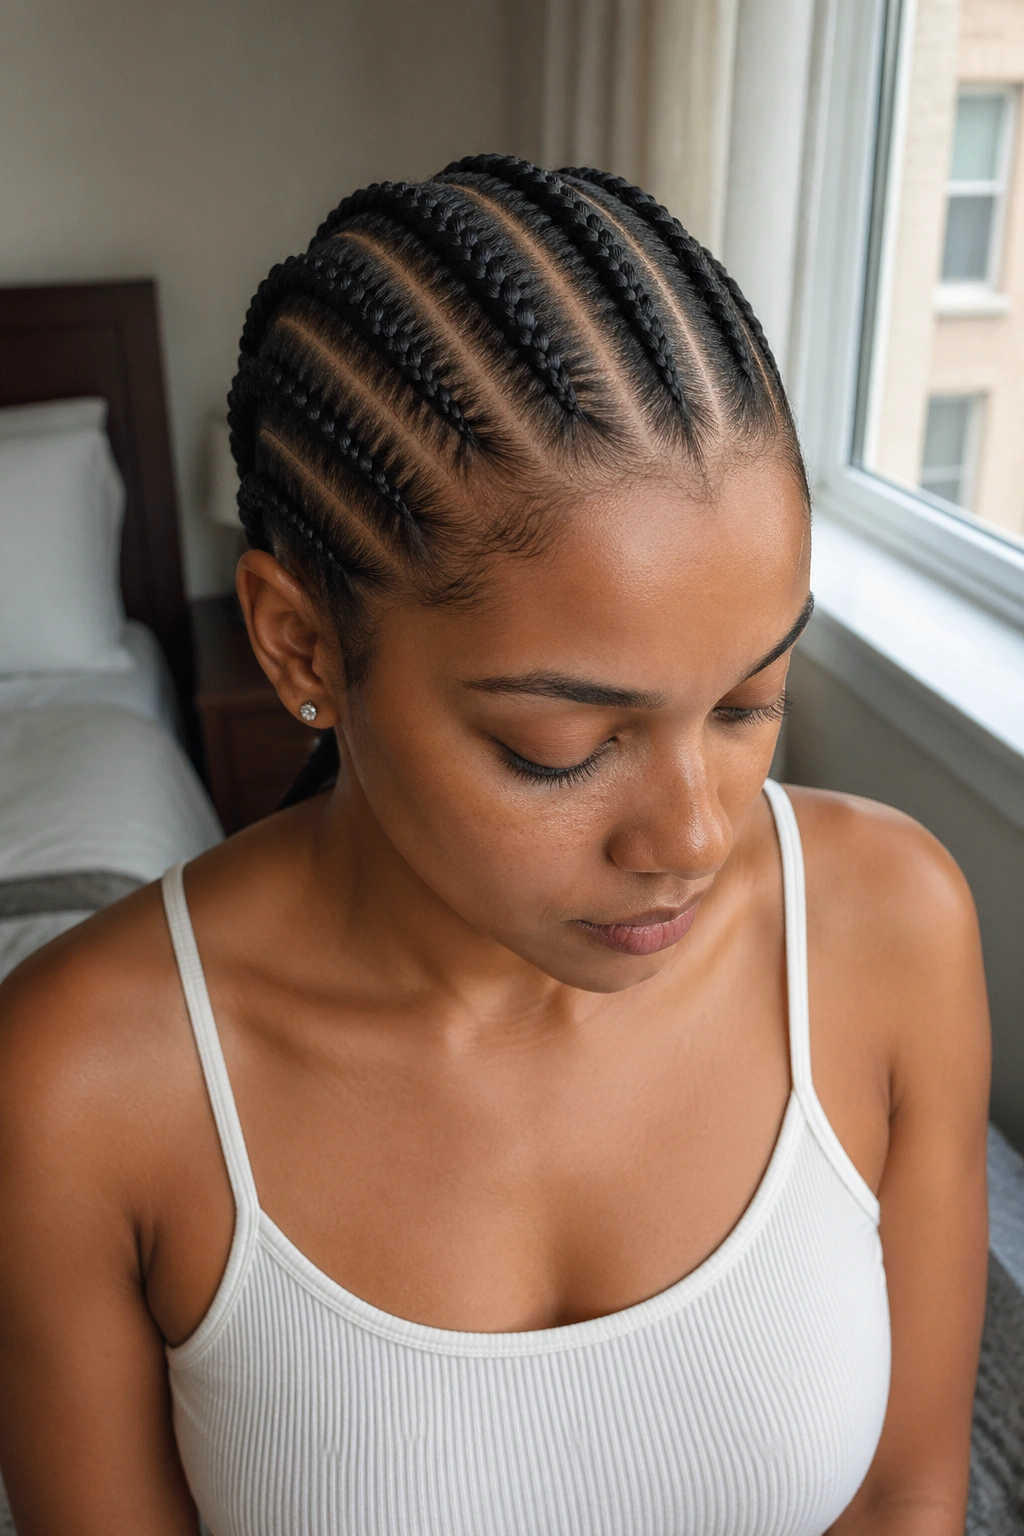
Six straight-back stitch cornrows with horizontal needle-fed stitch detail along each one.
Why It Works
Six cornrows is the proportionate count for most head sizes. Stitch detail in six cornrows reads bold without being overwhelming. The needle work makes the stitches photograph cleanly.
- Allow 5 hours minimum
- Use medium-tension feed-in
- Pre-curl the ends for a softer finish
Tip: Apply edge gel after the cornrows are complete, not before. Pre-applied gel disrupts the needle’s grip on small sections.
2. Eight Needle Cornrows with Stitch Detail
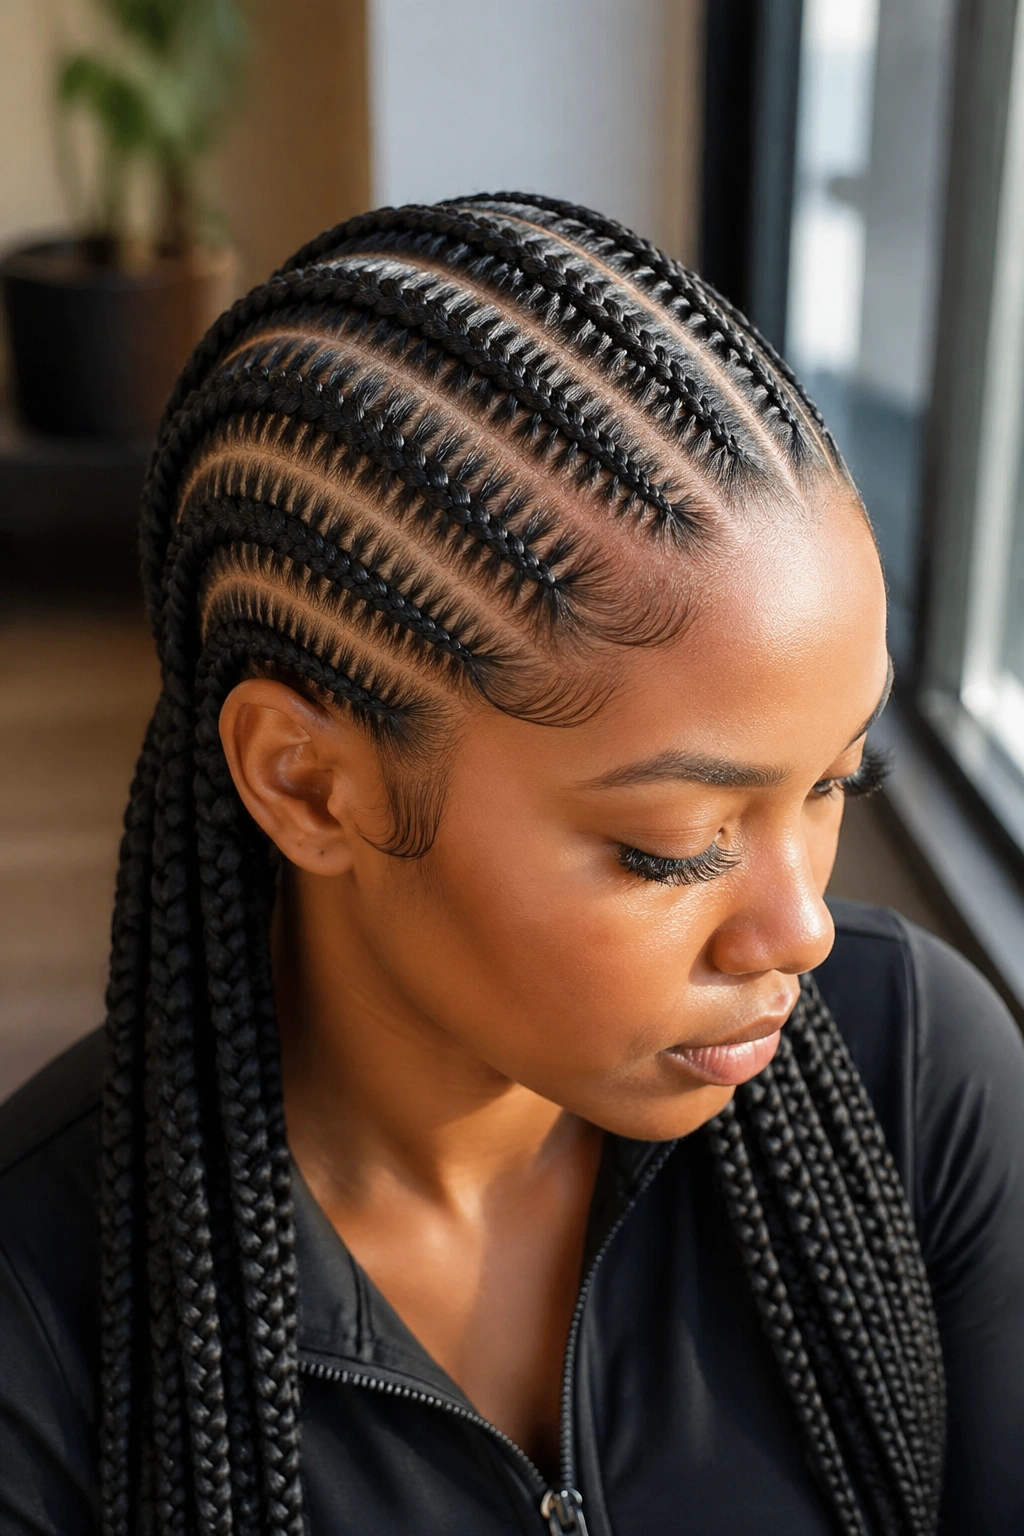
Eight cornrows instead of six. Same stitch detail. Slightly busier visual.
Eight cornrows suit larger head sizes or wearers who want more visual density. The eight-count keeps each cornrow at a manageable thickness while still showing distinct stitch lines.
Plan 5.5-6 hours of install time. The extra cornrows add roughly an hour to the install duration.
3. Needle Lemonade Cornrows
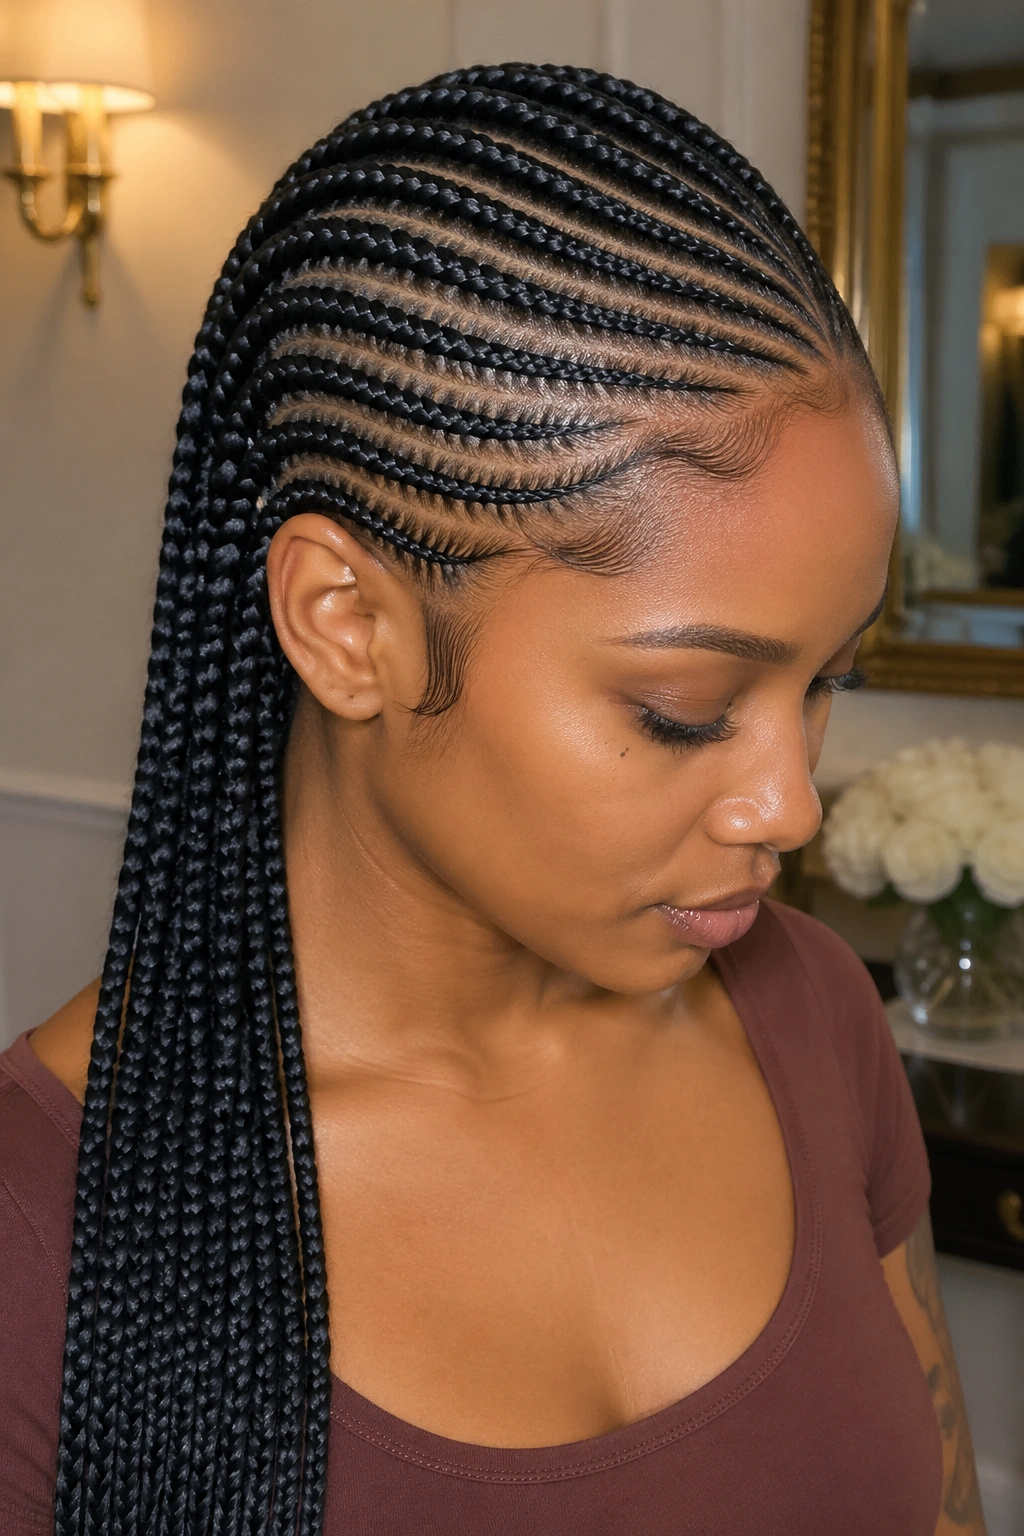
Side-swept lemonade-style cornrows with needle-fed stitch detail.
The combination of side sweep and needle stitch creates an elegant, polished look. The stitch detail catches light along the angled cornrow path.
Most lemonade styles use hand feed-in. Adding needle work elevates the precision but also adds 1.5-2 hours to install time.
4. Needle Cornrow Bob
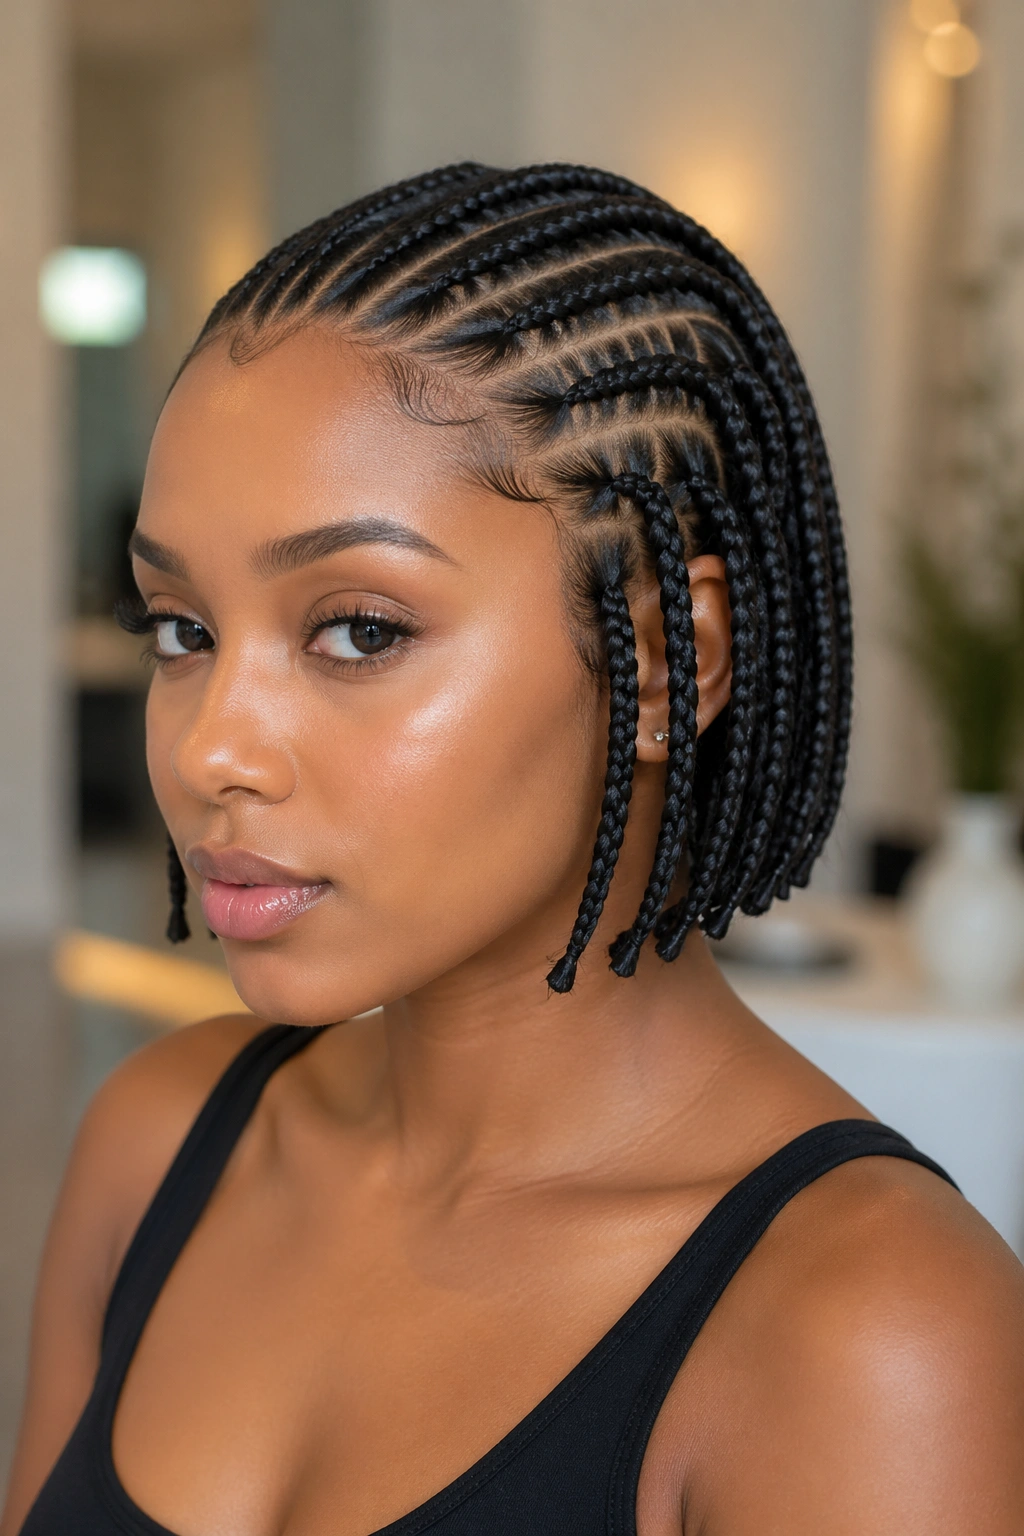
Chin-length needle cornrow bob with stitch detail on each cornrow.
The bob length showcases needle work because the cornrows are short enough that the eye sees the entire stitch pattern at once. Long cornrows can hide stitch precision below shoulder level.
For wearers wanting to showcase the needle technique investment, the bob is the visual highlight format.
5. Stitched Fulani Pattern
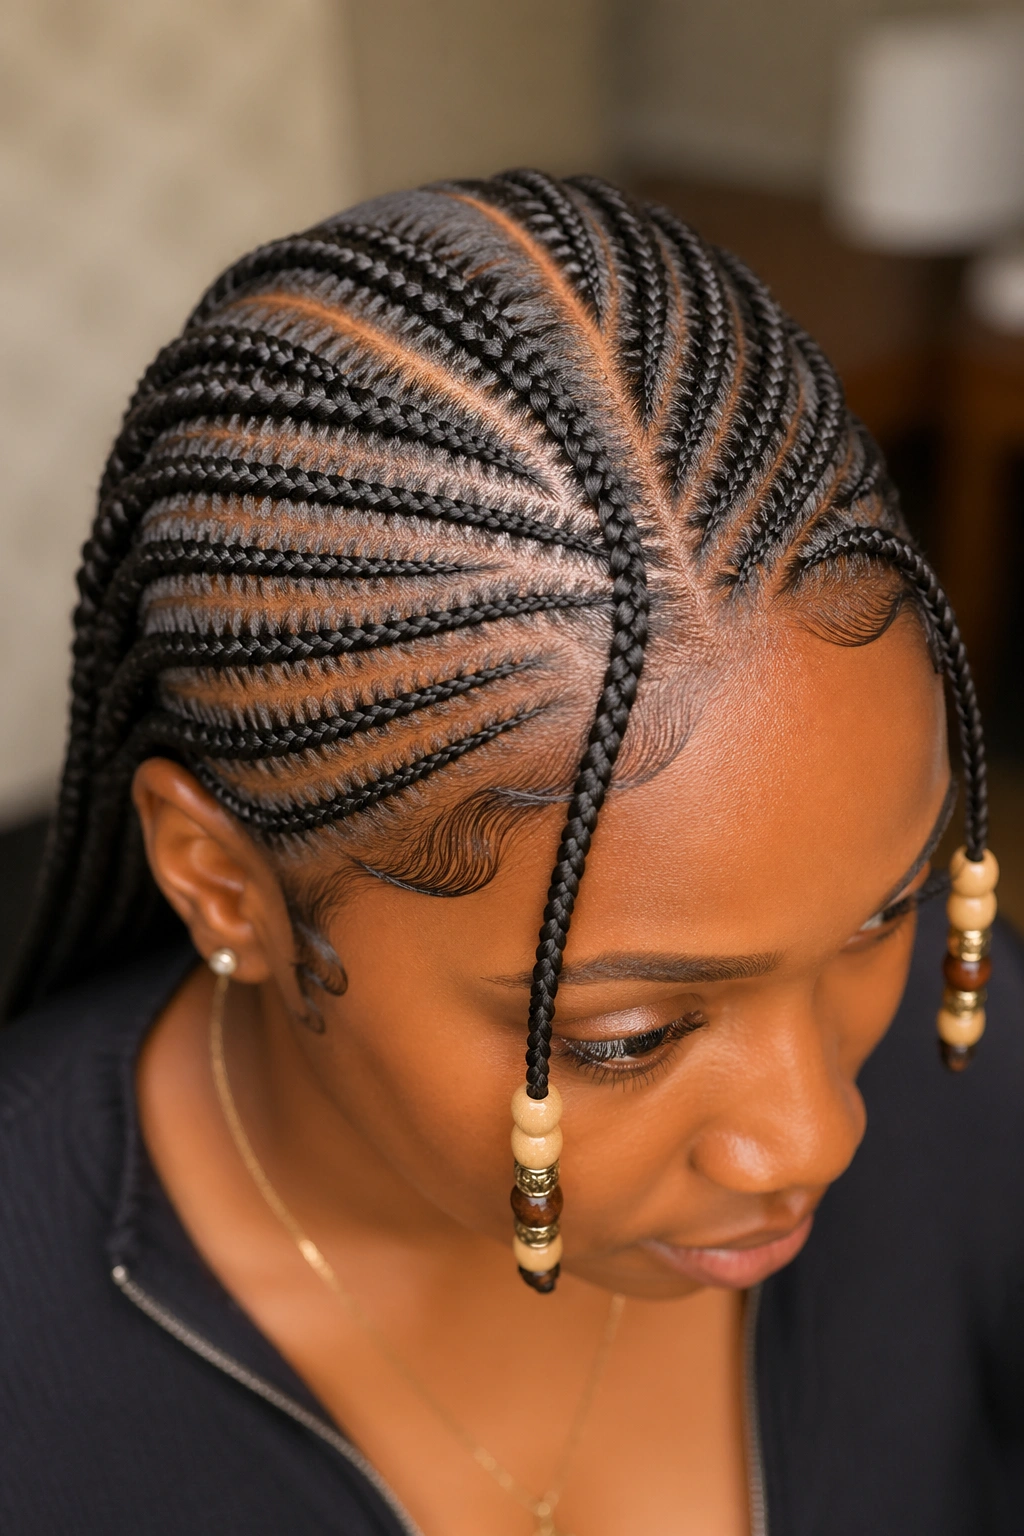
Fulani parting (center cornrow with side-swept angles) executed with needle stitch detail along each cornrow.
Traditional Fulani styling meets modern stitch precision. The cultural pattern remains intact. The stitch detail adds contemporary polish.
Beads should be limited and clustered near the face. Heavy beading along stitch cornrows visually competes with the stitch lines themselves.
6. Needle Cornrow Updo
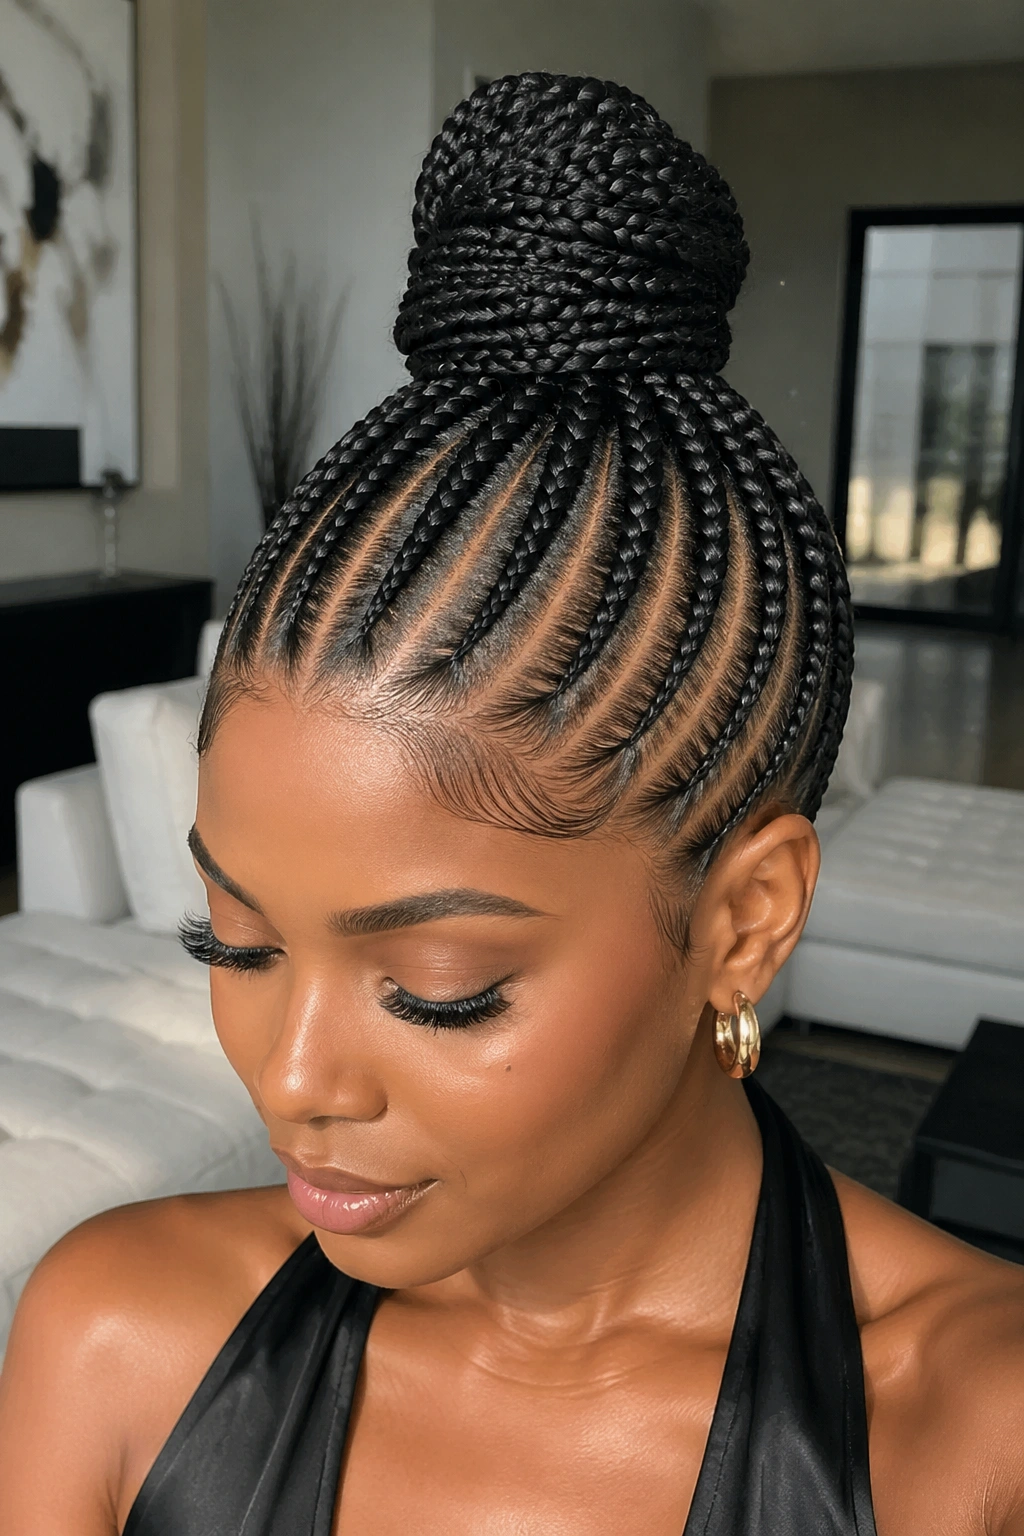
Multiple needle cornrows feeding upward into a crown bun. The stitch detail is visible until the cornrows enter the bun.
This is special-occasion styling. The combination of needle precision and updo formality reads as deliberate, expensive, and event-ready.
The bun should be small to medium — large buns disrupt the visual flow of the stitch detail leading into them.
7. Two-Tone Needle Cornrows
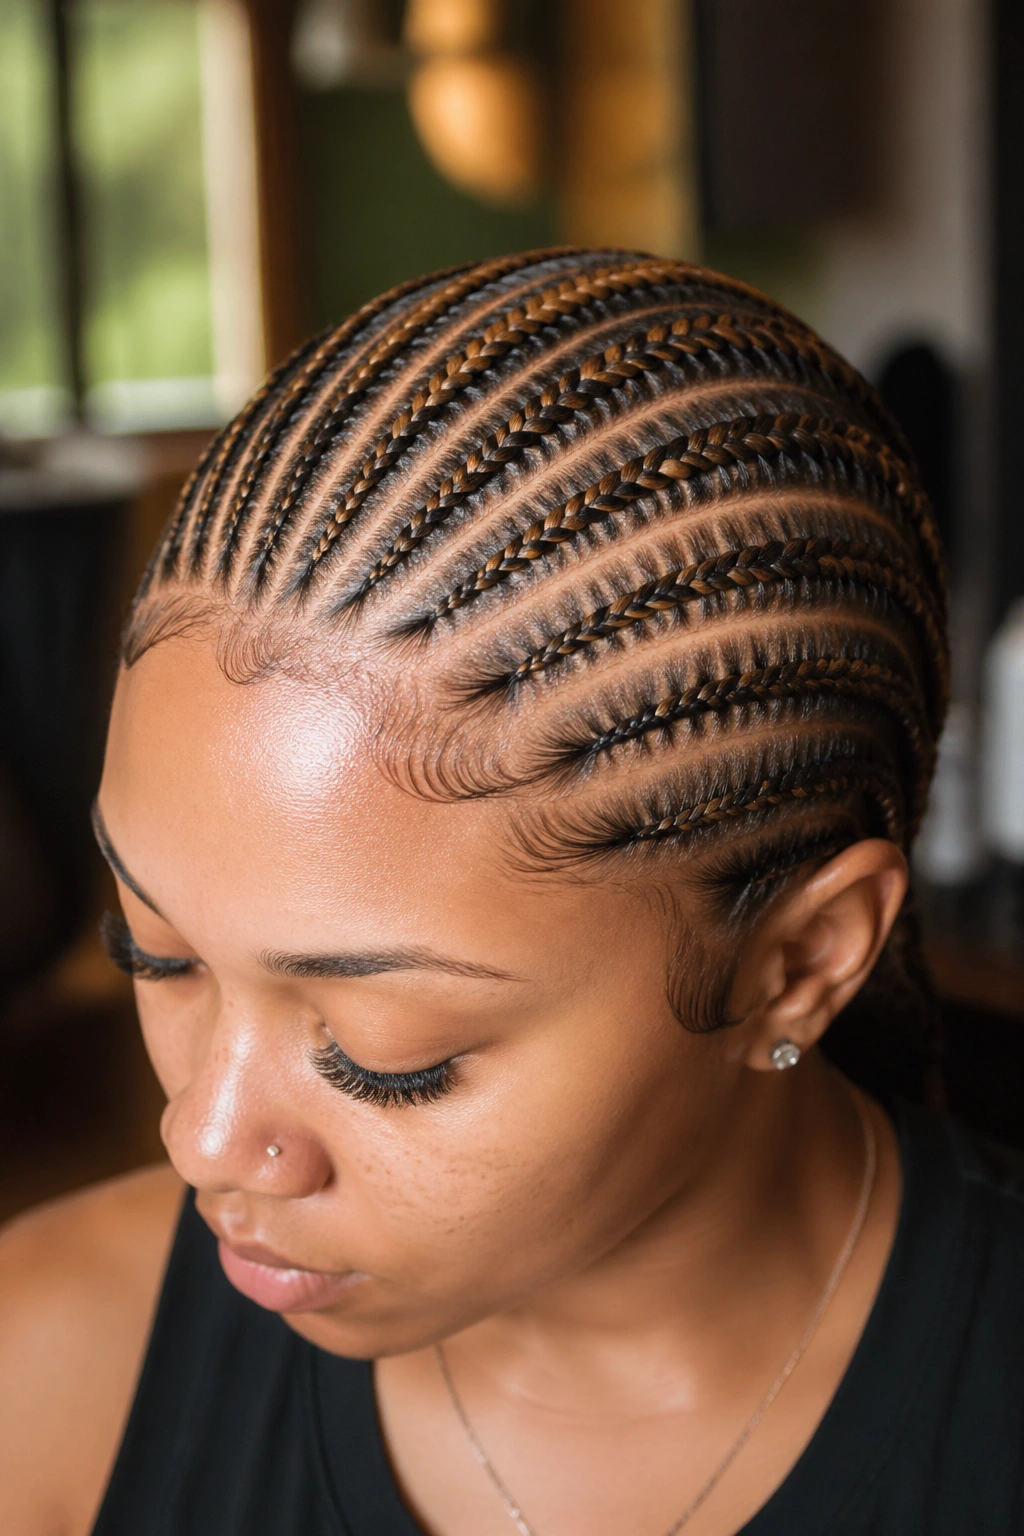
Needle cornrows installed with two-tone color — alternating stitch sections of a darker base with a lighter accent color.
The needle technique shows the color transitions cleanly. Hand feed-in often creates messy color transitions because the additions vary in size.
Pick complementary tones — black with caramel, dark brown with honey, espresso with mahogany. Avoid contrast colors (black with platinum) which fight the subtle stitch detail.
8. Needle Cornrow Mohawk
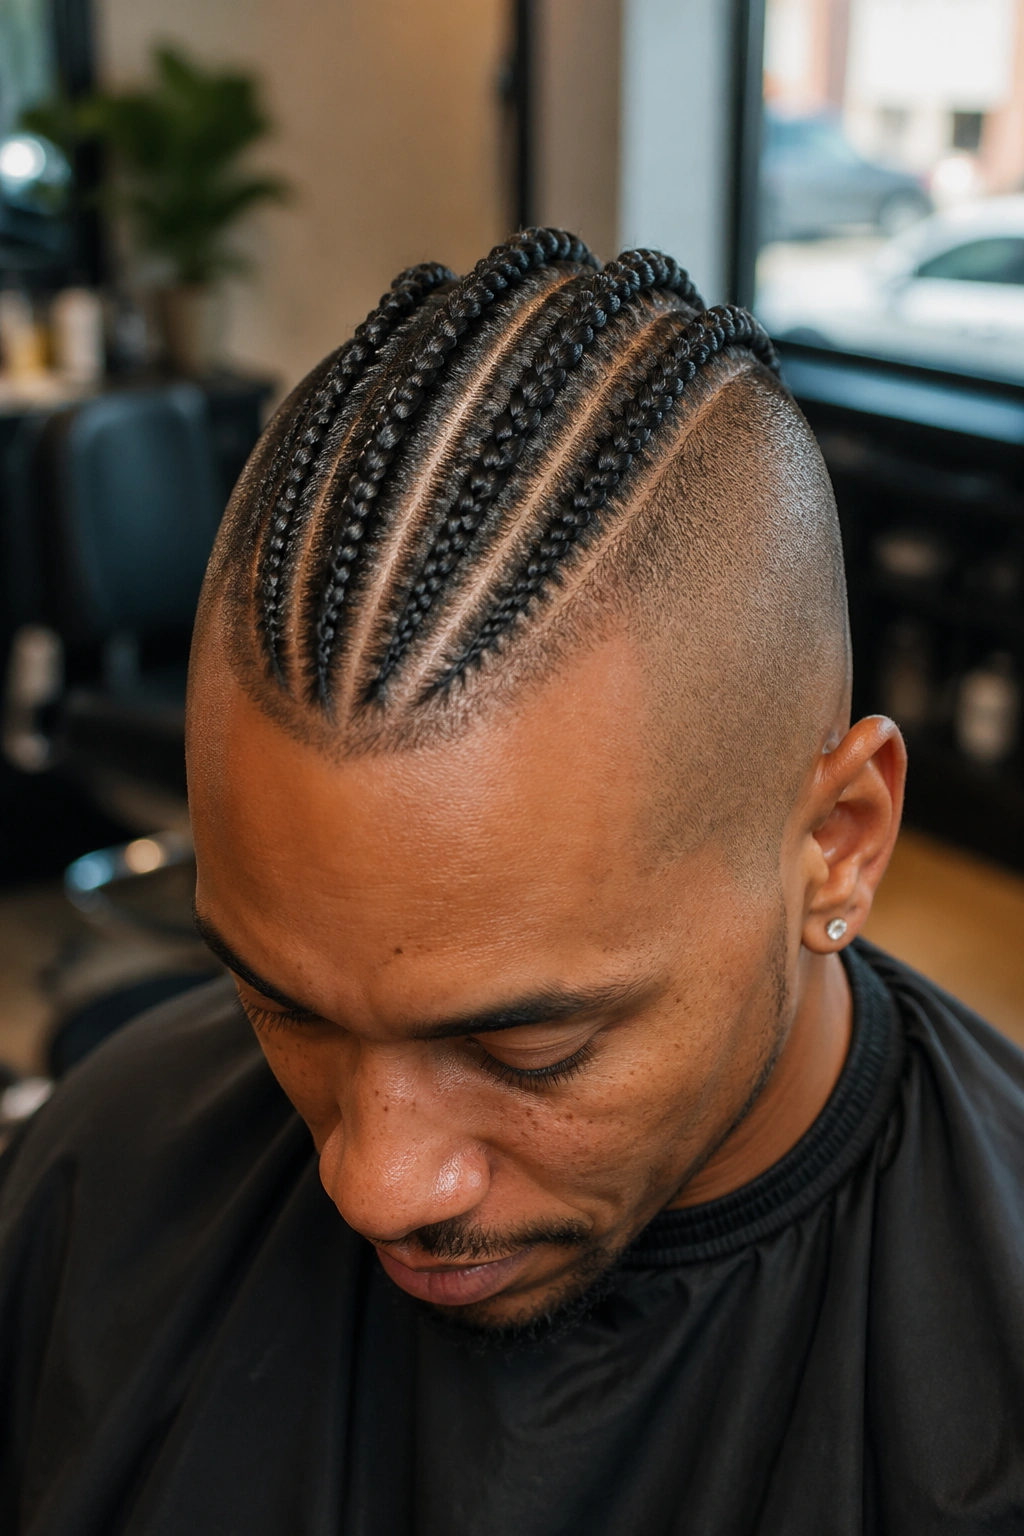
Center-strip needle cornrows with shaved or short braided sides.
The mohawk format pairs well with needle technique because the strip is the focal point. Investing the time in needle work for the strip pays off visually.
The center strip width should be 3-4 inches for mohawk formats. Narrower strips lose the mohawk effect; wider strips lose the strip identity.
9. Needle Cornrows with Cuffs
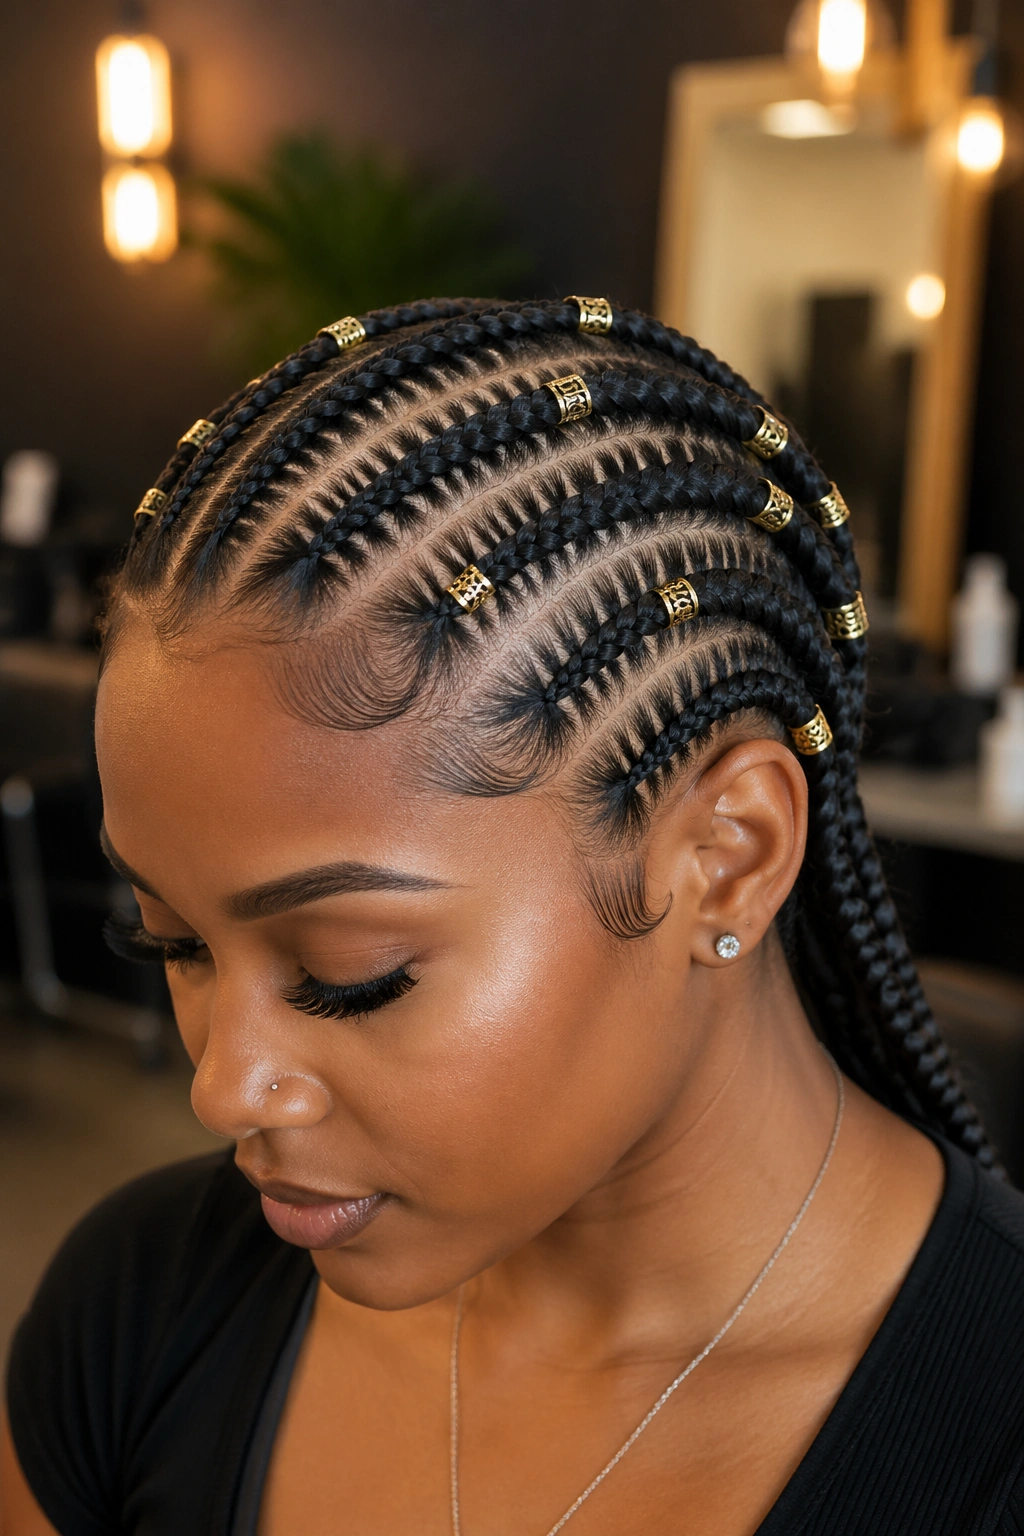
Standard needle cornrow installation with metallic cuffs decorating each cornrow at intervals.
How to Style It
Cuffs add hardware decoration without the weight of beads. Aluminum cuffs are particularly light and don’t strain the cornrow base.
Cluster cuffs near the face for face-framing emphasis, or distribute them evenly along the cornrow for a uniformly decorated effect.
10. Needle Half Cornrows
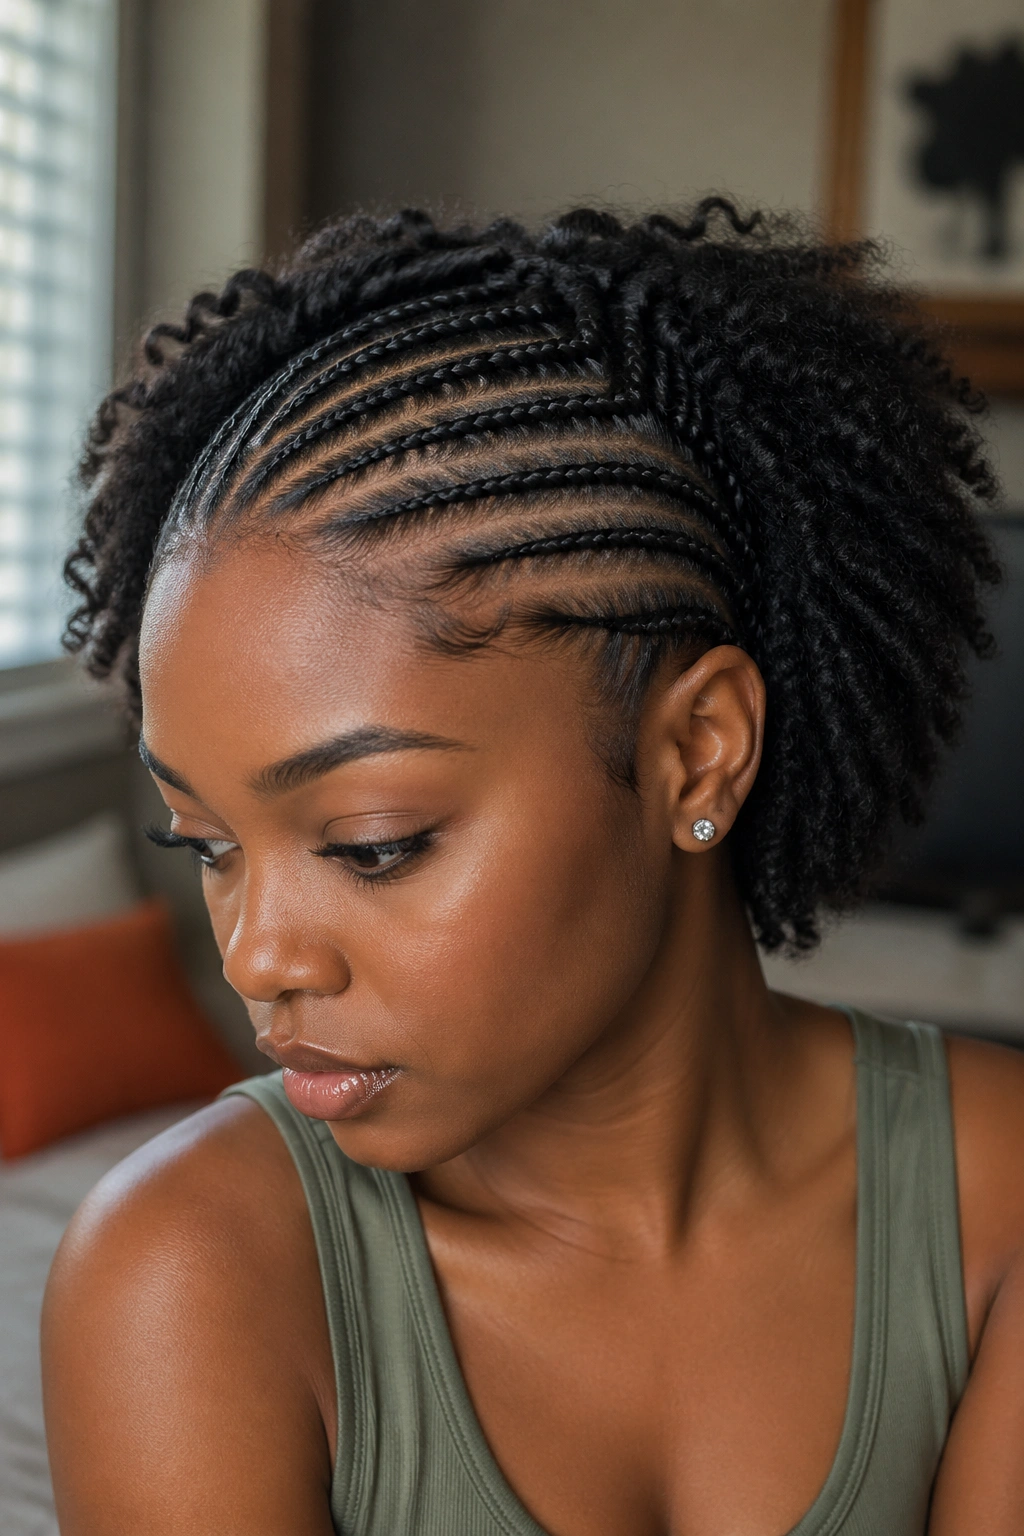
The front half of the head is needle-cornrowed. The back half is left in natural texture, twisted, or styled separately.
Half installations cut the install time roughly in half — about 2.5 hours instead of 5. They also reduce the strain on the hairline because only half the head is under tension.
Good for wearers who want needle precision for the visible front but don’t need full-head structure.
11. Needle Stitch Halo
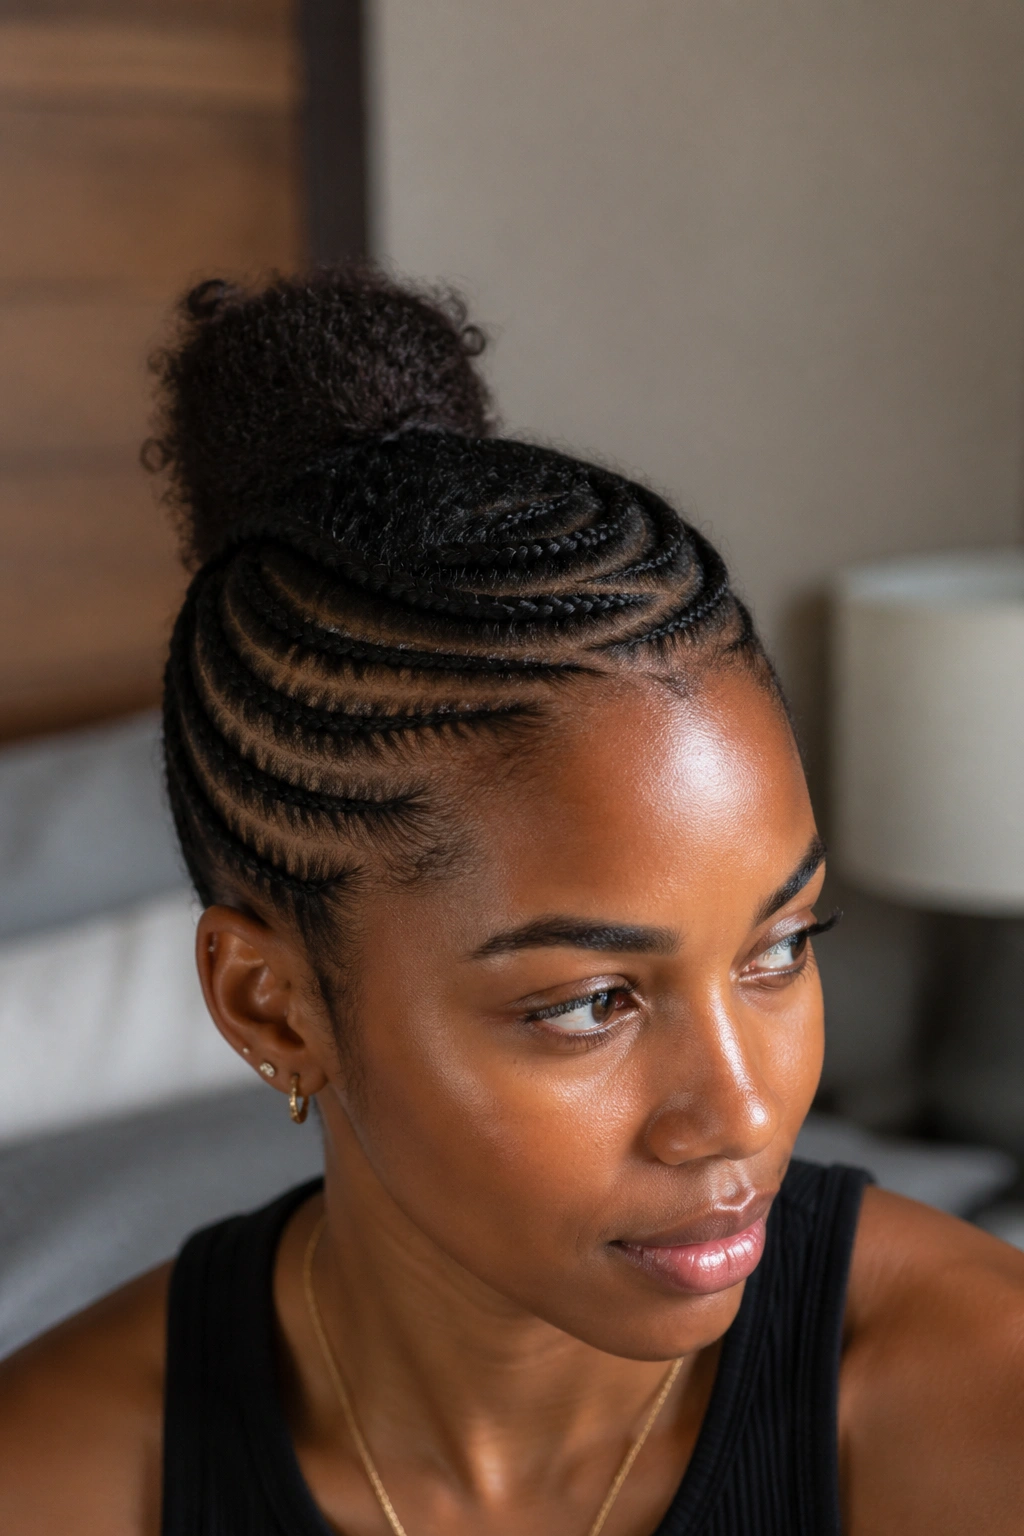
A halo of needle-stitch cornrows circling the head, with the center crown left free for natural texture or a small bun.
Halo styles benefit from needle precision because the stitch detail follows the curve of the halo continuously. Hand feed-in creates inconsistencies along curves that needle work avoids.
The halo should sit about an inch above the natural hairline. Too low and the halo crowds the face; too high and it disconnects from the rest of the hair.
12. Diagonal Needle Cornrows
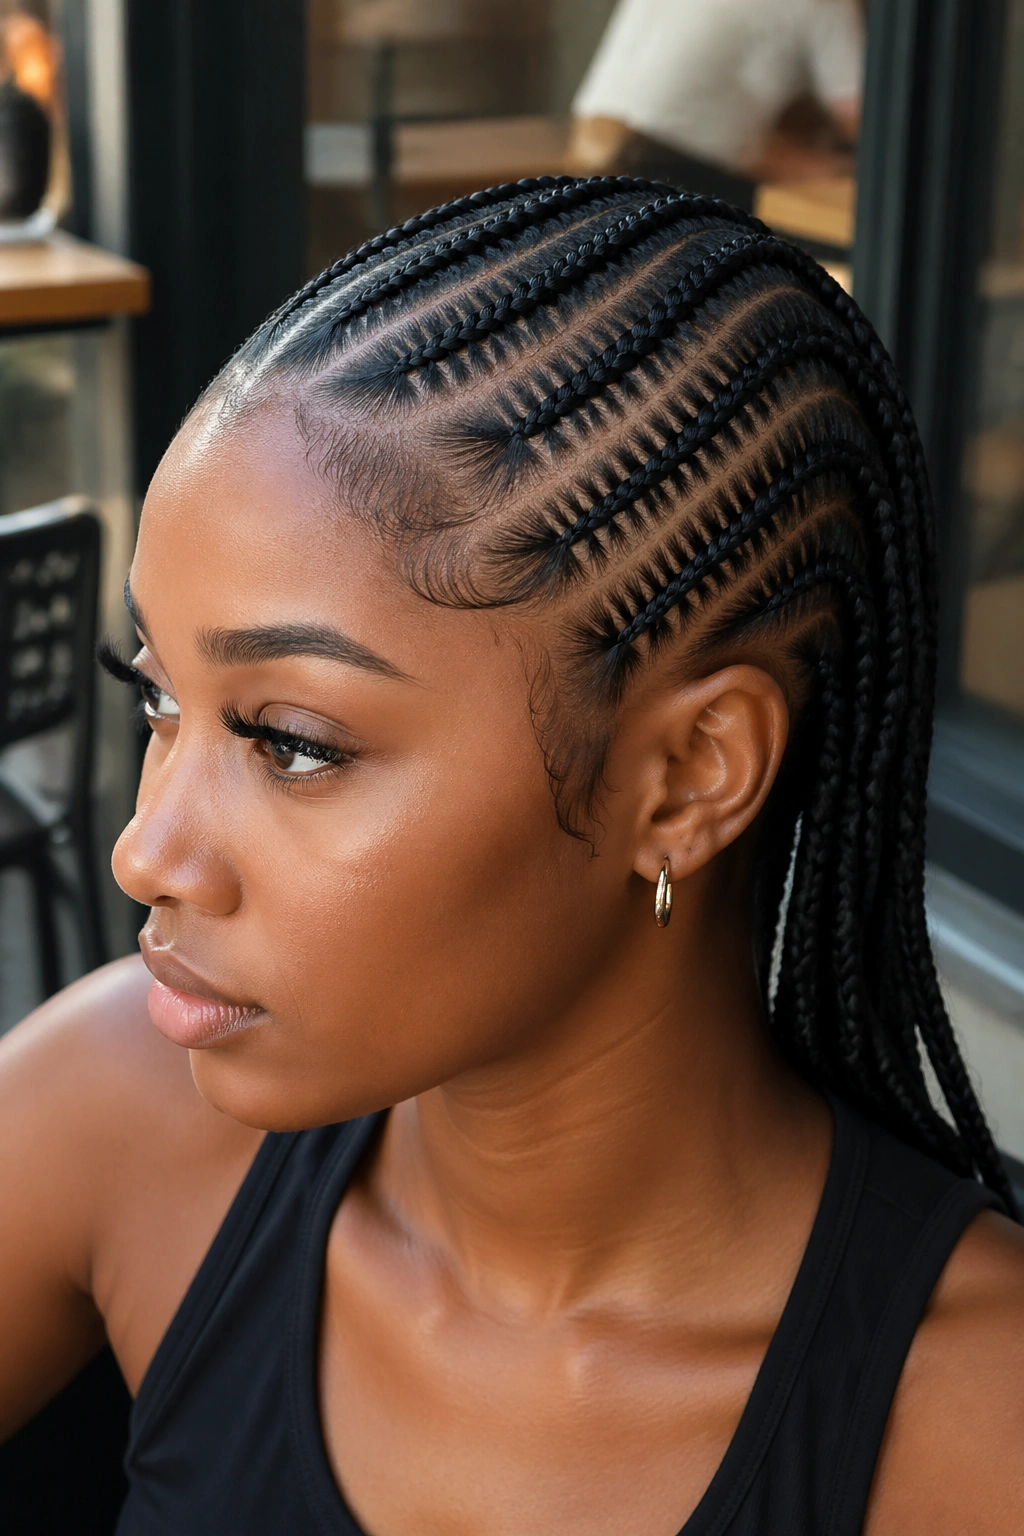
Cornrows running on a diagonal across the head — not straight back, not side-swept, but cleanly diagonal at a 30-45 degree angle.
The diagonal direction is unusual and reads as deliberate design. The needle work makes the diagonal lines crisp and visible.
For face shapes that benefit from angular framing — strong jaws, defined cheekbones — the diagonal direction enhances those features.
13. Stitched Crown with Hanging Braids
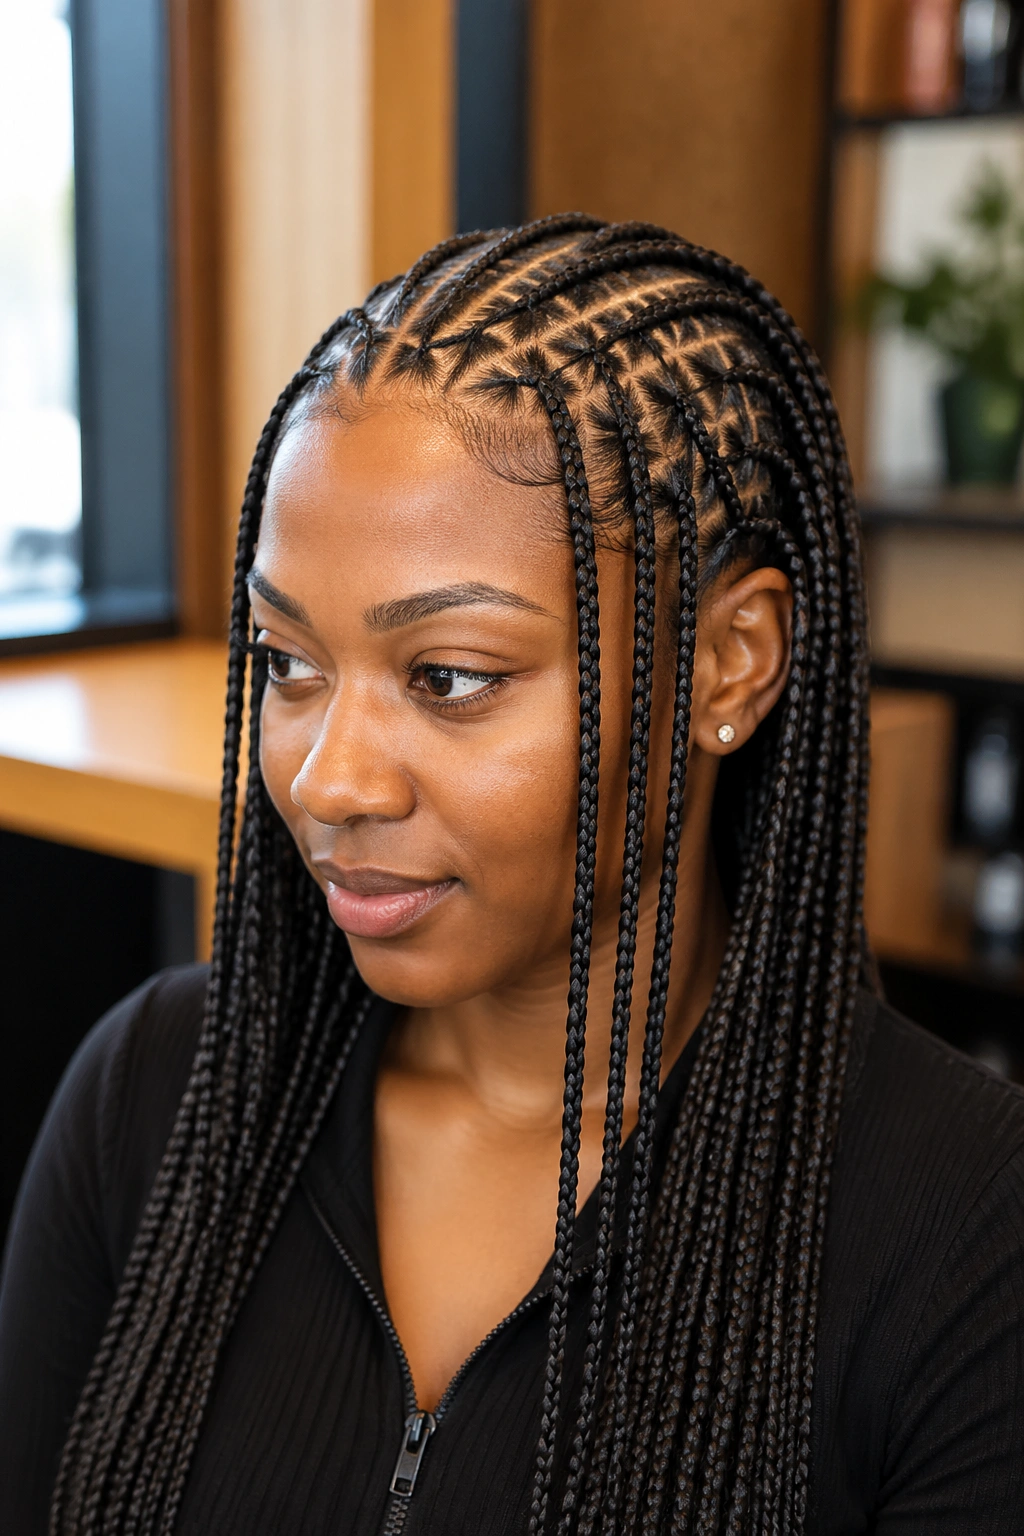
Needle stitch cornrows for the crown of the head, with hanging braids extending from the back of the crown downward.
The crown structure carries the visual weight. The hanging braids provide length and movement. The combination creates dimensional styling that pure cornrow installations don’t achieve.
Pair with hoop earrings or statement studs. The stitch detail at the crown frames the face naturally.
14. Needle Cornrows with Tapered Ends
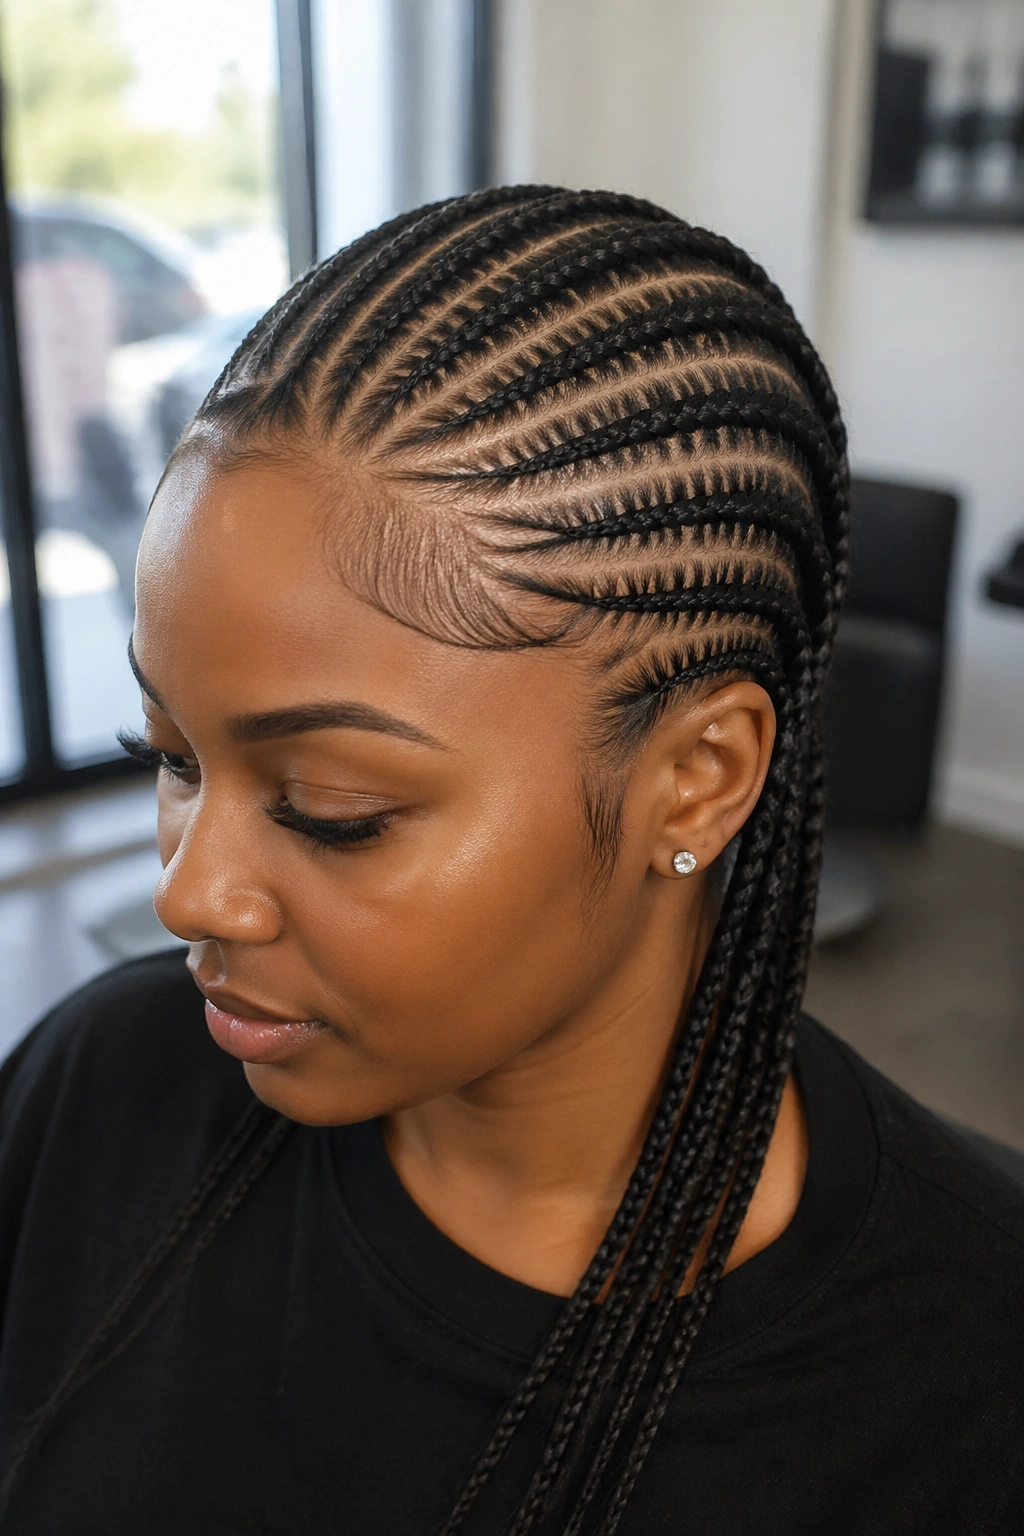
Cornrows where the needle work creates a tapered effect — wider at the top, narrowing toward the ends.
The tapering is achieved by gradually reducing the size of the needle pickups along the cornrow length. This requires advanced needle skill — not for beginners.
The effect adds dimensional interest. Most cornrows are uniform in width. Tapered cornrows create a visual flow that draws the eye downward.
15. Needle Cornrows in Box Pattern
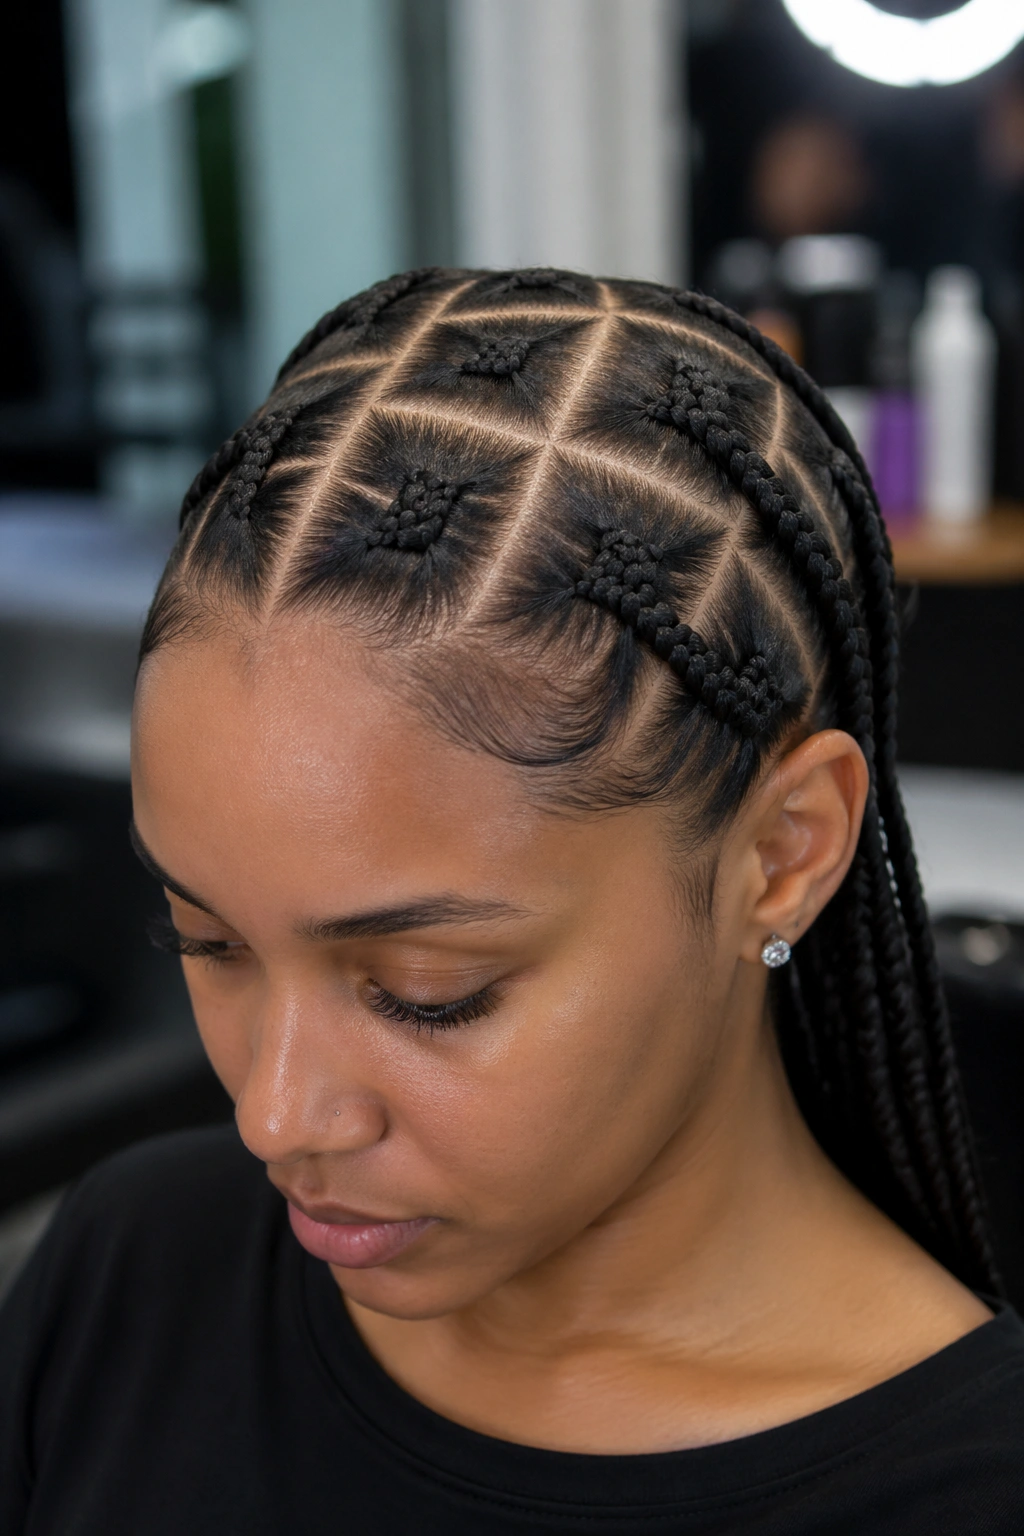
Cornrows arranged in a grid pattern — even boxes rather than continuous lines — with needle stitch detail in each box.
Box patterns are visually graphic. The needle work amplifies the geometric quality of the boxes by ensuring clean intersection points.
Each box should be roughly 2×2 inches. Smaller boxes look fussy; larger boxes lose the grid effect.
16. Needle Cornrows with Loose Curls
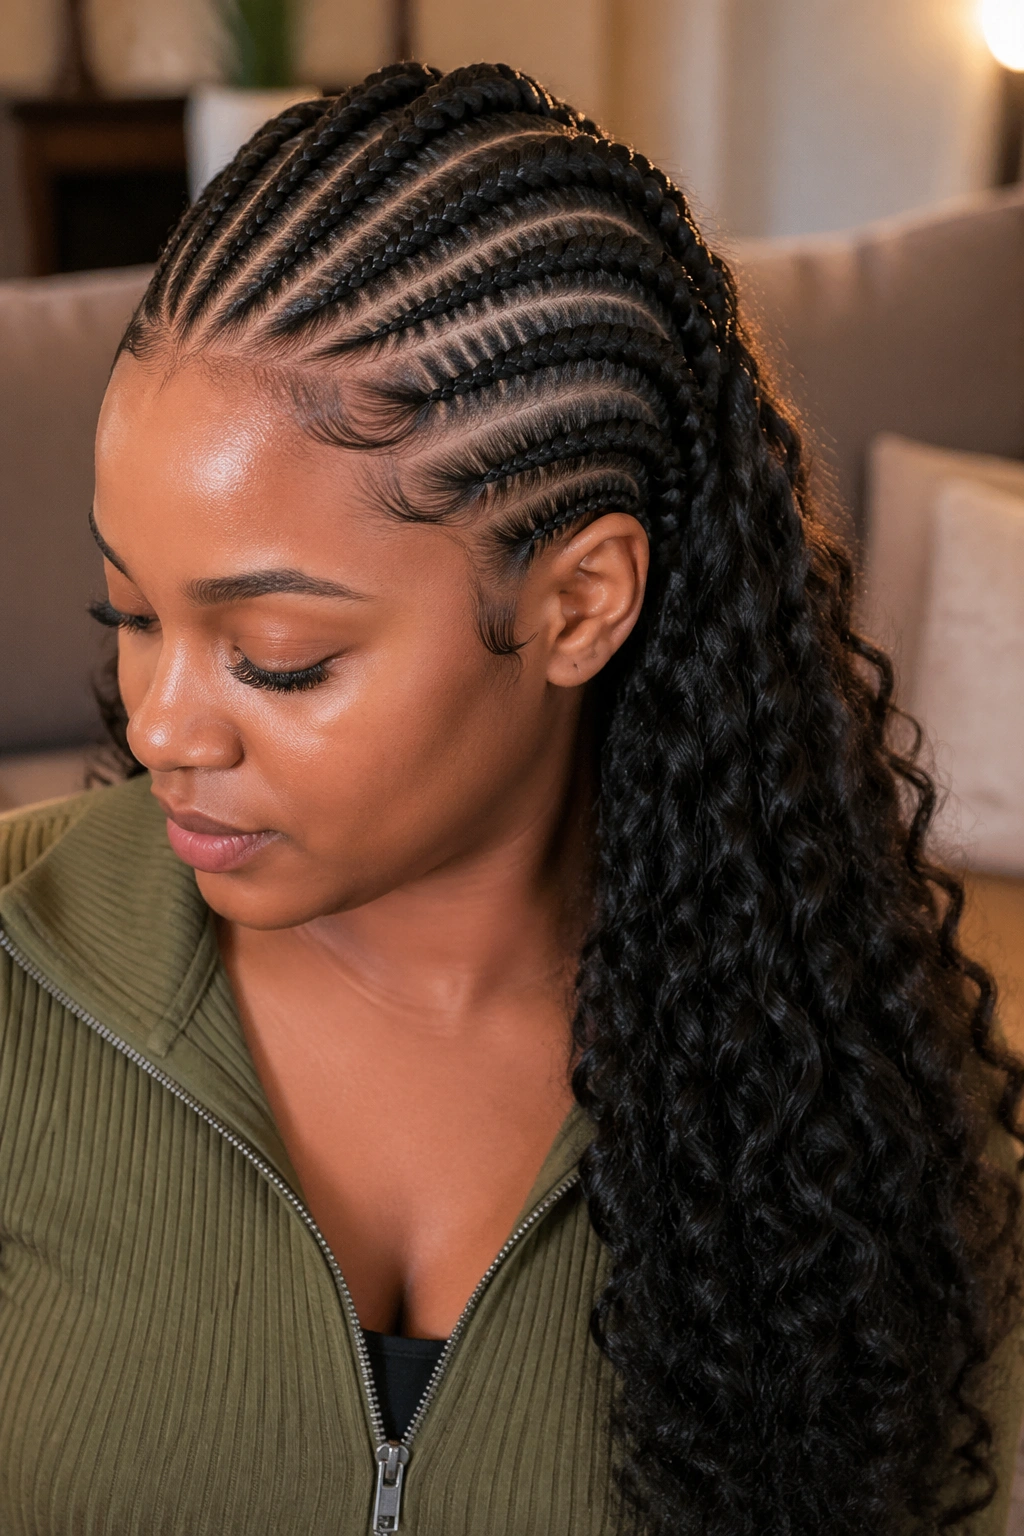
Needle cornrowed front and crown, with loose curl extensions hanging from the back.
The contrast between needle precision and loose curl softness is the appeal. The cornrows handle structure. The curls handle texture.
Use either natural curl extensions or curled kanekalon. Pre-curled options save styling time after install.
17. Needle Mini Cornrows
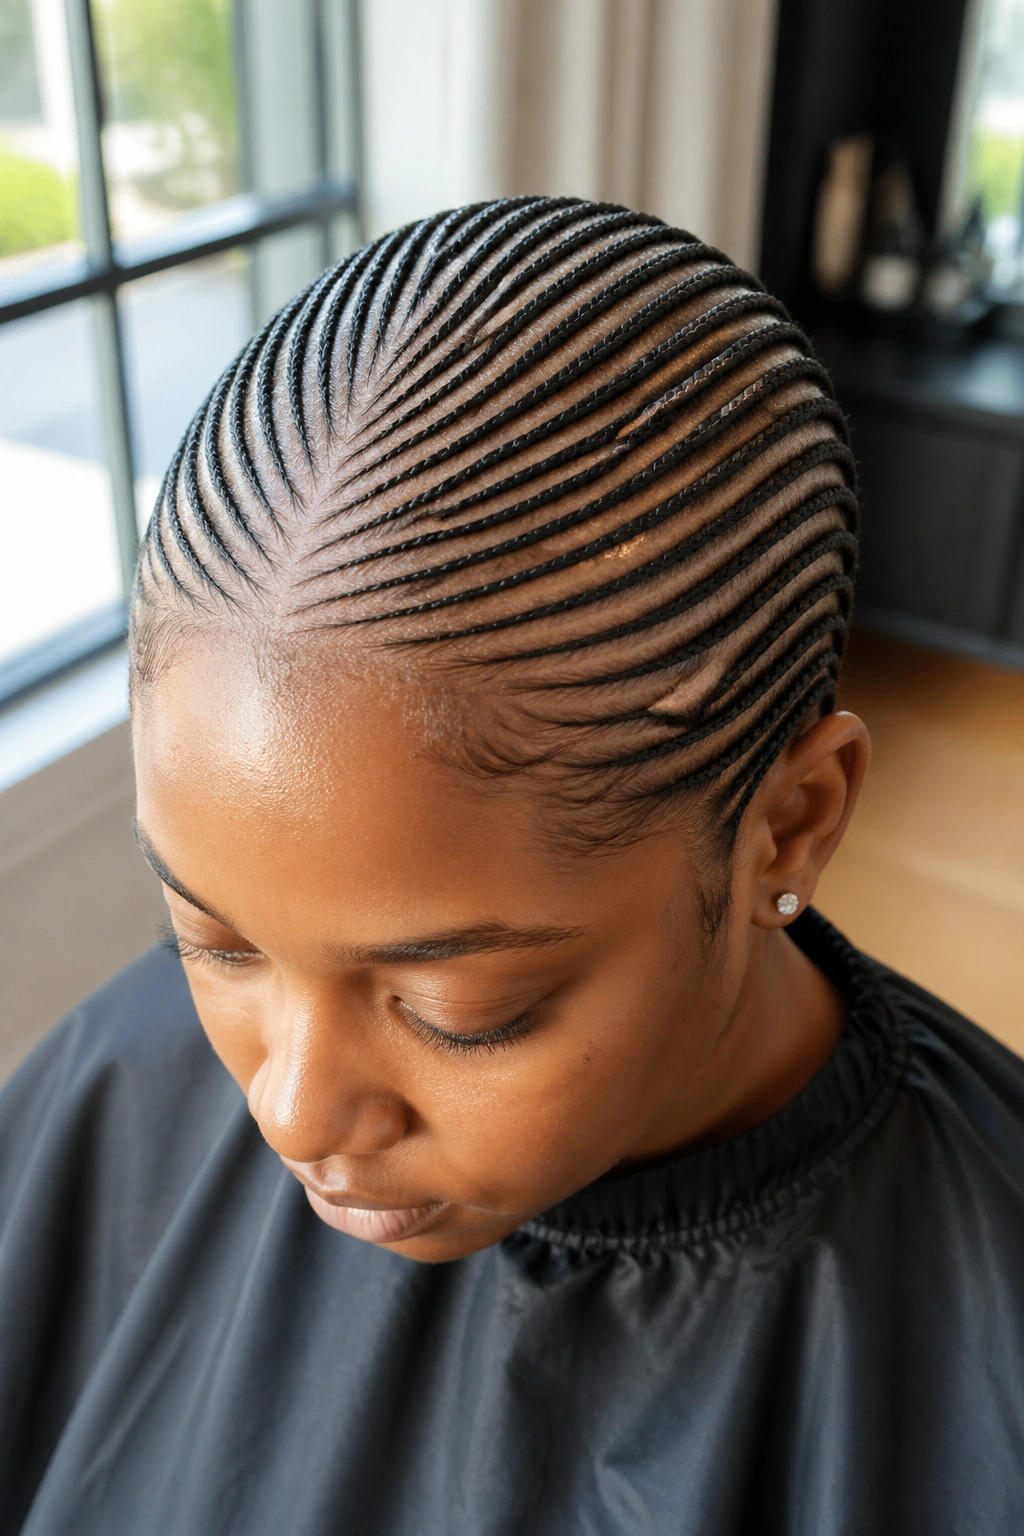
Micro-thin cornrows installed with needle technique — sometimes 30+ cornrows across the head, each a fraction of standard width.
Micro cornrows with needle work are the most labor-intensive option on this list. Plan 7+ hours for install. Wear time can extend to 6 weeks because of the small size and needle uniformity.
For wearers committed to maximum precision and willing to invest the time and cost, this is the apex format.
18. Needle Cornrow Pony
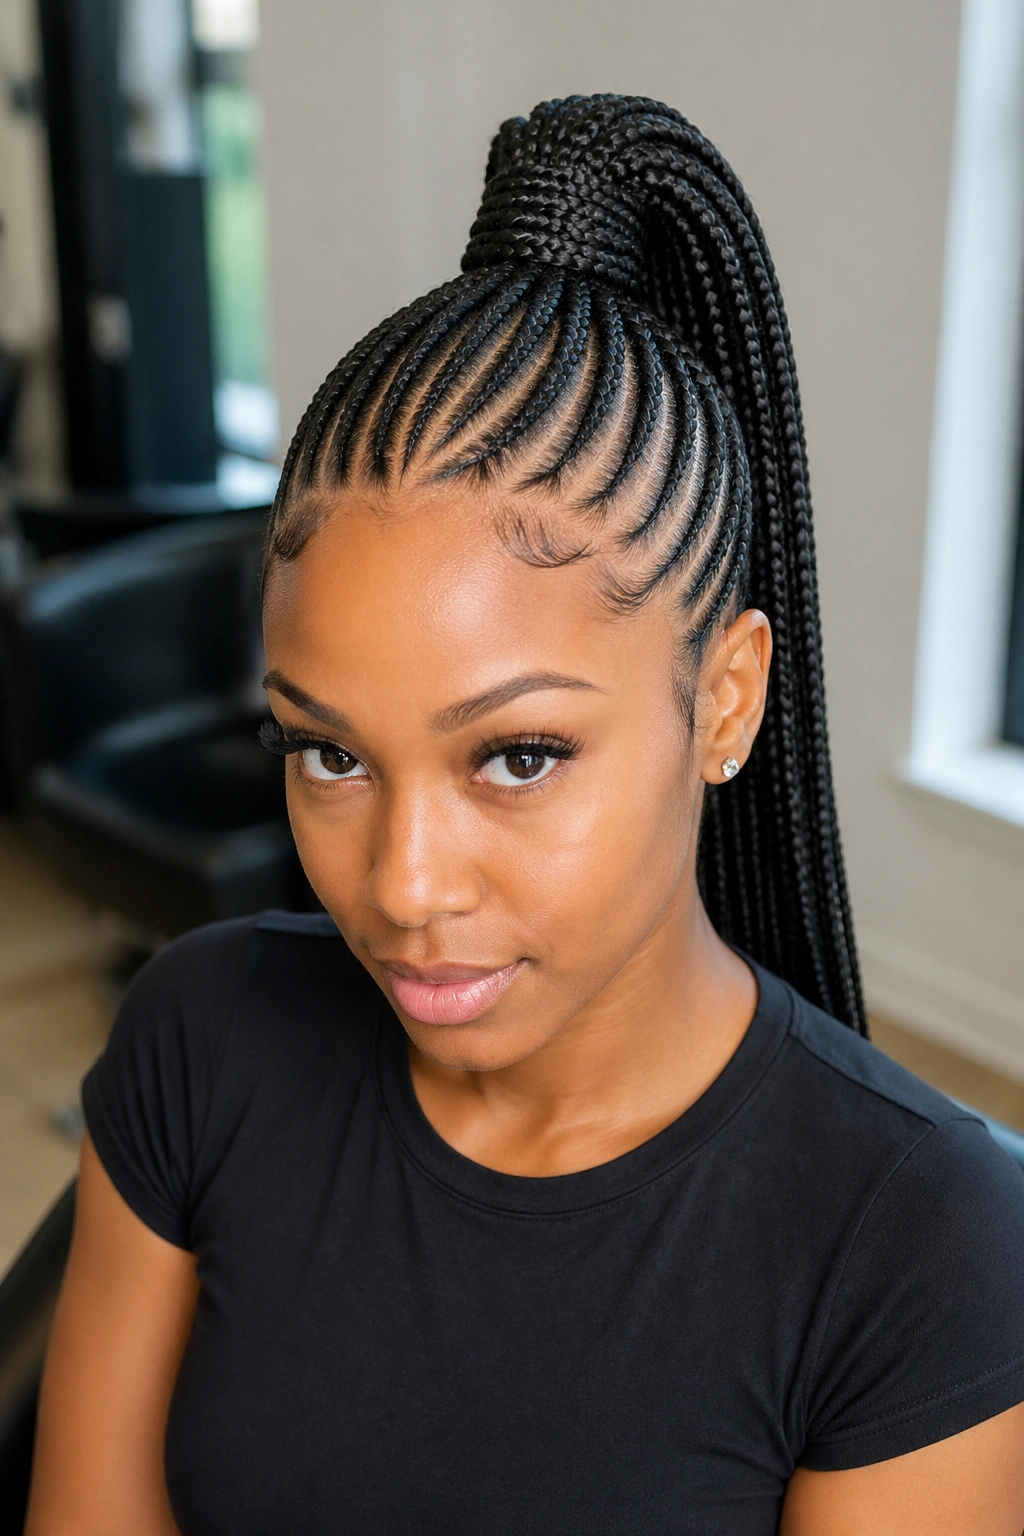
Standard needle cornrow install, all gathered into a high or mid-level ponytail.
Maintenance Notes
Ponytail bases stress the gather point. The combination of cornrow weight and the ponytail tie creates pulling tension.
Use a wrap around the base instead of a tight elastic — fabric distributes pressure better than elastic does.
Re-secure the wrap every 3-4 days as the cornrow base settles.
19. Needle Cornrows with Pre-Cuffed Ends
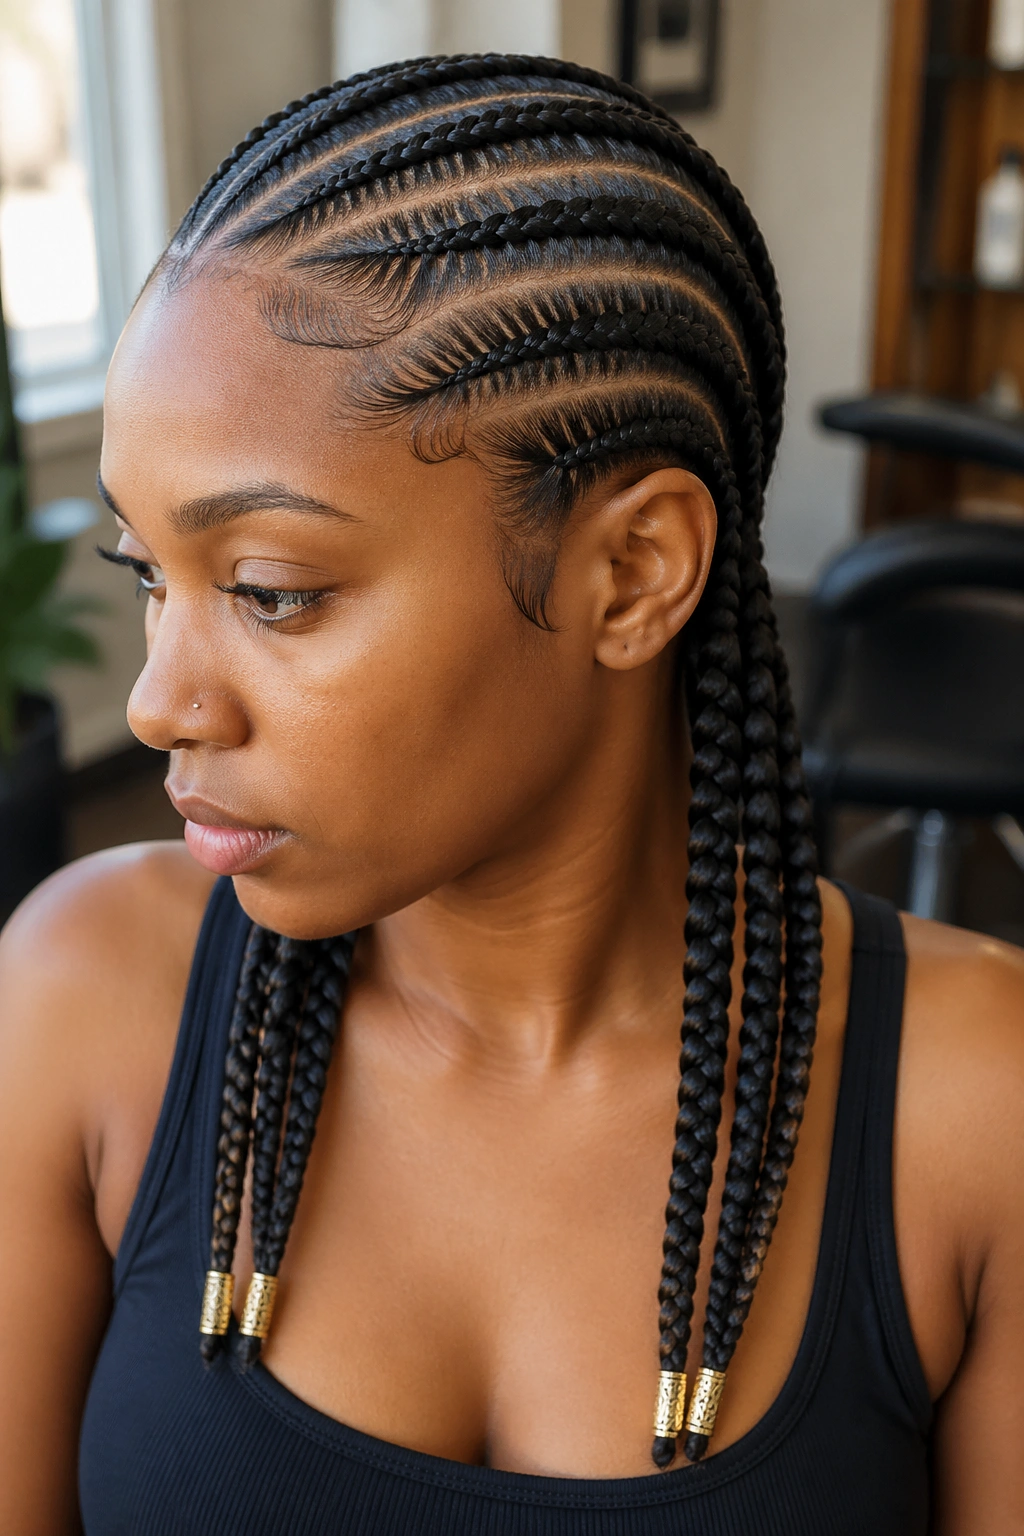
Cornrows where the needle technique extends through the ends, terminating in pre-applied decorative cuffs.
Pre-cuffed ends save the post-install decoration step. The braider applies the cuffs as part of the installation rather than as an add-on.
Choose cuff designs that complement the stitch detail — geometric cuffs with stitch patterns reinforce the precision aesthetic.
20. Needle Stitch with Two-Strand Twist Tails
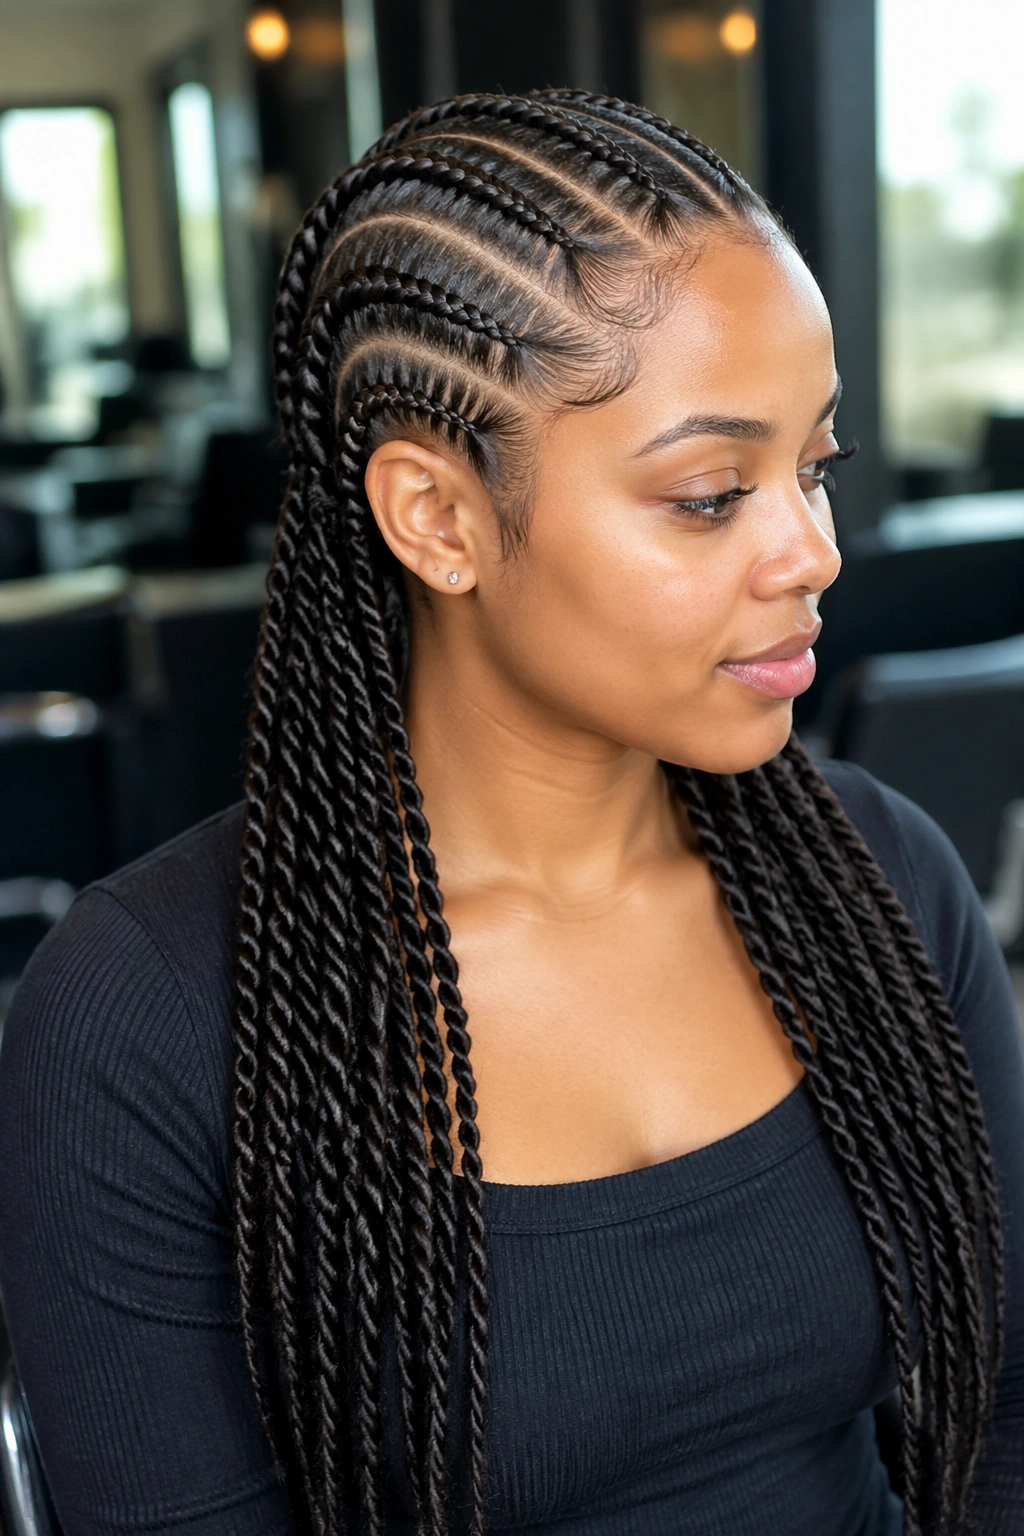
Cornrows that needle-stitch through most of their length, terminating in two-strand twist tails.
The transition from cornrow to twist creates a textural shift at the ends. The needle-stitched portion reads structured. The twist portion reads softer.
Best on hair long enough to allow visible twist length below the cornrow termination point.
21. Needle Cornrows with Beaded Front
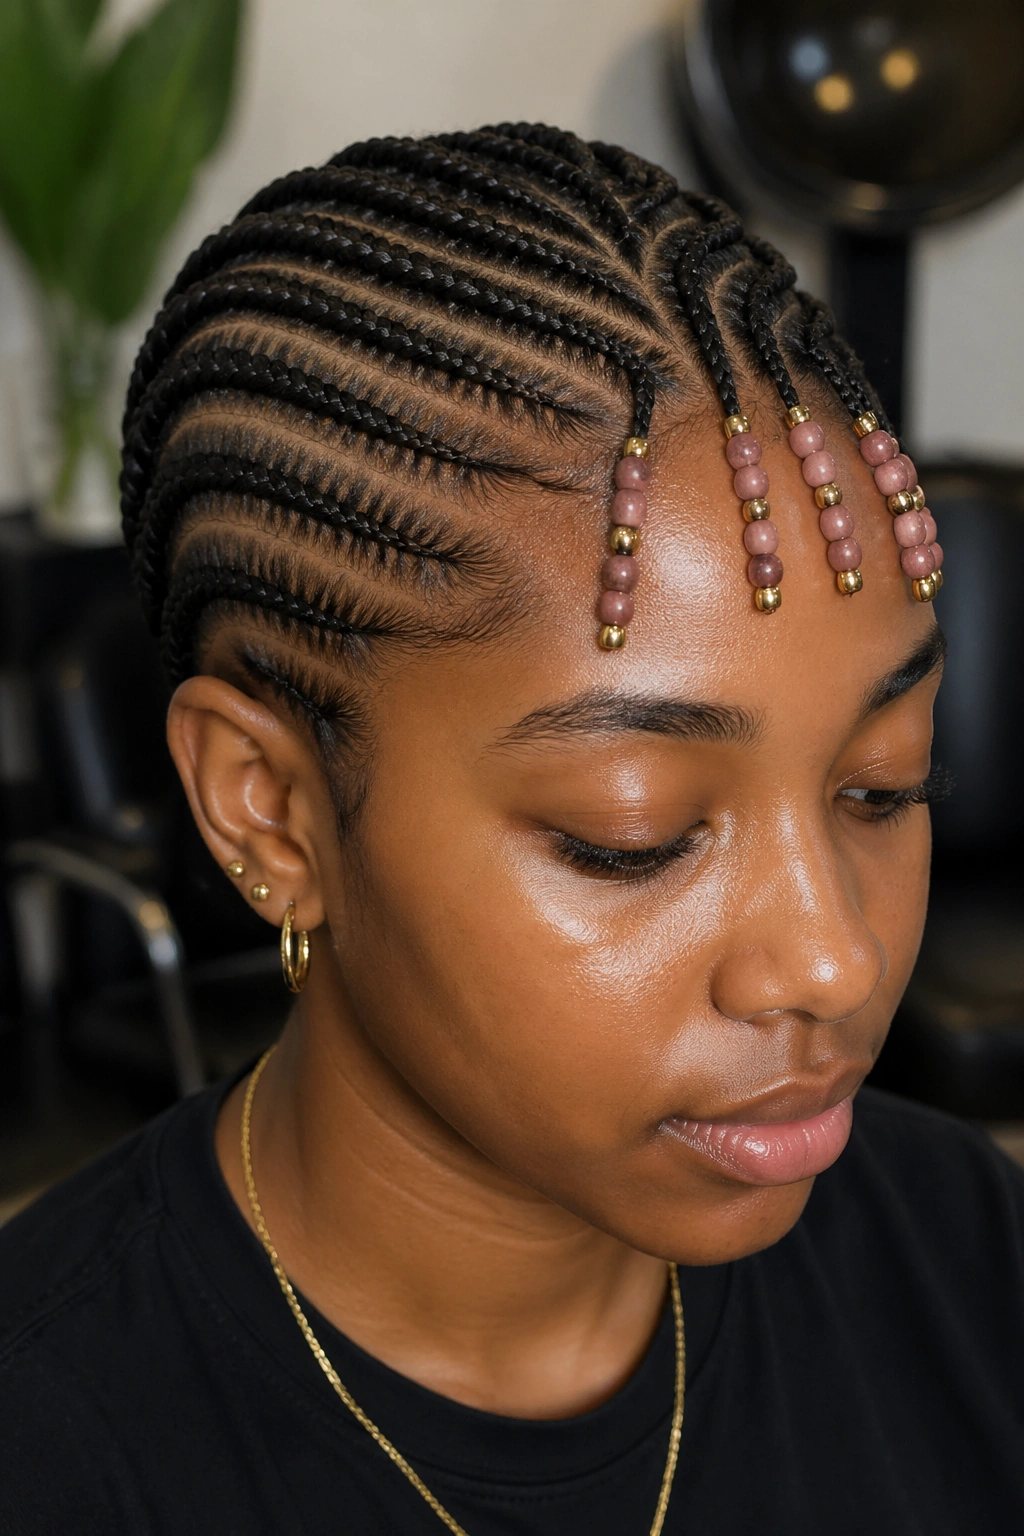
Needle stitch cornrows across the head, with the front cornrows decorated with small beads while the back cornrows are left bead-free.
The visual focus shifts to the face area where the beads cluster. The clean stitch detail of the back cornrows provides visual balance.
Bead colors should coordinate with the stitch sections. Wooden beads with brown stitch cornrows. Glass beads with neutral stitch cornrows. Metallic beads with darker stitch detail.
22. Needle Cornrow Pompadour
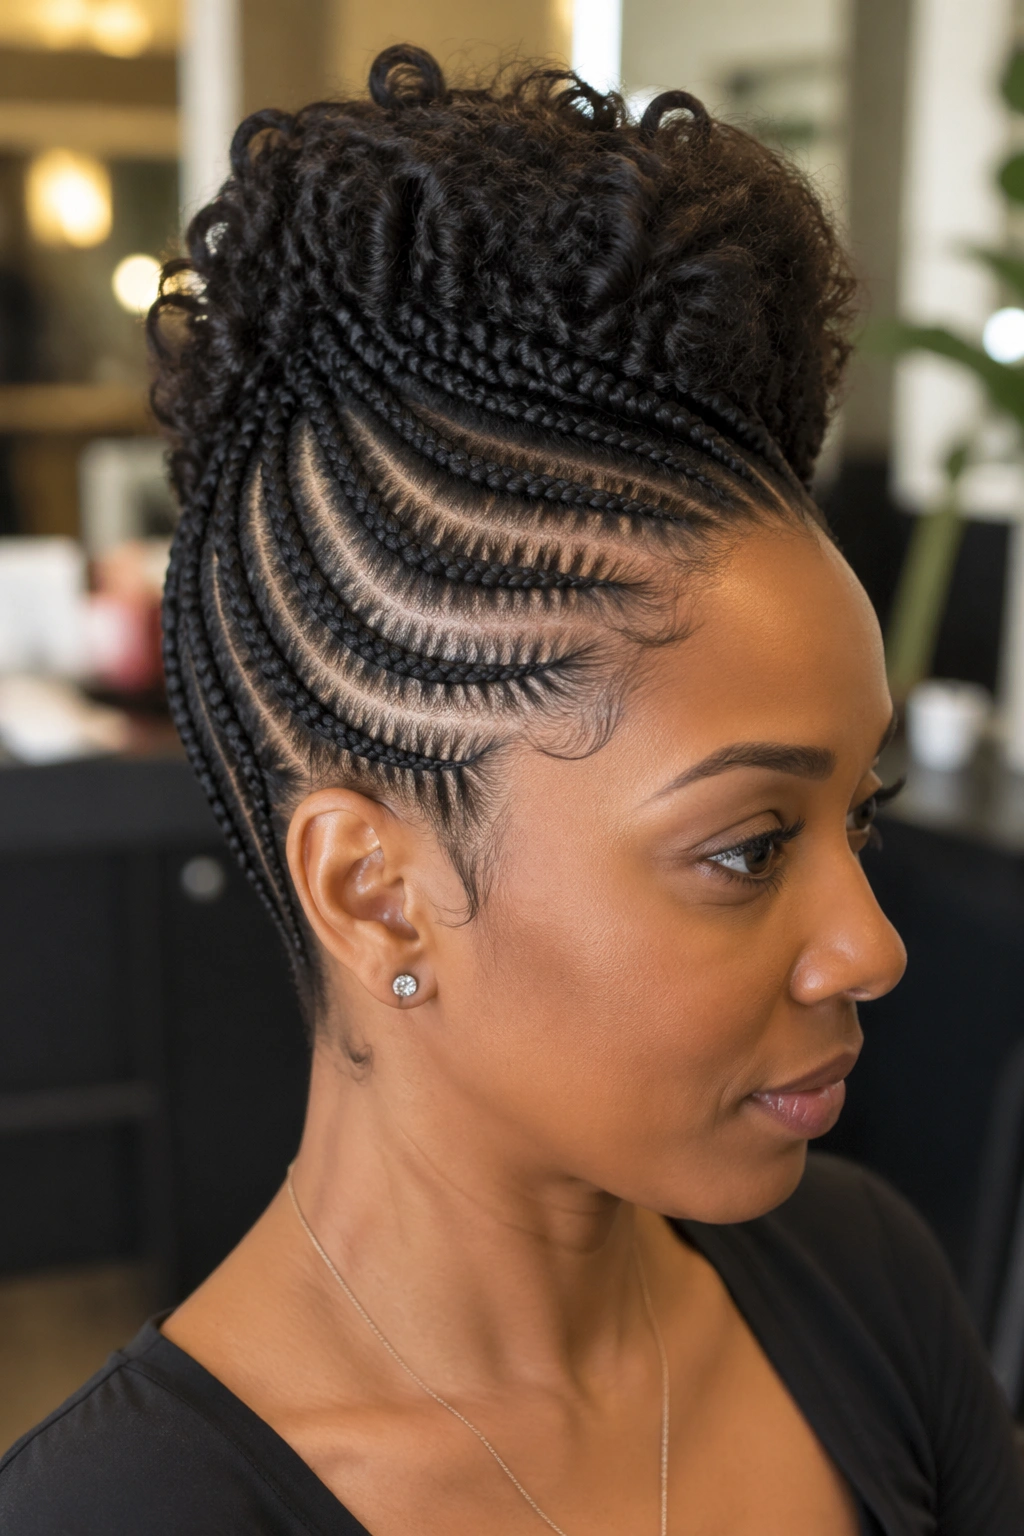
Needle cornrows leading upward into a pompadour-shaped pile of curls or twists at the crown.
The pompadour silhouette is dramatic and statement-worthy. The needle work at the cornrow base ensures the foundation reads clean as the pompadour rises above it.
The pompadour height should match face proportion. Tall faces can carry tall pompadours. Shorter face shapes risk being overwhelmed by oversized crown styling.
23. Asymmetrical Needle Cornrows
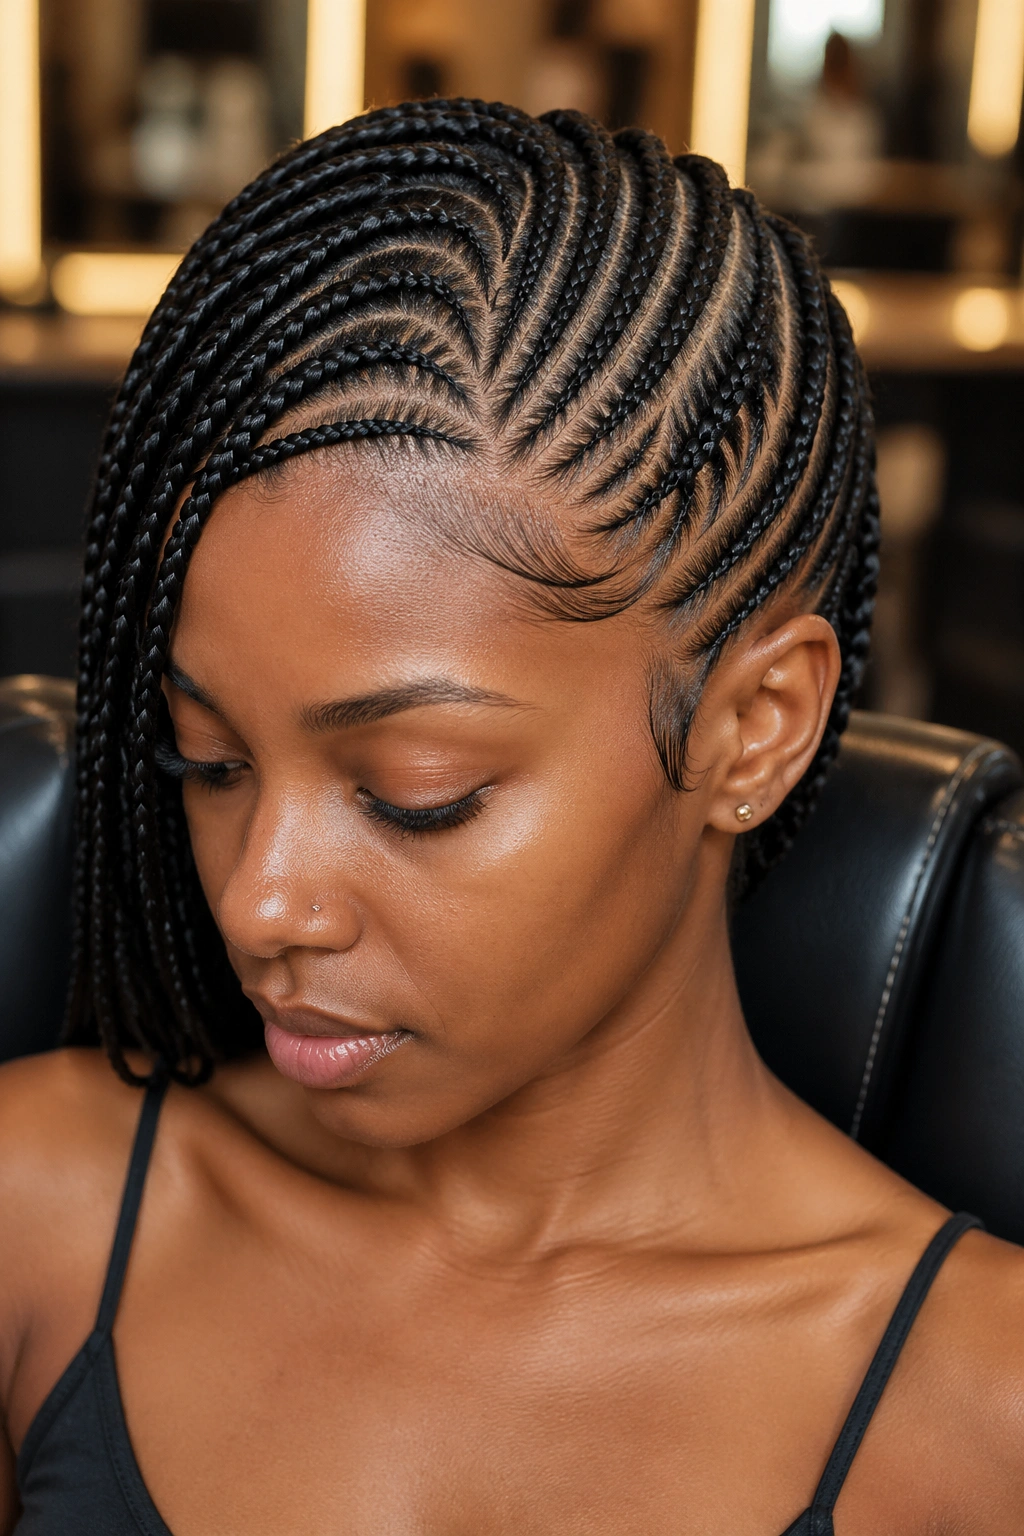
Heavy cornrow density on one side of the head, lighter density on the other, with needle work throughout.
The asymmetry creates visual movement. The needle work keeps the asymmetrical concept from looking accidental — every cornrow on both sides is precisely placed.
Pair with an asymmetrical earring choice (one stud, one drop) to reinforce the deliberate asymmetry.
24. Stitched Cornrows with Color Pop
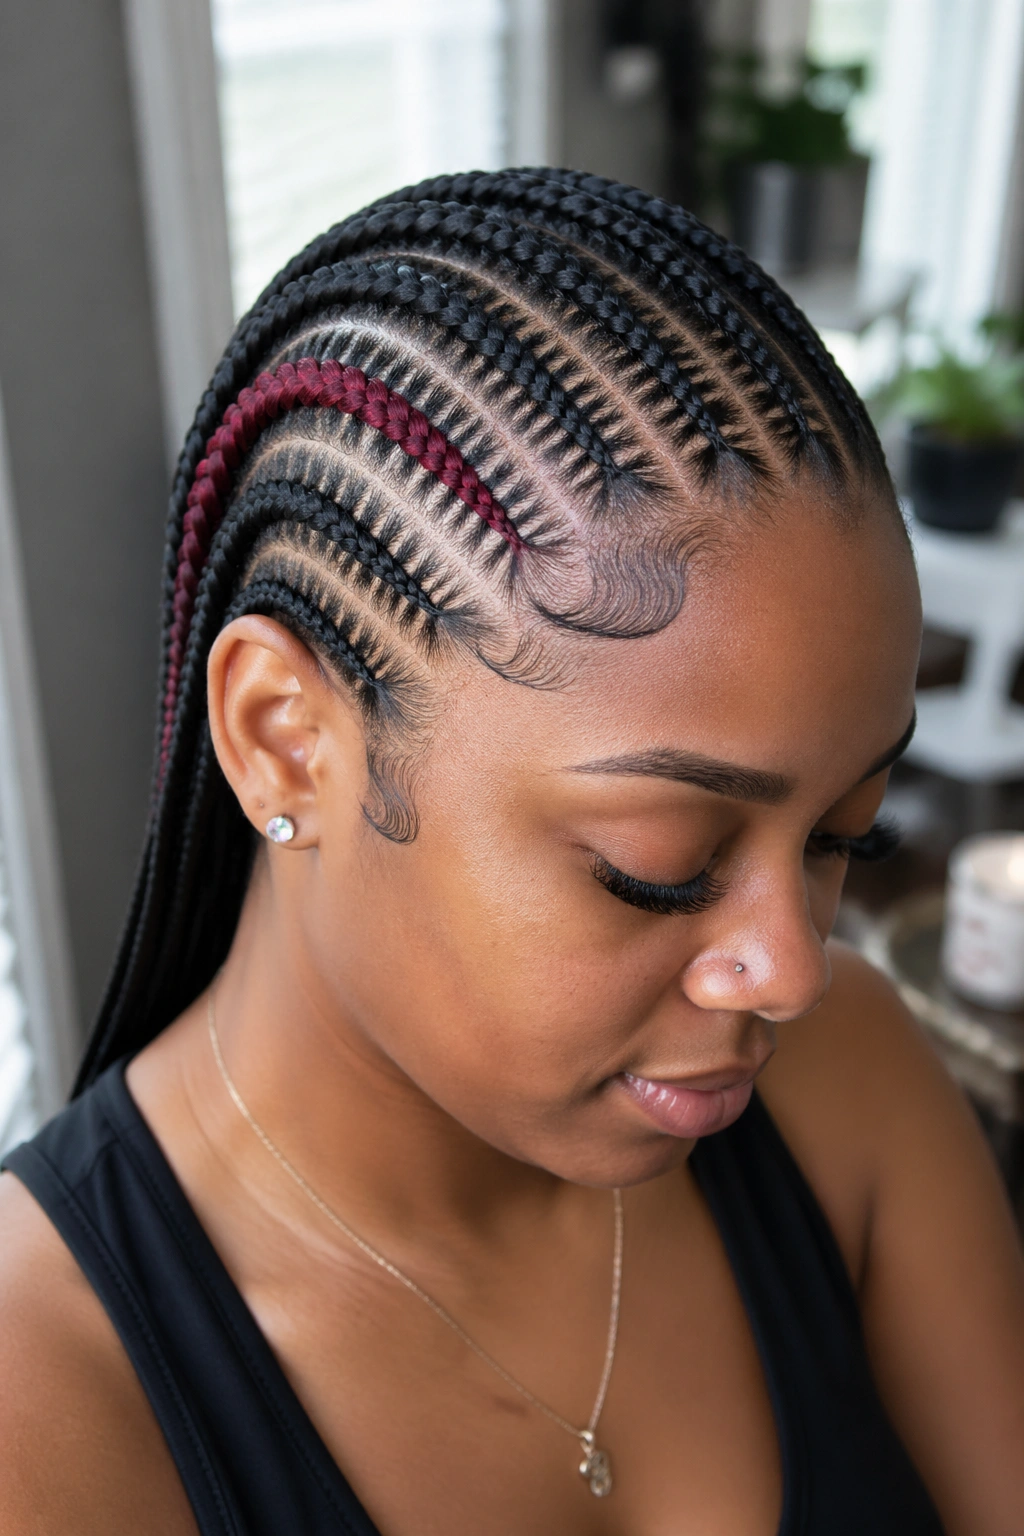
Mostly black or dark brown needle stitch cornrows with one or two cornrows in a pop color — burgundy, cobalt blue, deep purple.
Who This Is For
Wearers who want a touch of color without committing to a full color install. The single pop color adds personality while the stitch detail keeps the overall look polished.
Position the pop color cornrows asymmetrically — one off-center near the face, not at the geometric center of the head. Asymmetrical placement reads as deliberate styling.
25. Heart Pattern Needle Cornrows
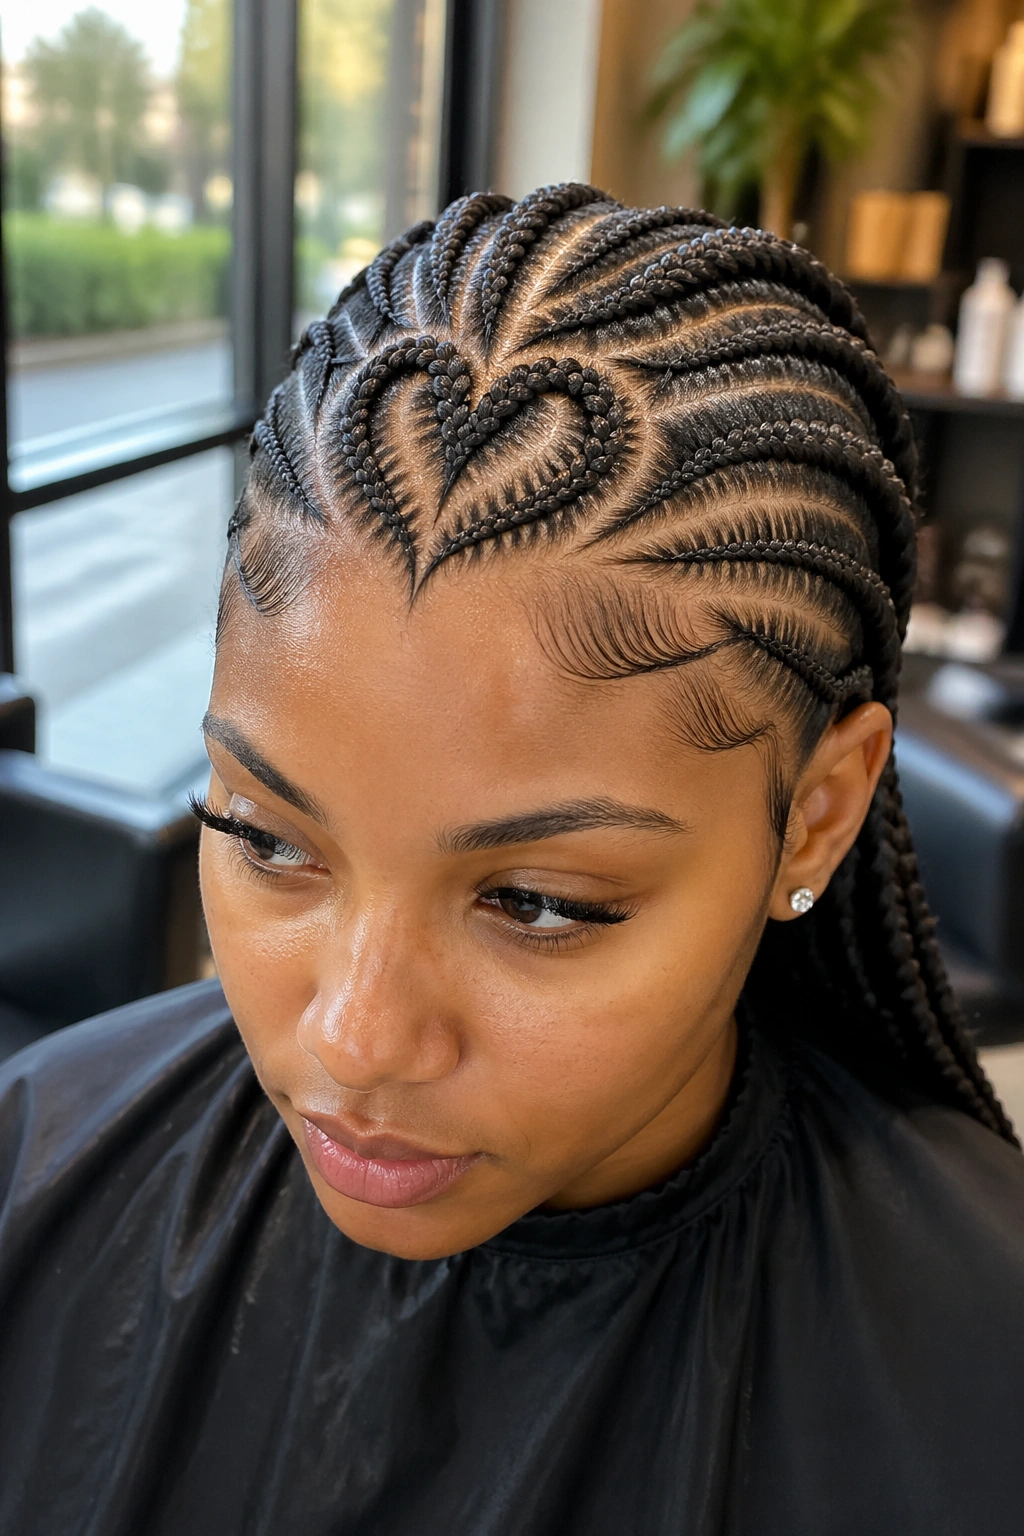
A heart-shaped section at the front of the head outlined and filled with needle stitch cornrows.
This is patience-intensive. The heart shape requires precise parting around the curves of the heart, and the needle work has to follow those curves cleanly.
Worn for special occasions, photo shoots, or as personal style statements. Not a daily-wear pattern but a striking one when the occasion calls for it.
Daily Care for Needle Cornrows
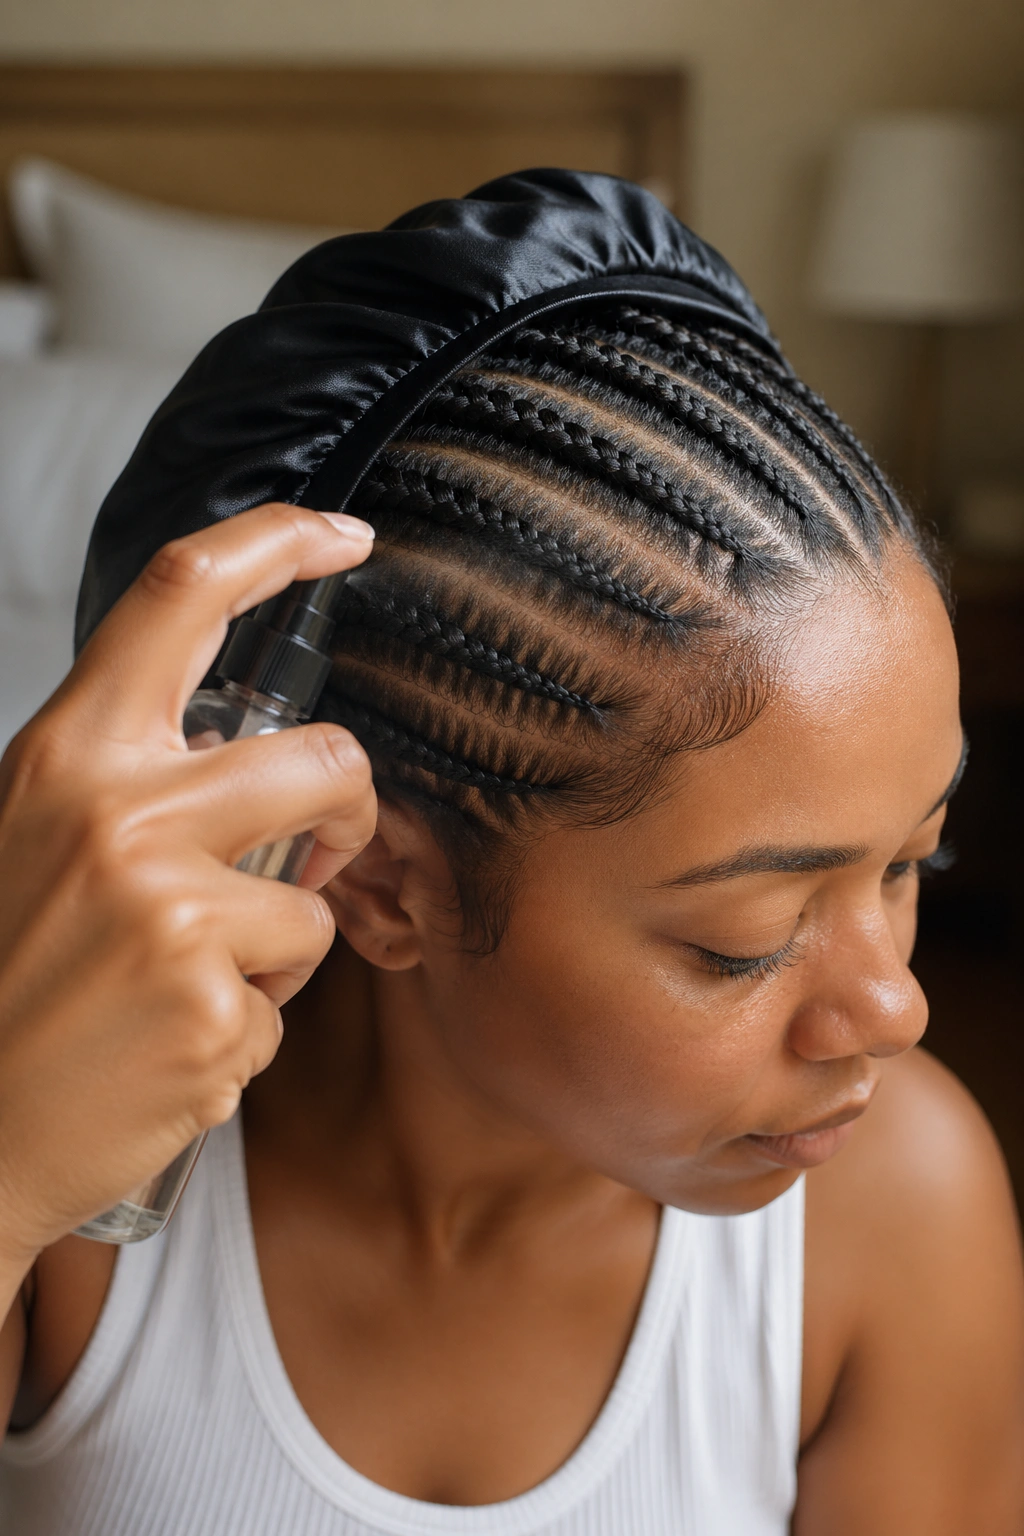
Needle cornrows last longer than hand-fed equivalents because of the uniformity, but they require the same daily care to extend their life.
Satin bonnet at night. Always.
Light edge refresh every 3-4 days. Use an edge gel applied with a toothbrush at the perimeter, not throughout the cornrow.
Avoid heavy product application. Needle cornrows show every product residue more visibly because the clean stitch detail magnifies any buildup.
Mist with a water and leave-in spray every other day to maintain moisture without disrupting the stitch pattern.
Scalp Health for Needle Installs
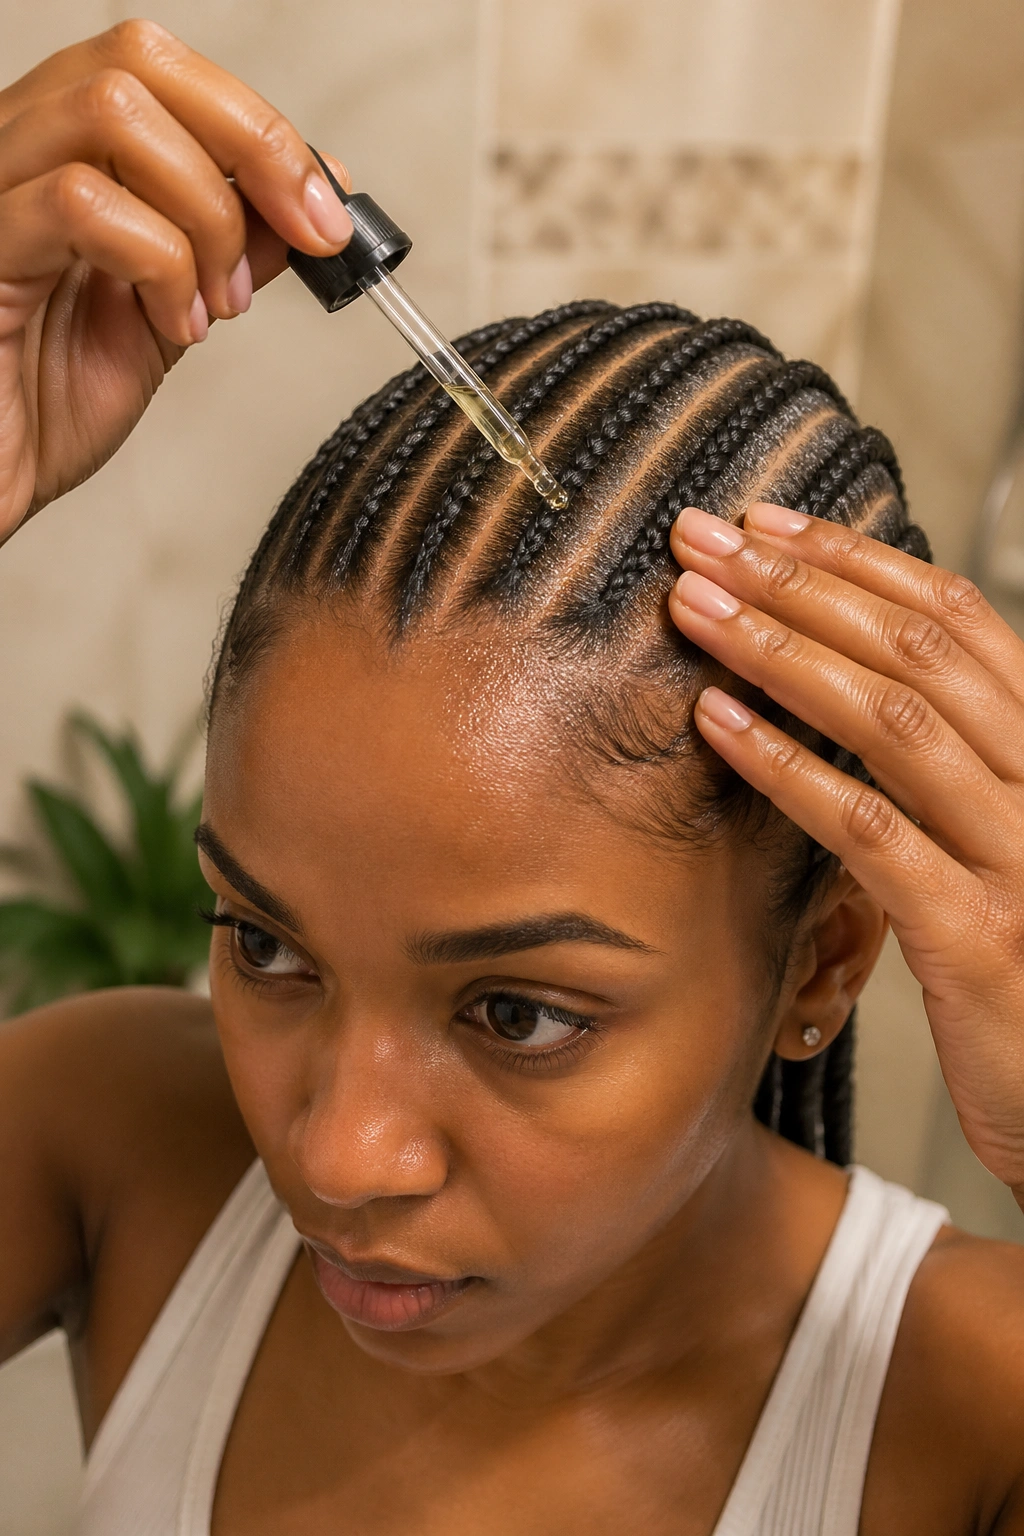
The needle technique allows for somewhat lighter tension installation because the precision doesn’t require pulling to compensate for hand inconsistencies. This is one of the often-overlooked benefits.
That said, scalp care still matters. Apply a light scalp oil to the parts every 2-3 days. Tea tree oil mixed with jojoba is a strong combination for both moisture and antimicrobial protection.
If itch develops, address it with apple cider vinegar diluted with water — sprayed onto the scalp parts and gently massaged in. The acidity neutralizes most causes of itch without disrupting the stitch detail.
When to Take Down
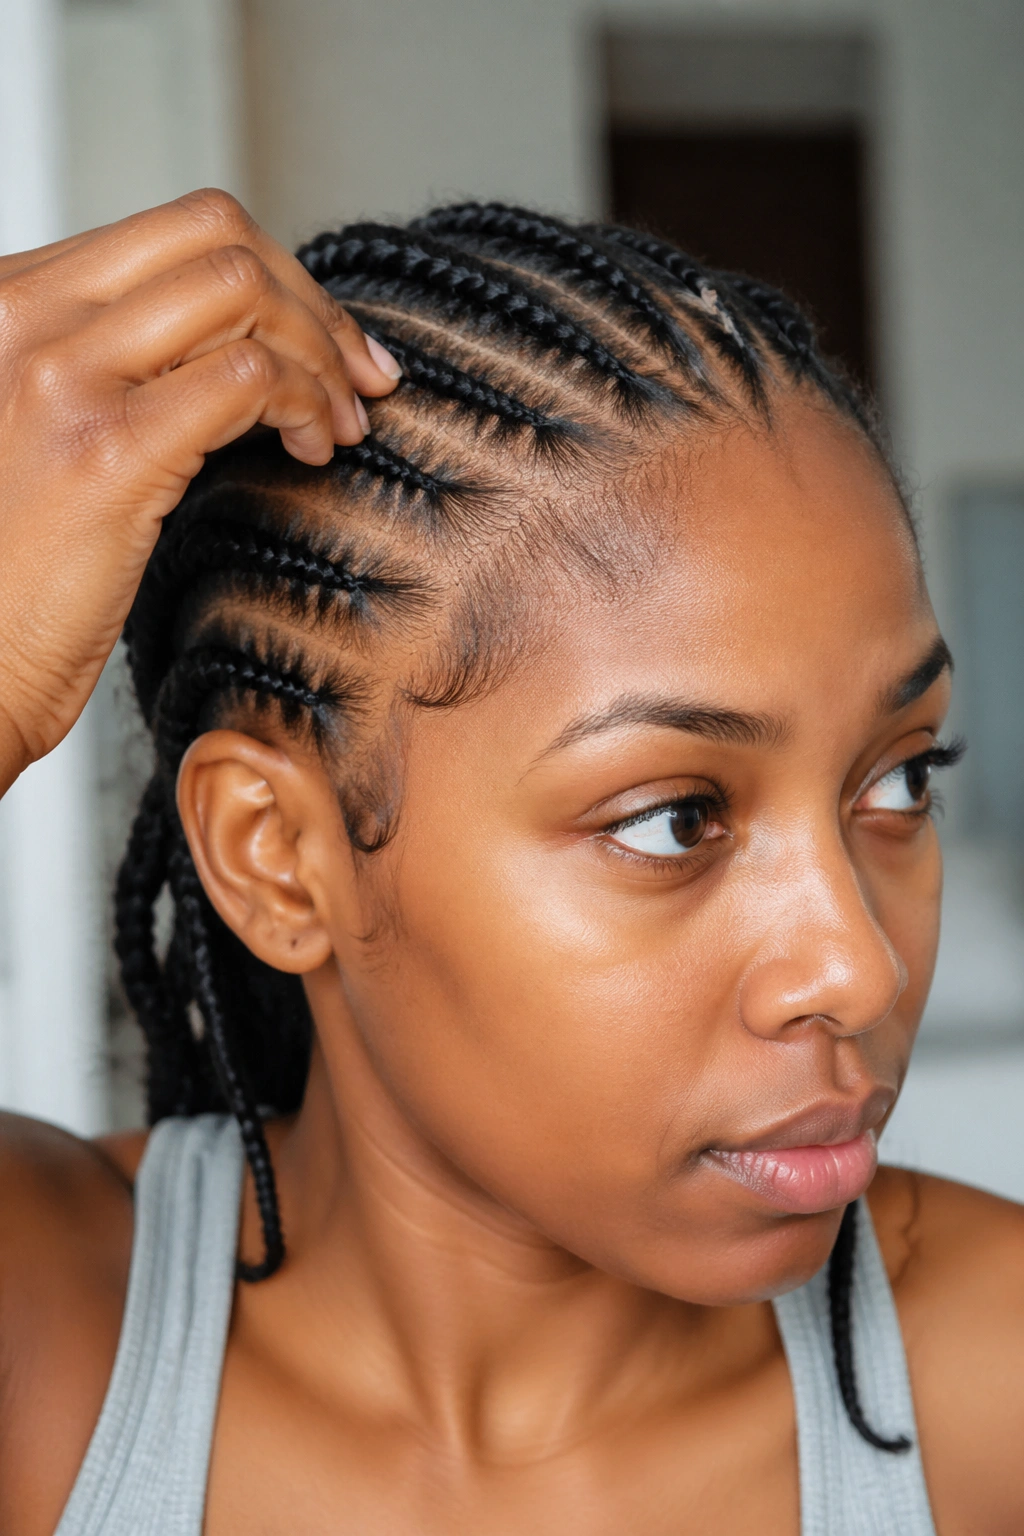
Needle cornrows can be worn 5-6 weeks comfortably, sometimes 7 with diligent care. This is longer than most hand-fed styles.
Signs it’s time:
- Stitch detail no longer reads sharp from a normal viewing distance
- Roots show more than 1.5 inches of new growth
- Cornrow base is lifting at the temples
- Itch persists despite scalp care
The advantage of needle cornrows is the longer wear window. Use it. There’s no need to take down at week three if the style still looks fresh.
Takedown Specifics
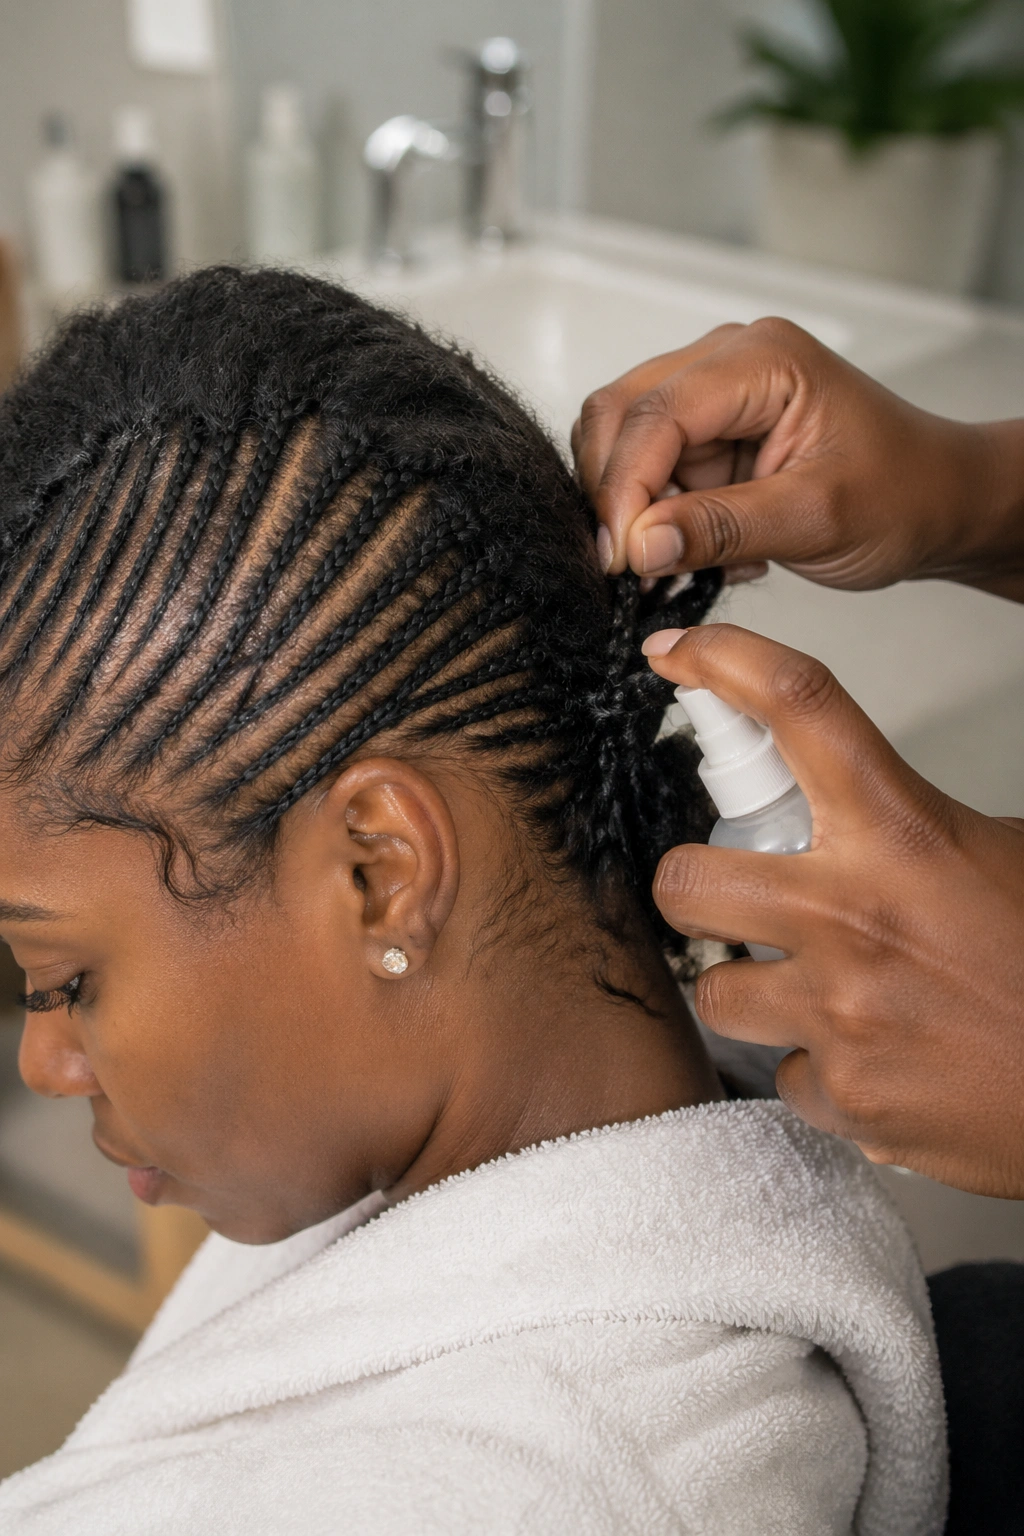
Needle cornrows take longer to remove than standard cornrows because of their tighter weave. Plan 60-90 minutes of takedown time minimum.
Use a detangling spray or conditioner liberally. The cornrows have been tightly braided for a month or more, and the hair is densely packed against the scalp.
Work from ends to roots. Always. Reverse direction causes breakage.
Once unraveled, do a gentle finger detangle with conditioner before any combing. The hair will have accumulated several weeks of shed strands that will release together.
Wash with a clarifying shampoo first, followed by a hydrating shampoo, followed by a deep conditioner. The post-takedown care is restorative — needle cornrows are a long-wear style, and your hair has been working under that style for weeks.
Picking the Right Needle Style
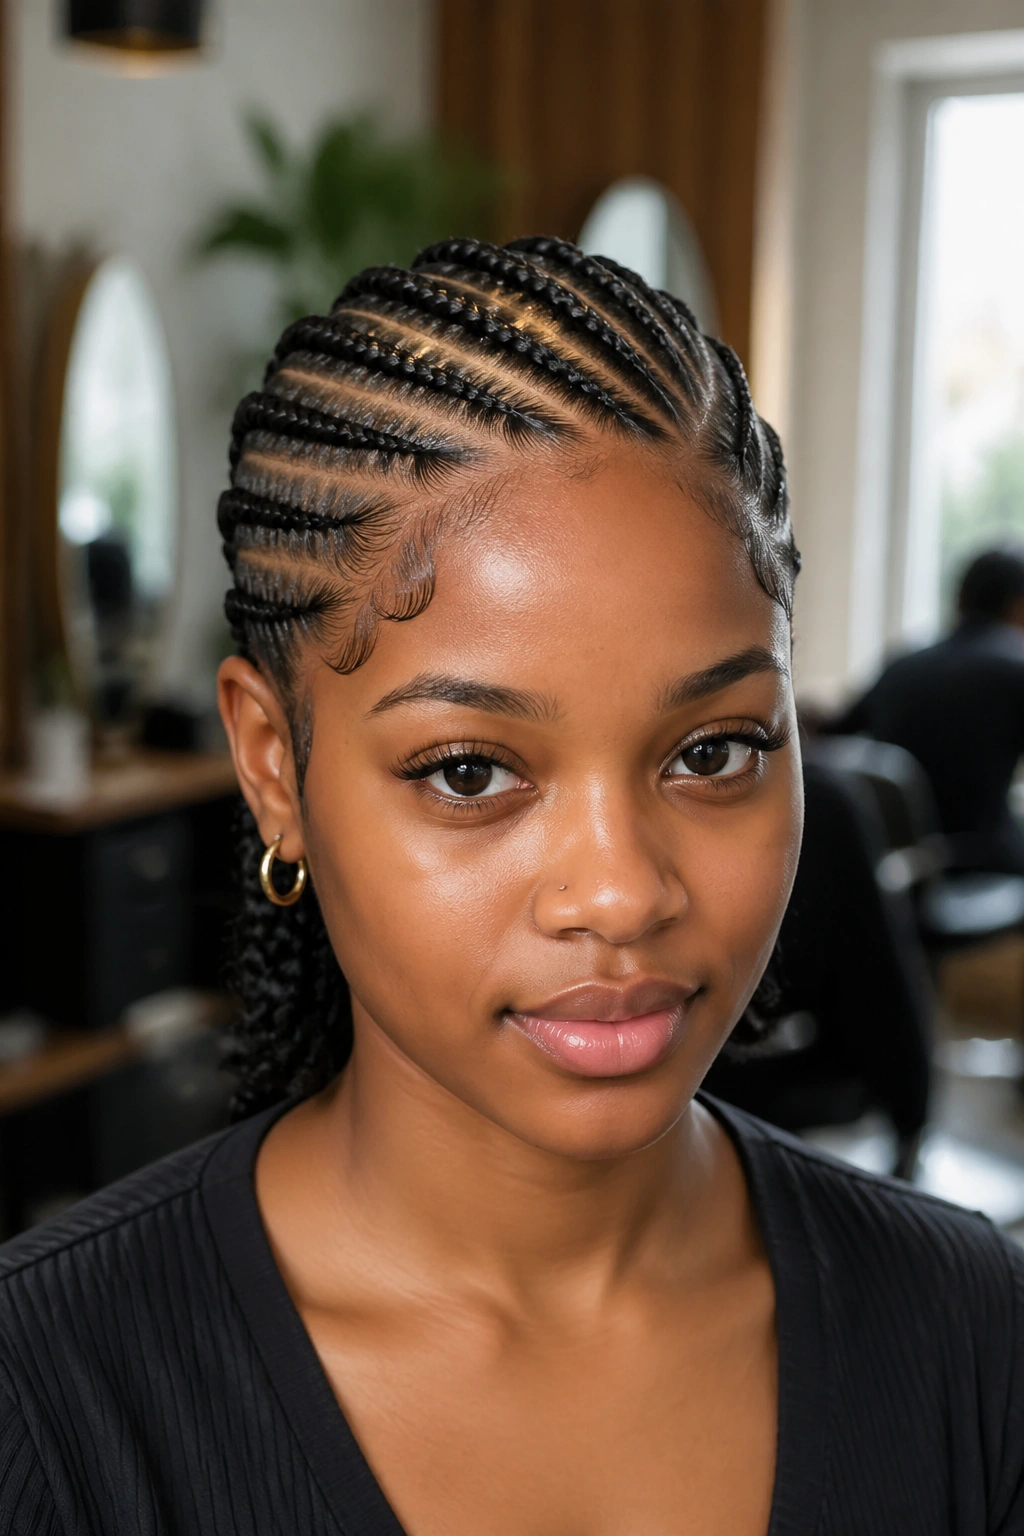
For first-time needle cornrow wearers: start with the classic six-cornrow stitch installation. It teaches you what needle work feels like and how it looks on your head.
For people who’ve worn cornrows for years and want to upgrade: try diagonal needle cornrows or stitched fulani patterns. The familiar parting structures meet new precision.
For event styling: needle cornrow updo or pompadour formats. The precision reads as event-appropriate sophistication.
For hair density management: needle micro cornrows for fuller-feeling installs without adding individual extension density.
For wearers limited by scalp sensitivity: needle work allows lighter tension than hand feed-in for similar visual results.
Common Errors with Needle Work
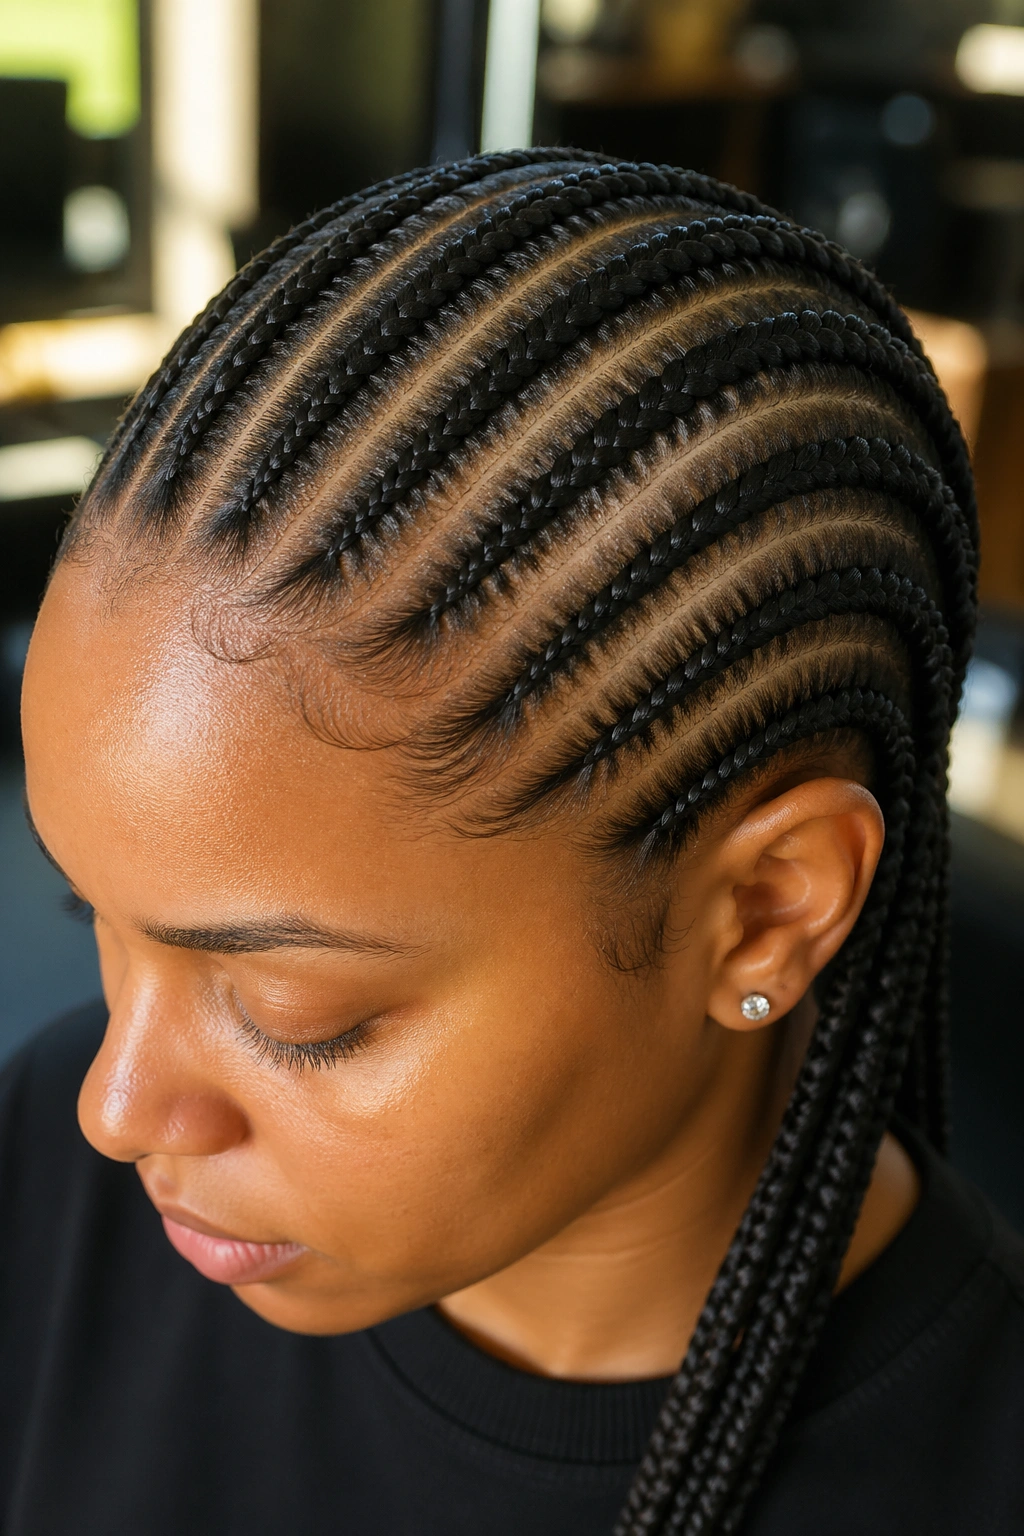
Hiring a braider without needle experience. The tool requires training. Inexperienced needle work creates worse results than skilled hand feed-in.
Pre-applying heavy product. The needle can’t grip slick sections. Apply products after install, not before.
Sectioning too small. Tiny sections combined with needle uniformity create cornrows that look stretched and thin. Standard sectioning works better.
Skipping the satin bonnet. Even precision needle cornrows fuzz with cotton pillowcase friction.
Over-extending wear time. Even at 6+ weeks, the time eventually comes. Watch for the signs.
Needle cornrow styles deliver the highest level of cornrow precision available. The investment in time and braider expertise pays off in cleaner stitch detail, longer wear, and a finished look that reads polished from any angle. Worth booking the longer install for the styling occasions where the precision matters.
