



Cornrows on kids are a different game than cornrows on grown women. The hair is finer, the patience window is shorter, and the style needs to survive recess, swim class, and three nights of wild bedtime hair. I’ve braided more children’s hair than I can count — daughters, nieces, friends’ kids, neighborhood birthday-party requests — and the styles that actually work for kids share a few things in common. They install fast. They look adorable. They don’t pull. And they hold up for at least two weeks of normal kid life.
This isn’t a list of complicated installs that require a four-hour sit-still. Kids don’t sit still. Their scalps are sensitive. Their hair shafts are still developing. The styles I’m sharing here respect all of that. Some take twenty minutes. The longest take maybe ninety. Every one of them is something I’ve personally done on a child or watched a mother do without tears — hers or the kid’s.
Twenty-five styles, all genuinely different, all kid-tested. A few are classics every Black mother already knows. A few might be new to you. All of them are gentler on growing hair than tighter adult styles, and all of them give kids the structured, protective look that helps their hair thrive between washes.
Why Cornrows Are Right for Kids
Kid hair is in active growth mode. Their follicles are smaller, their hair shafts are softer, and their scalps are more sensitive than adult scalps. A protective style that minimizes daily manipulation is exactly what their hair needs to grow long and strong.
Cornrows pull less than box braids when done correctly. There’s no weight from extensions hanging off the scalp. There’s no daily combing or styling required. The hair stays in one place, gathers no friction during sleep, and doesn’t get yanked into ponytails during play.
A well-installed kid cornrow style buys you up to two weeks of zero-fuss morning routines. For working mothers, that’s gold.
Tension Rules for Kids
Adult cornrows can handle slight tension because adult hair shafts are mature and adult scalps are tougher. Kid hair cannot. The braid should sit firmly against the scalp without pulling. If your child winces or rubs the spot once you finish, the braid is too tight. Take it down and redo it.
Watch the hairline. Front edges on kids are particularly vulnerable. Babyhair pulled tight as part of a cornrow installation will not grow back the same way it would on an adult. Leave the very front baby hairs out of the braid entirely.
Stop the braid before the nape if your child has thinning at the nape from previous styling. Let that area rest.
Wash and Prep Day
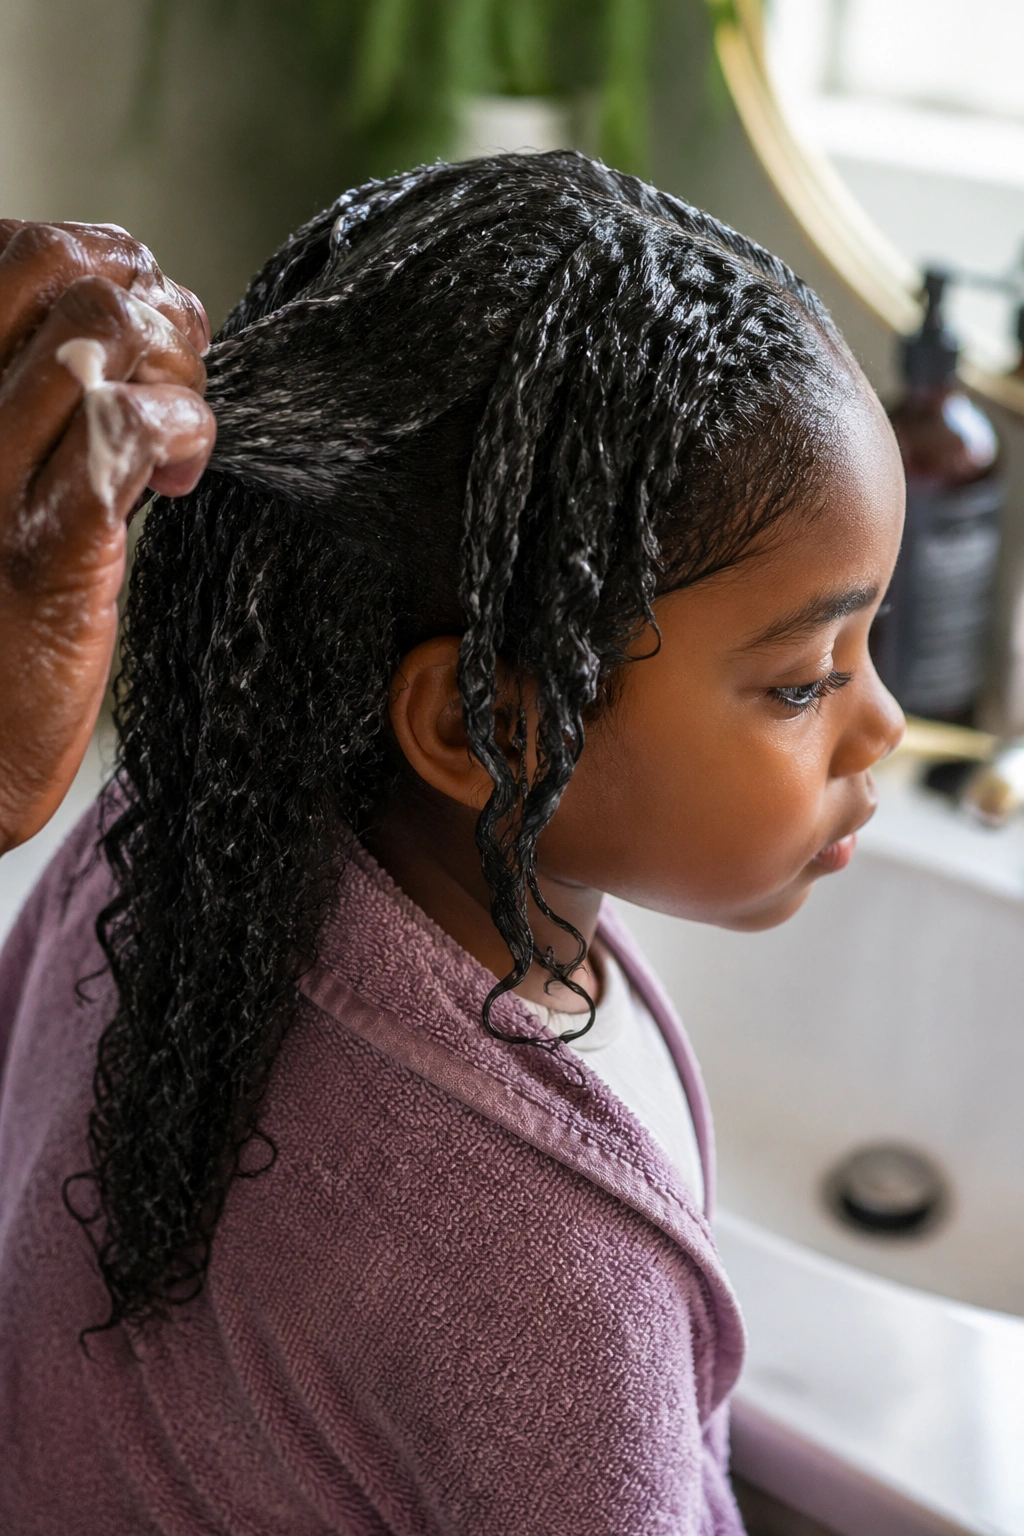
Wash the night before, not the morning of. Damp hair braids cleaner. Dry-day-of hair frizzes within hours.
Use a sulfate-free children’s shampoo. The cleansers in adult shampoo strip kid hair too aggressively. Follow with a slip-heavy conditioner — something with marshmallow root, slippery elm, or a tested kid-safe leave-in.
Detangle while the conditioner is still in the hair, working from ends to roots with a wide-tooth comb. Never tug. If a knot resists, work conditioner into it and try again with fingers first.
Air-dry to about 70 percent. Slightly damp braids cleanly. Soaking-wet hair takes too long to settle and frizzes as it dries inside the braid.
Tools You Need
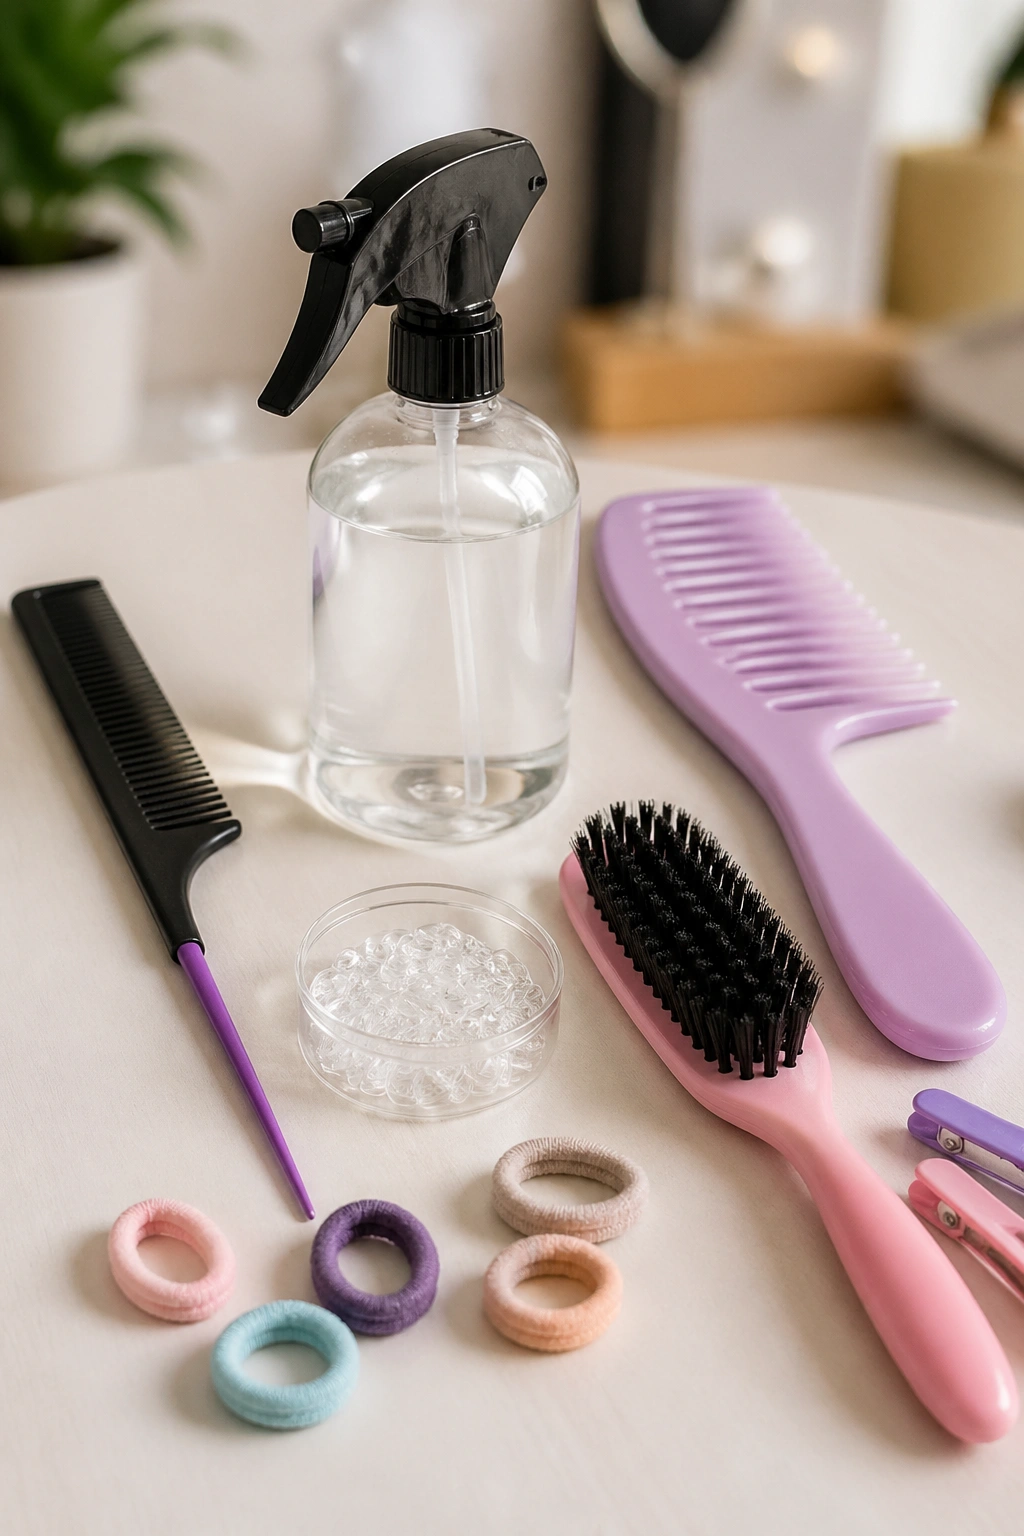
A rat-tail comb — but with a plastic tip, not metal, for kids. Metal points scratch sensitive scalps.
A water-detangler spray. Buy a kid-specific one or mix your own with two parts water, one part light leave-in conditioner.
Small clear elastics or fabric-covered ponytail holders. Avoid rubber bands without fabric coverings — they break hair on removal.
A wide-tooth comb. A small brush with soft bristles for the hairline. Hair clips for sectioning.
Optional but useful: a tablet or favorite show. The braiding goes faster when the kid is engaged with something else.
1. Three Simple Cornrows Going Back
The starter style for the youngest kids. Three cornrows running from the hairline straight back to the nape. Done in twenty minutes flat.
Why It Works
Three is the count that fits average kid hair density without spreading too thin. The braids are wide enough to look substantial but small enough to not pull on a sensitive scalp.
- Part the head into three equal vertical sections
- Braid each section from forehead to nape using under-hand strokes
- Secure ends with small fabric-covered elastics
Quick tip: for kids under five, end the braids at the crown rather than the nape. Their necks are short and full-length braids can press against their shirt collars uncomfortably.
2. Two Cornrows Down the Middle
The fastest cornrow style possible. One part down the center. Two cornrows, one on each side. Fifteen minutes total.
This is my go-to when I have a kid I haven’t braided before. It’s quick enough that they don’t lose patience and adorable enough that they look in the mirror and smile.
The two-braid silhouette is also functional. Each braid can be tucked behind the ear, looped into a small bun, or left to swing freely depending on the activity.
3. Four Cornrows with Beaded Ends
Four cornrows running back, each ending with a small wooden or plastic bead. The beads add a celebratory touch without adding weight.
Pick beads in colors the child loves. Most kids want bright — pink, purple, yellow, blue. Coordinate to their favorite outfit if you want a polished look.
Use small crimping clips to secure the beads at the end of each braid. Don’t tie the braid in a knot to hold the bead. Knots break hair on takedown.
4. Heart-Shaped Cornrow Pattern
Two cornrows that meet at the top of the head to form a heart shape, with additional braids flowing back from the heart. A favorite for birthday parties and special occasions.
The heart pattern requires more parting precision than a straight-back style. Sketch the heart shape on the scalp with the rat-tail comb before you start braiding. Make sure the lines curve symmetrically.
This style takes about 45 minutes for a full install and reads as a real visual statement.
5. Five Cornrows with a Side Part
Side parted, with five cornrows flowing back from the part — three on the heavy side, two on the lighter side. Asymmetric and adorable.
The side part softens the look compared to a center part. It also creates more visual interest in photos. For school picture days or family events, the side part reads polished.
End the braids at the base of the neck or just past the shoulders if length allows.
6. Cornrows into Two Puffs
Cornrows from the front of the head end at the crown, where the hair gathers into two natural puffs. Half cornrows, half free-flowing curls.
This style is ideal for kids with longer natural hair. The cornrows handle the front while the puffs let the back hair breathe and show off the curl pattern.
A scenario: your daughter has just gotten the hang of being proud of her natural hair. This style honors that pride. The puffs are her hair’s personality, the cornrows give the look structure for school.
- Section the front third of the head for cornrows
- Gather the back two-thirds into two even sections
- Secure each puff with fabric-covered elastics
- Pat the puffs gently — don’t comb — to fluff them out
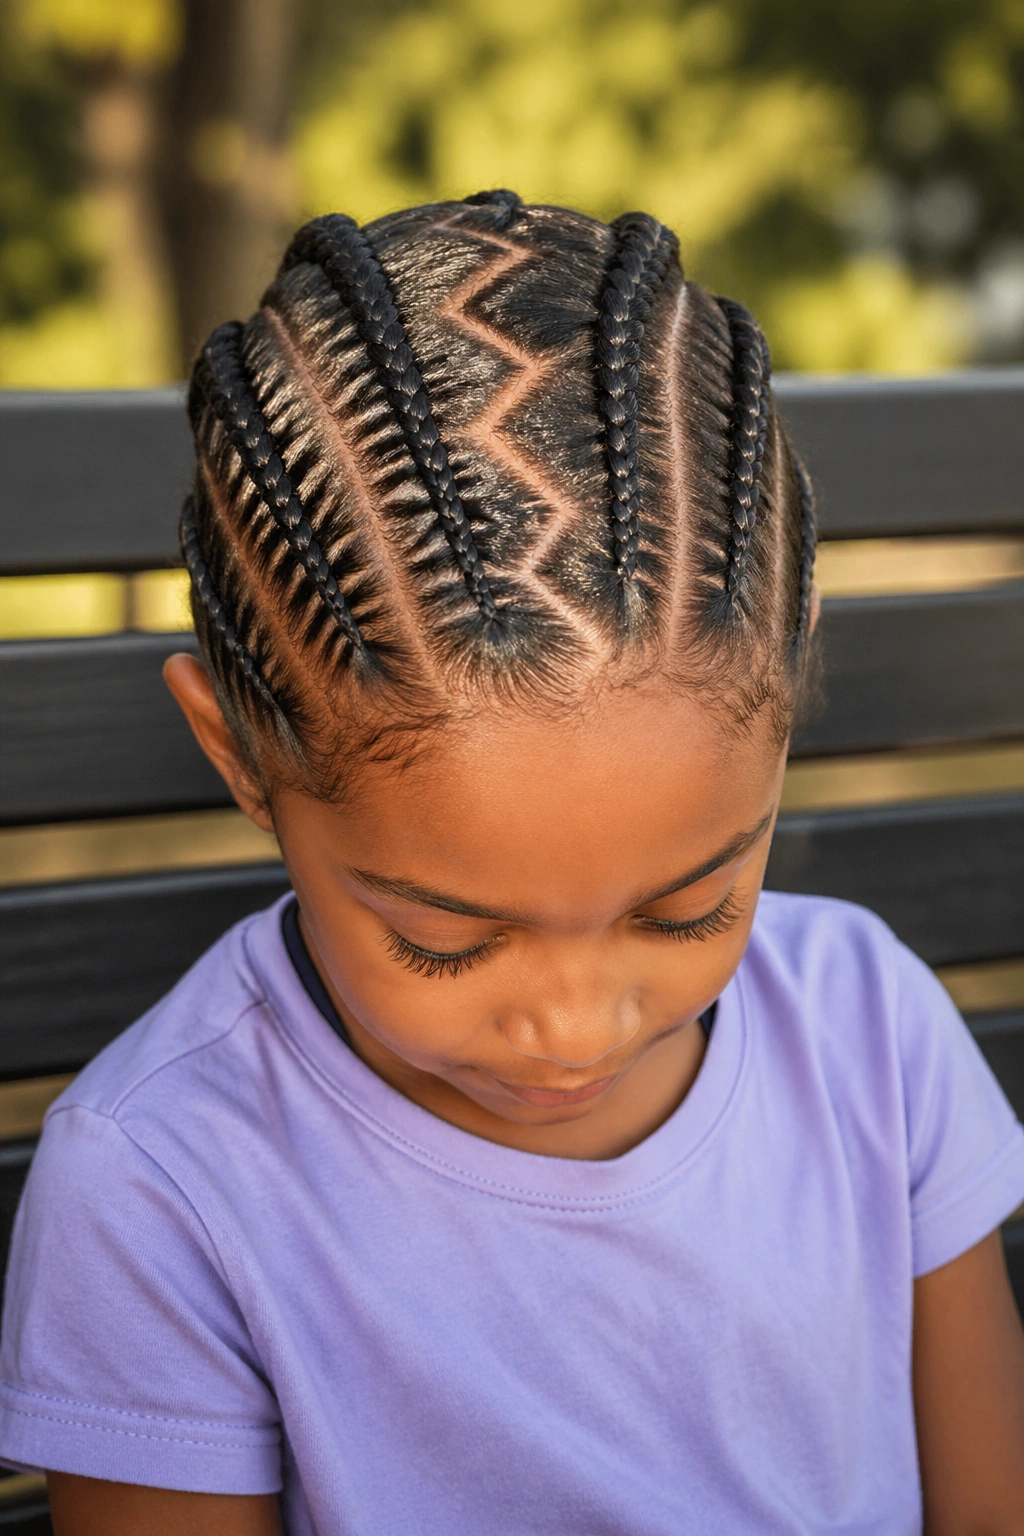
7. Zigzag Part with Six Cornrows
A zigzag part runs down the middle of the head, with three cornrows on each side. The zig pattern adds visual fun without adding install time.
Cut the zig with the tip of the rat-tail comb. Keep peaks small — about half an inch — and consistent.
The zigzag also hides regrowth better than a straight part. By week two, when other parts start to fuzz, the zig still looks intentional.
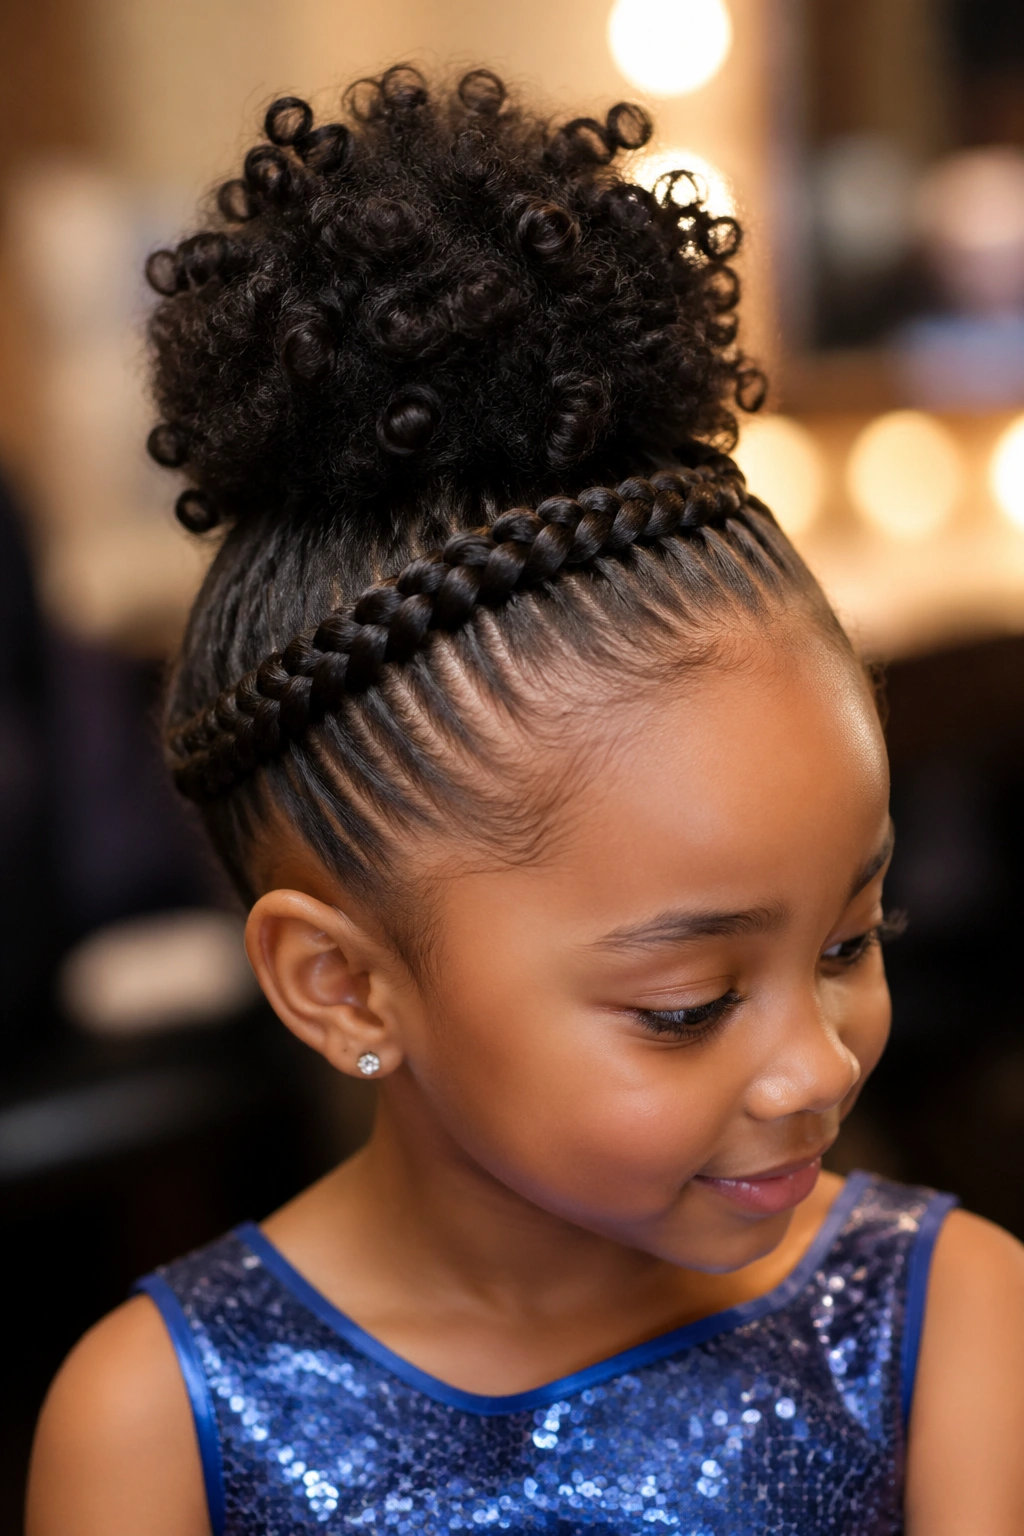
8. Cornrow Crown Around the Head
A single cornrow that runs in a circle around the entire head, like a crown, with the rest of the hair pulled into a high puff in the center.
This is the special-occasion style. Wedding flower girl, dance recital, holiday photos. The crown braid frames the face and the central puff acts as the showpiece.
Time investment: about 60 minutes. Worth it for the photographs.
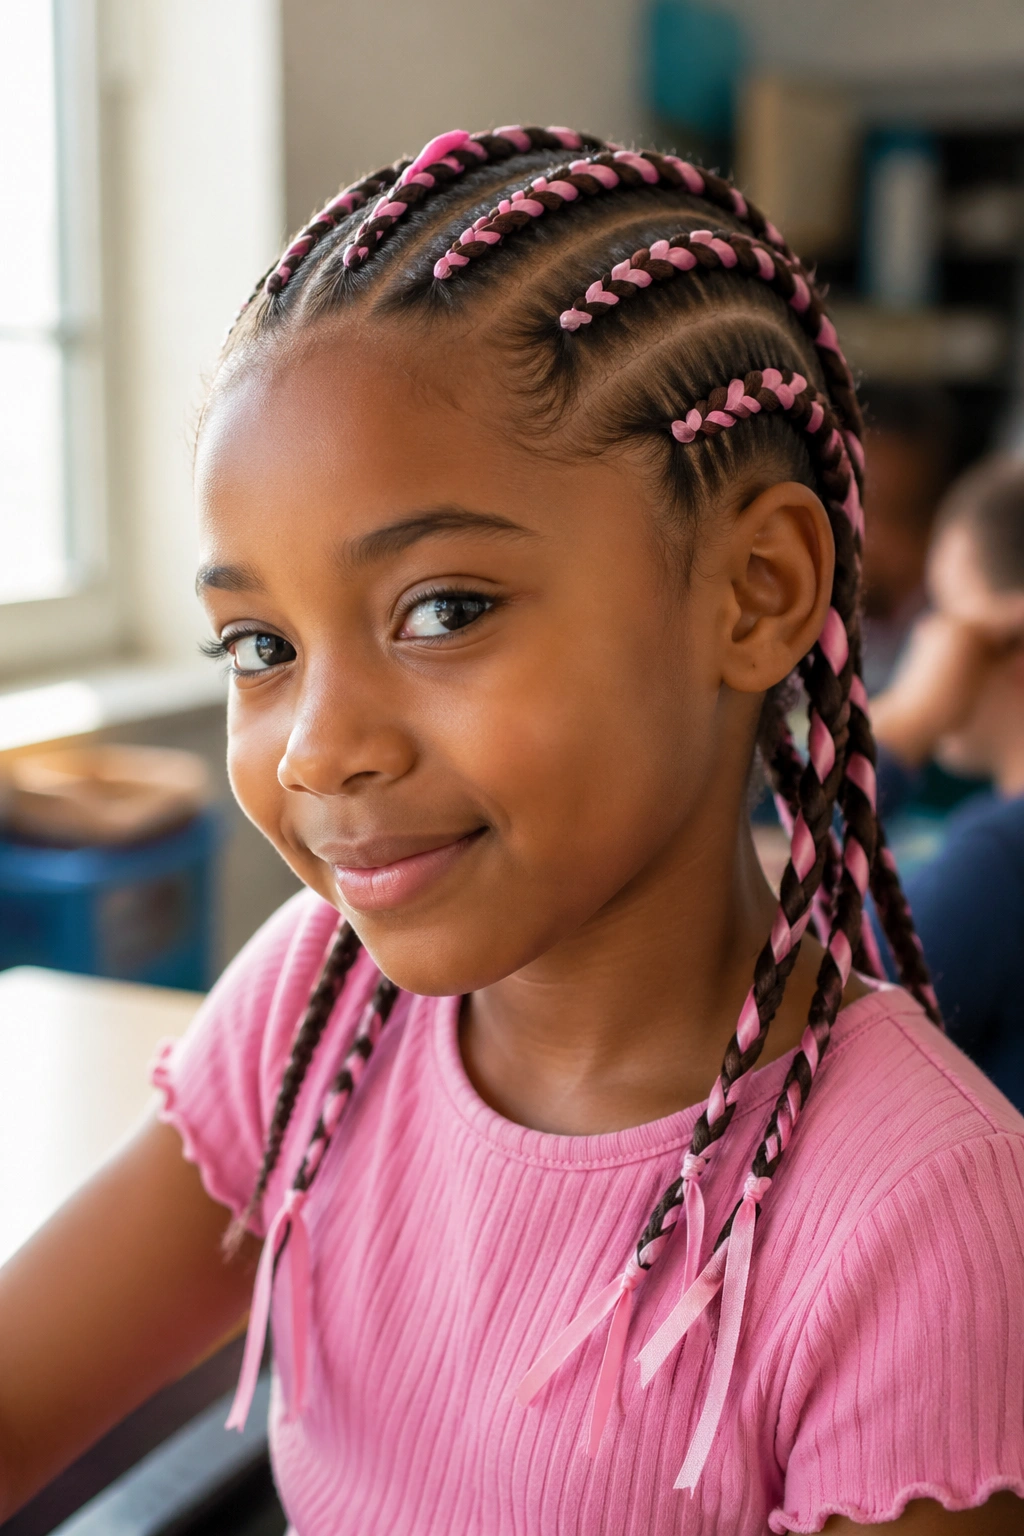
9. Cornrows with Ribbons Woven In
Six standard cornrows with a colored satin ribbon braided into each one. The ribbon is the third strand of the three-strand braid.
Use ribbons that match an outfit, school colors, or a favorite character’s palette. The ribbons should be about a quarter-inch wide — too thin and they get lost, too thick and they bunch up.
The ribbons stay put for the duration of the install and can be untied at the ends and replaced with different colors mid-week if your kid changes her mind.
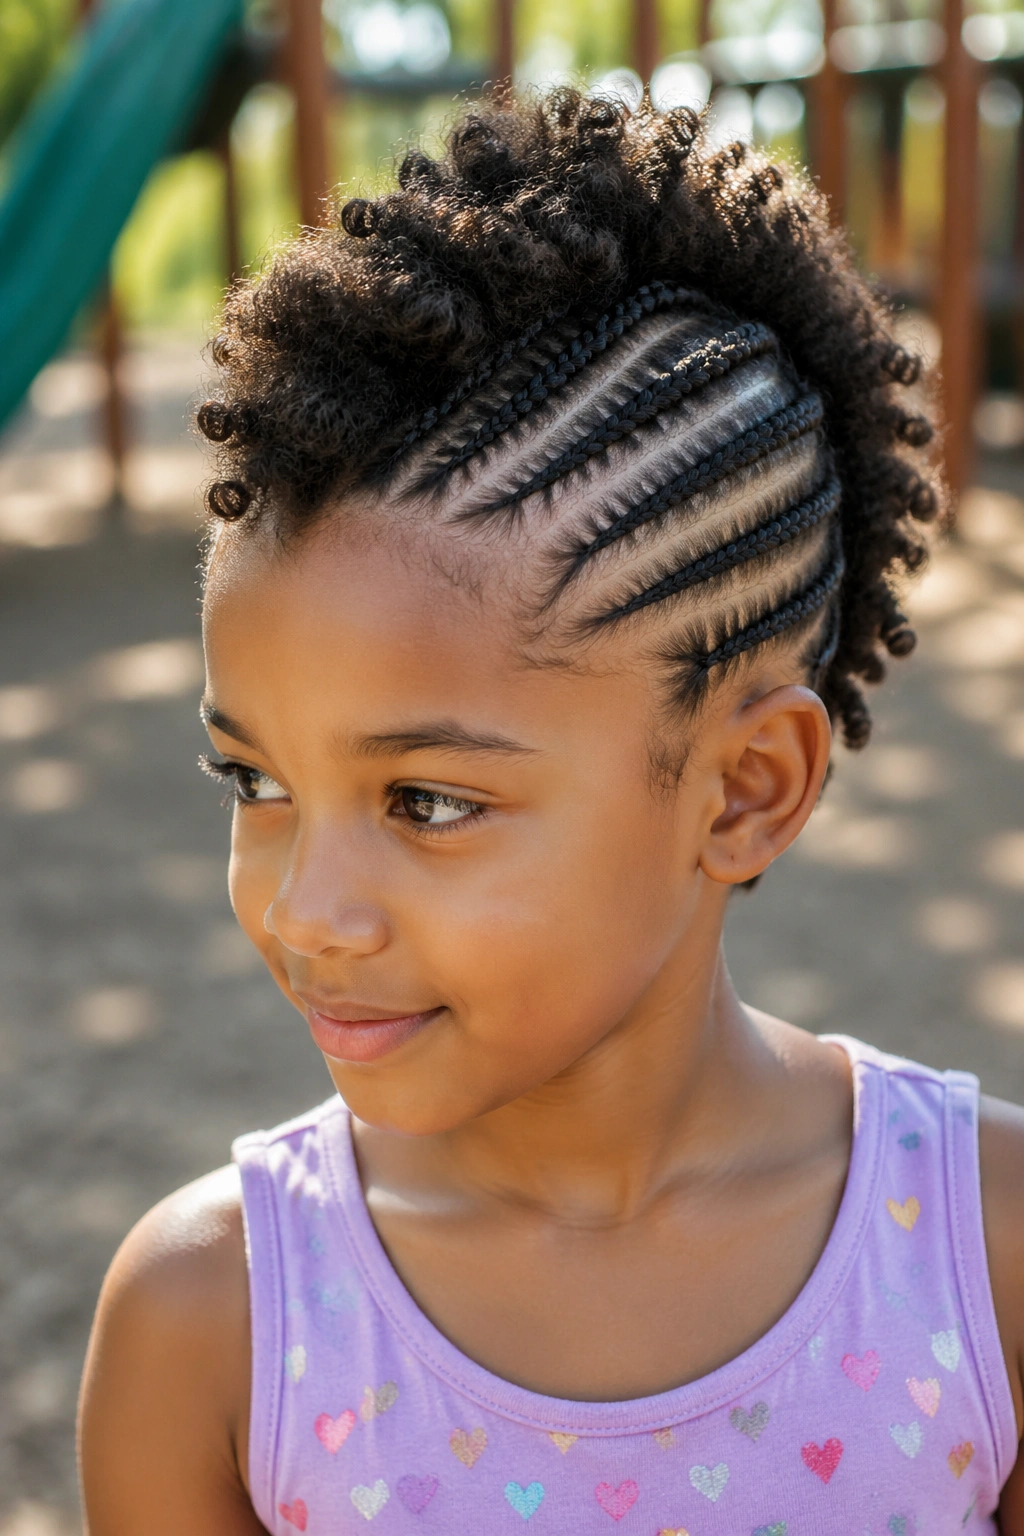
10. Mohawk-Style Cornrows
Cornrows on both sides of the head pulled toward the center, leaving a strip of natural hair down the middle that’s puffed up into a mohawk silhouette.
This is the bold style for kids who love attention. The mohawk reads playful rather than punk because the cornrows on the sides keep it neat.
The center strip can be left as natural curls, twisted into a single braid, or even decorated with small clips.
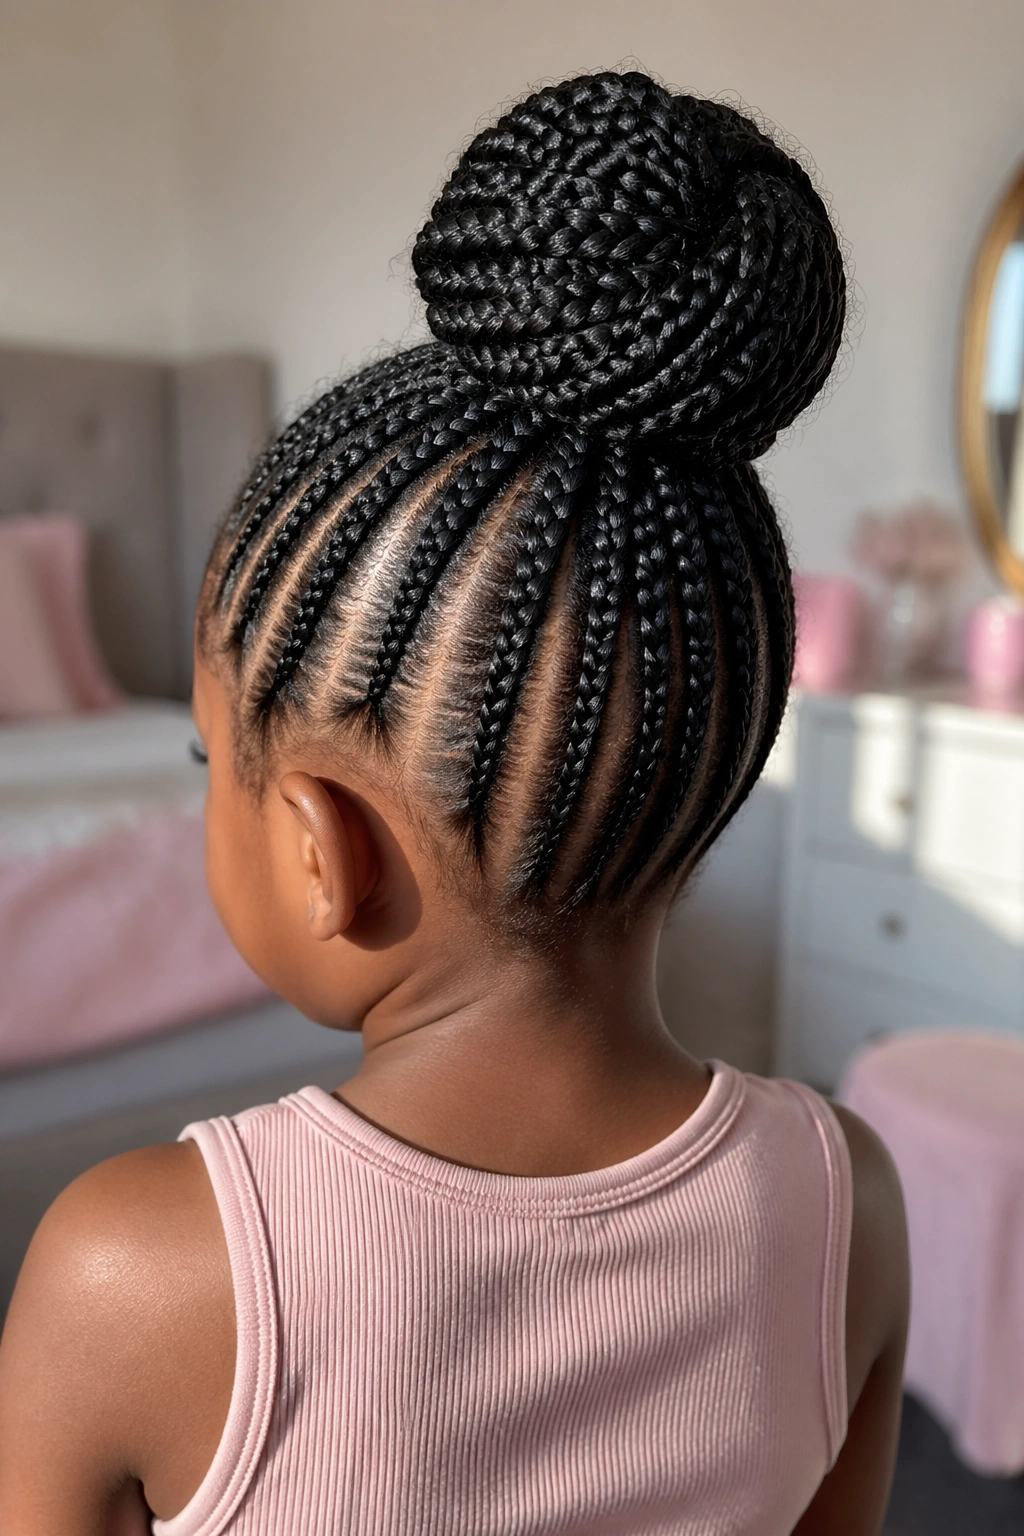
11. Cornrows Ending in One Big Bun
All the cornrows end at the back of the head where the loose ends are gathered into one large bun. The bun sits low at the nape or high at the crown depending on preference.
How to Style It
Braid all cornrows toward the chosen bun position. Secure them all together with a fabric elastic. Wrap the loose ends around the elastic to form the bun, pinning where needed with U-pins.
The bun gives the style a finished, “done” look that ponytails don’t always have. It also keeps the hair contained for active play.
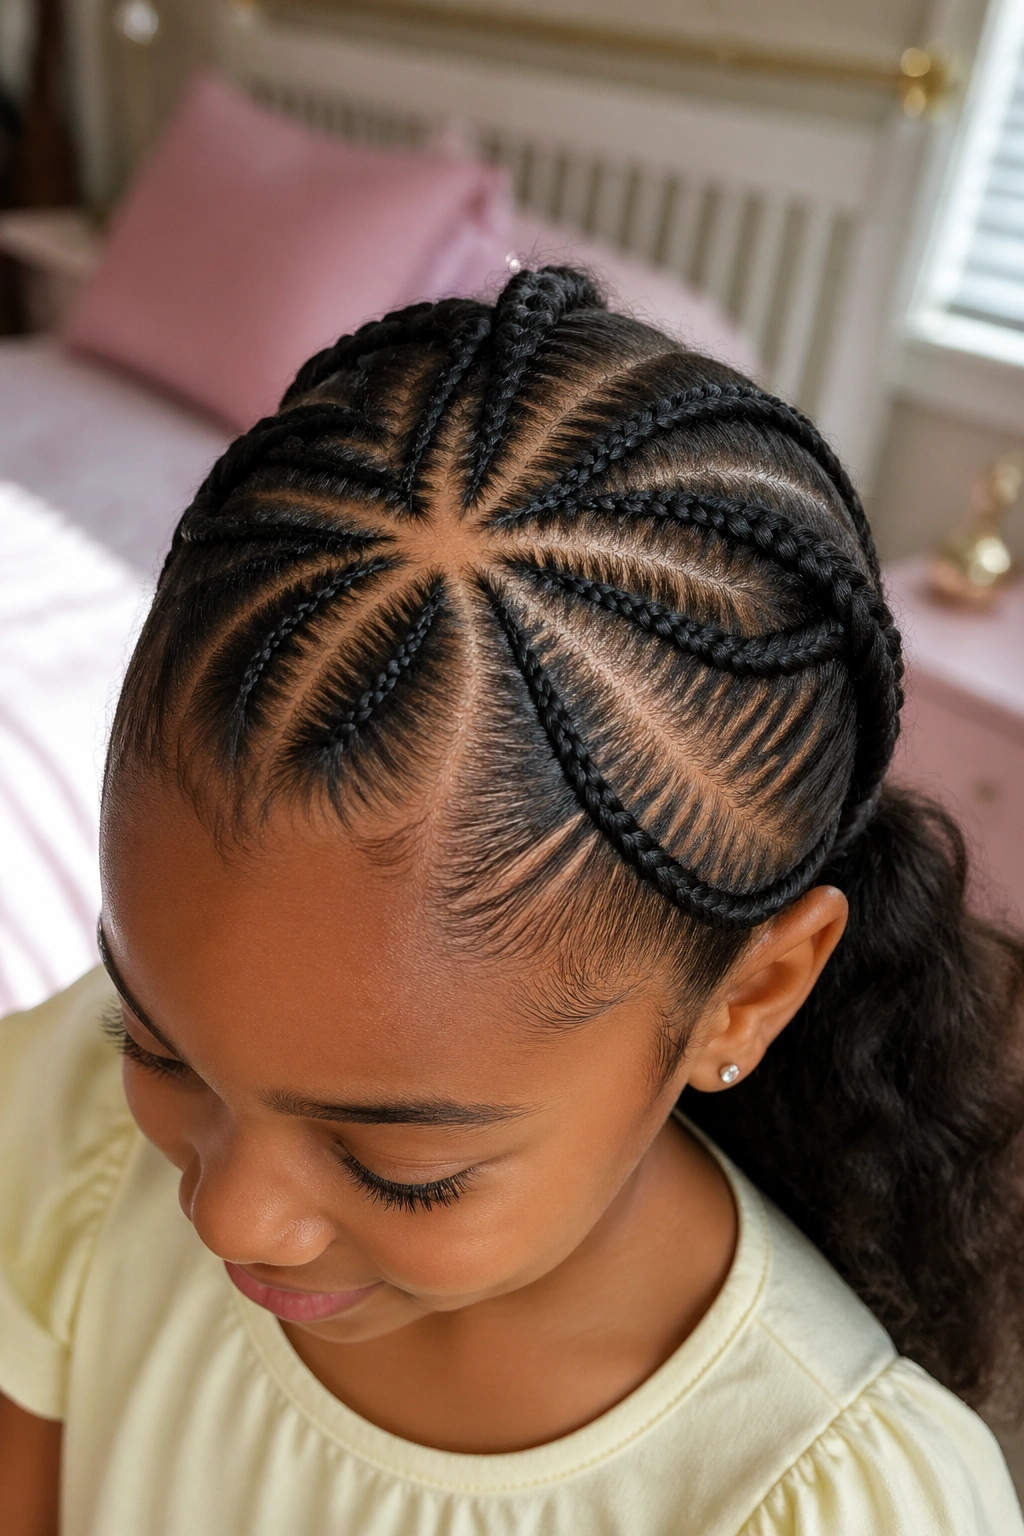
12. Star-Shaped Cornrow Pattern
Cornrows arranged in a star pattern at the crown of the head, with five points radiating outward. Hair beyond the star flows freely or is contained in a low ponytail.
The star is a designer pattern that takes practice. If you’re new to cornrowing kids’ hair, save this one for after you’ve nailed the basics.
The five points of the star should be spaced evenly. Use the tip of the comb to mark each point before you start braiding.
13. Cornrows with Curly Ends
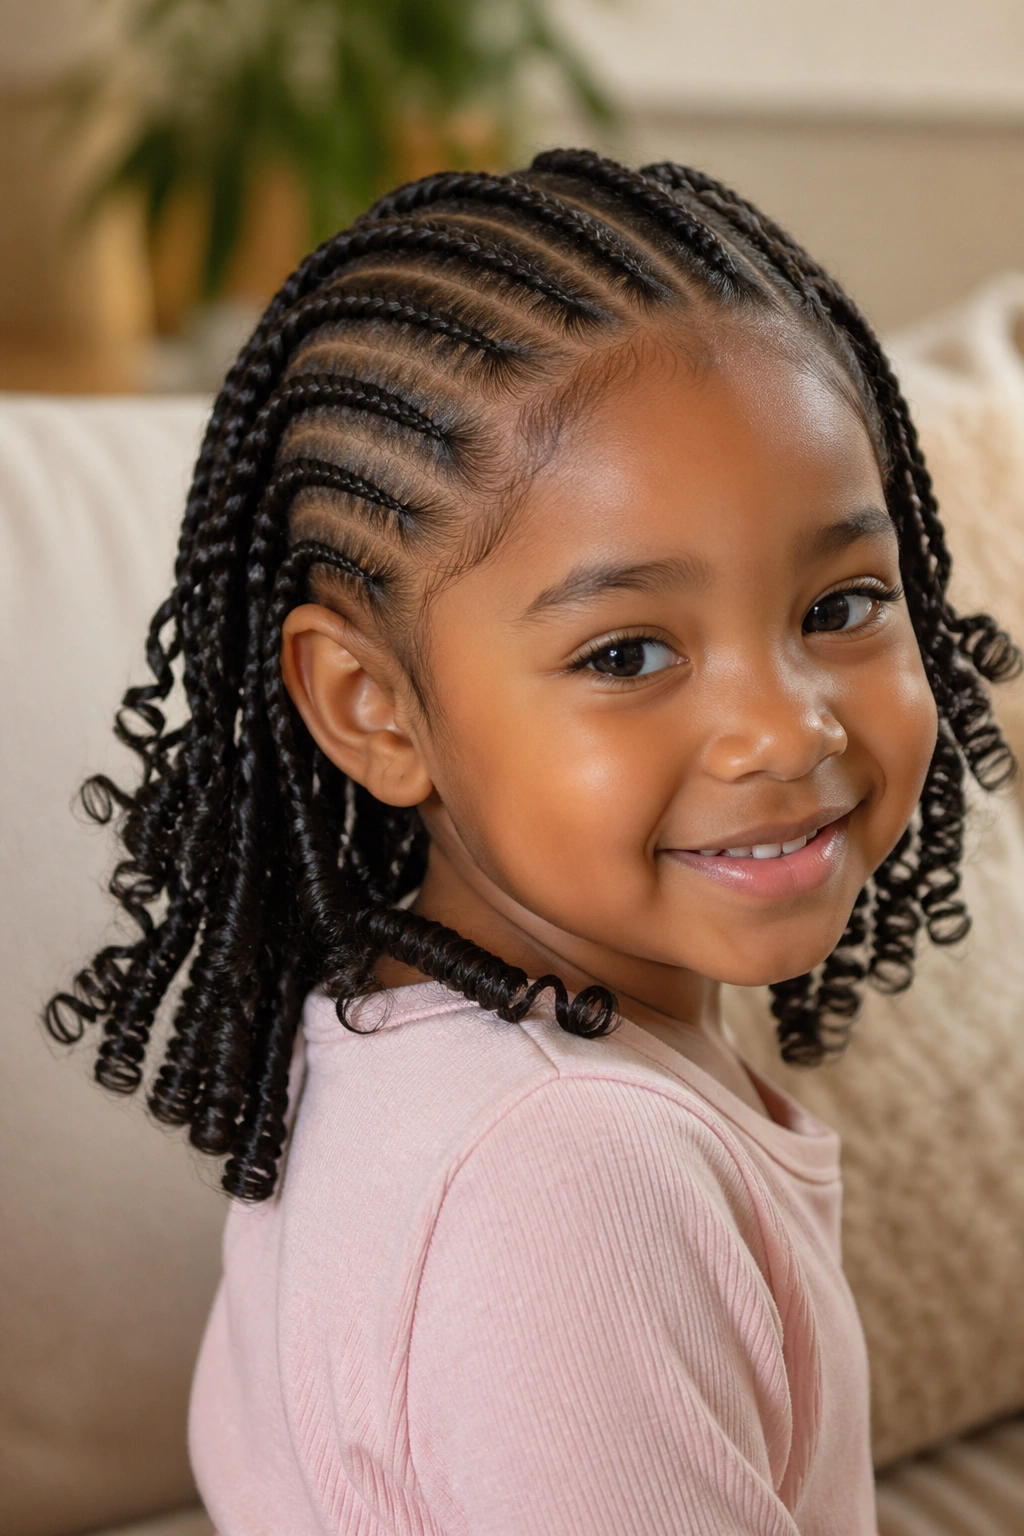
Cornrows installed normally, but the ends are dipped in hot water to create curly tips. The hot-water dip works on both natural hair and added kanekalon.
Heat the water to about 160 degrees. Dip just the last two inches of each braid. Let cool before patting dry. The ends curl into soft spirals that bounce when the kid moves.
Adds five minutes to the install time. Makes the style read more playful.
14. Side-Swept Cornrows
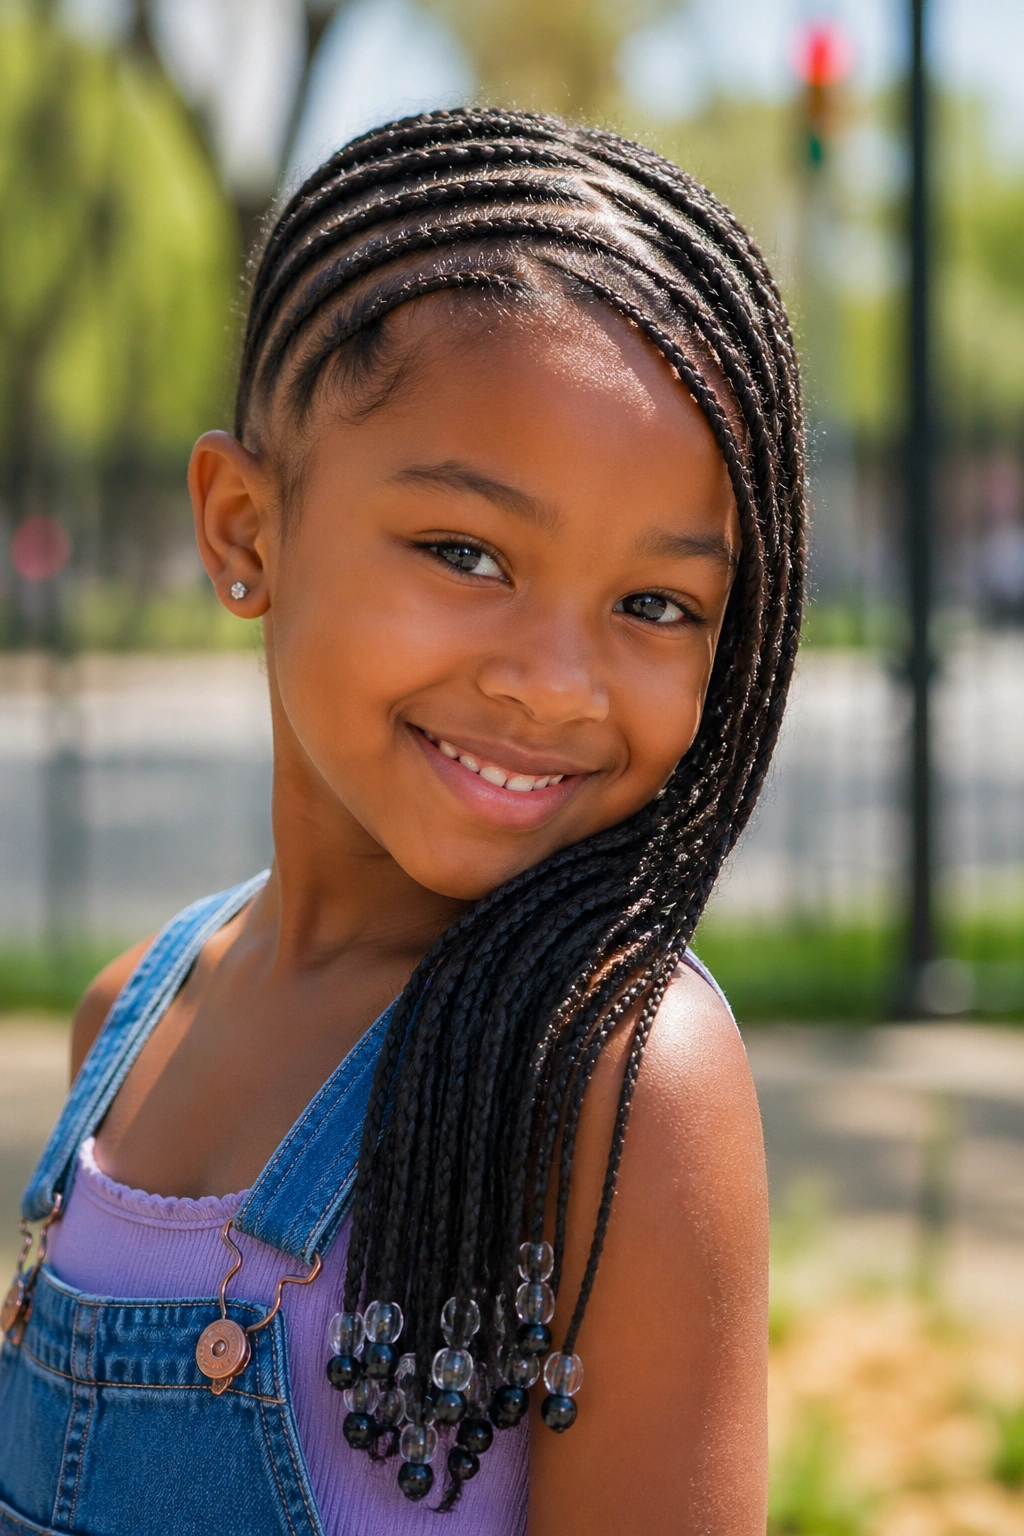
All cornrows direct toward one side of the head, ending in a side ponytail or loose braid over one shoulder. The directional flow gives the style movement.
Side-swept styles photograph beautifully because the asymmetry creates depth. They’re also practical for kids who tend to lay on one side when they sleep.
End the side ponytail with a coordinating elastic or hair clip in a fun color.
15. Two Box Cornrows on Top, Free Hair Below
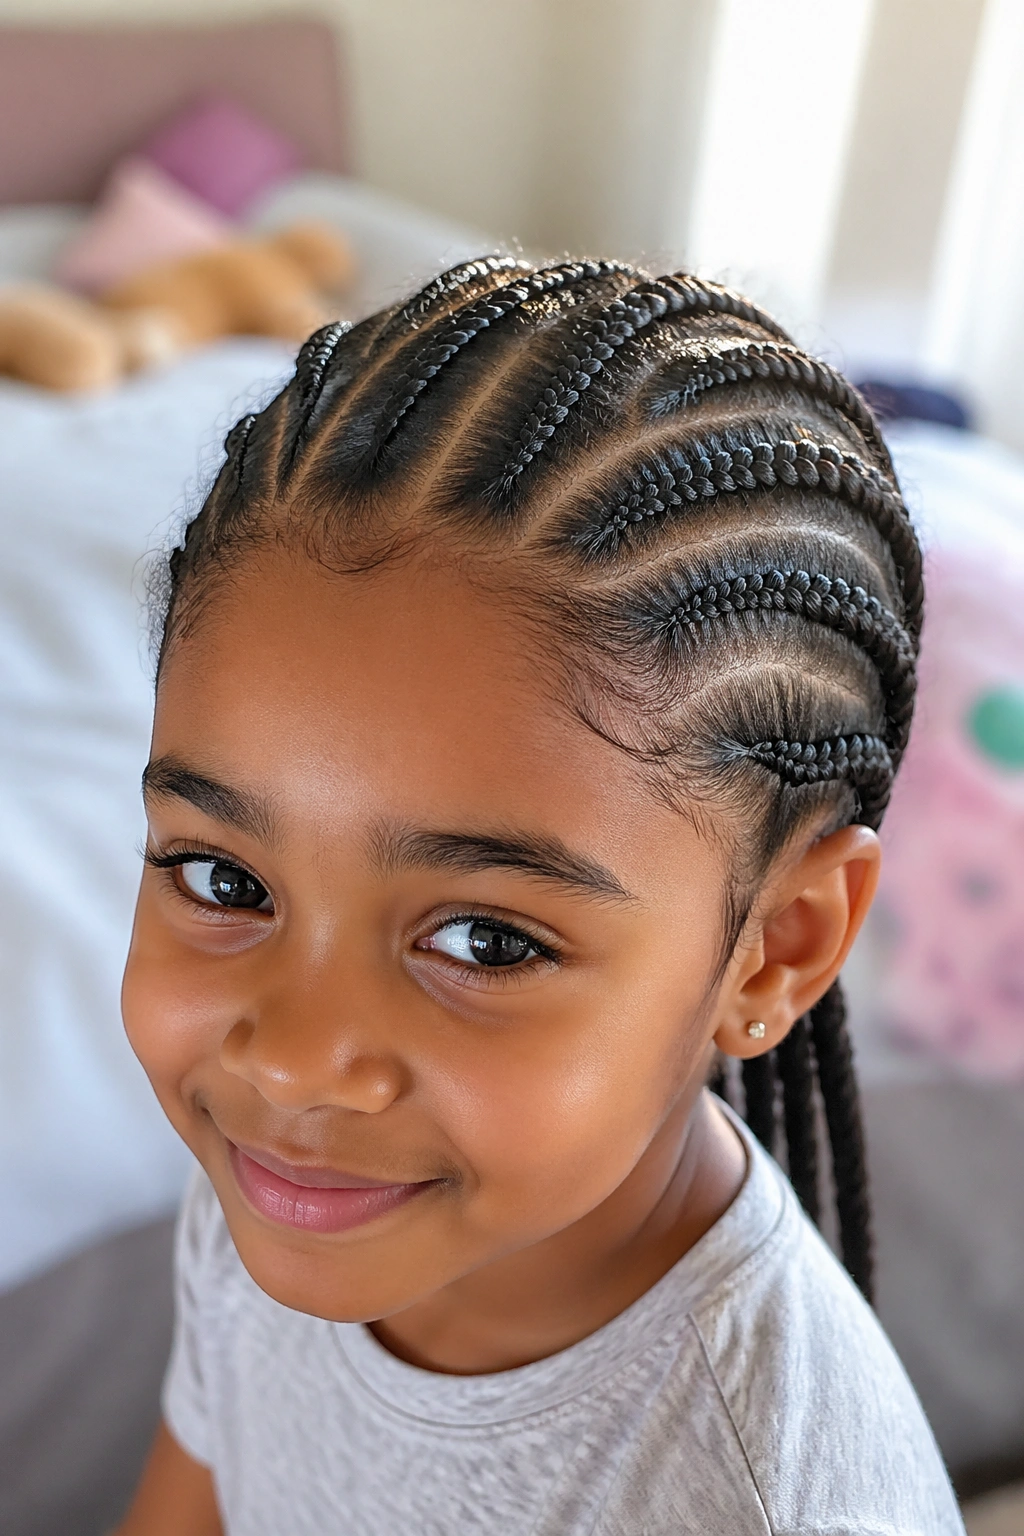
The top half of the head is divided into a clean grid pattern with two large cornrows running through it. The bottom half is left as natural curls or a small puff.
This is the half-style version of cornrows for kids who don’t want their whole head braided but still want some structure. Compromise styles like this are useful when you’ve got a kid who’s outgrowing the all-braids look.
16. Cornrows with Beaded Strands Mixed In
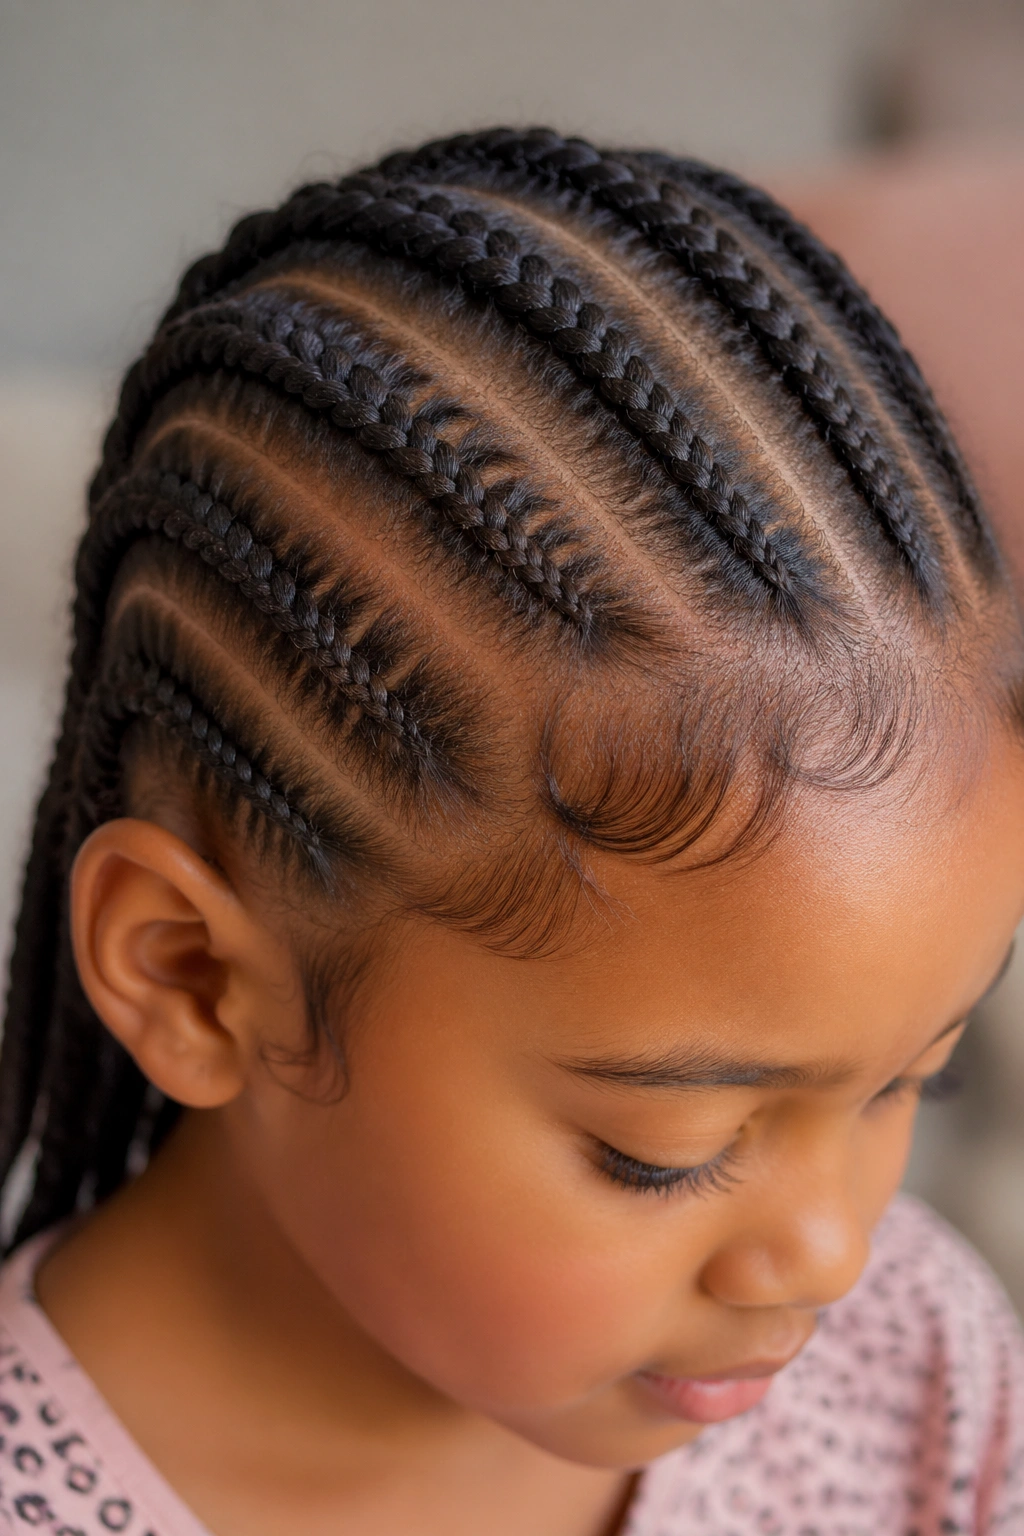
Most braids end in clear elastics, but two or three random braids end with strings of beads cascading down. The beads make those braids feel special.
Pick beads in a single color family — say, all shades of pink, or all warm metallics — to keep the look cohesive instead of chaotic.
The beaded braids should be placed near the face for maximum visual impact when the kid turns her head.
17. Cornrows with a Bow at the End
Each braid ends with a small fabric bow tied at the bottom. The bows are the finishing detail.
Use grosgrain ribbon for bows that hold their shape through wear. Satin ribbon is prettier but loses crispness within hours.
The bows can be matched to school uniforms, holiday colors, or just the kid’s favorite color of the week.
18. Cornrows Forming a Letter or Initial
Cornrows arranged to form the kid’s first initial — like a letter K or J — at the crown of the head. The remaining hair frames the initial with simpler cornrows.
This style is the personalized statement. Especially fun for birthdays, the first day of school, or family reunions where the kid wants to stand out.
The letter design takes time. Plan an extra 30 minutes beyond a standard install.
19. Cornrows with Twisted Sections
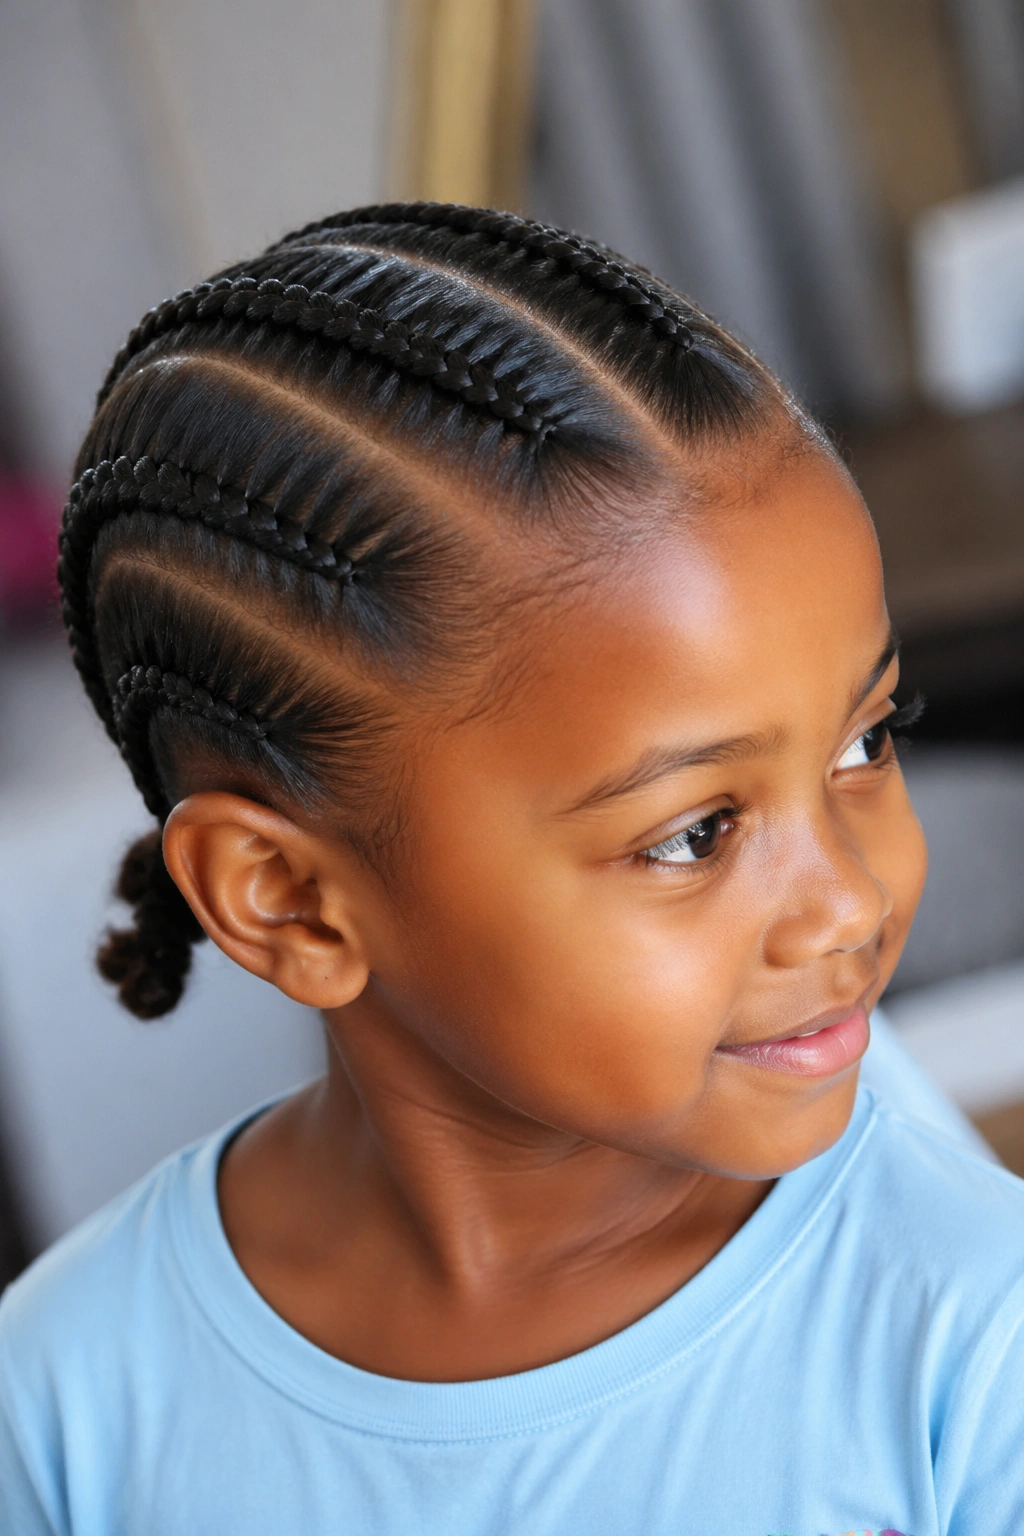
Half the head in cornrows, half in two-strand twists. The mixed-texture style gives variety without committing the whole head to one technique.
Two-strand twists are gentler on the scalp than cornrows because there’s no pulling-in tension. If your kid has any sensitivity at one part of the head, you can do twists there and cornrows everywhere else.
20. Cornrows with a Center Heart Part
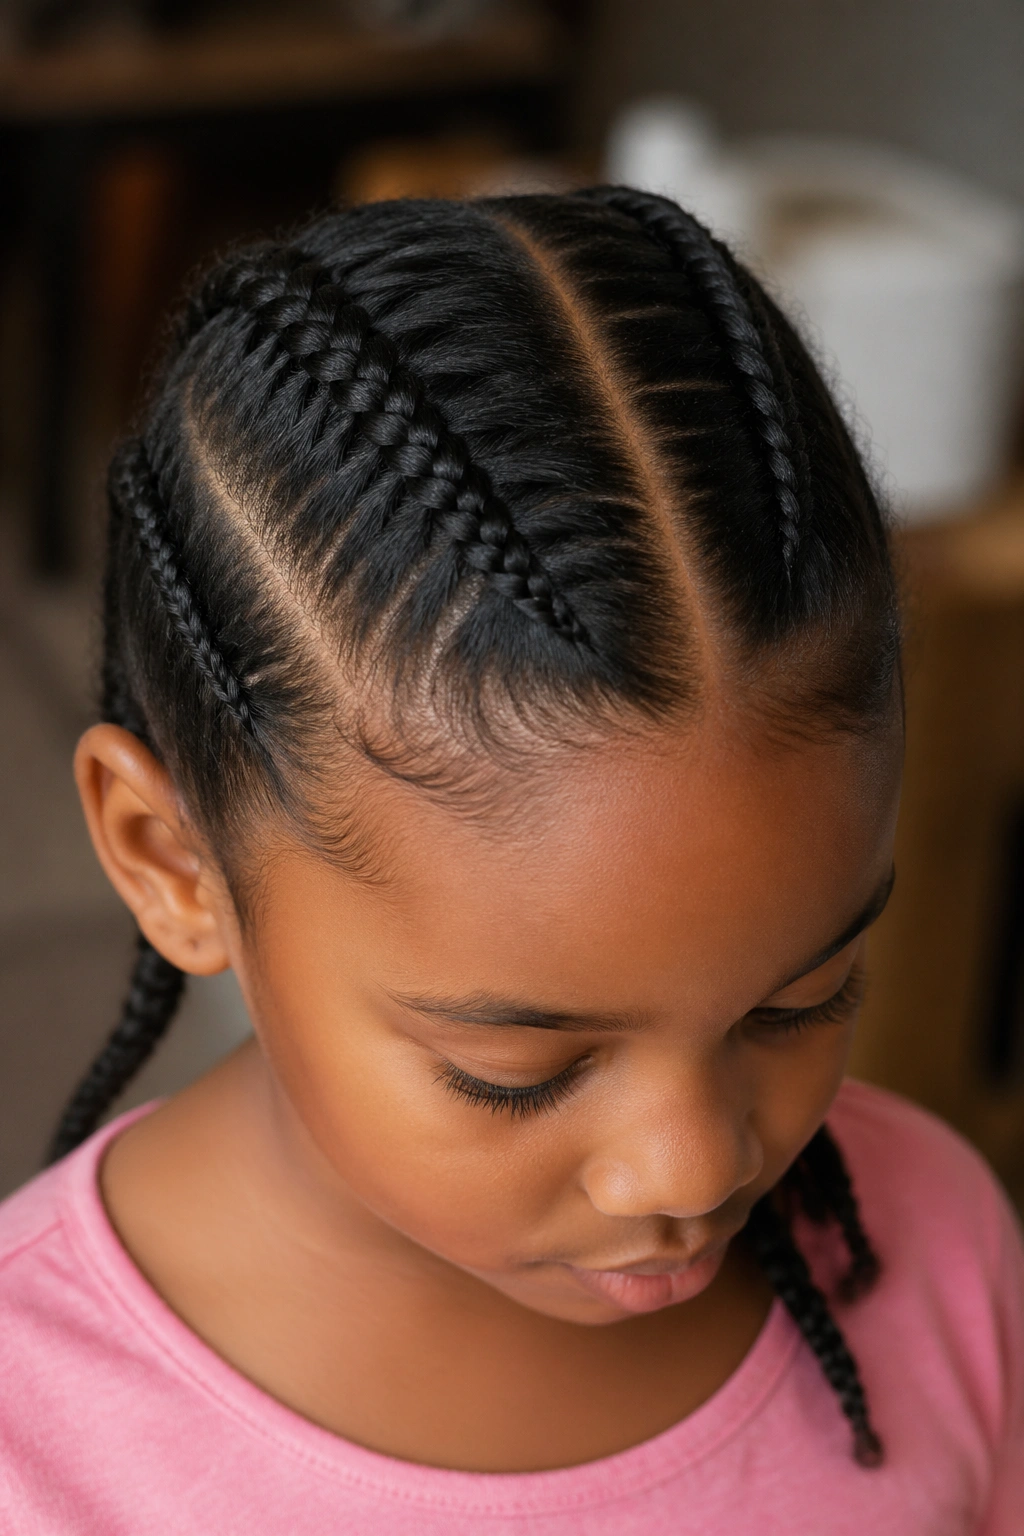
Most of the cornrows are straight back, but the parts at the very front form a small heart shape framing the face. A subtle decorative touch.
The heart part requires steady-handed comb work. Use a thin marker (washable) to draw the heart shape on the scalp before you cut the part if you need a guide.
21. Halo Cornrow with Loose Ends
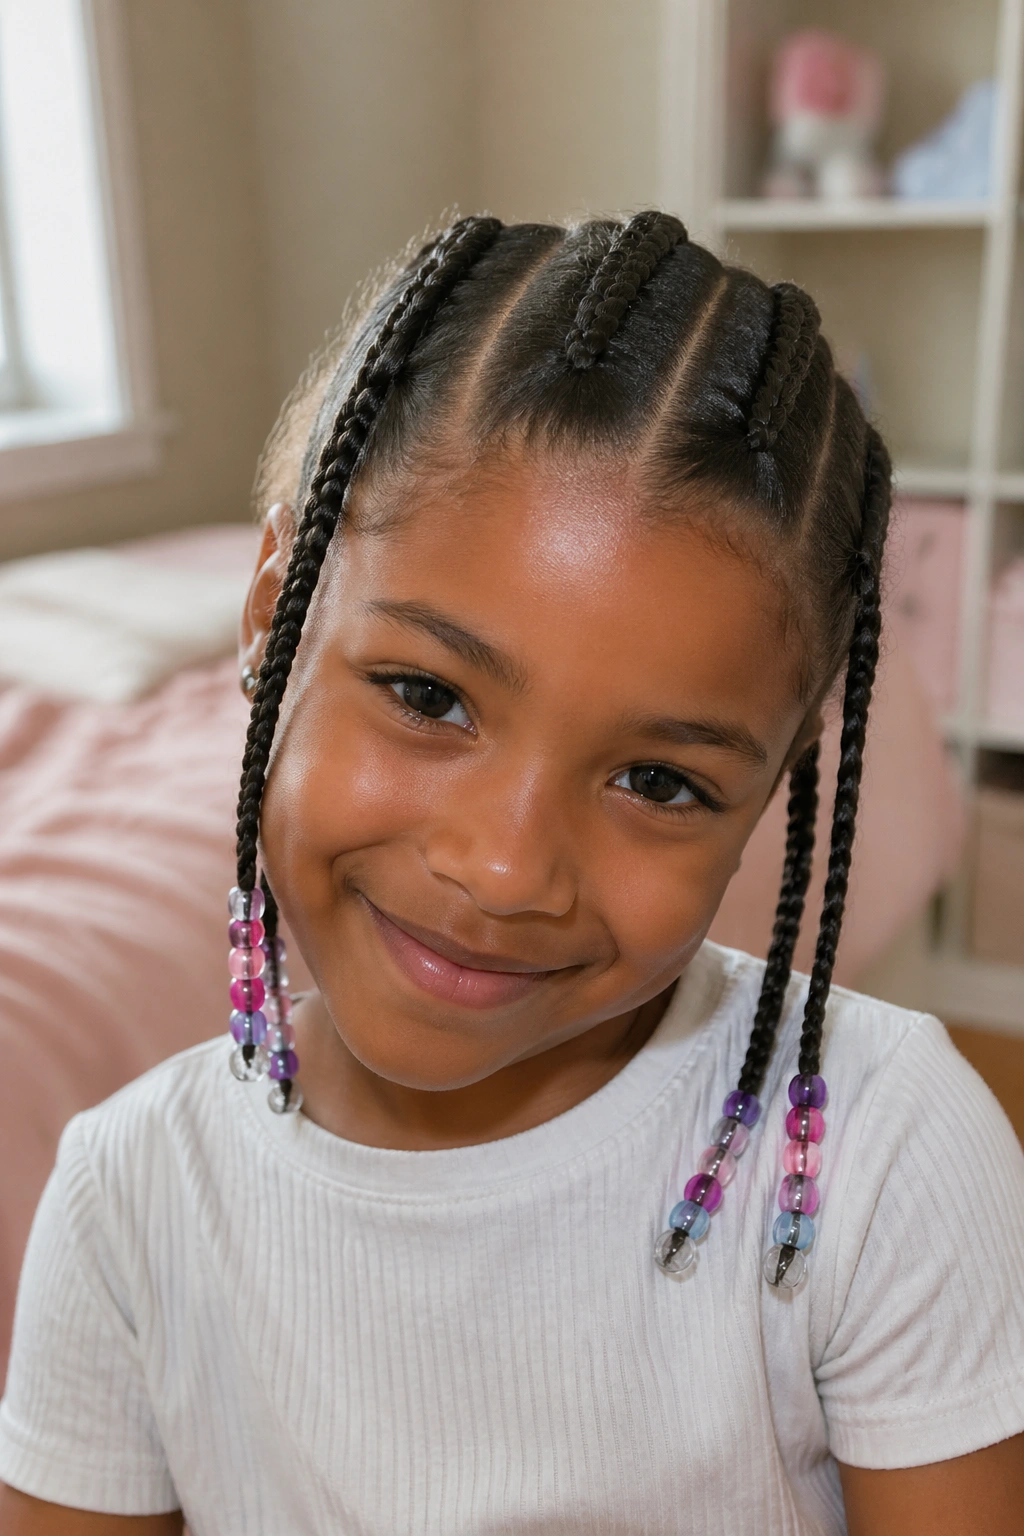
A single thick cornrow runs from one ear, over the top of the head, to the other ear. The hair below the halo cornrow flows freely in its natural texture.
The halo is the simplest formal style. It pulls the front hair away from the face — useful for kids whose hair tends to fall into their eyes — without committing the rest of the head to braids.
End the halo cornrow by tucking it into the hair behind the ear. No visible elastic needed.
22. Cornrows with a Small Braided Crown
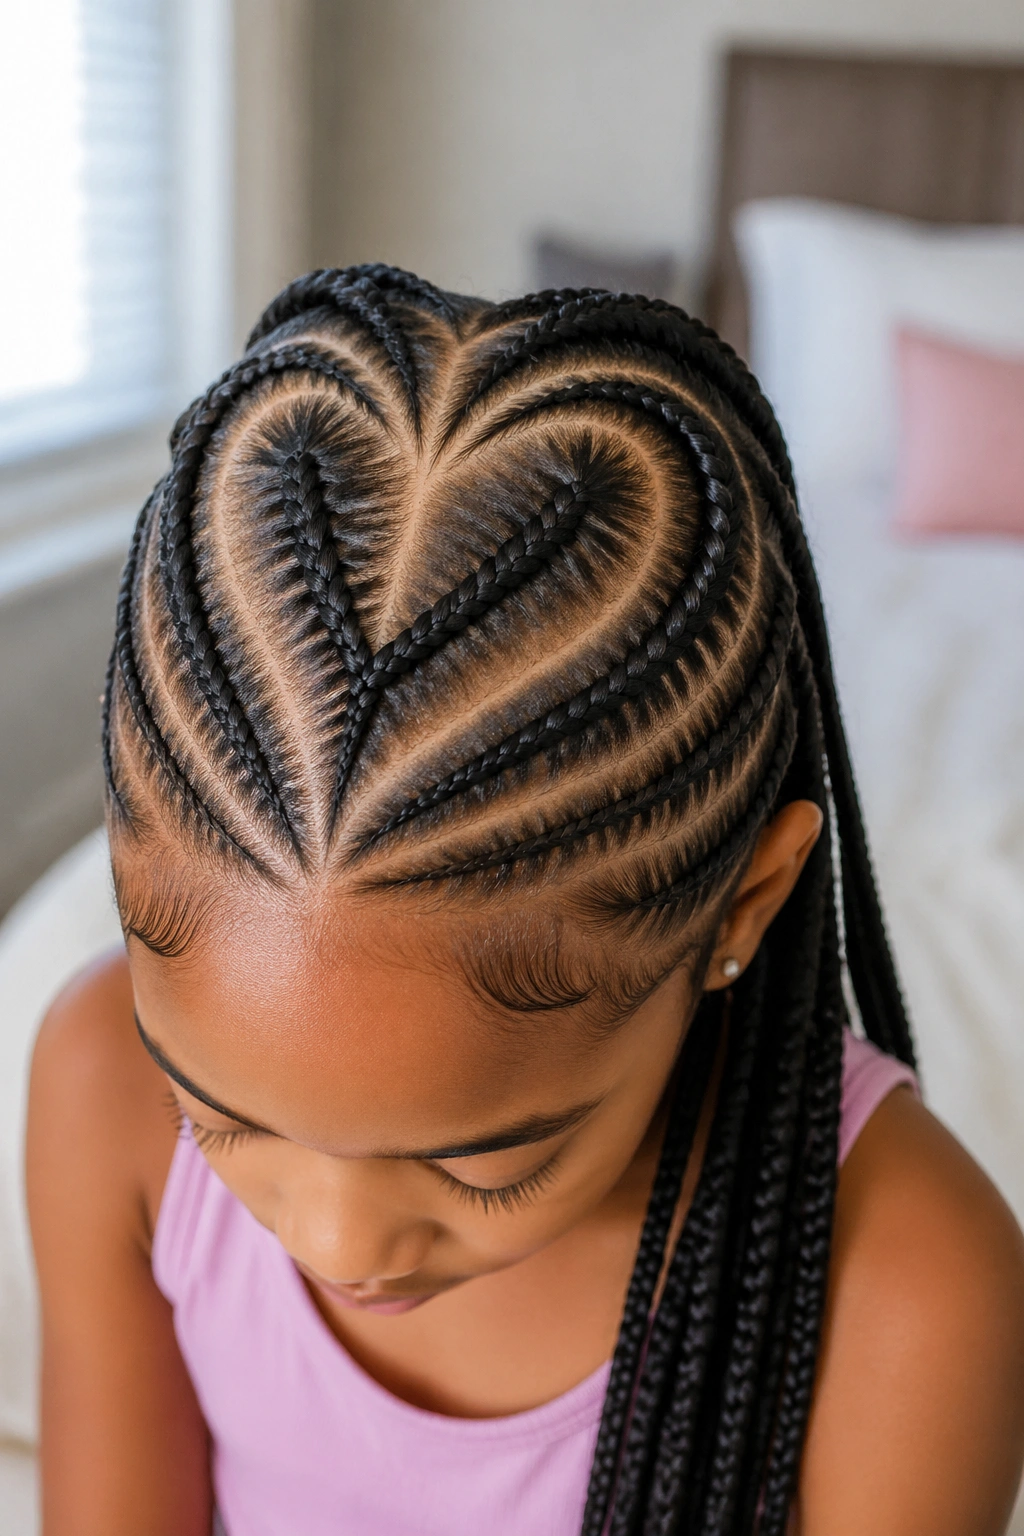
A row of three or four small cornrows arranged across the front of the head like a crown, with the rest of the hair styled in a high puff or natural curls behind.
Different from the full halo because this version only covers the front section, not the entire perimeter of the head.
Quicker than the halo and reads as both functional (keeps front hair off the face) and decorative.
23. Cornrows in a Spiral Pattern
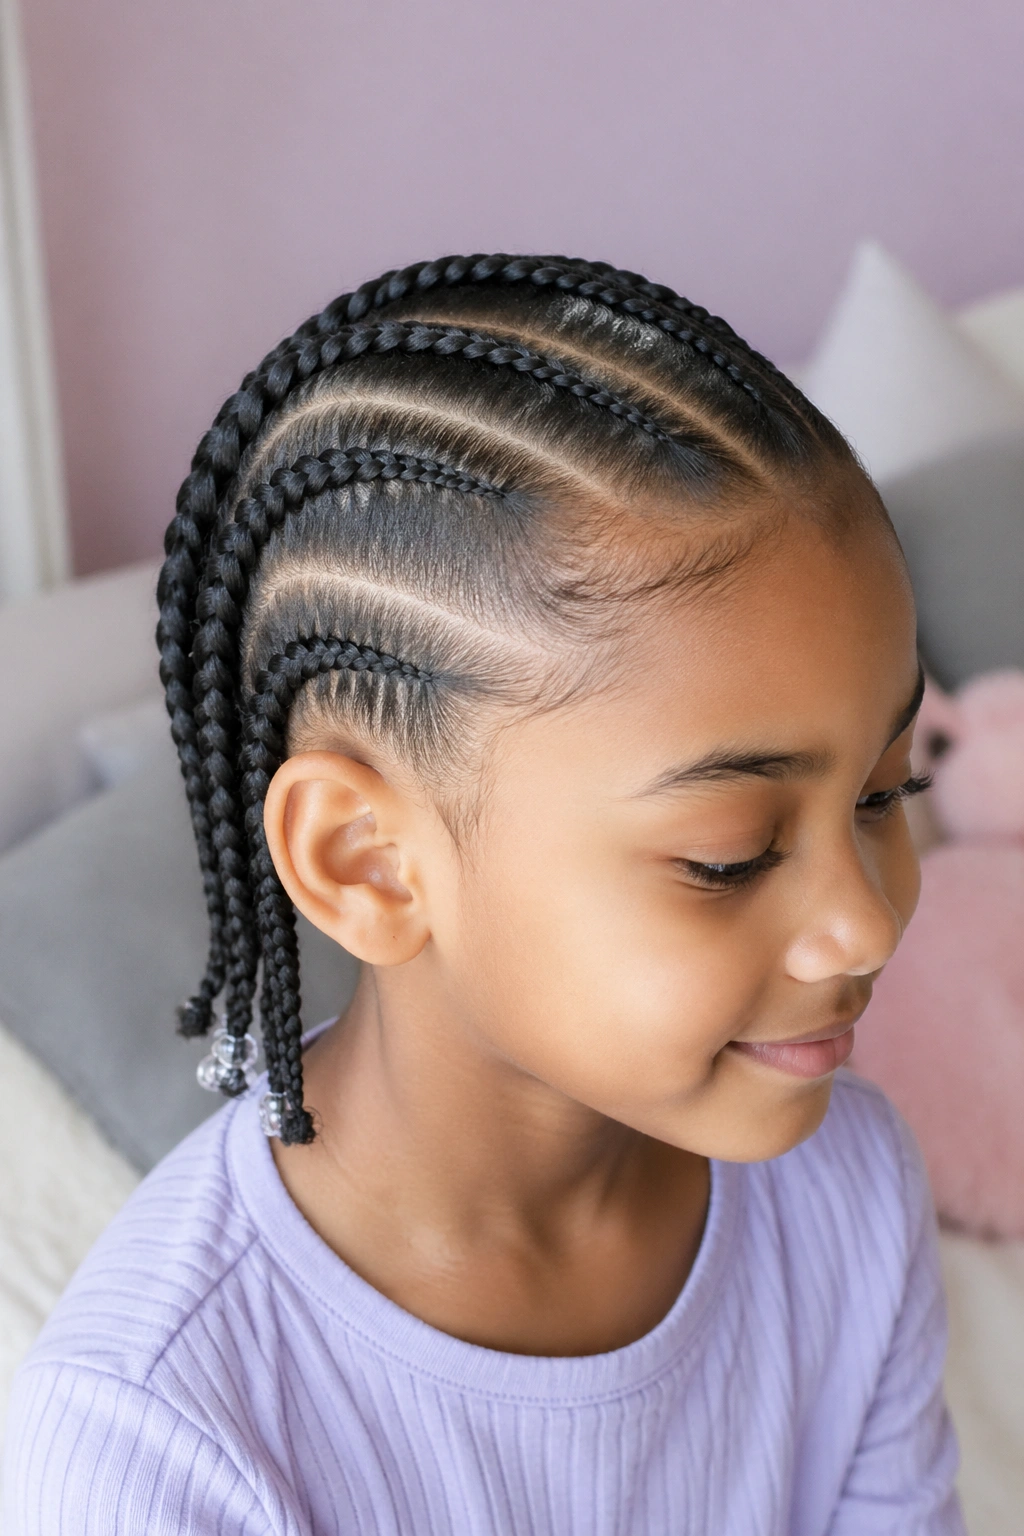
Cornrows arranged in a spiral around the crown of the head, all leading to a single point at the top where they’re gathered into a small bun or knot.
Who This Is For
The spiral is for special events. Picture days, weddings, holiday family gatherings. It’s not the daily wear style — it’s the showpiece.
The pattern requires real comb skill. The lines must spiral evenly around the head without breaking the geometry.
Worth the effort once. Repeat installs go faster as you build muscle memory.
24. Cornrows with Contrast-Colored Beads
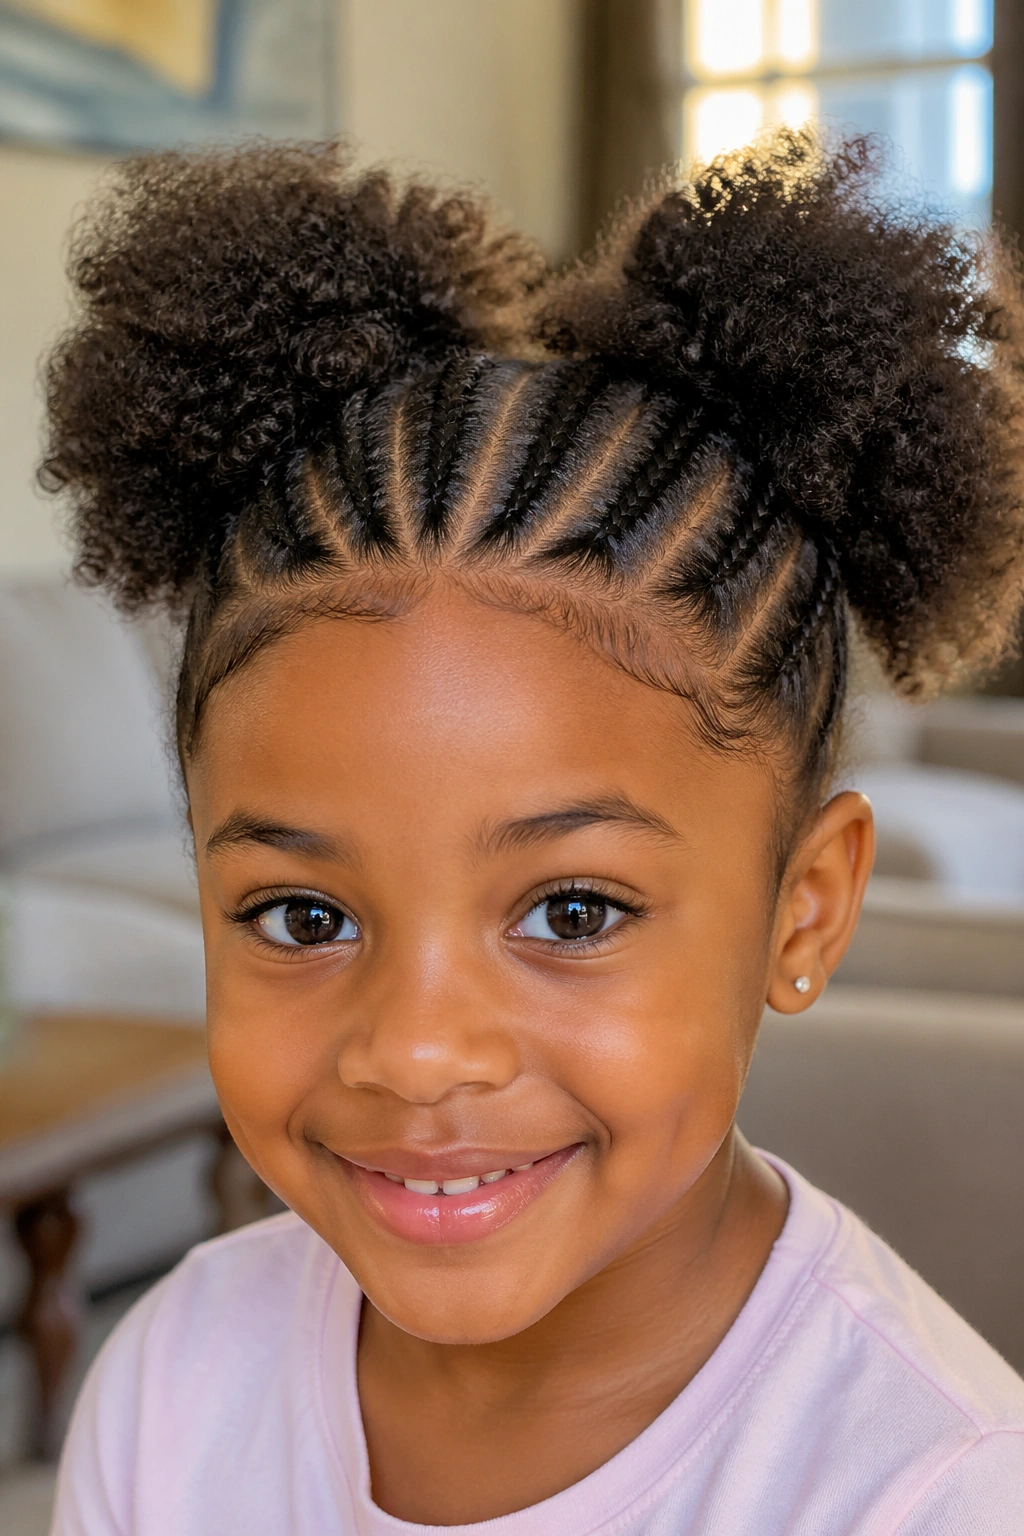
Solid black or brown beads on cornrows that are contrasting — maybe lighter brown — and lighter beads on darker braids. The bead colors play against the hair colors.
The contrast principle: don’t match. If everything is the same color, the beads disappear into the braids. If the beads contrast with the braid color, they pop.
Pick beads sized appropriately for kid braids. Adult-sized beads are too heavy and pull on the braid.
25. Cornrows with Two Front Mini Buns
Cornrows running back from a small section in the front, with two tiny buns tied at the front before the cornrows begin. The buns are decorative more than functional.
Section a small amount of hair at each side of the front part. Twist each section into a mini bun and secure with a small clear elastic. Then start your cornrows behind the buns.
The mini buns give the style a 90s nostalgia that reads cute on kids without trying too hard.
Maintenance for Kid Cornrows
Tie the head with a satin sleep cap or scarf every night. No exceptions. Cotton pillowcases destroy braids in three nights.
Spray the scalp lightly with a water and tea tree oil mix every other day to prevent buildup and discourage itching. Don’t oil heavily — kid scalps don’t need much.
Refresh the hairline by smoothing flyaways with a tiny dab of edge gel and a soft brush, but use sparingly. Heavy gel buildup on a kid’s hairline can clog follicles.
If you see any redness or rashes around the braids, take them down. Kid scalps can react to extension hair, gel buildup, or even tension.
Choosing Styles by Kid’s Age
Toddlers (1-3 years): Stick with two to four cornrows total. Quick installs. No extensions. End at the crown, not the nape.
Pre-K (4-5 years): Up to six cornrows. Simple beads or bows allowed. Patterns like hearts or zigzags become possible.
Elementary (6-9 years): Most styles work. Kids this age can sit through 60-minute installs with the right entertainment.
Pre-teens (10-12 years): All styles work. Kids may also start having opinions about colors and patterns. Let them choose.
Teen years are when kid styles start blending with adult styles. The only difference is tension — keep it gentler than you would on yourself.
Common Mistakes Mothers Make
Mistake one: braiding too tight. Tight braids on kids cause permanent edge damage. Loose enough that the child doesn’t wince is the right tension.
Mistake two: leaving styles in too long. Adult cornrows can stay in for four to six weeks. Kid cornrows should come out at two to three weeks. Their hair grows faster and dirties faster.
Mistake three: skipping the night cap. Some kids resist the cap. Make it a non-negotiable. The cap is the difference between a style that lasts and one that frizzes by day three.
Mistake four: combing dry hair after takedown. Always wash and condition first. Always detangle wet with a slippery conditioner. Never dry comb.
Mistake five: ignoring scalp issues. Itching, redness, or any flakes are signs to take down the style and address whatever is happening underneath.
Taking Down Kid Cornrows
Be gentler than you’d be with adult takedowns. Kid hair is more delicate.
Spray each braid with a 50/50 conditioner-water mix. Let sit for ten minutes.
Unravel from the ends up. Use fingers, not a comb. If a section resists, spray more conditioner and wait another five minutes.
After takedown, do a clarifying wash with a sulfate-free shampoo to remove all product buildup. Follow with a deep conditioner under a plastic cap for 20 minutes.
Detangle the wet, conditioned hair with a wide-tooth comb working from ends to roots.
Give kid hair at least two days off between styles. Even longer if their scalp shows any redness.
When to Skip Cornrows Entirely
If your child has any of the following, hold off on cornrows for the moment.
Visible thinning at the hairline. Active scalp irritation or rash. Recent fever or scalp infection. Major recent stress event causing hair to shed.
Wait until those issues resolve. Kid hair recovers fast when given proper rest.
Cornrows for kids should be quick, gentle, and fun. Pick the style that matches your kid’s age and personality, install with kindness rather than force, and the result will be a hairstyle your kid wants to show off and a head of hair that grows healthier every month. A whole generation of healthy-haired Black women started with cornrows their mothers braided in the kitchen on a Saturday afternoon — and that tradition is one of the best things you can pass on.
