



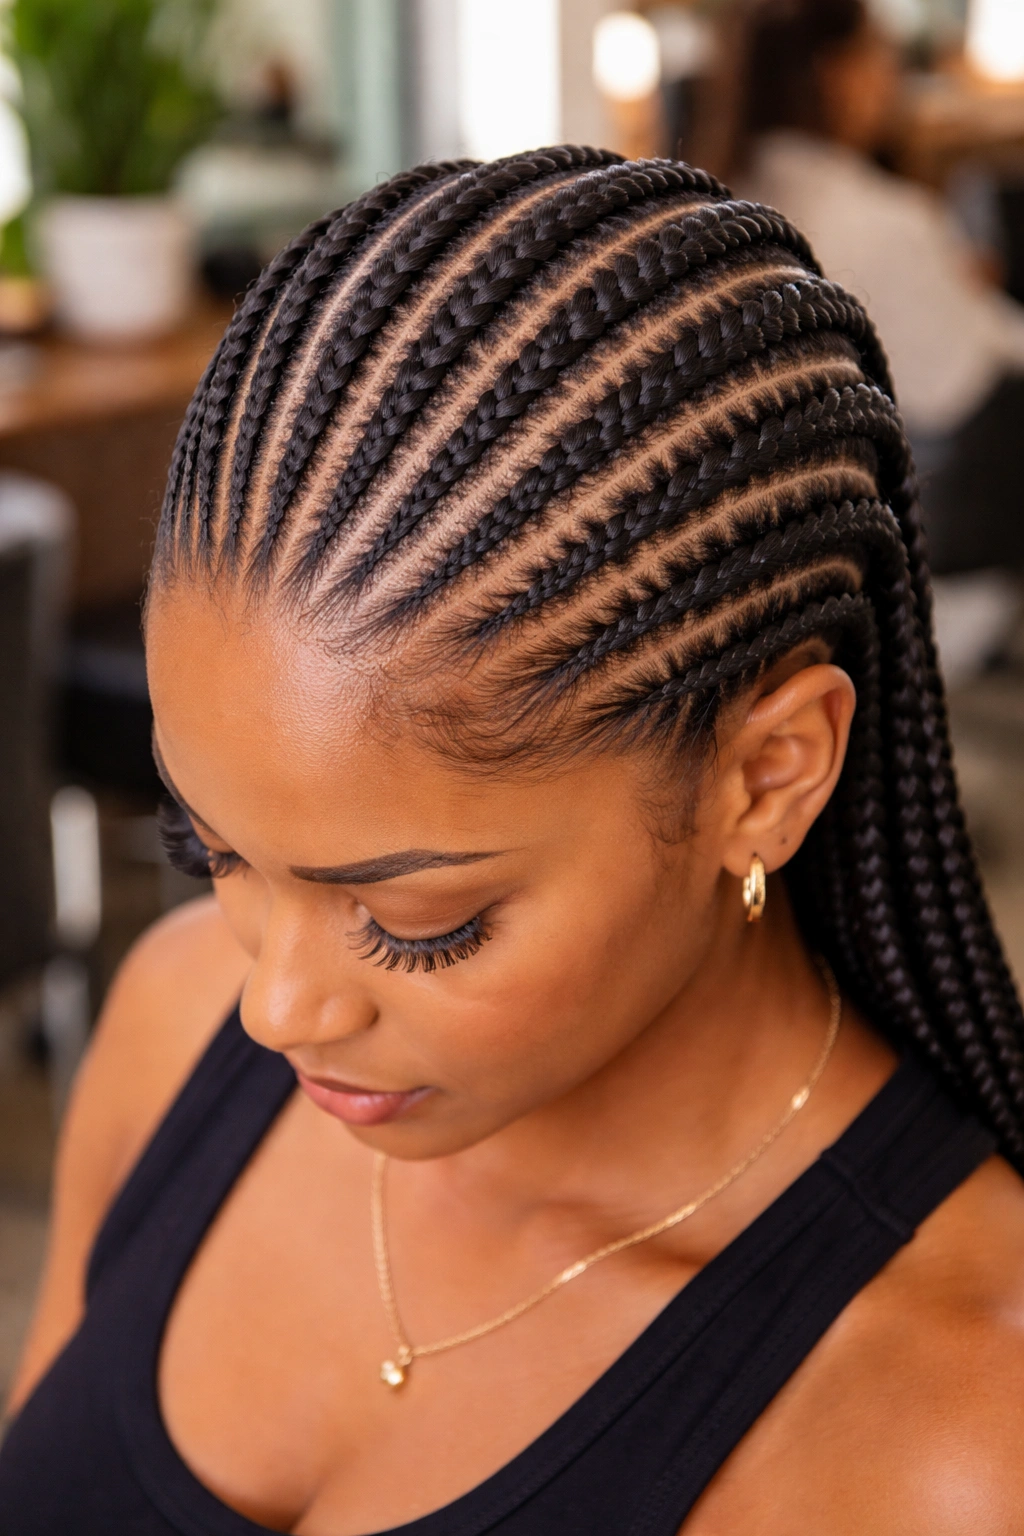
Simple straight back cornrows are the foundation of the entire braid universe. Every other cornrow style — the elaborate parts, the colored peekaboos, the fishtail weaves, the geometric designs — all of them branch off from this basic format. Hair parted into clean horizontal sections, braided flat against the scalp, running from the hairline to the nape. That’s it. The whole framework.
What gets lost in conversations about cornrows is how much variety lives inside this “simple” structure. The number of braids changes everything. The size changes everything. The angle of the parts, the tightness, the finish at the ends — every small choice shifts the look. A 6-braid straight back is a different style from a 12-braid straight back. They share a name but they don’t share an aesthetic.
I’ve worn straight back cornrows in nearly every count, size, and length variation possible over the years. They’re my default protective style for travel, for workouts, for stretches when I don’t want to think about my hair for a few weeks. The simplicity is the appeal. They take less time than complex styles, they cost less to install, and they look polished without trying.
Below are 22 straight back cornrow variations. Each one is genuinely different — different braid count, different finish, different parting subtlety, different occasion. The list works as a buffet for anyone trying to land on the right version for their hair, their week, or their event.
Why Straight Back Cornrows Endure
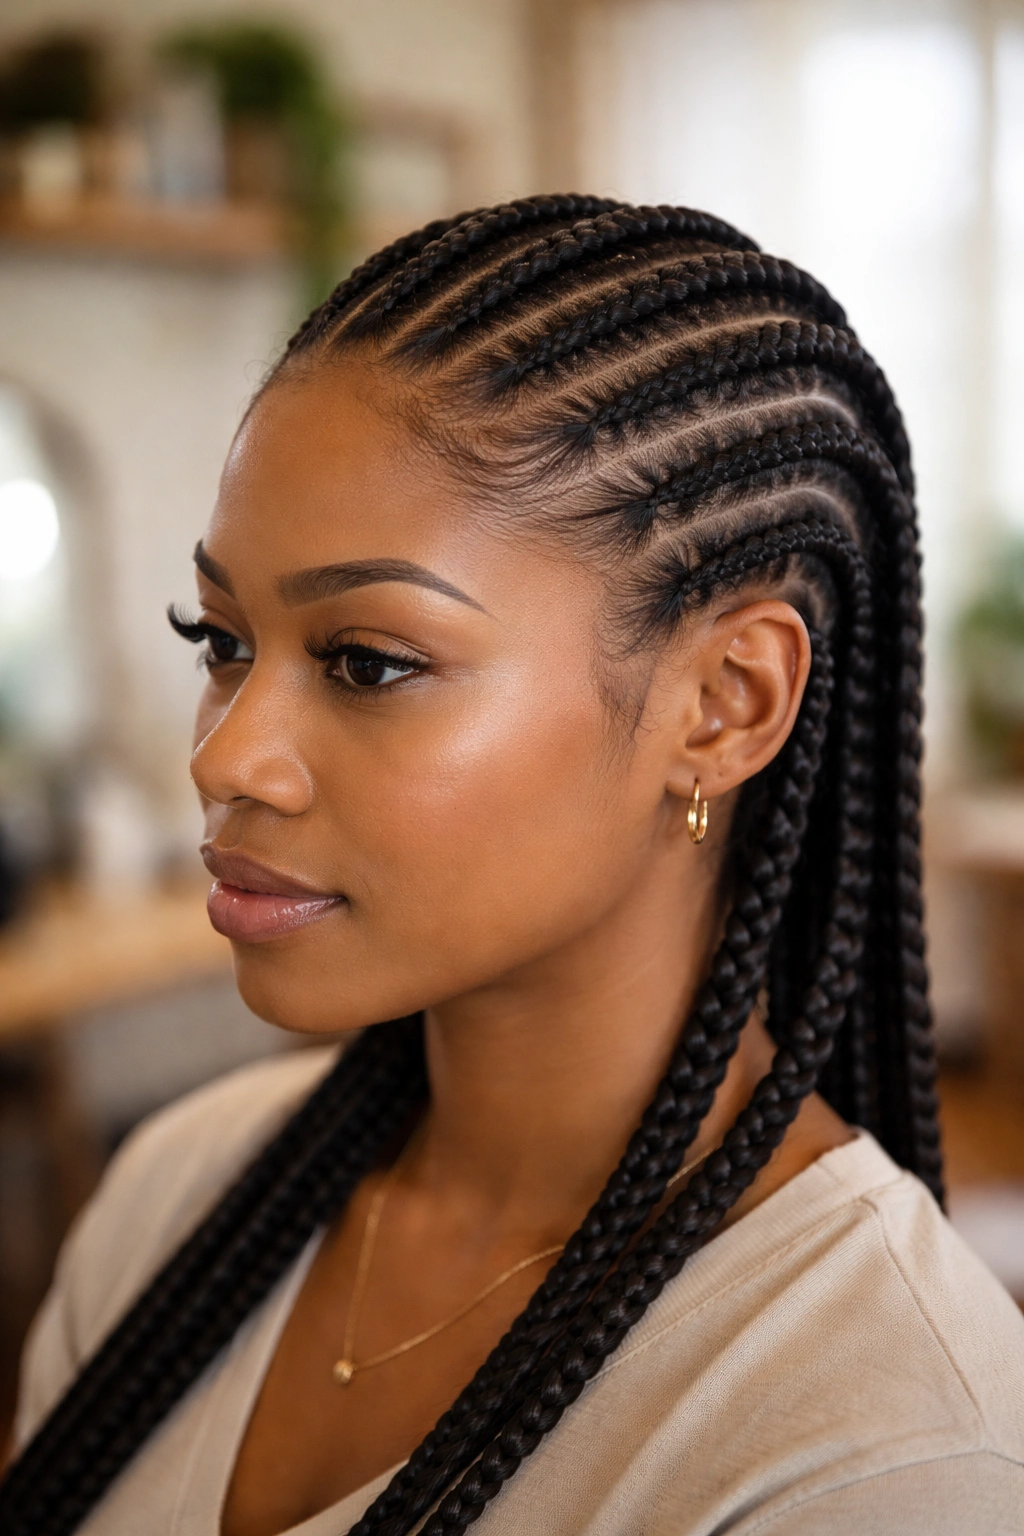
Straight back cornrows have stayed relevant because they solve a real problem efficiently. They protect the hair from manipulation. They keep it off the face. They look intentional even when minimal effort goes into them. And they suit virtually every face shape and hair type.
The horizontal lines of the parts and the vertical lines of the braids create a quiet geometric balance that reads as polished. There’s a reason this style appears in formal portraits, athletic settings, and casual everyday looks alike — the visual logic just works.
The Prep Stage
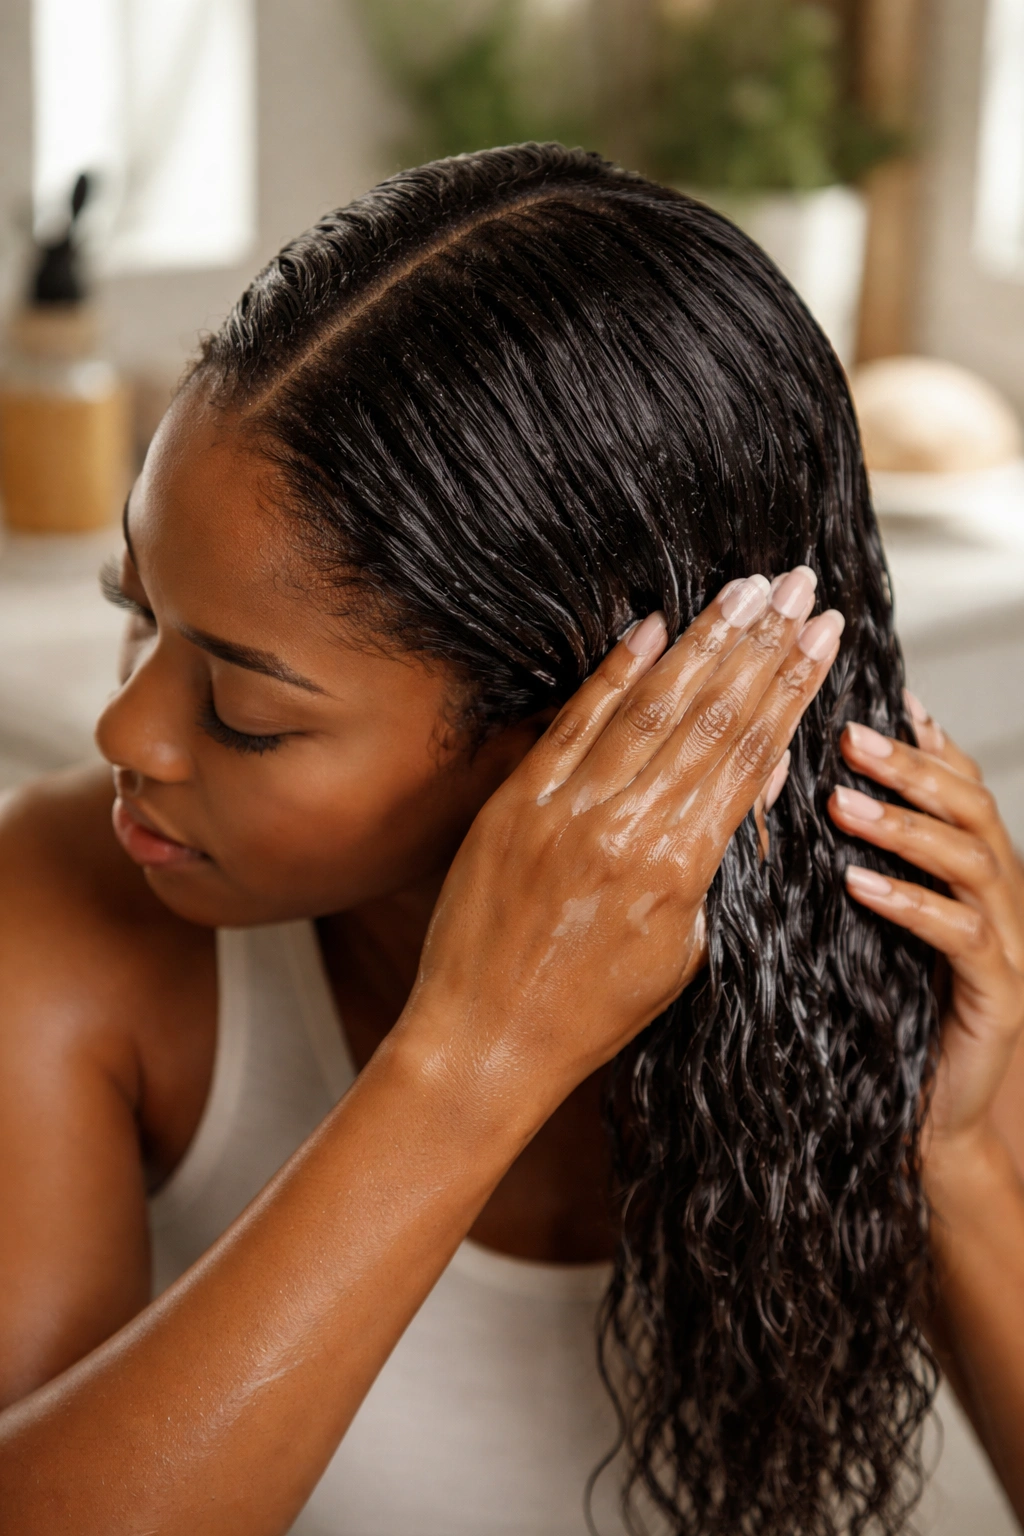
Clean hair is the foundation. Wash and condition 24 hours before braiding, allowing time for the hair to dry fully. Damp hair shrinks while braiding, and as it dries the braids loosen unevenly.
Apply a light leave-in conditioner the night before, focused on the body of the hair rather than the scalp. The morning of, the hair should feel soft but not slick. If your hair feels heavy or product-coated, give the scalp a quick massage with a dry brush to redistribute oils.
Choosing Your Braid Count
This is the single most important decision. Number of braids dictates the look, the install time, and the wear duration.
Lower counts (4-6 braids) read bolder. Each braid is wider, the parts are more dramatic, and the style feels confident and unfussy. Install time is shorter (1.5-3 hours) but wear duration is also shorter (2-3 weeks before frizz dominates).
Higher counts (10-15 braids) read more refined. Each braid is narrower, the parts are tighter, and the style feels detailed. Install time is longer (4-6 hours) and wear duration extends (4-6 weeks).
Match the count to your hair density. Thin hair benefits from lower counts. Thick hair handles higher counts well.
Tools Worth Owning
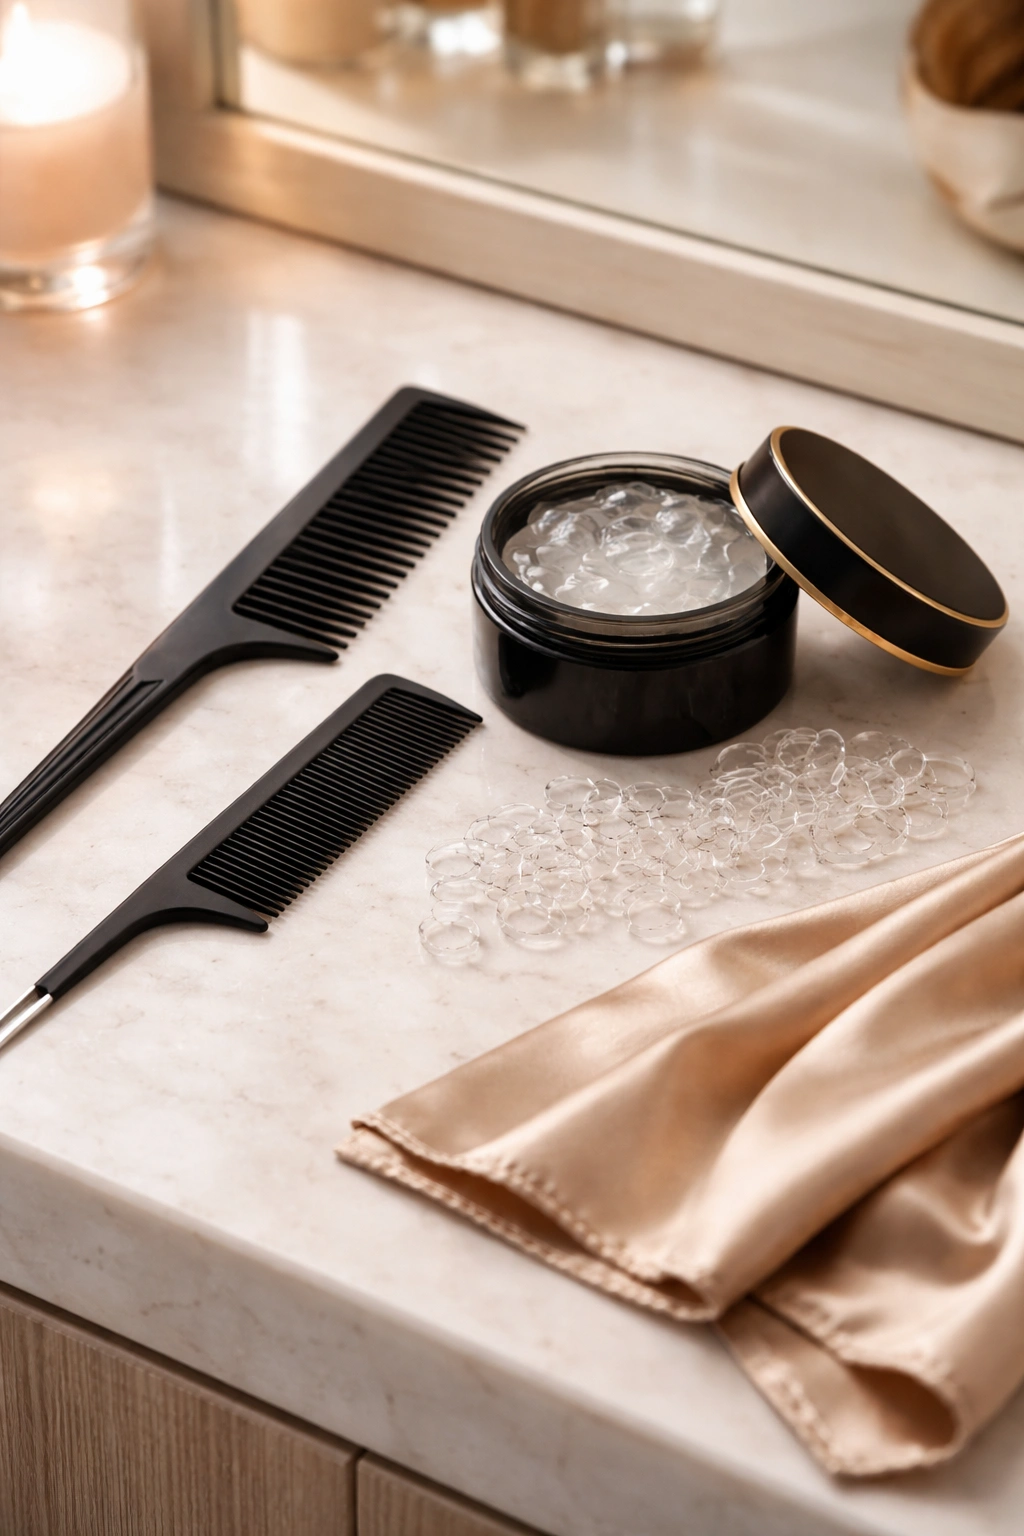
A rat-tail comb for parting. A wide-tooth comb for detangling. Strong edge gel — the thick kind, not the watery kind. Clear elastics or small beads for the ends. A satin scarf or bonnet for nightly wear.
That’s the essential kit. Anything beyond is optional.
How Tight Is Too Tight
Tight cornrows last longer but cause more damage. Loose cornrows feel comfortable but lose definition within days. Find the middle.
A well-tensioned cornrow should be tight enough that you can’t easily slide a finger underneath the braid at the root, but loose enough that you don’t feel constant pressure for the first 24 hours after installation. If your scalp is throbbing or you can’t sleep on it, the braids are too tight. Ask the braider to loosen specific areas.
1. Six Medium Braids Straight Back
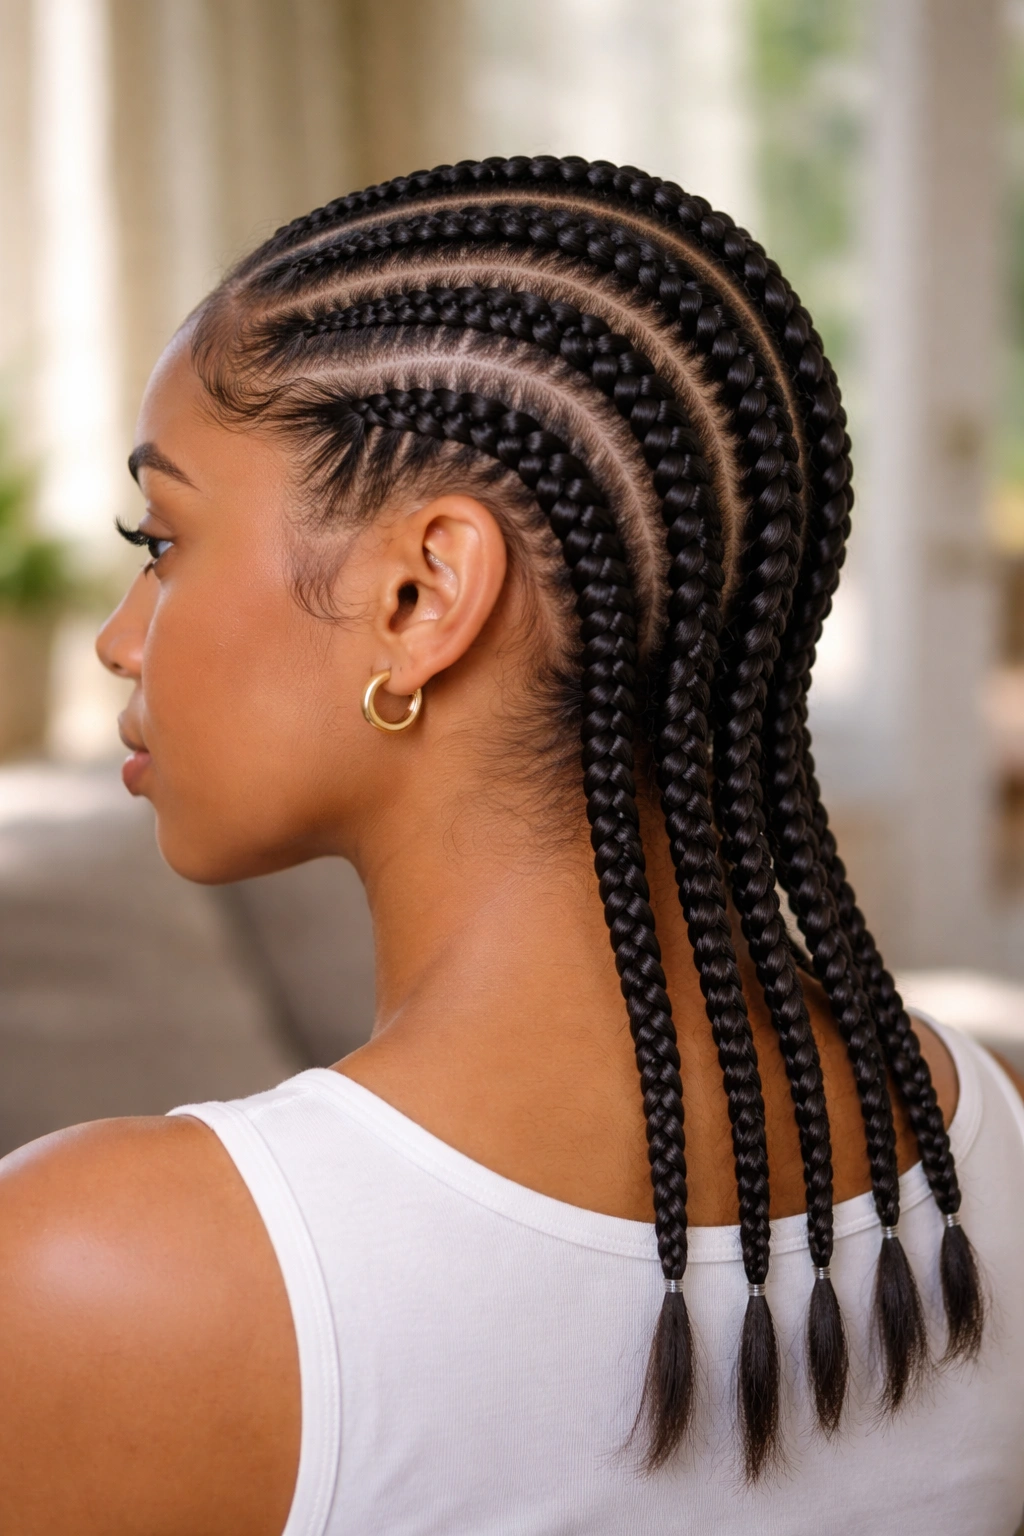
The benchmark. Six even-sized cornrows, parted horizontally across the head, running from the hairline to the nape. Each braid finishes with a small clear elastic.
Why It Works
Six braids hits the right balance between bold and refined. The parts are visible without dominating, the braids are substantial without being chunky, and the overall look reads as polished casual.
- Part the hair into 6 even sections from the front to the back
- Keep braid width consistent throughout (no tapering)
- Apply edge gel to the hairline only
- Finish with clear elastics at the nape
Tip: For the cleanest look, ask your braider to start each braid right at the front hairline and to keep the first inch slightly tighter than the rest. This keeps the front from frizzing within days.
2. Eight Smaller Braids Straight Back
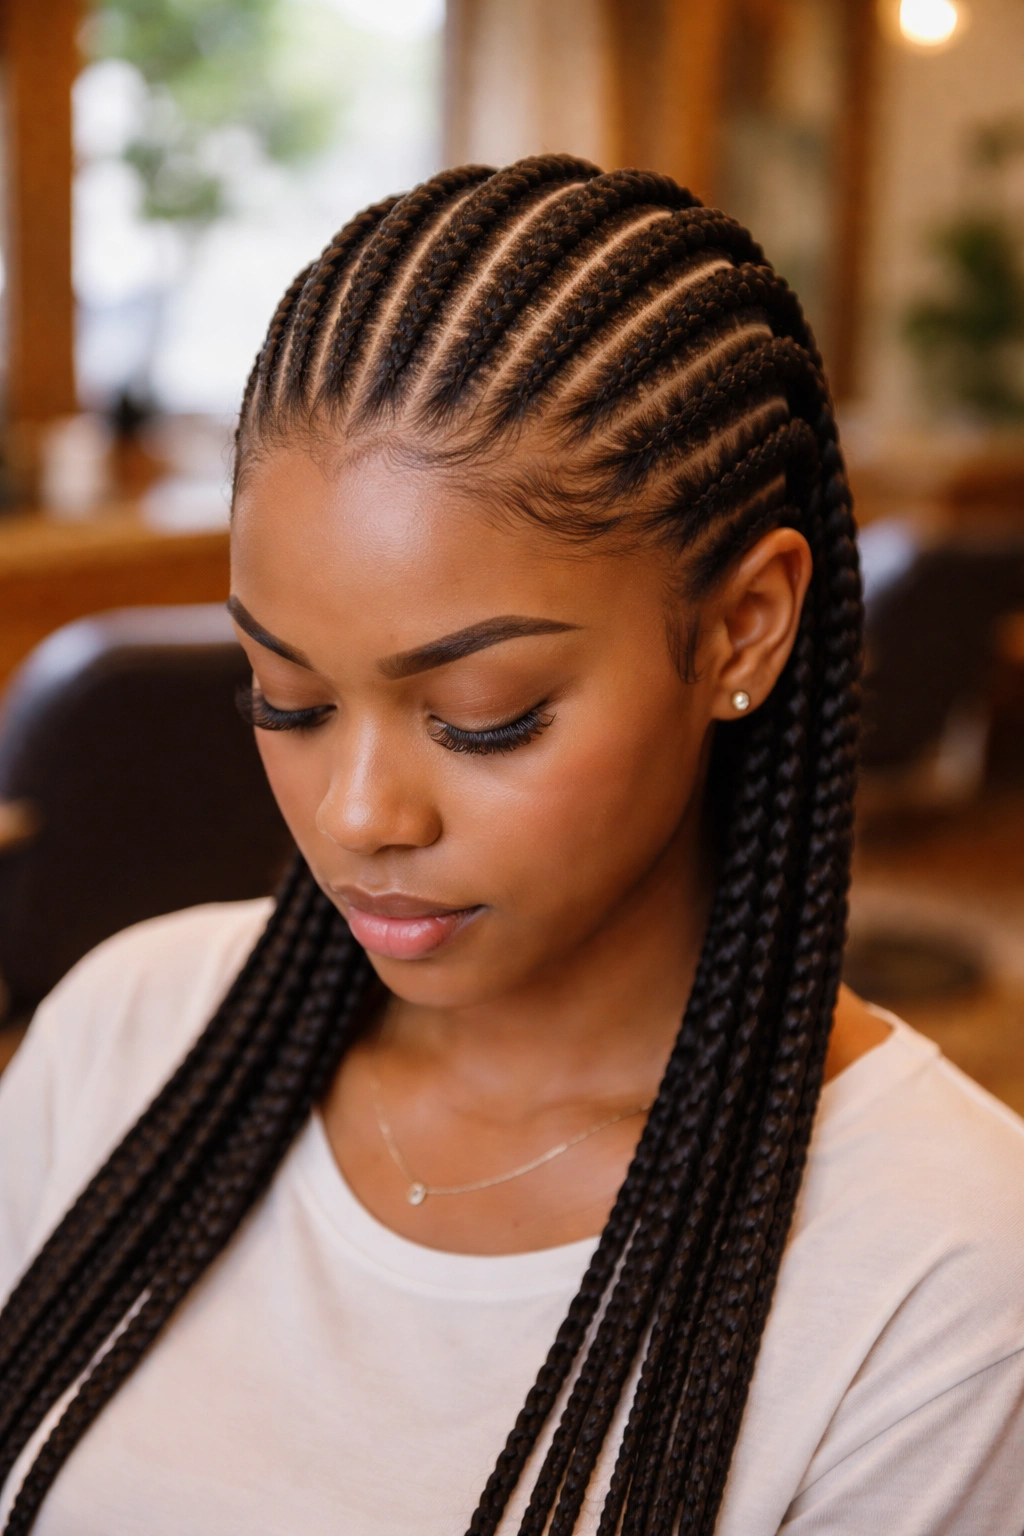
Step up the count. Eight braids instead of six. Each braid is narrower — about three-quarter inch at the root rather than full inch. The parts are tighter together.
The visual change is noticeable. Eight braids reads more refined and slightly more formal than six. Better for office settings, professional events, or anyone who finds six braids too statement-making.
Install time goes up by about 30 minutes. Wear duration extends by roughly a week. The trade-off is usually worth it for anyone planning a longer style cycle.
3. Ten Braids With Beaded Ends
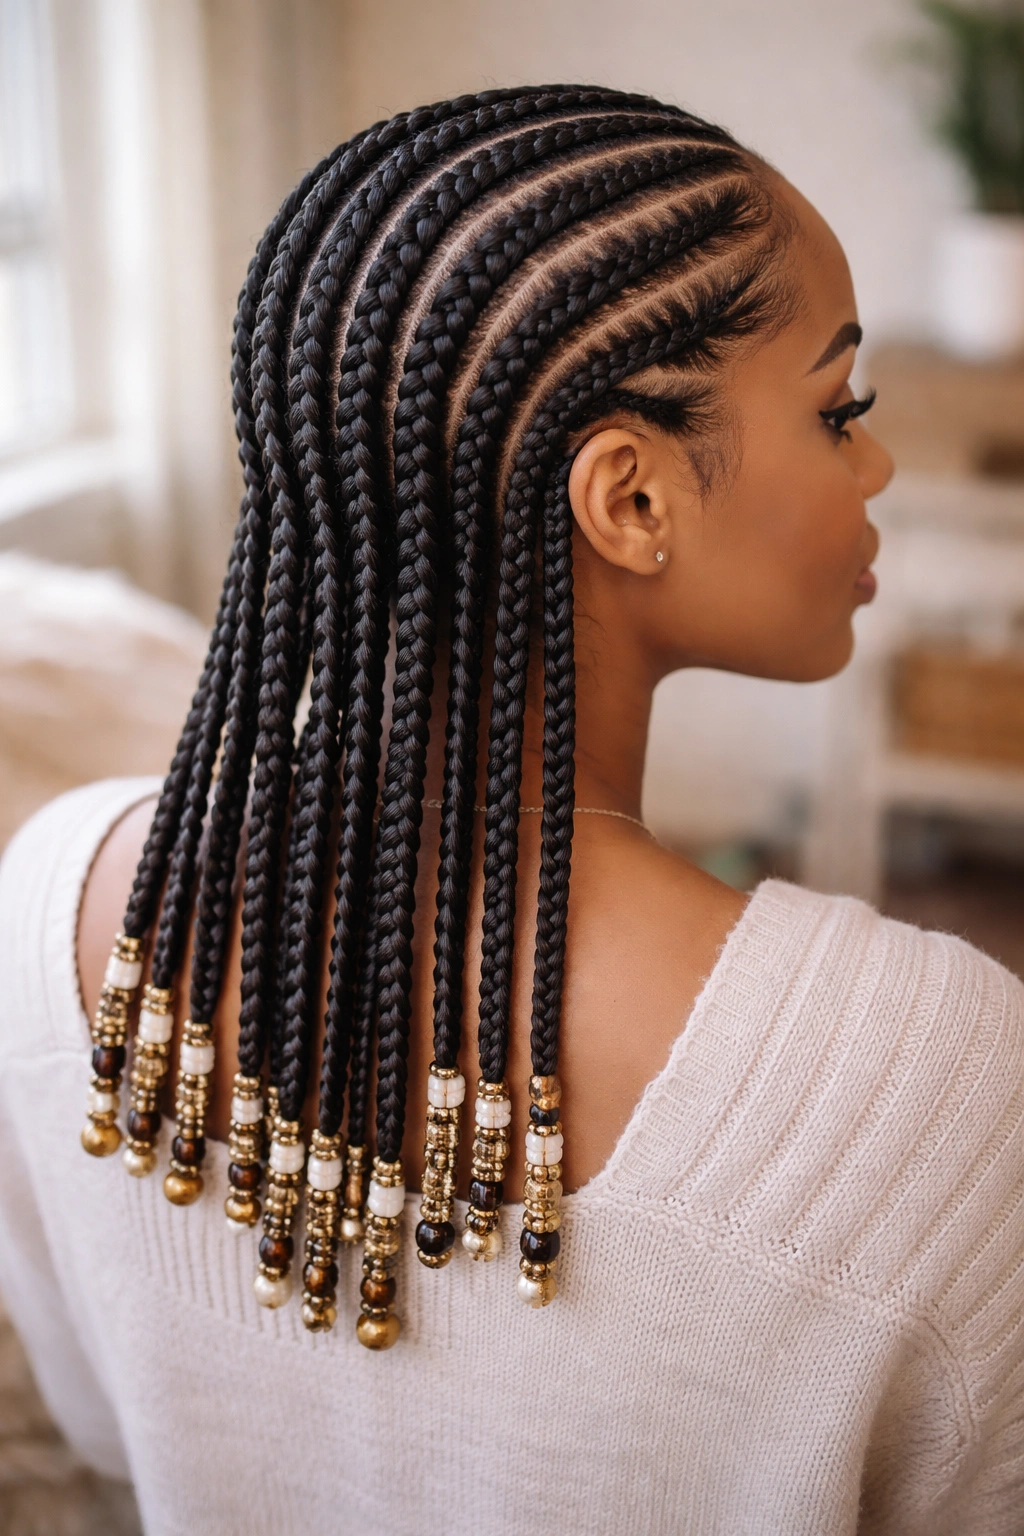
Ten cornrows of medium-narrow width, finished with 4-5 wooden or glass beads on each braid end. The beads make a soft sound when you move and add a layer of decorative interest.
Pick beads that match either your hair color or a single accent tone in your wardrobe. Mixed colors look messy at this scale.
The beaded ends require more care during washing and sleeping. Bonnet at night to keep beads from clacking against pillows. Air dry only — heat can warp wooden beads.
4. Twelve Slim Braids With Sharp Parts
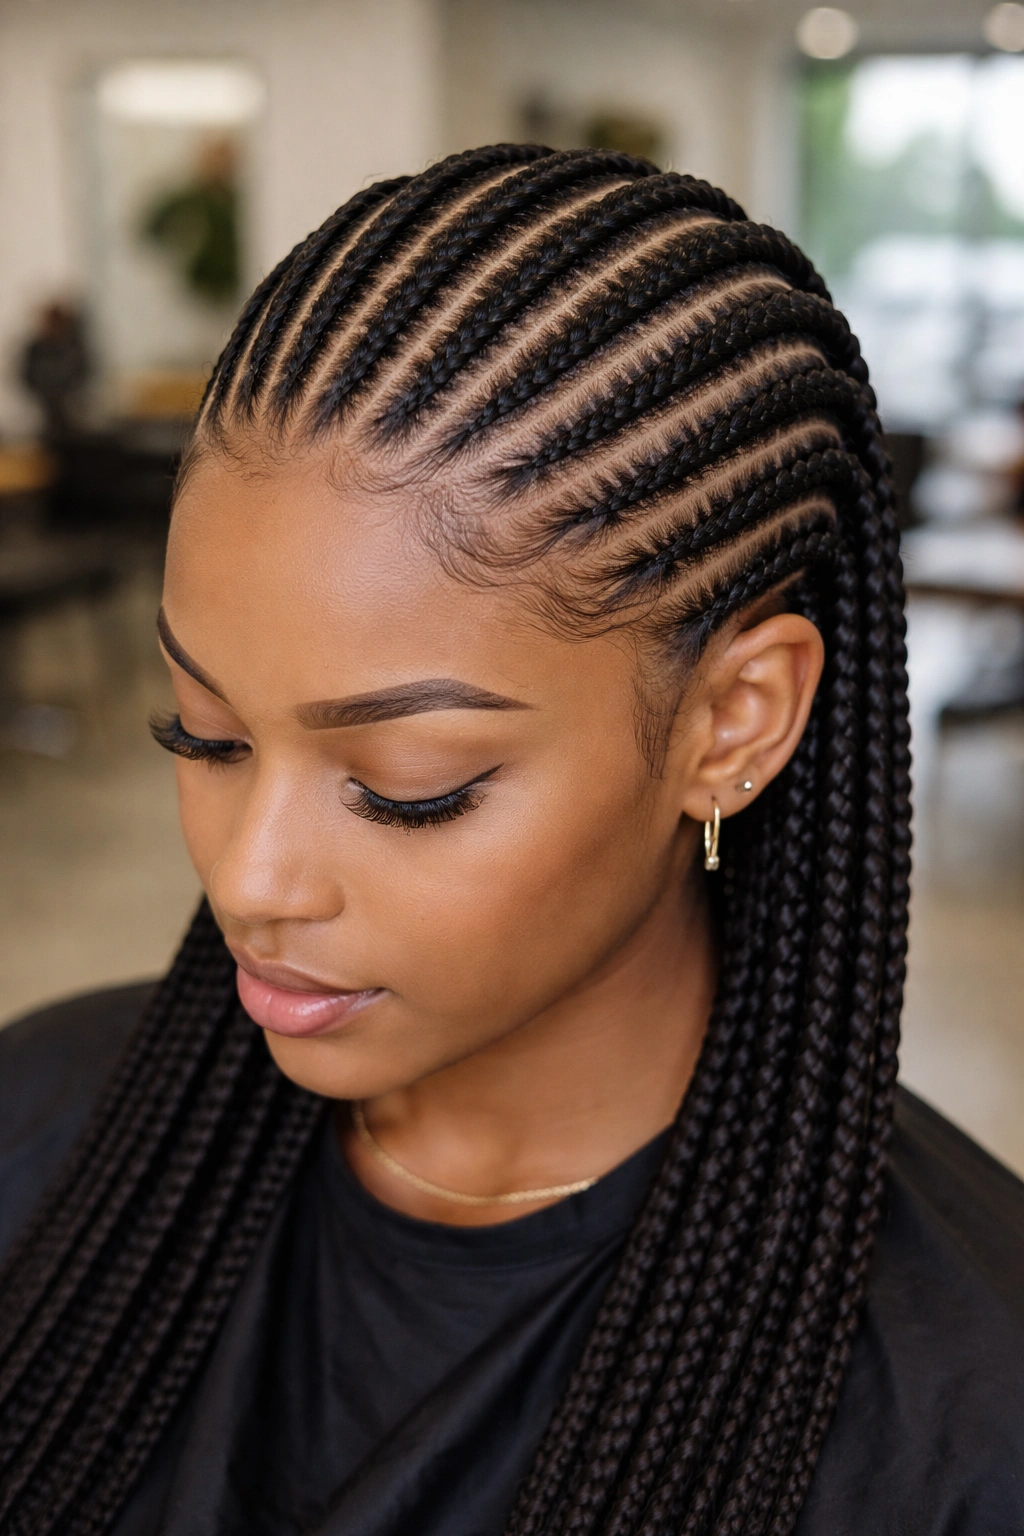
A higher count, sharper aesthetic. Twelve narrow cornrows, parted with knife-precise lines that show clean scalp between each braid. The look is architectural.
Sharp parts require a skilled braider with a steady hand and the right tools. A standard rat-tail comb works for most parting, but ask your braider to use a smaller, finer comb for the actual line definition.
The sharp parts also need maintenance. Apply a small amount of edge gel to the part lines every few days using a clean toothbrush. Without upkeep, the parts blur within a week.
5. Four Jumbo Straight Back Cornrows
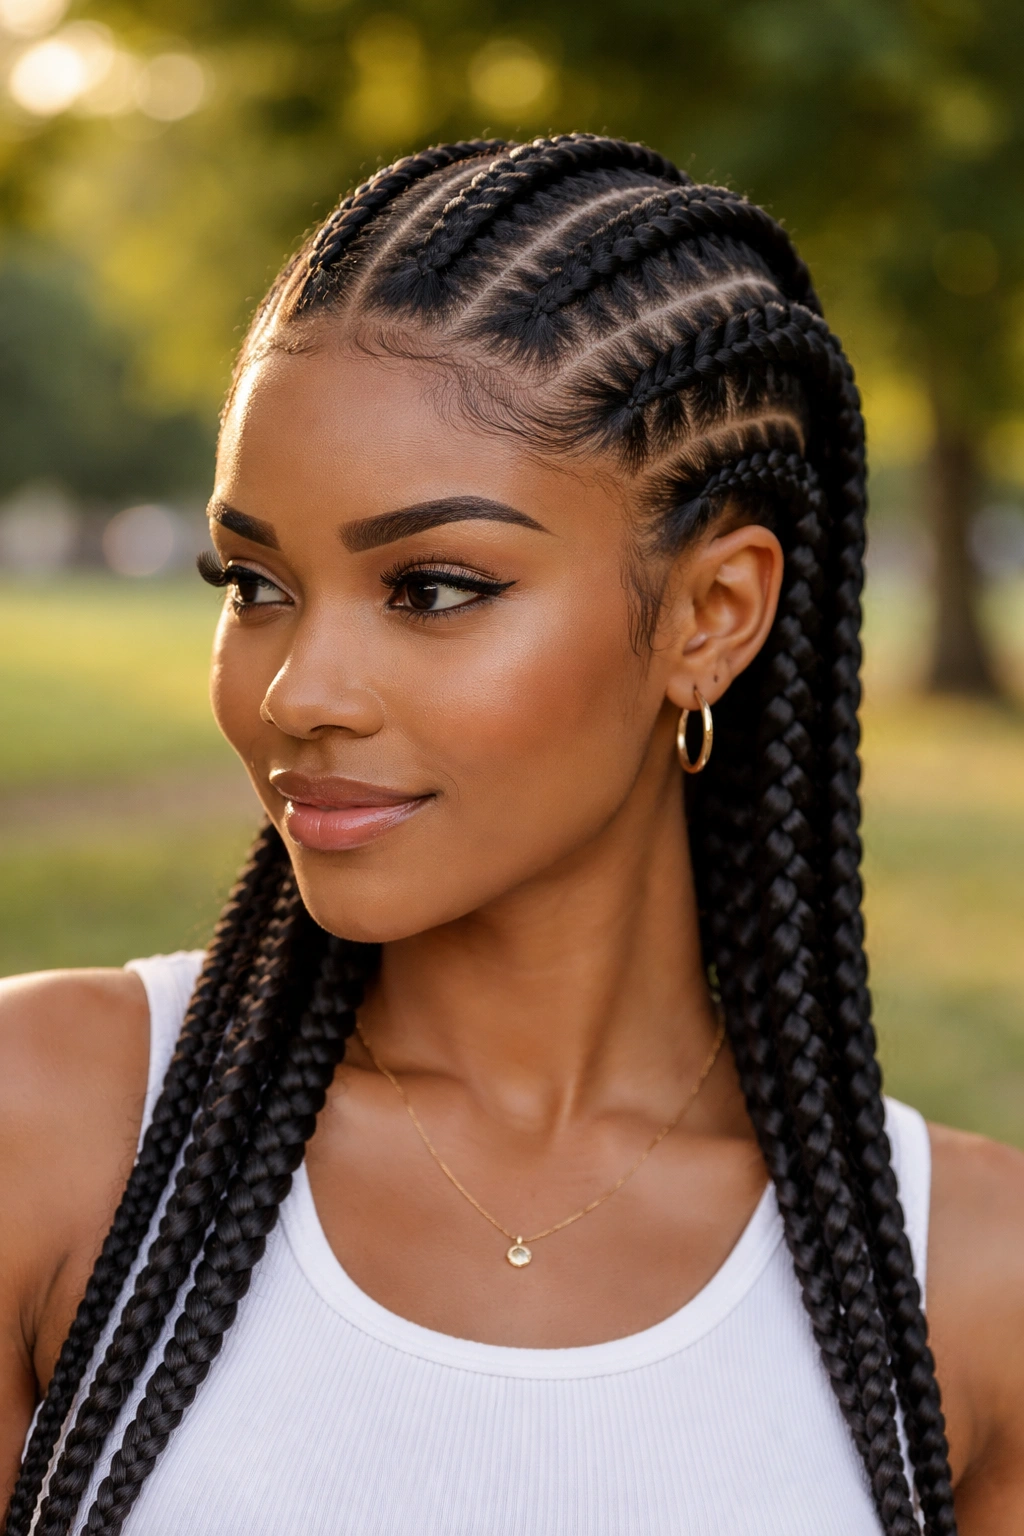
Scale up. Four big braids — each one inch wide at the root or larger — running straight back. The look is bold, almost graphic.
Jumbo cornrows install fast (90 minutes total) and read confident. They suit anyone who wants the protective benefit of cornrows without the time commitment of higher counts.
The downside: shorter wear duration. Expect 7-10 days of clean look, then frizz becomes obvious. For longer wear, scale down to medium braids.
6. Seven Braids With an Off-Center Layout
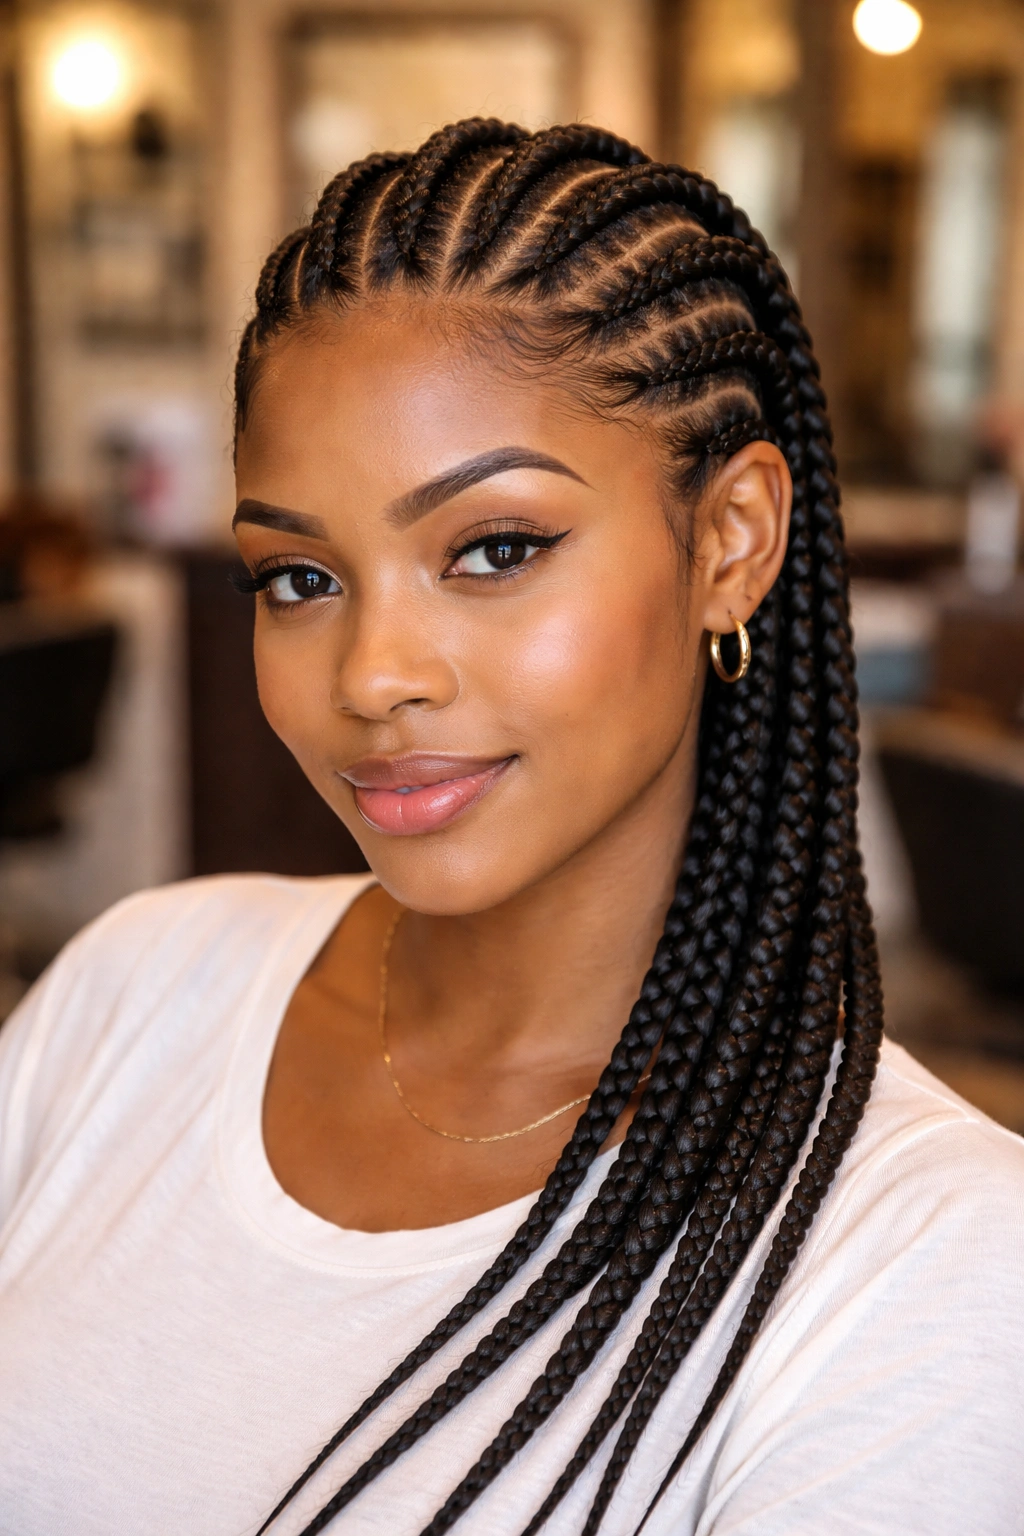
Instead of perfectly symmetric, the braids are placed slightly off-center. Three braids on one side, four on the other, with the dividing point about 2 inches off true middle.
The asymmetry adds visual interest without committing to a full side part. Subtle enough that it reads as styled rather than accidental.
This works for round faces especially well. The slight asymmetry pulls the eye sideways, breaking up the visual symmetry of a fully round face shape.
7. Straight Back Cornrows With Color Highlights
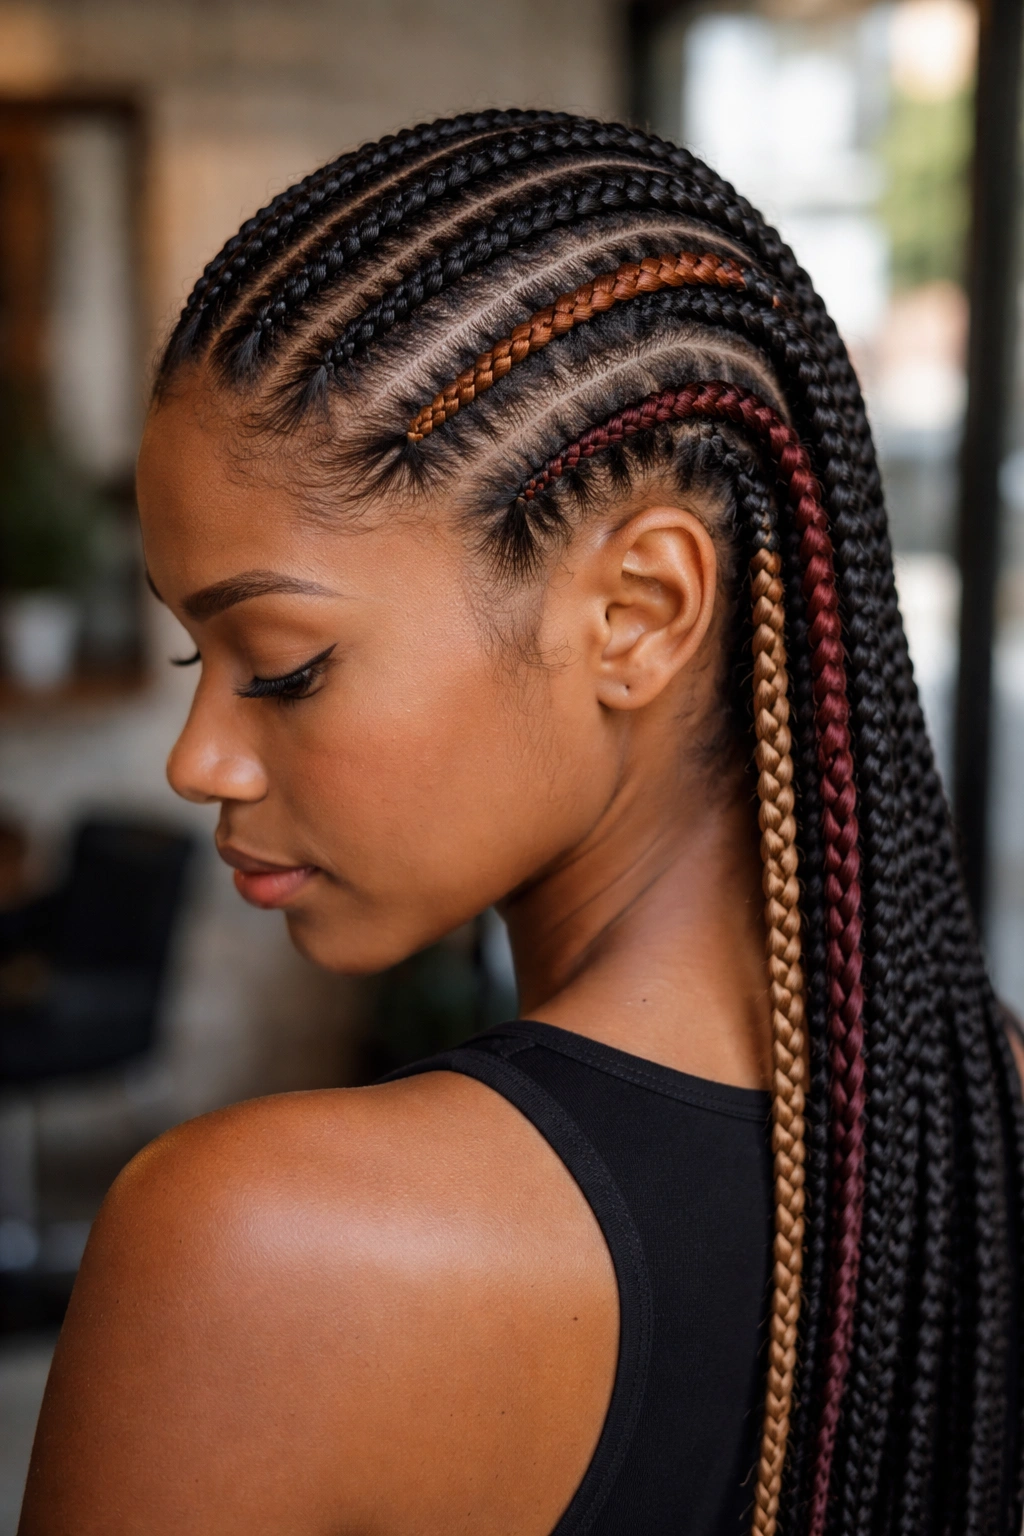
Standard six or eight braid layout, but two or three braids incorporate extension hair in a contrasting tone (caramel, honey, burgundy). The color appears as stripes in the otherwise natural-toned style.
Styling Tips
Place the colored braids asymmetrically — both on one side, or in non-mirroring positions. Symmetric placement (one on each side) reads as too perfect.
Use kanekalon that’s pre-stretched and matched in texture to your natural hair. Glossy synthetic against matte natural hair looks mismatched even when the colors blend well.
8. Tapered Straight Back Cornrows
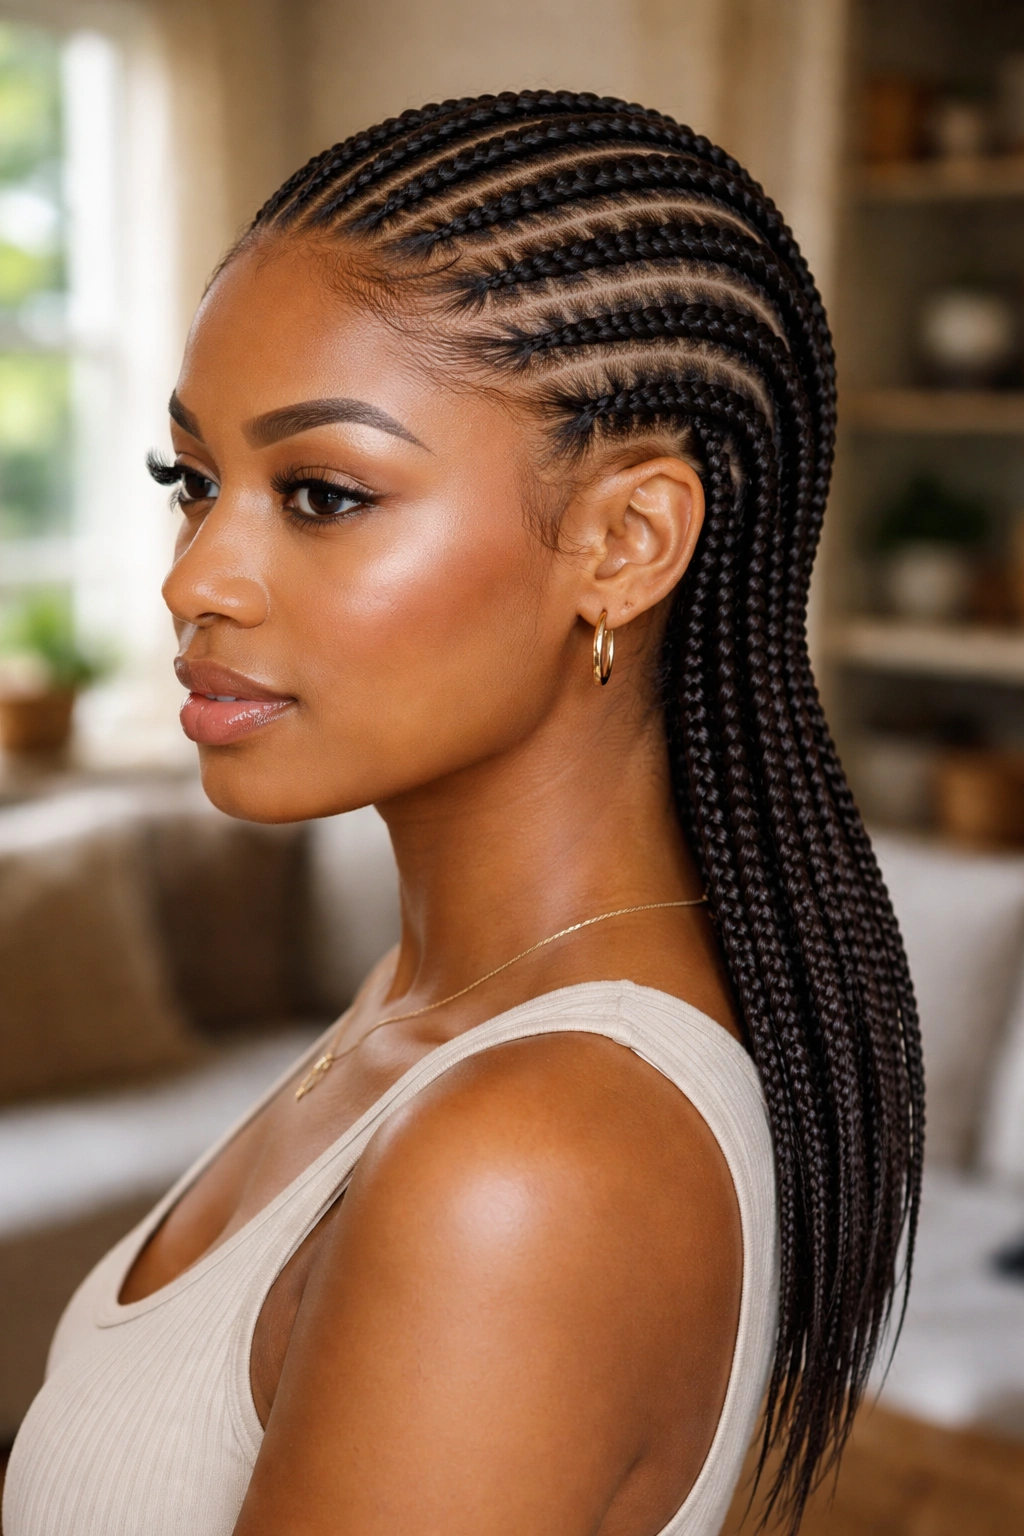
Each braid starts wide at the front and narrows as it moves toward the nape. The taper creates a subtle “swept-back” feeling.
Tapering is a skill. Most braiders maintain consistent width throughout — that’s the standard. Asking for a deliberate taper requires a braider who can adjust tension and section width gradually as they work down the head.
The tapered look reads as more dynamic than uniform width. Useful for anyone who wants their cornrows to feel more like a designed style than a basic protective install.
9. Six Cornrows With Rubber Band Bases
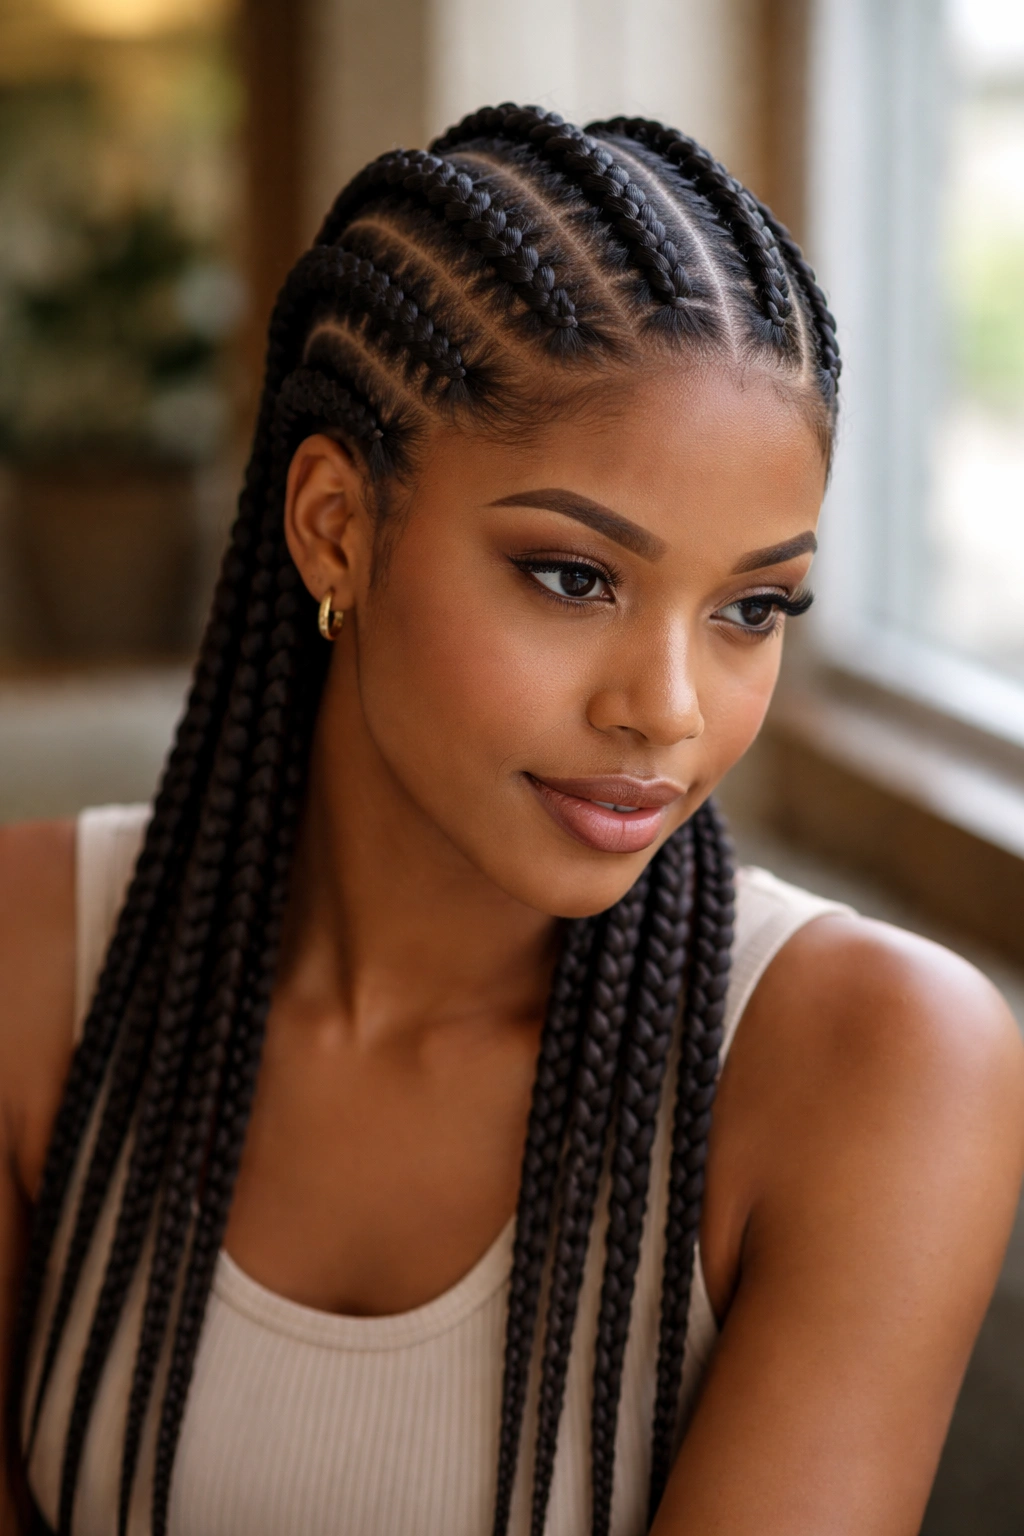
Each braid starts with a rubber band securing a small section of hair right at the front. The rest of the cornrow continues from there.
The rubber band creates a “bubble” at the very front of the braid — a small visual punctuation. This is a popular style on younger people but works at any age when done with a clean finish.
Use clear rubber bands or matched-color ones. Bright colored bands look juvenile.
10. Straight Back Into a Low Ponytail
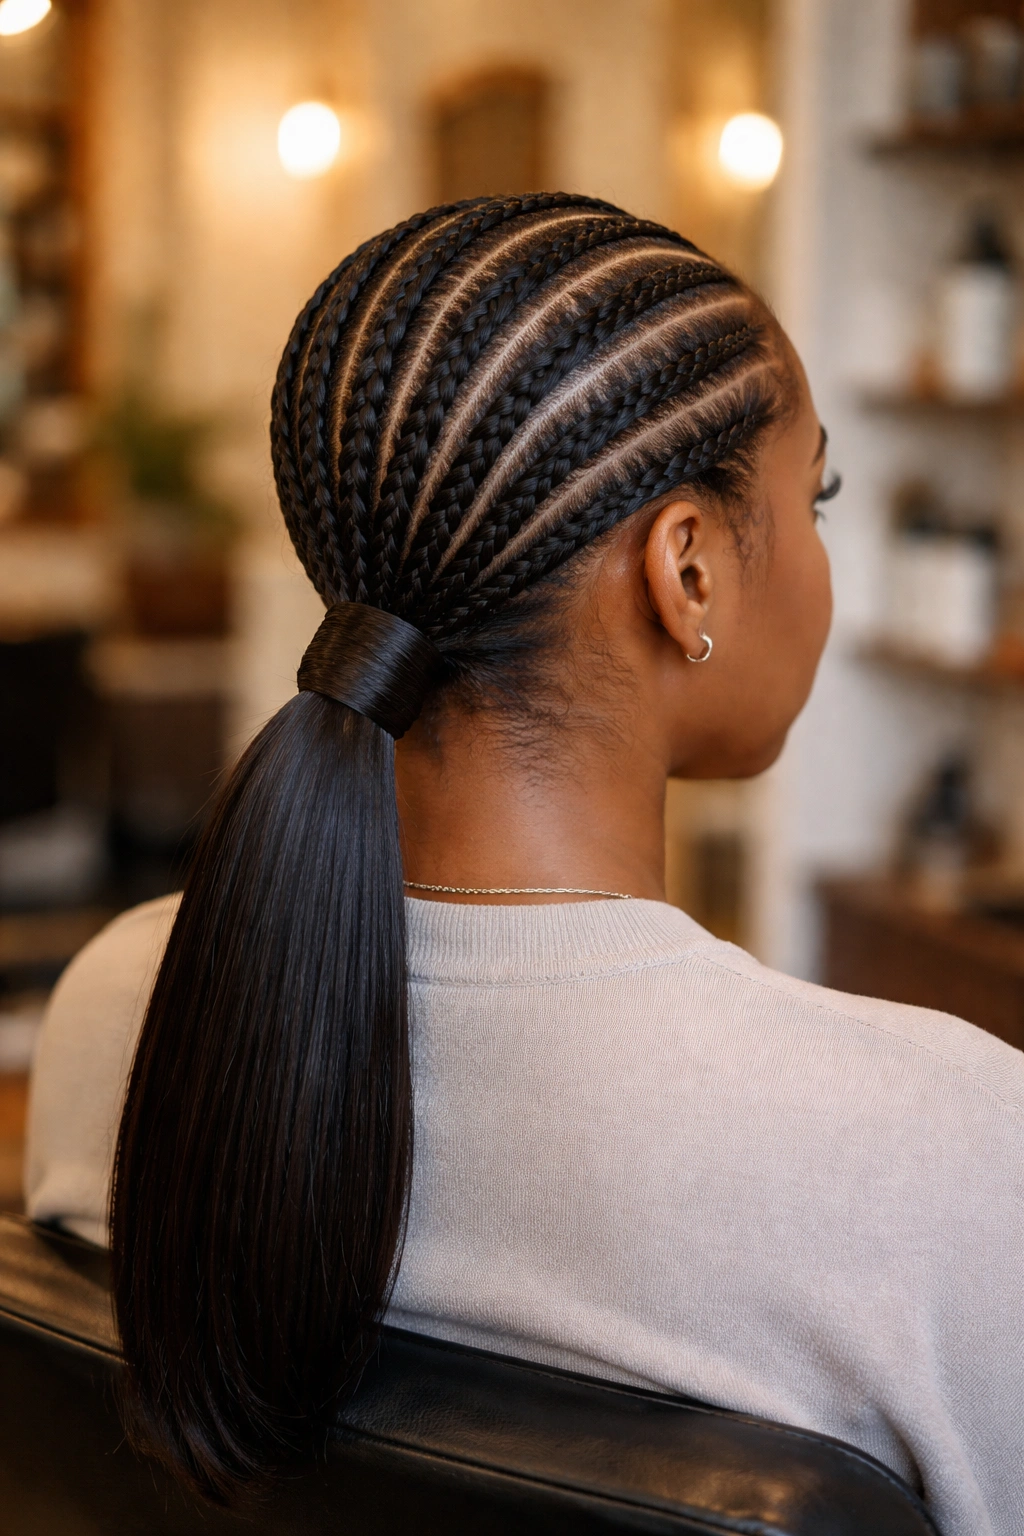
Six or eight cornrows running straight back, all converging at a single point at the nape, then gathered into a long low ponytail. The ponytail can be your natural hair or extension-added length.
The ponytail finish gives a single dramatic line of hair flowing from the cornrowed scalp. Very different visual from the standard “ends just hanging” cornrow finish.
If using extensions, ask for a wrap-style attachment — the extension hair wrapped around the base of your gathered braids and secured with a hair tie covered by a small section of hair. This hides the attachment point.
11. Straight Back With Edge-Lifted Front
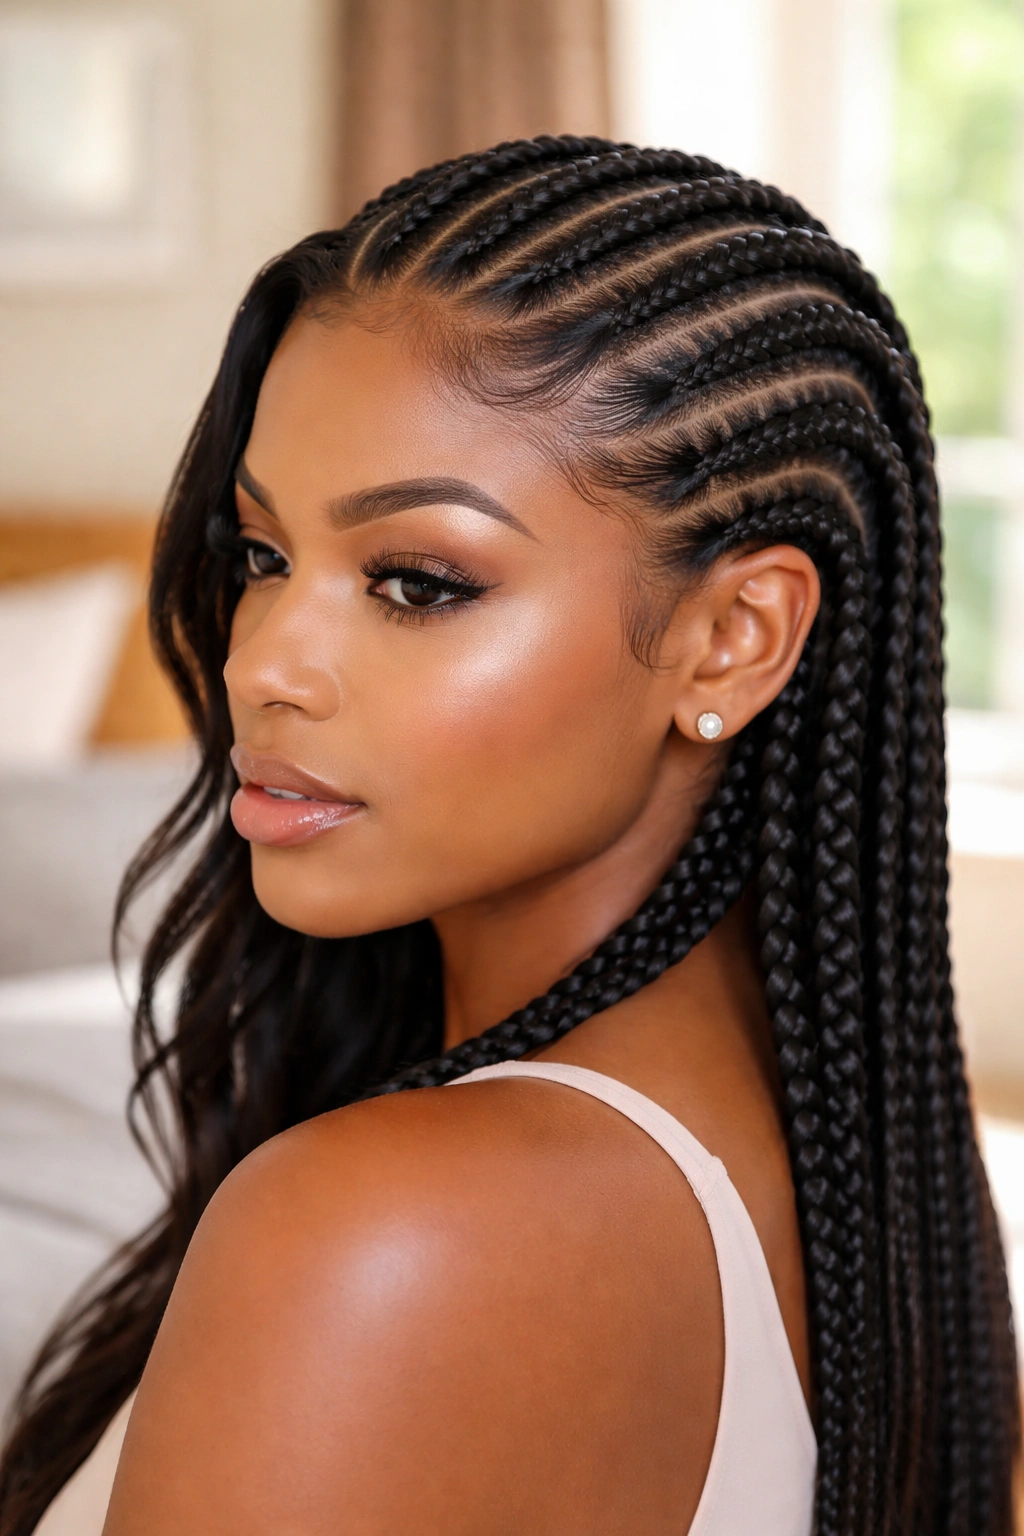
Standard cornrow layout with one twist: the front 2 inches of each braid is purposely lifted slightly off the scalp, creating a soft “wave” at the hairline before the cornrow flattens.
The lift adds dimension at the front of the head. The forehead feels less framed by flat hair, which softens the overall look.
This technique requires a braider who understands how to start a cornrow with reduced tension and gradually increase it. Not every braider can do this consistently.
12. Eight Straight Back Braids With Matching Cuffs
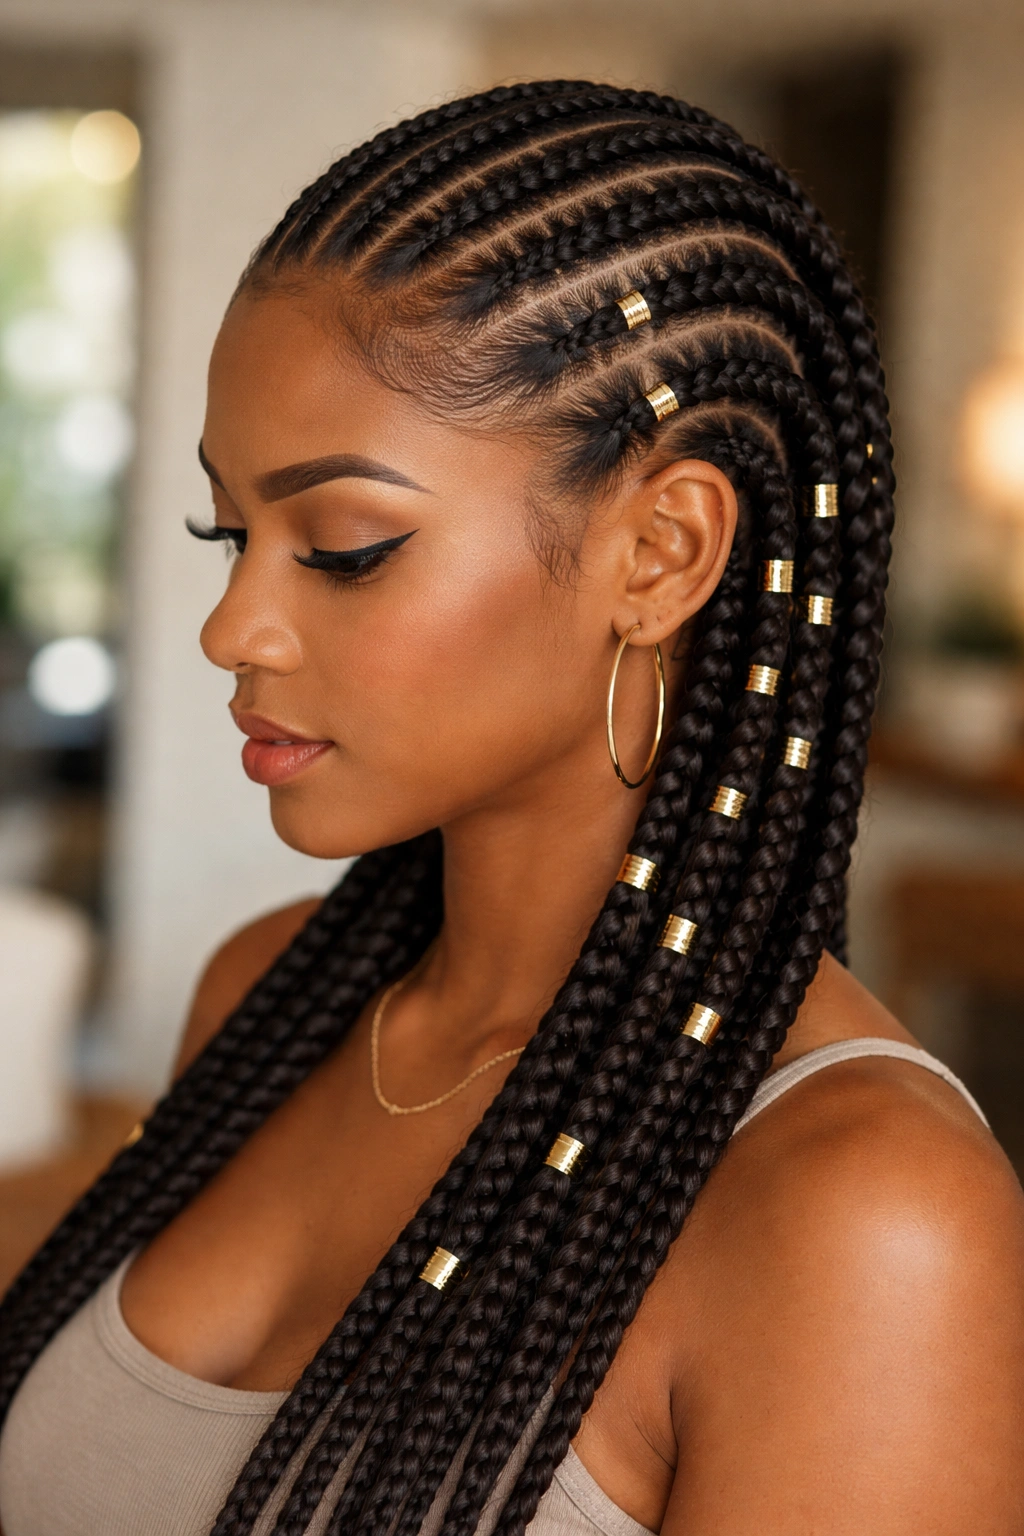
Eight medium cornrows finished with 2-3 metal cuffs along the body of each braid (not just at the ends). The cuffs catch light and add metallic accents.
Choose cuffs in a single metal tone — all gold, all silver, or all rose gold. Mixed metals look unintentional at this density.
Cuffs can scratch. Check each one with your finger and file rough edges before installation. A cuff with a sharp edge can leave red marks on your shoulders within hours.
13. Five Cornrows With Loose Outermost Braids
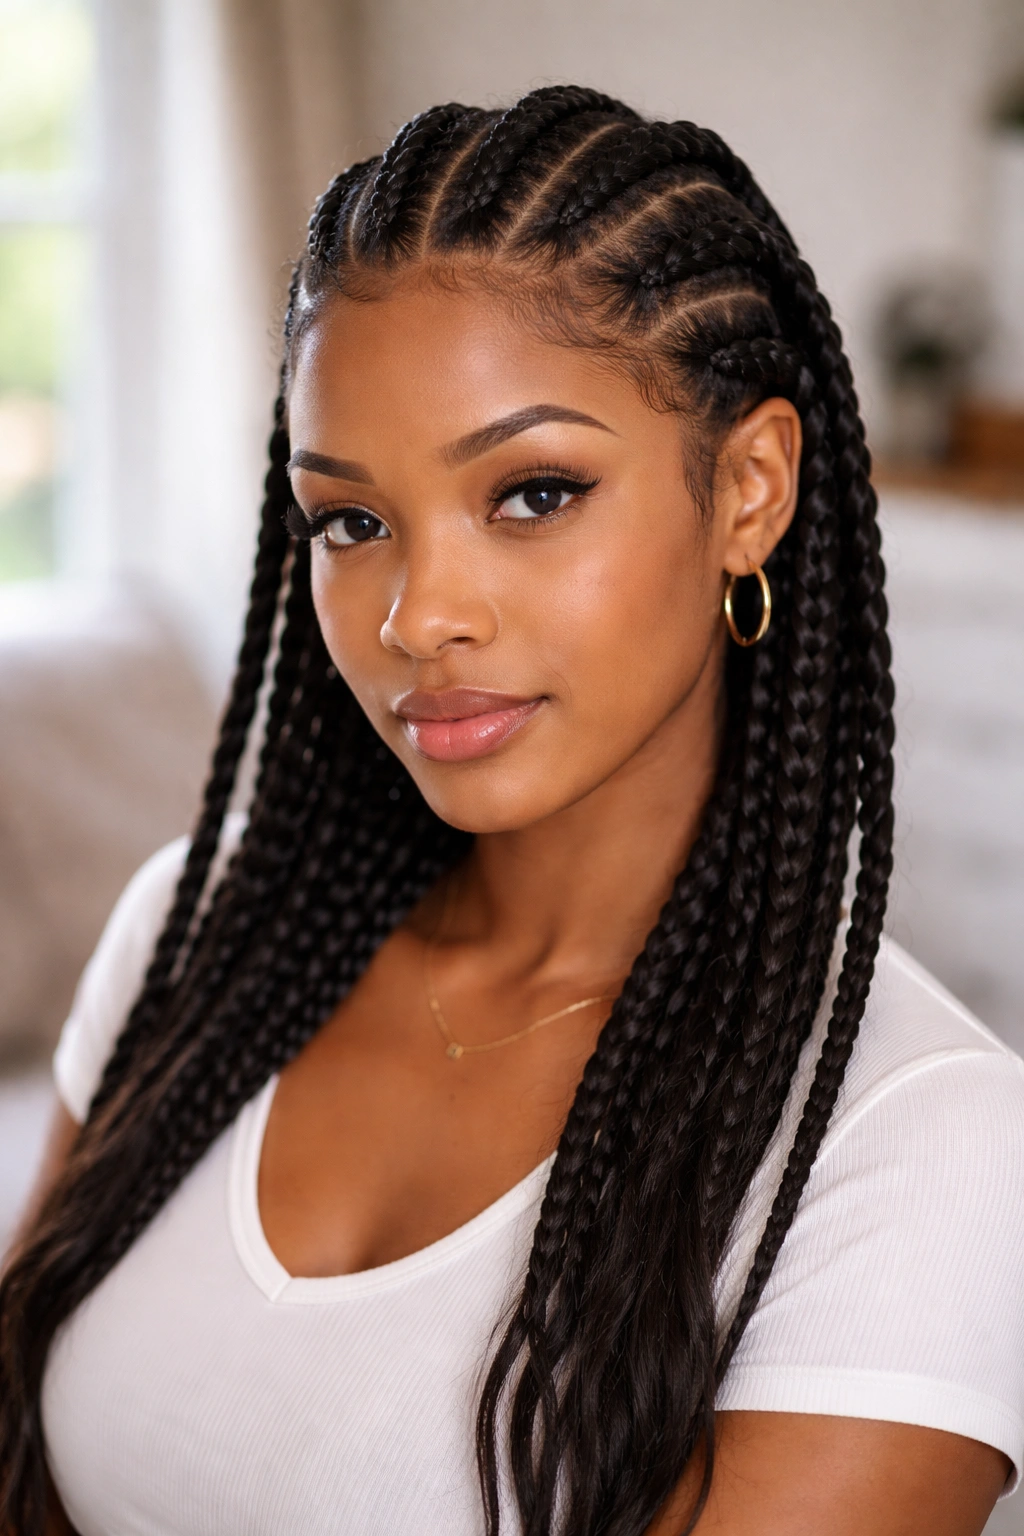
Three medium cornrows in the center of the head, plus two looser, larger braids on the outermost sides that read more relaxed.
The size variation creates rhythm. The tight center braids feel structured; the looser outer braids feel softer. The two together balance.
Useful for anyone who finds full-head tight cornrows too severe. The looser outer braids frame the face more gently than uniform tight braids.
14. Straight Back With Decorative Front Cornrow
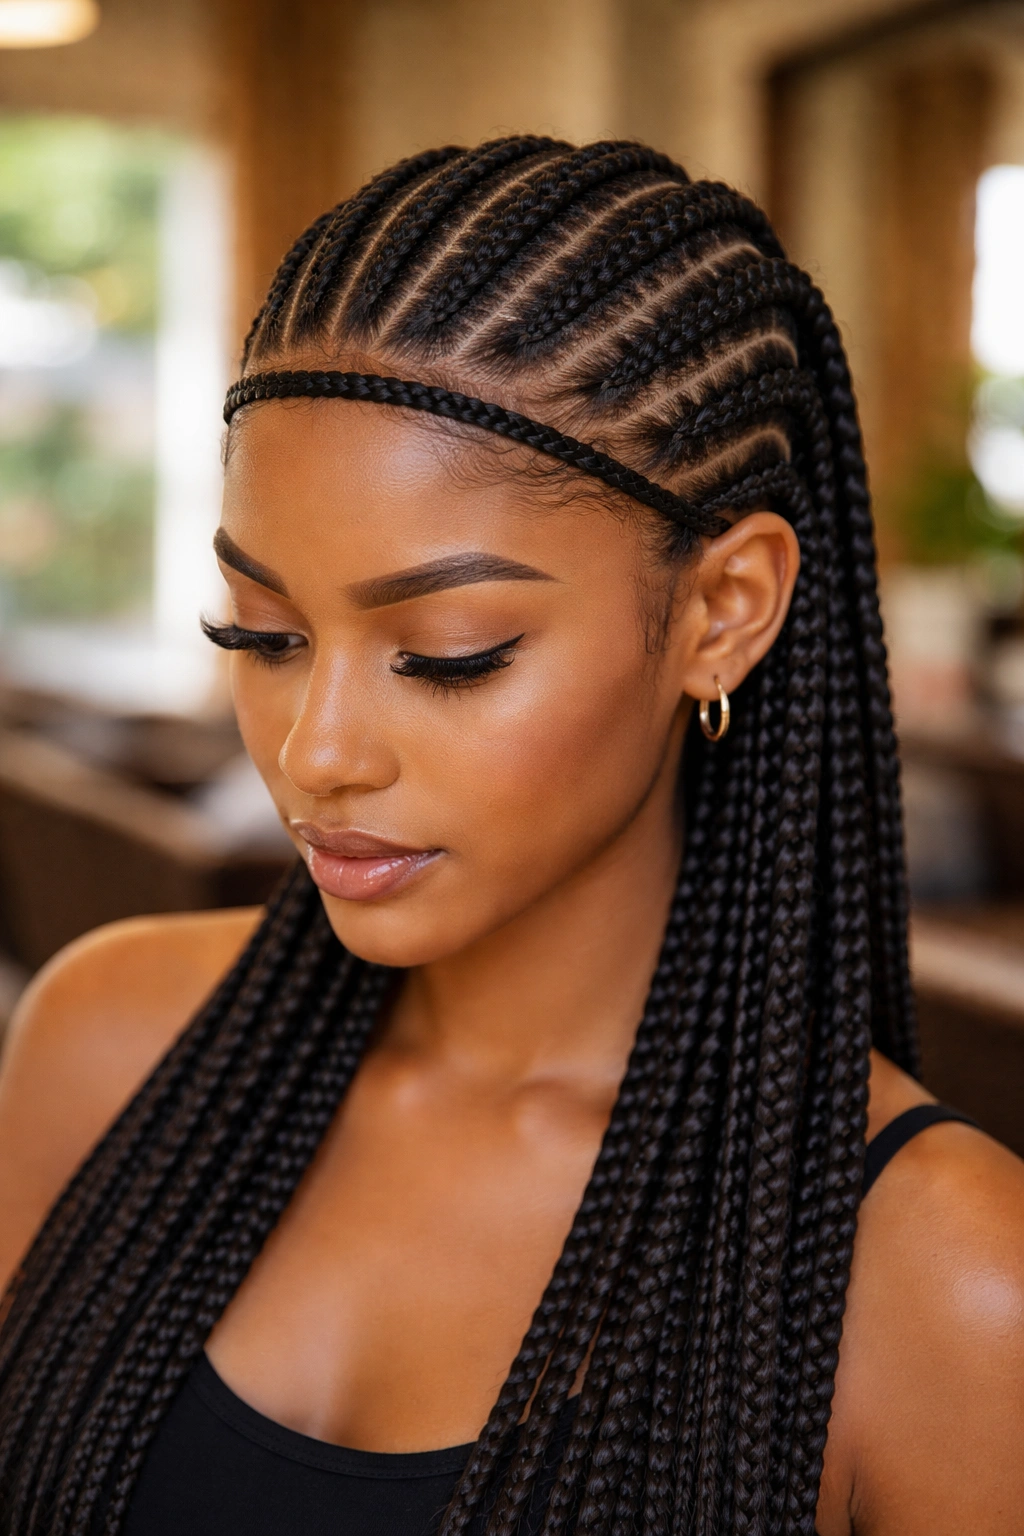
Seven straight back cornrows, plus an eighth thin decorative cornrow that runs across the very front of the hairline horizontally — almost like a thin band crossing the others perpendicular to their direction.
What Makes It Different
The horizontal front cornrow creates an unexpected geometric element. It frames the forehead like a thin headband made of braid.
The decorative front cornrow takes maybe 10 extra minutes. Worth it for the visual punch. Choose a braider who’s comfortable braiding small horizontal sections.
15. Straight Back Cornrows Ending in Curls
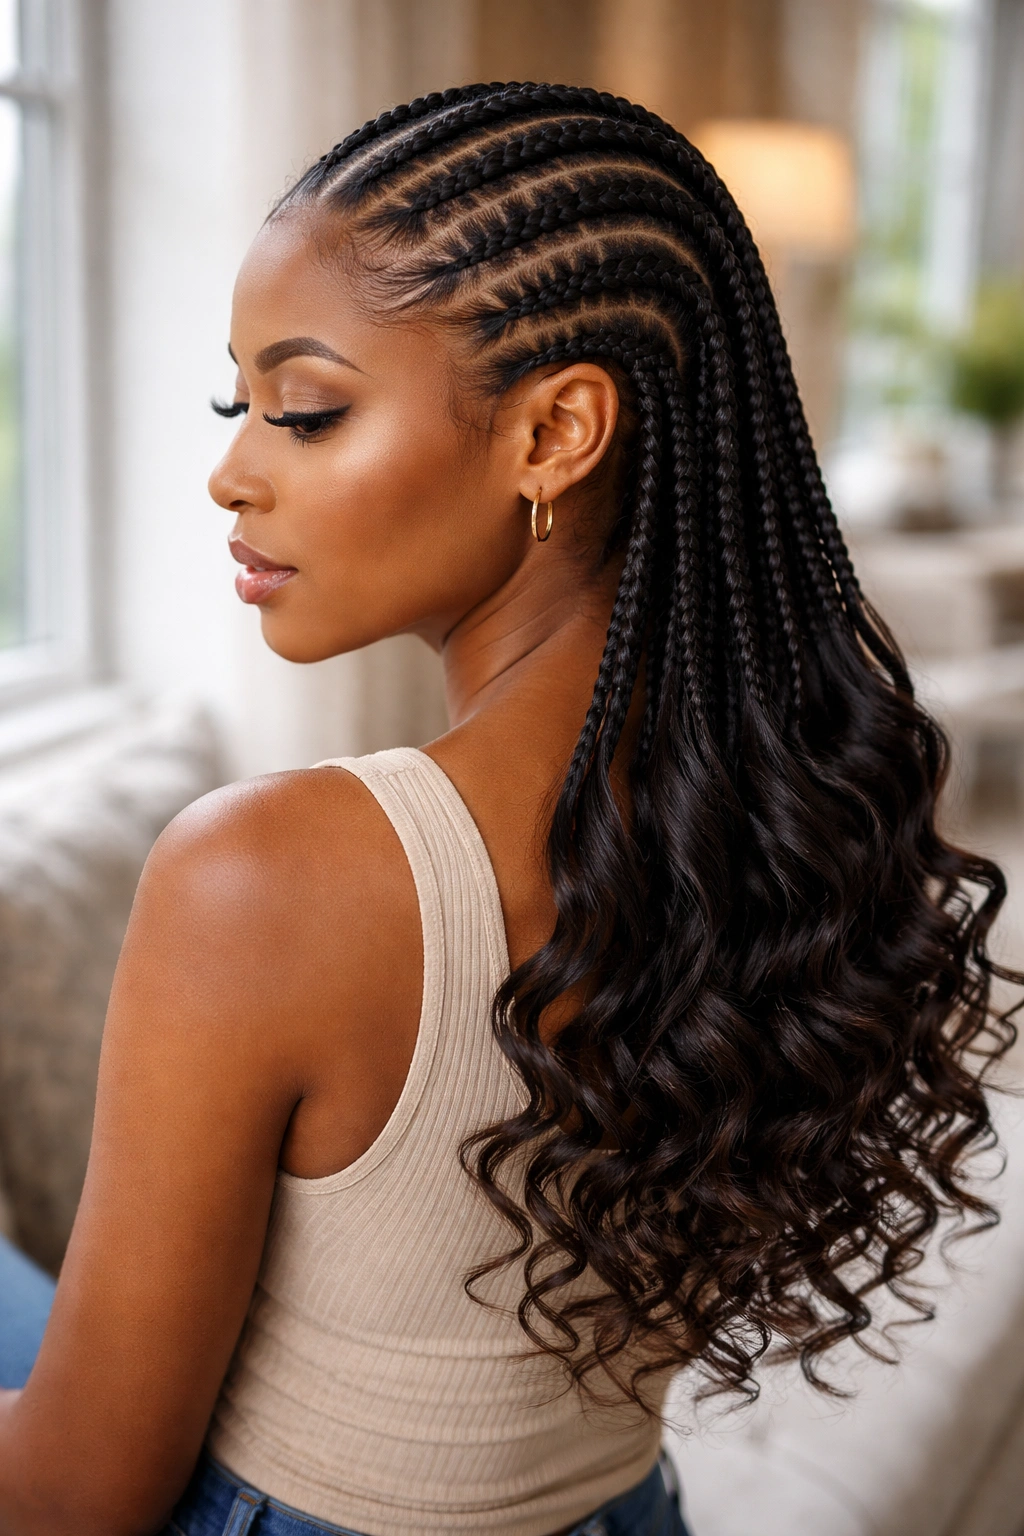
The cornrows end mid-braid, with the remaining hair (usually feed-in extensions) styled into loose curls or waves that hang free from the gathered braid ends.
This is a feed-in technique combined with curl finishing. The curls add softness and movement to an otherwise structured style.
Use heat-friendly synthetic hair if you plan to curl with hot tools. Or use pre-curled kanekalon for a no-heat version.
16. Six Straight Back Cornrows With Scalp Massage Built In
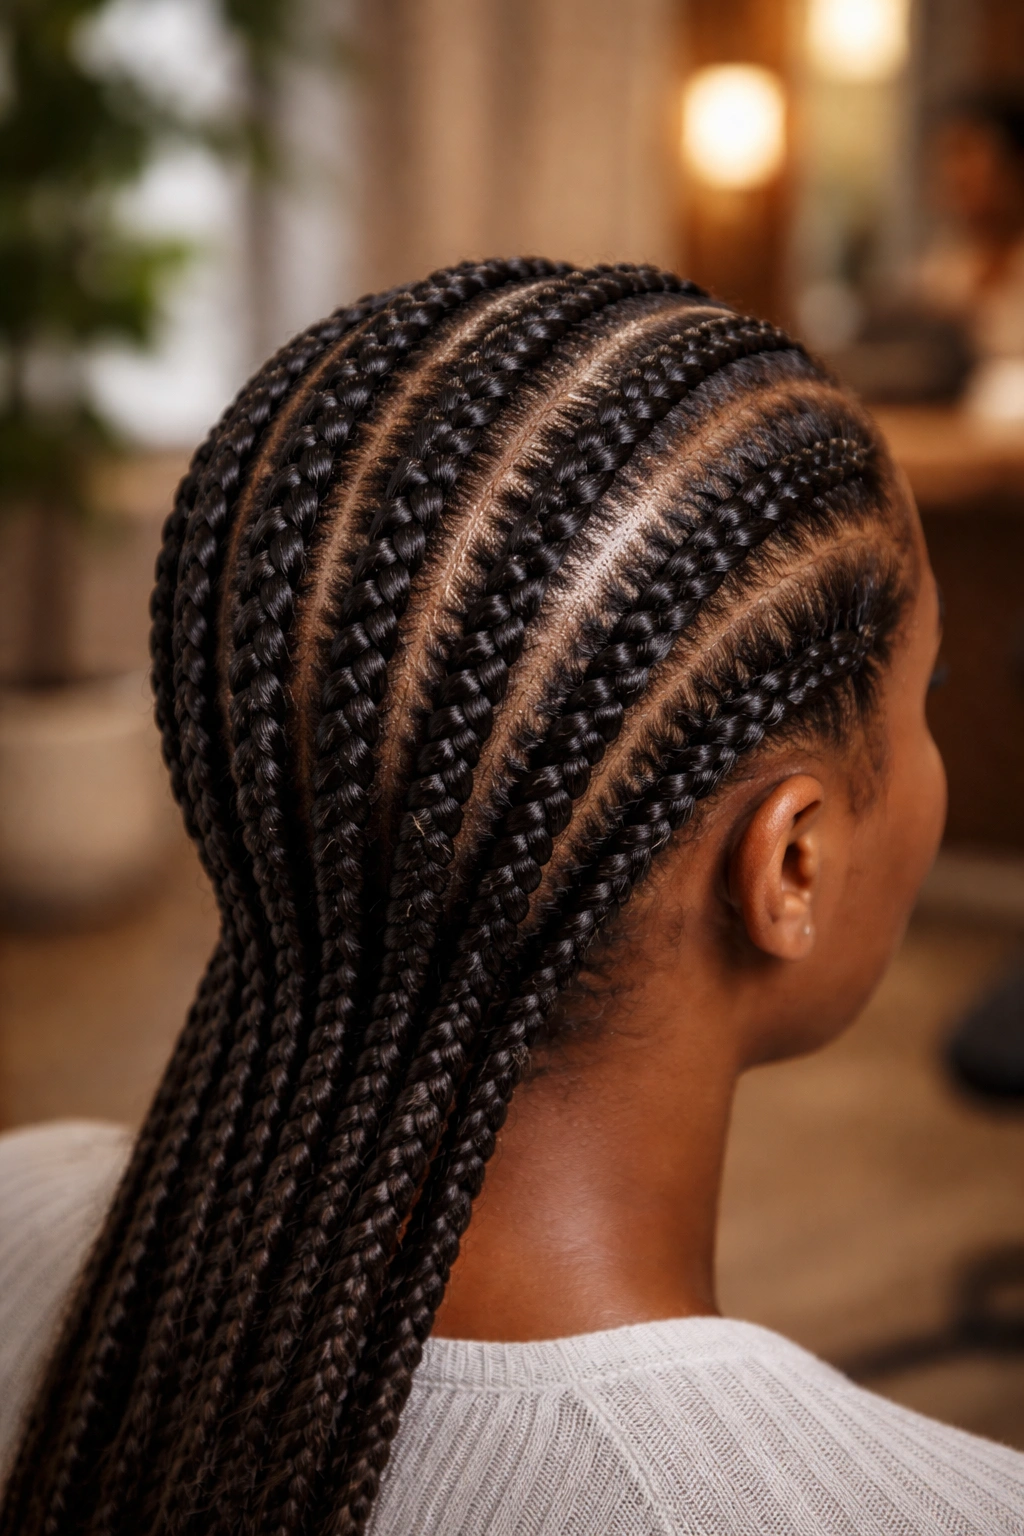
Same six-braid layout, but each braid is started with a slightly looser tension and the braider applies a scalp-friendly oil at each part line during the braiding process.
The looser tension and integrated scalp care result in a more comfortable wear experience. Less initial pulling. Less itching in the first few days.
This is a request you make explicitly — not every braider does it by default. Be clear about wanting reduced tension and oil application during installation.
17. Straight Back Cornrows With Headwrap Compatibility
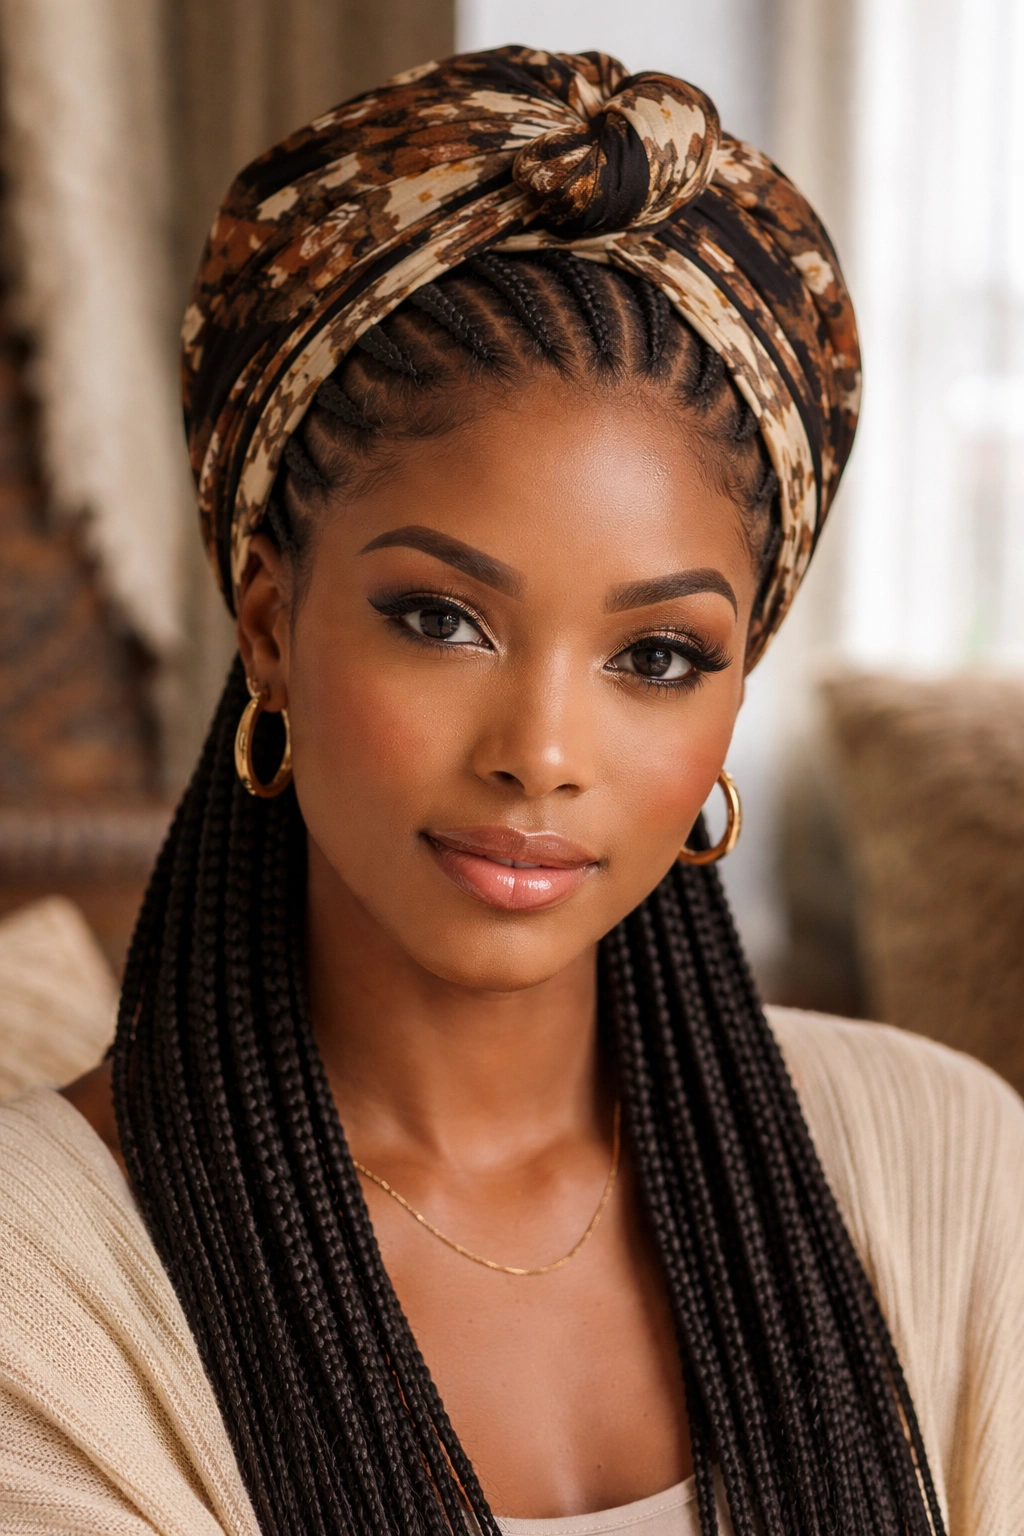
The cornrows are intentionally placed and sized to work cleanly under headwraps and silk scarves. Lower count (4-5 braids), no decorative ends, no beads or cuffs that catch on fabric.
This is a wear-strategy more than a distinct style. Anyone who wears headwraps regularly knows that complex braids underneath create lumps. A simple low-count straight back lays flat under any wrap.
The braid finishing should be inside the wrap as well. Tuck the ends rather than leaving them loose.
18. Straight Back With a Single Statement Color Braid
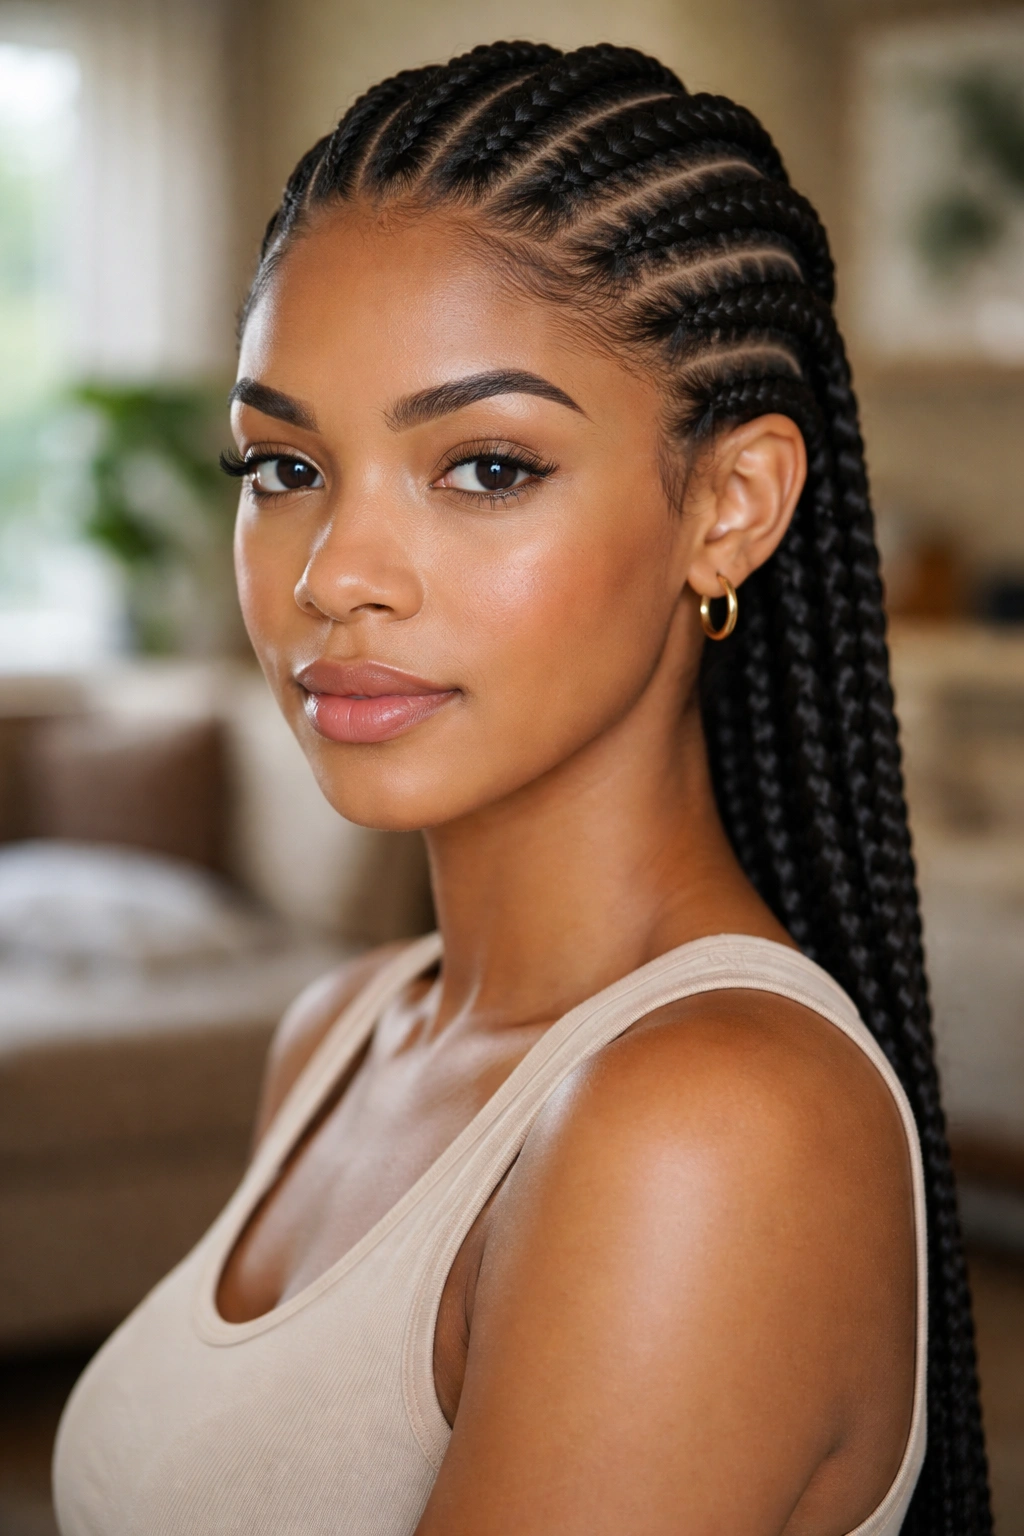
Standard natural-color cornrows, except one single braid (typically the second or third from one side) is done with a bold contrasting color extension — bright red, electric blue, or platinum blonde.
The single color braid acts as a focal point. It’s a small commitment with high visual impact.
The placement matters more than the color. Off-center looks deliberate. Dead center on either side looks accidental. Aim for one of the inner-but-not-central positions.
19. Straight Back Cornrows With Connected Tips
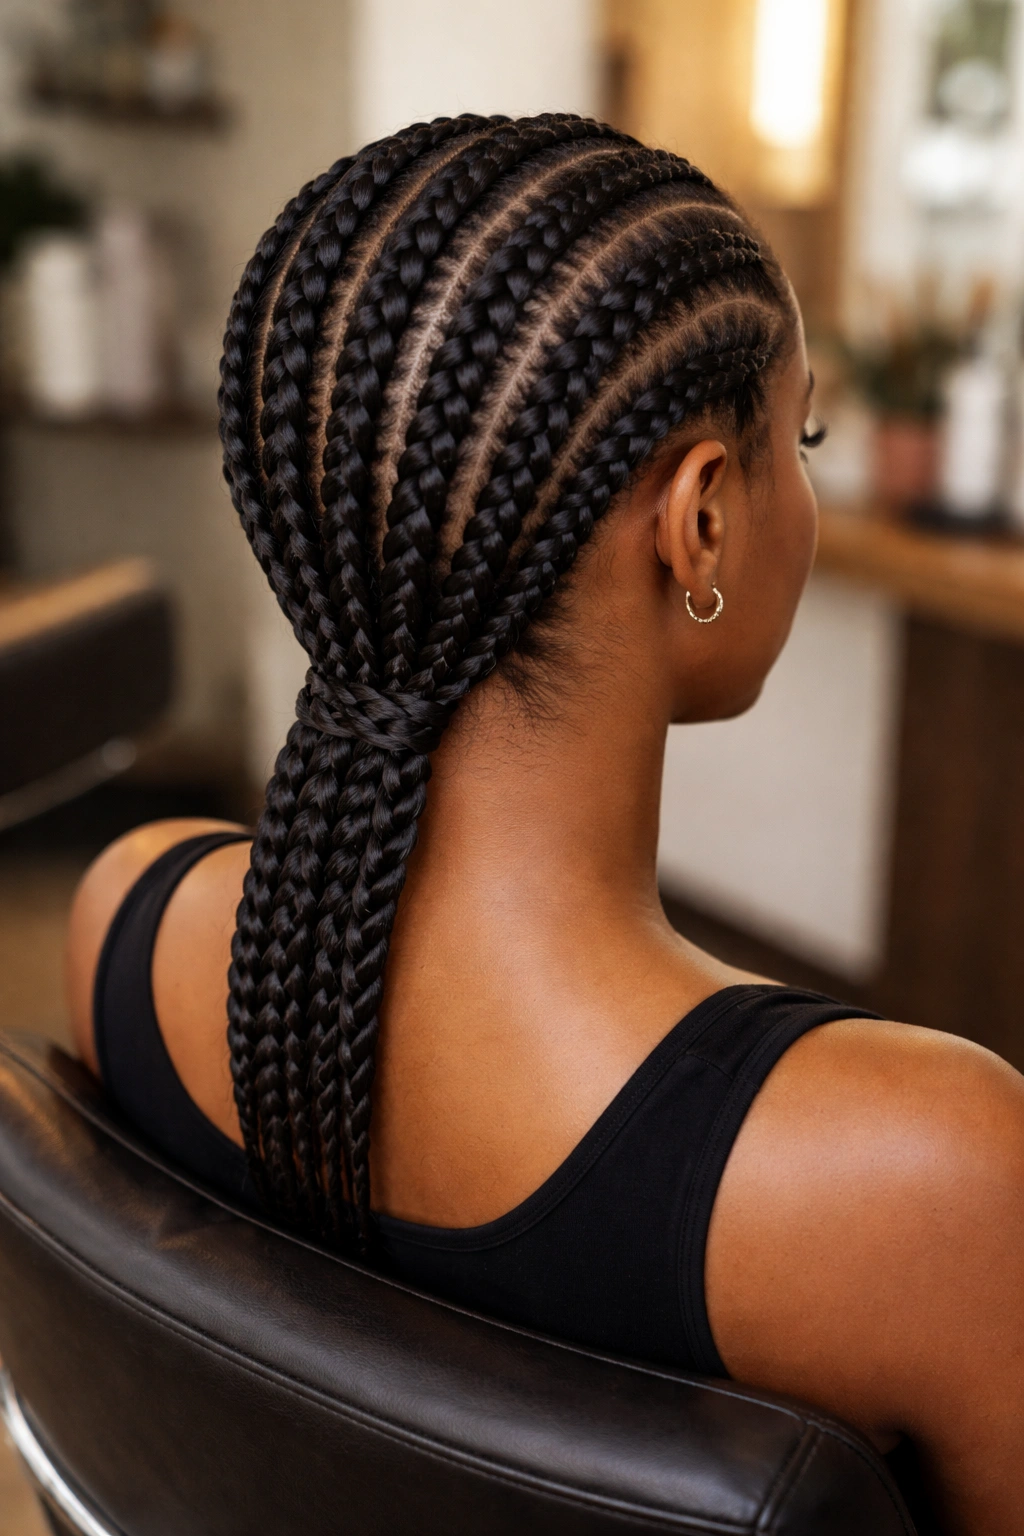
The cornrows are braided in the standard direction, but at the nape, the ends of all braids are connected into a single horizontal braid that runs across the back of the neck.
The connecting braid creates a finishing element that ties everything together visually. Looks especially clean from behind.
This is an unusual finish — most braiders don’t offer it by default. Ask specifically and show a reference image.
20. Straight Back Cornrows With Detailed Edges
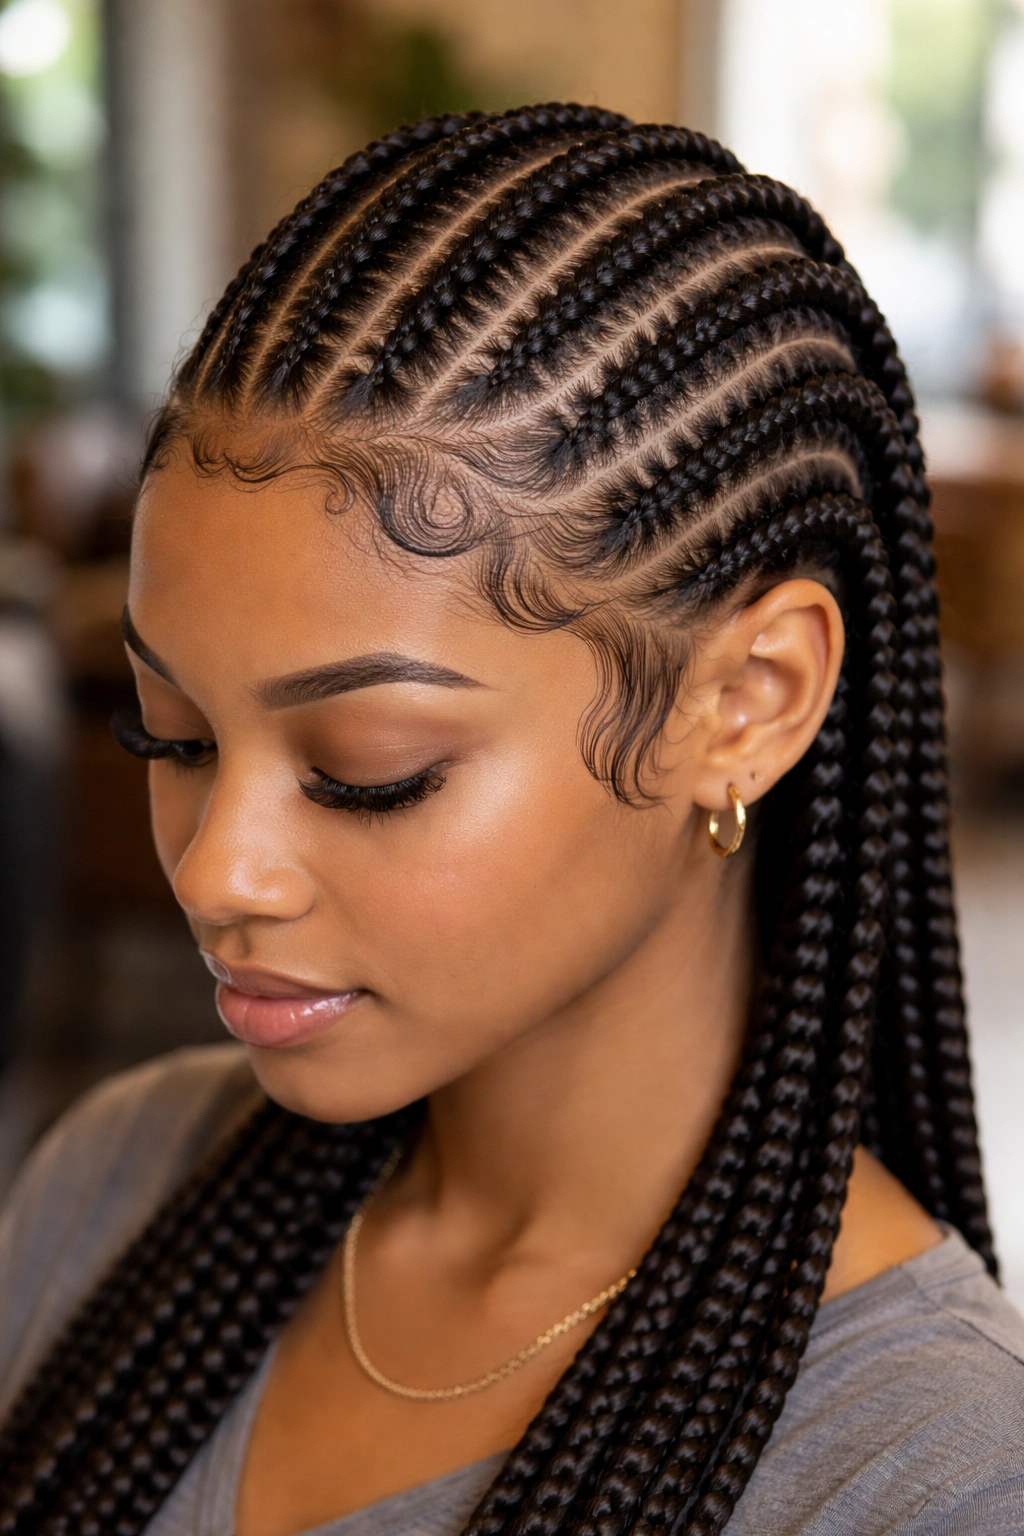
The cornrows themselves are basic, but the edge work along the hairline is elaborate — sweeping designs, swirls, geometric patterns done with edge gel and a fine toothbrush.
The contrast between simple braids and detailed edges shifts the focus. The edges become the styling moment; the braids are just the supporting structure.
Edge styling can take 30-60 minutes on its own. Block out the time. Use edge gel that has been described as strong-hold or extreme-hold — anything labeled “light hold” won’t survive the day.
21. Six Straight Back Cornrows With Half-Up Style
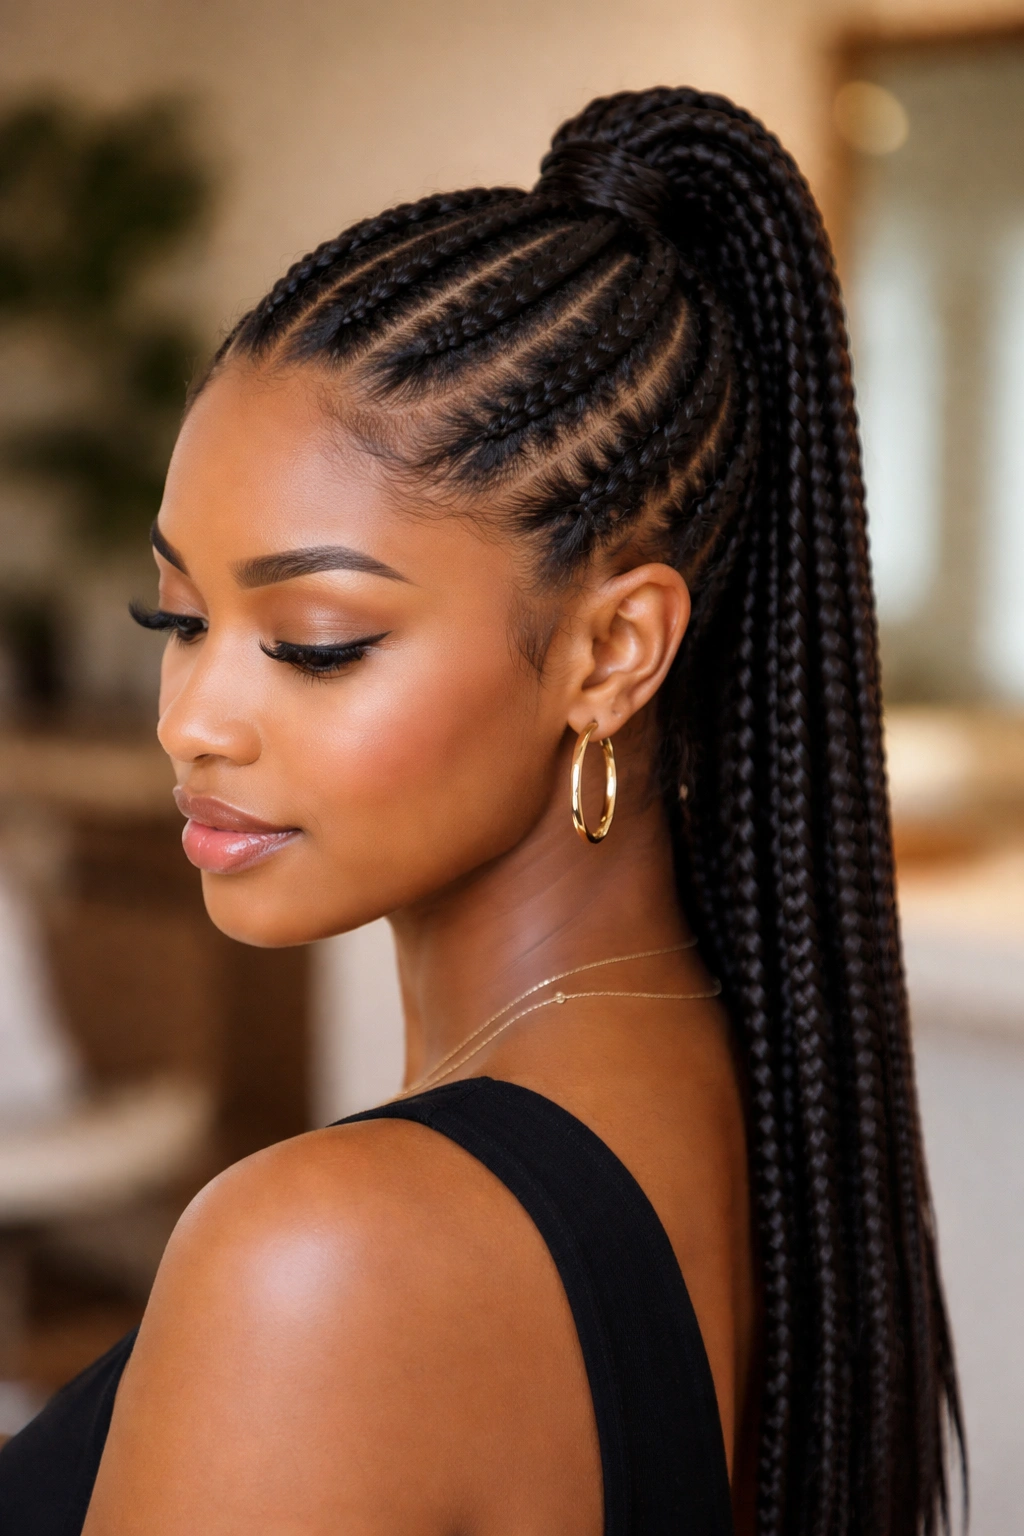
The standard six-braid layout, finished by gathering the upper half of the braids (the ones closest to the crown) into a small ponytail or top knot at the back of the head, while the lower braids continue down freely.
Maintenance Notes
Re-tie the upper gathering every 3-4 days. The hair tie loosens as the braids settle, and the half-up portion will droop without periodic tightening.
This is a versatile style — works for casual settings, can be made formal by adjusting the height of the upper gather, and requires minimal additional product.
22. Twelve Micro Straight Back Cornrows
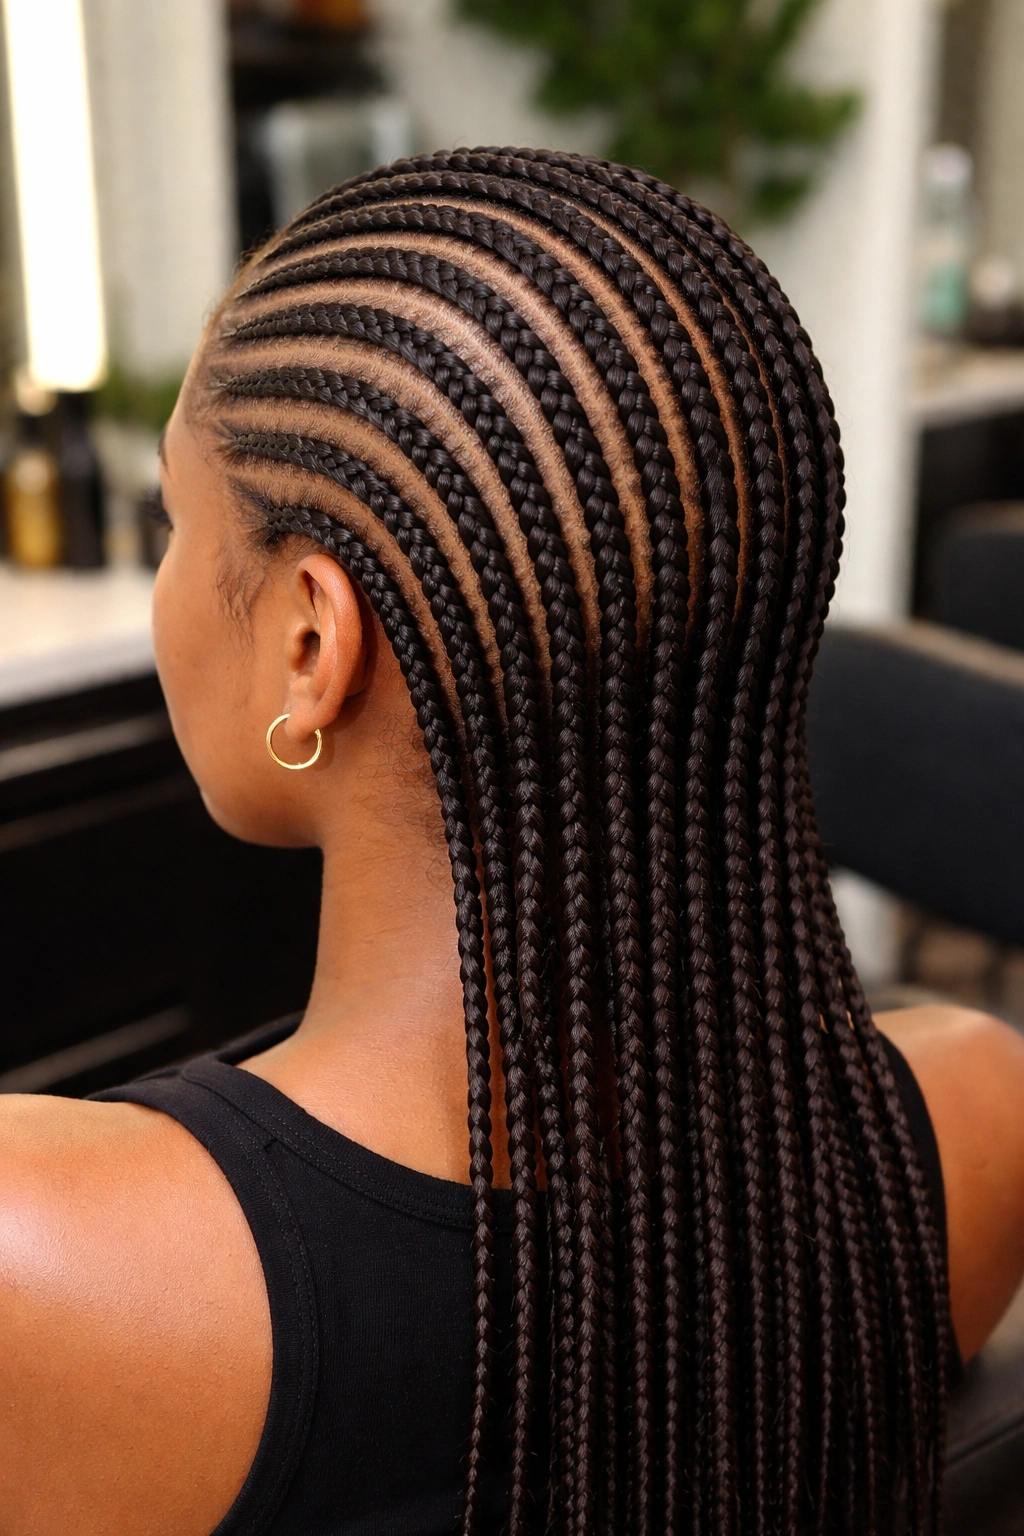
The maximalist version of simple. Twelve very narrow cornrows, finger-thin, parted with knife-sharp precision. The whole head reads as one continuous textured surface.
Install time is significant — 5-7 hours. The eye strain on the braider is real. Pay accordingly and tip well.
The wear duration is the longest of any straight back option. Six to eight weeks if maintained properly. The micro size resists frizz longer because each braid is locked tightly enough that the hair has nowhere to escape.
This is the right choice for anyone planning a long protective style cycle and willing to commit to the upfront time investment.
Daily Maintenance That Doesn’t Take Forever

Straight back cornrows demand less daily maintenance than most styles. Five minutes morning and night is enough.
In the morning: a light mist of water-and-leave-in spray (1 tablespoon leave-in to a cup of water in a spray bottle), focused on the body of the braids rather than the scalp. Edge gel touch-up if your hairline shows fuzz.
At night: re-wrap with a satin or silk scarf. Tie it firmly enough that it stays through the night. A loose wrap that comes off halfway through sleep does nothing.
Twice a week: a sheen spray applied 12 inches from the head, allowed to drift onto the braids. Direct application creates greasy spots.
Scalp Care Through Long Wear
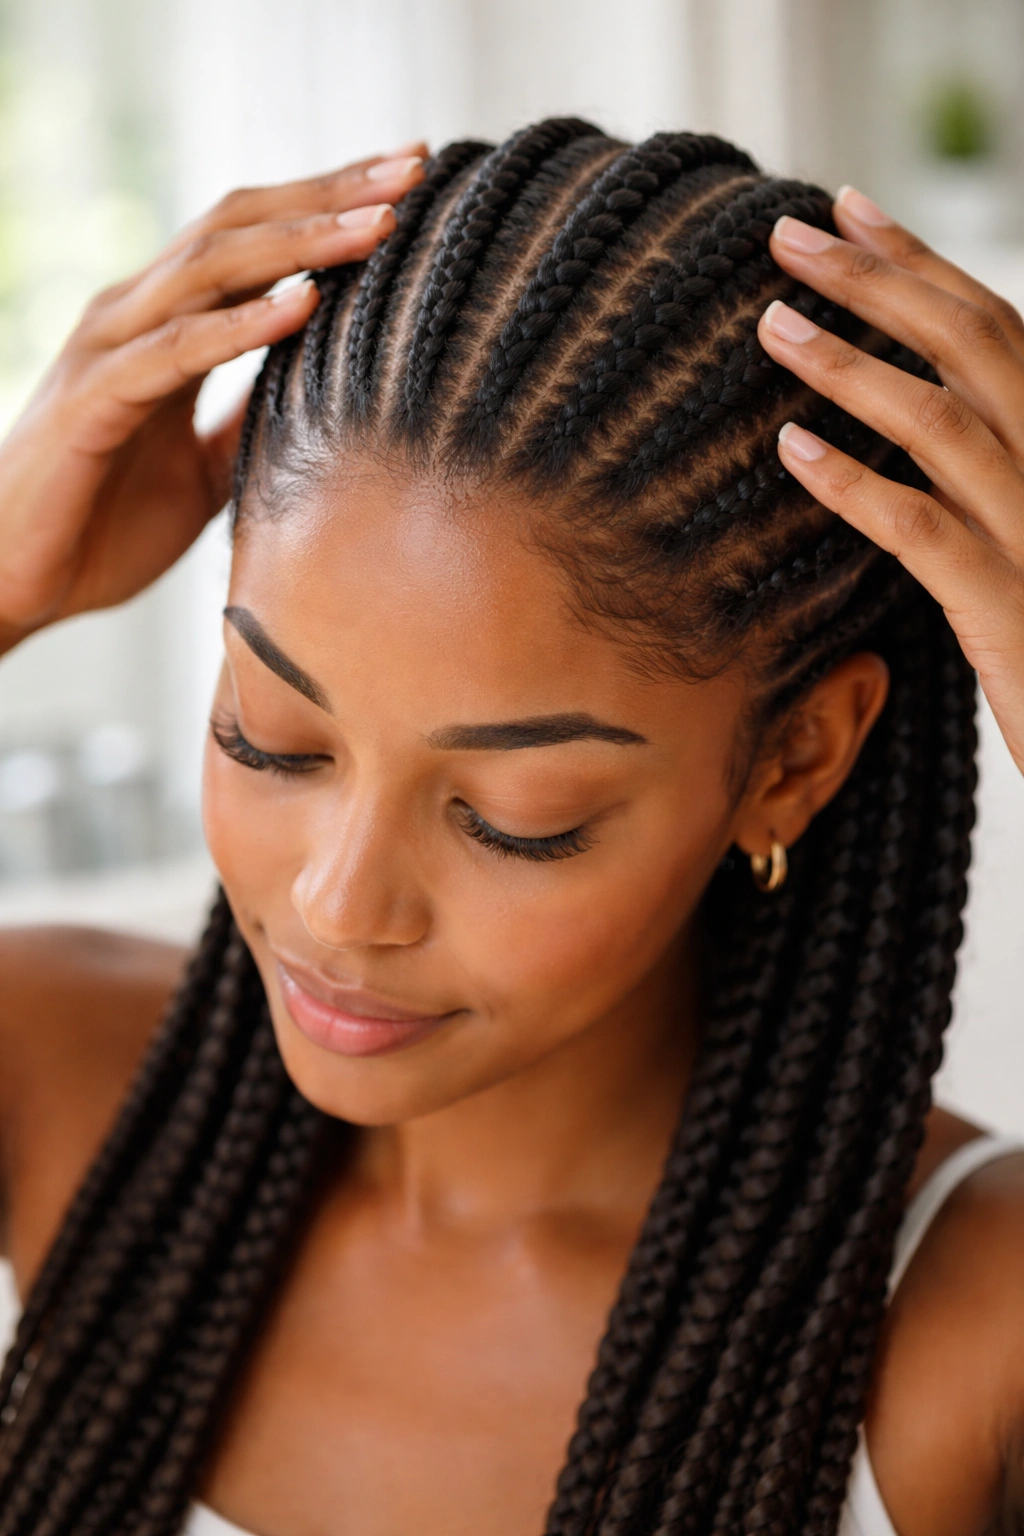
The longer you wear cornrows, the more attention the scalp needs. Buildup accumulates steadily and shows up as itching by week three.
A weekly rinse keeps the scalp clear. Mix 2 tablespoons apple cider vinegar with a cup of cool water in a squeeze bottle. Apply along each part line, massage gently with fingertips for a minute, rinse with cool water (or wipe with a damp cloth if rinsing isn’t practical).
Follow with a few drops of jojoba oil applied to part lines using a dropper. Not slathered. The goal is light, targeted hydration that doesn’t sit on top of the braids.
Washing Without Wrecking the Style
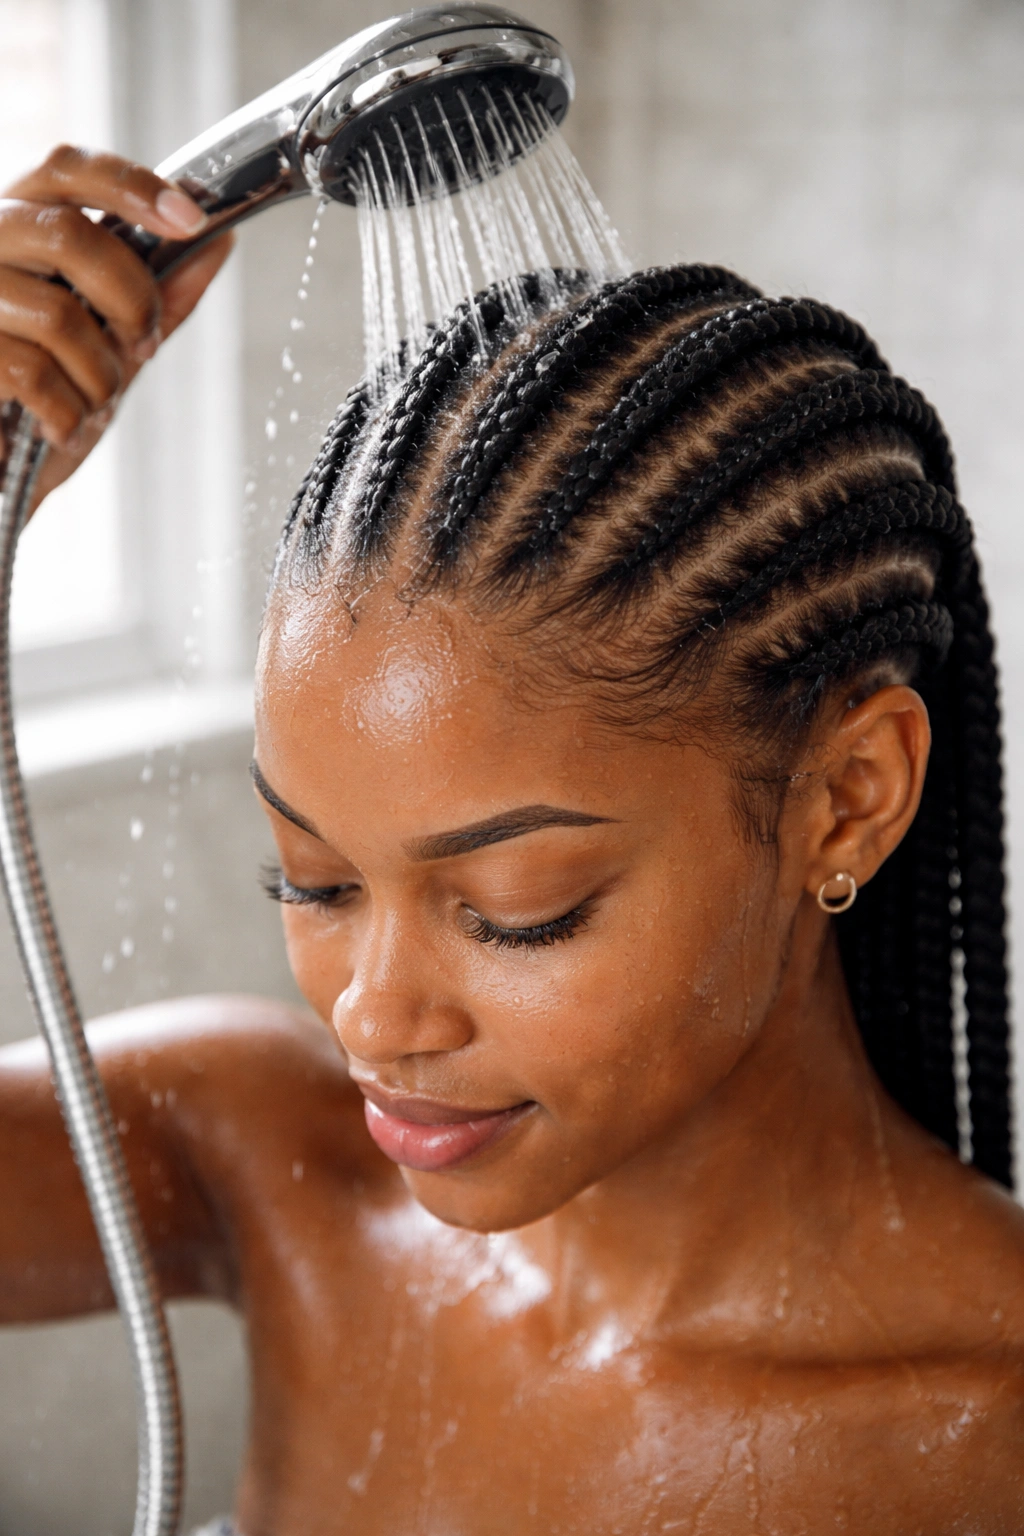
Yes, you can wash straight back cornrows. The trick is technique.
Use a sulfate-free cleanser diluted 50/50 with water in a squeeze bottle. Apply only to the scalp along part lines. Massage gently, focusing on dissolving buildup at the roots rather than scrubbing through the braids.
Rinse with a handheld showerhead aimed at the scalp. Let the water and product run down through the braids — don’t actively scrub the braid bodies. They’ll get clean enough from the rinse alone.
Pat dry with a microfiber towel. Air dry the rest of the way. Heat tools on cornrows damage both the hair and any extension fiber.
When to Take Them Out
Most straight back cornrows look clean for 4-6 weeks. Beyond that, the line between “well-worn” and “neglected” gets crossed.
Signs it’s time: persistent itching that vinegar rinses don’t fix; visible matting at the roots; significant new growth that creates lumpy texture along the parts; braids that have visibly loosened to the point of looking sloppy.
Don’t push past comfort. Cornrows worn too long damage the hair when you finally take them down — the matting at the roots tears more strands than necessary during detangling.
Taking Them Down Cleanly
Takedown is faster than installation but still needs care.
Remove the elastic at each braid tip. Unravel each cornrow slowly from the bottom up, fingers only — no comb. Apply conditioner generously as you work. The slip prevents tangling and breakage.
Once all braids are out, do not comb dry. Wash with a gentle co-wash, detangle in the shower with conditioner still in, then rinse and continue your normal post-takedown routine.
Budget 1-2 hours for takedown of a full head, longer for higher braid counts.
Picking the Right Variation
The question to ask: how long do you want this to last, and how much time can you give to the install?
Short wear, fast install: 4 jumbo braids or 6 medium braids.
Long wear, longer install: 12 micro braids or 8 medium braids with detailed parting.
Special event: any of the variations with bun finishing, single statement color, or detailed edges.
Daily wear, low maintenance: 6 or 8 medium braids straight back, no decoration, finished cleanly.
Match the variation to your actual life, not to the photo that caught your eye. The cornrow that suits your routine is the cornrow you’ll keep in for the full wear cycle.
Common Mistakes to Avoid
Three patterns show up across most installation regrets:
Going too tight. Cornrows should be firm but not painful. If you’re throbbing the first night, the install is too tight. Speak up and ask for adjustment.
Mismatched braid sizes. Inconsistent widths read as poor work. Make sure your braider keeps the size uniform throughout.
Skipping the prep. Dirty hair, product-coated scalp, or insufficient detangling all lead to faster frizz and shorter wear. Prep matters more than you’d think.
Simple straight back cornrows reward careful execution. The simplicity of the format means there’s nowhere to hide a sloppy braid, an uneven part, or a poorly finished end. Pick a braider who understands that. The rest follows.
