



Flat twist cornrow styles sit in a category most people don’t fully understand until they try them. These aren’t traditional cornrows and they aren’t regular two-strand twists. Flat twists use a two-strand technique that stays flat against the scalp, creating a rope-like pattern instead of the woven look of cornrows. The texture is softer, more forgiving, and dramatically easier to DIY at home. For anyone who’s tried and failed to cornrow their own hair, flat twists are the technique that finally clicks.
The visual difference between flat twists and cornrows is subtle but real. Cornrows show three interlocking strands in a tight weave. Flat twists show two strands spiraling around each other in a rope pattern. From a distance, they read similarly — both create structured, scalp-hugging rows that lay flat. Up close, flat twists look softer and rounder, while cornrows look more defined and angular.
The big advantage of flat twists — they take half the time to install. A full head of flat twists can be done in 2-3 hours versus 4-6 for traditional cornrows. The technique is simpler because you’re working with two strands instead of three. Many people teach themselves to flat twist in an afternoon.
The downside — flat twists don’t last quite as long as cornrows. Expect 2-3 weeks of clean wear versus 4-6 for cornrows. But that’s the trade-off for the easier install and softer look.
Below are 25 genuinely different flat twist cornrow styles. Some are simple and DIY-friendly. Some are elaborate and salon-only. All of them work for hair types from 3C to 4C and lengths from short to long. Before the list, foundational context.
What Makes Flat Twist Different from Cornrow
Three-strand cornrow weaves: strand 1 over strand 2, strand 3 over 1, strand 2 over 3, repeating. The interlocking creates a defined woven look.
Two-strand flat twist: strand 1 over strand 2, add hair to each strand as you move along, keep the twist flat against the scalp. The spiraling creates a rope-like pattern.
The flat twist stays on the scalp because as you twist, you incorporate new hair from the section beneath. This “flatness” is what differentiates flat twists from regular hanging twists.
Flat twists also use less tension than cornrows because the two-strand technique doesn’t require the same gripping force as three-strand braiding.
Why Flat Twists Are Easier to DIY
The two-strand technique is simpler to execute from unfamiliar hand angles — including doing your own hair at the back of your head. You don’t need to track three strands across your scalp.
The motion is more intuitive. Right over left, then grab more hair from beneath and twist again. Most people can flat twist their own hair after watching a few videos and practicing for an hour.
This makes flat twists a good starting point for anyone learning to style their own hair at home.
Prep Considerations for Flat Twists
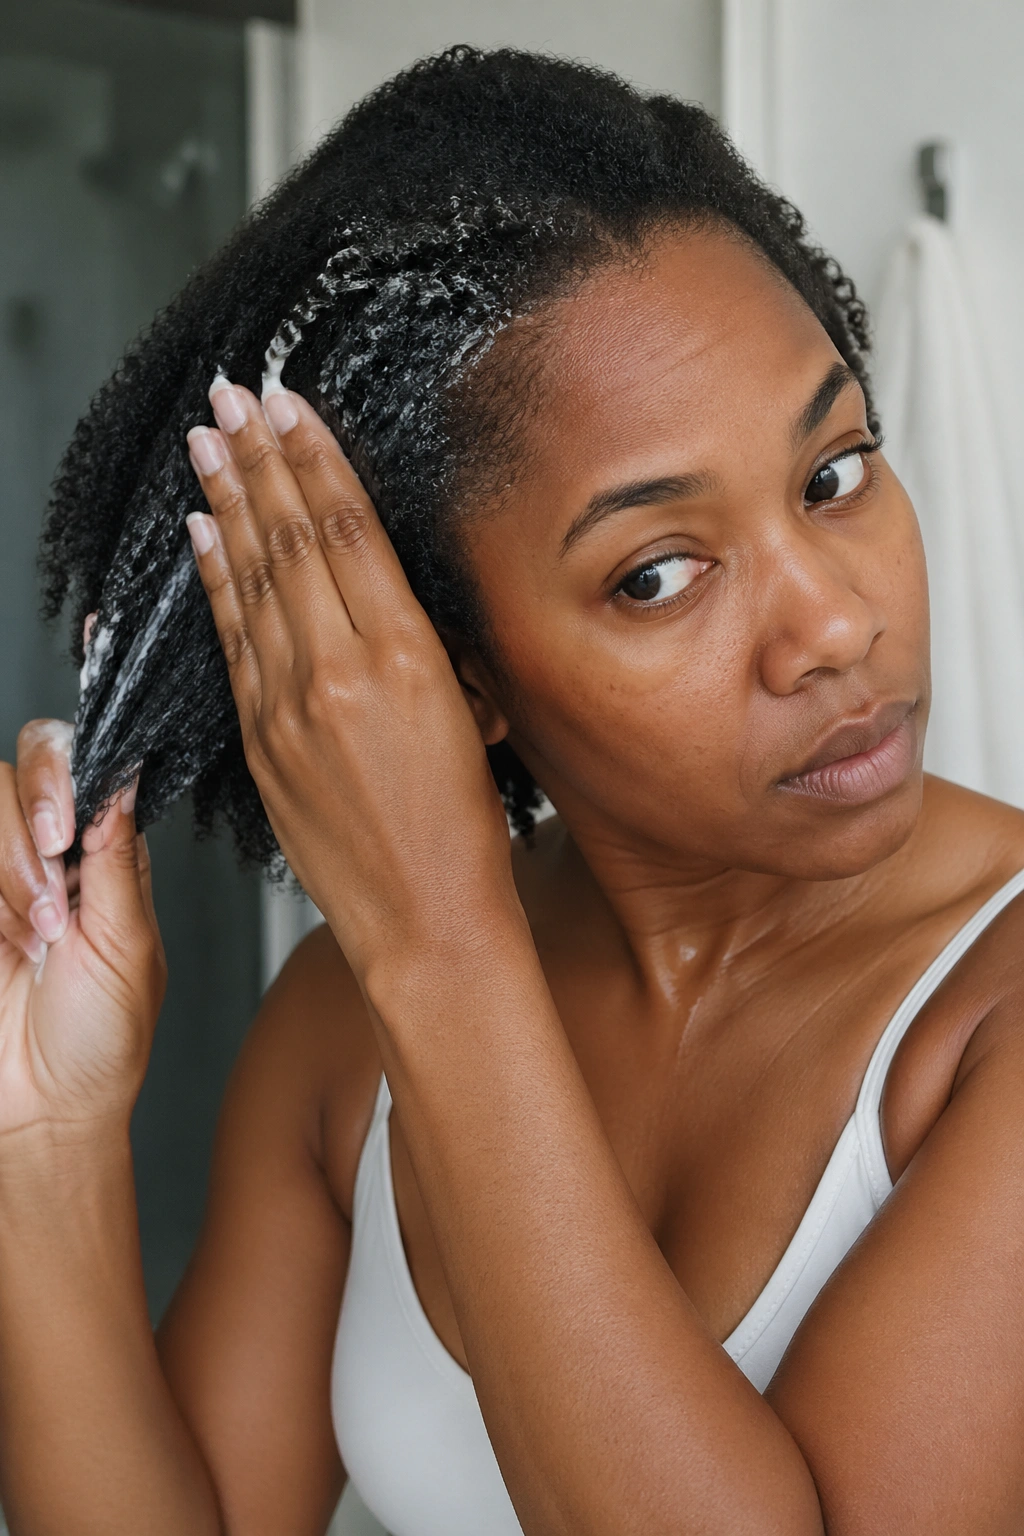
The prep is similar to cornrows — wash, condition, stretch. But flat twists work better on slightly damp (not wet) hair than dry hair. The moisture gives the twists a tighter set that lasts longer.
A light leave-in conditioner or curl cream applied before twisting helps define the twist pattern. The product coats each strand and keeps the twist compact.
Skip heavy butter or oil. Too much product makes the twists slippery and hard to grip.
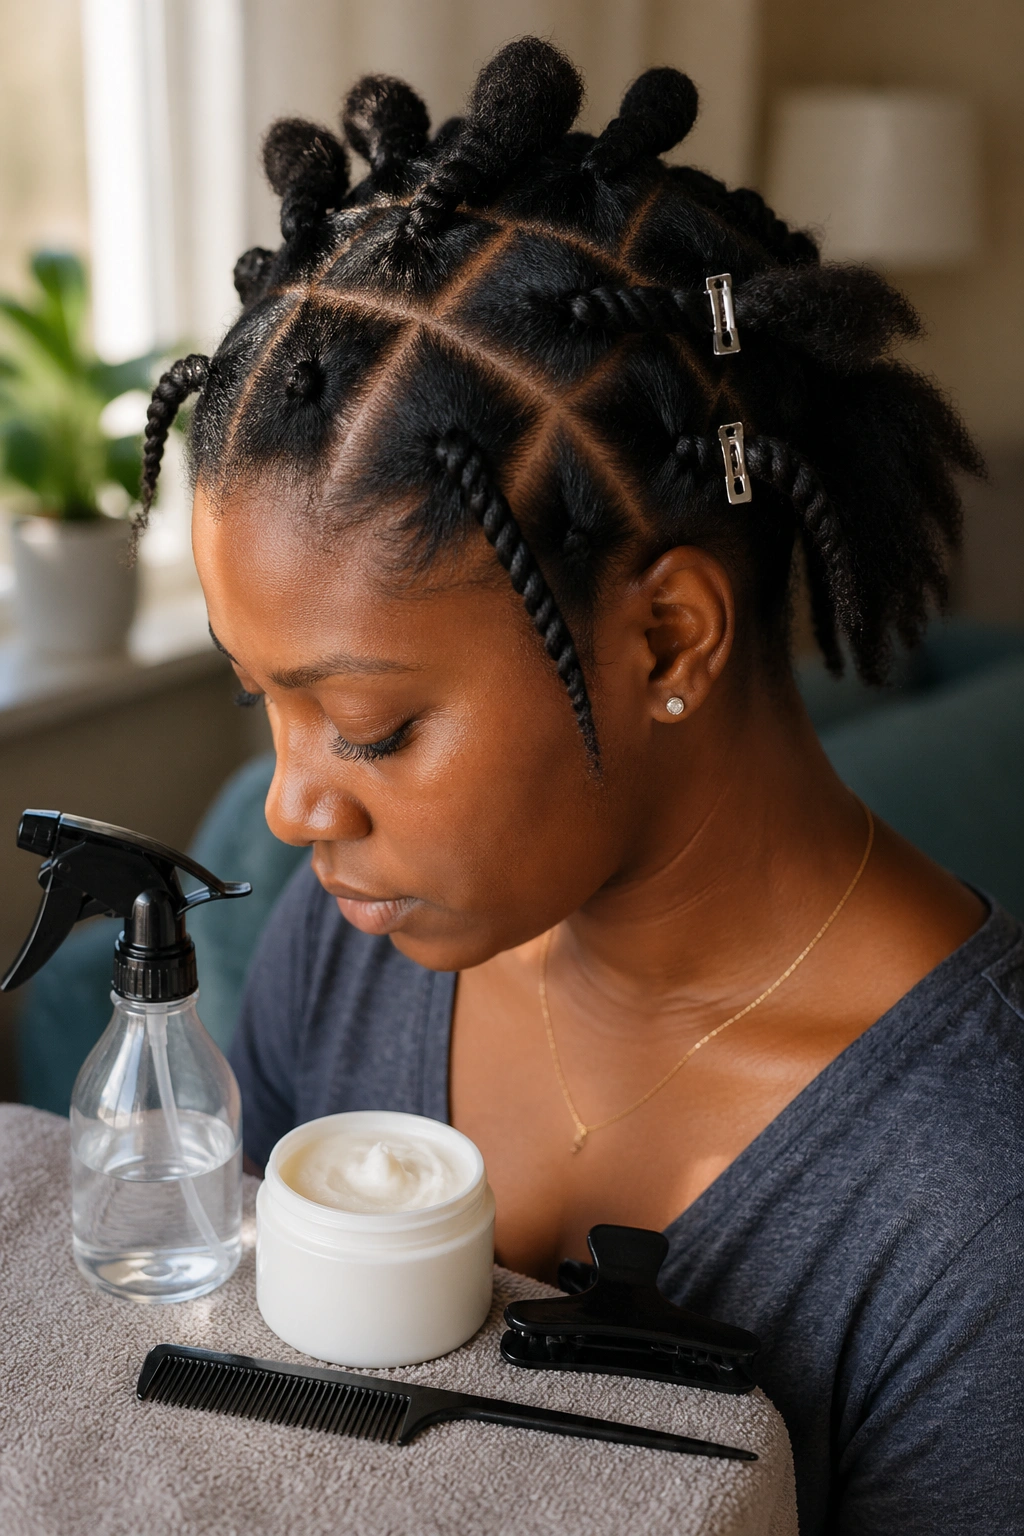
Tools Needed for Flat Twists
A rat-tail comb for parting. A spray bottle for keeping hair damp during the install. Hair clips for sectioning. A light leave-in or curl definer. That’s the minimum kit.
Extensions are optional for flat twists. Most styles look best with natural hair only, showcasing the texture of your real hair in the rope pattern.
Tension for Flat Twists
Flat twists should be firm enough to stay flat but not so tight they pull the scalp. A good flat twist feels secure when you touch the base but doesn’t cause discomfort at the roots.
If you’re doing your own flat twists, err on the side of slightly looser. You can always re-tighten problem areas, but you can’t easily loosen a twist that’s too tight without undoing it.
1. Flat Twists Straight Back
The foundation style. 8-10 flat twists running from hairline to nape, then continuing as two-strand twists down the back.
Why It Works
- Simplest flat twist style to execute
- DIY-friendly for beginners
- Reads clean and polished
- Lasts 2-3 weeks with care
Pro tip: keep the sections slightly narrower than you would for cornrows. Flat twists spread wider than cornrows as they’re installed, so starting narrower keeps the final width balanced.
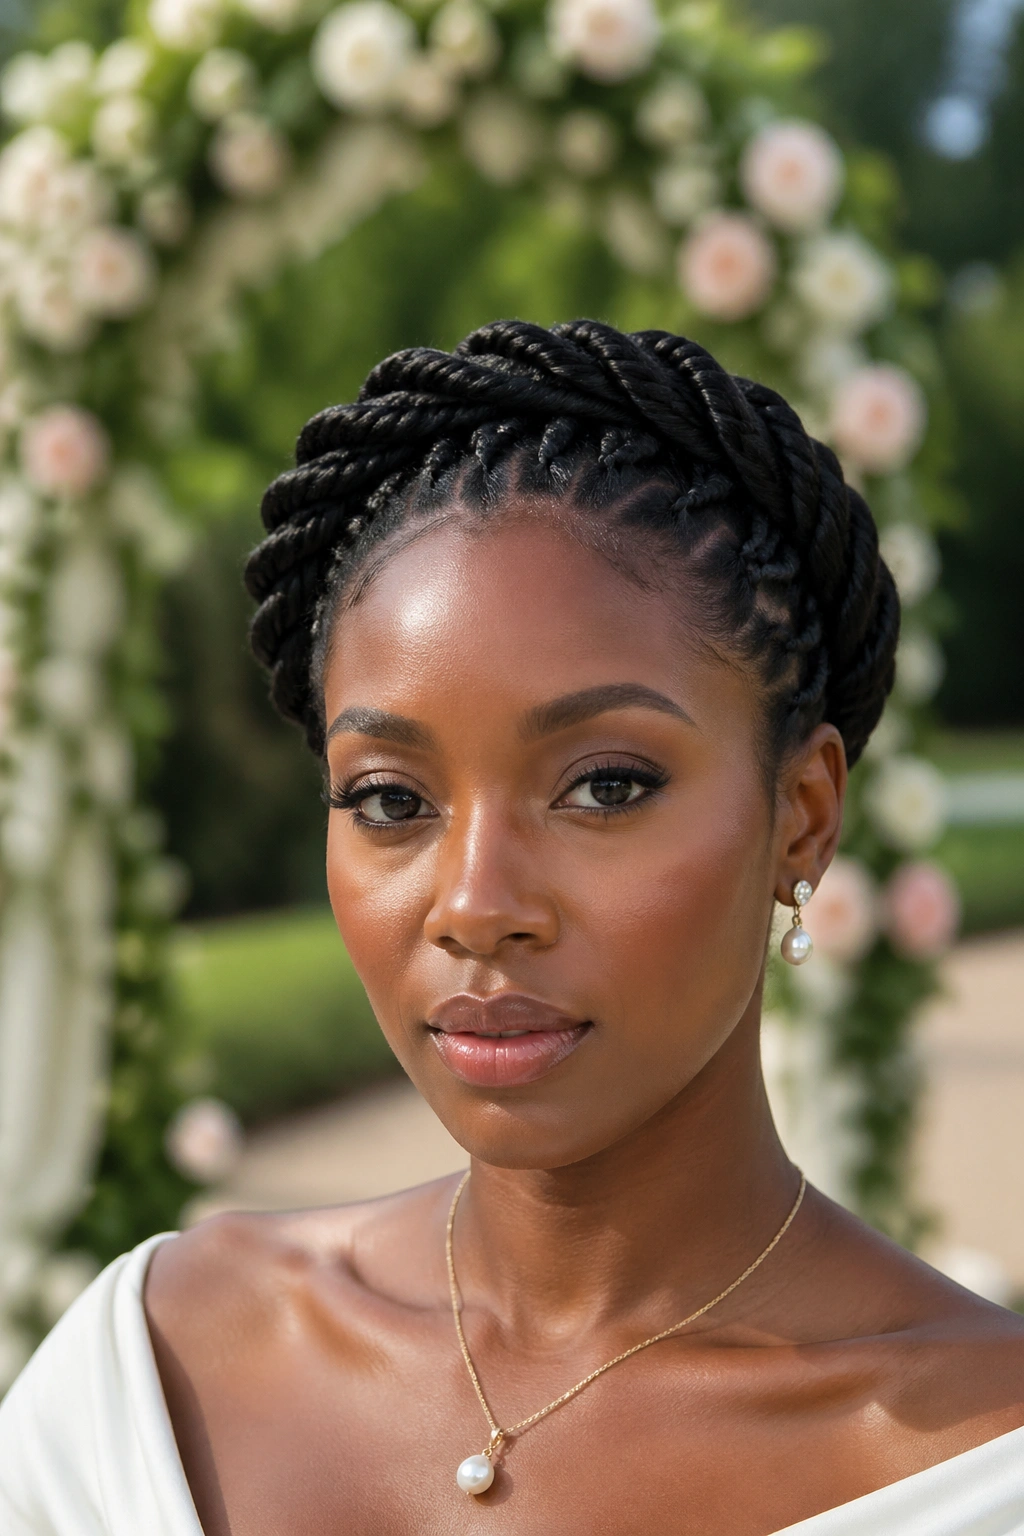
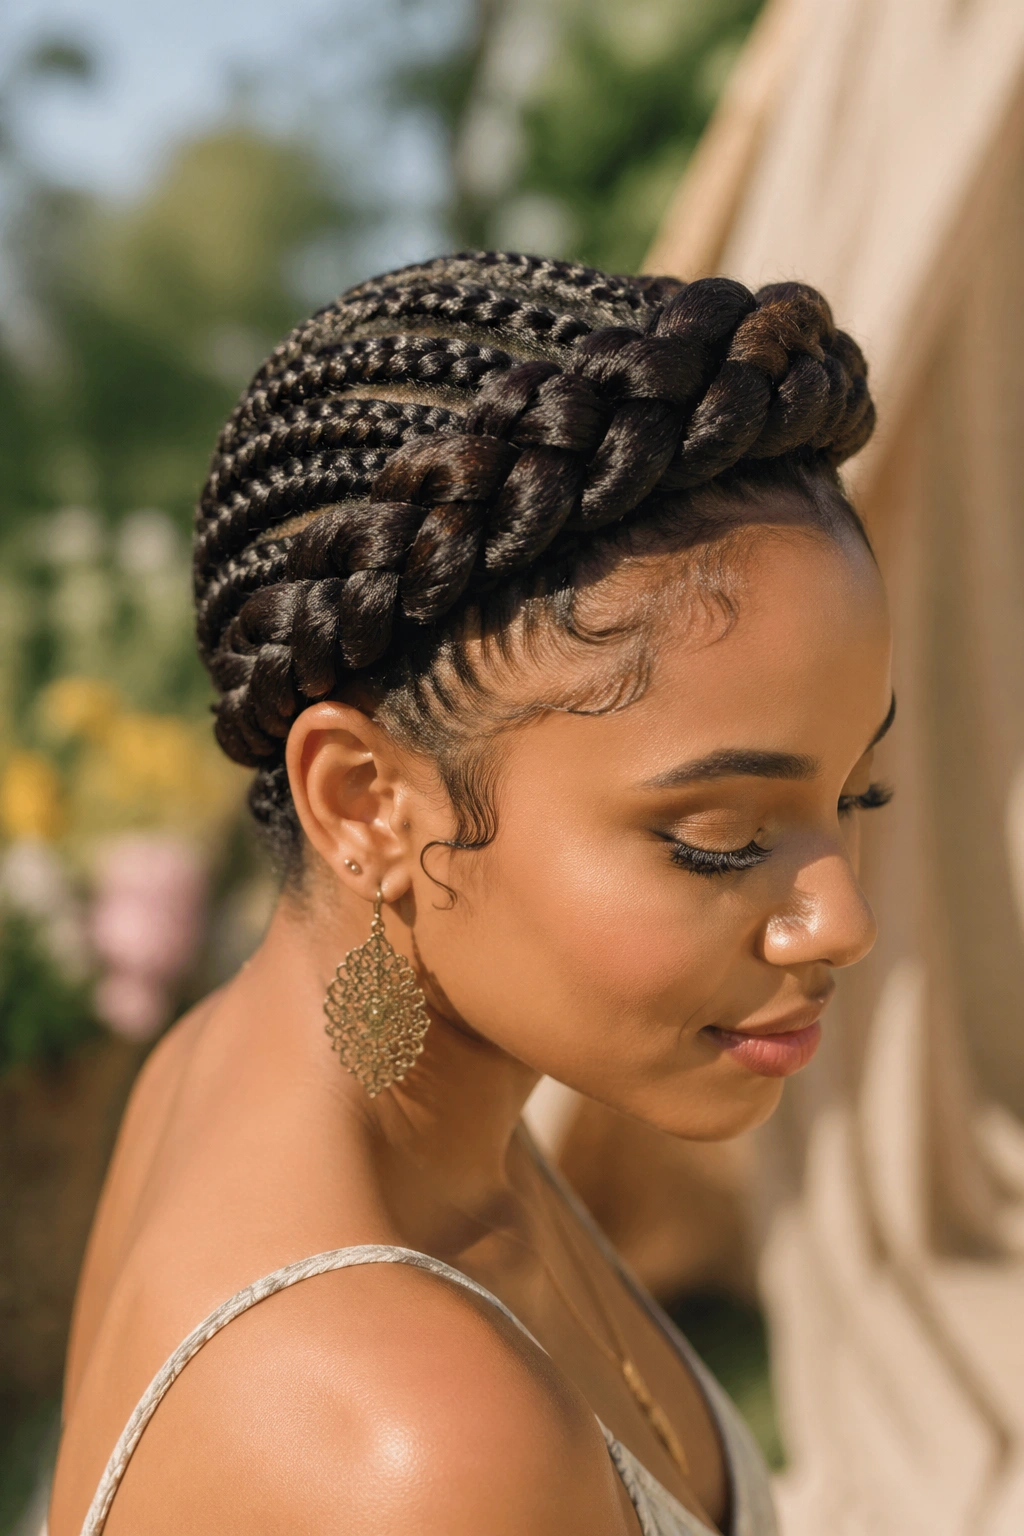
2. Flat Twist Halo Around the Head
Flat twists arranged in a circular pattern around the crown, creating a halo effect. The twists can start at the front and wrap around, meeting at the back of the head, or spiral inward toward a central point.
The halo style is regal and ceremonial. Works well for weddings, cultural celebrations, or formal photos.
The wrapping technique takes practice. First-time DIY attempts often look uneven. Consider having this done professionally the first time, then replicate at home later.
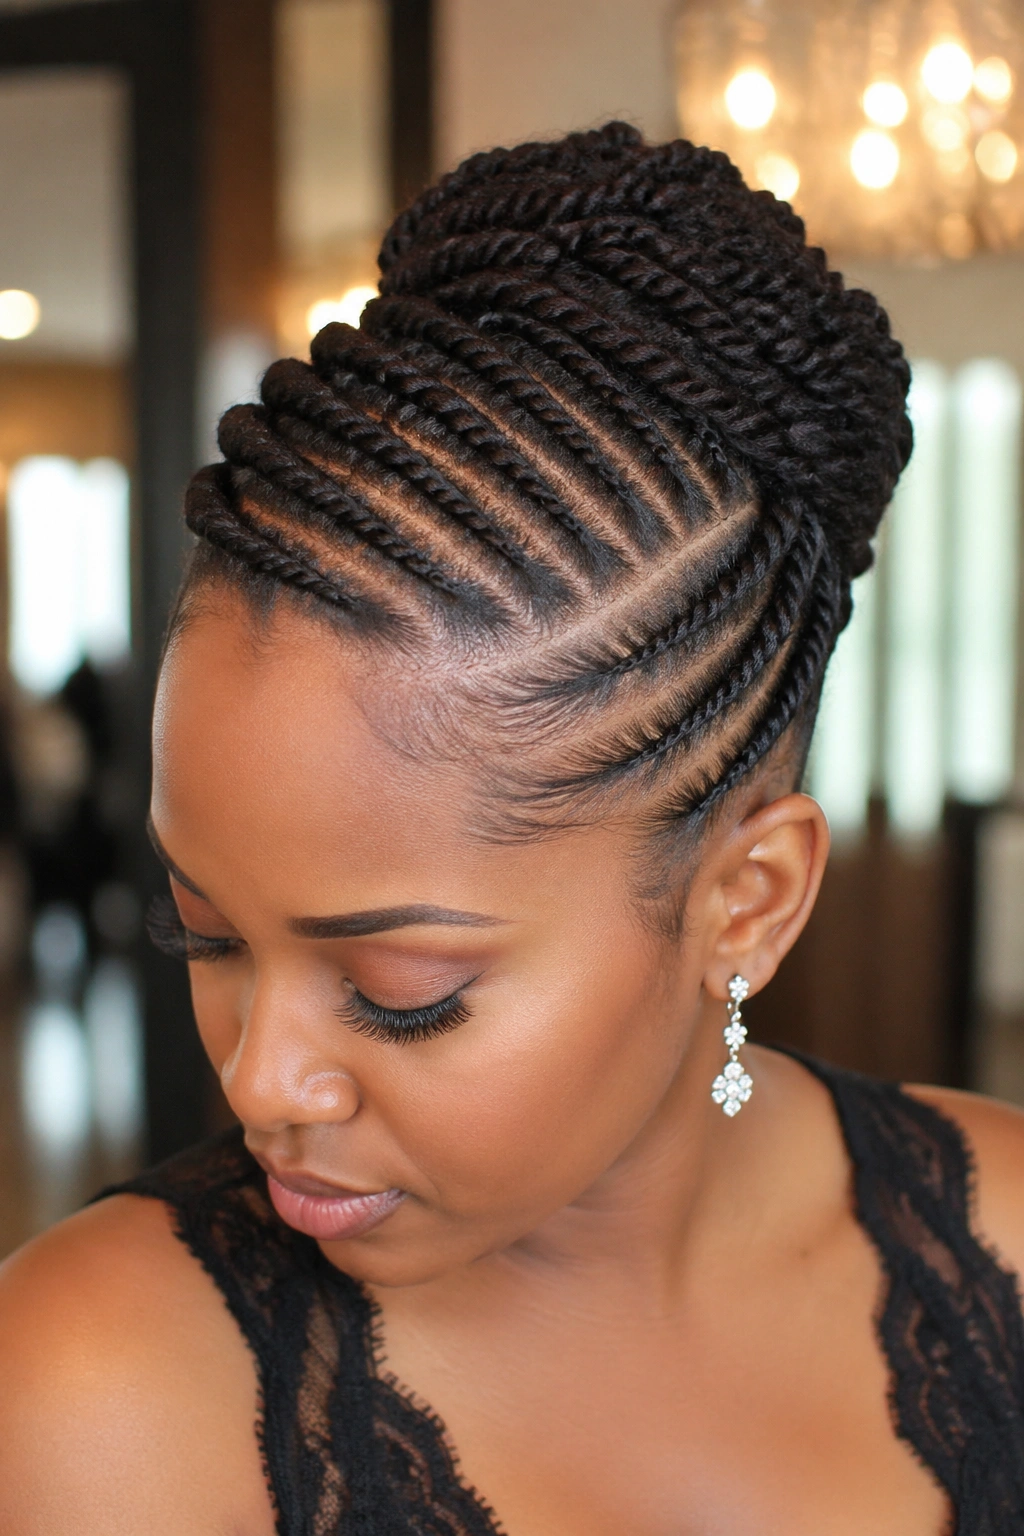
3. Flat Twist Updo With a Side Part
Flat twists starting from a deep side part and sweeping all the twists diagonally upward, meeting at the opposite side of the head in a gathered updo.
The side part creates directional flow. The updo gathers that flow into a sculptural finish.
Best for occasions where you want elegance with texture. The flat twist rope pattern adds dimension to what would otherwise be a smooth updo.
4. Flat Twists Into a Crown Braid
Flat twists at the back of the head leading into a thicker crown braid wrapping around the front. The back twists provide the protective structure; the crown braid is the decorative element.
The transition from twist to braid needs to be clean. The crown braid should look integrated, not stuck on.
This style reads bohemian and romantic. Good for festivals, outdoor events, casual photos.
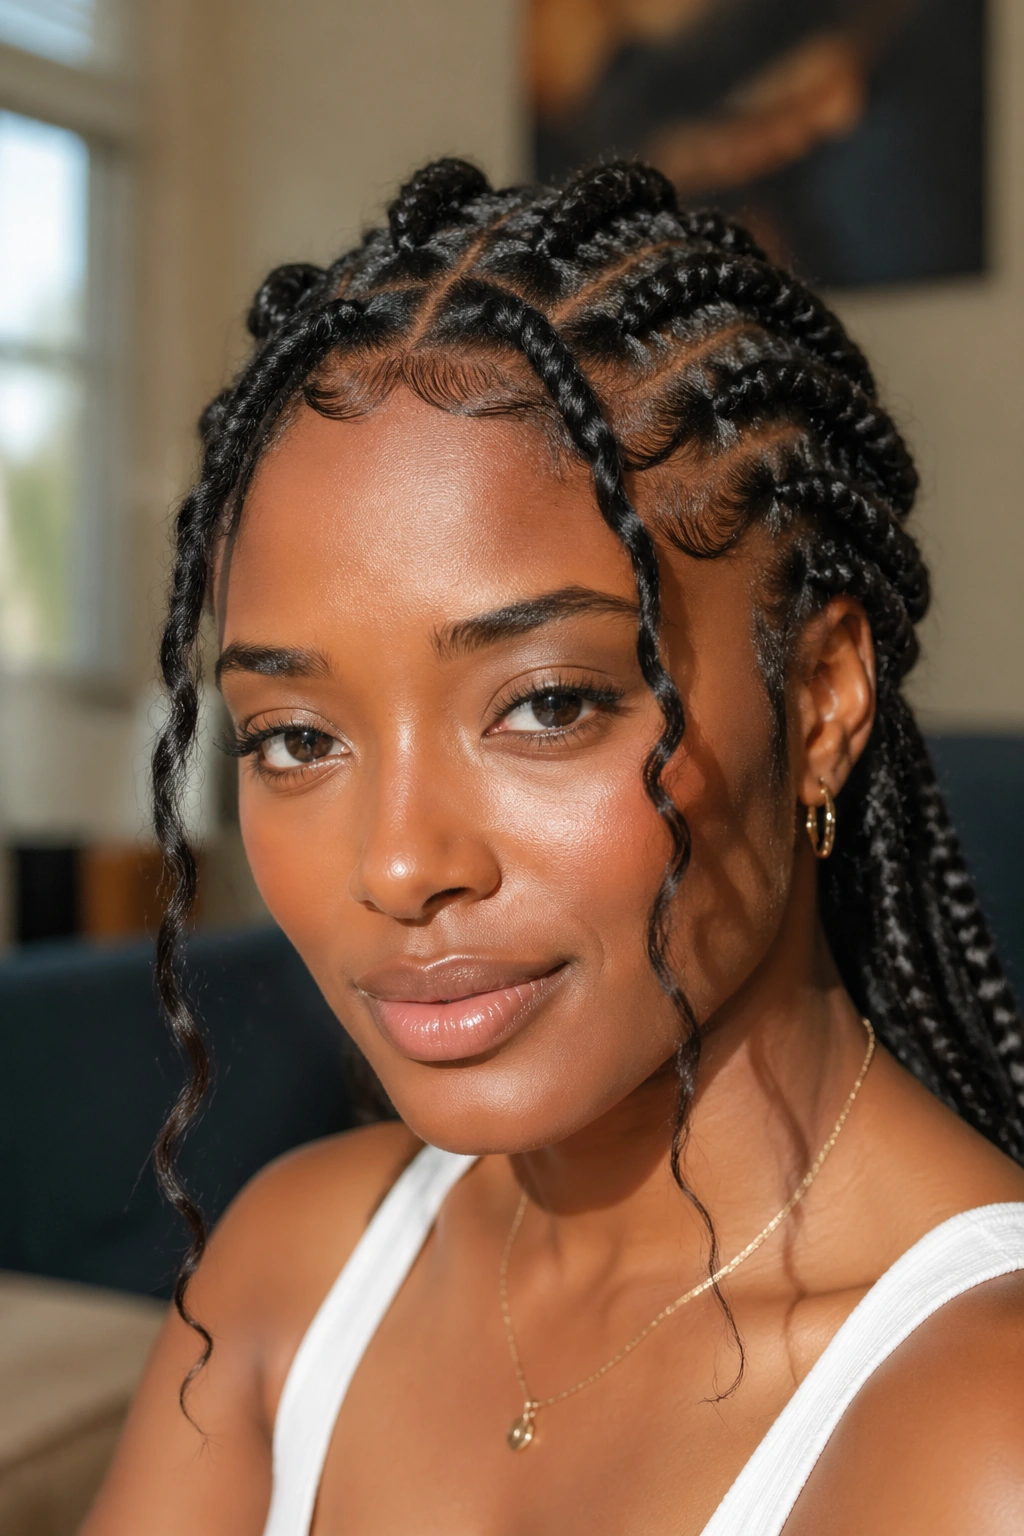
5. Goddess Flat Twists with Loose Pieces
Flat twists with intentionally loose hair left out along the face — a few face-framing pieces that soften the structure. The loose pieces can be curled or left in natural coils.
This is the most feminine flat twist style. The combination of structured twists and loose framing creates visual softness.
The loose pieces need styling. Refresh the curl or coil every morning with a curl refresher spray.
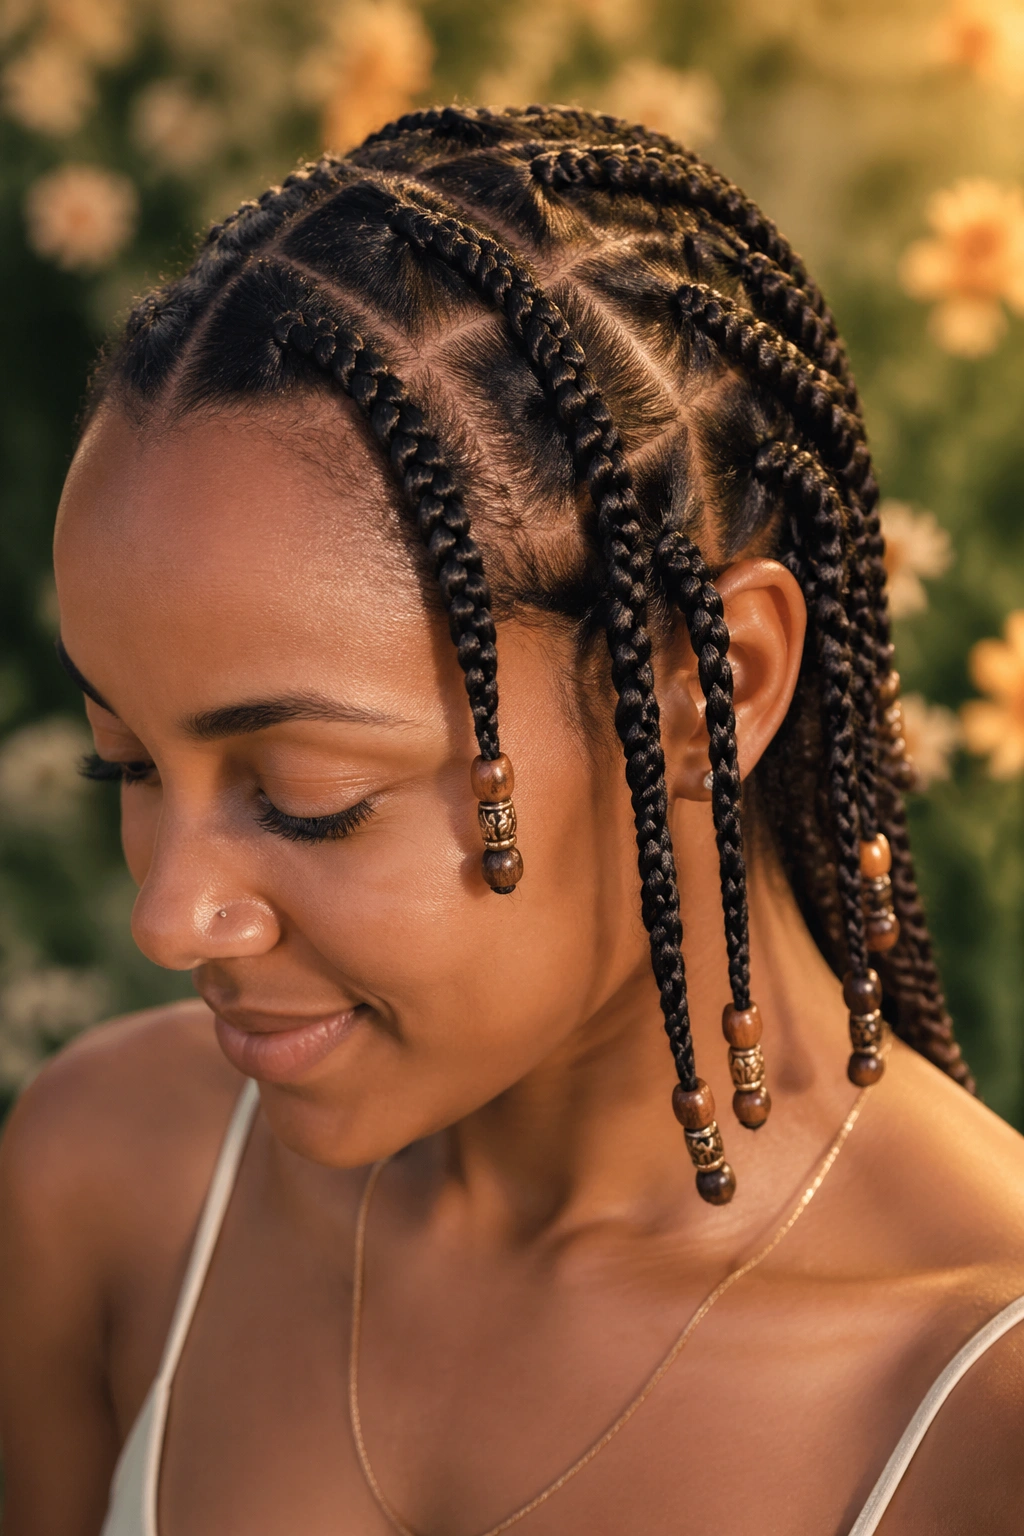
6. Flat Twists With Beaded Accents
Flat twists with small wooden or metal beads threaded into selected twists. Not every twist — usually 3-4 strategically placed beads create visual interest without overwhelming.
Flat twists hold beads slightly differently than cornrows because the rope pattern wraps around the bead rather than anchoring it firmly. Small, lightweight beads work best.
7. Flat Twist Mohawk
Flat twists running only down a center mohawk strip, with the sides either braided flat into smaller twists or shaved for an edgier look.
The mohawk configuration creates vertical emphasis. Best for narrow head shapes.
The center strip needs to be distinct — well-parted borders and confident execution. Sloppy borders blur the mohawk effect.
8. Flat Twists With Curved Parts
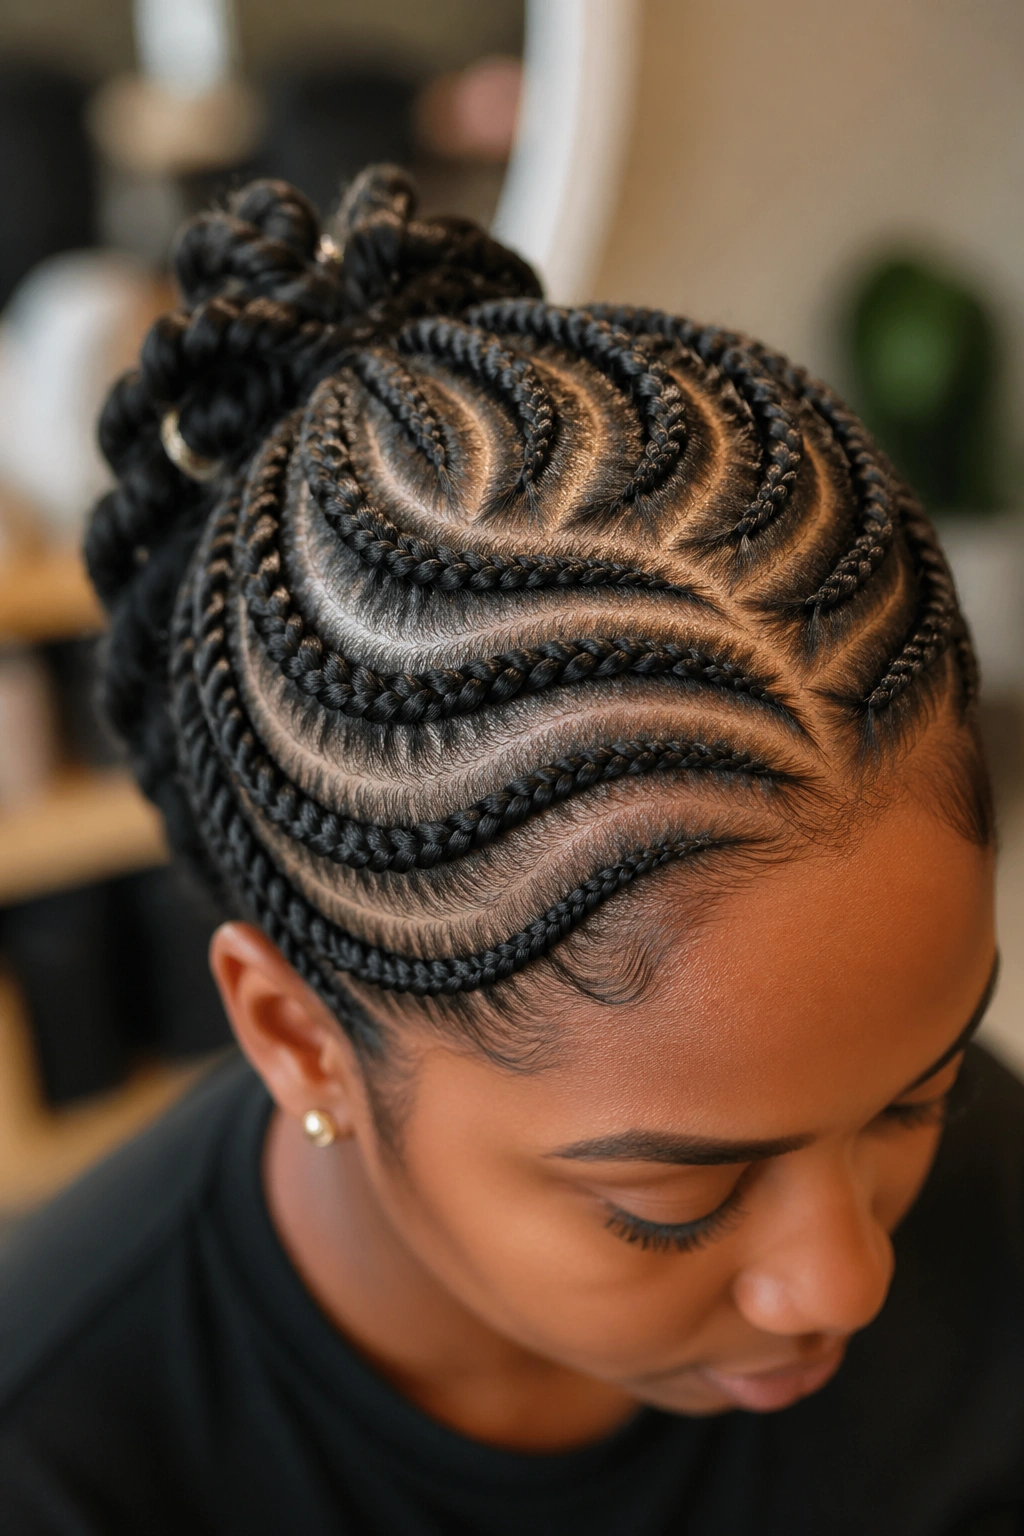
Flat twists following curved paths rather than straight lines across the head. The curves can spiral toward a center gather point or arc gently across in parallel.
Curved flat twists require the same planning as curved cornrows. Mark the curve paths with gel or chalk before starting.
The curved version reads more bohemian and less structured. Good for relaxed styling.
9. Flat Twist Pigtails
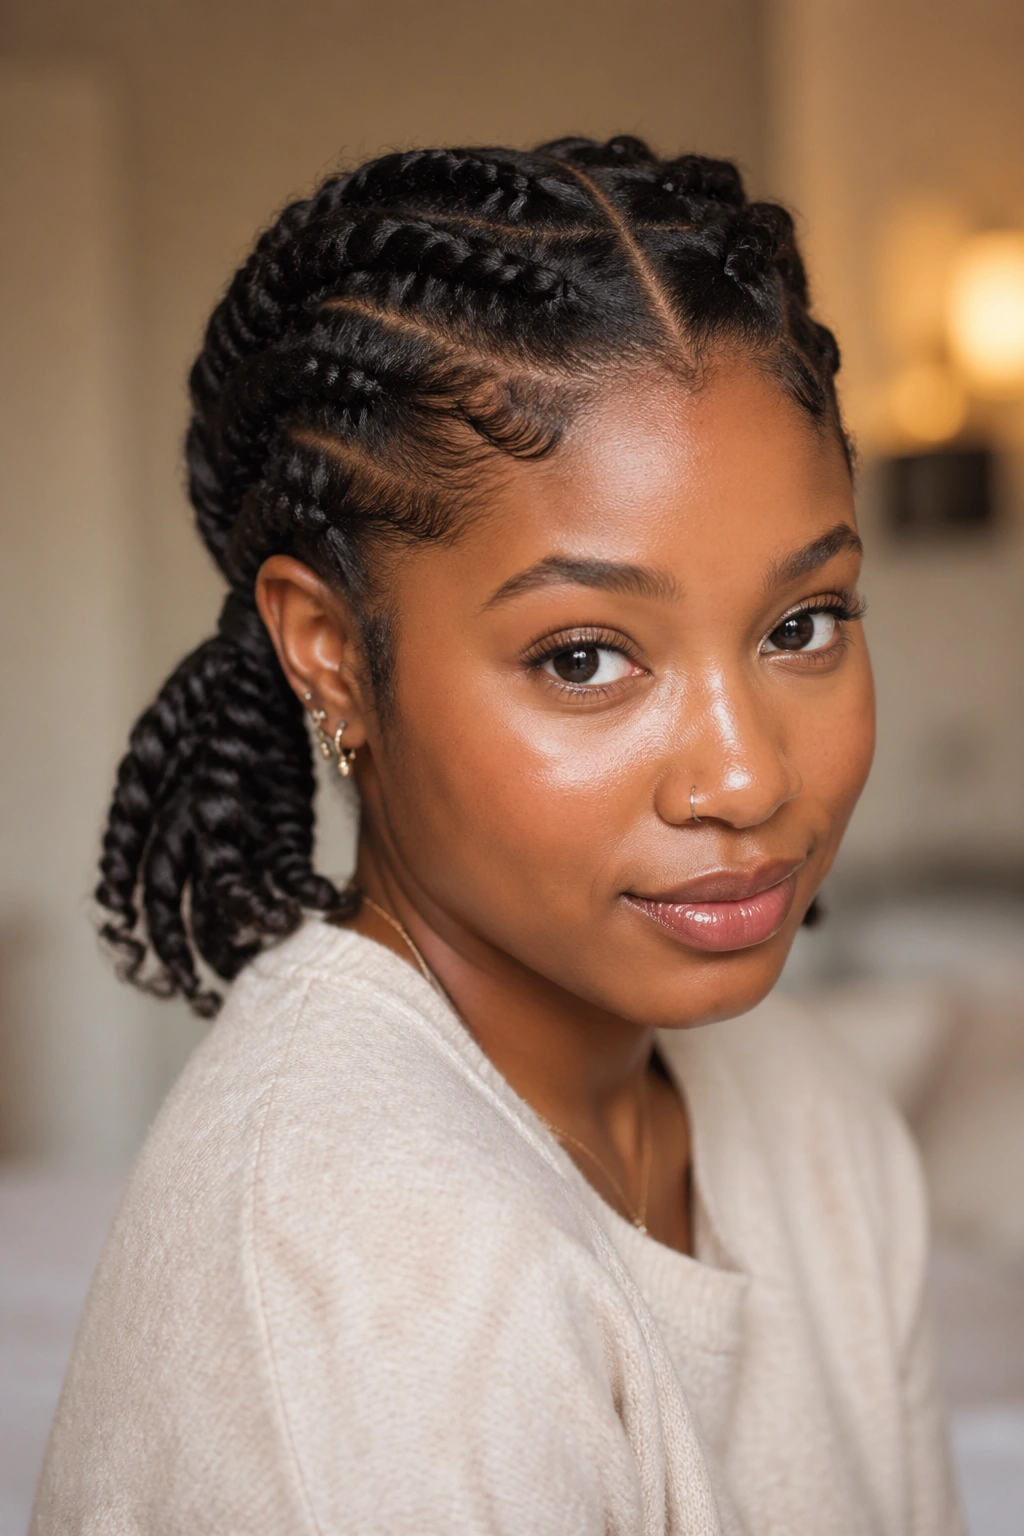
Flat twists divided down a center part and gathered into two pigtails. The pigtails can be at the nape, behind the ears, or higher up on the sides.
Pigtails read youthful. Flat twists maintain some maturity in the style because the texture is more sophisticated than simple braided pigtails.
Best for festivals, casual events, athletic settings.
10. Flat Twists Into a High Ponytail
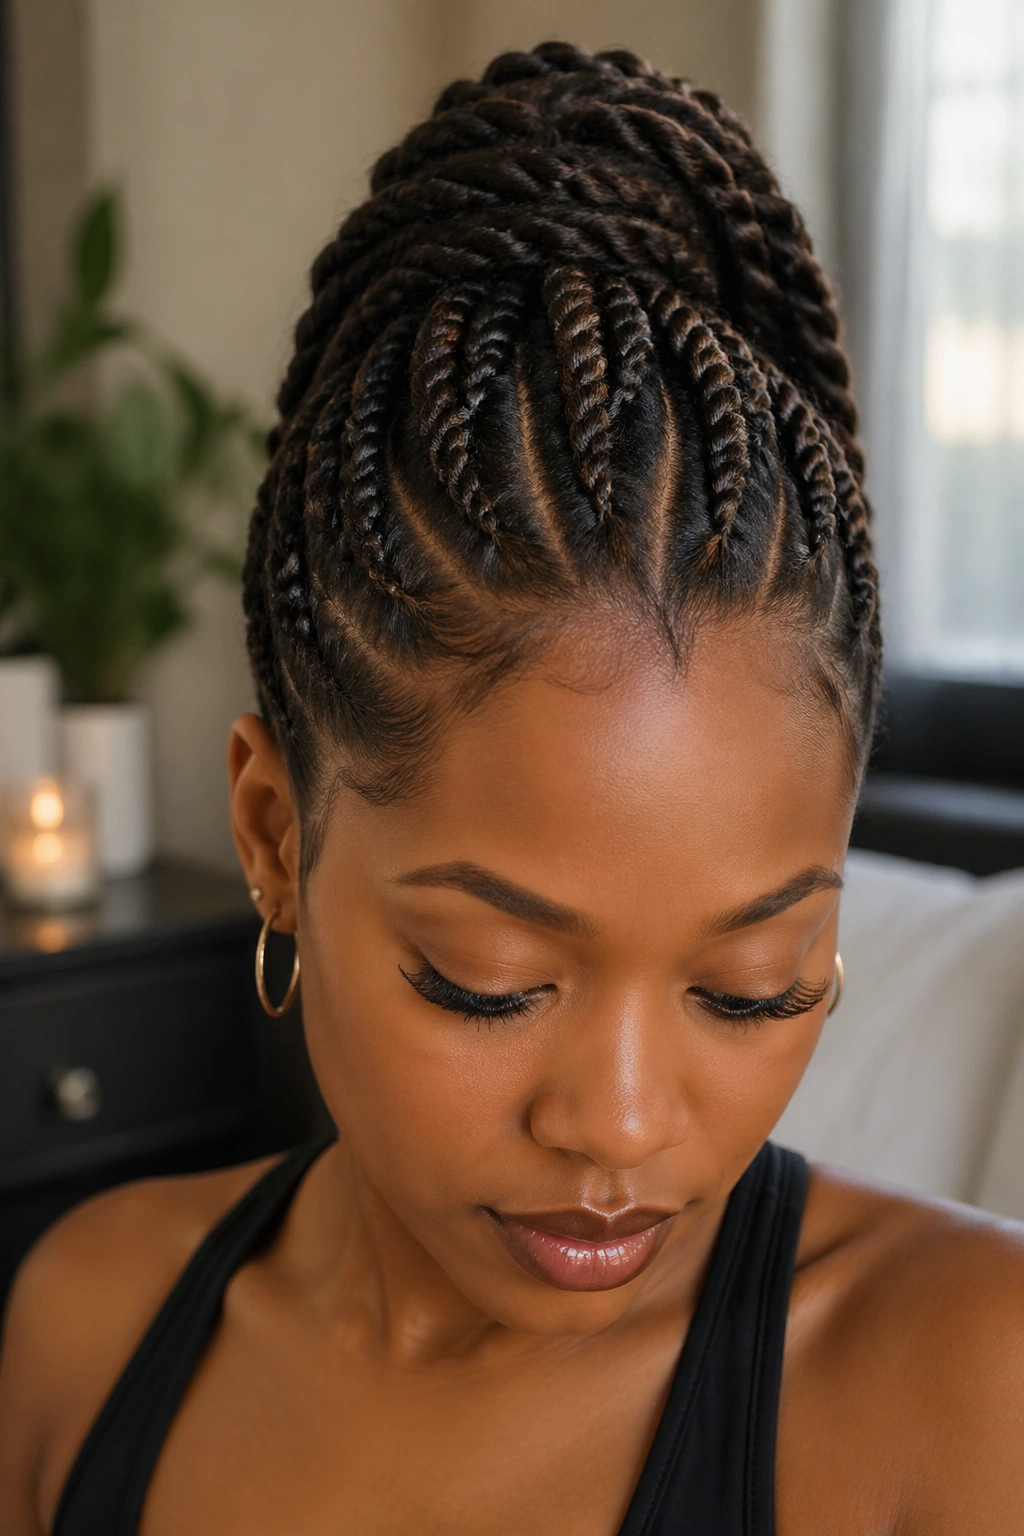
Flat twists gathering at the crown into a single high ponytail. The combination of the flat twist pattern with a lifted ponytail creates a polished, structured look.
The ponytail can be left as twist ends or wrapped with a piece of extension hair for a smooth finish.
The flat twist technique is gentler on edges than cornrows when combined with a high ponytail gather.
11. Flat Twist Side Ponytail
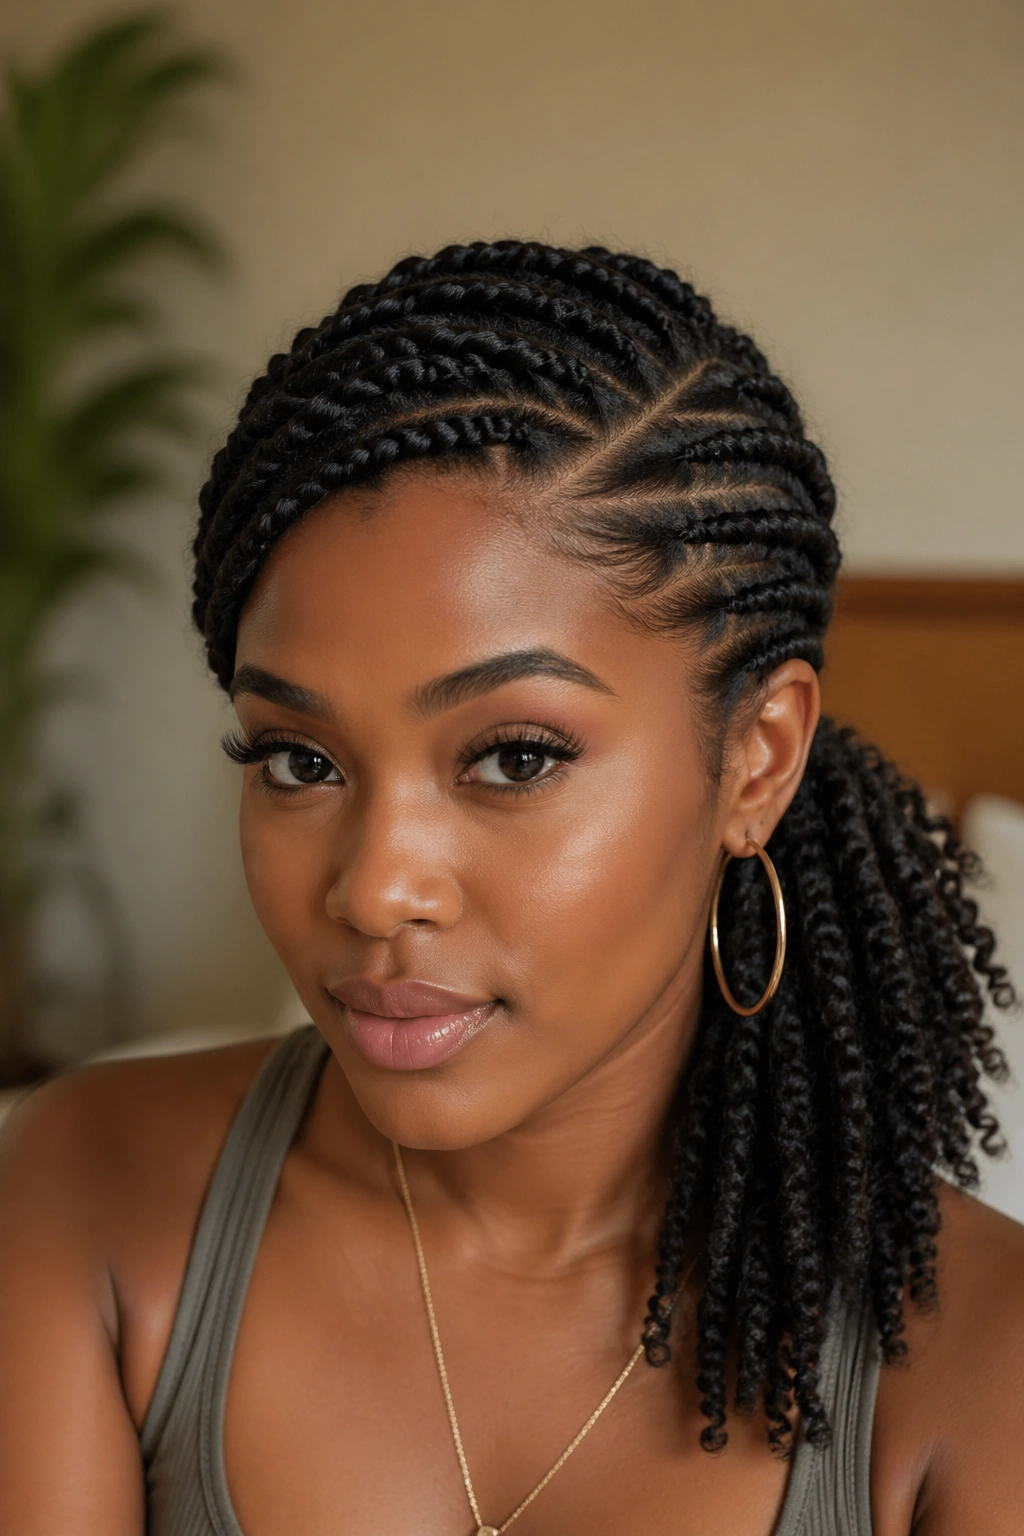
Flat twists curving to one side and gathering into an asymmetric side ponytail behind one ear.
The asymmetric flow creates an editorial, feminine silhouette. Best for dates, dinners, photoshoots.
The side ponytail falls forward over one shoulder. The exposed ear becomes a focal point — good for statement earrings.
12. Flat Twists With a Low Bun
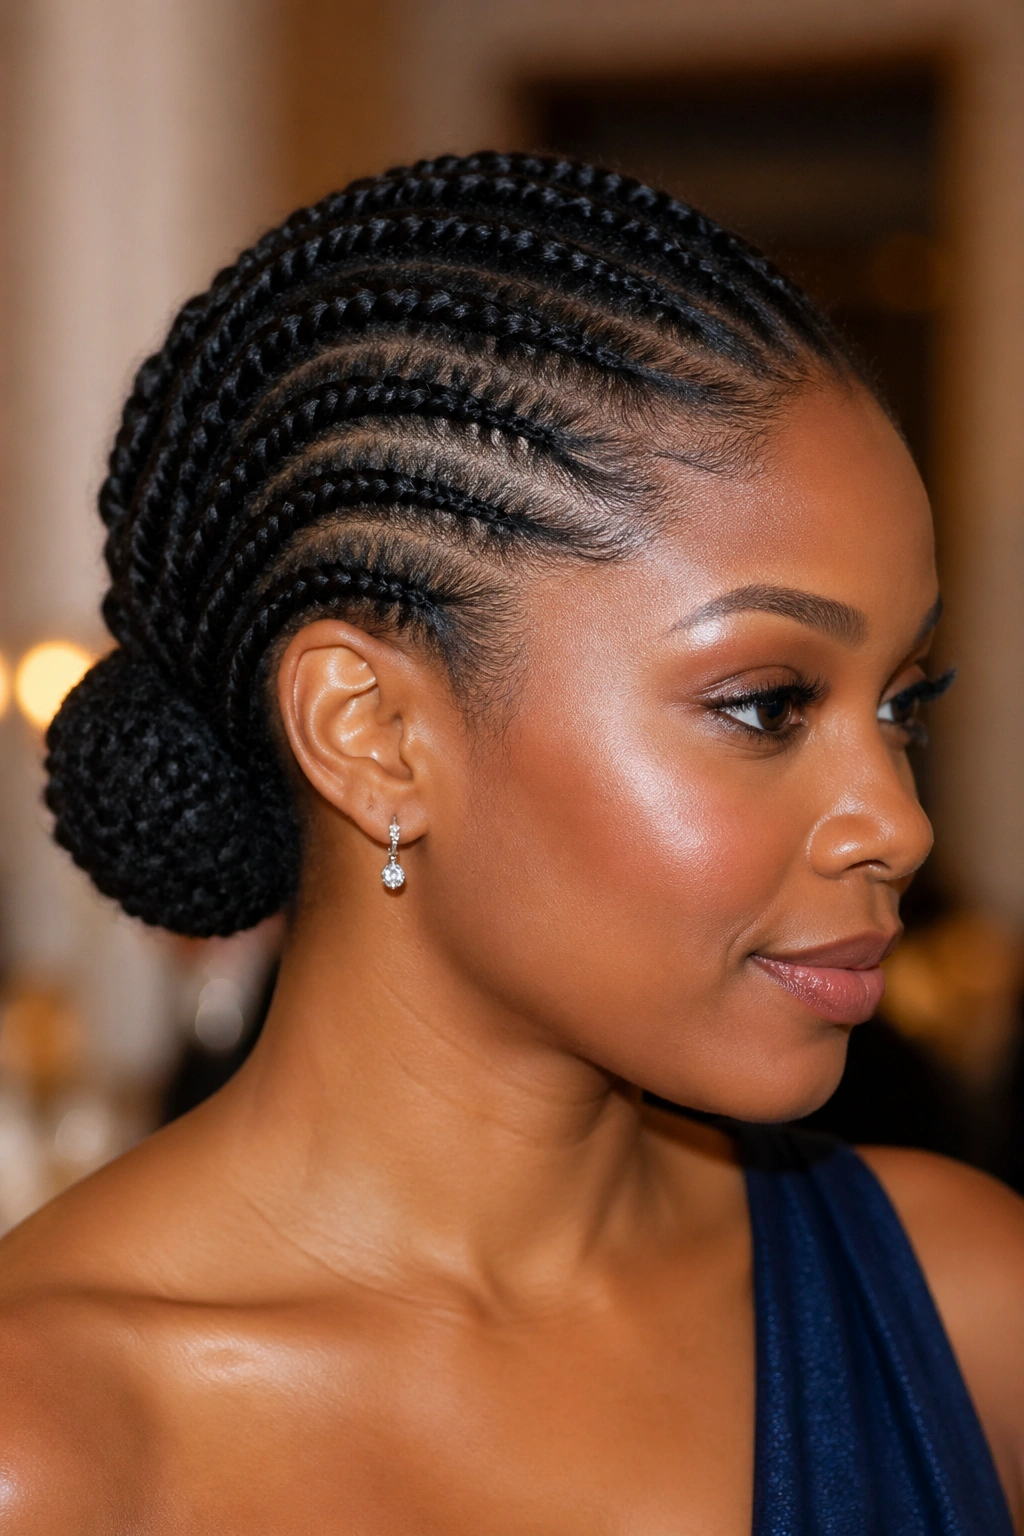
Flat twists gathering at the nape into a coiled bun. The low position is most flattering for formal settings.
The bun can be the twist ends wrapped around each other, or a donut form covered with the twists for a neater shape.
This is the wedding-day flat twist. Pair with a silk ribbon at the base for added elegance.
13. Flat Twists With Natural Hair Left Out
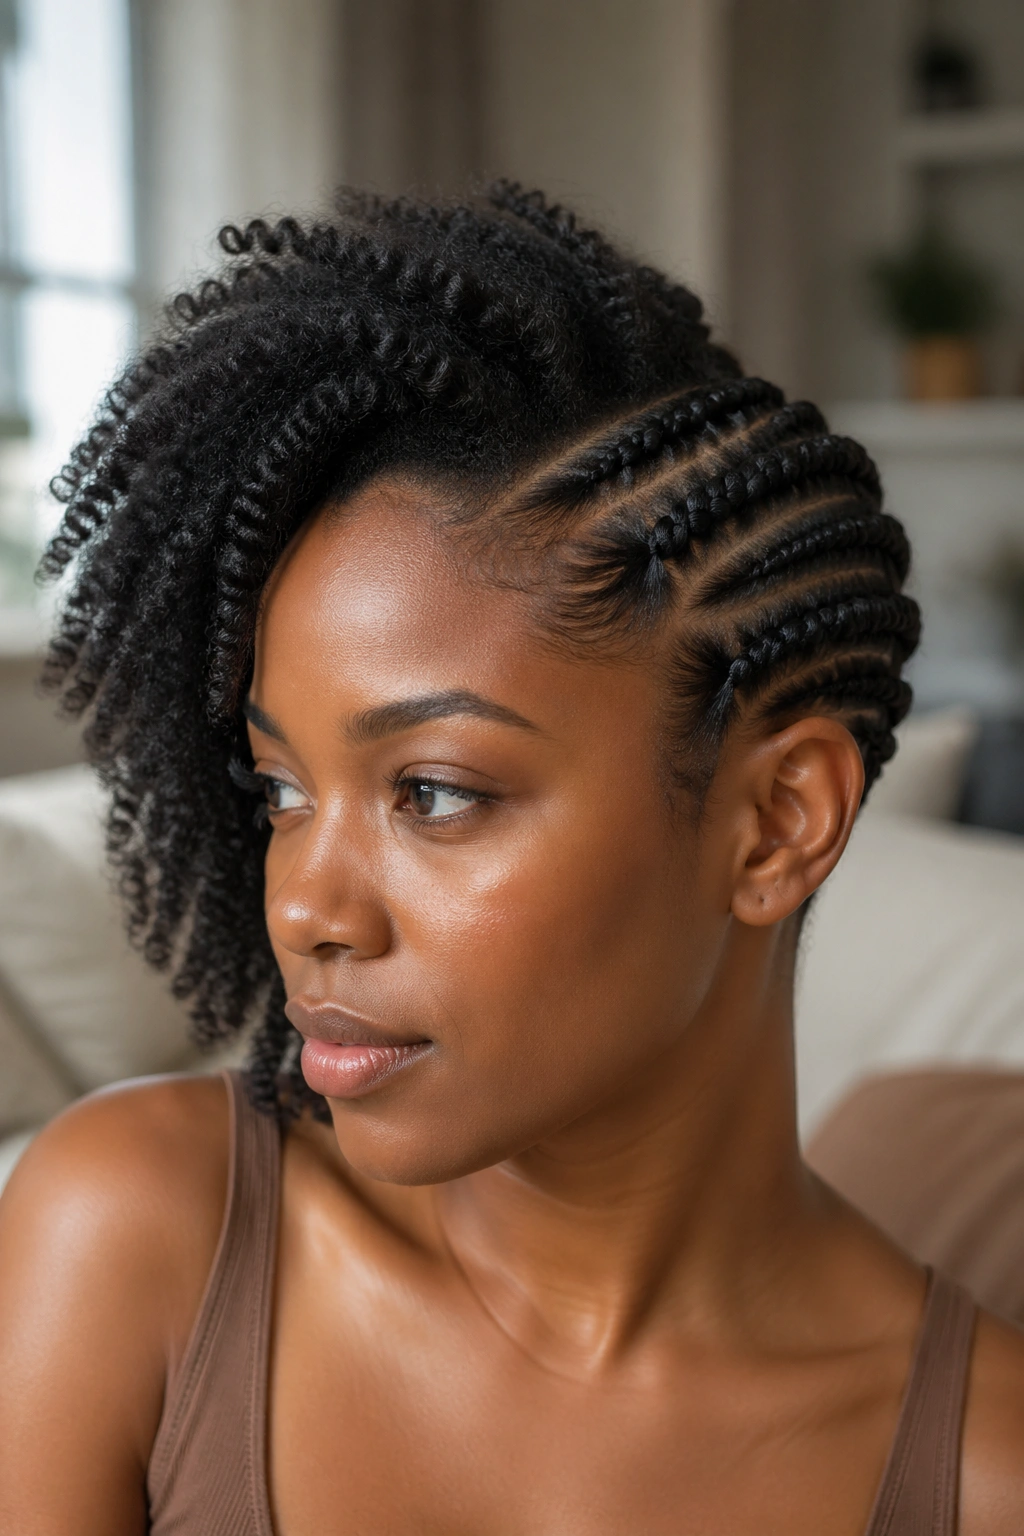
Half the head in flat twists, the other half in natural hair — either left in its natural coils or styled into a curly afro shape.
The contrast between structured twists and free-flowing natural hair creates dramatic visual tension.
Best for photoshoots or editorial looks. Not a typical daily wear style, but stunning for special occasions.
14. Flat Twists With Hair Jewelry
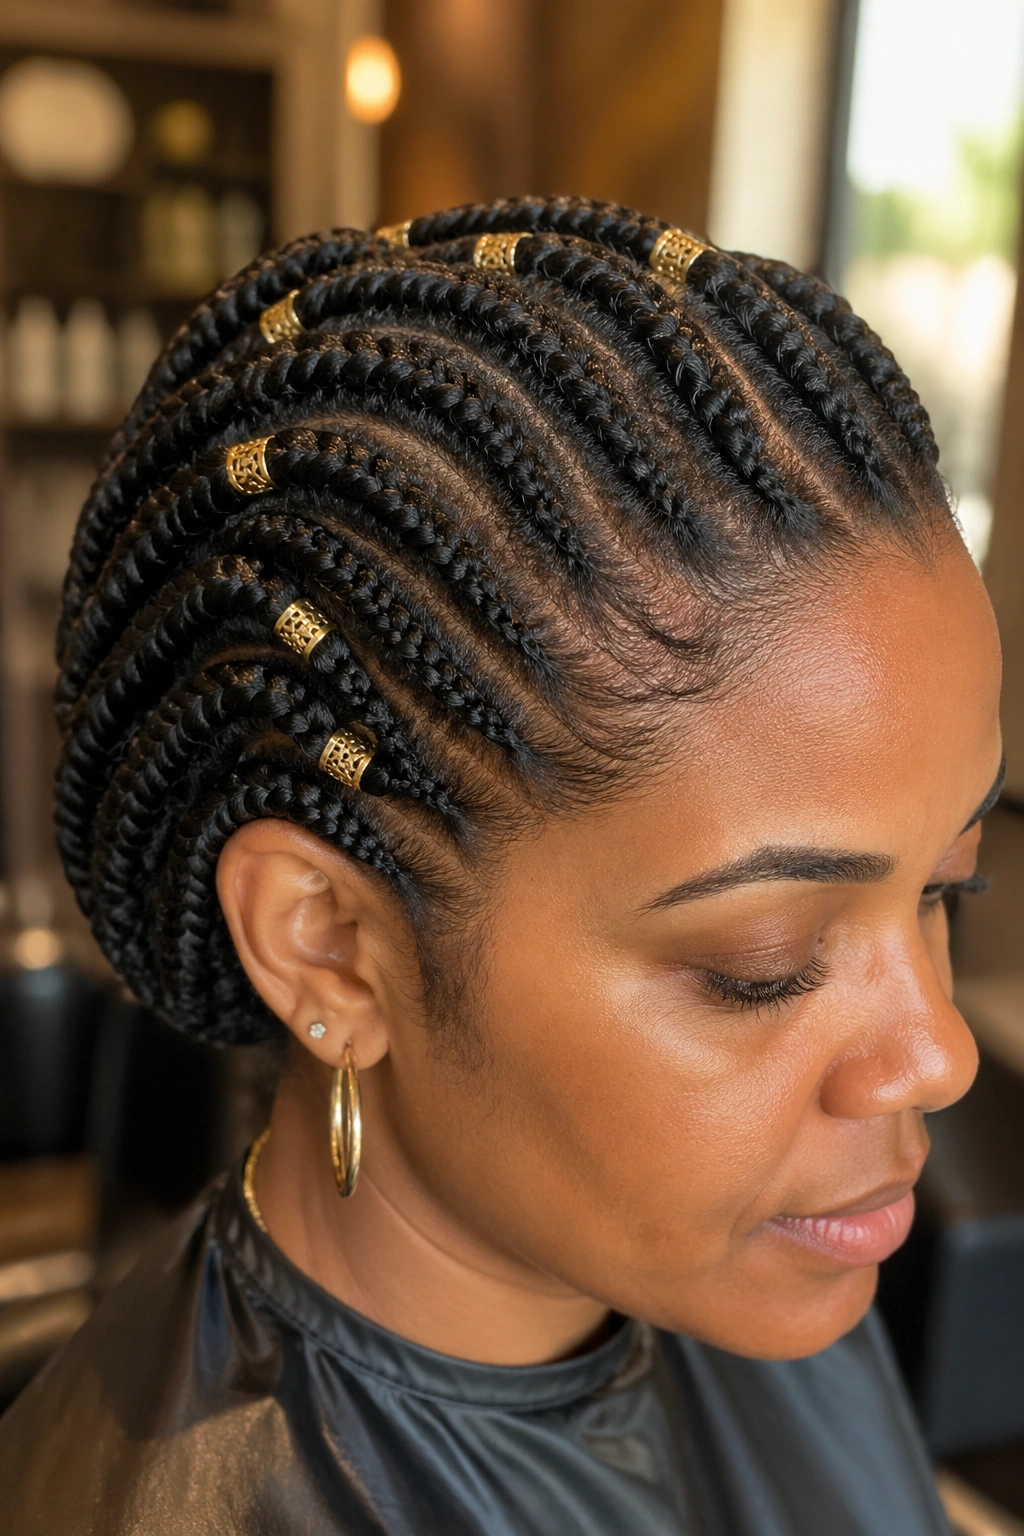
Small metal cuffs placed at intervals along the flat twists. The cuffs add decorative weight without overwhelming the texture.
Gold cuffs complement darker hair. Silver complements lighter or colored tips.
Size the cuffs carefully — too tight damages the twist pattern, too loose slides down the length.
15. Flat Twist Crown With Rosette
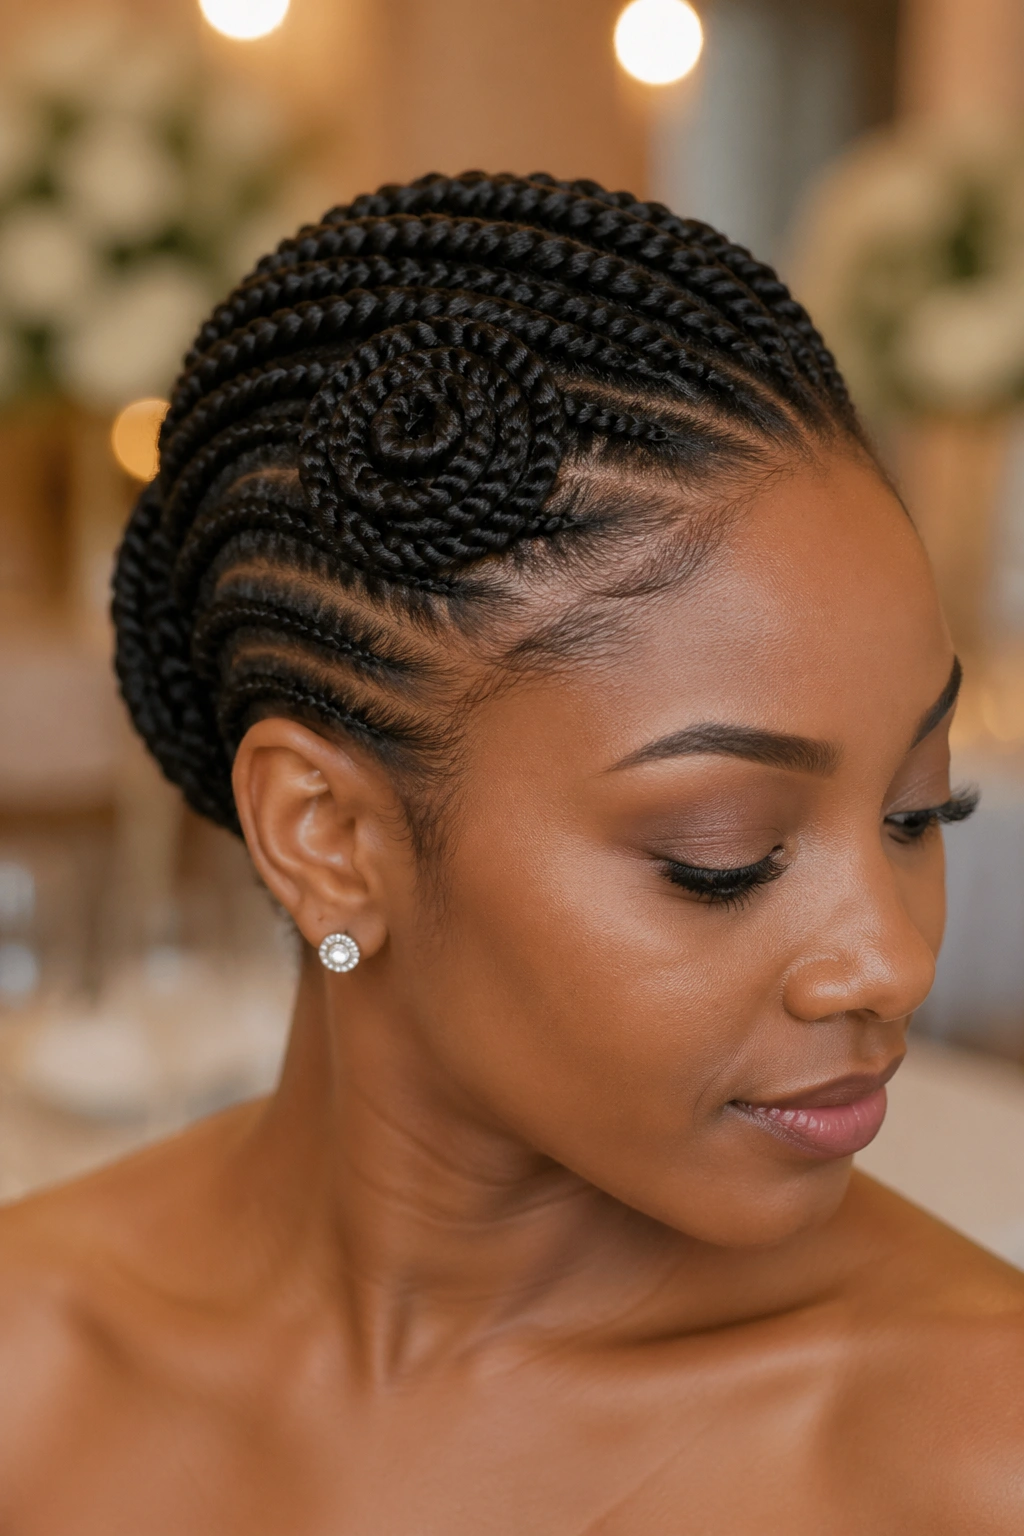
Flat twists arranged in a crown around the head, with a small rosette (a twist coiled into a flower shape) positioned at one side or the center front.
The rosette is a decorative focal point. It catches the eye without dominating the overall design.
This style works for weddings, formal events, or cultural celebrations. It’s intentional and ceremonial.
16. Flat Twists With an Undercut
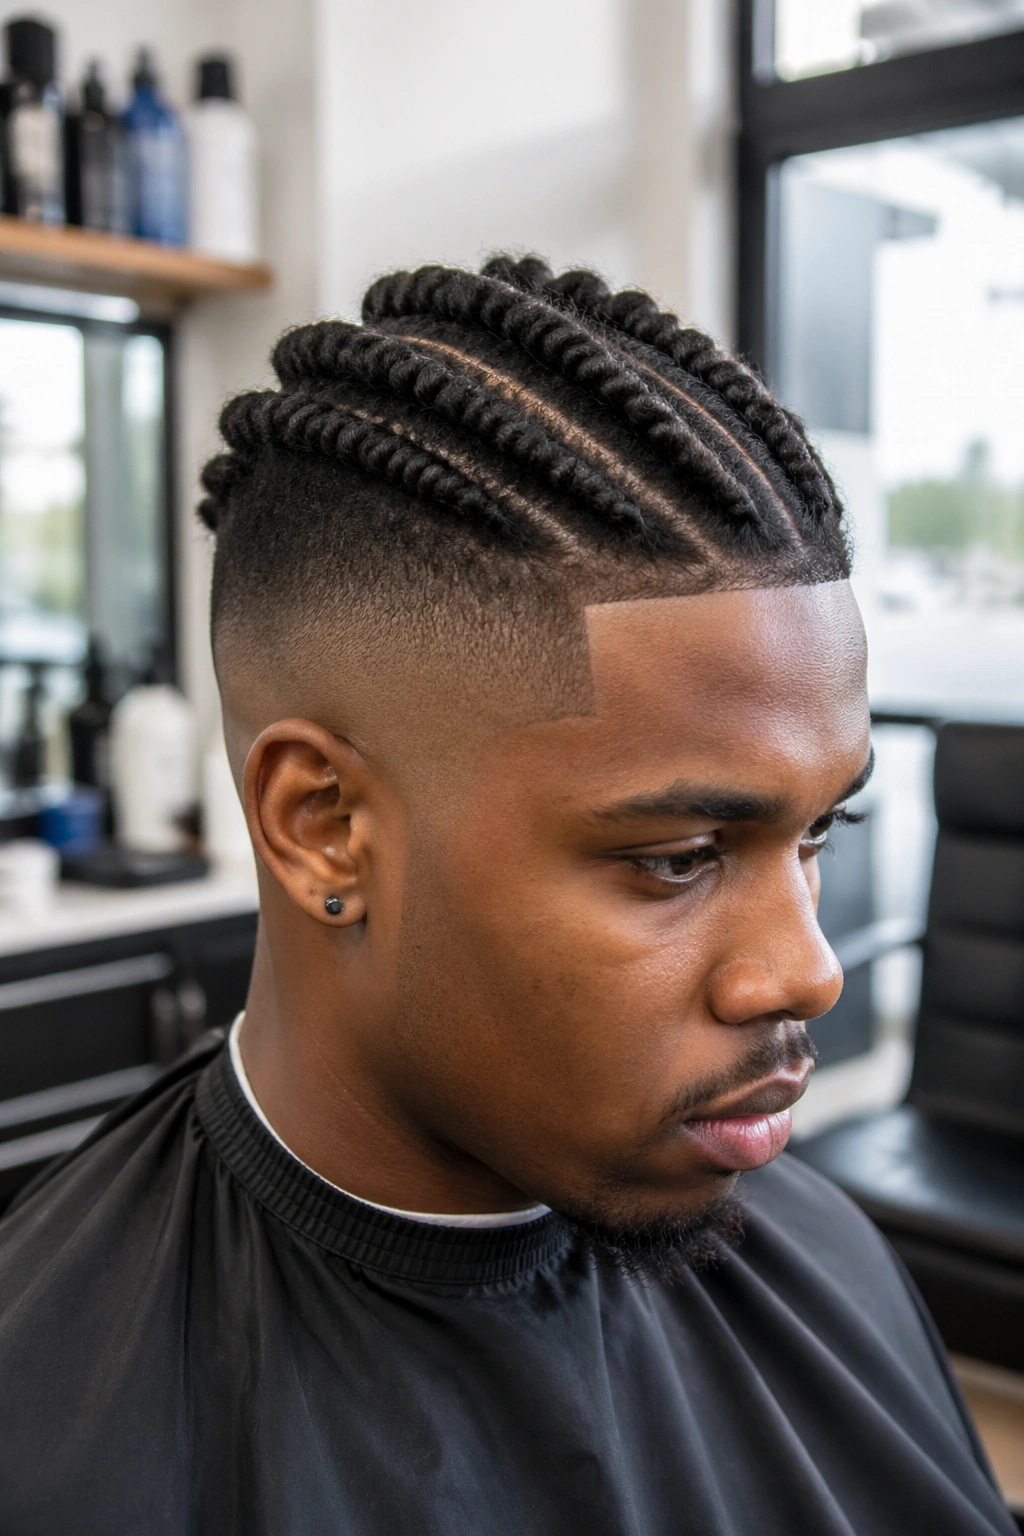
Flat twists on the crown of the head with the sides shaved or faded. The shaved sides provide contrast to the textured twists above.
The undercut requires a barber touch-up every 2-3 weeks. The flat twists themselves last 2-3 weeks, so maintenance can align.
This is the boldest flat twist style. Best for those already comfortable with shaved sides.
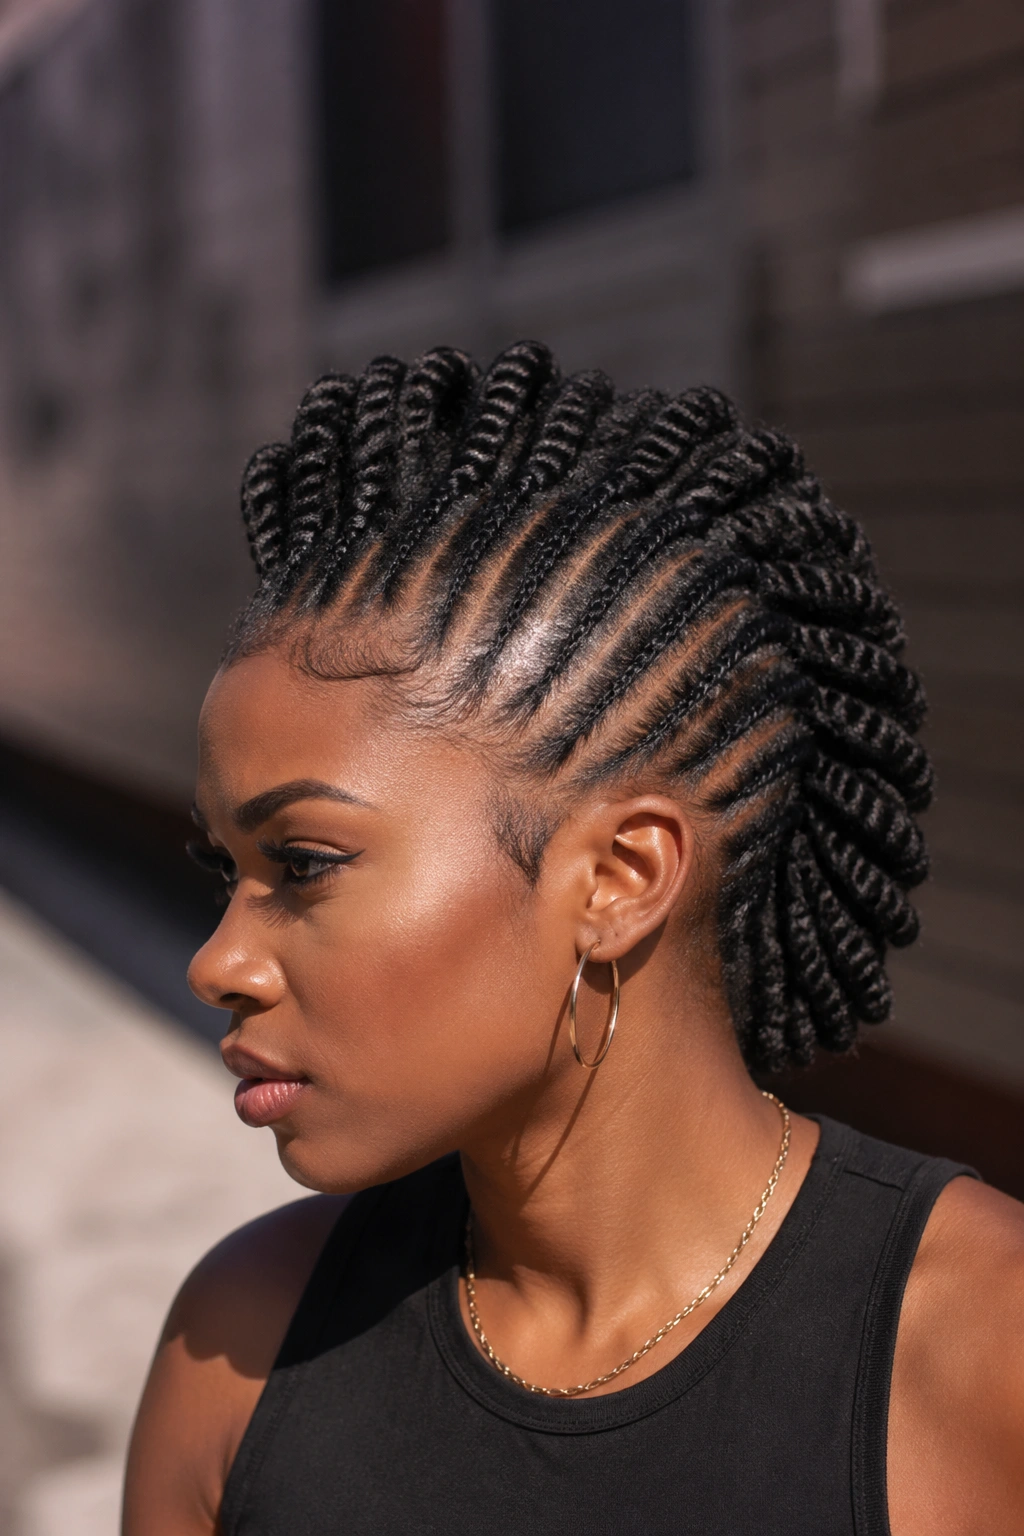
17. Flat Twist Fauxhawk
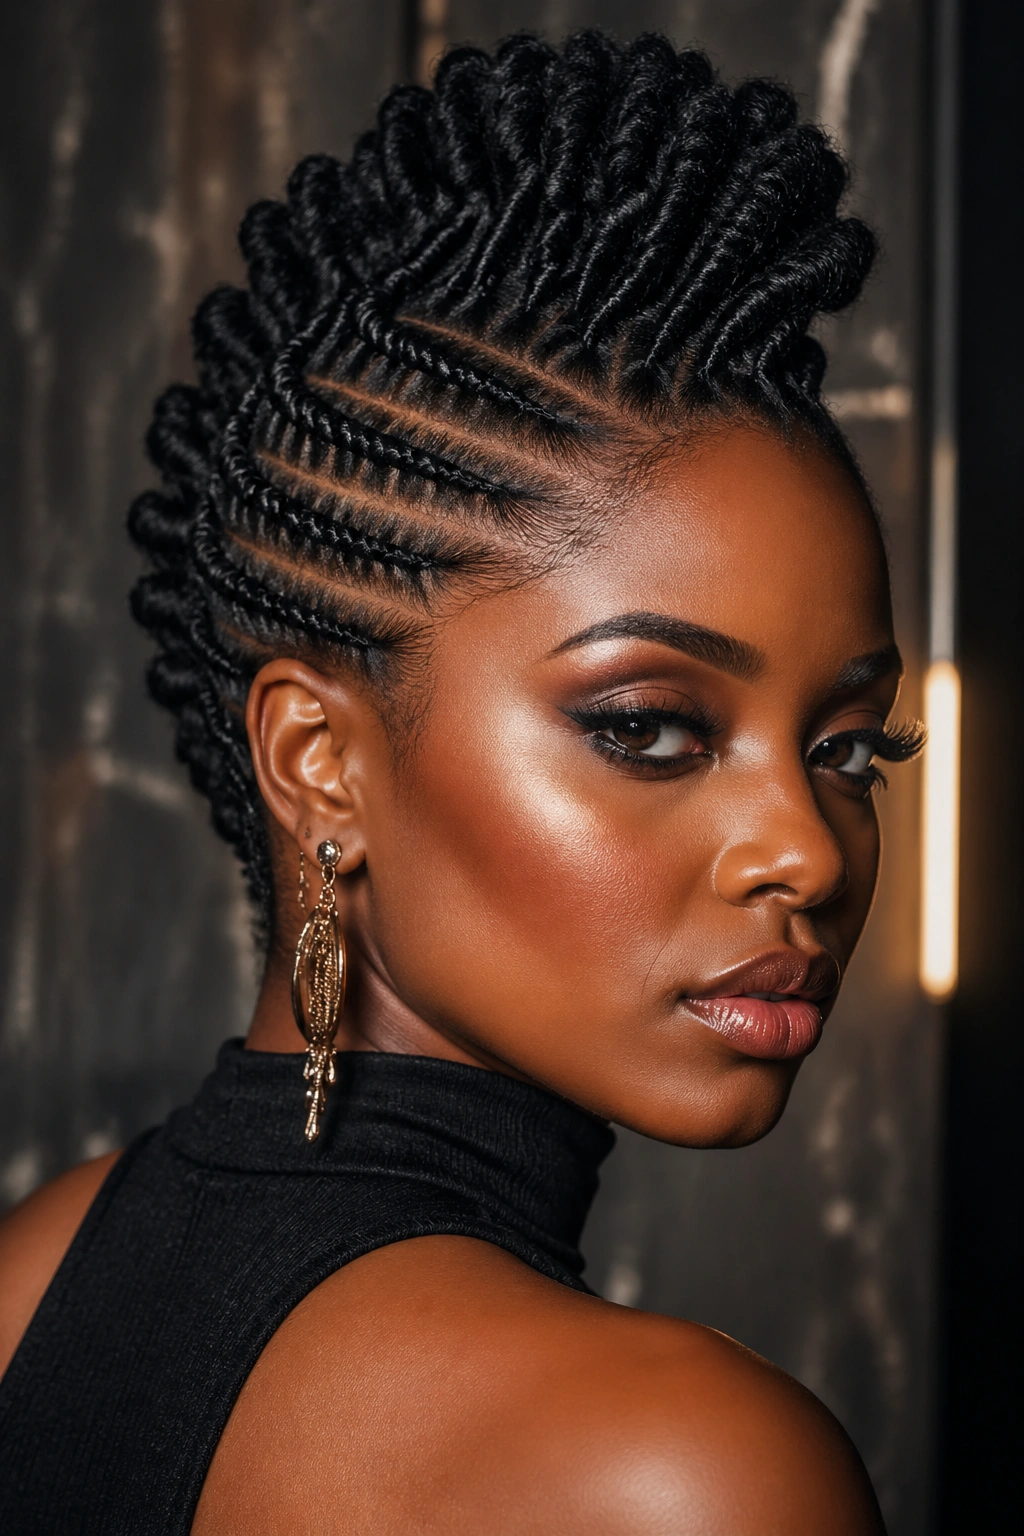
Flat twists arranged to create a fauxhawk effect — the twists swept upward and inward toward a central ridge running from front to back of the head.
Unlike a traditional mohawk, the fauxhawk doesn’t require shaved sides. The sides are flat-twisted closer to the scalp while the center ridge has taller, more prominent twists.
This is an editorial, high-fashion style. Best for photoshoots, performances, or bold daily wear.
18. Flat Twists With Ombre Tips
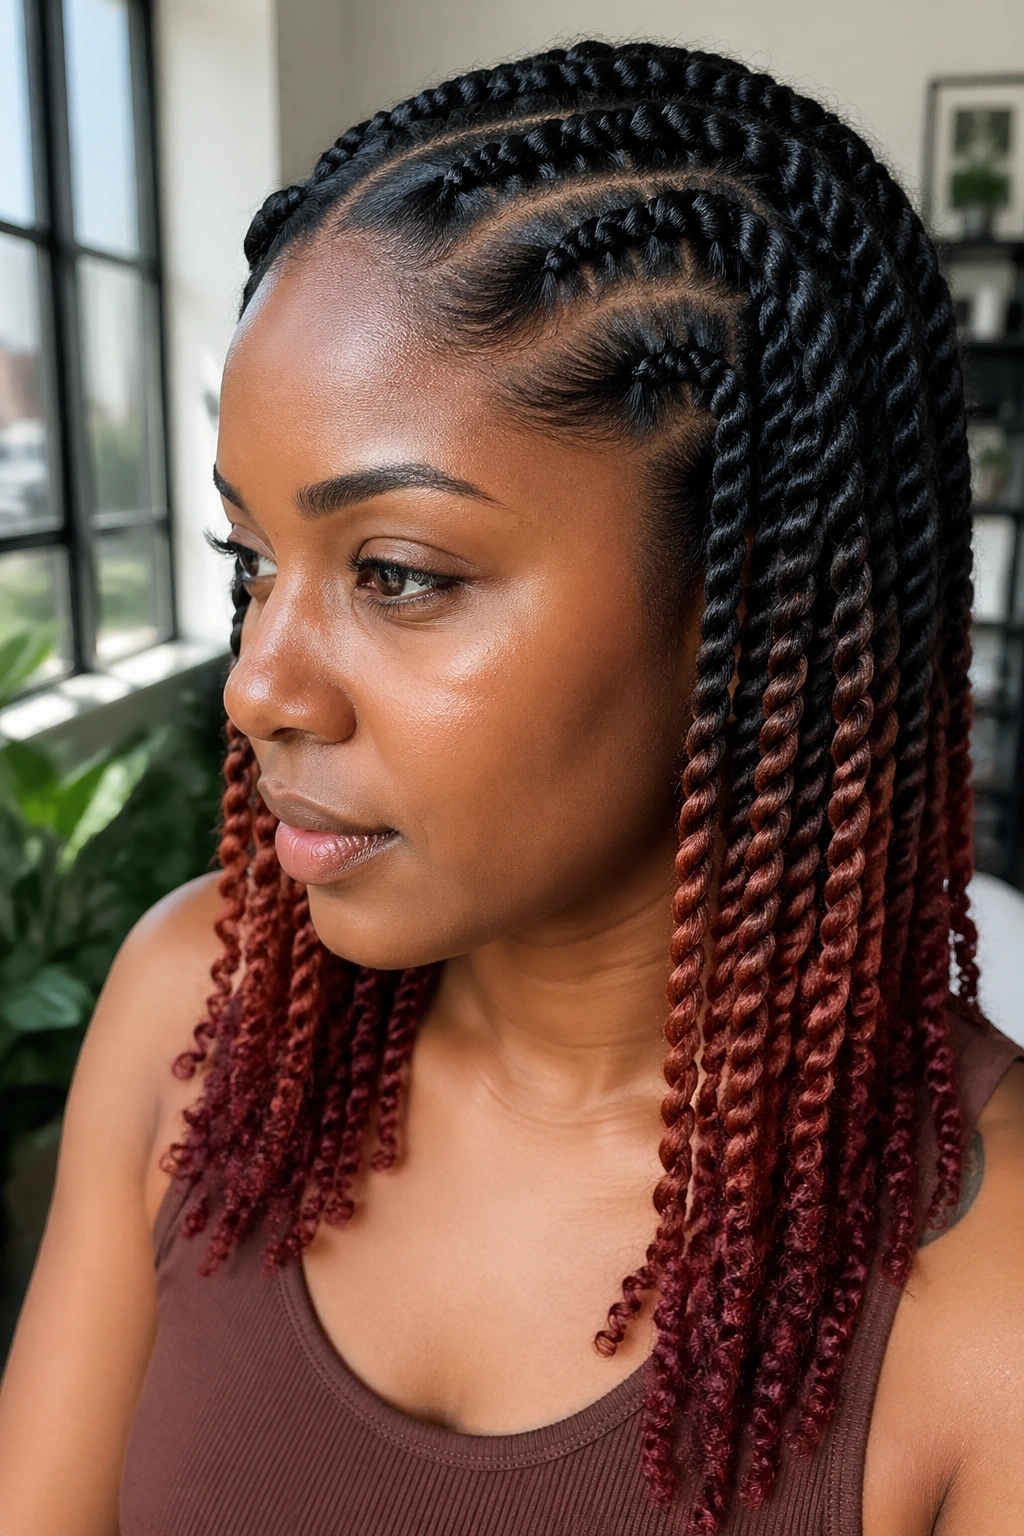
Flat twists with the ends colored in a contrasting shade — burgundy, copper, or honey. The ombre effect comes from extension hair added at the tips or from temporarily dyed natural ends.
The color shows most clearly when the twists move. Walking, dancing, turning — that’s when the color flashes.
Temporary color sprays work for event-day color without long-term commitment.
19. Flat Twists With a Swept Fringe
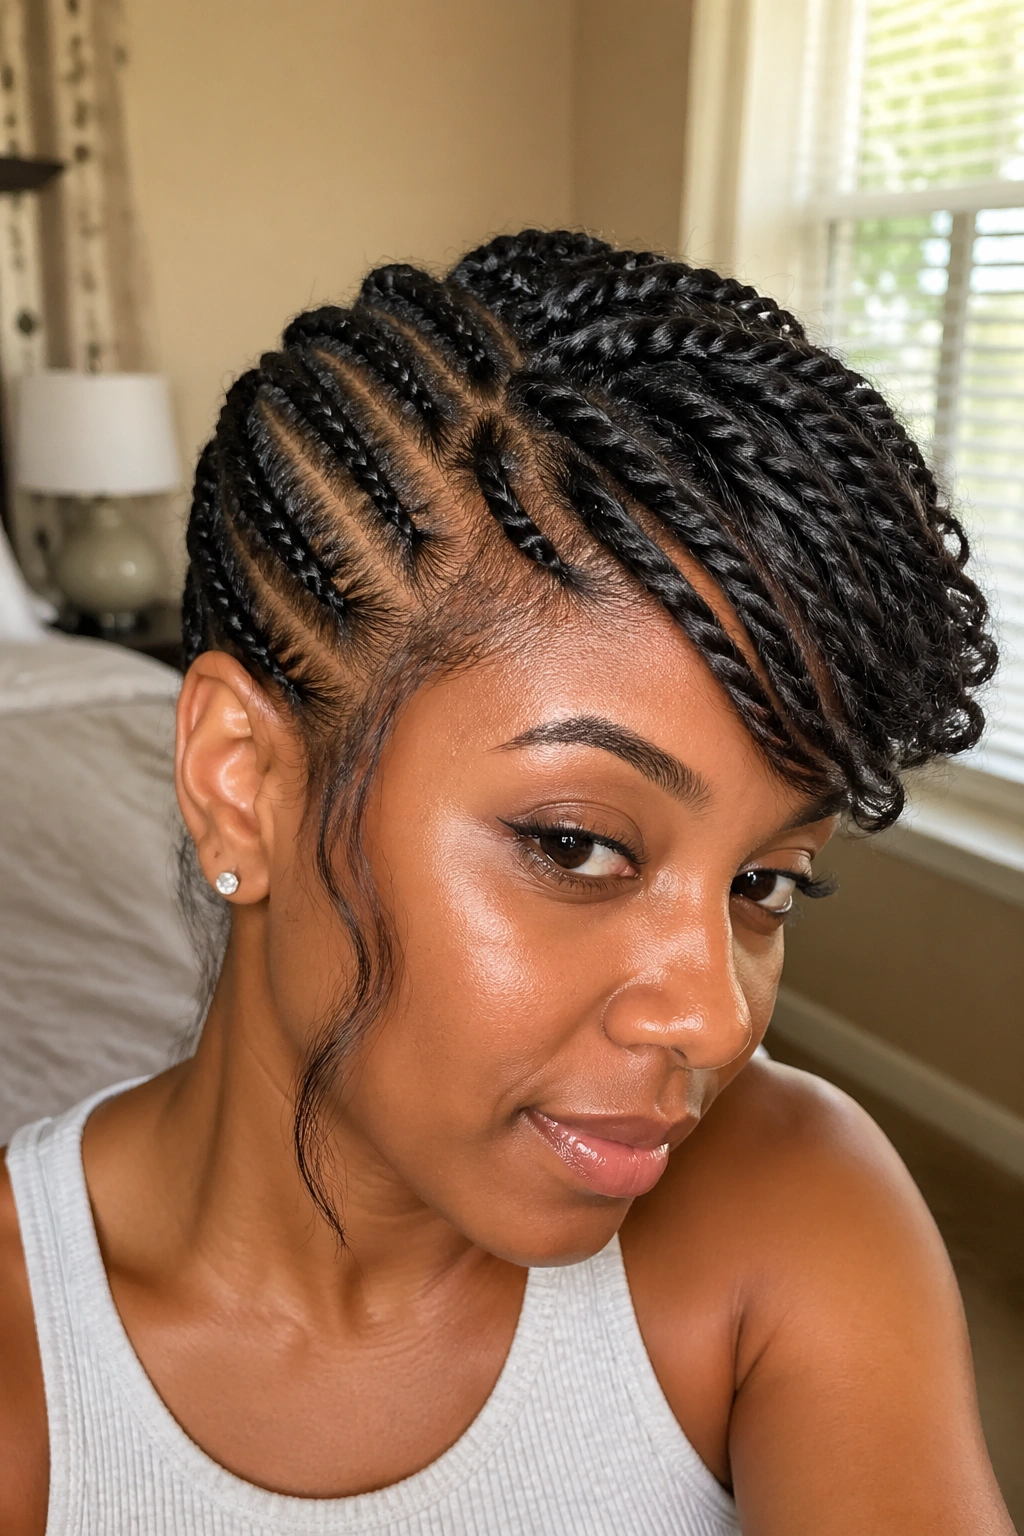
Flat twists with a section of loose hair left out at the front and styled as a swept fringe over the forehead.
The fringe softens the structured twists. Best for round faces or anyone who wants feminine framing.
The fringe needs daily styling — flat iron, blow dryer, or overnight silk wrap.
20. Flat Twist Halfway Up
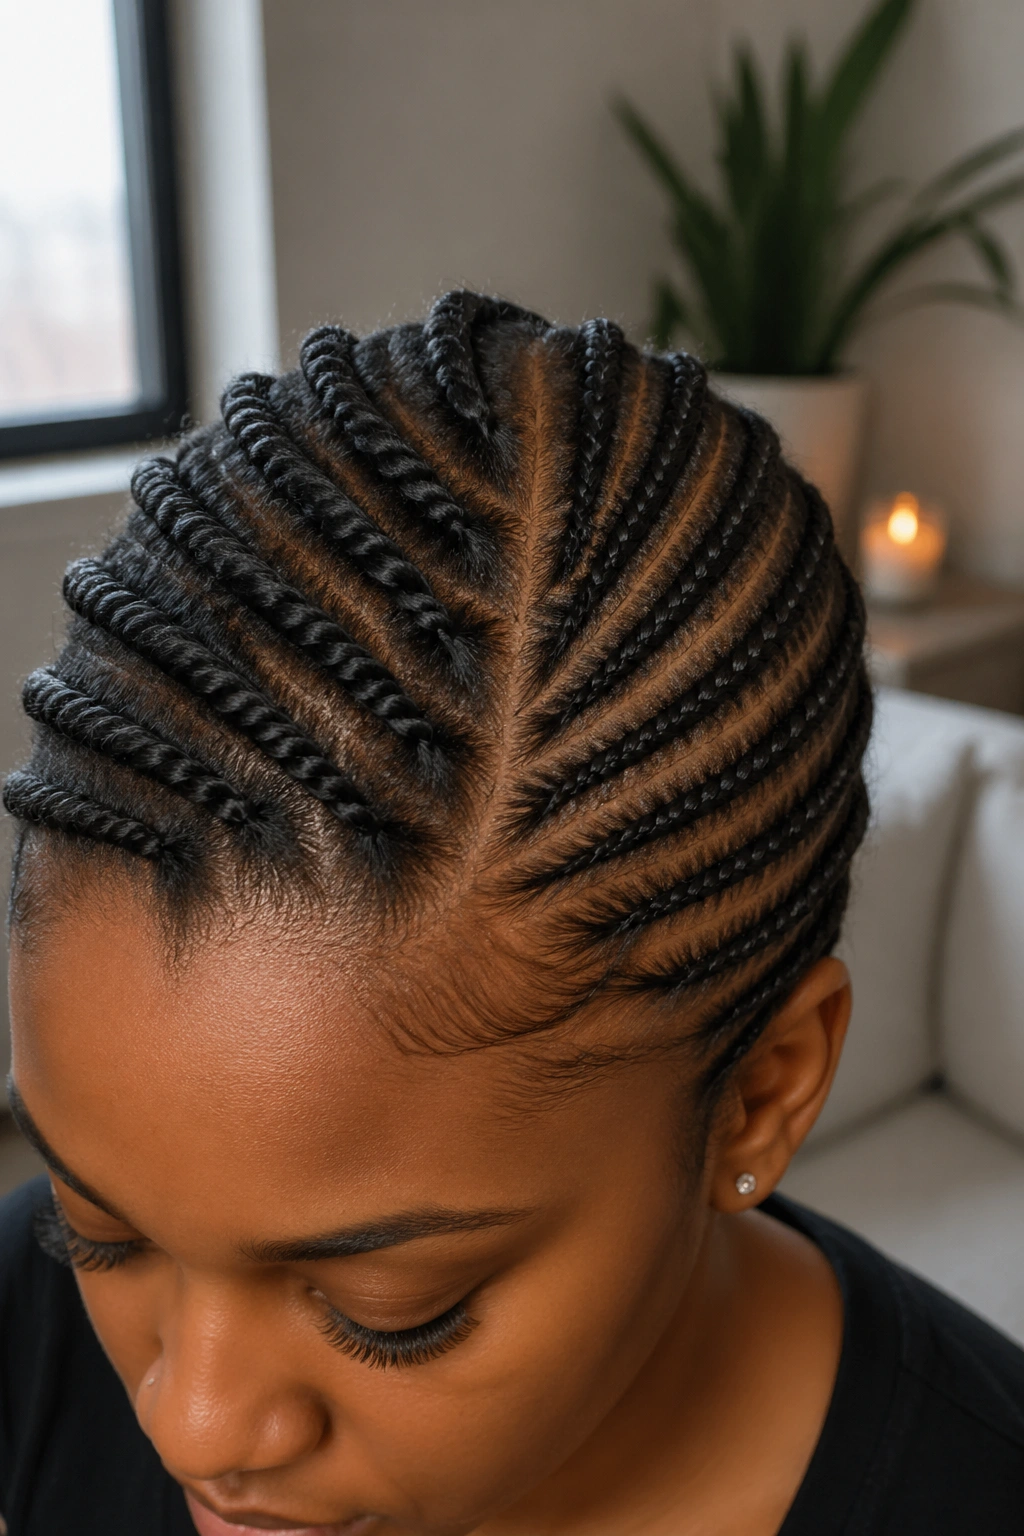
Flat twists only at the top half of the head, with the bottom half left in natural hair or styled into a curly cascade.
This is a half-up style without the gathered bun at the back. The twists stay flat; the bottom flows free.
The transition between twisted and free needs clean borders. Skilled execution makes the two zones look intentionally separate.
21. Flat Twists With Thread Wrapping
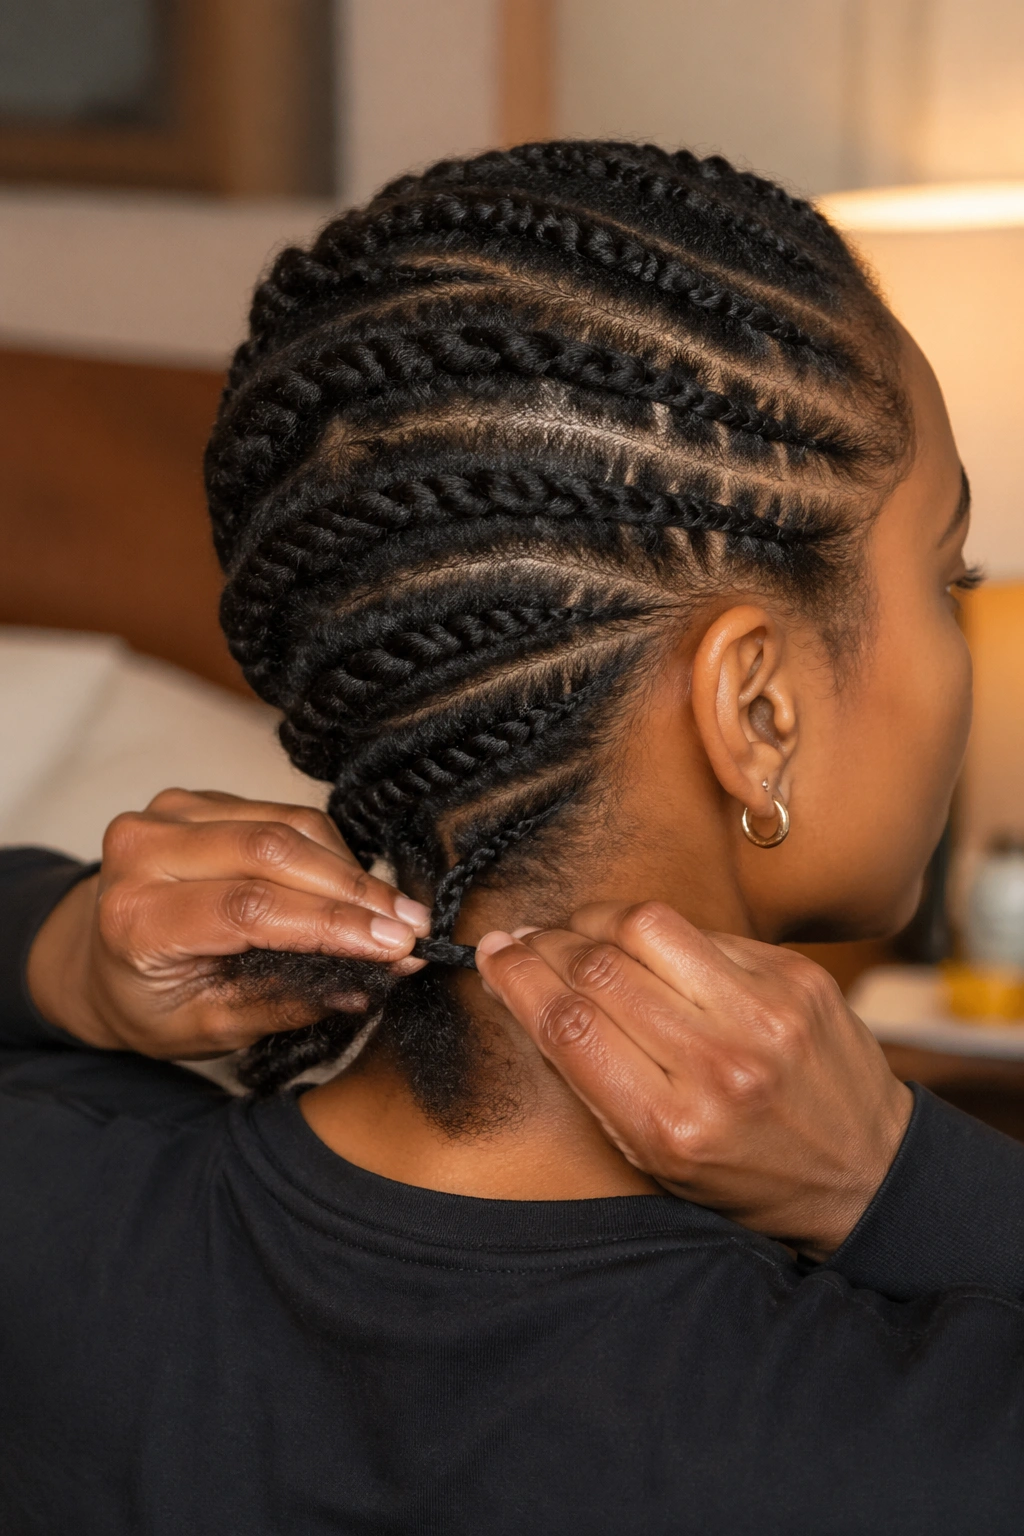
Selected flat twists wrapped with colored thread — gold, copper, or black cord — along their length. The thread adds a decorative surface element.
Thread wrapping on flat twists is subtler than on cornrows because the rope pattern already has texture. Pick just 2-3 twists to wrap to avoid competing textures.
22. Flat Twist Criss-Cross Pattern
Flat twists that intersect in a criss-cross pattern at the crown before continuing back. The intersections create a woven look at the top of the head.
This is a technical style requiring skilled execution. The intersections must hold shape without tangling.
Best seen from above or in photographs where the crown is visible.
23. Flat Twists With a Wrapped Bun
Flat twists leading into a high or mid-height bun wrapped with one of the twist ends. The wrap-around creates a clean, finished gather point.
The wrapped bun is more polished than a simple tied bun. The wrap hides the gather mechanism.
Good for office settings, casual dates, everyday elegance.
24. Flat Twists With a Geometric Front
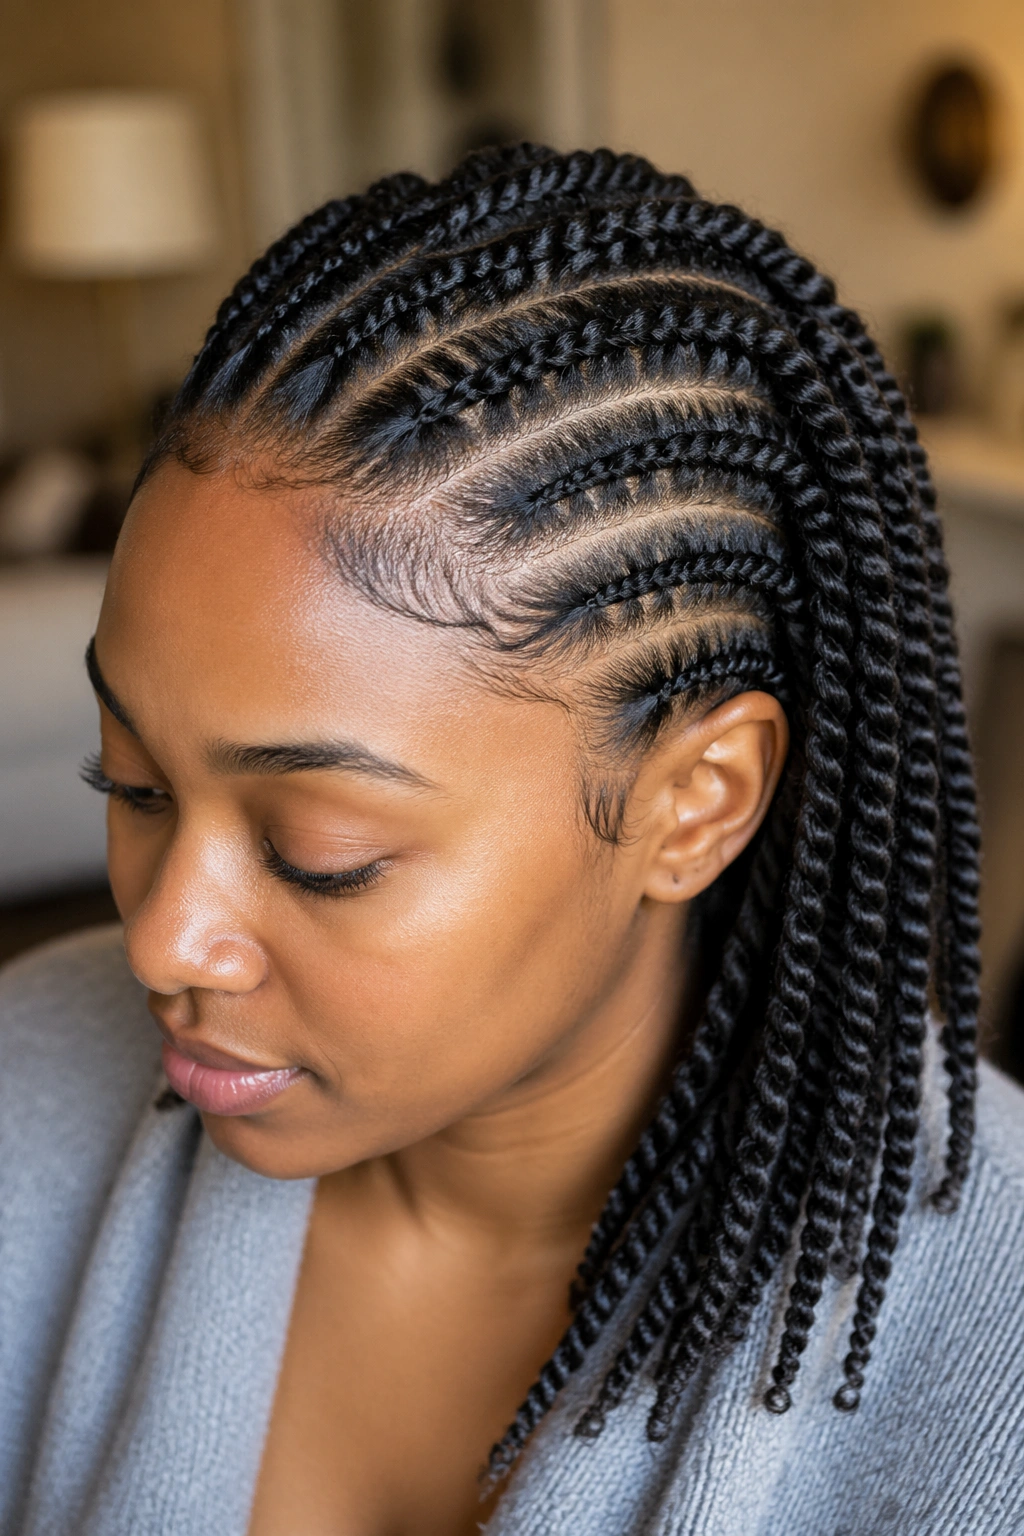
The front few rows of flat twists arranged in a geometric pattern — triangles, chevrons, or diagonal lines — before joining the rest running back.
The geometric front signals that the style is intentional and designed, not quick.
Adds 20-30 minutes to the install. Worth it for events where the design itself is part of your look.
25. Flat Twists With Full Extension Length
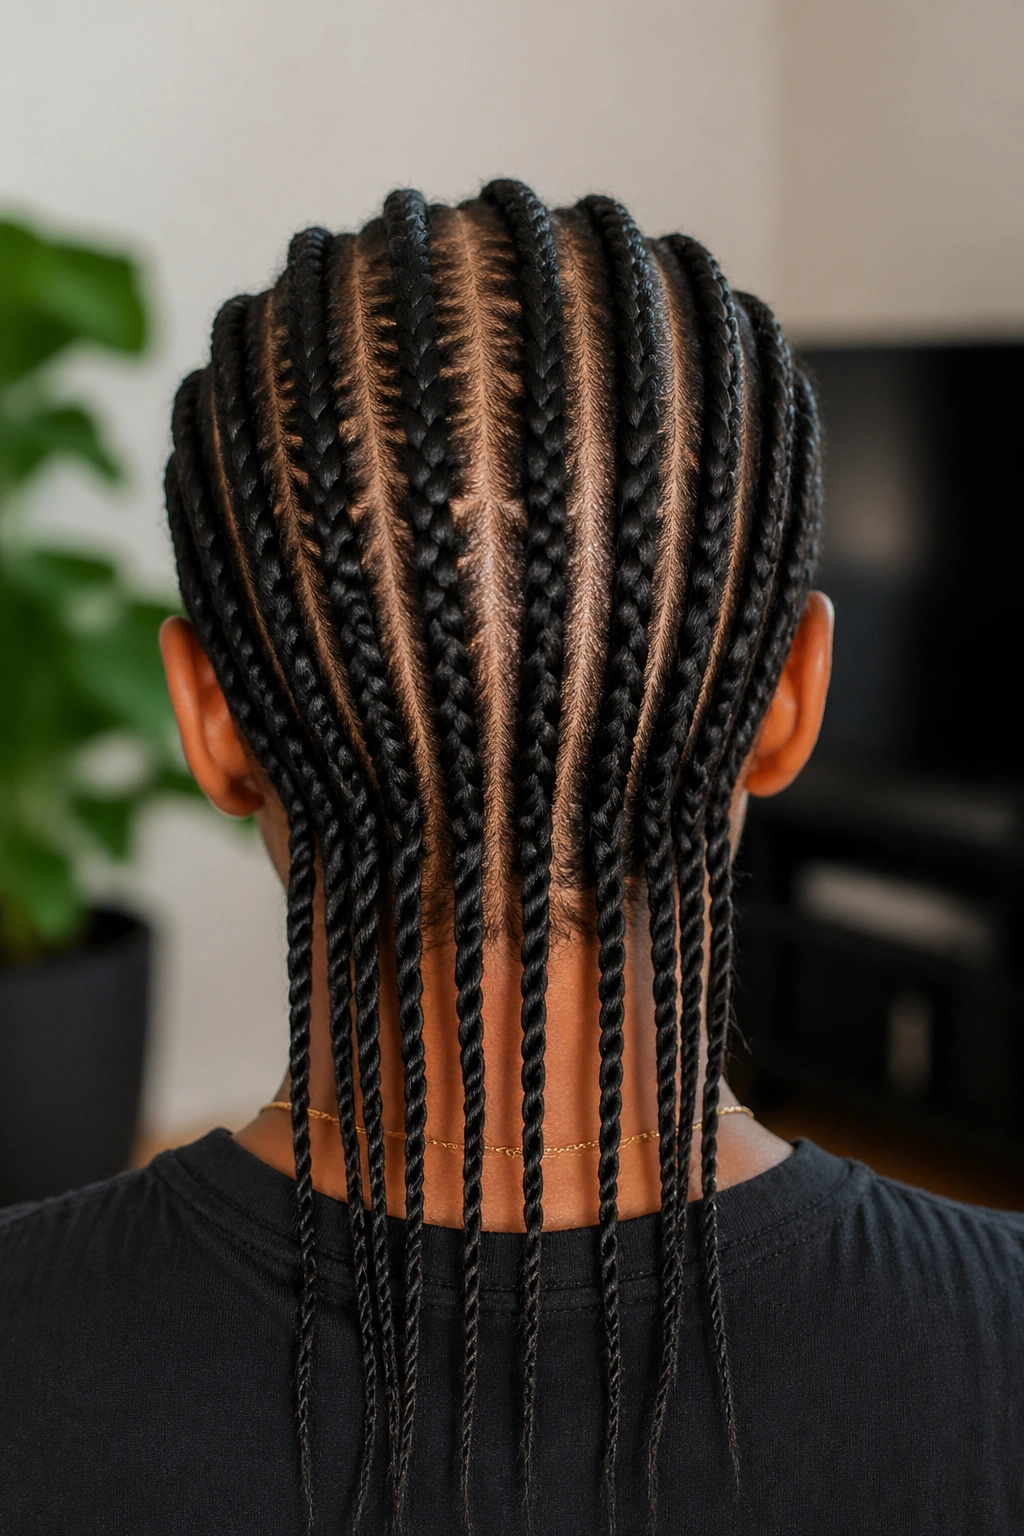
Flat twists with kanekalon or extension hair added to reach mid-back or waist length. Unlike most flat twist styles that work with natural hair only, this version uses extensions for dramatic length.
The extension is added during the twisting process, similar to how it’s added in feed-in cornrows.
Best for those wanting long hair drama without the longer install time of cornrows. Flat twists with extensions still take less time than cornrows with extensions.
Maintaining Flat Twist Styles
Flat twists need slightly different maintenance than cornrows.
Sleep on satin nightly. Flat twist texture shows friction damage quickly.
Moisturize more often than cornrows. The rope pattern has more exposed surface area, which dehydrates faster. Mist with water and leave-in conditioner every 2-3 days.
Light oil on the scalp every 3-4 days. Jojoba, argan, or light sweet almond oil.
Edge touch-ups weekly with a small amount of gel. Flat twists need clean edges to look polished.
Refreshing Flat Twists Mid-Install
Because flat twists don’t last as long as cornrows, mid-install refreshes extend their life significantly.
Week 1: no refresh needed if prep was done correctly.
Week 2: re-lay edges, mist with moisture spray, oil the scalp.
Week 3: some twists may start unraveling at the tips. Re-twist problem areas using your fingers — flat twists are easy to repair without a full redo.
When to Take Flat Twists Down
Flat twists should come out by week 3. Past that point, the tips start unraveling significantly and the overall style loses definition.
Unlike cornrows (which can stay in 4-6 weeks), flat twists are a shorter-term style. Plan for 2-3 week rotation.
The takedown is easy — flat twists unravel in minutes. No conditioner required, no slow detangling.
Why Flat Twists Take Less Time
The two-strand technique is faster than three-strand weaving. Each stitch requires less coordination.
The lack of extensions in most flat twist styles also speeds up installation. No stopping to grab kanekalon pieces.
A skilled stylist can install 10 flat twists in 90 minutes. The same stylist would need 3-4 hours for the same 10 cornrows.
Picking Flat Twists vs Cornrows
Pick flat twists when:
- You want a gentler, softer look
- You have 2-3 hours but not 4-6
- You can DIY most of it yourself
- You want to alternate protective styles without extensive salon time
- You prefer natural hair showcasing over extension-heavy styles
Pick cornrows when:
- You want a style that lasts 4-6 weeks
- You want the more angular, woven look
- You don’t mind a longer install
- You want extensive extension length
Both are valid protective styles. The choice depends on your lifestyle, time budget, and aesthetic preference.
Common Mistakes With Flat Twists
Twisting too loosely. Flat twists need enough tension to stay flat against the scalp. Loose twists slide off and create bumpy, uneven patterns.
Using too much product. Heavy butters and creams weigh down the twists and create buildup. A light leave-in is enough.
Skipping the stretch stage. Flat twists on unstretched hair create frizzy, lumpy patterns. Stretching is non-negotiable.
Wearing them past three weeks. The tips unravel, the pattern loses definition, and the style stops looking intentional.
Forgetting satin overnight. One night on cotton creates visible frizz across all the twists.
Flat twist cornrow styles are the best middle ground between full braided protective styles and looser natural hair looks. They protect your hair, showcase your texture, save hours of install time, and pair well with everything from casual to formal. Once you’ve mastered the technique, flat twists become a regular rotation in any natural hair routine.
