



Stitch cornrow styles are where braiding meets architecture. Each row features visible horizontal “stitches” along the braid shaft — tiny ladder rungs of texture that show every place a new section of extension hair was added. The technique elevates cornrows from basic protective styling into something that reads as sculpted, precise, and salon-fresh for weeks.
What sets stitch cornrows apart is the emphasis on visible technique. Where feed-in extensions hide behind smooth rows, stitch cornrows celebrate the addition points. You see the work. You see the craftsmanship. That visibility is exactly why skilled stitch braiders command premium prices — their technique is on display from scalp to tip.
Below are 25 distinct stitch cornrow styles. Each one uses the stitched foundation but adds its own row count, pattern, finish, or accessory detail to stand apart from the rest.
What Is a Stitch Cornrow, Exactly
A stitch cornrow uses the feed-in technique with extra precision on spacing. As the braider adds each new section of kanekalon or braiding hair, the addition point shows as a visible horizontal band on the braid.
Those bands — the “stitches” — create a ladder pattern running the length of each braid. The ladder rungs are evenly spaced, consistent in size, and crisp in definition.
The technique takes longer than standard feed-in because each stitch requires deliberate placement. But the result holds up cleaner and longer than most cornrow variations.
Why Stitch Cornrows Last Longer
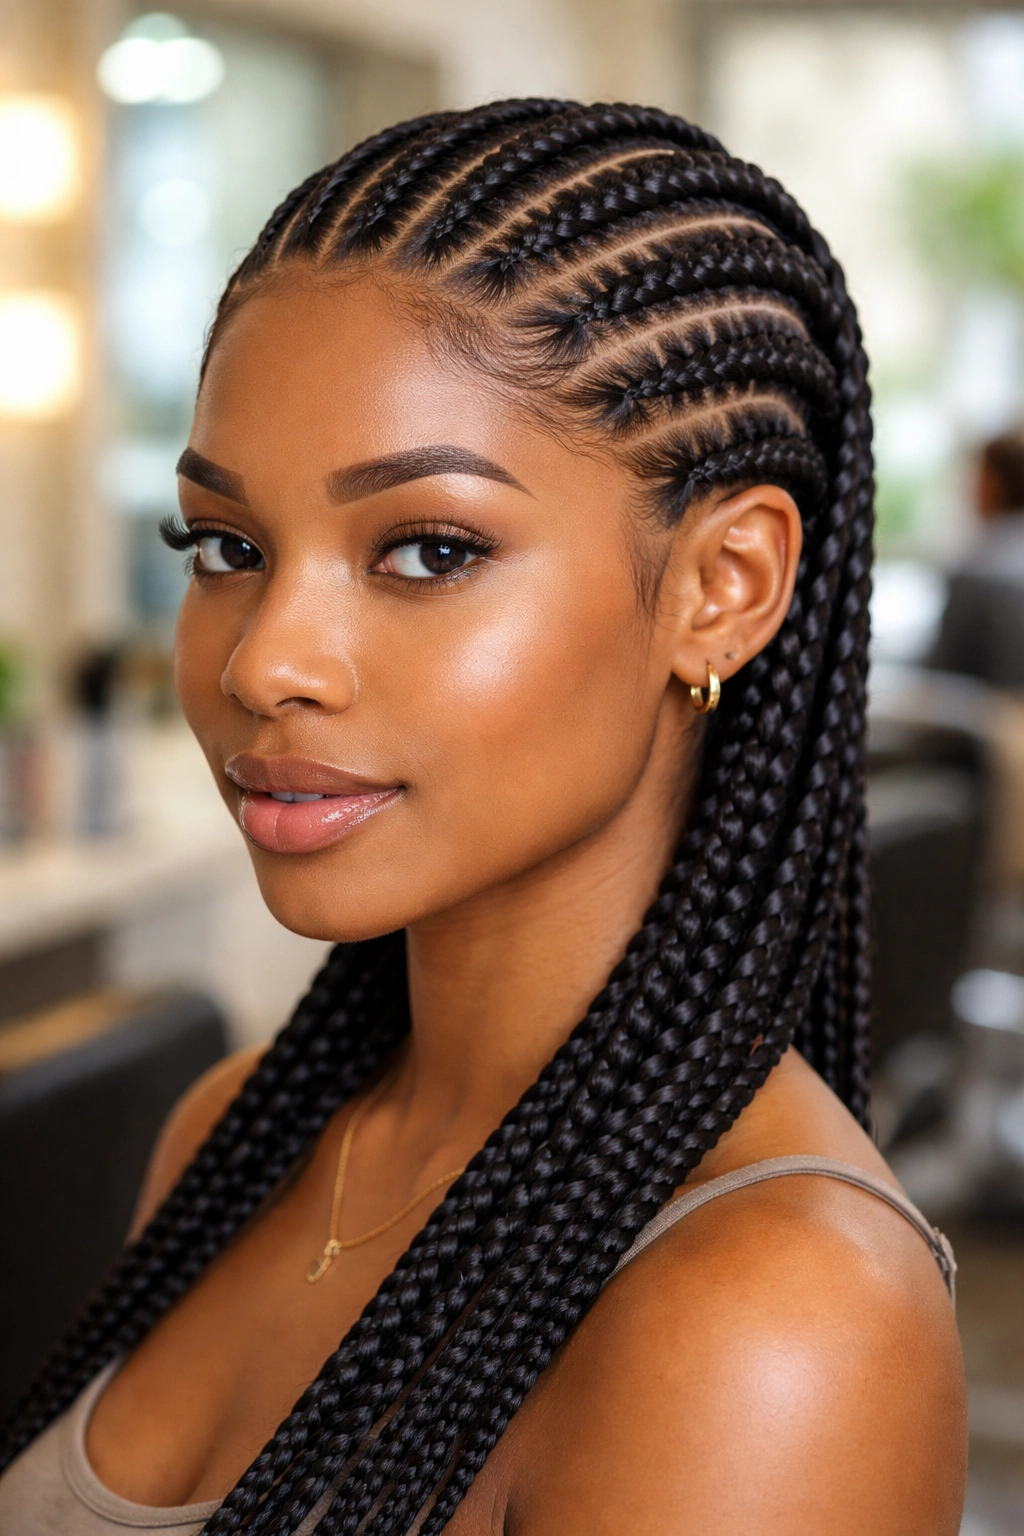
Two reasons. First, the feed-in method distributes tension across the entire braid rather than anchoring all weight at the base. That prevents the root stress that causes loose cornrows within days.
Second, the tight stitching compresses each section of hair firmly against the previous one. There’s less room for loosening, frizzing, or slipping during wear.
A well-installed stitch cornrow set can hold 4-6 weeks without major frizz. Standard cornrows typically need refreshing after 2-3 weeks.
Finding a Skilled Stitch Braider
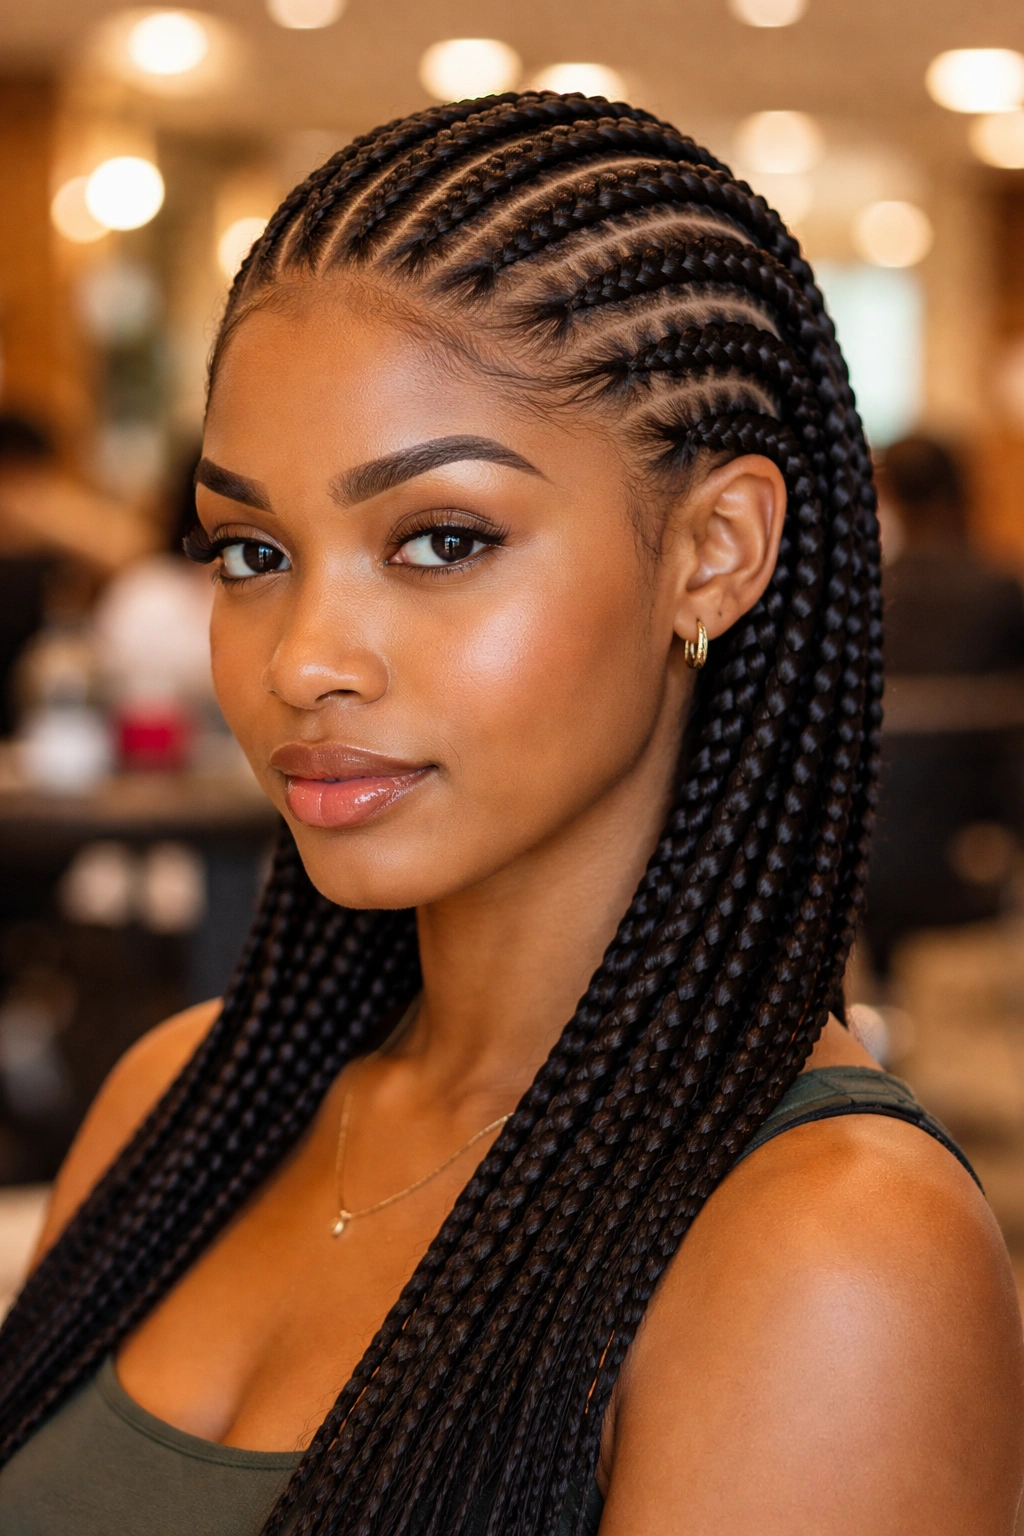
Not every cornrow installer does stitch work. Ask specifically. Look at portfolios for examples of stitched rows with clear, evenly spaced stitches.
The stitches should be crisp — each one the same size, same distance from the next. Wobbly or uneven stitching means less experience. Pay for quality here; it shows in the finished look and the duration.
Budget 4-7 hours for a full head of stitch cornrows. Shorter install times often indicate rushed work that won’t hold as long.
Prep That Makes Stitching Cleaner
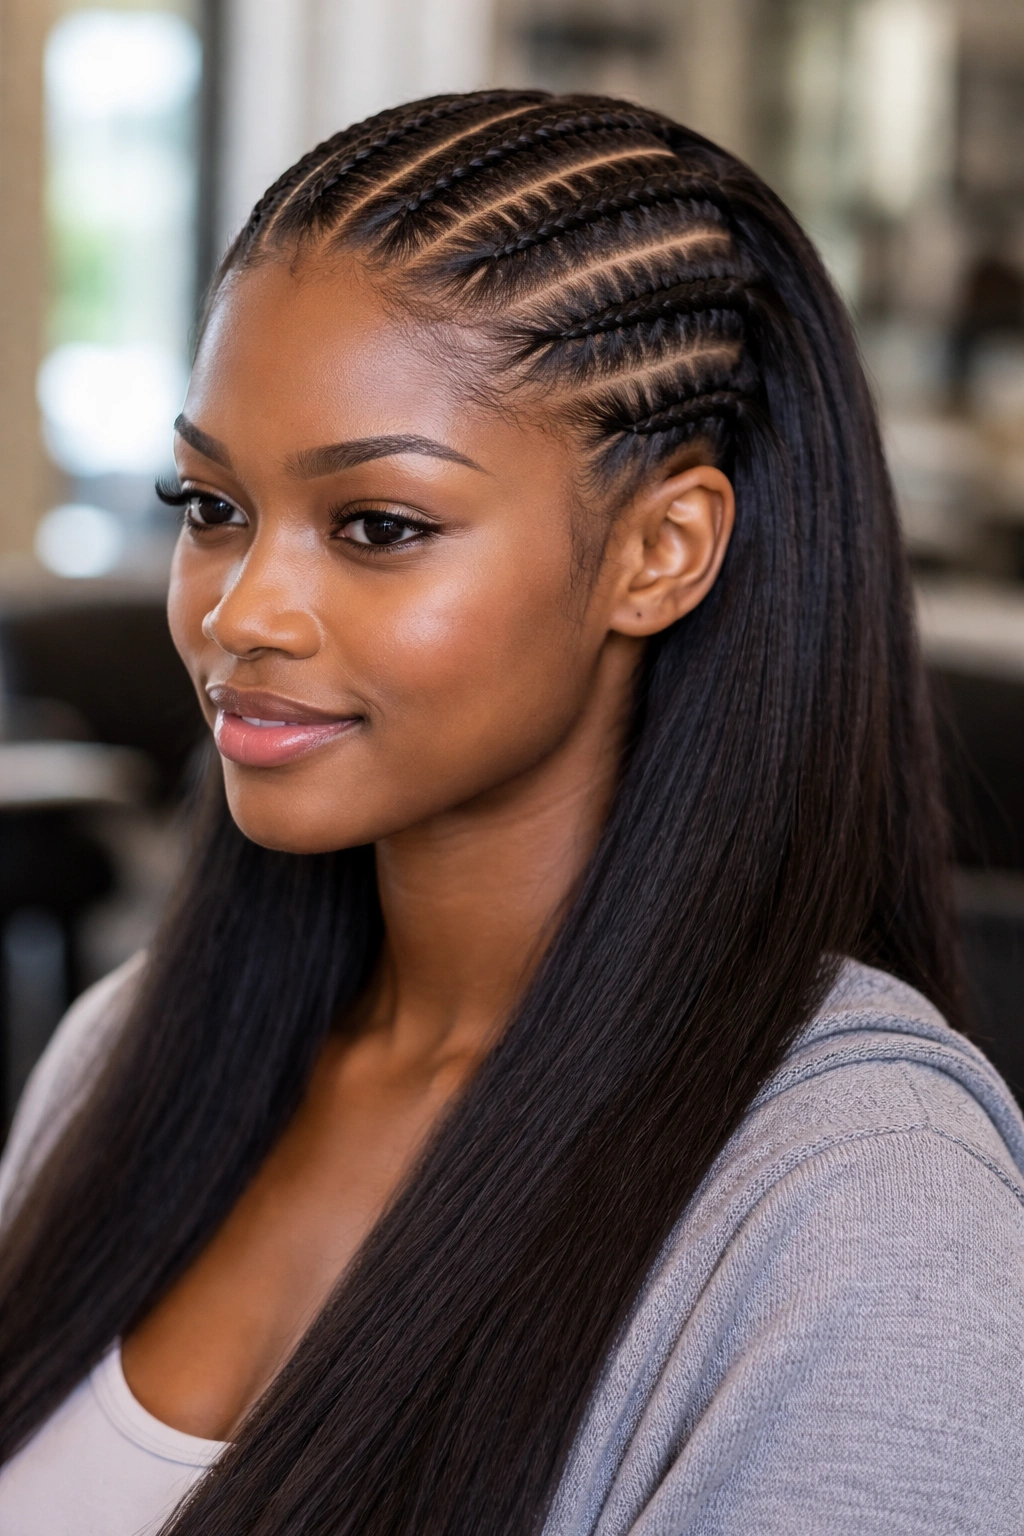
Clean hair. Stretched hair. Moisturized hair. The same rules as any cornrow install, but with extra emphasis on stretching because the stitch technique needs clearly visible sections.
Shrunken coils hide section lines, making the stitch work harder to execute. Stretched hair shows section boundaries clearly and lets the braider add each new feed-in section with precision.
Pre-stretched kanekalon blends more smoothly than standard kanekalon. Worth the small price bump.
Tension Considerations for Stitch Cornrows
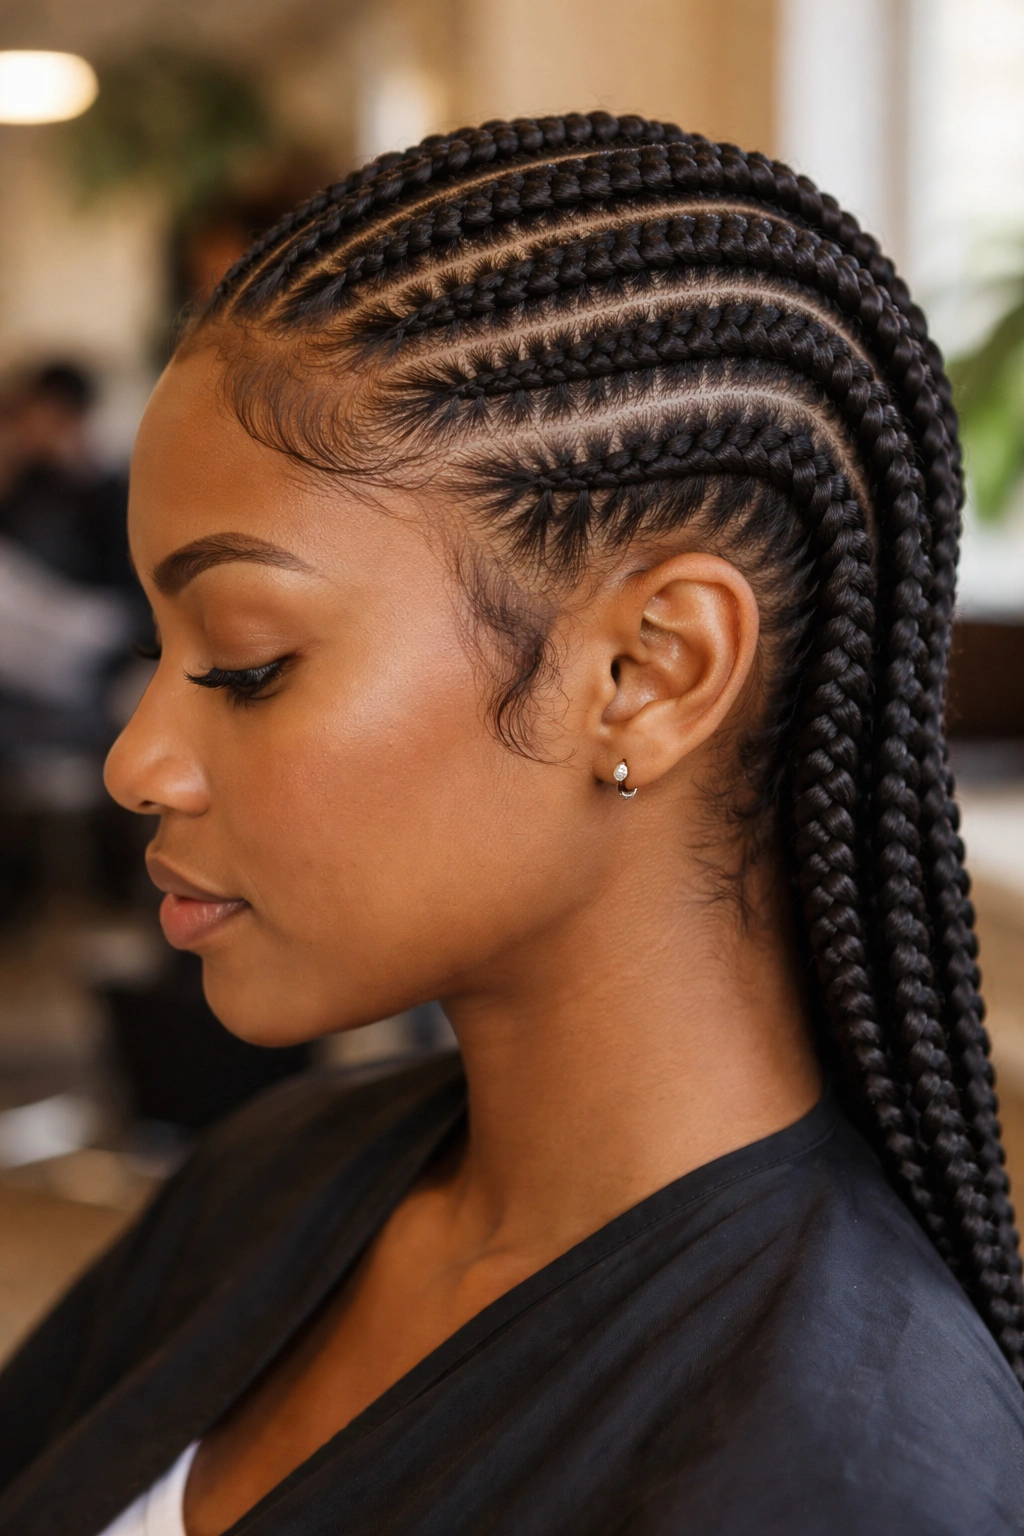
The stitch technique tends to create tighter overall braids than standard cornrows. That means scalp tension can be higher if the braider isn’t careful.
Ask your braider to ease tension at the hairline. Your edges are the most vulnerable spot. If you feel a sting during install, speak up.
Good stitch braiders know to vary tension by scalp area. Crown area can take more tension than temple area. Temple area can take more than nape.
1. Six-Row Straight Stitch Cornrows
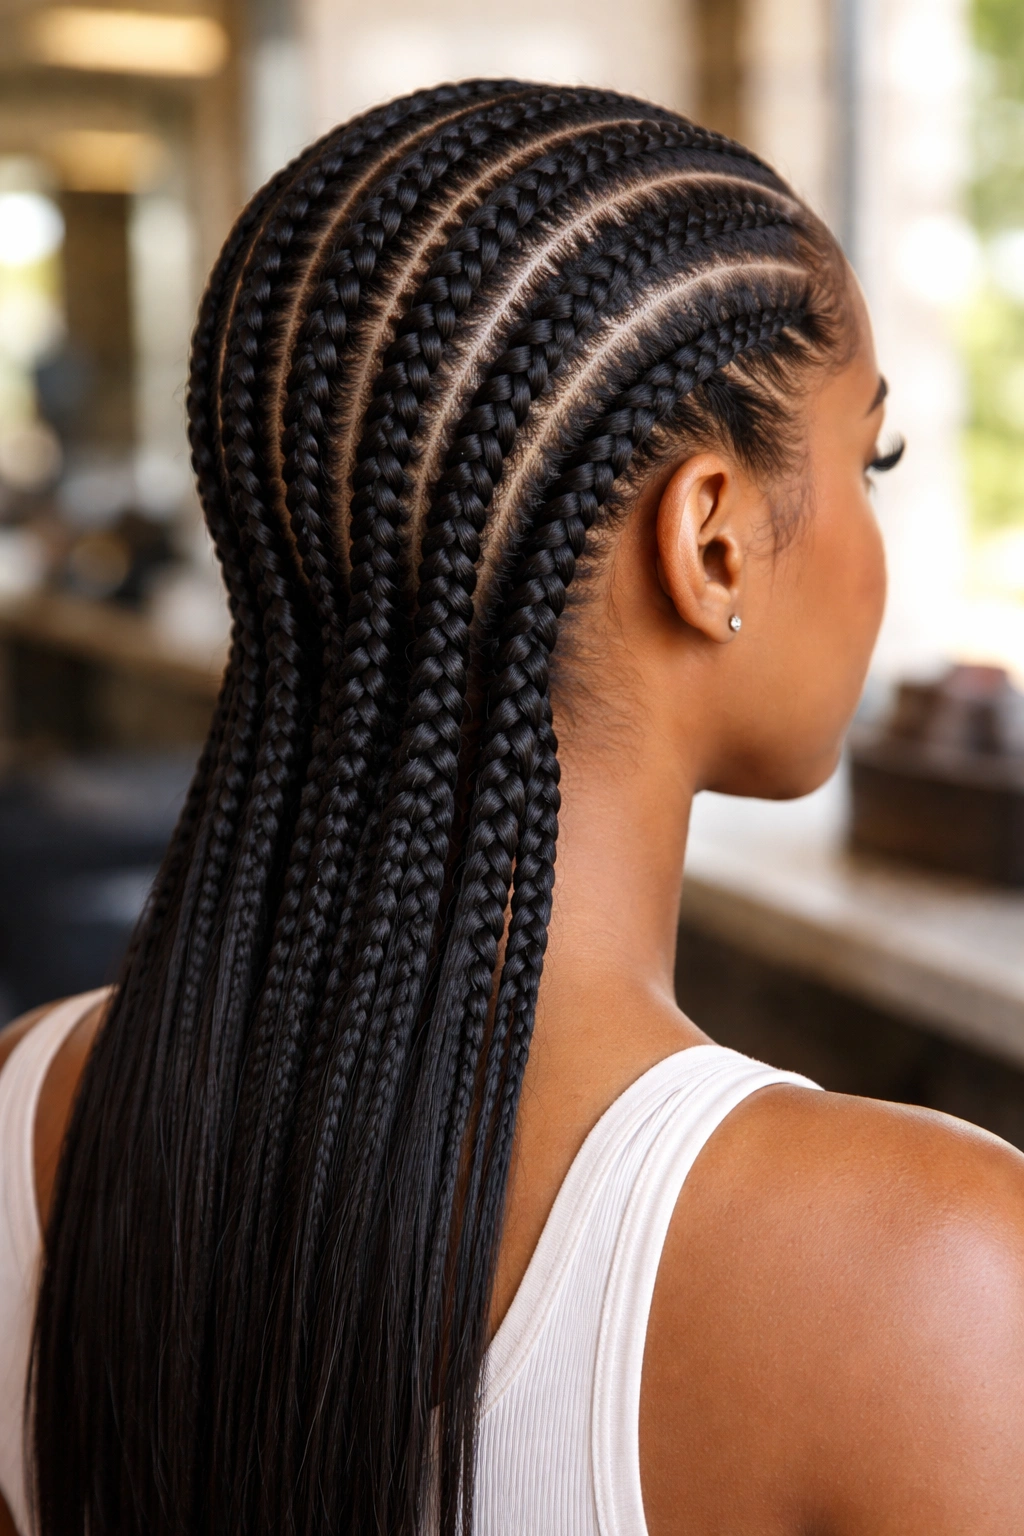
Six rows running straight from hairline to nape, each featuring evenly spaced stitches along the length. Extensions hang to shoulder or mid-back.
Why It Works
- Classic proportions
- Clear visible stitchwork
- Lasts 4-5 weeks
- Works for every setting
Tip: Look at the back of the head as much as the front during install. Stitch consistency matters most where you can’t see it.
2. Eight-Row Stitch With Extensions
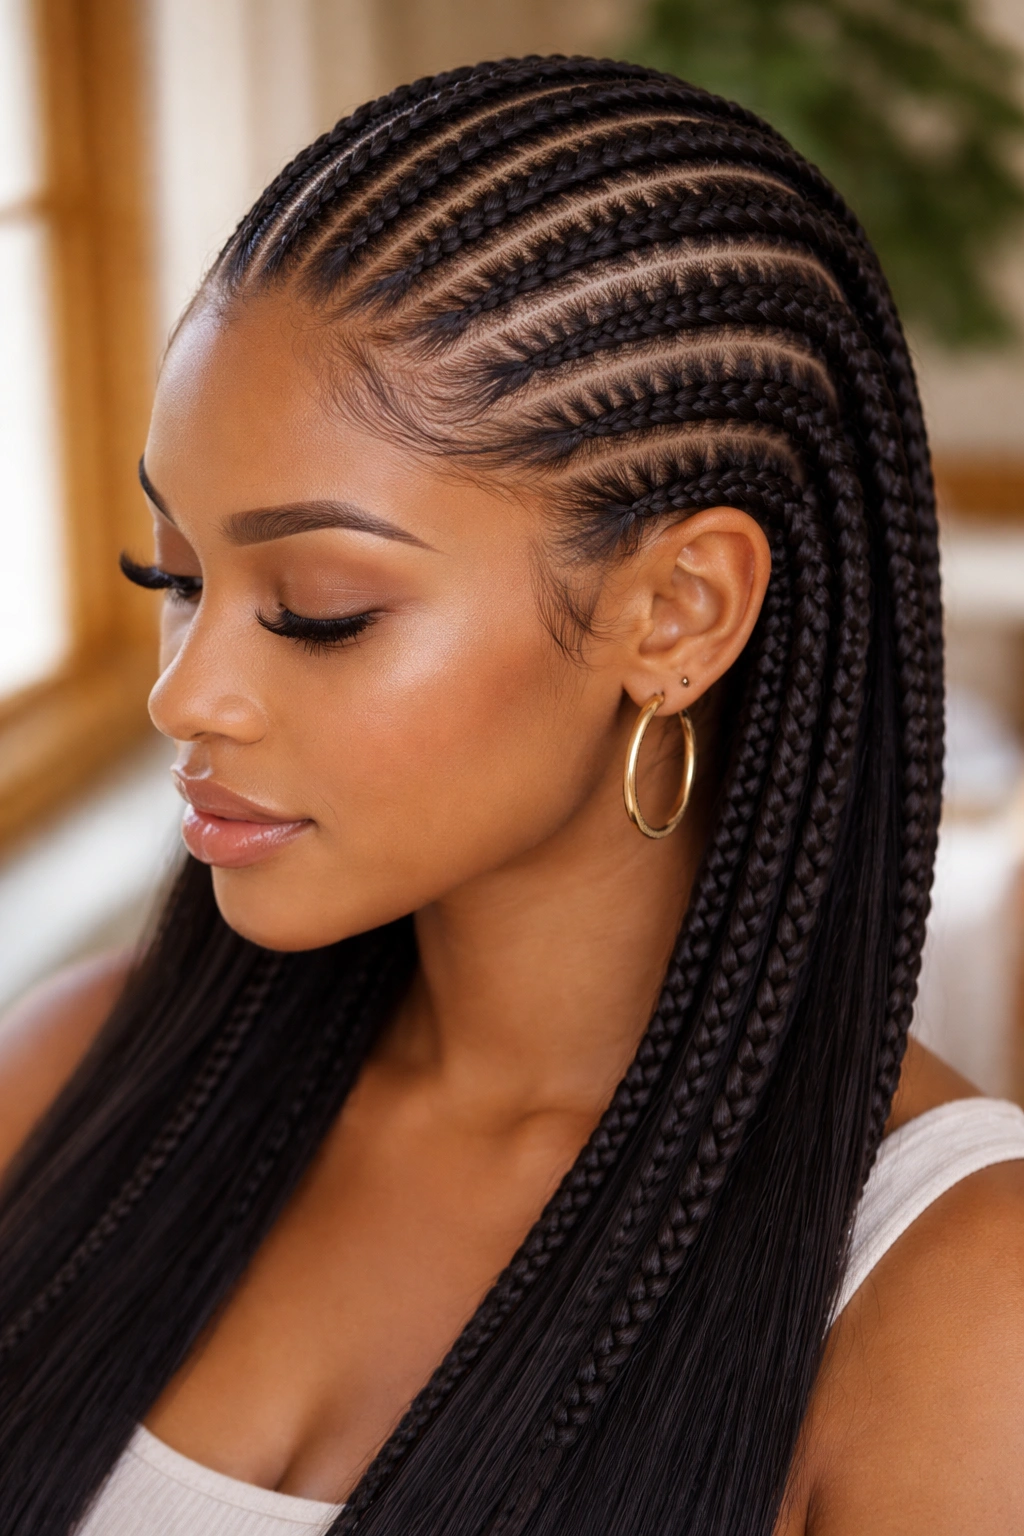
Eight thinner stitch cornrows running back. The added row count lets the stitchwork read more delicate and refined.
The smaller rows expose more stitches per inch of scalp. That creates a busier, more detailed final look.
Extensions can be any length — shoulder, mid-back, waist. The stitch pattern holds up at any length.
3. Stitch Cornrows Into a Low Ponytail
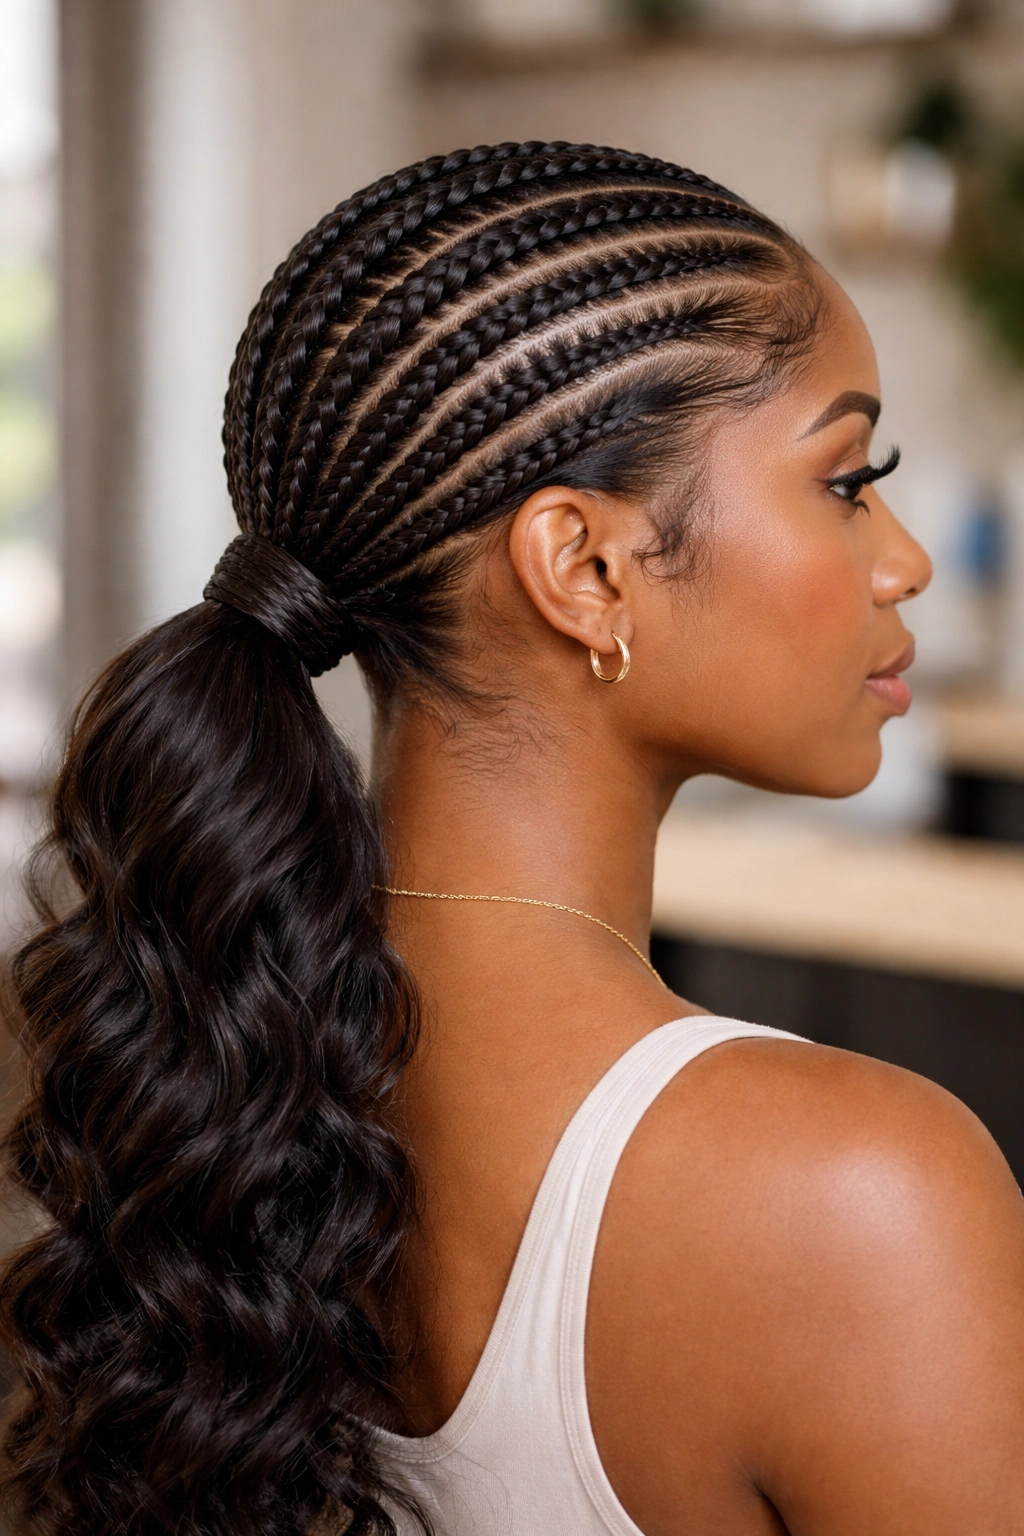
All stitch rows lead to the nape where they’re gathered into a single low ponytail. The stitchwork is visible throughout the braided portion; the ponytail itself can be curly or straight.
The low ponytail reads professional and clean. The stitching adds craftsmanship that separates it from a plain cornrow pony.
Use a hair-color-matching scrunchie or a wrapped braid at the base.
4. Twelve-Row Stitch Cornrows
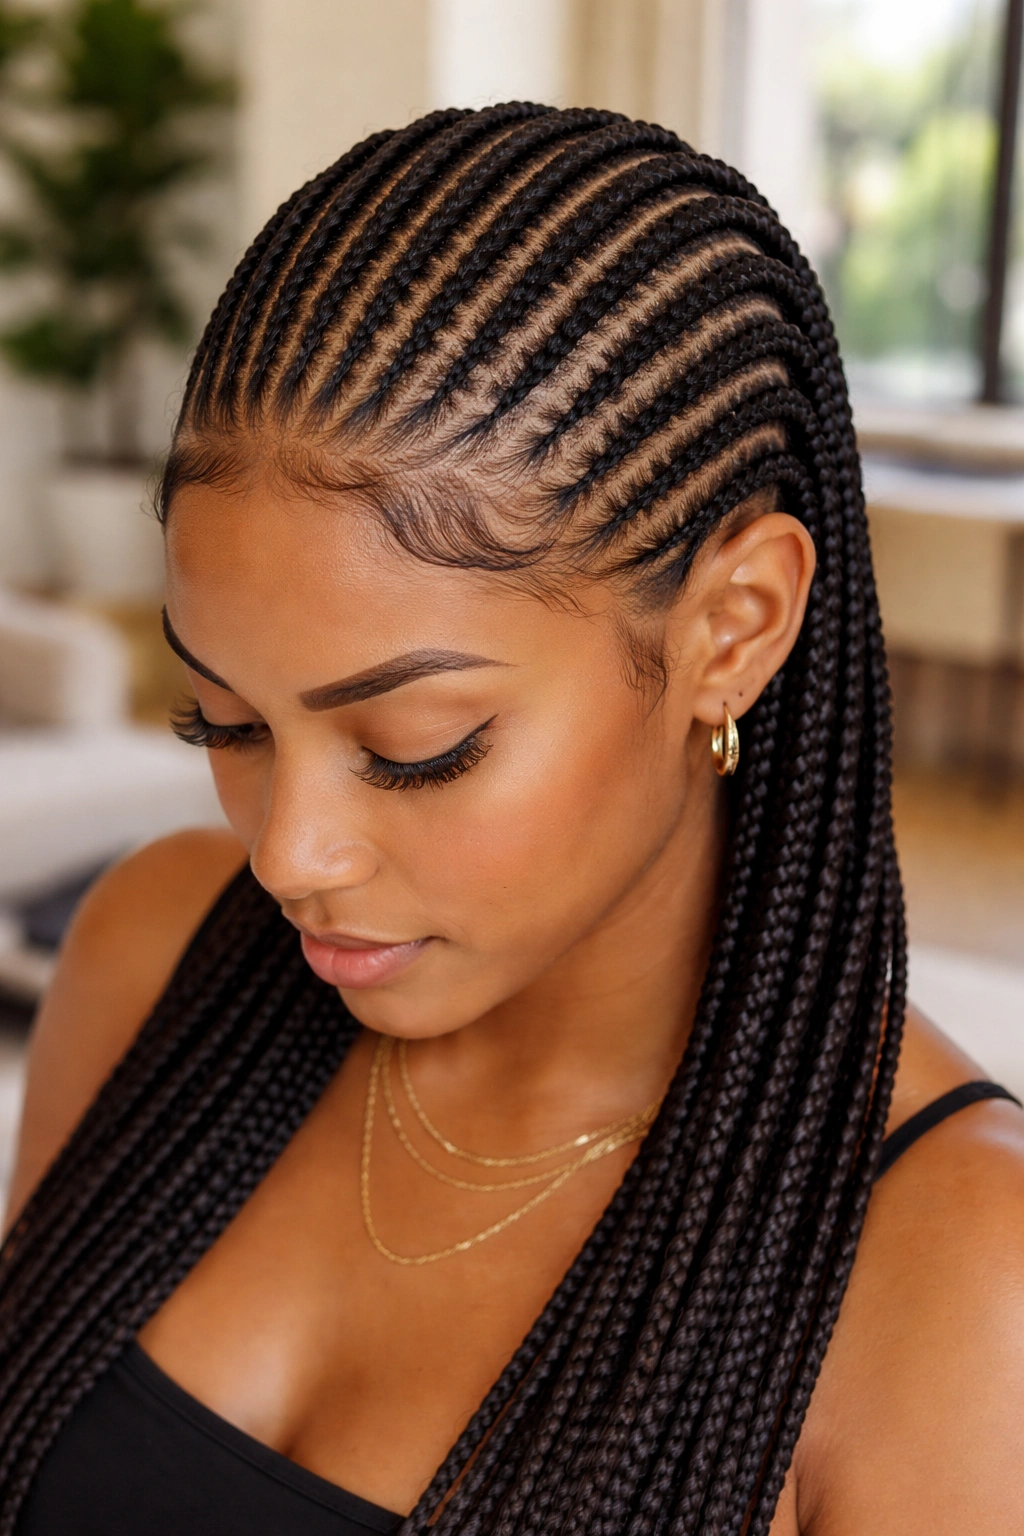
Twelve thin rows, each with clear stitchwork. The micro approach creates an intricate, detailed pattern that reads as high-end salon work.
Install takes 5-7 hours. Holds 4-6 weeks. The investment pays off in longevity and visual impact.
Best on women who can sit still for long install sessions.
5. Stitch Cornrows With Side Part
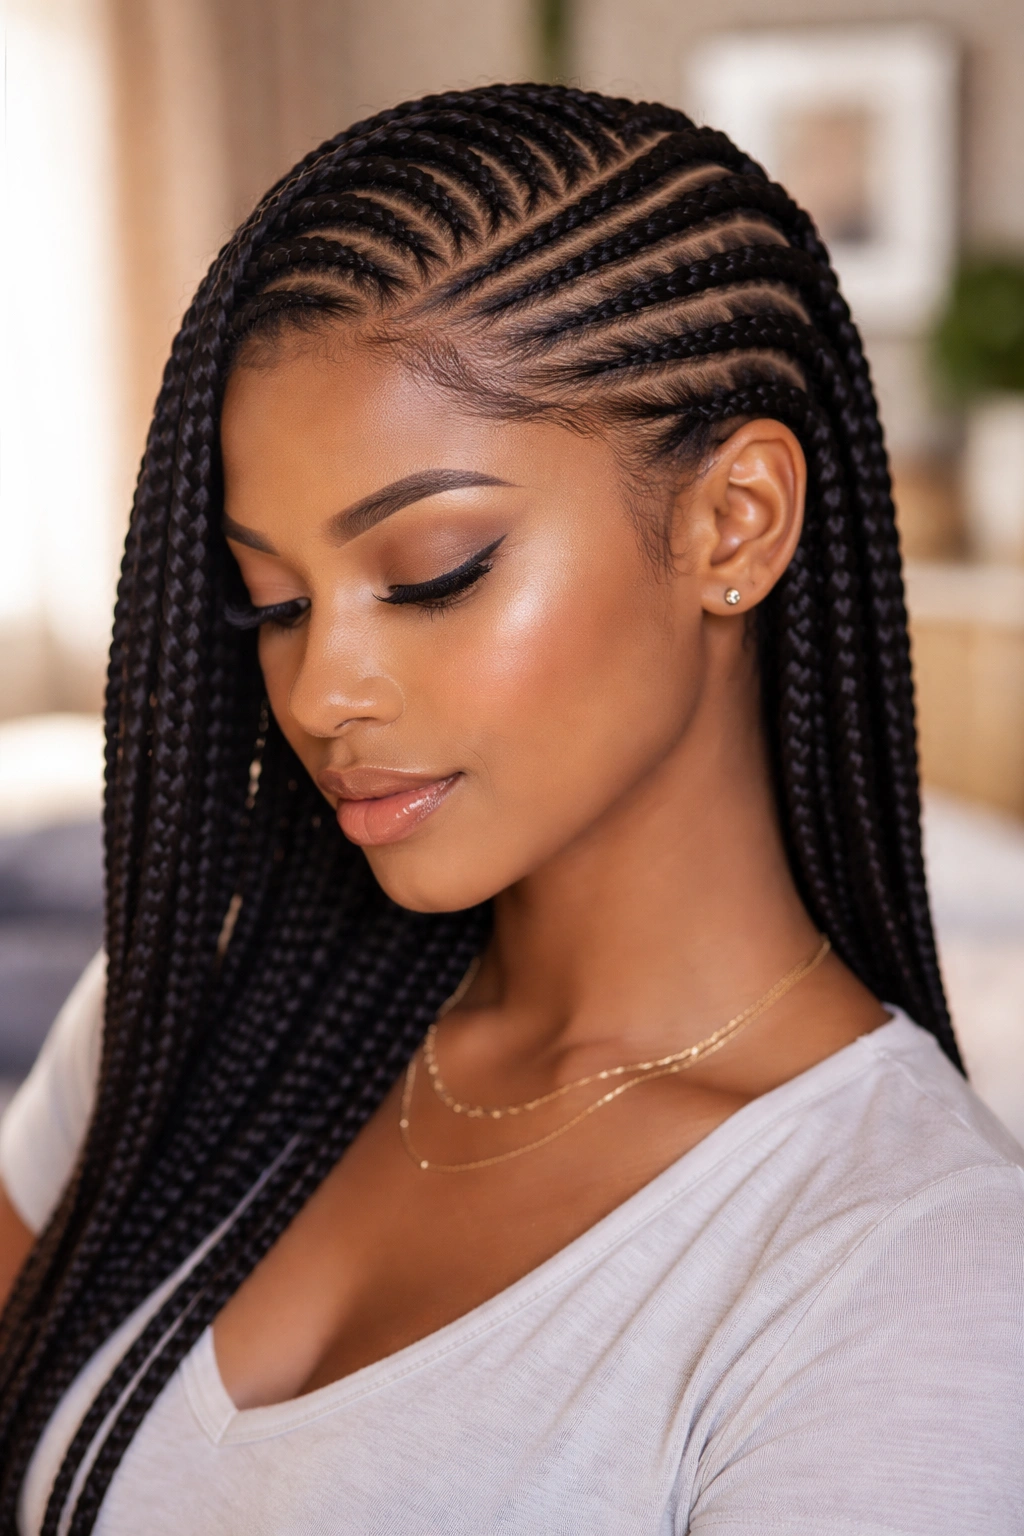
Stitch rows with a deep side part. The stitching continues consistently across both sides despite the asymmetric parting.
The side part adds face-flattering asymmetry to the otherwise clean pattern.
Style the part slightly off-center for the best visual effect.
6. Stitch Cornrows Into a High Bun
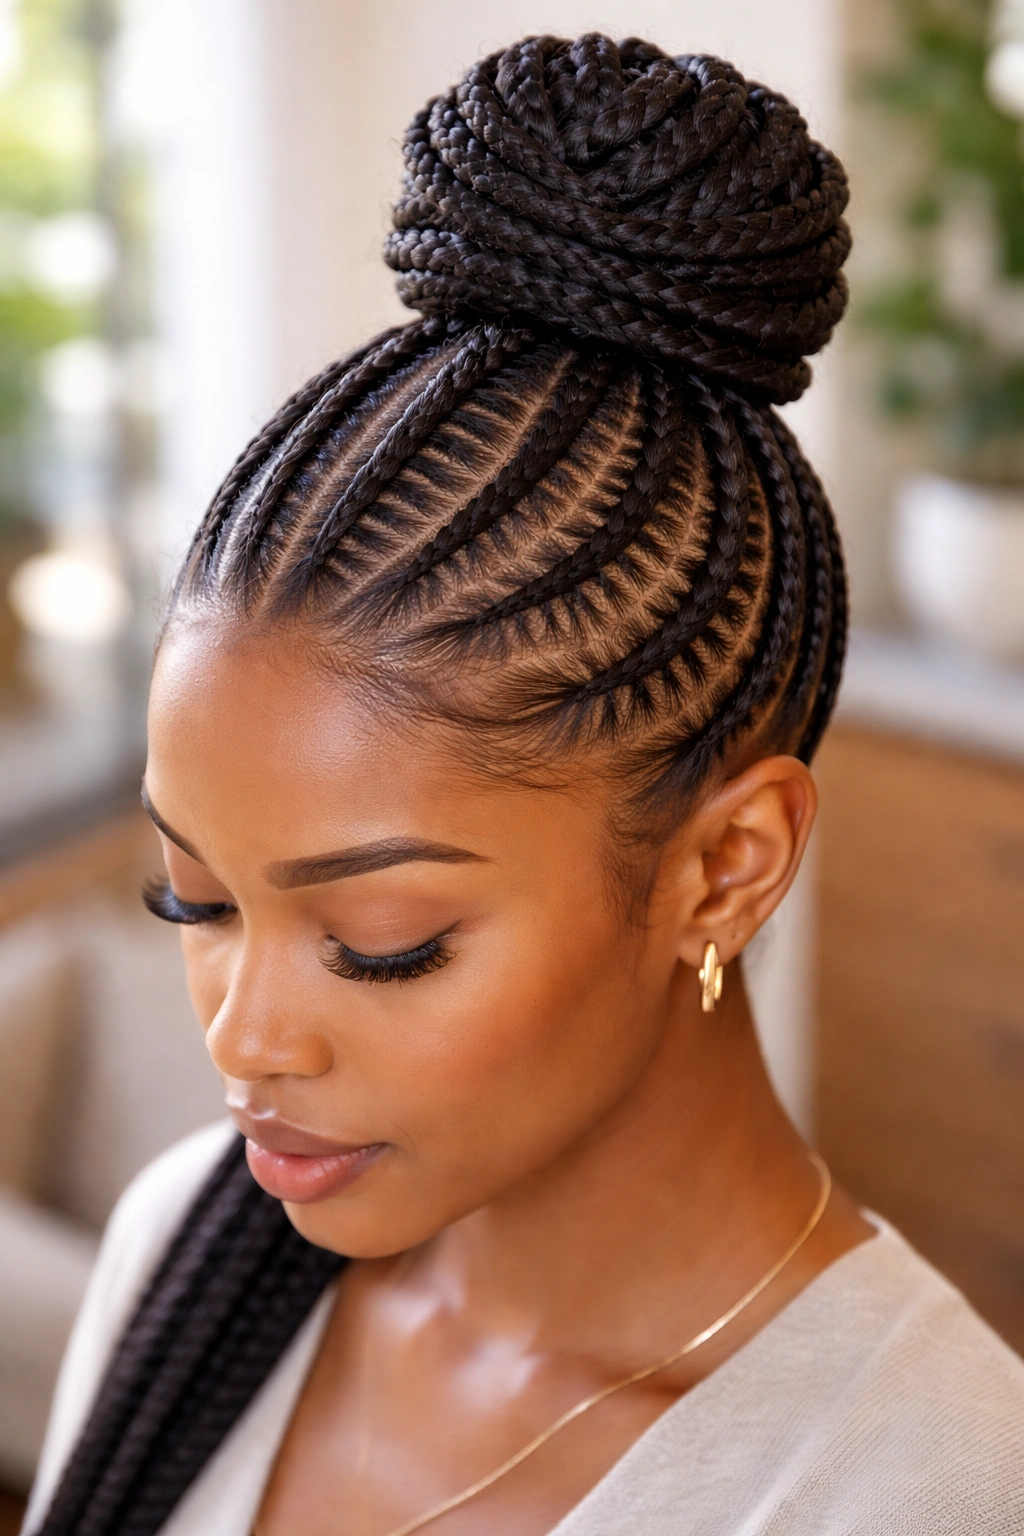
All stitch rows lead upward to a high bun at the crown. The stitchwork catches light from below the bun, creating dimension.
The high bun lifts the face. The stitch detail below adds visible craftsmanship. Together, they read polished and intentional.
Best for events where you want the style to be a focal point.
7. Lemonade Stitch Cornrows
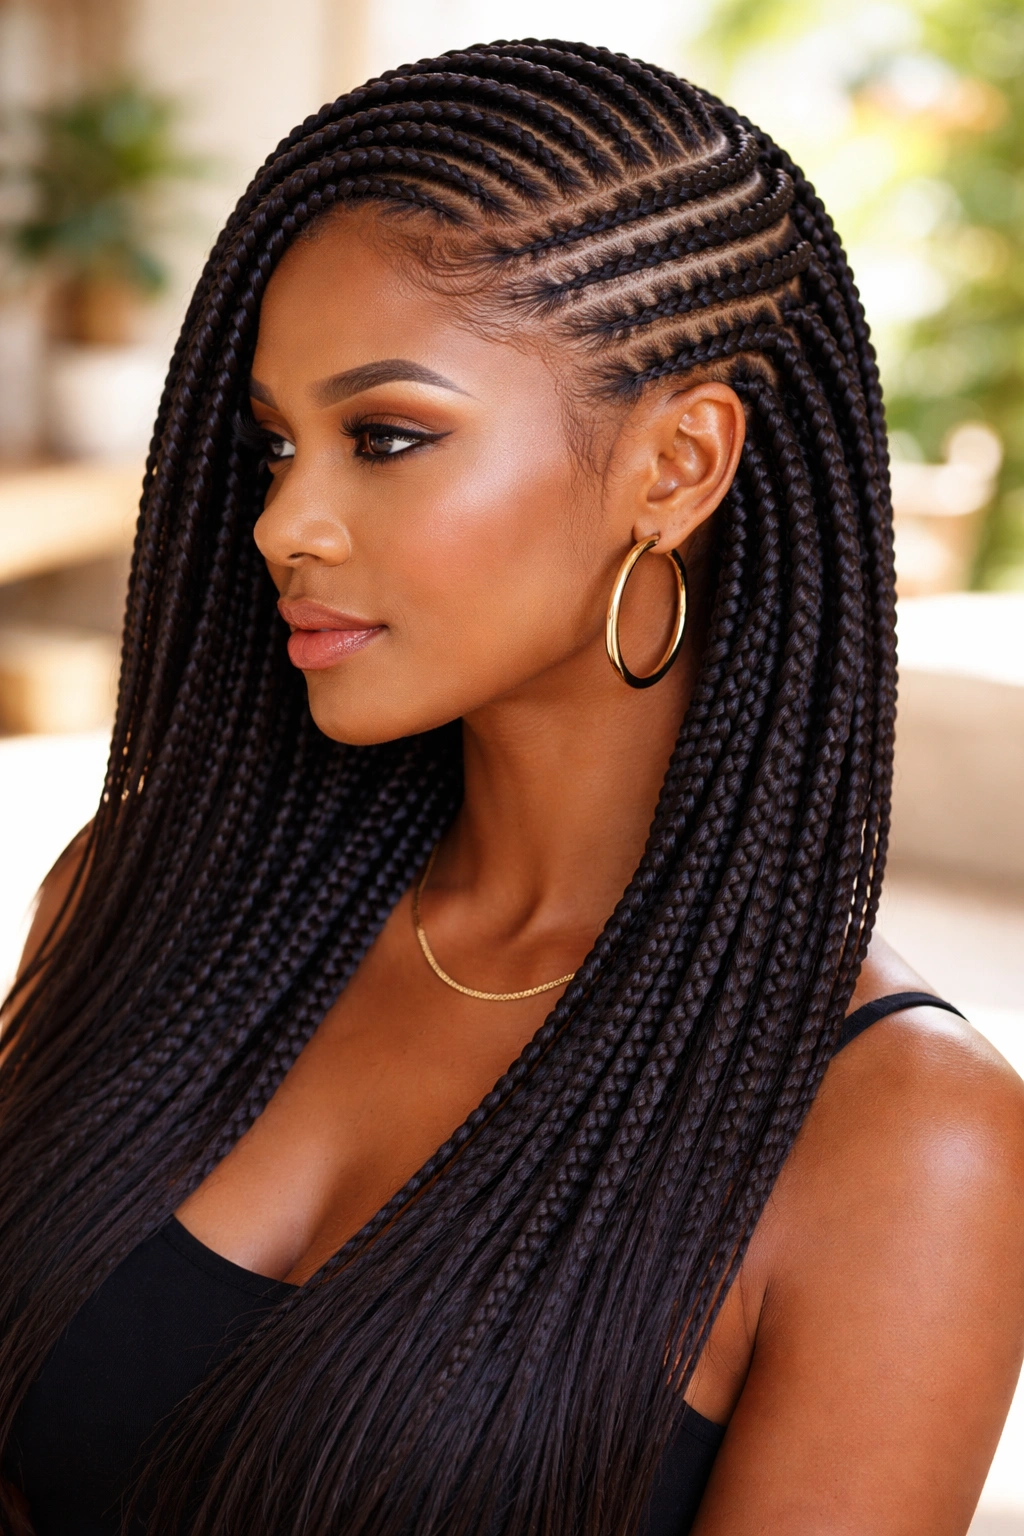
Side-swept stitch cornrows angling to one side. All rows flow diagonally, with stitchwork running along each curved path.
The Beyoncé-inspired silhouette plus stitch technique equals a style that reads both iconic and craft-forward.
Heavy on extensions. The side-swept weight can pull on the scalp, so sit up straight during long days.
How to Style It
Dip the ends in hot water to set a slight curve. Let dry before moving the hair. The set curve adds body to the side-swept line.
8. Stitch Cornrows With Beaded Ends
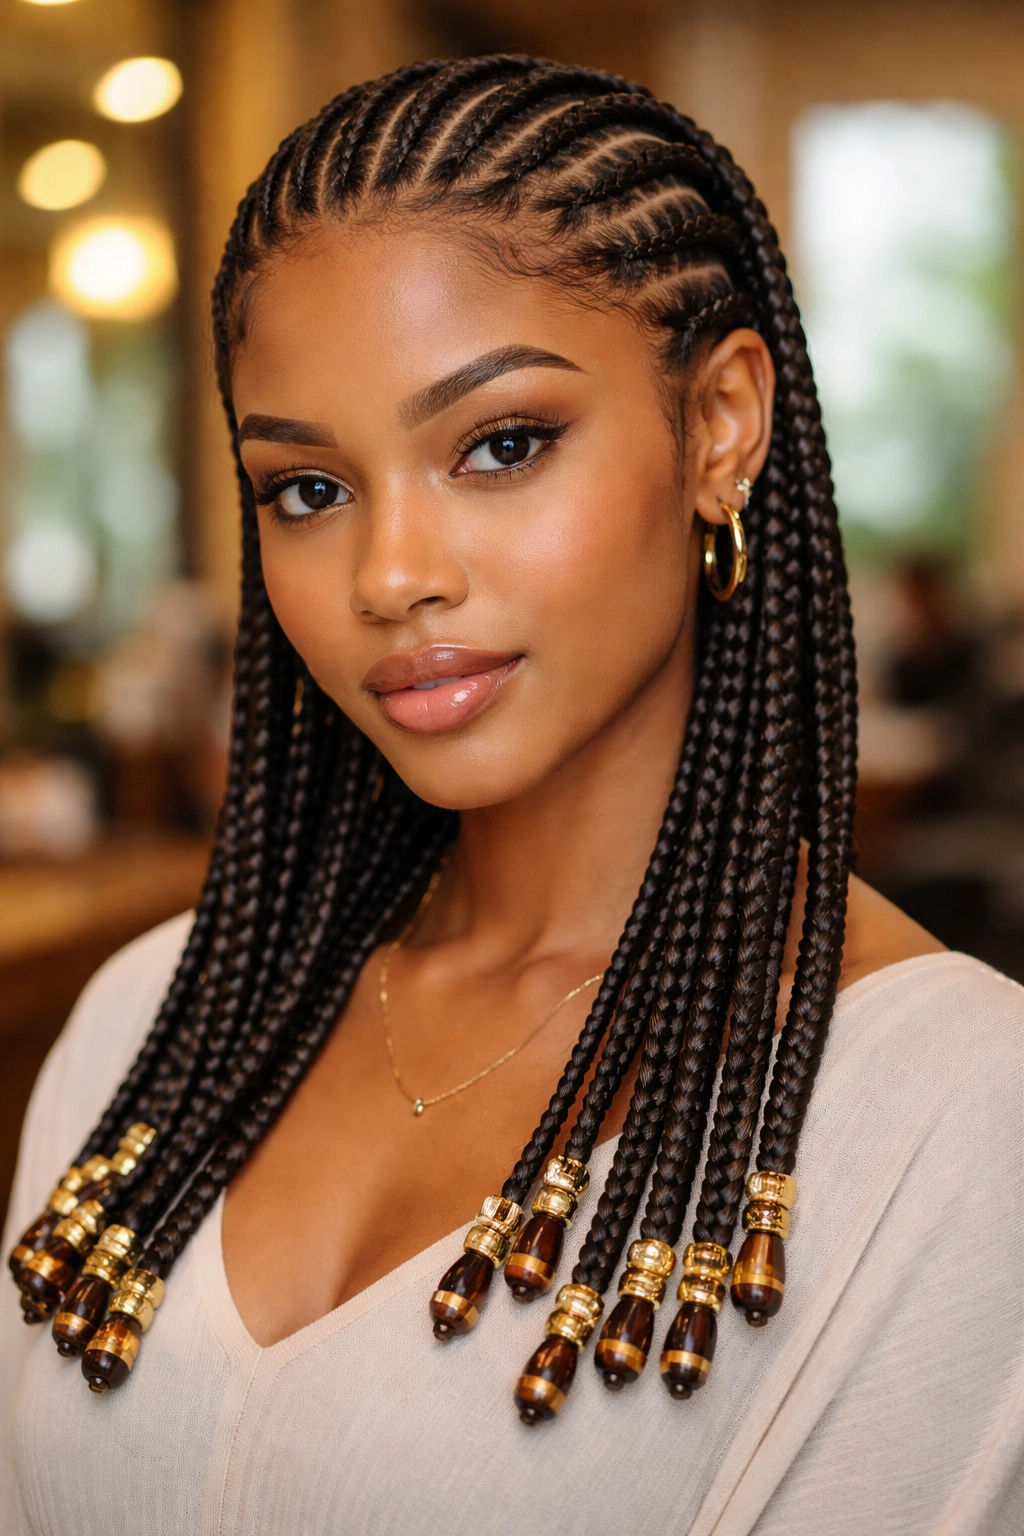
Stitch cornrow rows with wooden, brass, or glass beads threaded onto the ends. The beaded finish contrasts with the tight stitchwork above.
Pick beads sized proportional to the braid thickness. Tiny beads disappear against thick stitched braids; medium beads read clearly.
Limit to two or three beads per braid. More gets heavy and pulls.
9. Stitch Cornrows With Curly Ends
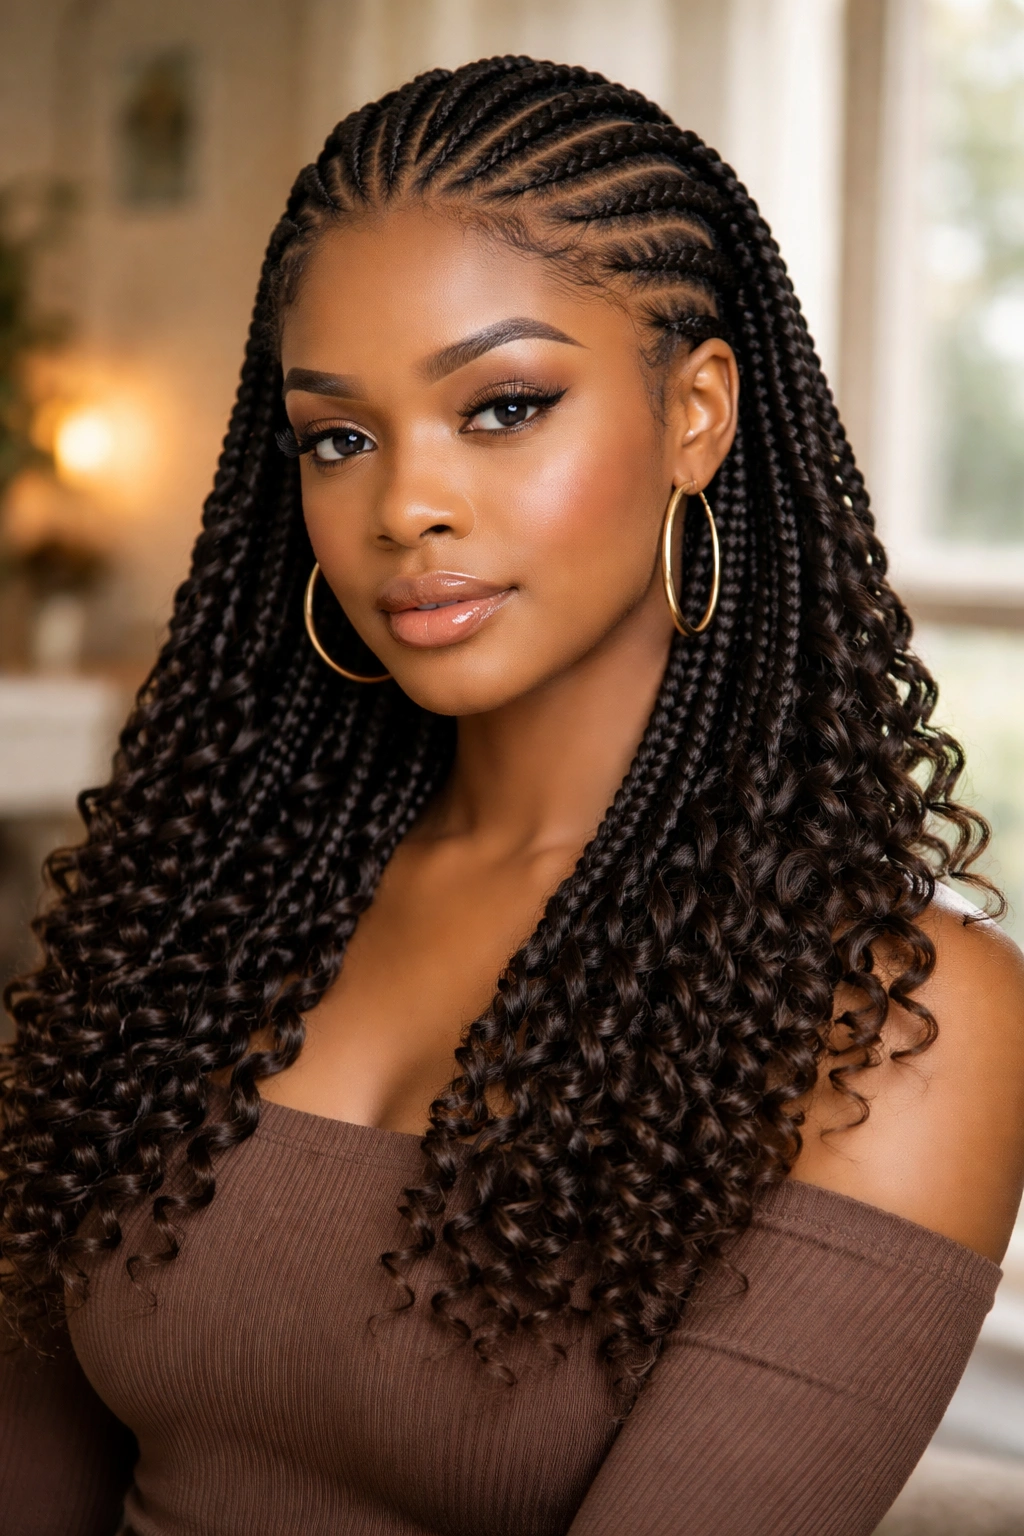
Stitch rows fed with kanekalon, but the extension tips are pre-curled. The contrast of precise stitching and soft curly ends creates visual tension that works.
Pick curl pattern based on vibe. Loose waves read casual; tight spirals read bold.
Dip curly ends in warm water periodically to refresh.
10. Stitch Cornrows With Thread Wraps
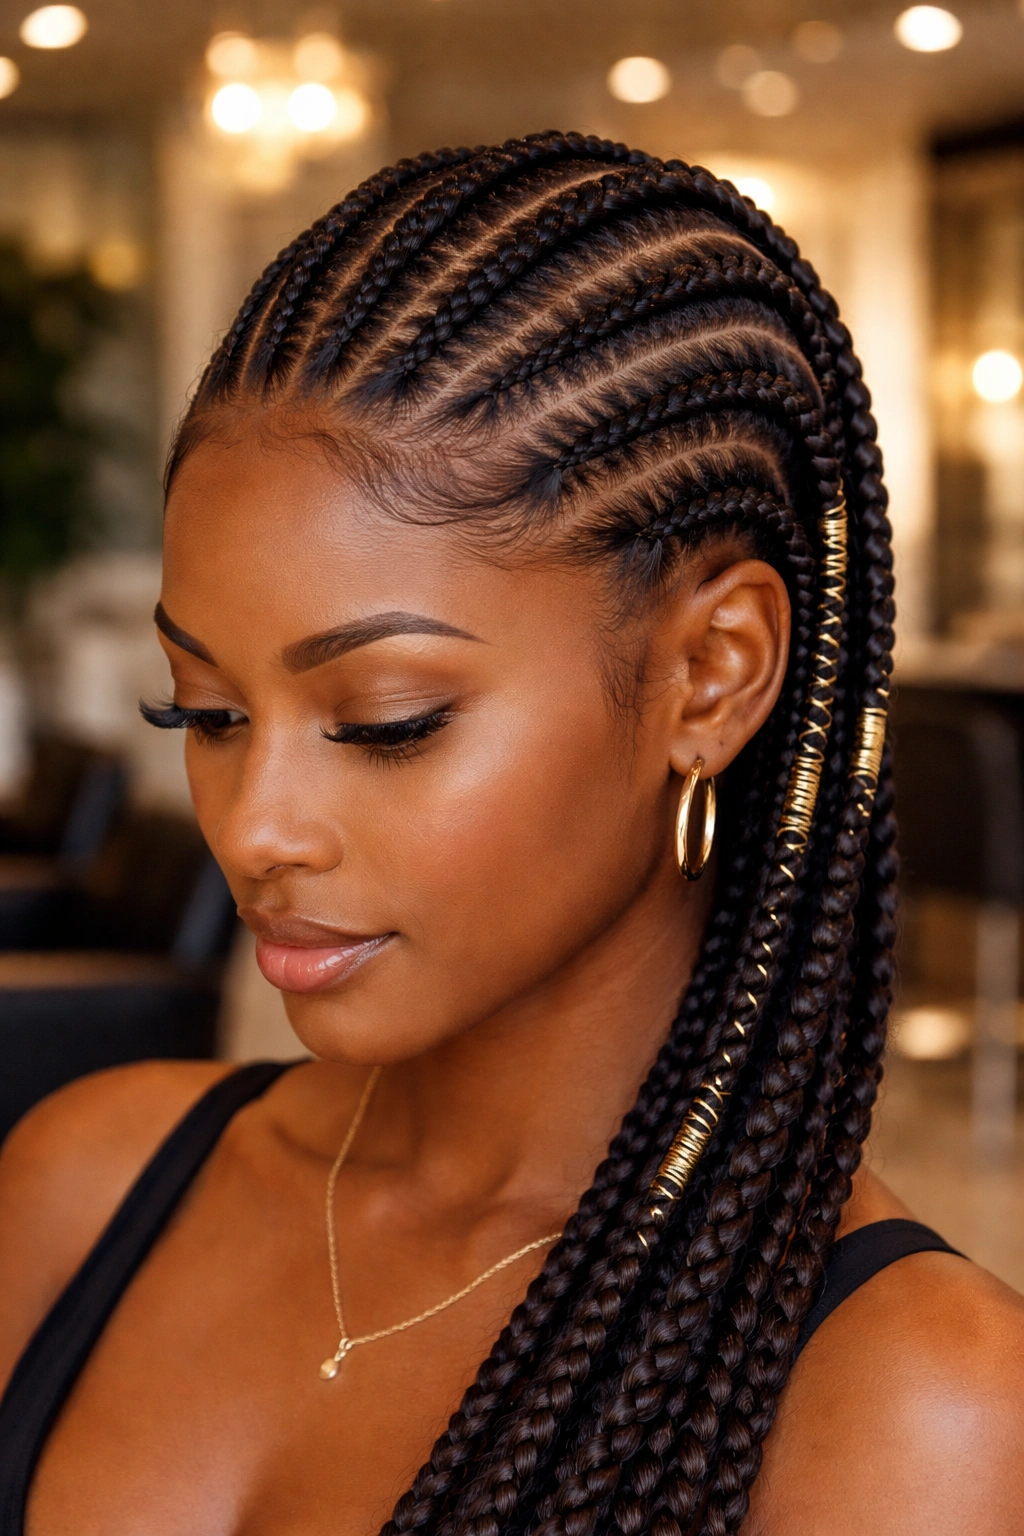
Standard stitch rows with select braids wrapped in metallic thread from root to tip. The thread spirals around the stitched braid, adding shimmer.
Gold thread on dark hair reads luxe. Silver thread reads modern. Copper reads warm.
Don’t wrap every braid. Two or three strategic wraps read as accent.
11. Stitch Cornrow Mohawk
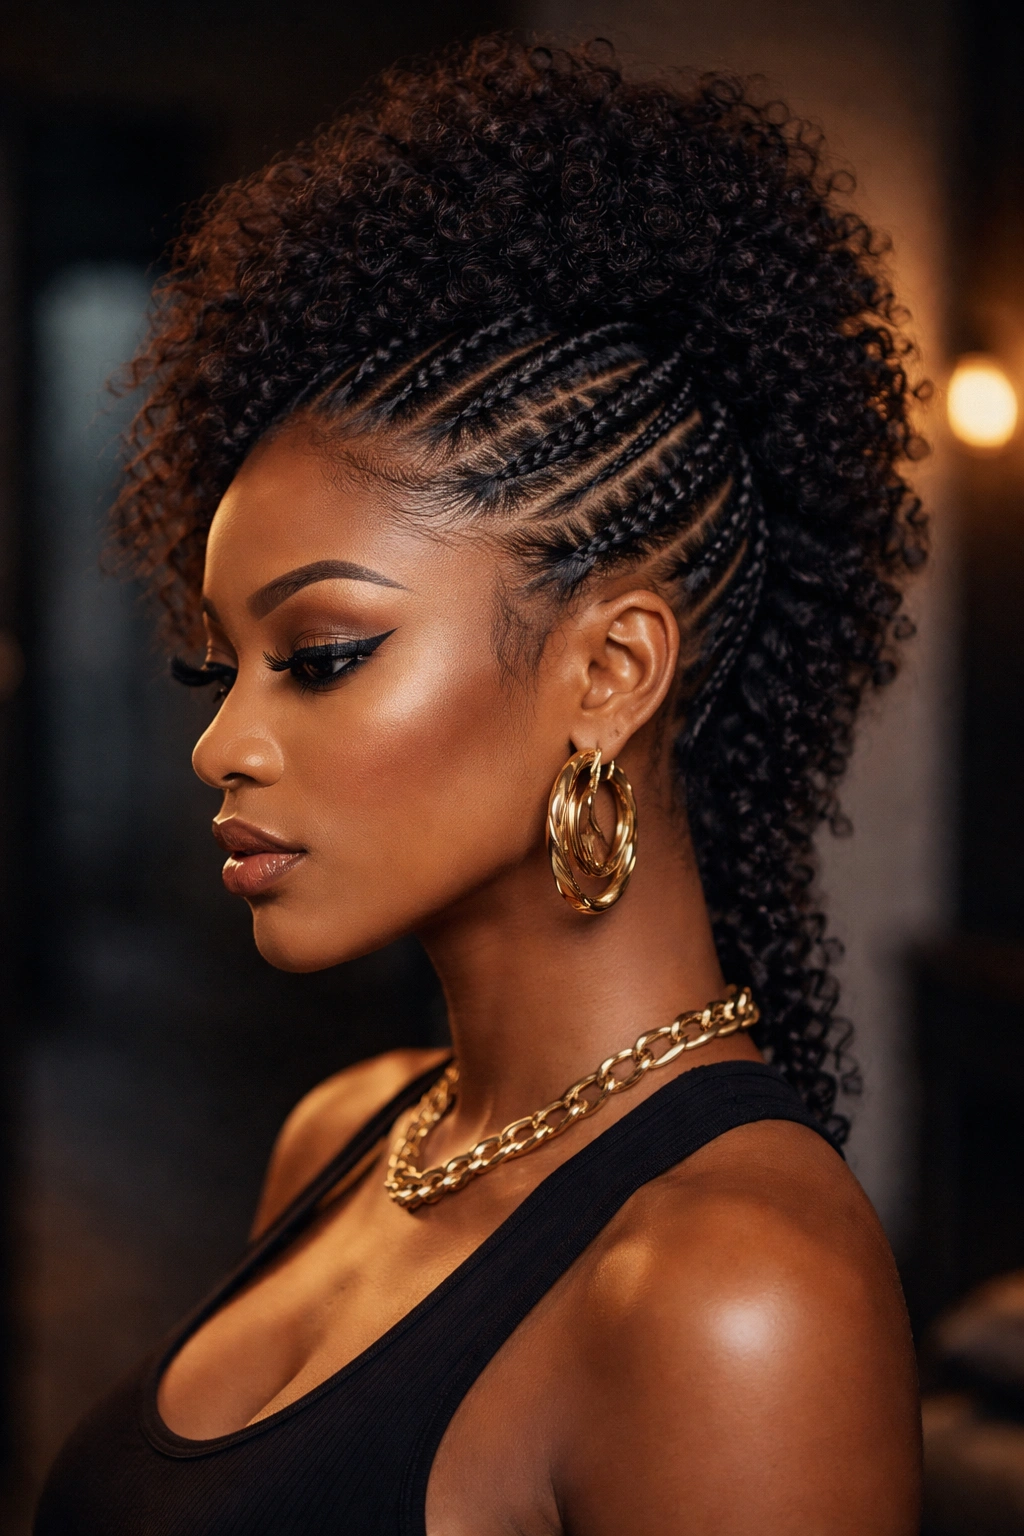
Sides done in tight stitch cornrows. Center strip raised or left out as a puff. The stitchwork on the sides contrasts with the bold center.
The mohawk silhouette combined with stitch detail reads edgy and crafted simultaneously.
Pair with bold makeup and statement earrings for full commitment.
12. Stitch Cornrows With Side Bun
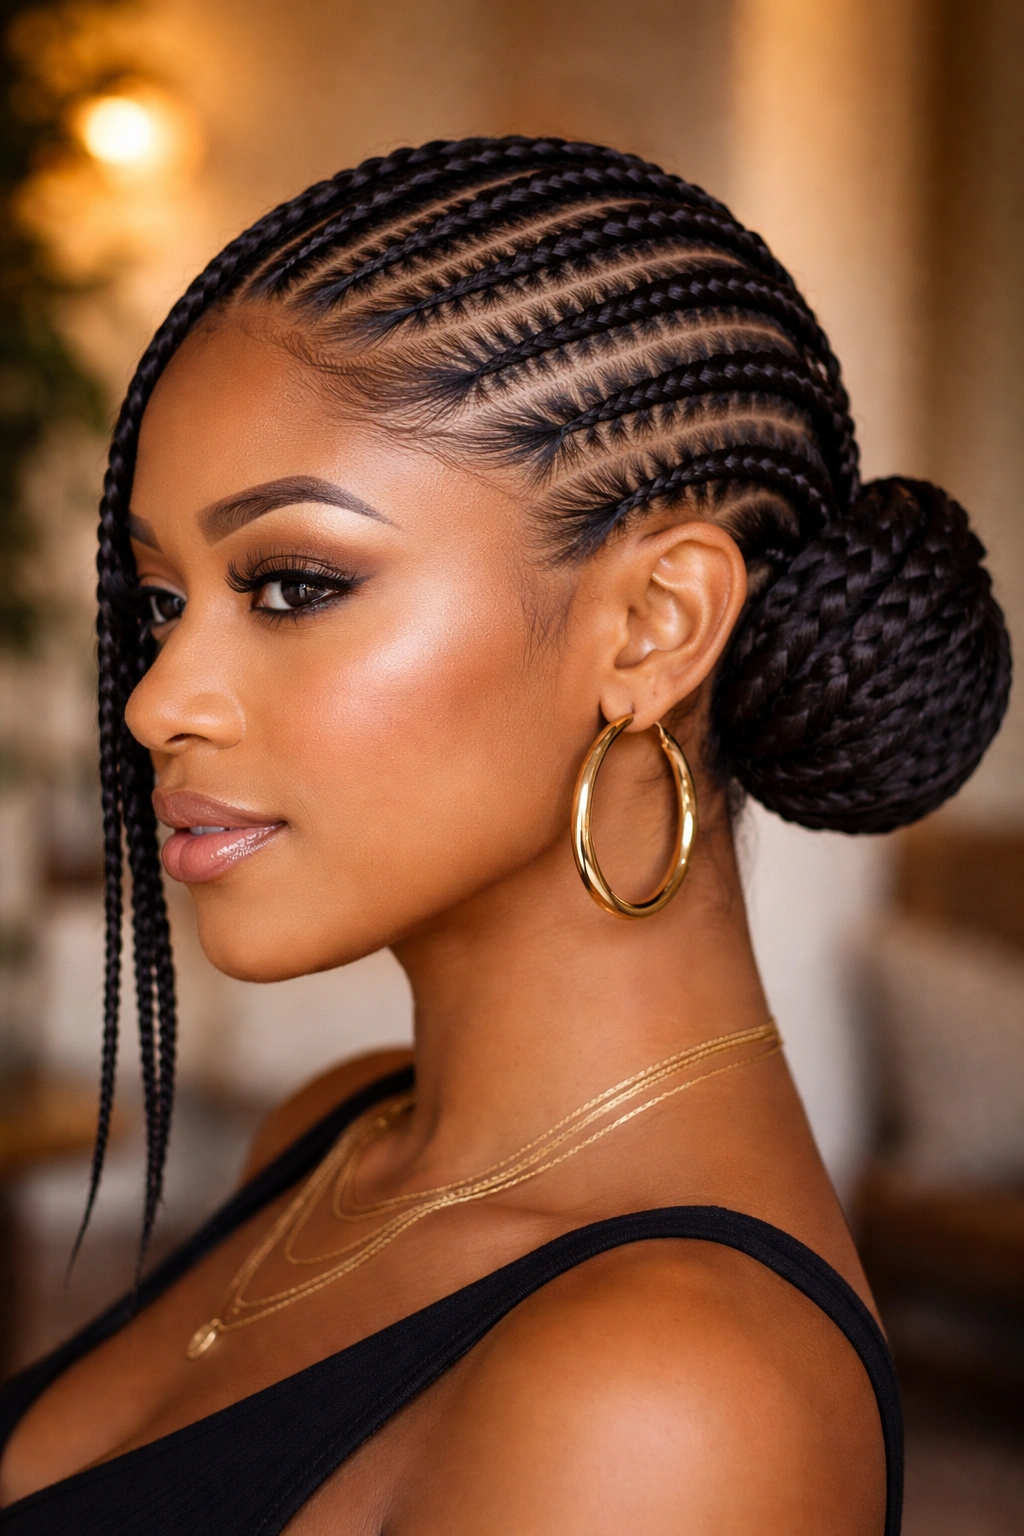
All rows lead to one side, ending in a low bun behind one ear. The stitchwork maintains visibility along the diagonal paths.
The side bun adds romance to the technical stitch base. Works for formal events and dinners.
Pin securely with hair-color-matching bobby pins.
13. Stitch Cornrows With Curly Front Left Out
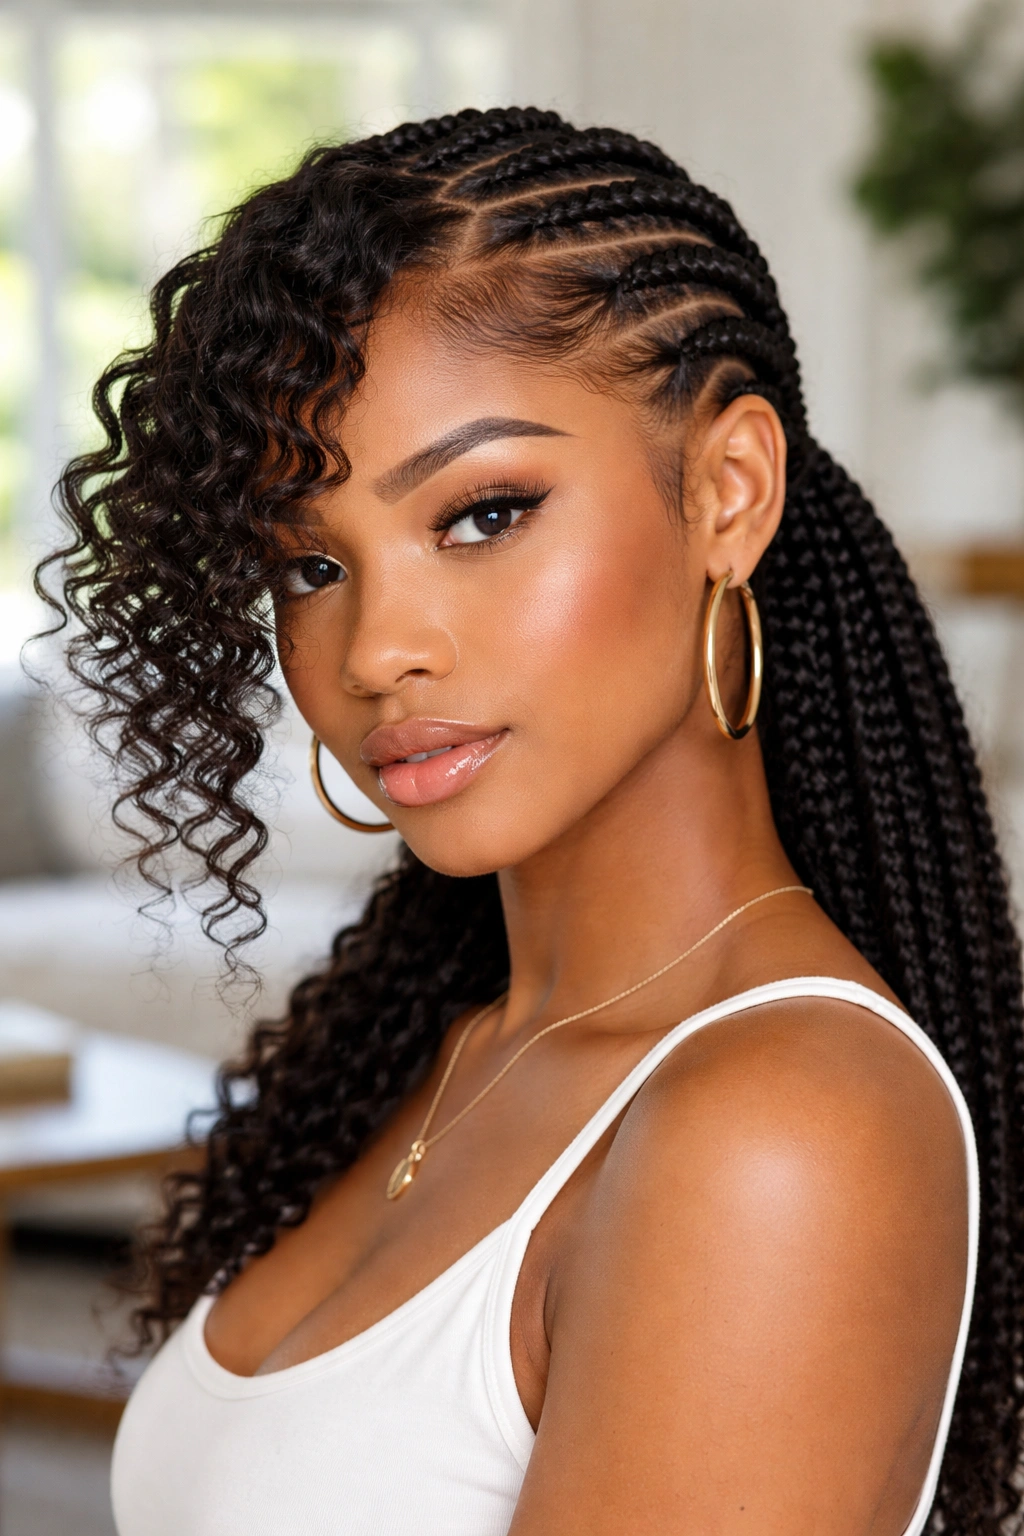
Stitch cornrows behind, front section left out as defined curls. The curly fringe softens the line where the stitched rows meet the skin.
The front curls can be finger-coiled, twist-out, or wand-curled. Match the curl style to the overall vibe.
Keep the curls hydrated separately with water and leave-in.
14. Mini Stitch Cornrows All Over
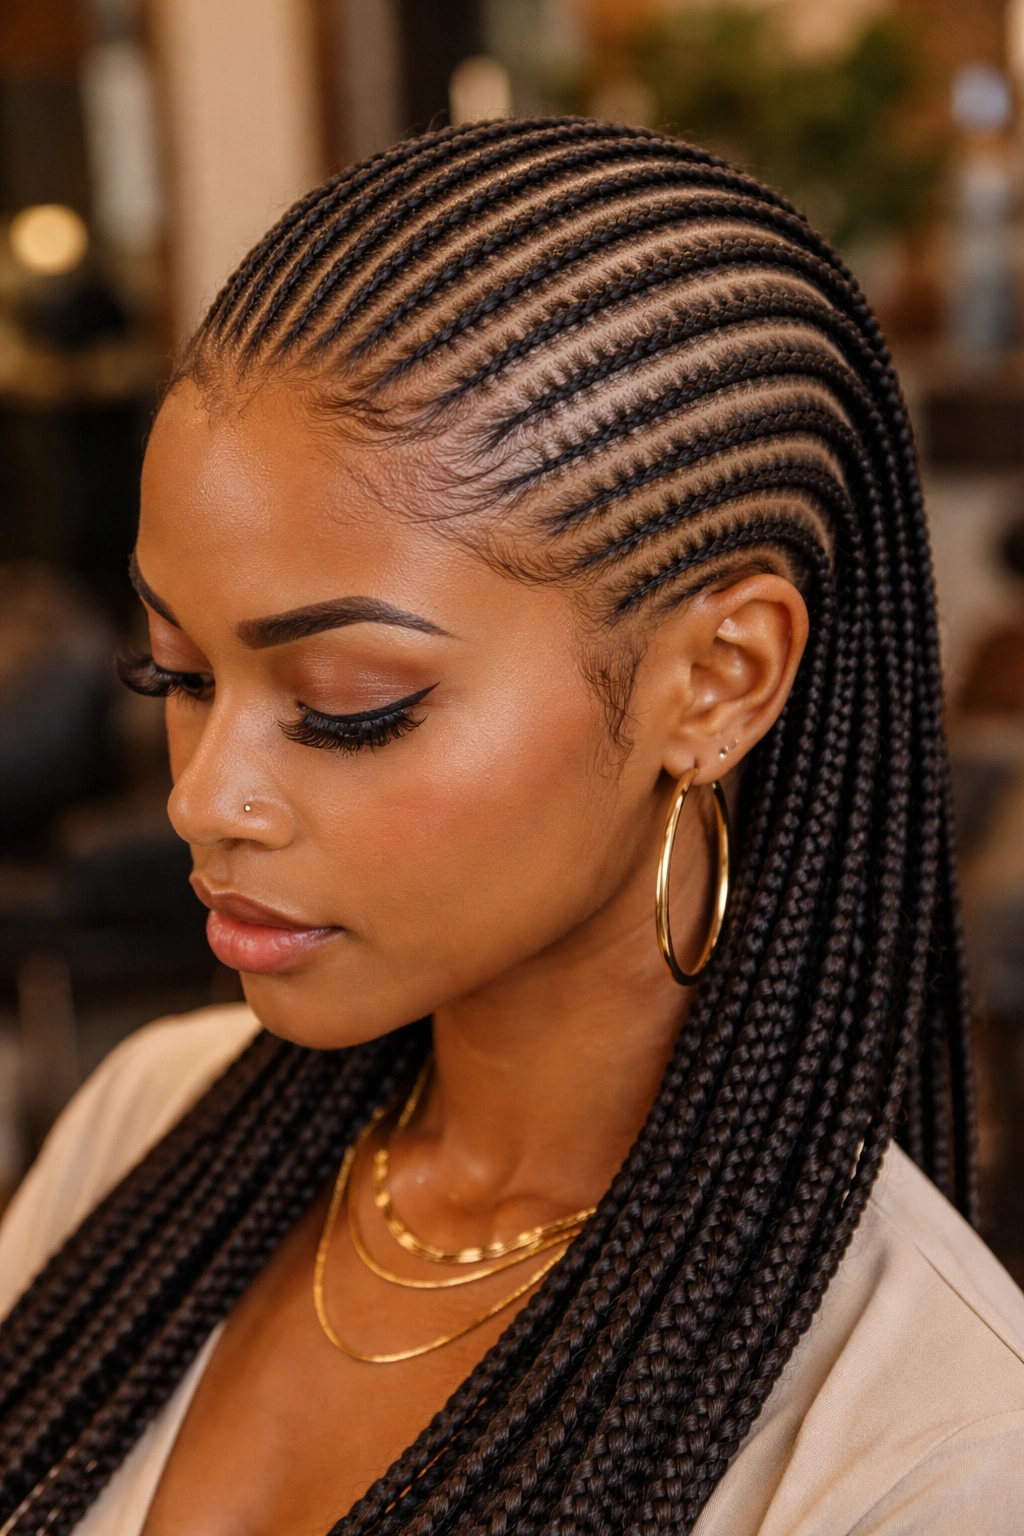
Small stitch cornrows covering the entire head. Twenty or more thin rows, each with clear stitchwork throughout.
Install takes 6-8 hours. Holds 5-6 weeks. This is the commitment tier.
The micro scale plus stitchwork creates a finish that rivals the finest salon braiding.
15. Stitch Cornrows With Cowrie Shells
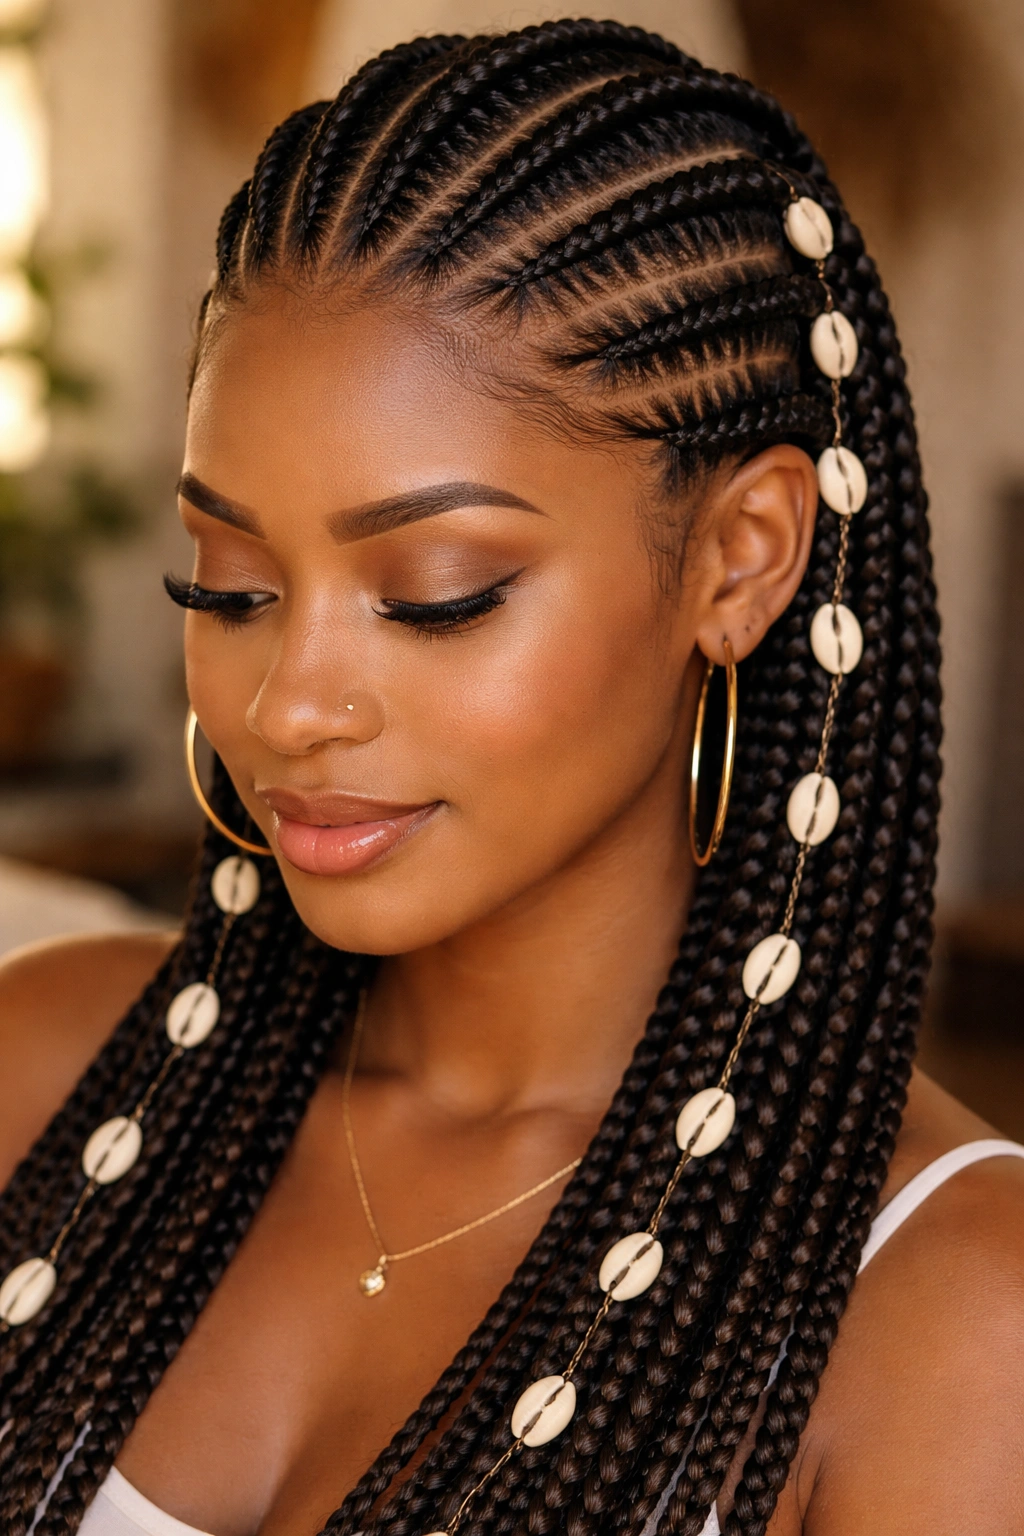
Stitch rows with cowrie shells woven into the braid bodies. The shells add cultural weight and visual texture to the precise stitch base.
The stitch pattern plus cowries reads as craft-forward cultural styling. Both elements honor tradition.
Use real cowries, not plastic copies.
16. Stitch Cornrows Ending in Bantu Knots
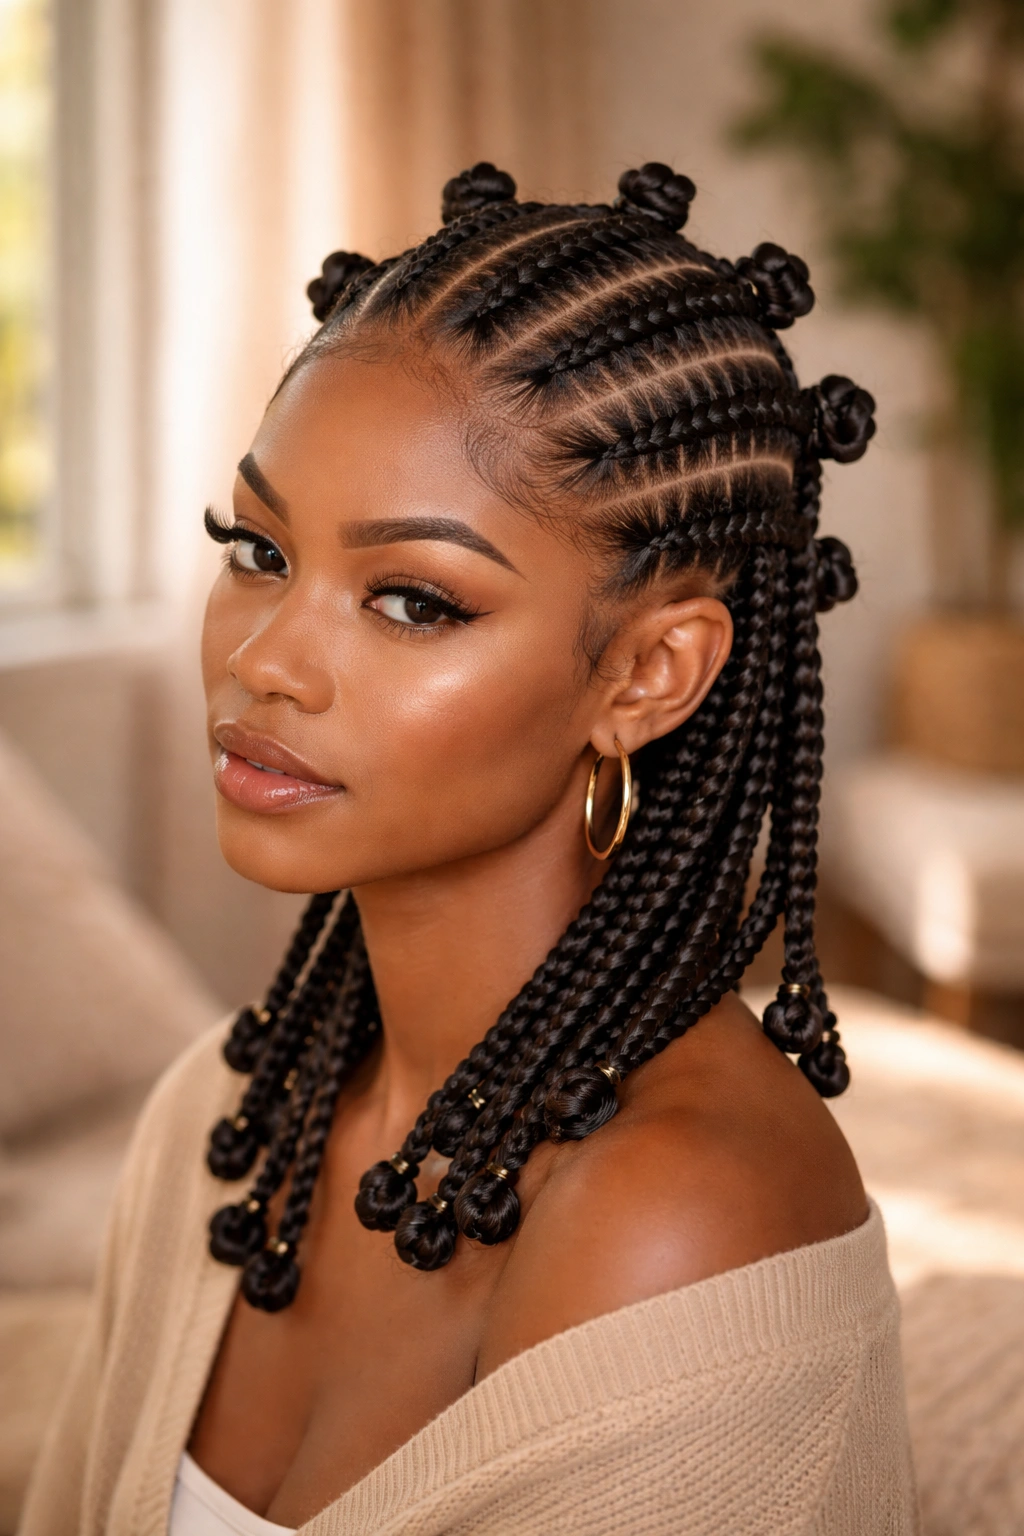
Stitch rows for most of the length, ends coiled into Bantu knots at the tips. Each braid ends in a small coiled knot.
Who This Is For
- Women who want two styles in one
- Anyone comfortable with cultural styling elements
- Those who enjoy variety during a single install
Unravel the knots after a few days of wear for defined curls — a knot-out style.
17. Stitch Cornrows With Color Block
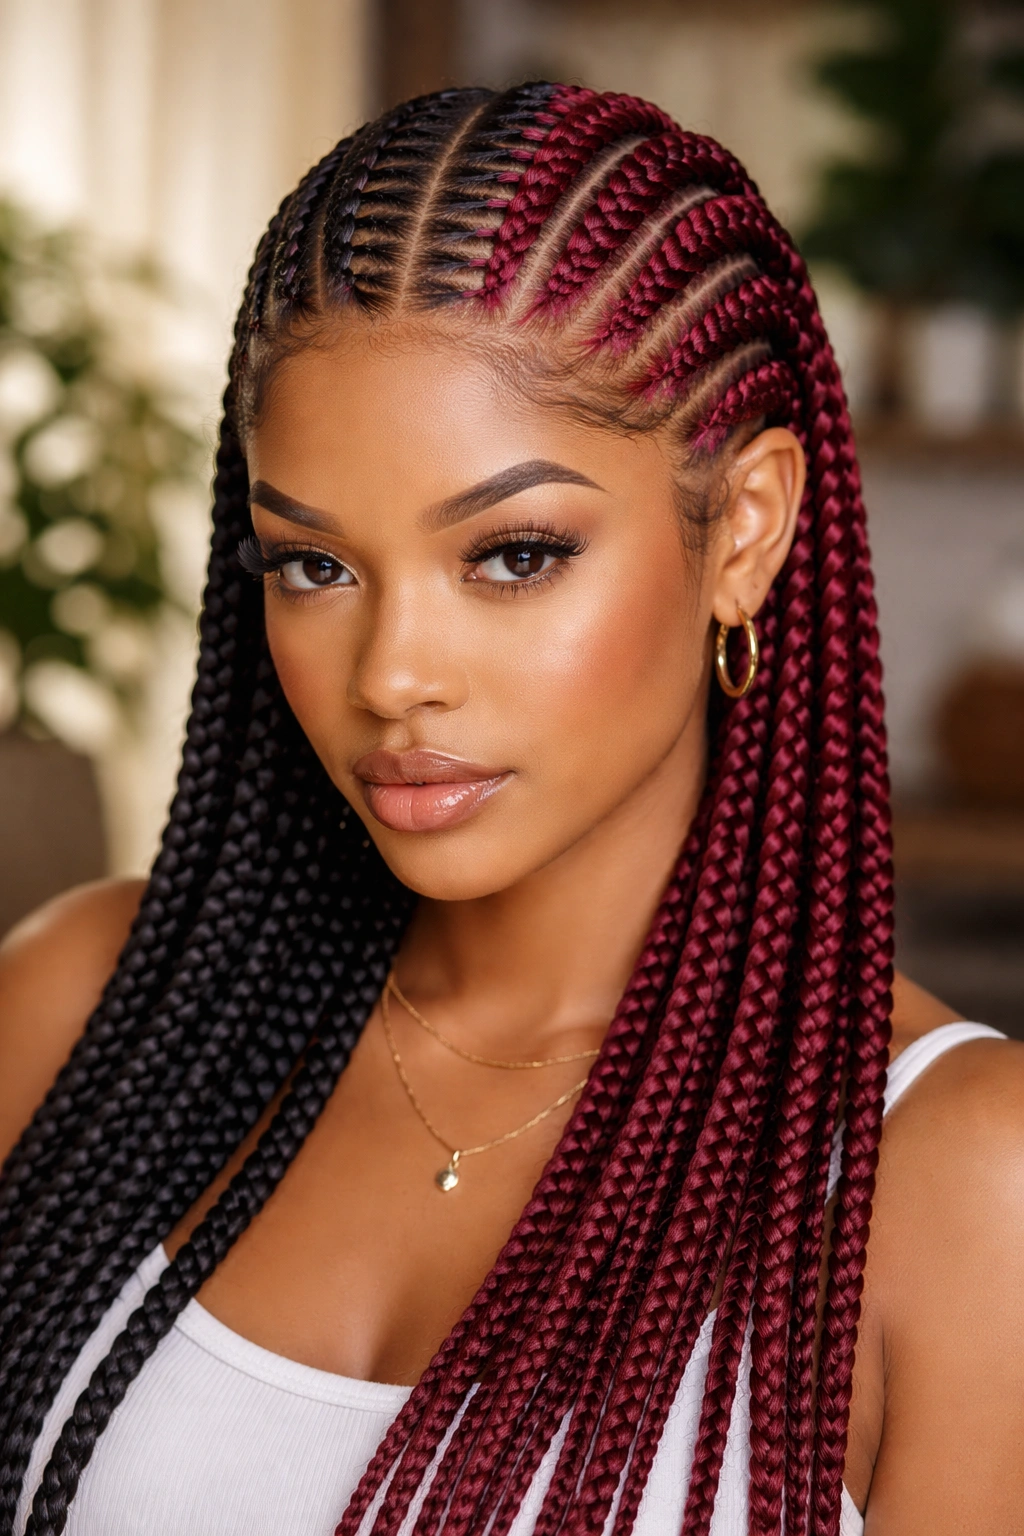
Stitch rows with a dramatic color split. Half the rows natural color, half in a contrasting color like burgundy, honey, or copper.
The color block emphasizes the stitchwork by doubling the visual impact. The eye catches the stitches and the color shift simultaneously.
Pre-colored kanekalon makes this possible without chemicals on your real hair.
18. Stitch Cornrows With Heart Part
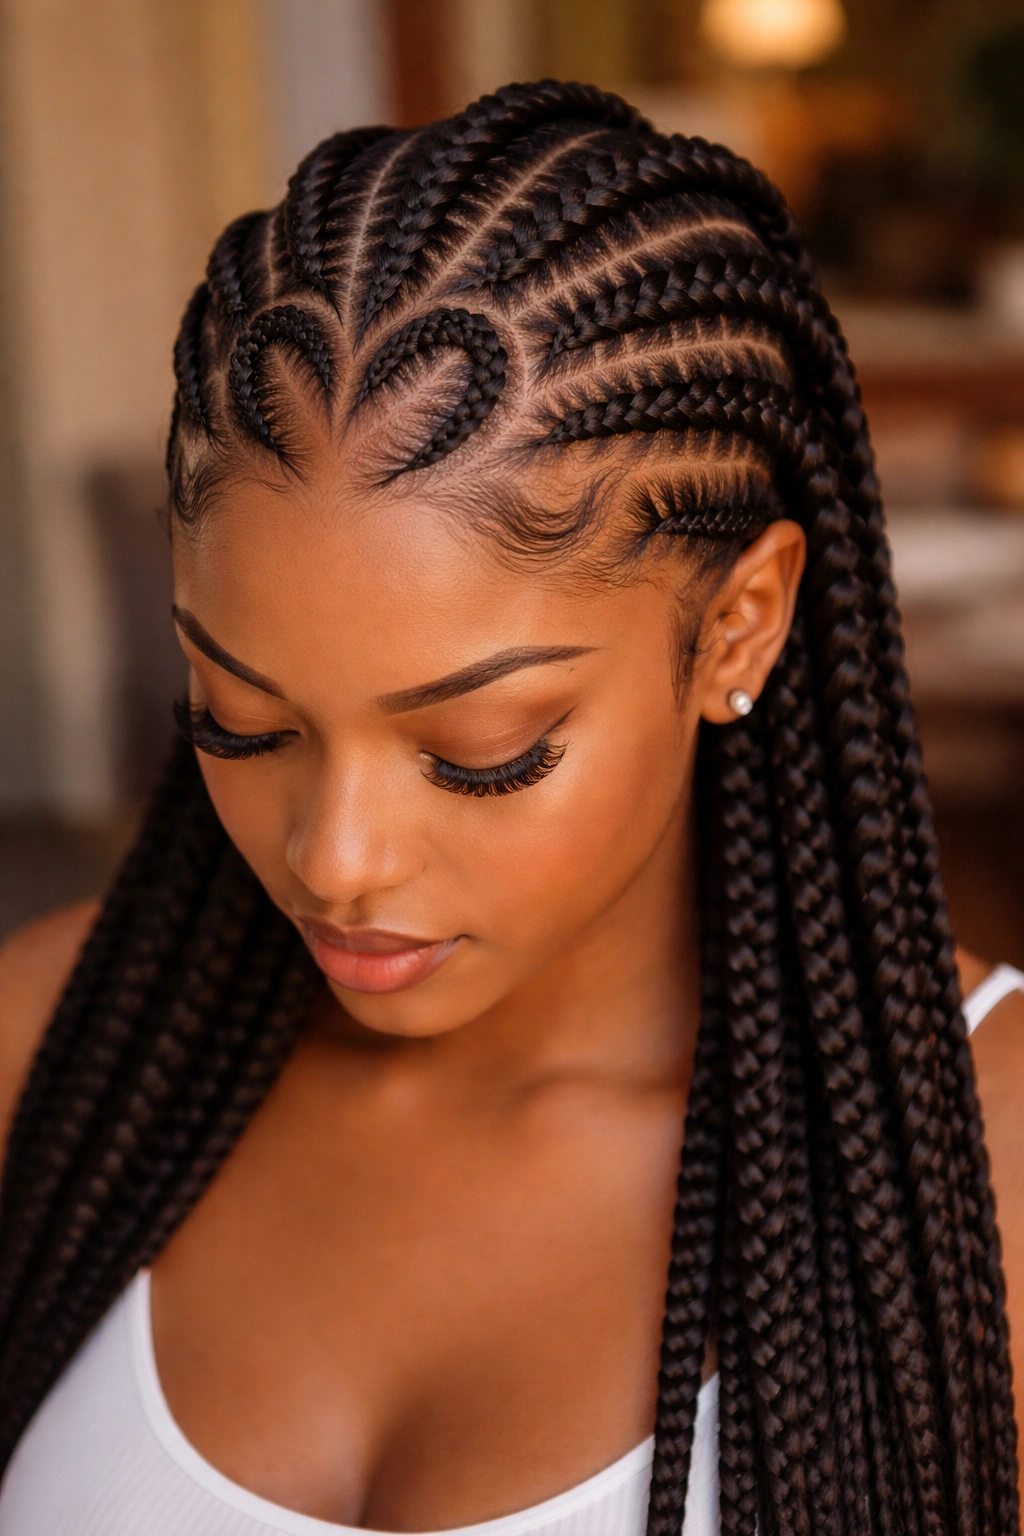
Heart shape carved into the front hairline or crown area. The stitch cornrows radiate around the heart in their normal pattern.
The heart adds personality without disrupting the stitch flow. From the front, the heart shows. From the side, the stitchwork dominates.
Best for date nights, anniversaries, or any occasion where a detail catches the eye.
19. Stitch Cornrows With Fade Sides
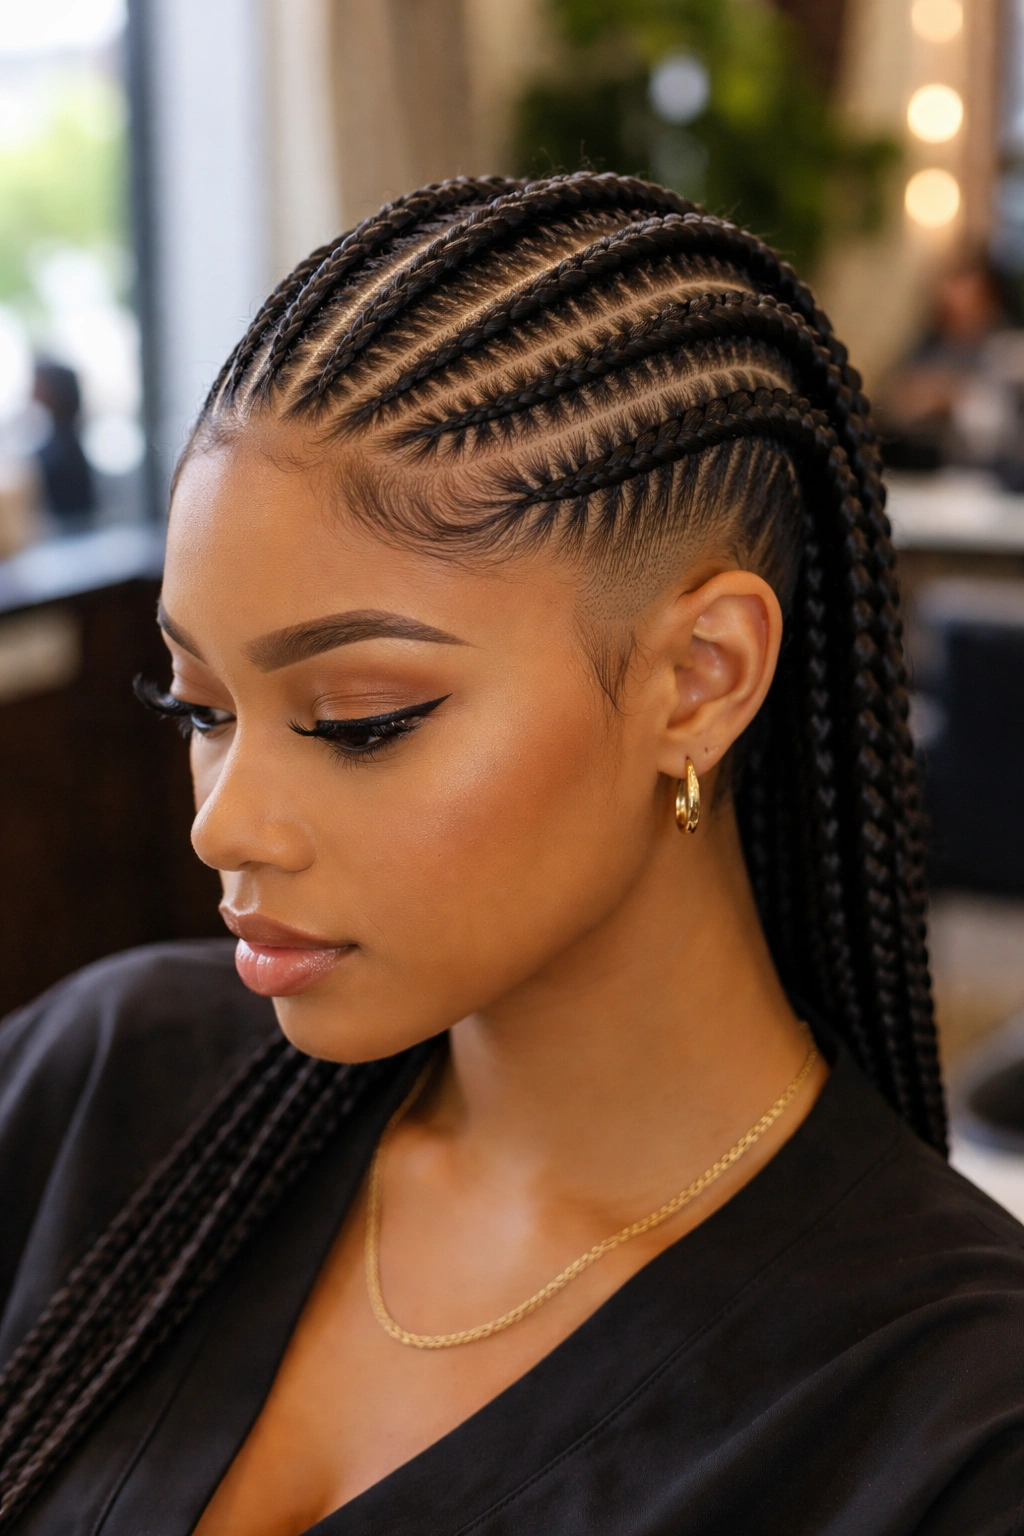
Stitch cornrows on top, faded or shaved sides. Maximum contrast between detailed stitchwork and bare skin.
Fade maintenance every 1-2 weeks to keep the contrast sharp.
Best for women ready to commit to the shorter sides look.
20. Stitch Cornrows With Multiple Widths
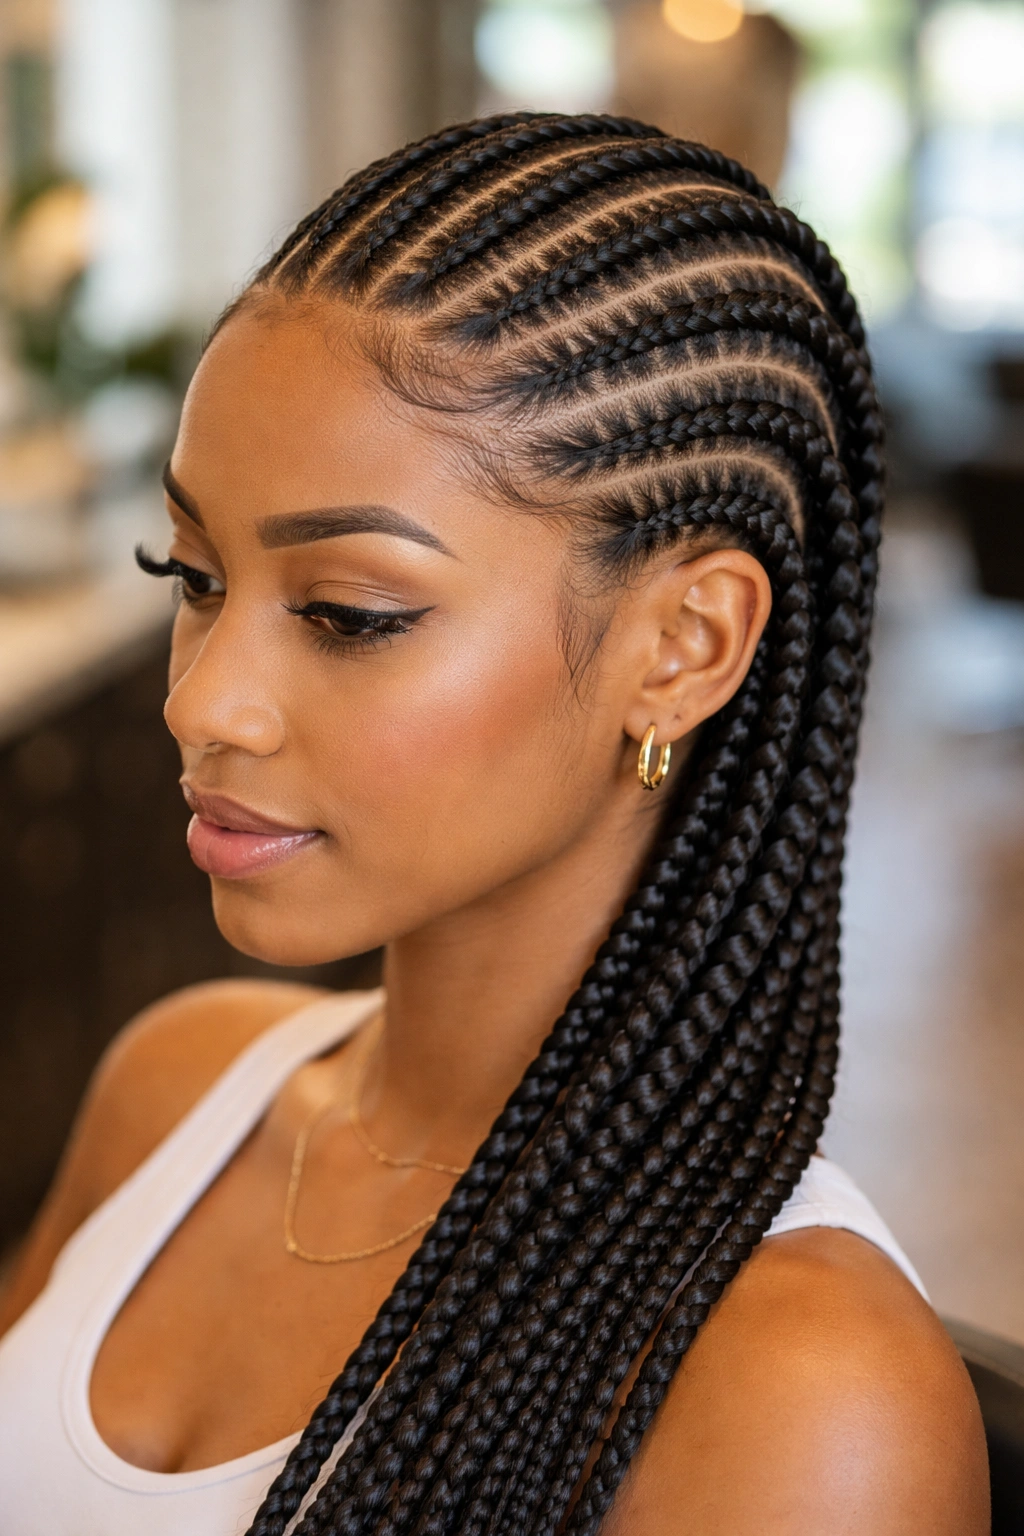
Mixed widths within a single head — some thicker stitch rows, some thinner, in planned alternation. The varied widths add visual rhythm to the stitch pattern.
Pre-plan the width pattern before starting. Random widths look accidental.
Best installed by braiders comfortable with mixed-width pattern work.
21. Stitch Cornrows With Hair Cuffs
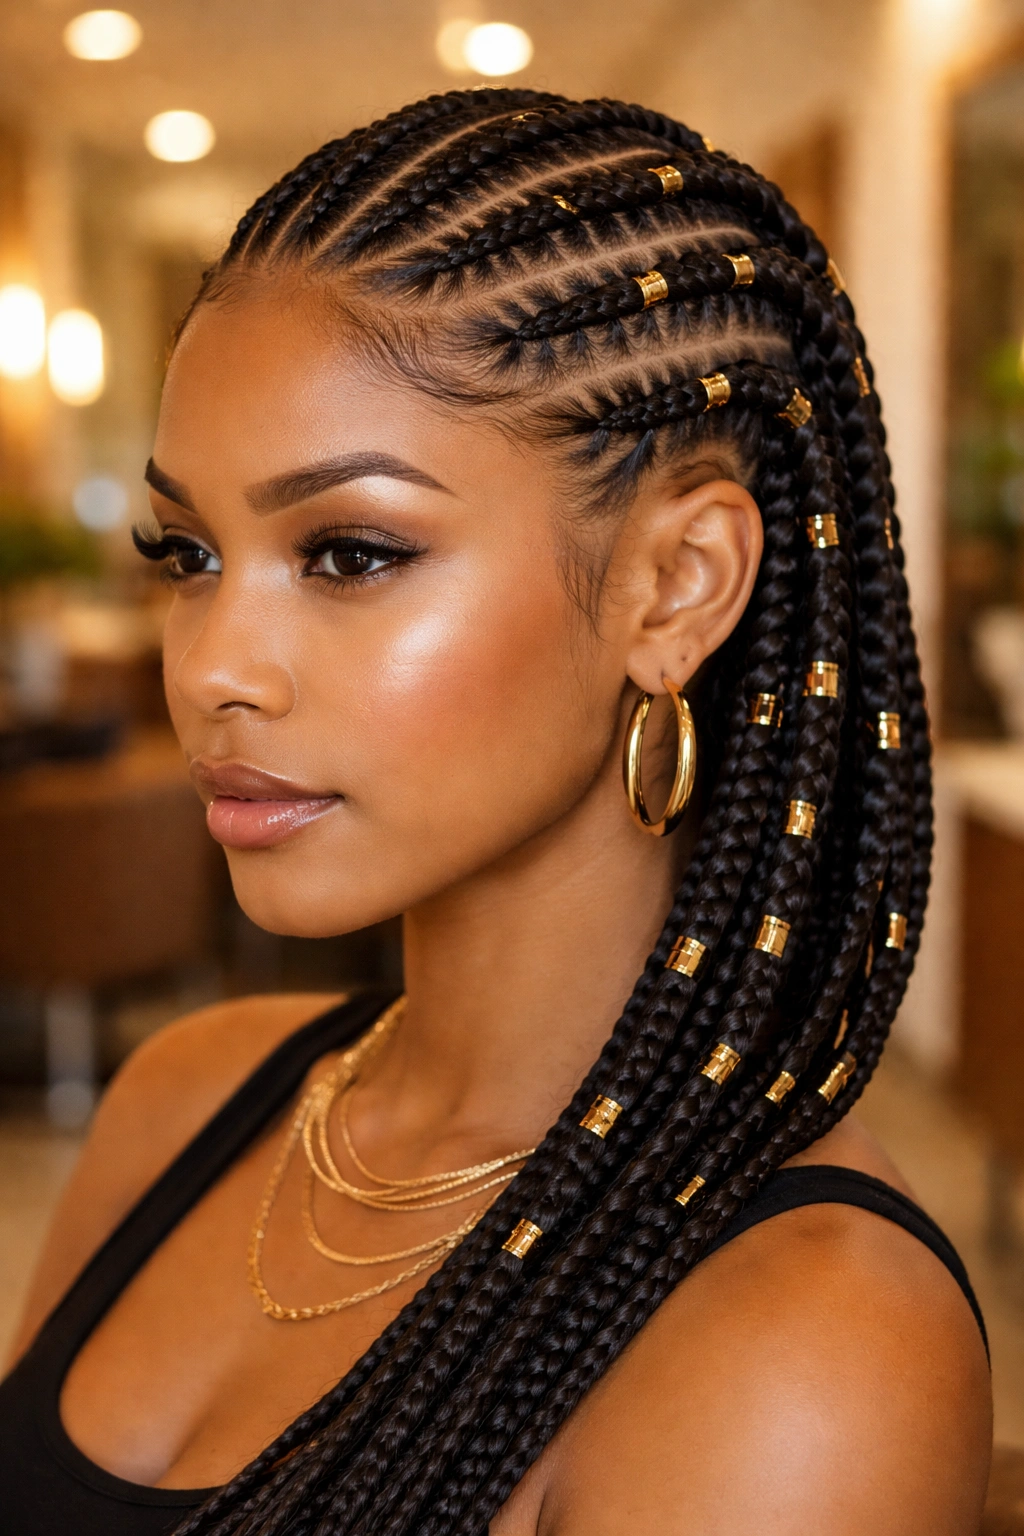
Stitch rows decorated with small metal cuffs along the braid bodies. Gold, silver, brass, or copper cuffs clipped at intervals.
The cuffs stay in place where clipped, creating patterns within the stitch rows.
Coordinate cuff metals with your jewelry for polished cohesion.
22. Long Stitch Cornrows to the Waist
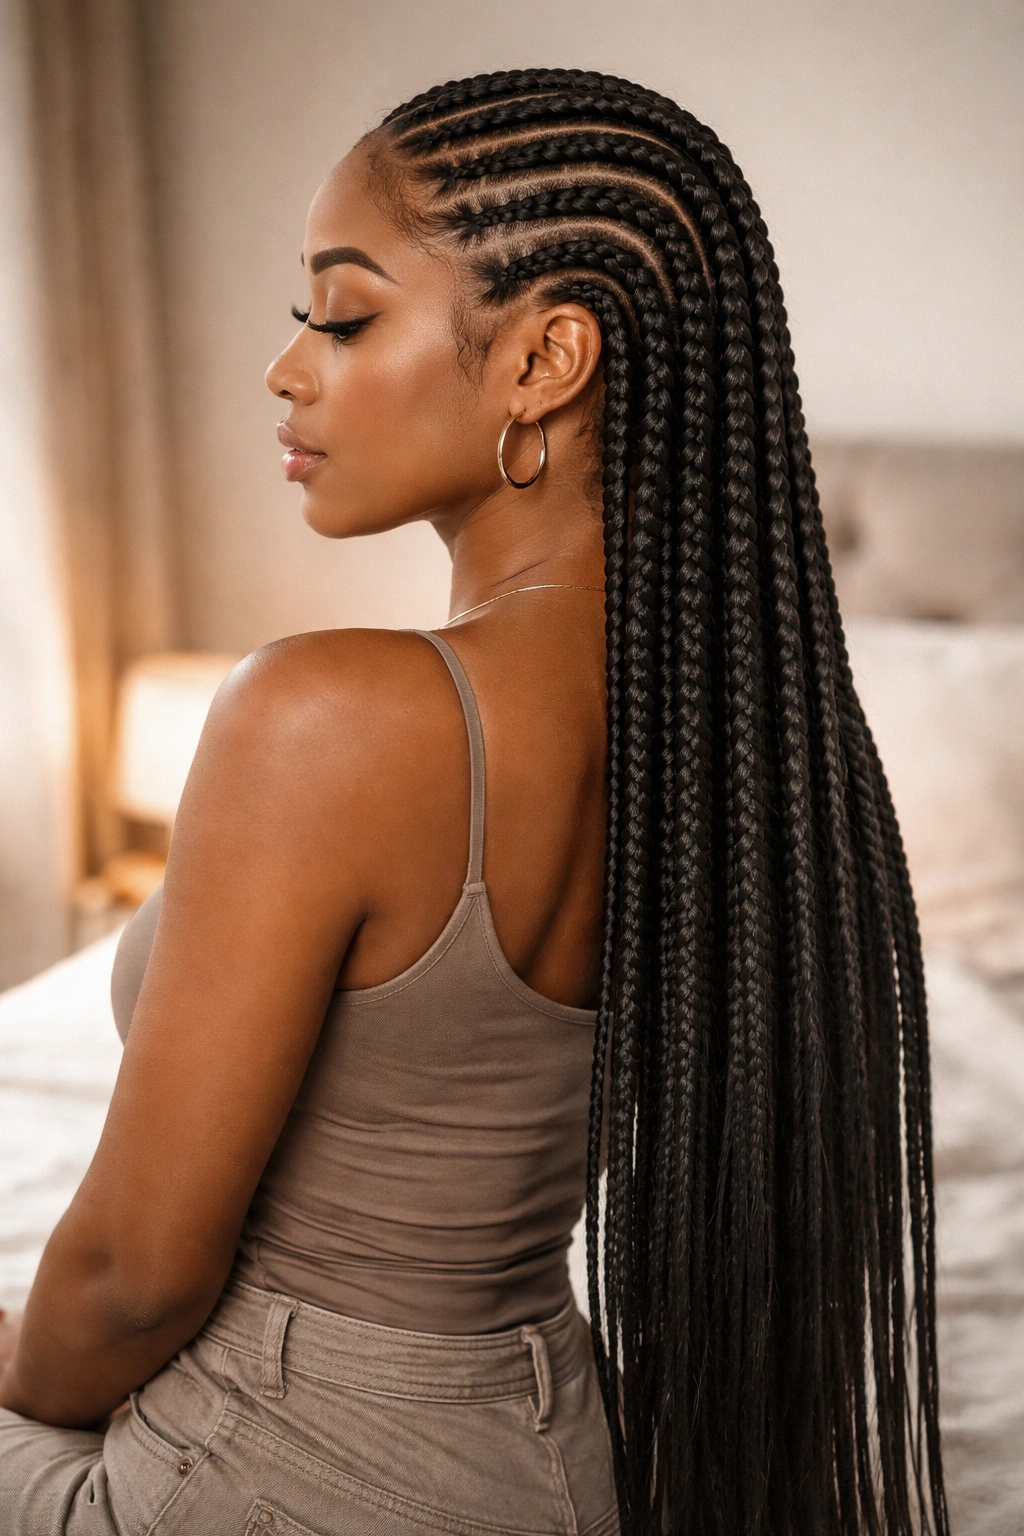
Stitch rows extended with kanekalon to waist length. The stitchwork runs the entire visible length of each braid.
Heavy. The added kanekalon weight pulls on the scalp throughout the day. Use a satin pillowcase and support your neck during long days.
Best for special occasions rather than daily wear.
23. Stitch Cornrows With Ombre Tips
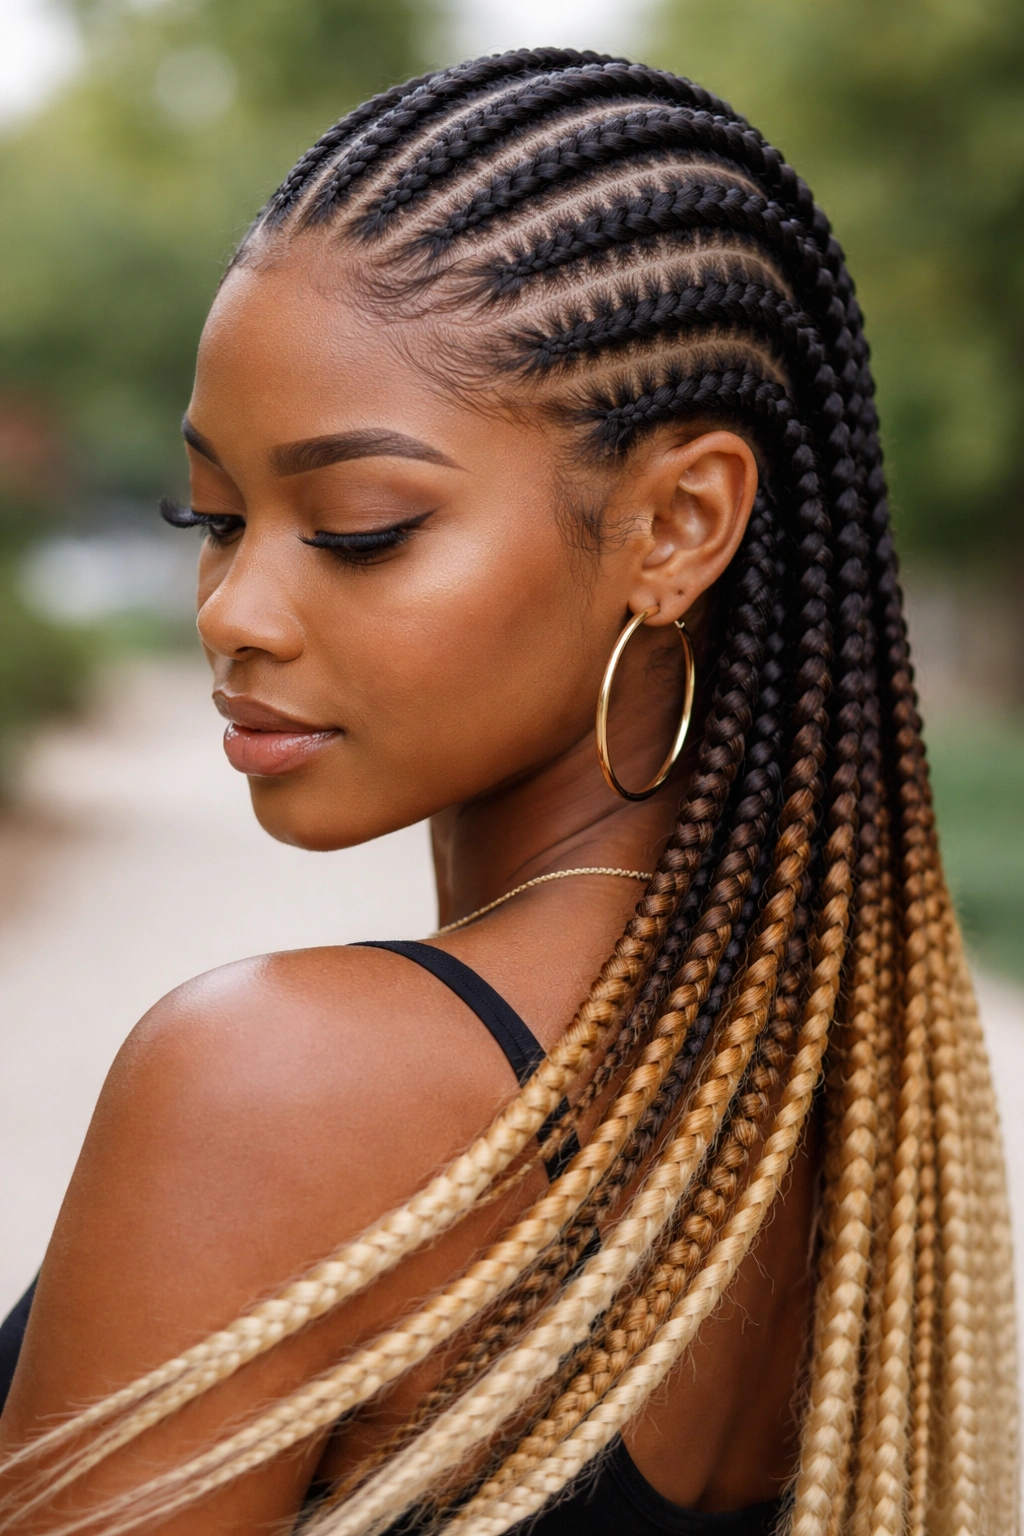
Natural color at the scalp, transitioning to ombre tips. Stitch work is visible throughout; the color shifts along the extension length.
Pre-colored ombre kanekalon makes this happen without real hair dye.
Pick ombre tones that complement your skin undertone.
24. Stitch Cornrows With Dual Nape Buns
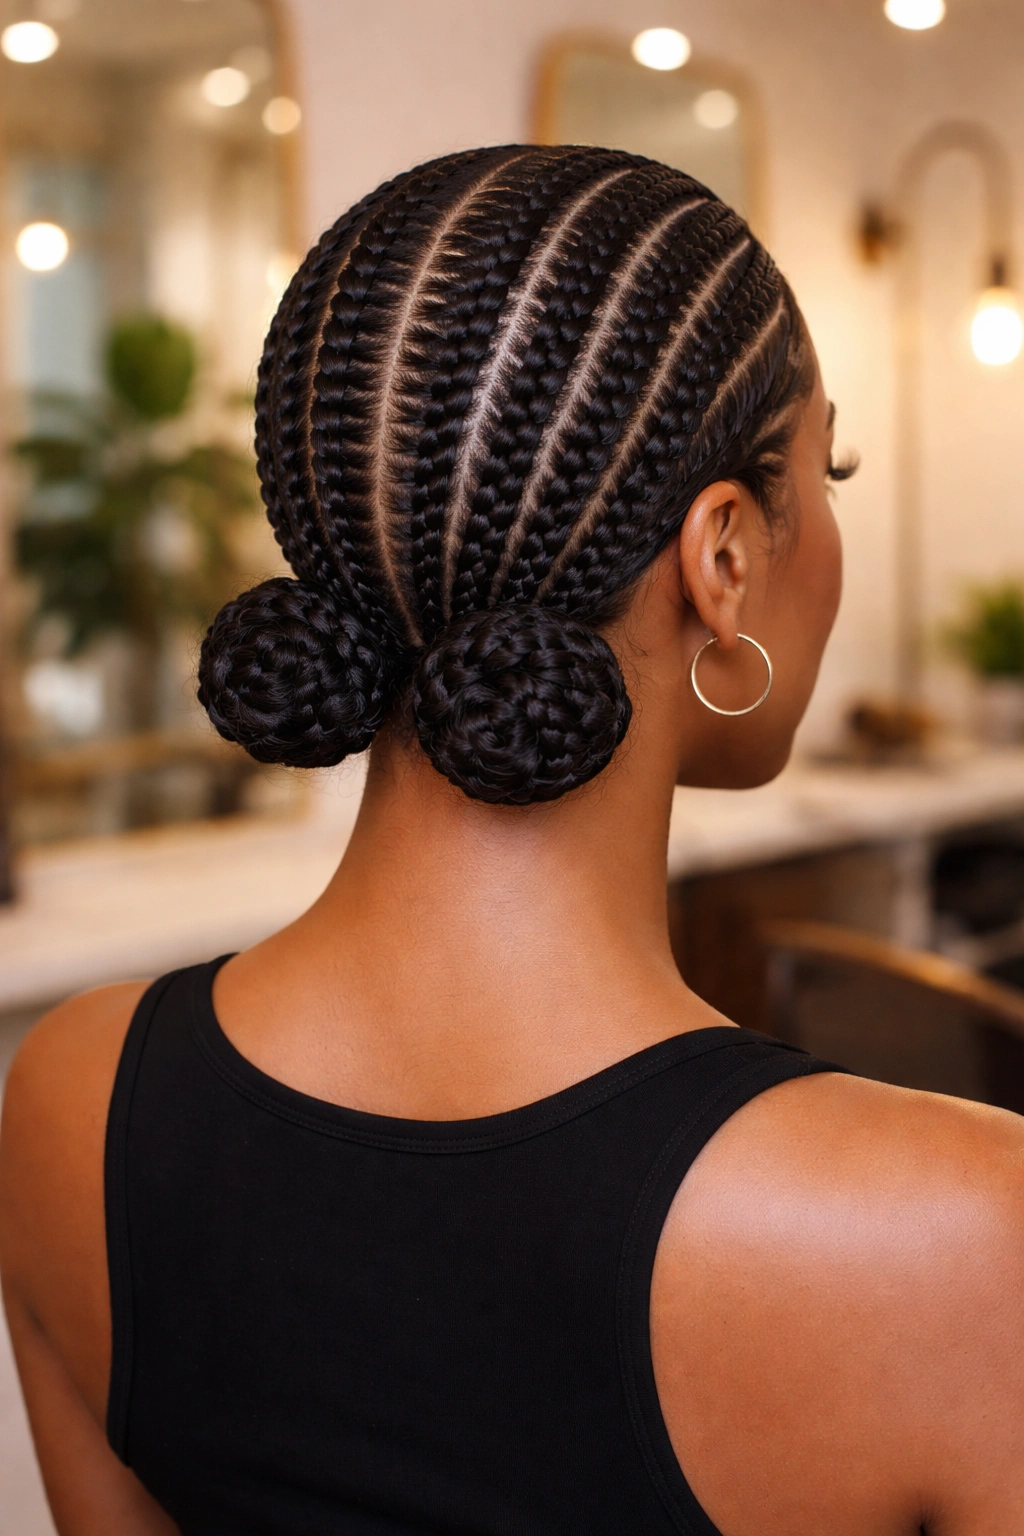
Stitch rows leading to the nape where ends split into two small buns side by side. The dual buns add polish to the stitch base.
The twin nape buns work on hair with enough length and density to fill out both evenly.
Reads polished from behind, cute from any angle.
25. Stitch Cornrows With Diamond Part
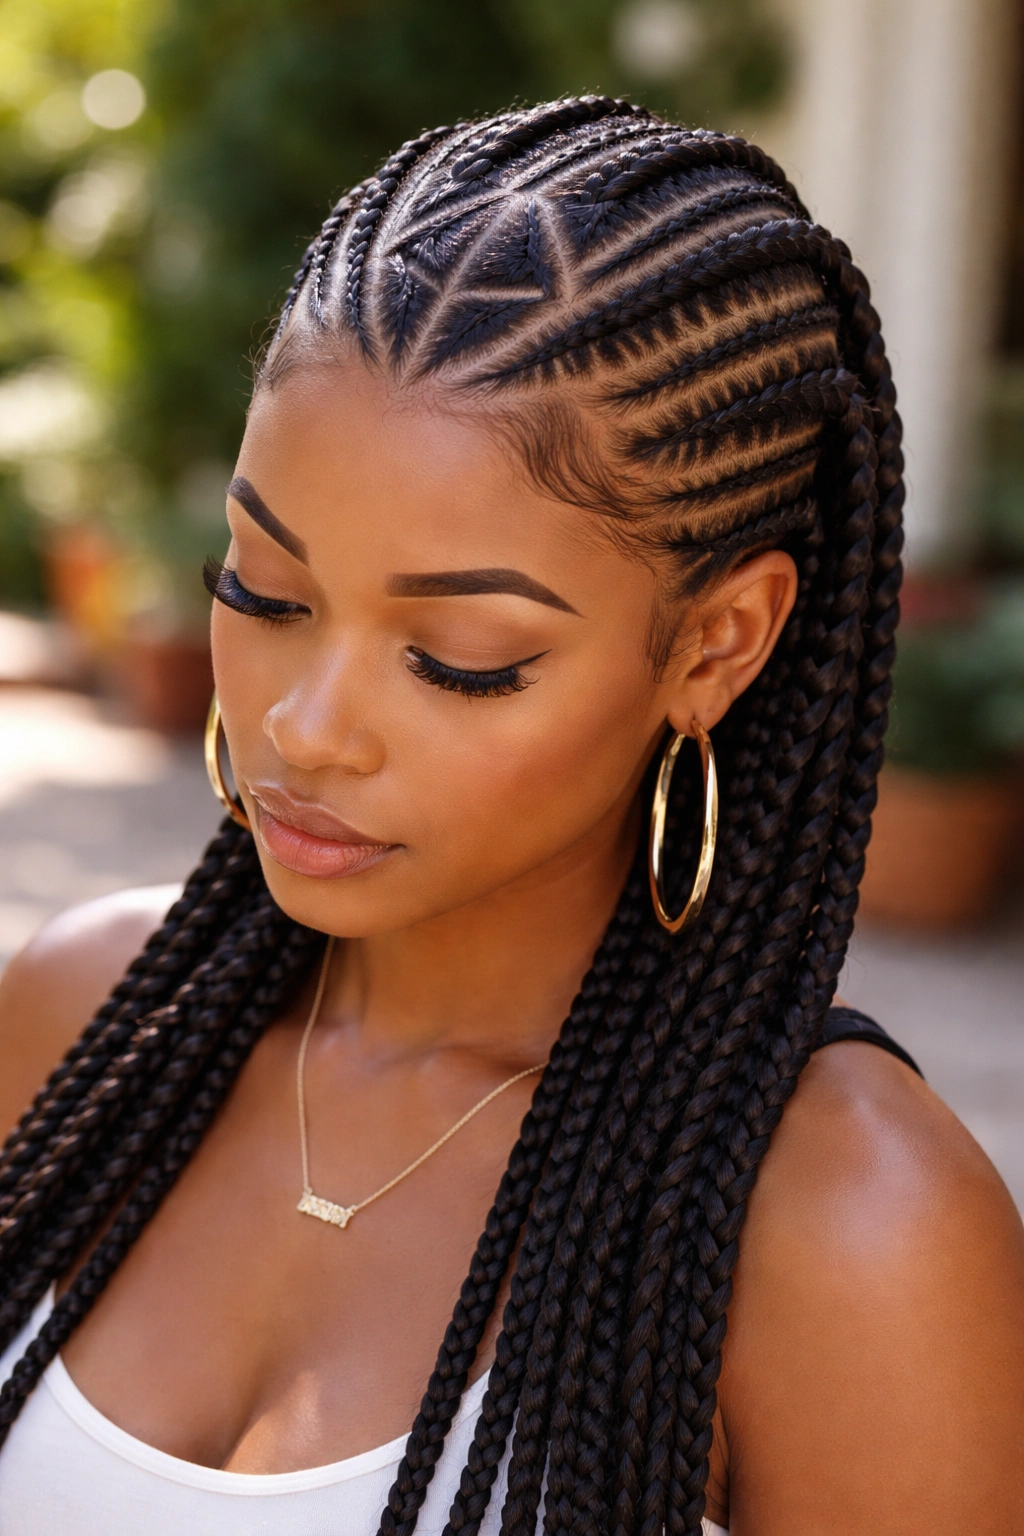
Diamond-shaped part detail worked into the stitch cornrow layout. The diamond sits at the crown, hairline, or side as a focal point.
The diamond adds geometric interest to the straight stitch pattern. Precision matters — a wobbly diamond reads accidental.
Best installed by braiders with pattern work skill.
Maintenance That Preserves the Stitchwork
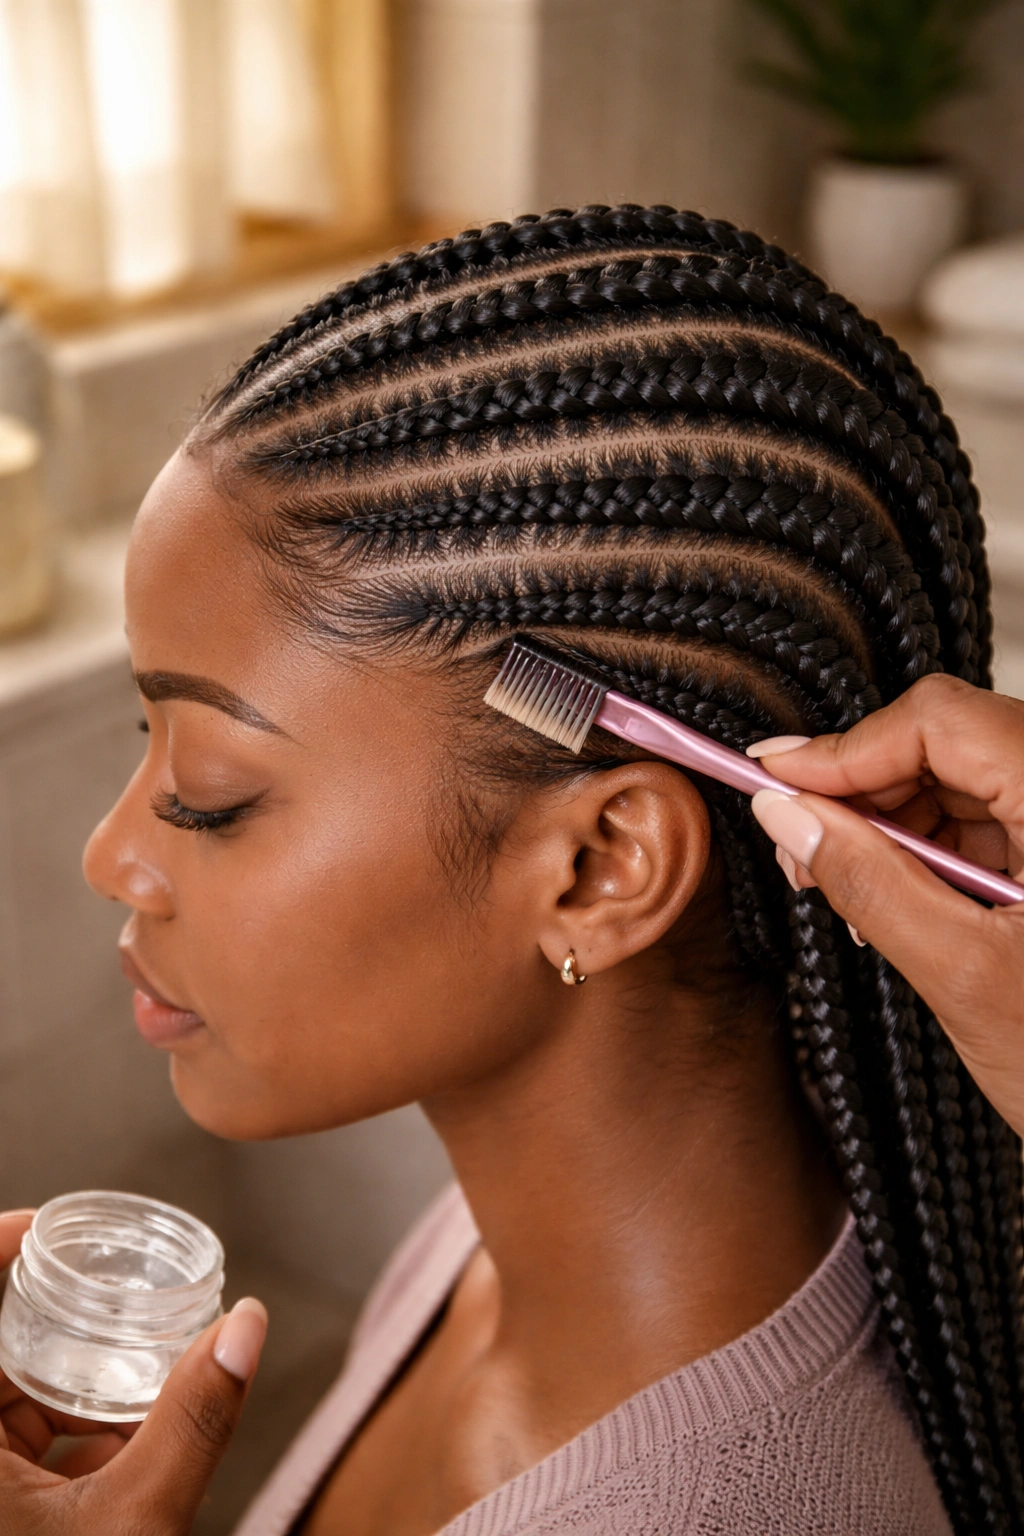
The stitches are the entire point. Keeping them crisp through the wear cycle takes care.
Avoid heavy products that build up along the stitch lines and obscure the ladder pattern. Stick to water-based mists and light oils.
Re-set any flyaways gently with a small amount of edge gel and a soft toothbrush. Don’t overload.
Washing Stitch Cornrows Without Losing Definition
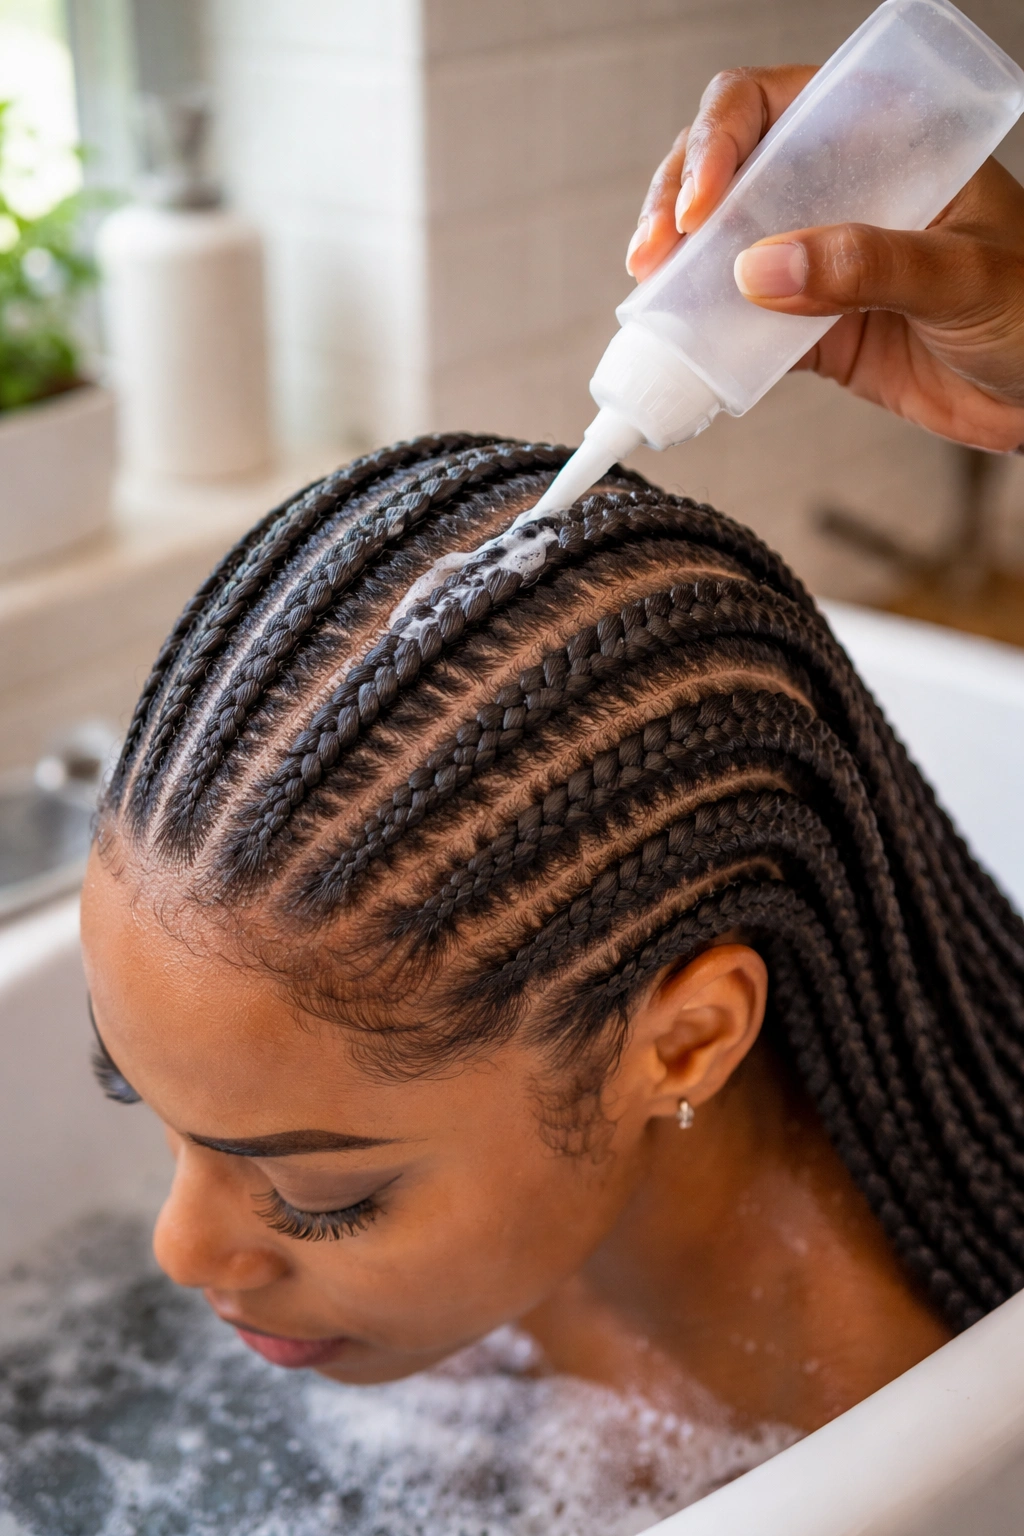
Dilute sulfate-free shampoo with water in a squeeze bottle. Apply along the part lines — being careful not to disturb the stitch work. Massage gently.
Rinse thoroughly with cool water. Air-dry slowly to prevent frizz.
Frequency: every 7-10 days. Stitch work can collect debris if washing is delayed.
Moisturizing Stitched Cornrows
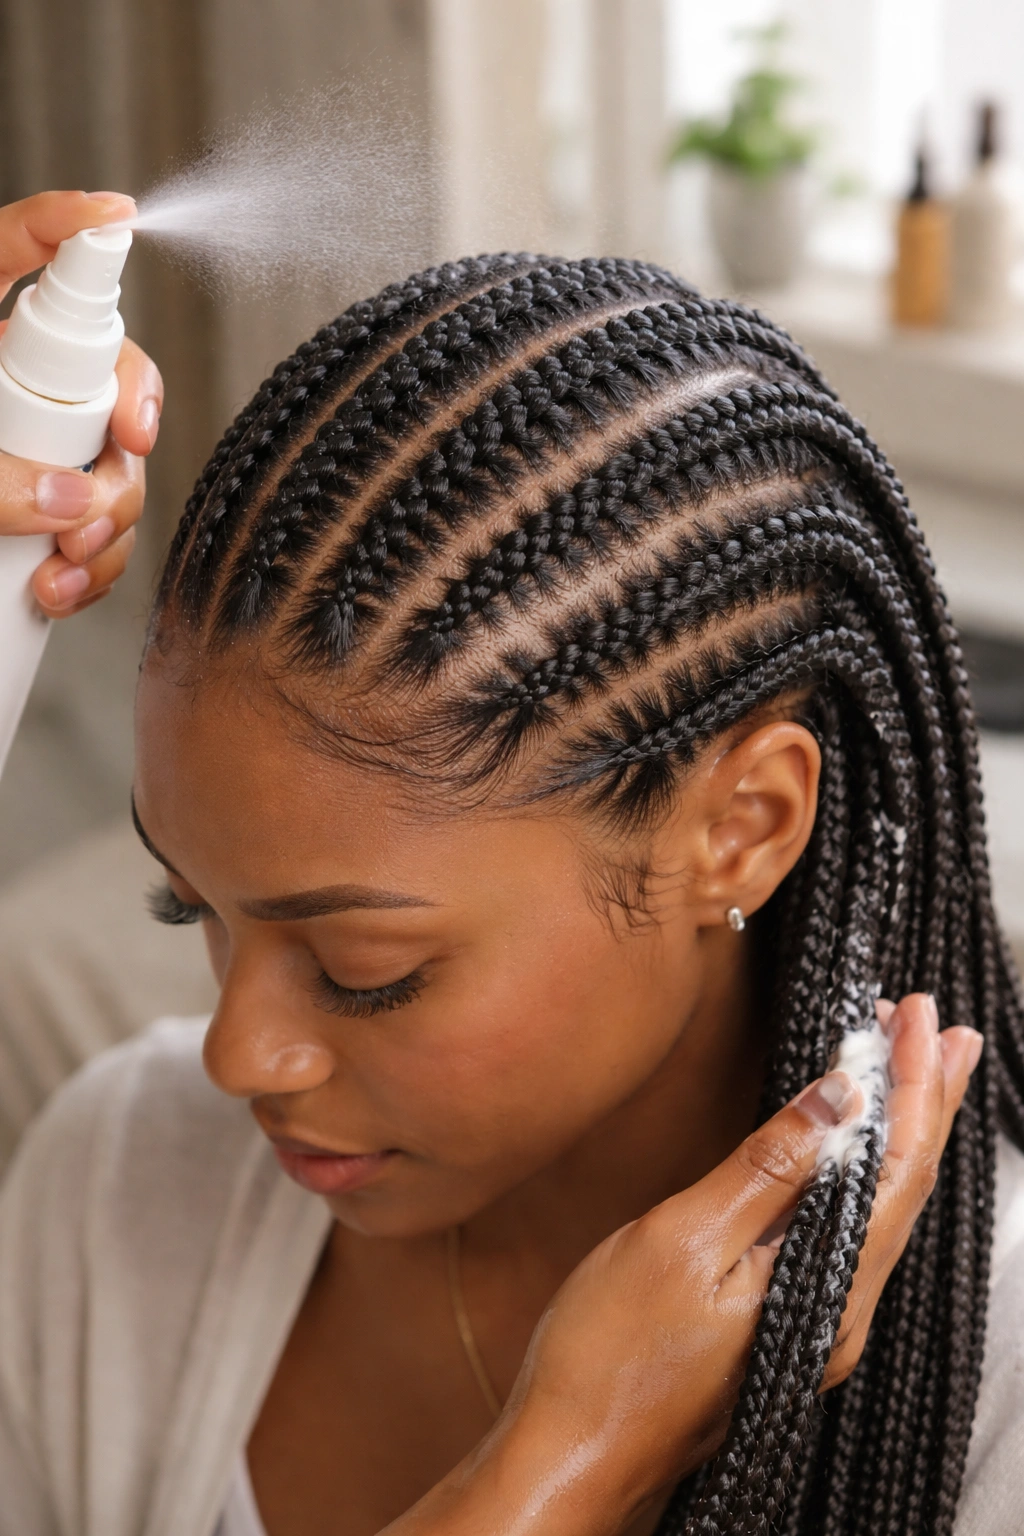
Water mist daily along the parts. Follow with a light leave-in conditioner a few times per week.
Avoid coconut oil and heavy butters — they build up between the stitches and look greasy. Jojoba, argan, and grapeseed oils absorb without leaving residue.
The scalp gets the most attention. A healthy scalp keeps the whole style looking fresh.
Sleep Care for Stitch Styles
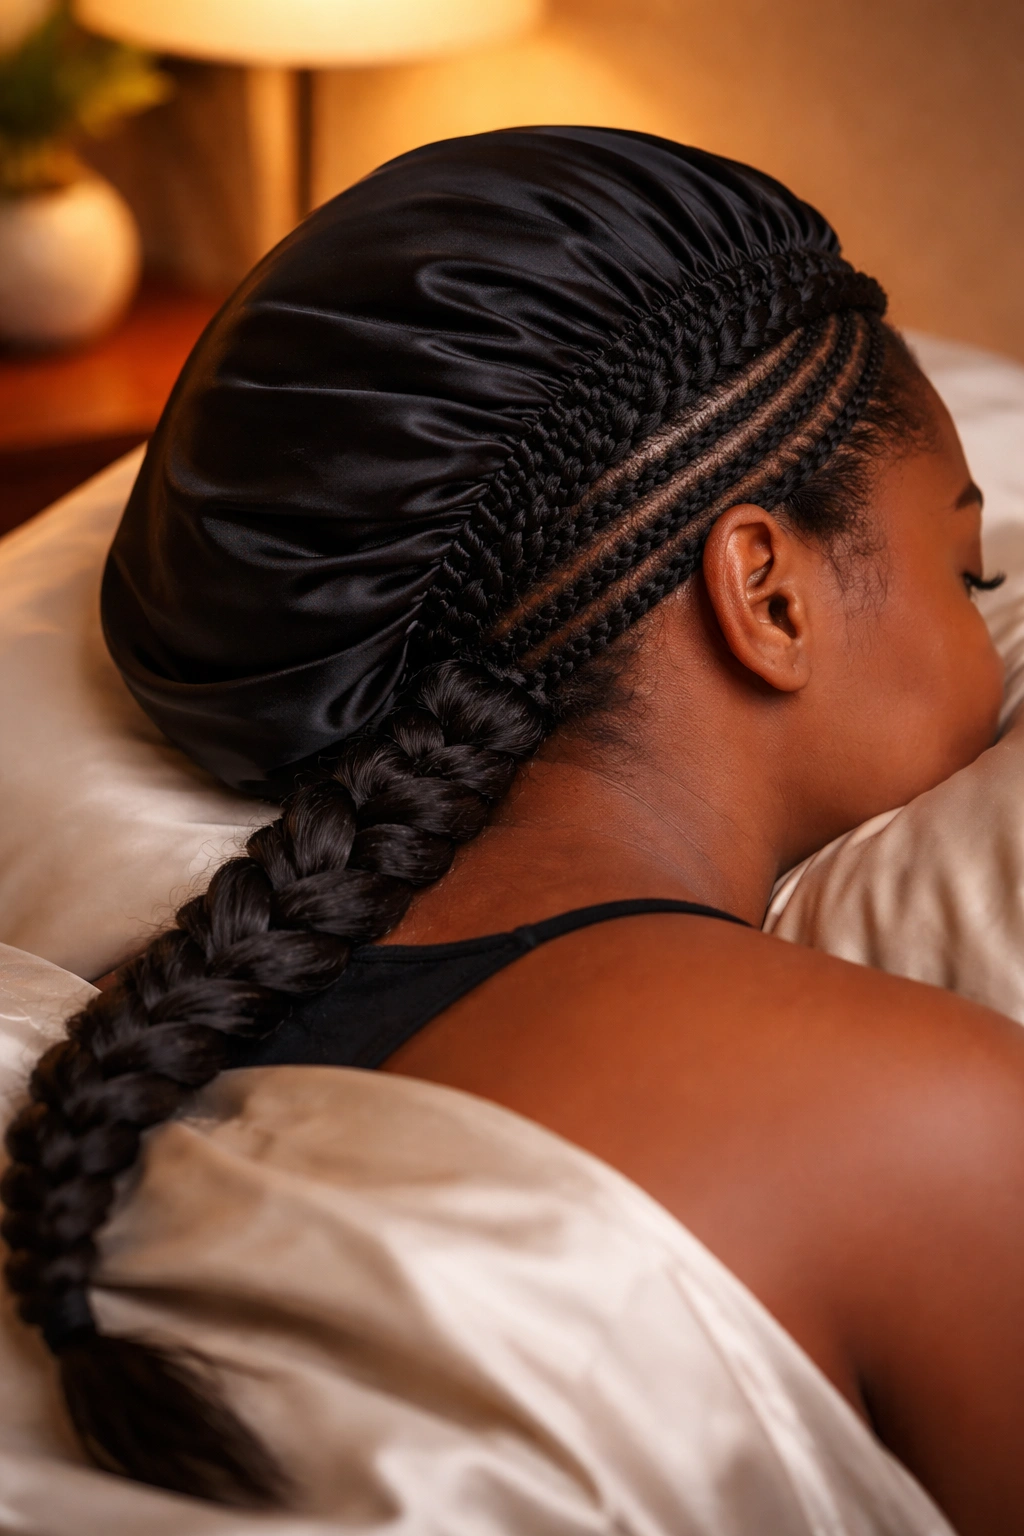
Satin bonnet every night. Tie snug but not tight. Cover all the way to the nape.
For long stitch styles, gather the length into a loose braid or twist before bonnet placement. Prevents tangling overnight.
Pillowcase should be silk or satin even with bonnet wear. Backup protection if the bonnet shifts.
When Stitch Cornrows Need to Come Down
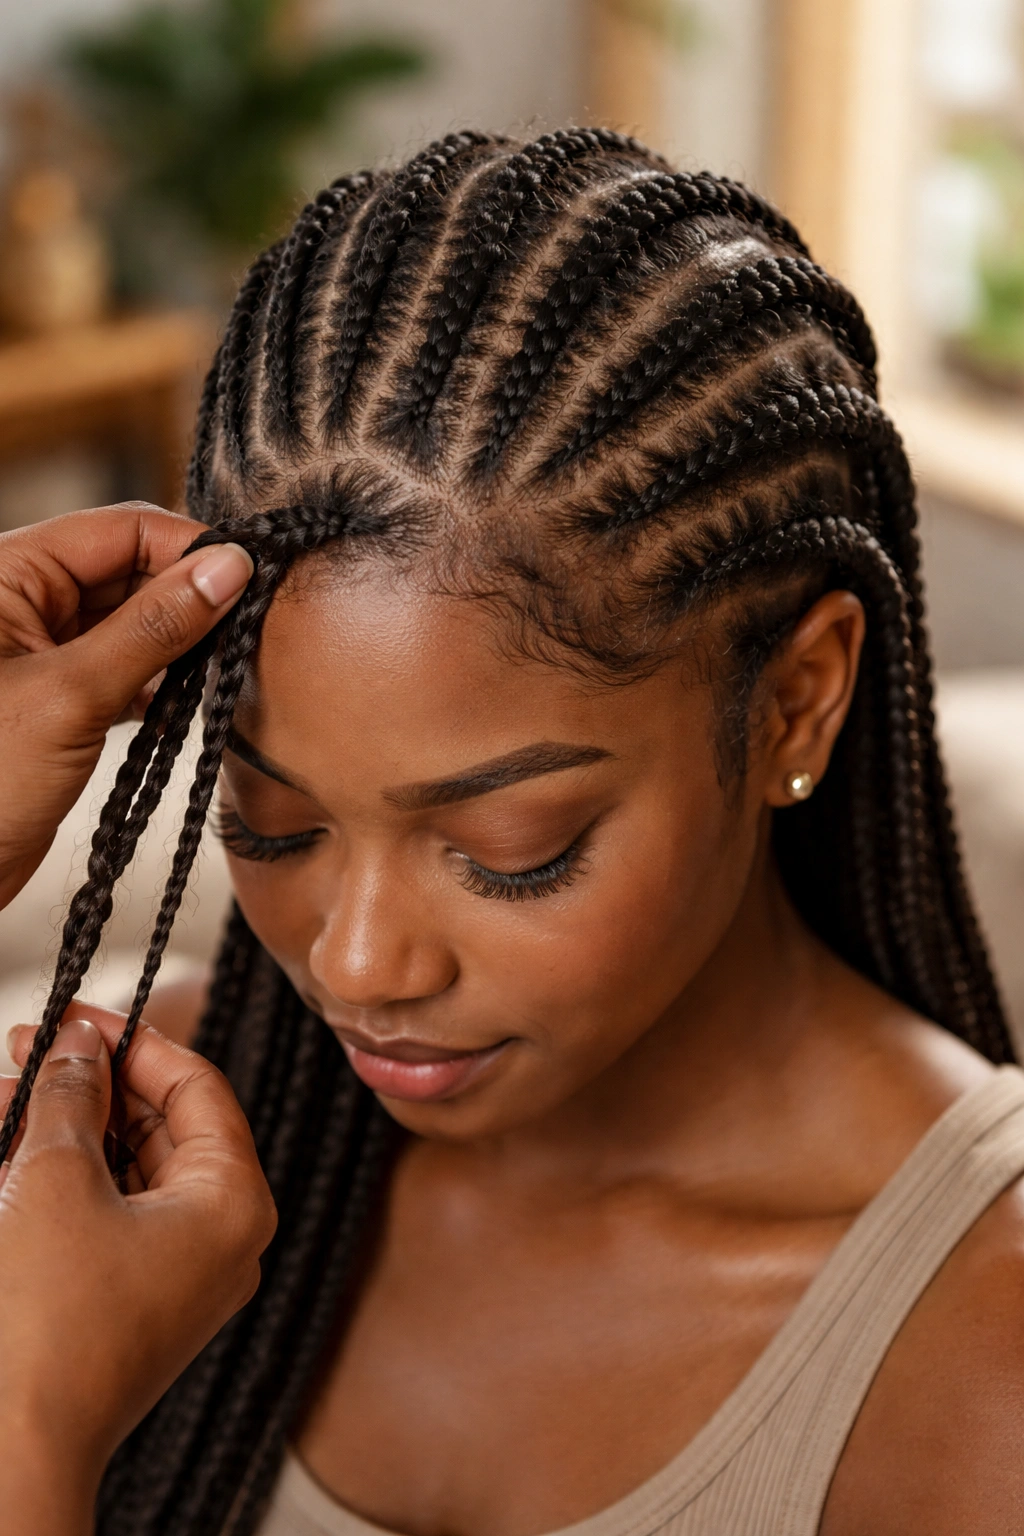
Stitch cornrows last longer than standard cornrows but eventually lose crispness. Signs it’s time: roots grown out significantly, fuzzy stitches that won’t smooth, persistent itch, visible buildup at the parts.
Most stitch styles hit their lifespan at week 4-5. Pushing past week 6 starts damaging the hair underneath.
Take them down at the right time. Don’t hold onto a tired stitch set trying to stretch more weeks out of it.
Takedown Without Damaging Your Edges
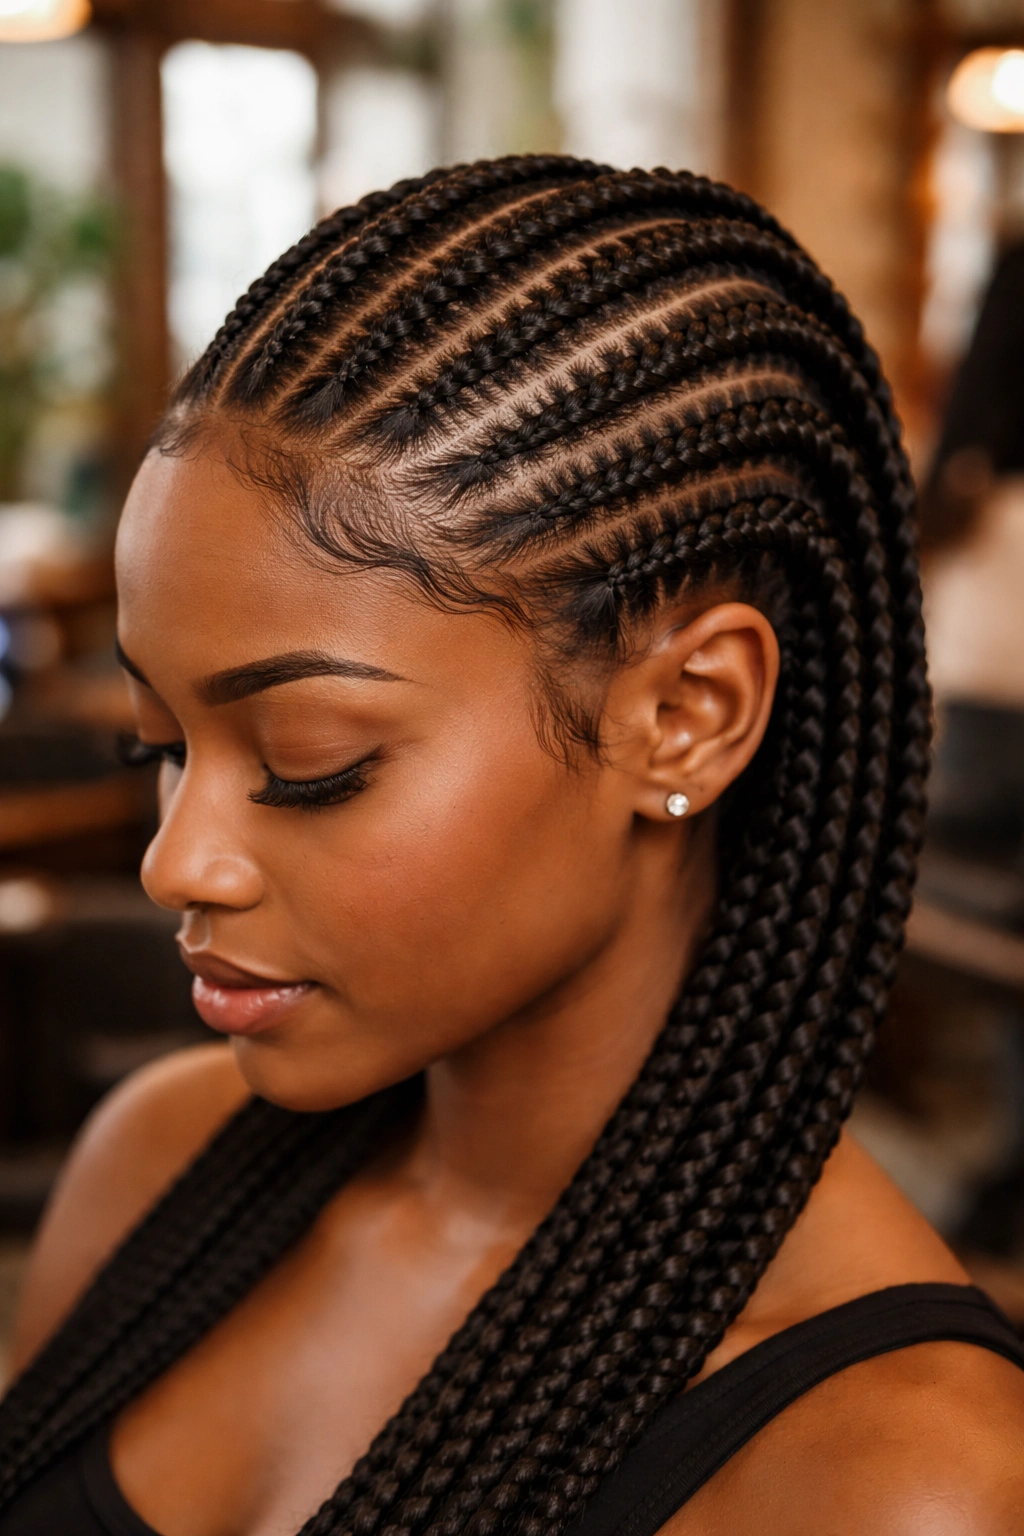
Start at the tip. Unravel slowly, working up to the root. The stitch technique creates tight braids that don’t come apart fast — budget 2-3 hours for full takedown.
Use the pointed end of a rat-tail comb to ease open stuck sections. Slide kanekalon extensions out before fully unraveling each braid.
After takedown, finger-detangle in the shower with conditioner. Don’t brush dry. Deep condition thoroughly before moving to any new style.
