



Side cornrow styles break the symmetry that defines most braided looks. Instead of cornrows running straight back from a center part, side cornrows use a deep off-center part, diagonal rows, or a one-sided gather to shift the whole visual weight of the style to one side. The result reads intentional, asymmetric, and often more flattering than centered styles — especially for round, square, or heart-shaped faces that benefit from broken symmetry. Twenty-five side cornrow styles follow, each one different in its approach to the side-heavy layout.
This category often gets lumped in with “lemonade braids” or “side-swept braids,” but side cornrows are their own thing. They include styles where the braids run straight back from a side part, styles where the braids arc diagonally across the head, and styles where the hair gathers to one side in a pony or bun. All of them shift the visual focus off-center.
What Makes a Cornrow Style “Side”
The part placement, the row direction, or the gather location — any one of these shifting off-center qualifies as a side cornrow style. Most side styles combine all three: a deep side part, cornrows angled to one side, and a gather or finish on that same side.
Centered cornrows read classical. Side cornrows read contemporary, editorial, or fashion-forward. The shift in visual weight changes how the face reads and how the style photographs.
Why do side styles tend to be more flattering? Because asymmetry creates visual interest. The human eye reads asymmetric compositions as more dynamic than symmetric ones. Side cornrows take advantage of that.
Face Shapes and Side Cornrow Choices
Round faces benefit from side cornrows because the asymmetry breaks up the roundness. A deep side part visually narrows the face.
Square faces soften with side cornrows that arc diagonally — the angle disrupts the sharp jawline.
Heart-shaped faces (wider at the forehead, narrower at the chin) work well with side gathers that add weight near the jawline, balancing the proportions.
Oval and long faces can wear almost any cornrow style, including side variations. The oval shape is the most flexible.
Hair Prep for Side Cornrow Installs
Wash with a sulfate-free shampoo, deep condition for 30 minutes, apply leave-in, and stretch the hair before braiding. A side part needs a sharp foundation — shrunken hair makes the part lines bubble.
Trim split ends if the cornrow tails will be visible. Side styles often gather or drape with ends showing, and clean ends read more polished than frayed ones.
Key prep tip: pre-draw the side part with a wide-tooth comb before the braider starts. Getting the part placement right is easier before any cornrow is in place.
Tools You’ll Need
- A rat-tail comb with a sharp metal tip for the part
- Strong hold edge gel for smoothing and designs
- Hair clips for sectioning
- Small rubber bands matched to hair color
- Optional kanekalon or feed-in hair for thickness
- A spray bottle with water and leave-in
- A hair mist to set the finished style
- A satin bonnet for sleep protection
The rat-tail comb tip does most of the design work on side styles. A sharp metal tip lets you draw clean, visible part lines. A plastic tip drags and creates wobbly lines.
Technique Basics for Side Cornrows
The side part sets the foundation. Usually it runs from the outer corner of one eye straight back to the crown. Some side parts are deeper, starting from above the opposite ear and extending to the crown — a more dramatic diagonal.
Once the part is set, the cornrow sections all flow from the part. Each row mirrors the part’s direction — diagonal rows for a diagonal part, straight-back rows on each side for a straight side part.
Tension at the hairline is especially important for side styles. The deep part can concentrate tension in a small area near the temple. Start loose, tighten gradually over the first few inches of the cornrow.
A Brief History of Side-Swept Styles
Side-parted hair has cycled through cultures and eras for centuries. Side-swept braids appear in African art and photography going back generations. The “lemonade braid” name came from a 2016 music video that featured the style, but the style itself is much older.
When you wear side cornrows, you’re wearing a silhouette that has moved through many names and contexts. It’s a shape that flatters, and flattering shapes tend to survive.
1. Five Lemonade Cornrows to One Side
The classic. Five cornrows starting at the top-right corner of the hairline, curving across the forehead, and sweeping diagonally toward the lower-left shoulder. The curve follows the skull’s shape.
Why It Works
- The diagonal sweep flatters almost every face shape
- Five rows distribute weight evenly across the head
- Works with extensions or natural length
- Reads polished at the office, casual at the gym
Best tip: start the curve at the hairline, not halfway down. The arc is set by your first three stitches.
2. Seven Thin Cornrows With Deep Side Part
Seven slim cornrows all starting from a deep side part (originating from above the right ear) and running diagonally across the head to the lower-left shoulder. Thinner rows than lemonade, more detail.
Unlike chunkier side styles, seven thin cornrows read refined and detailed. Each row is about half an inch wide at the hairline, tapering as they sweep back.
Seven thin cornrows take longer to install than five chunky ones — usually 2-3 hours for a skilled braider. The payoff is visible detail and a sleeker silhouette.
3. Side Cornrows Ending in a Low Side Pony
Cornrows angled to one side, gathered behind the ear into a low side ponytail. The pony sits over one shoulder, with the cornrow ends braided into the pony or left loose.
Bold fact: a low side ponytail is one of the most universally flattering placements for a pony on any face shape.
The gather should be loose, not tight. A relaxed gather lets the pony fall naturally over the shoulder. A tight gather pulls on the cornrow bases and strains the edges.
Pair with a small hair tie matched to your hair color, or wrap a thin piece of kanekalon around the tie to hide it completely.
4. Tribal Side Cornrows With Cuffs and Beads
A tribal approach — mixed cornrow thicknesses, scattered accessories, designed part lines — applied to a side layout. The whole style sweeps to one side, but the rows vary in thickness, some have cuffs, and the parts between rows include decorative shapes.
Tribal side cornrows are the longest-install style in this category. A full tribal side set takes 4-6 hours to complete.
The accessories should concentrate on the side where the style gathers — not scattered randomly across the head. Beads on the first three rows near the hairline, cuffs on two rows near the midline, and one large cuff near the gather point.
Who this is best for: events, special occasions, or anyone who wants their cornrows to read as a deliberate artistic statement.
5. Side Cornrows With Curly Side Pony
Side cornrows ending in a low side gather, with curly extension (water wave or kinky curly) added to the pony. The cornrow front is sleek; the curly side pony adds soft, flowing movement.
Picture a classic side cornrow layout with a dramatic curly finish over one shoulder. The two textures together read polished and feminine.
The curly extension is added to the pony by wrapping a curly weft around the gather point and pinning underneath. The cornrow ends are folded under and hidden by the curly section.
- Position the gather point low behind the ear
- Wrap a curly weft (human hair or high-quality synthetic) around the base
- Pin the weft underneath the gather so no attachment shows
- Let the curly length fall naturally over the shoulder
6. Deep Side Part With Zigzag Back Section
A deep side part on one side, with straight cornrows flowing from the part, plus zigzag part lines on the back section of the head. The front reads clean and side-parted; the back reads designed and detailed.
Zigzag parts in the back add visual interest to the view most people won’t see of their own hair — but which everyone else sees constantly. The back becomes a secondary design zone.
Use the rat-tail comb tip to draw the zigzag part lines slowly. Each angle should be sharp and consistent. Sloppy zigzags read accidental; clean zigzags read designed.
This style rewards close inspection. From the front, it looks like a simple side cornrow layout. From behind, it reveals the zigzag detail.
7. Side Cornrows Into a Low Side Bun
All cornrows angled to one side, gathered behind the ear into a low, neat side bun. Cleaner and more polished than a side ponytail.
A side bun reads dressier than a side pony. It’s the style for events that call for an elevated look — weddings, galas, formal dinners.
The bun should be small to medium — about the size of an orange or smaller. A larger bun starts to look top-heavy on one side.
Pin the bun at four points for security: top, bottom, left, and right. Don’t skimp on pins — a loose side bun falls over the course of an evening.
8. Side Cornrows With Face-Framing Pieces
Side cornrows with deliberately loose face-framing pieces left at the temples and cheekbones. The loose pieces soften the structure of the cornrows and frame the face.
The loose pieces should be 4-6 inches long — short enough to look intentional, long enough to drape gracefully. Longer than that and they start to look like flyaways instead of design elements.
Who this is best for: anyone with a round or oval face who wants side cornrows to read softer and more romantic. The face-framing pieces break up the structured look.
9. Side Cornrows With Cornrowed Bangs
A side-parted cornrow layout where the front rows are styled to fall diagonally across the forehead like bangs. The diagonal front cornrows function visually as bangs.
This is a clever way to get a bang look without cutting any hair. The cornrows themselves form the bang silhouette across the forehead.
How to Style It
- Start the front cornrows at a sharp angle across the forehead
- Direct the cornrow tails diagonally down past the opposite temple
- Secure the cornrow tails behind the ear
- The diagonal cornrows across the forehead read as a side-swept bang
10. Ghana Braid Side Cornrows
Side cornrows installed using the Ghana braid feed-in technique. Each cornrow starts thin at the hairline and thickens gradually as kanekalon is fed in during braiding. The side layout plus the Ghana taper creates a specific, elevated look.
Ghana side cornrows read more formal and deliberate than standard side cornrows. The feed-in technique adds length and visual weight to each row.
Installation takes longer (3-4 hours for a full set) but the style lasts 4-6 weeks with good care. That’s 2-3 weeks longer than non-Ghana side cornrows.
Who this suits: anyone willing to invest more time upfront for a longer-lasting side style.
11. Side Cornrows With Baby Hair Design
Side cornrows paired with detailed baby hair sculpting at the hairline. The edges are art — curved swoops, geometric angles, or decorative shapes running along the hairline on the heavier side of the part.
The edge design is the star. Side cornrows read elevated with any edge work, but detailed baby hair art pushes them into editorial territory.
Edge gel choice matters. Strong hold, minimal flake, and a small angled brush for application. Build the design in thin layers rather than gobbing on a thick coat.
12. Side Cornrows With a Braided Headband
A single thin braid runs across the front of the head horizontally, like a headband, with side cornrows running back behind the braid. The two elements combine into a distinct layered look.
The headband braid is typically a thin three-strand or fishtail braid made from the front-most section of hair. It runs from one temple across the forehead to the other temple and pins in place.
Picture a side-parted cornrow set with a braided “headband” running across the front. The two structural elements work together without competing.
13. Side Cornrows With Curly Crown Accent
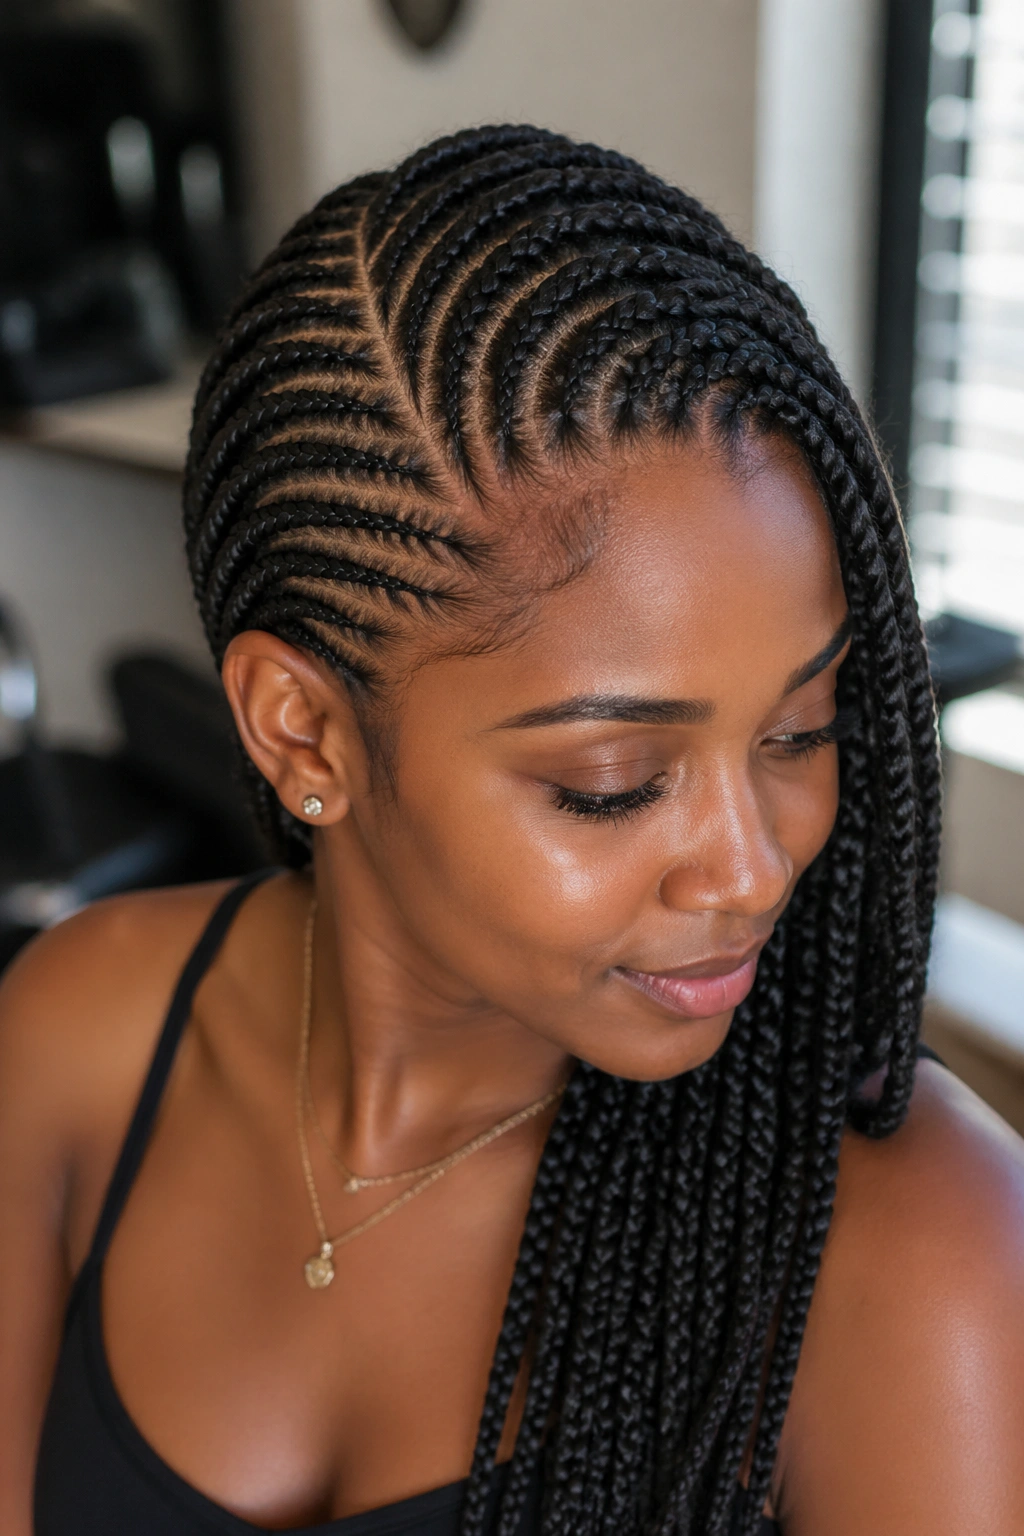
Side cornrows paired with a small curly hair accent at the crown. The crown curl is natural (if you have length) or a curly extension piece pinned in.
Bold fact: pairing a curly accent with side cornrows combines the structured side layout with a textural accent — one of the most flattering combinations for any face shape.
The curly accent should be small — about the size of a small orange at most. Larger accents start to compete with the cornrow layout.
Pin the accent at the crown using invisible bobby pins. The accent should read as part of the style, not as an obvious add-on piece.
Best for: anyone who wants a side cornrow style with a soft textural detail that breaks up the smooth lines.
14. Side Cornrows With Metal Cuffs on One Row
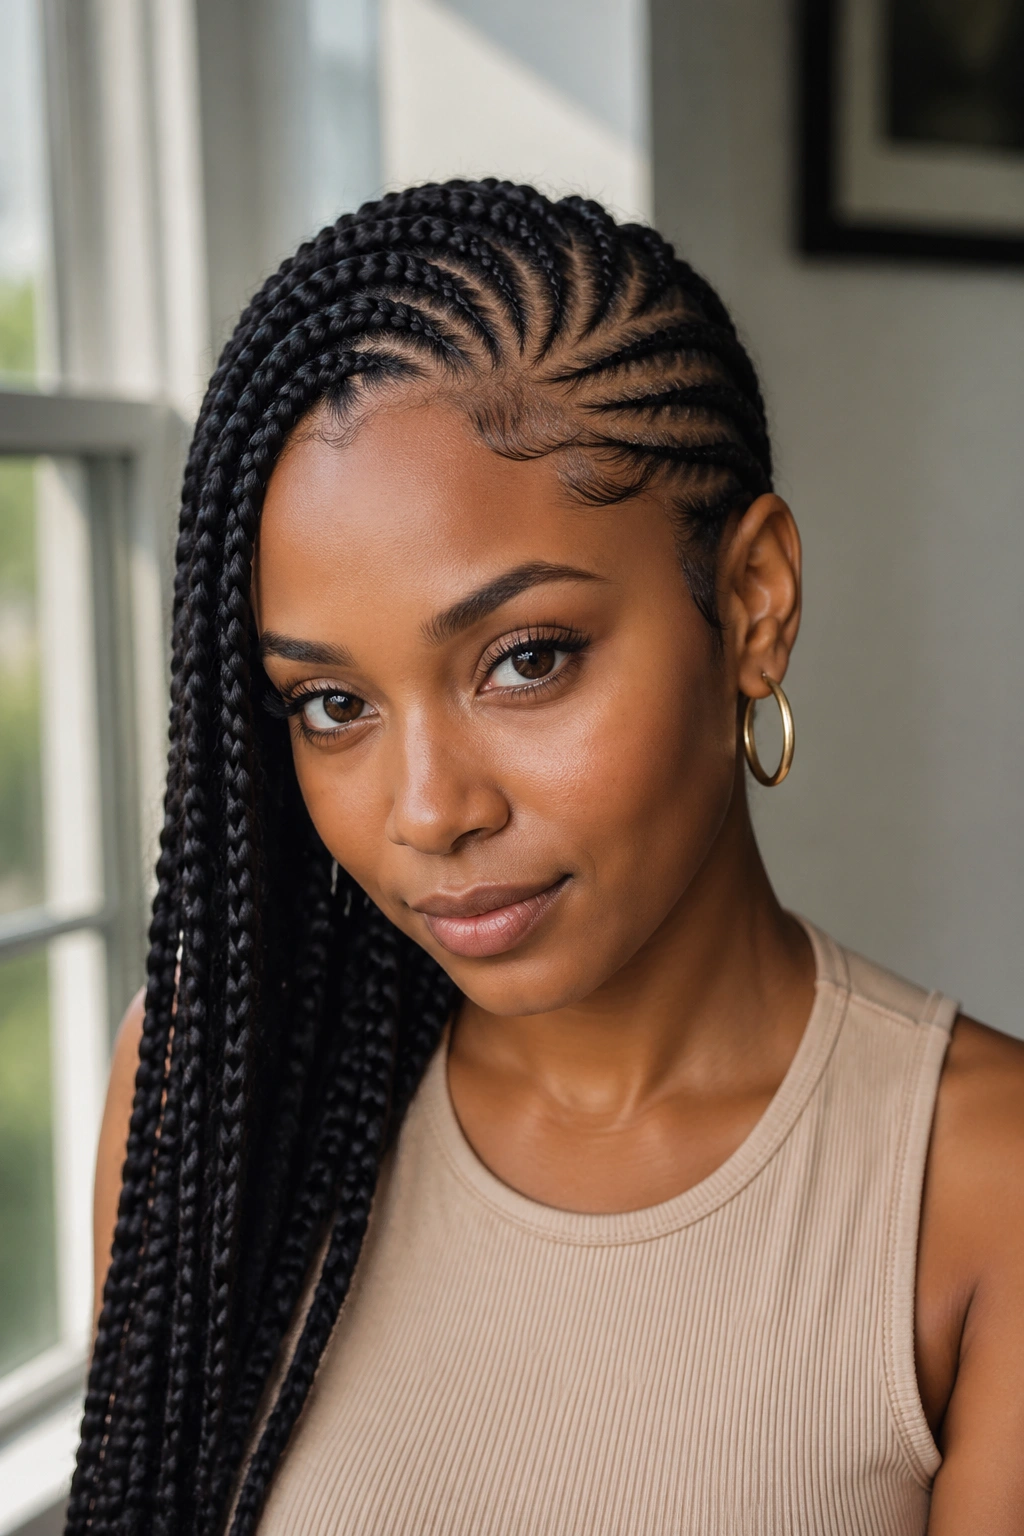
Three to five metal cuffs placed on just one cornrow — the most visible one at the front. The other cornrows are cuff-free. The single accented row draws attention to the front of the style.
A single-row accent approach reads cleaner than scattered accessories. The viewer’s eye lands on the accented row and the rest of the style supports it.
Choose cuffs that fit the cornrow thickness exactly. Loose cuffs slide around; tight cuffs pinch the braid and cause lift.
Who this is best for: minimalists who want the accessory look without the full tribal commitment.
15. Side Cornrows With Triangle Parts
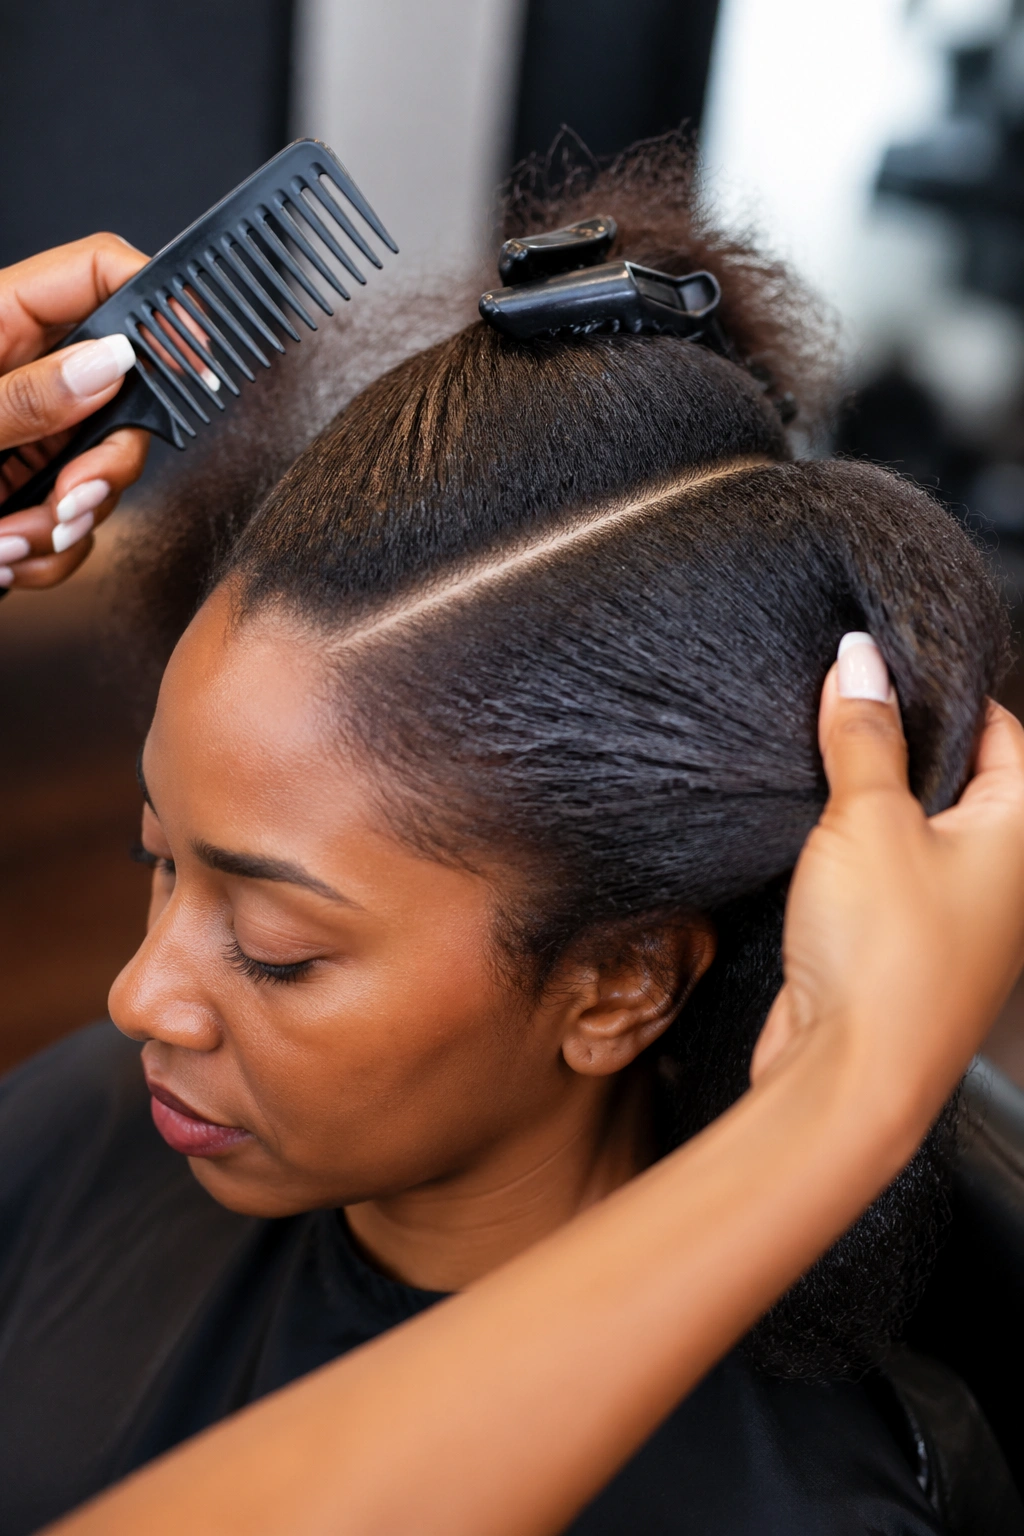
Side cornrows installed with triangle-shaped parts between rows — each section is a triangle rather than a rectangle. The geometric parts add visual interest to the structured layout.
Triangle parts take longer to install than rectangular ones. Each triangle has to be measured and drawn cleanly before braiding starts. Expect 30-45 extra minutes compared to standard rectangular parts.
The triangles should all be the same size and orientation across the head. Inconsistent triangles read messy; consistent triangles read designed.
The Catch
Triangle parts demand skill. A new braider might struggle with the geometry. Find a braider who has done triangle parts before or plan to do them yourself after practicing.
16. Asymmetric Side Cornrows With Shaved-Looking Side
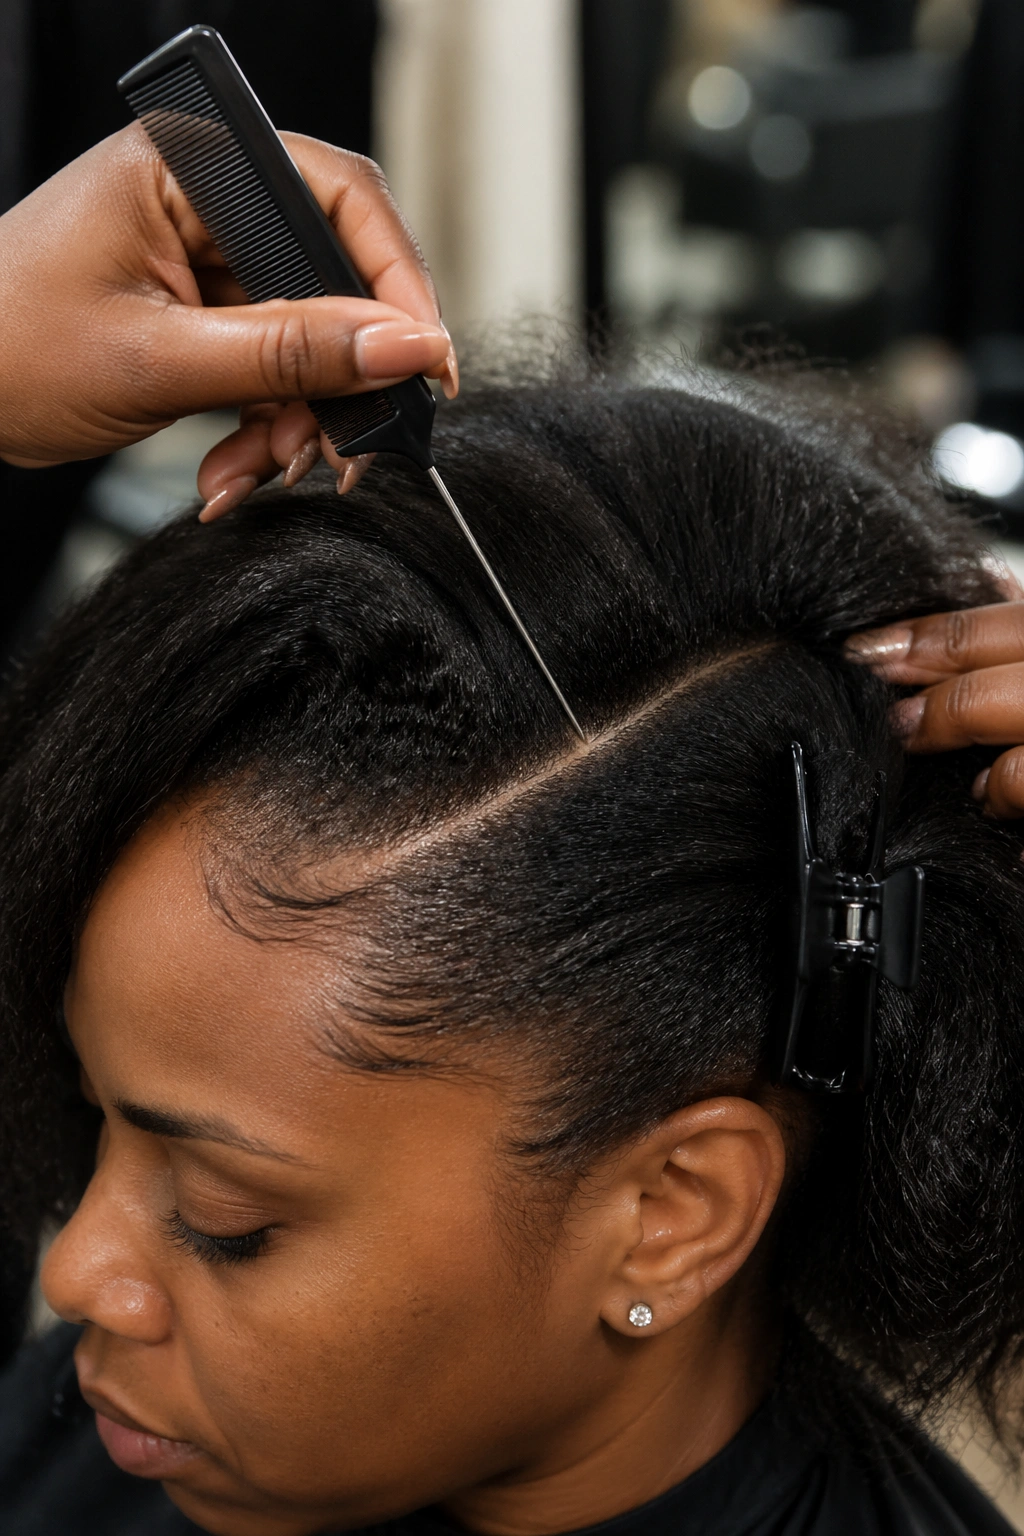
The heavier side of the part has full cornrows; the lighter side has only one or two thin cornrows with most of the head showing flat skin underneath. The contrast between the two sides mimics a shaved undercut without any shaving.
This is the most fashion-forward variant in the side cornrow category. It reads bold, androgynous, and editorial.
The “shaved” side isn’t actually shaved — the cornrows are just very thin and widely spaced, so the scalp shows through. The illusion of a shave is what creates the look.
Who this is best for: anyone who likes gender-neutral or fashion-forward styles. Anyone who has considered an undercut but doesn’t want to commit to cutting.
17. Side Cornrows Over One Shoulder
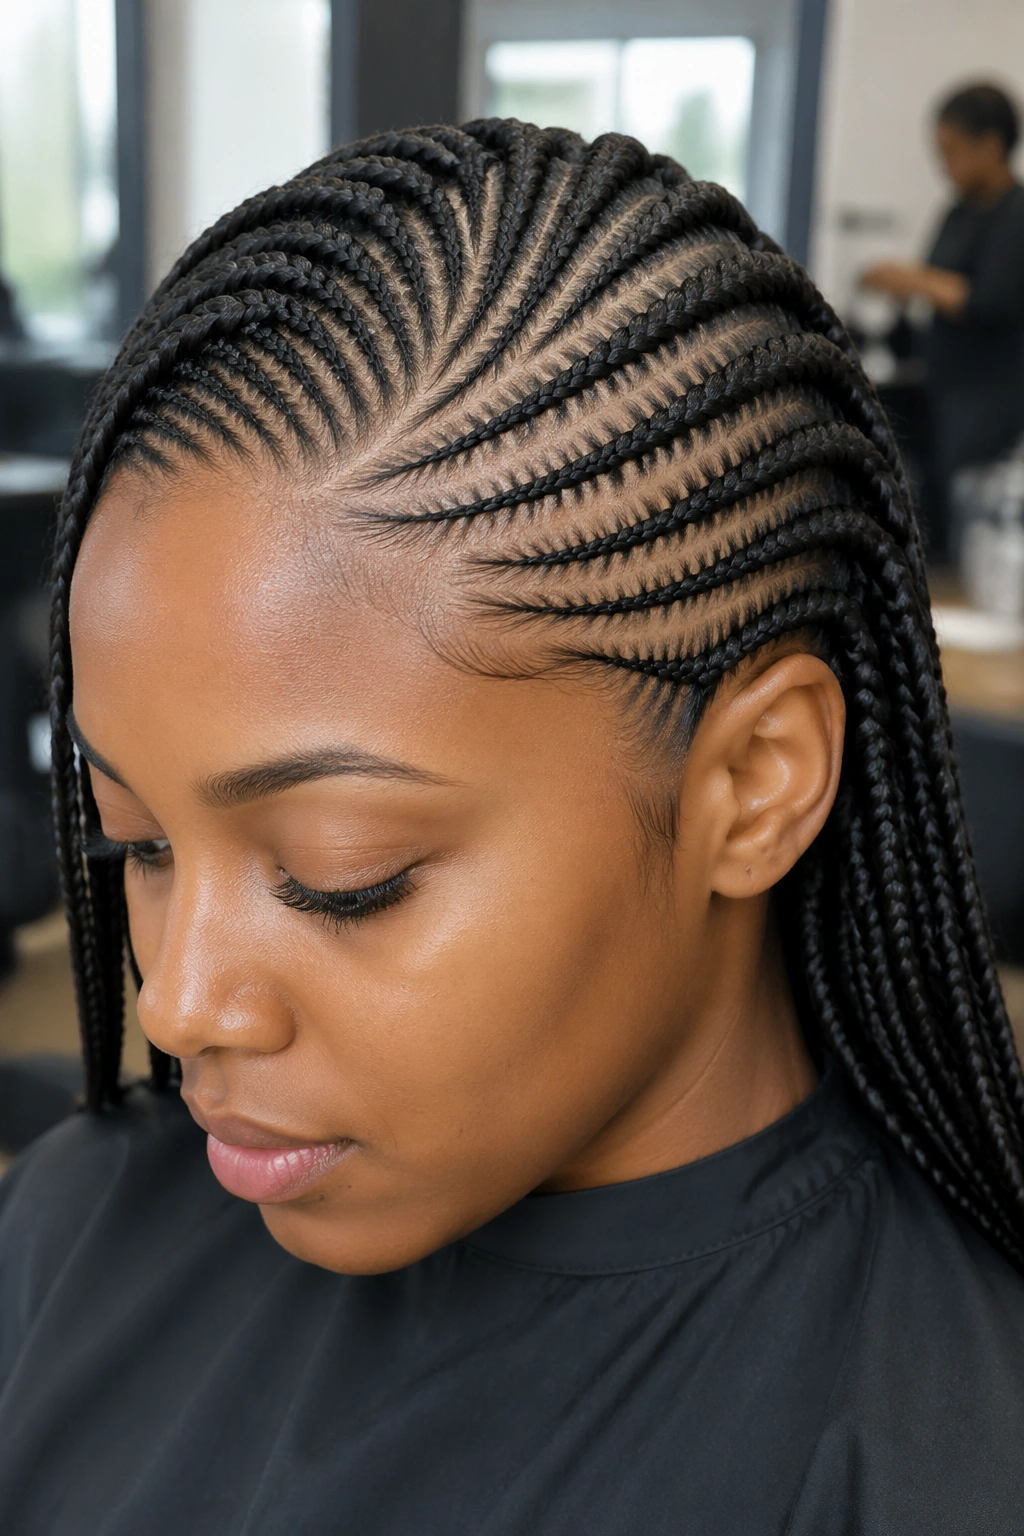
Side cornrows that all gather loosely over one shoulder without a formal pony or bun. The cornrows simply fall to one side naturally because of their diagonal direction.
This is the easiest side style to wear day-to-day. No accessories, no tight gathers, just cornrows flowing in one direction.
The diagonal direction of the cornrows does all the work. Once the cornrows are installed at the right angle, gravity keeps them flowing over the shoulder.
18. Side Cornrows Into a High Side Pony
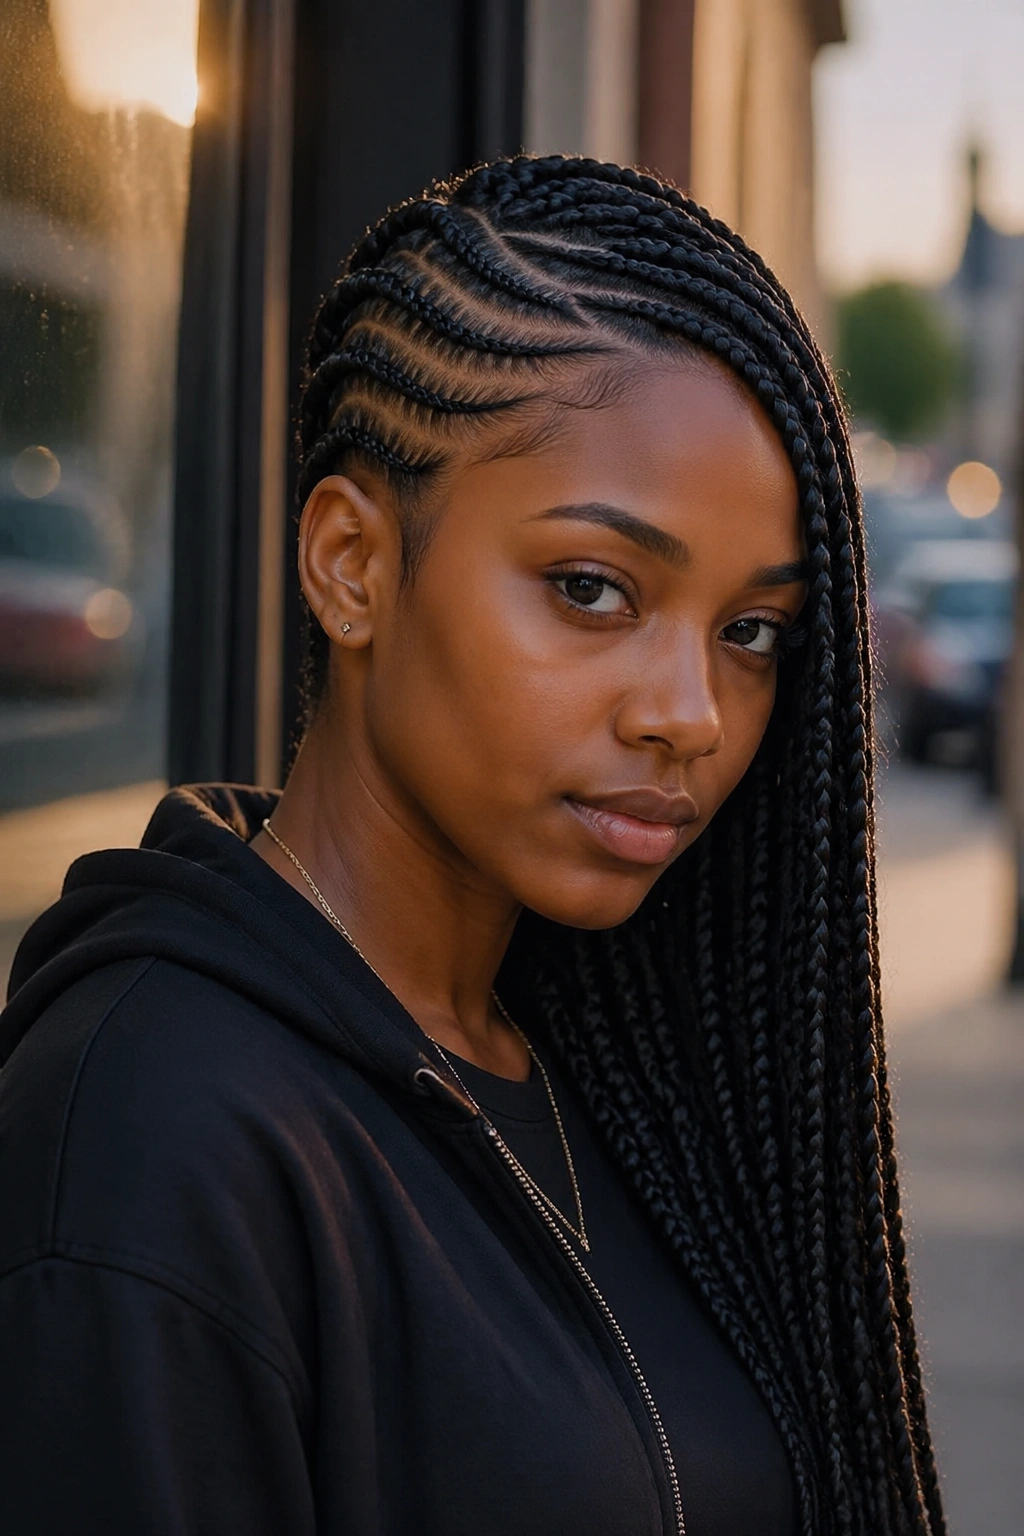
Cornrows sweeping up to a high side ponytail at the crown, placed on one side of the head rather than centered. The high placement reads athletic and face-lifting.
A high side pony reads different from a low side pony. The high version is more energetic and youthful; the low version is more romantic and formal.
The high gather pulls harder on the hairline than a low gather. Apply scalp oil before gathering to reduce tension friction.
19. Side Cornrows With Color Ombré Ends
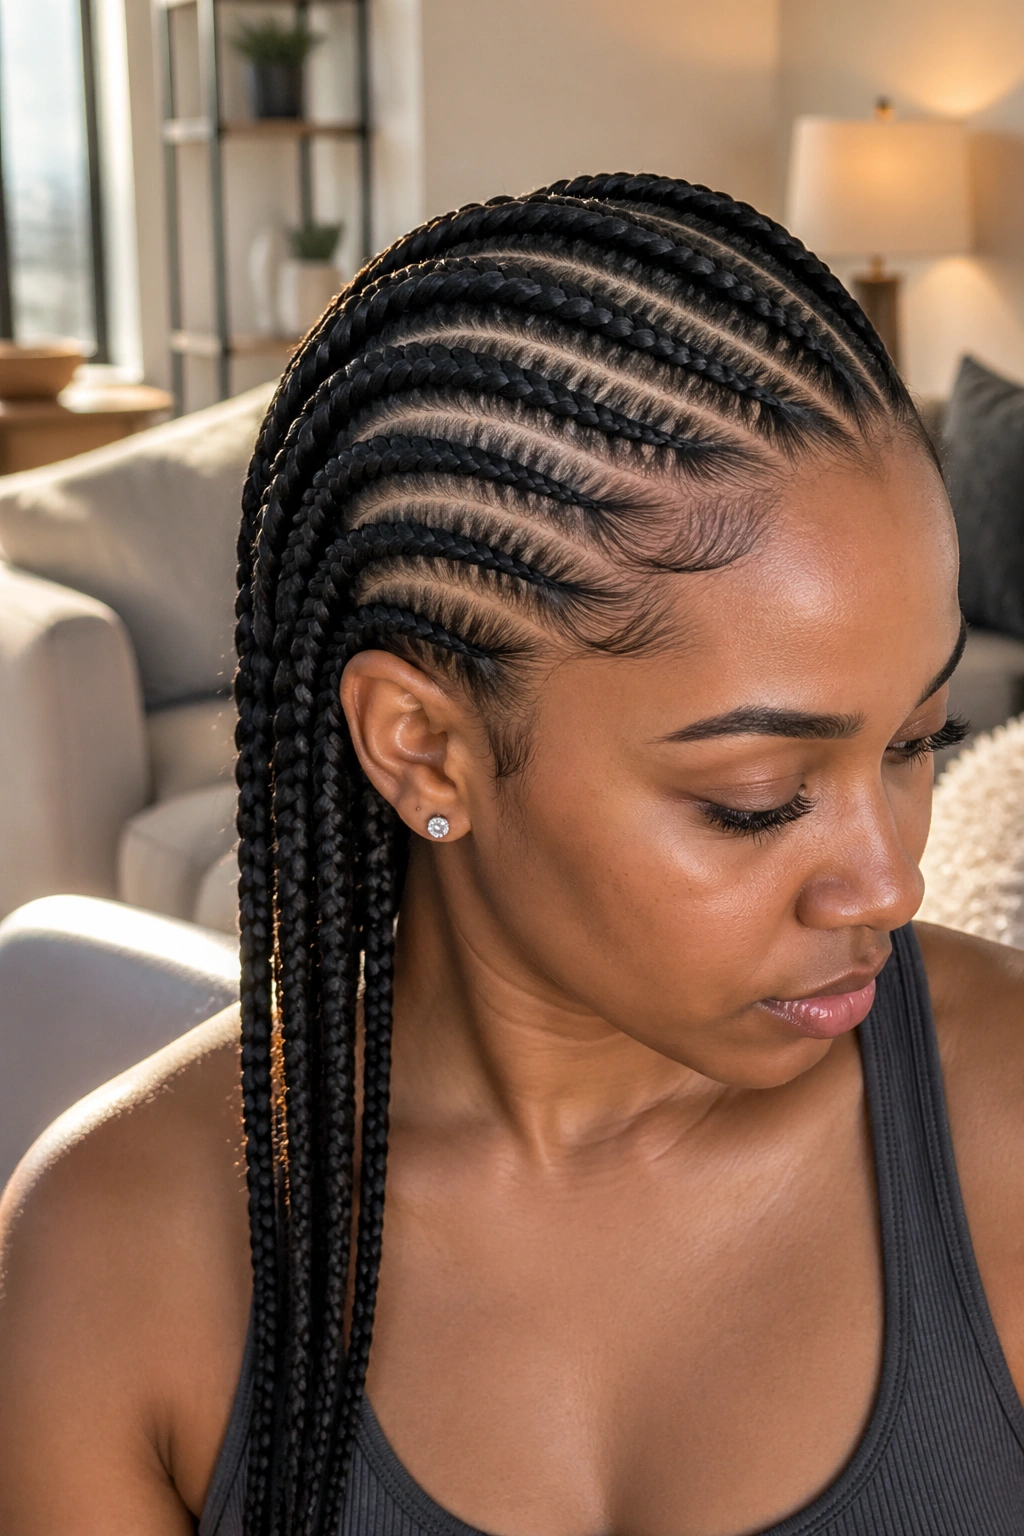
Side cornrows with an ombré color effect on the ends — the hairline and first few inches are natural color, and the ends fade into a lighter or brighter shade (honey blonde, copper, burgundy).
Ombré works especially well on side cornrows because the color transition is visible in the flow of the diagonal direction. The eye follows the color from dark to light across the sweep of the cornrows.
Achieve the ombré with pre-colored kanekalon extensions, semi-permanent dye on the cornrow ends, or color spray applied after the install.
The color change point should be consistent across all cornrows. Inconsistent change points look accidental.
20. Side Cornrows With Crown Braid Accent
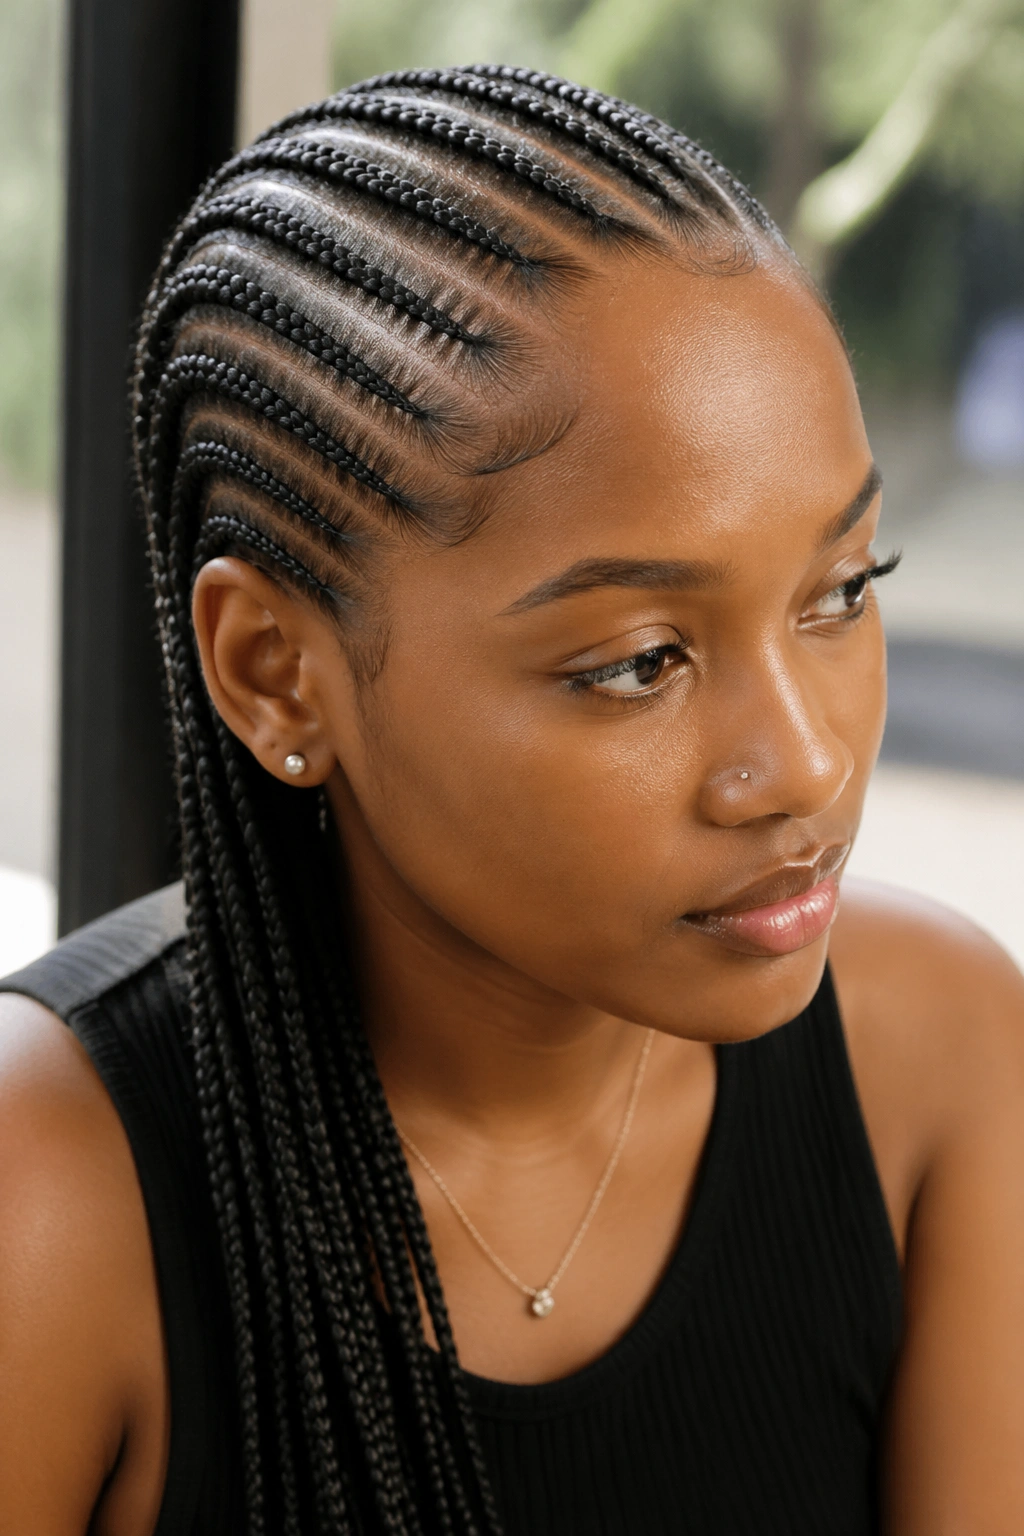
Side cornrows with an additional thin braid wrapping across the crown like a small halo. The crown braid sits above the cornrows and adds a design layer.
The crown braid is typically made from one or two cornrow tails that are redirected across the crown instead of flowing back with the rest of the style. It creates a visual divider between the cornrow section and the crown area.
Who this suits: anyone who likes layered design and wants their cornrows to read architecturally rather than simply.
21. Side Cornrows With Thin Feed-Ins
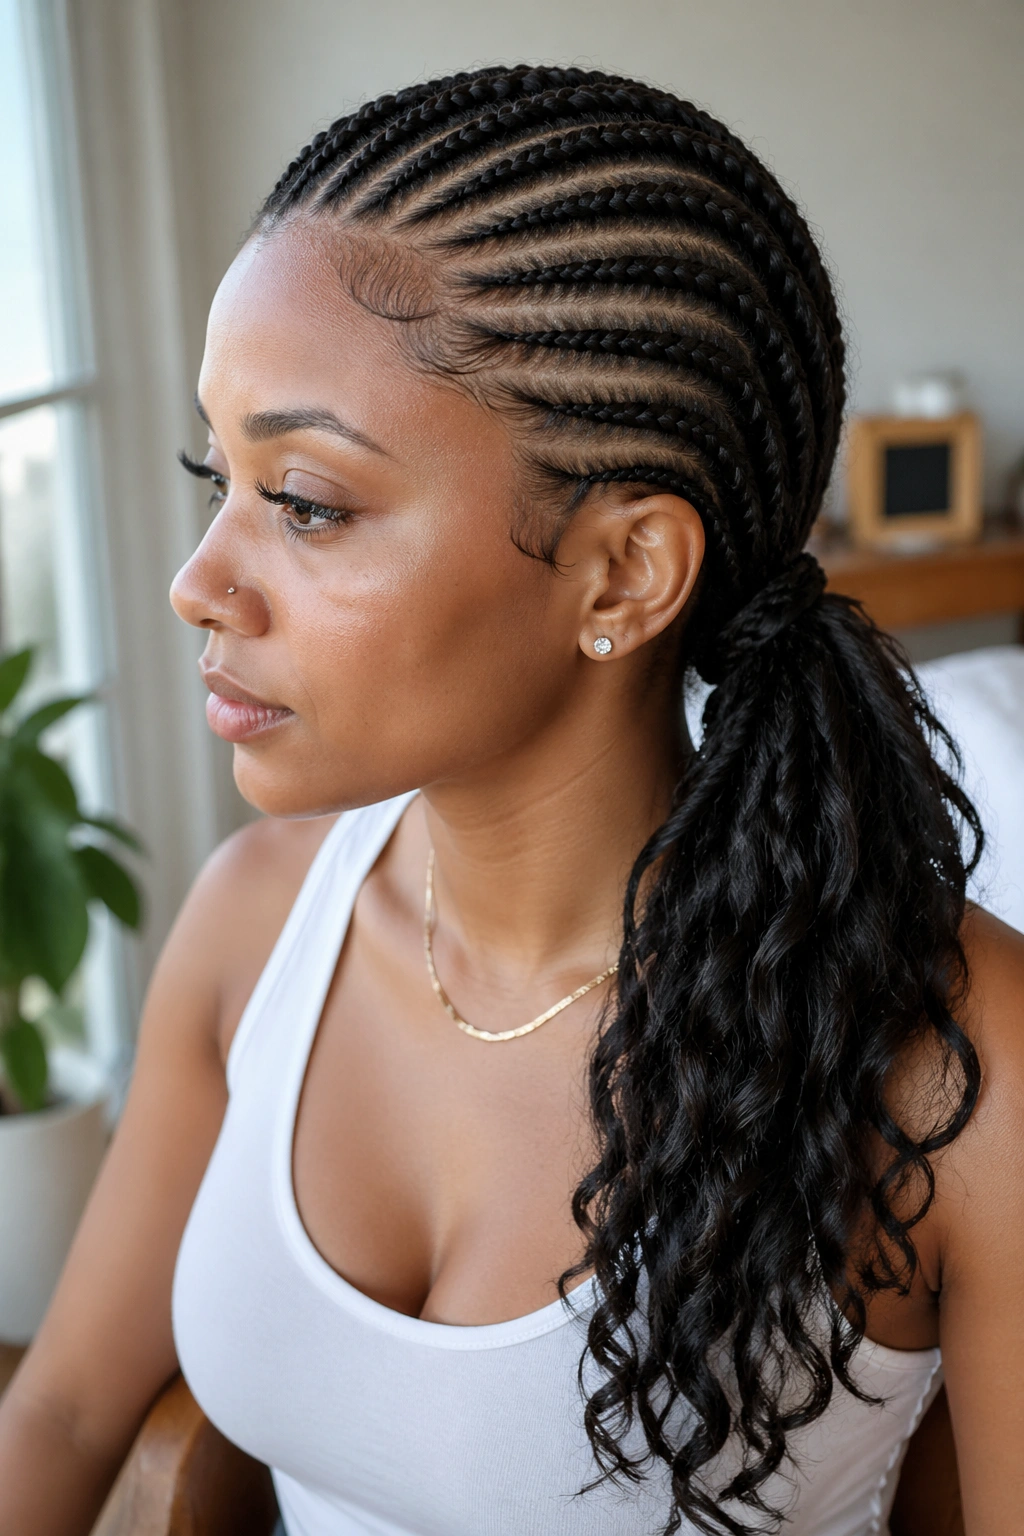
Side cornrows using thin kanekalon feed-in for added length — but with very thin, subtle feed-ins rather than dramatic Ghana-style ones. The cornrows look almost like natural hair with just a bit of extra length.
Bold fact: thin feed-ins add 4-6 inches of length without changing the visual scale of the cornrows.
This is the option for anyone who wants side cornrows slightly longer than their natural hair without the commitment of a full Ghana feed-in.
Use pre-stretched kanekalon in small pieces. Add a tiny amount per stitch rather than a full piece every few stitches.
22. Side Cornrows With Curly Side Bang
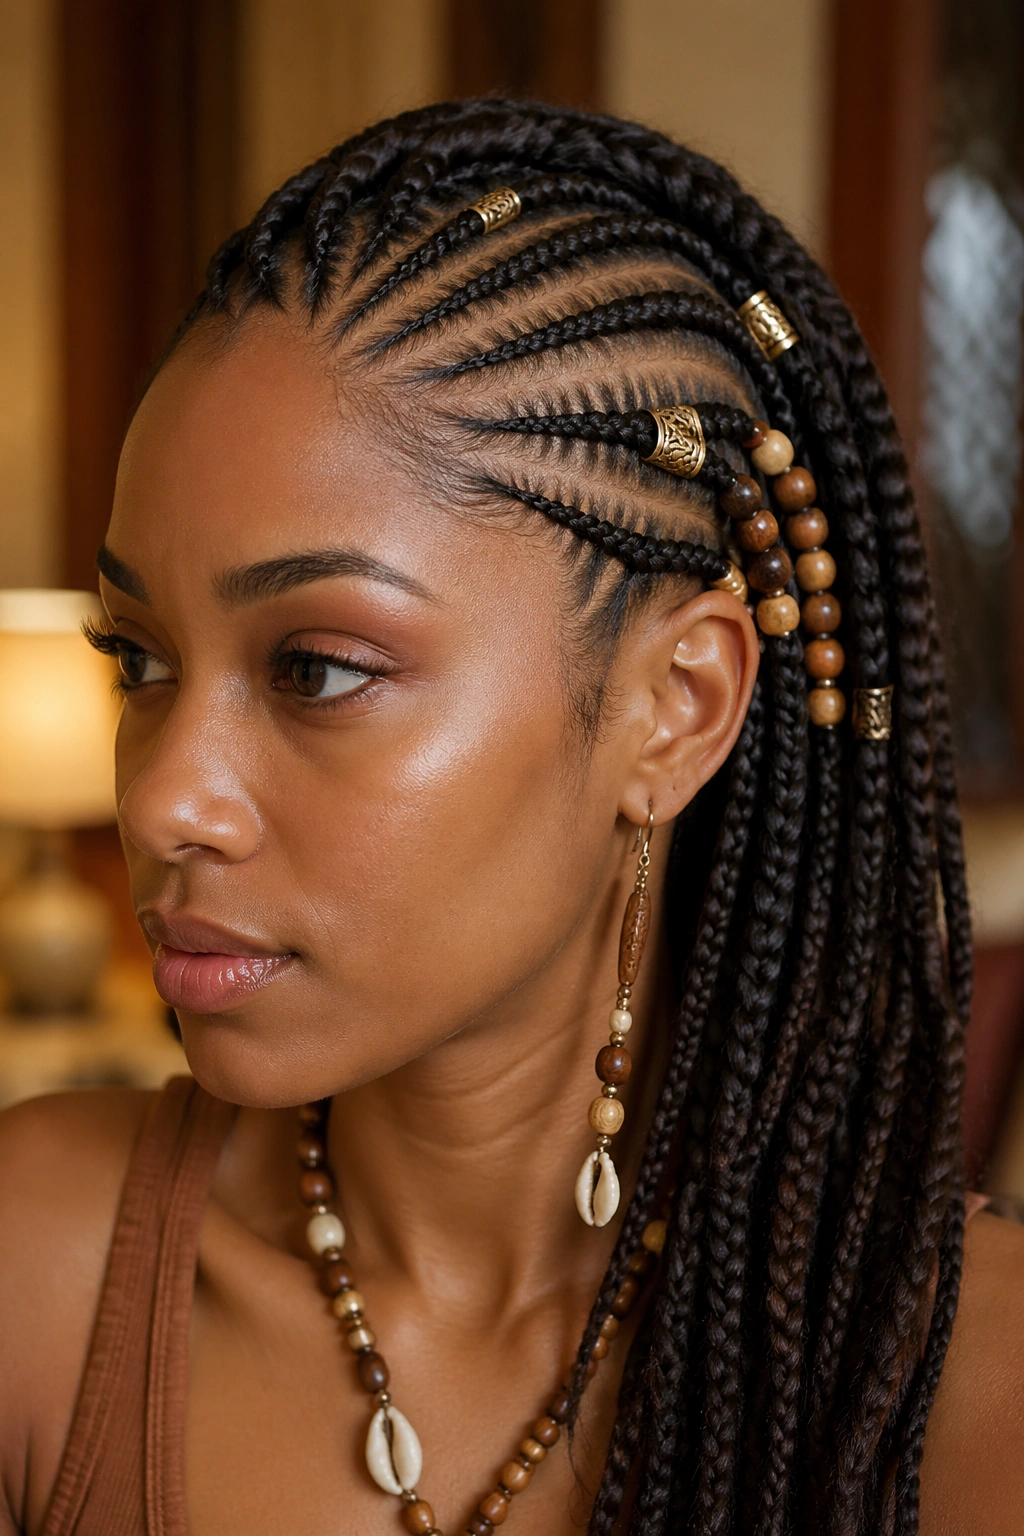
Side cornrows combined with a curly piece styled as a side-swept bang over the forehead. The cornrows sit behind and below the curly bang, which falls diagonally across the forehead.
The curly bang is either natural hair (if you have length at the front) or a curly extension piece pinned in at the temple.
The bang should fall just past the brow or onto the cheekbone — not so long it covers the eye, not so short it looks choppy.
- Leave the front section of hair out before starting cornrows
- Style the front section in loose curls using twists or perm rods
- Once curls are set, sweep them diagonally across the forehead
- Pin at the opposite temple to lock the bang in place
23. Side Cornrows With Long Center Accent
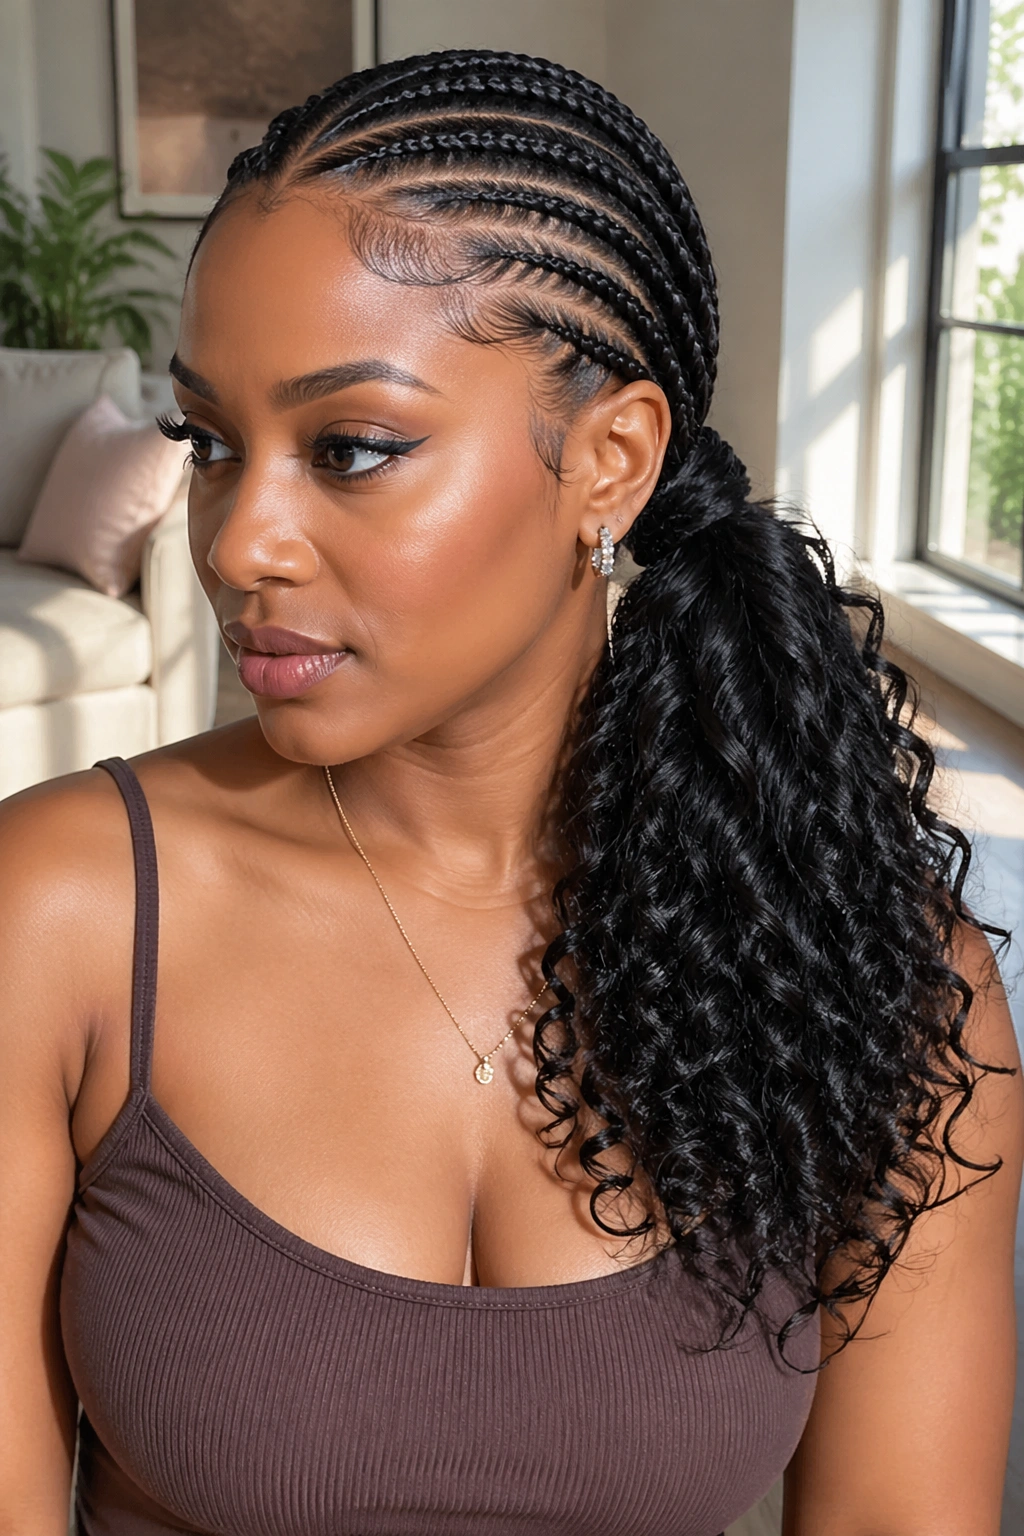
Most cornrows are sweeping to one side, but one cornrow runs down the center line of the head from forehead to nape — the single center cornrow anchors the style. The contrast between the many side-flowing rows and the single center row creates visual tension.
The center cornrow is the structural anchor. Everything else flows away from it in the side sweep direction.
Who this is best for: anyone who likes unusual design choices or wants their cornrow style to read as unique rather than standard.
24. Side Cornrows With Decorative Side Pins
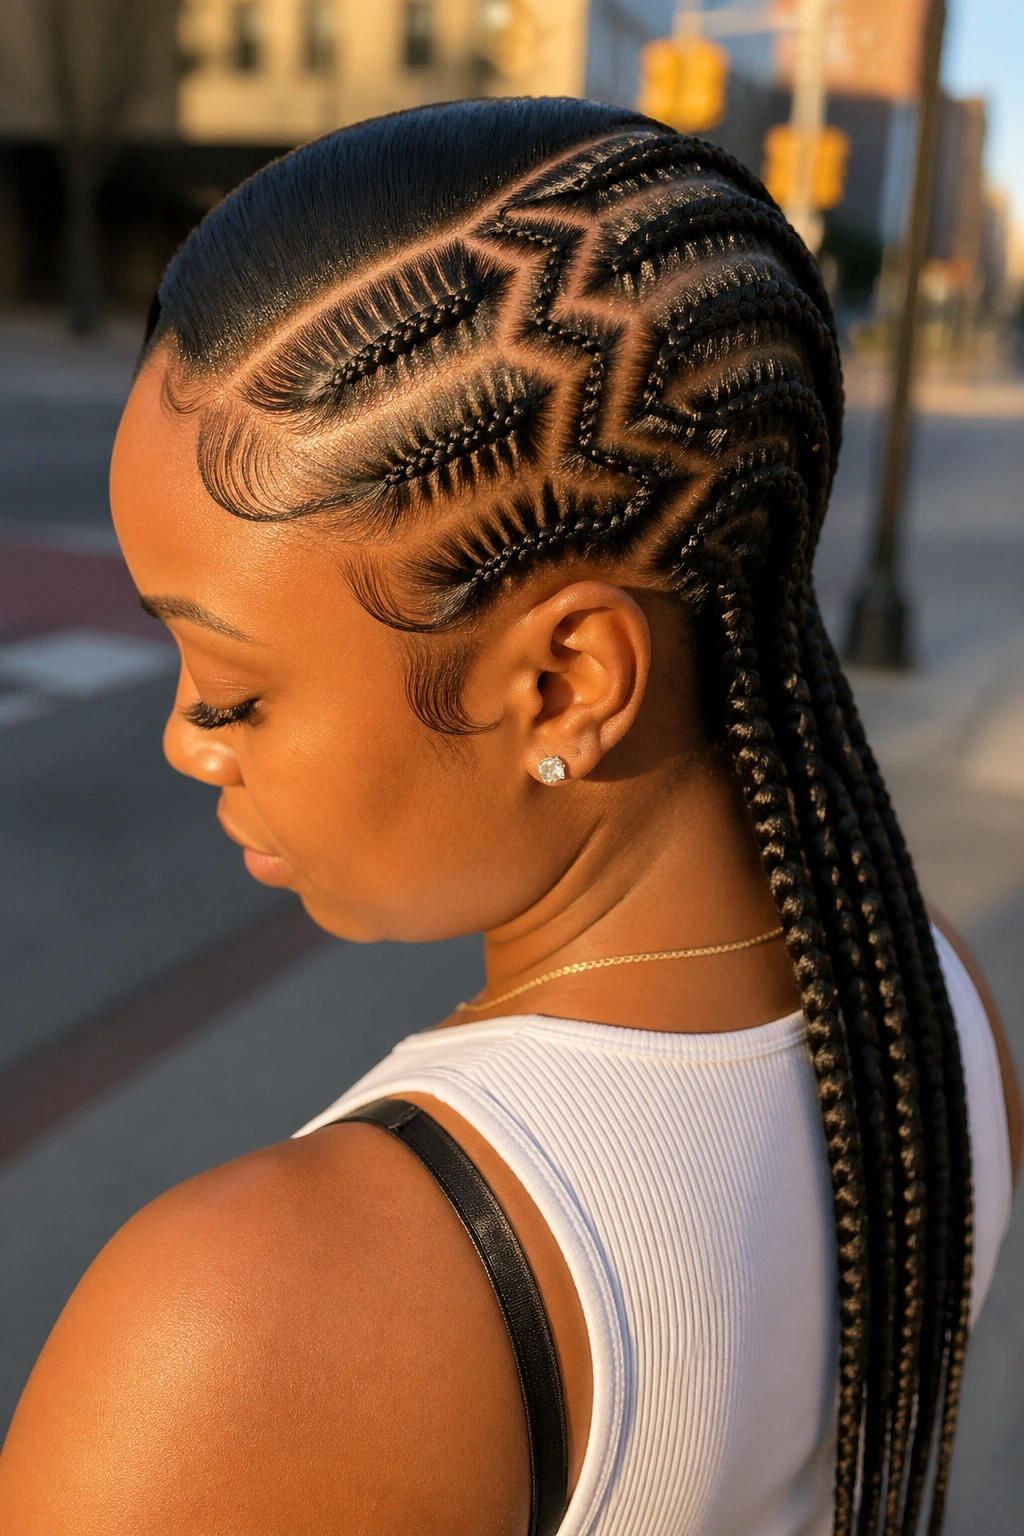
Side cornrows with decorative hair pins placed at the gather or along the side of the head. The pins can be pearl, jeweled, gold-toned, or fabric-wrapped.
Pins are the easiest accessory upgrade for side cornrows. They don’t require install changes — just stick them in after the cornrows are done.
Place pins at the gather point (3-5 pins in a cluster) or scattered along the cornrow line near the hairline (2-3 pins spaced evenly). Either placement reads intentional.
Styling tips: choose pins that match the formality of your outfit. Pearl pins for elegance, gold pins for drama, jeweled pins for statement wear.
25. Side Cornrows With Hidden Undercut Effect
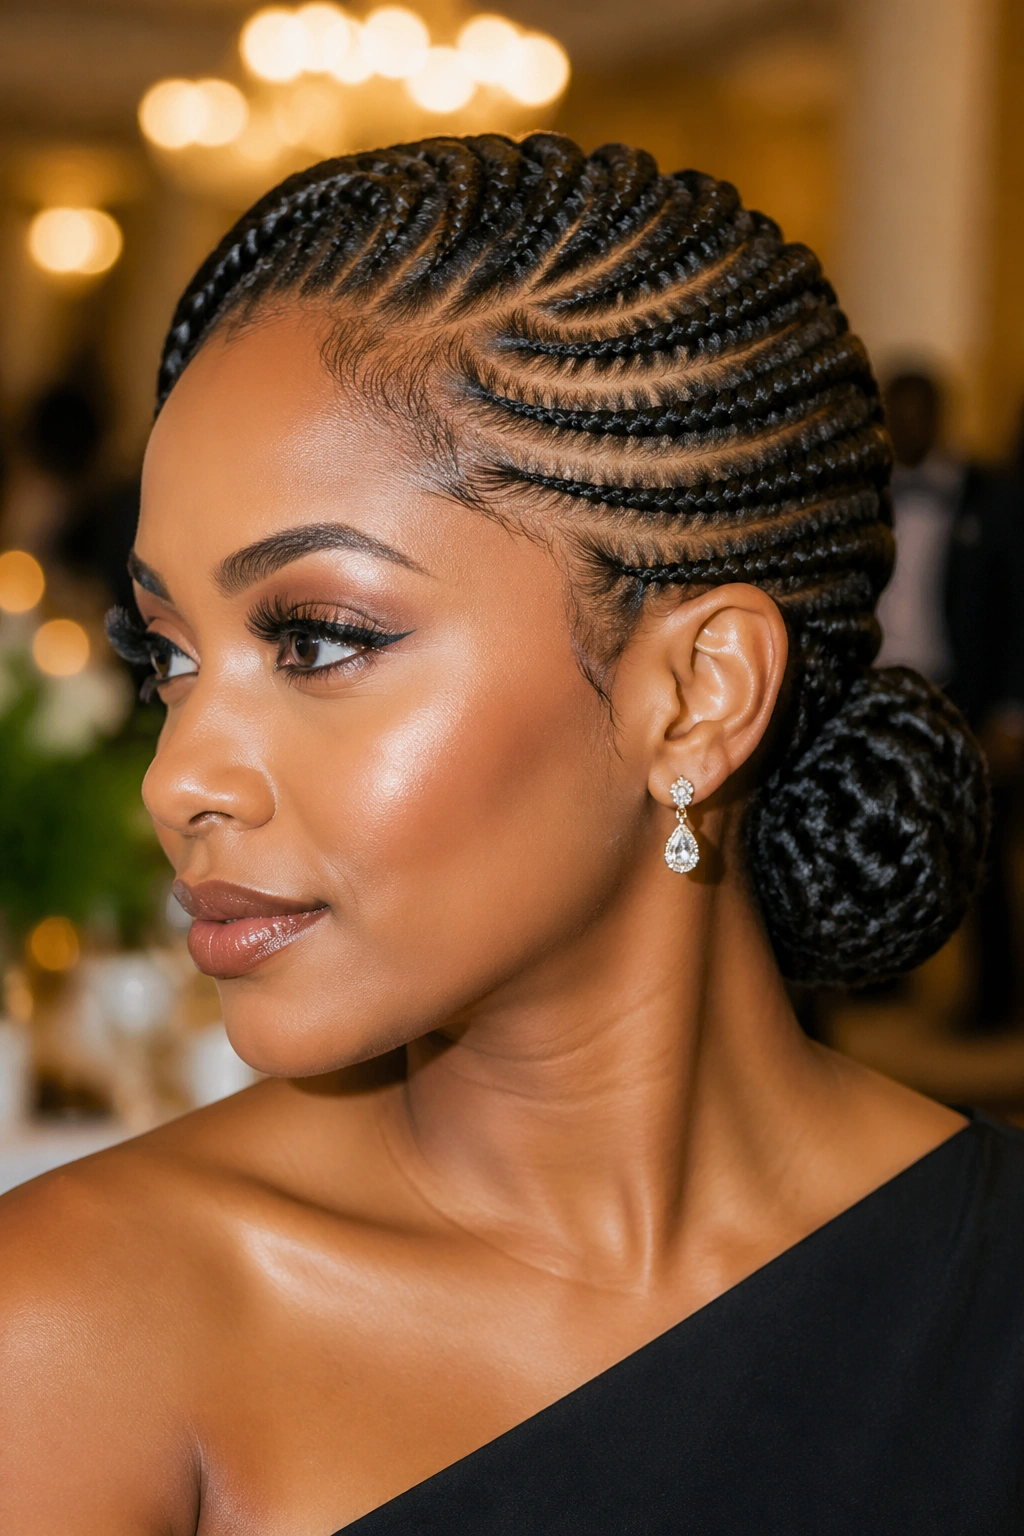
Side cornrows where the cornrows on the lighter side of the part are styled very close to the scalp — almost flat — creating an illusion of a buzzed or undercut side. No actual cutting; just very tight cornrows.
This is the boldest side cornrow layout. It reads punk, edgy, and fashion-forward.
Achieve the effect by braiding the lighter side cornrows extremely flat against the scalp with consistent tension, and keeping those cornrows thin (one to two rows). The thinness plus the flatness creates the buzzed illusion.
Daily Care for Side Cornrow Styles
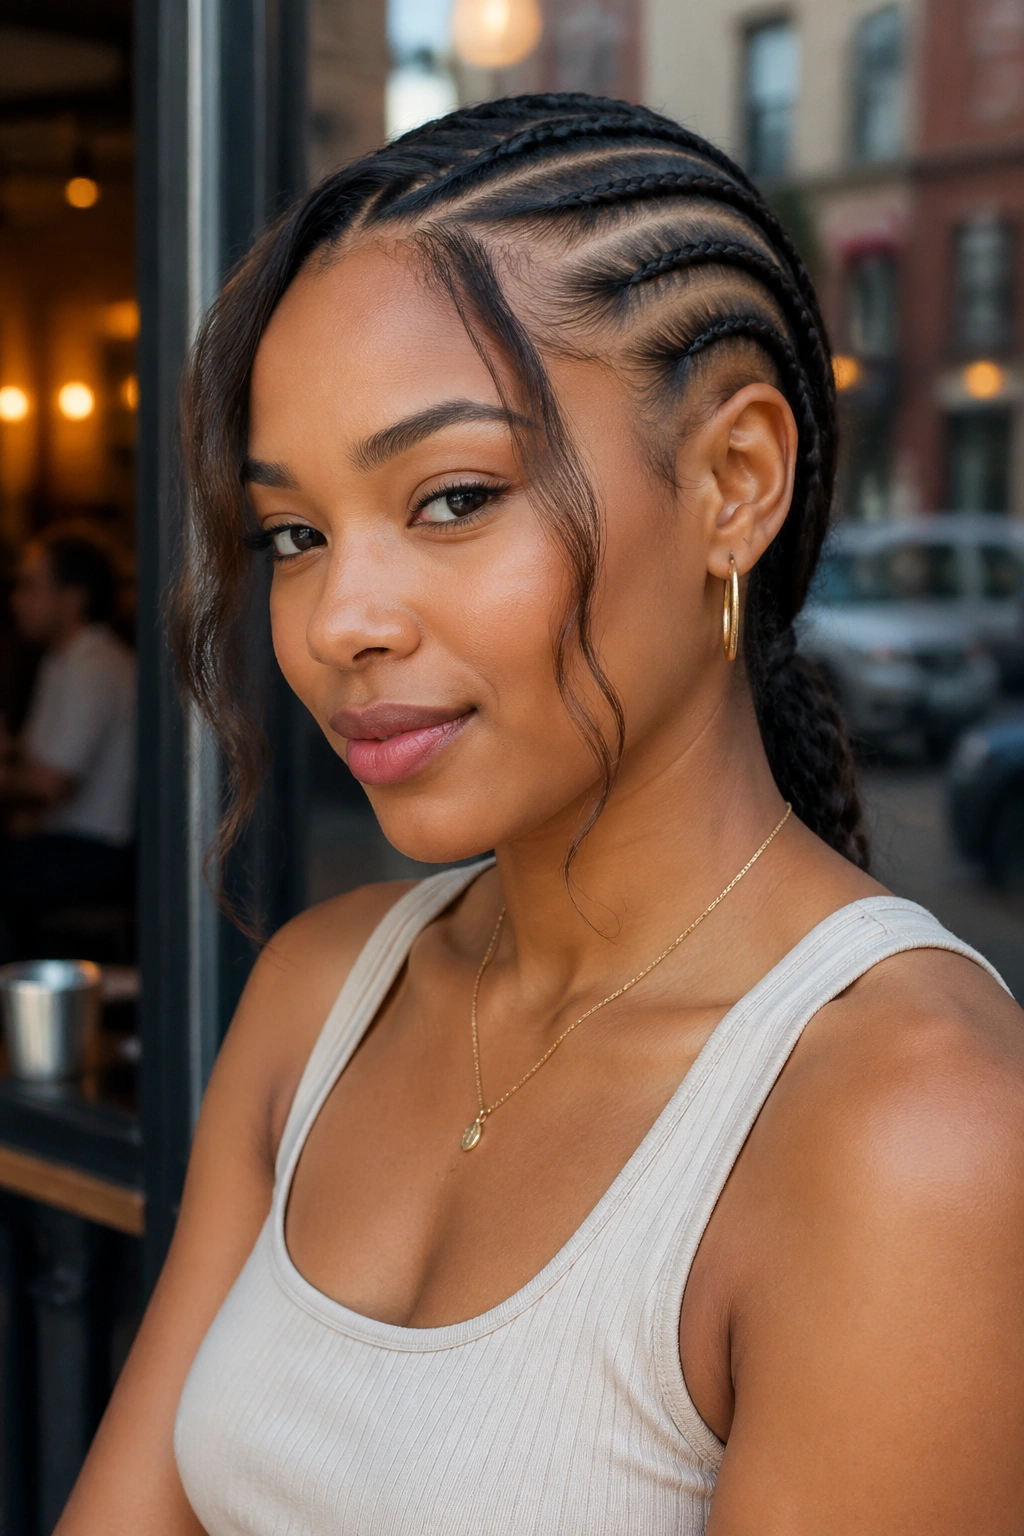
Side styles have specific care needs because of the unequal tension distribution. The heavier side has more cornrow weight; the lighter side has less. Monitor both sides for tension signs.
Apply scalp oil to the part line and to both sides of the head every other day. The deep side part can dry out faster than other areas because it’s exposed to more airflow.
Use a small brush to smooth the hairline in the direction of the side part. Smoothing against the side part direction creates flyaways and ruins the clean line.
Sleep Care and Part Preservation
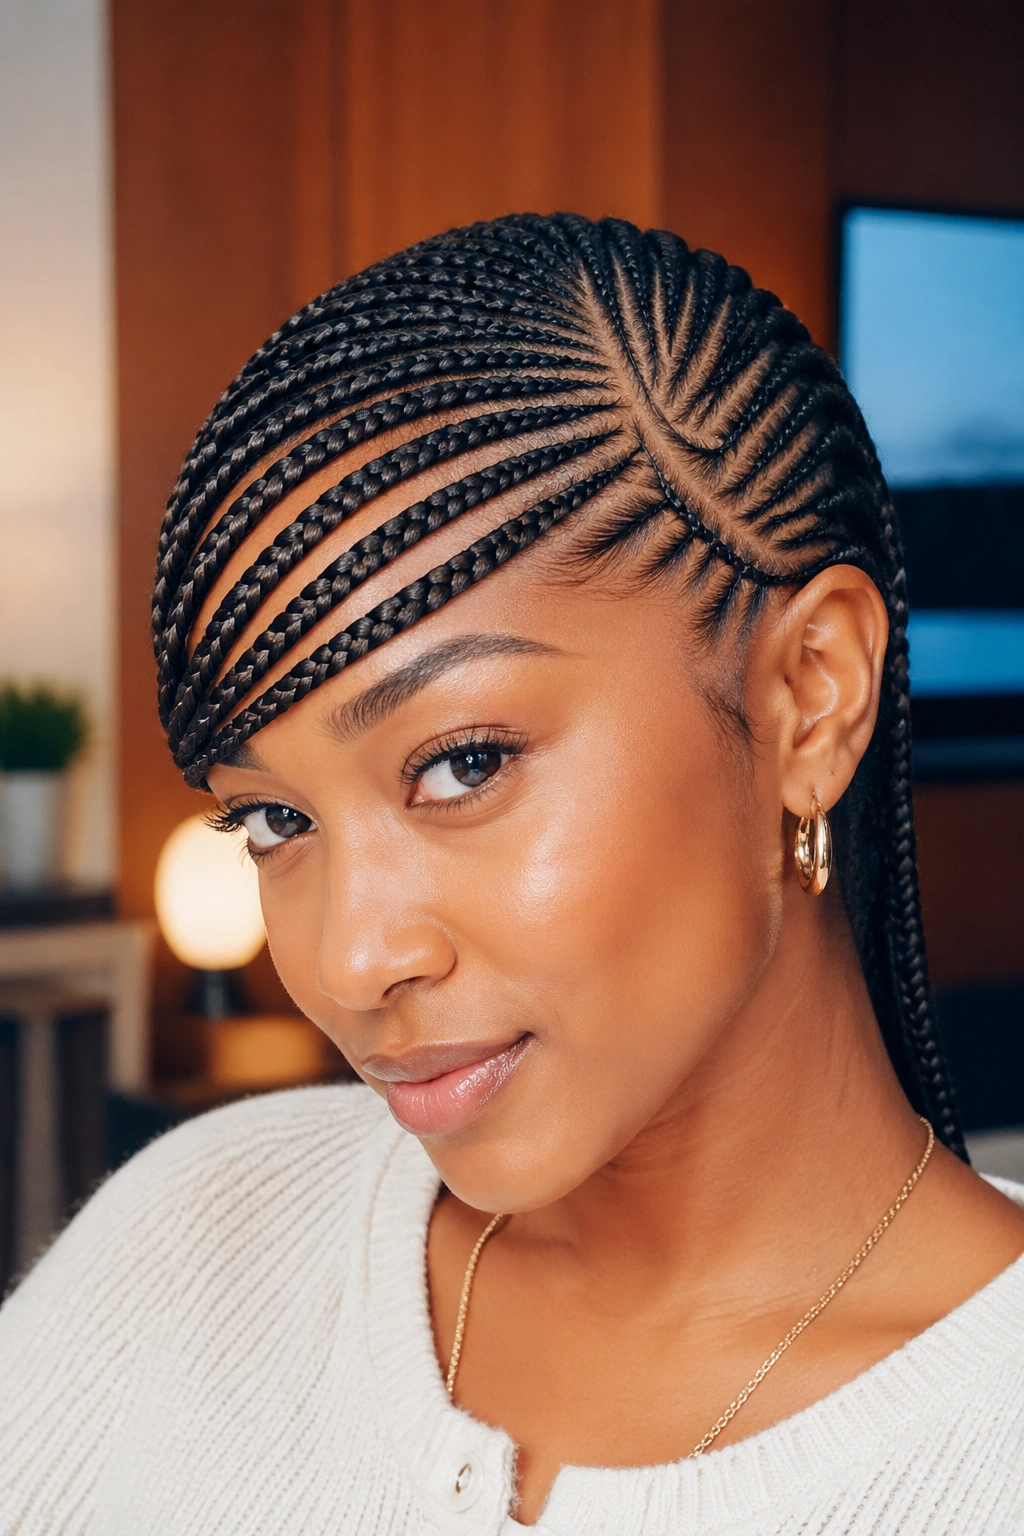
A satin bonnet every night. Position the bonnet carefully — too tight across the side part can create a visible ridge; too loose lets the cornrows shift during sleep.
Sleep on your back or on the side opposite the cornrow gather. Sleeping on the gather side flattens the style and crushes the cornrows.
The side part itself is the most vulnerable to flyaway development during sleep. Apply a drop of oil to the part line before bed to keep the line smooth overnight.
Edge Care for Side Cornrow Wearers
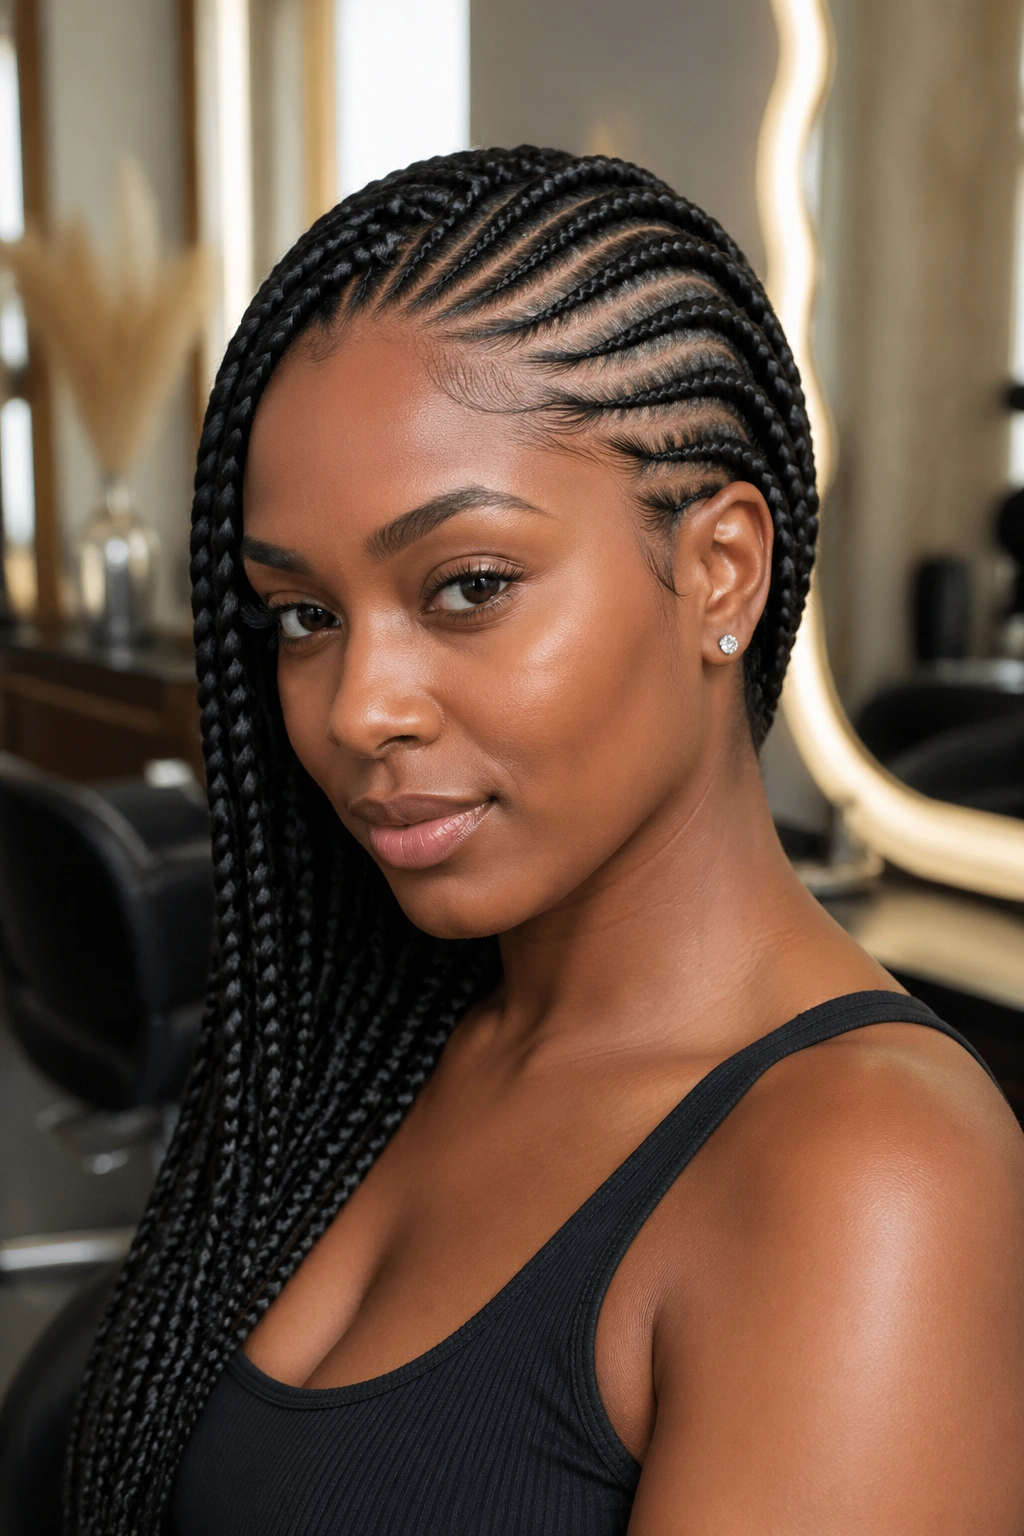
The deep side part concentrates tension in a small area near the temple. Edge care matters even more than for centered styles.
Apply a growth serum or lightweight oil to the hairline every other day. Focus on the heavy-tension area near the side part.
If you feel tightness at the hairline on the deep-part side, the cornrows are too tight. Have the first row or two redone looser before it causes edge damage.
Refreshing Side Cornrows Between Wash Days
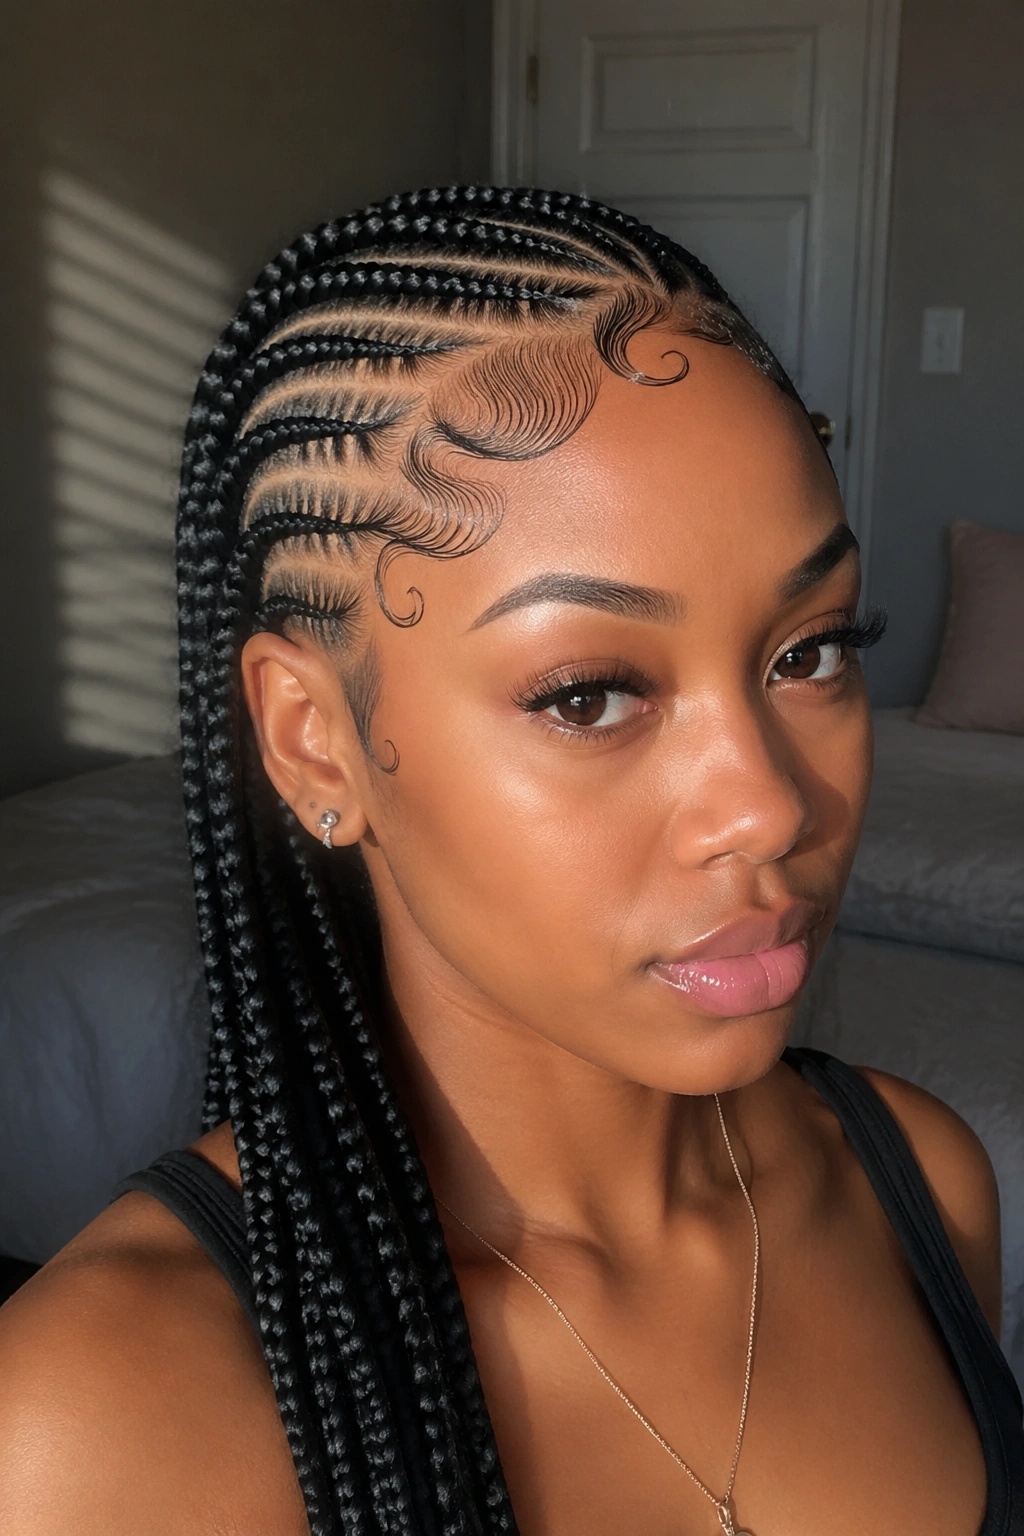
Side styles need more frequent refreshing than centered styles because the side part is more visible and shows wear faster.
Re-apply edge gel to the hairline every other day. Focus on the side part line and the front of the heavier side.
Smooth flyaways along the part with a dab of hair wax or a small amount of styling cream. Use the finger pads to press the flyaways back into the cornrow line.
A flexible-hold hairspray applied to the whole style once a week locks the structure and prevents shifting.
When to Take Down Side Cornrows
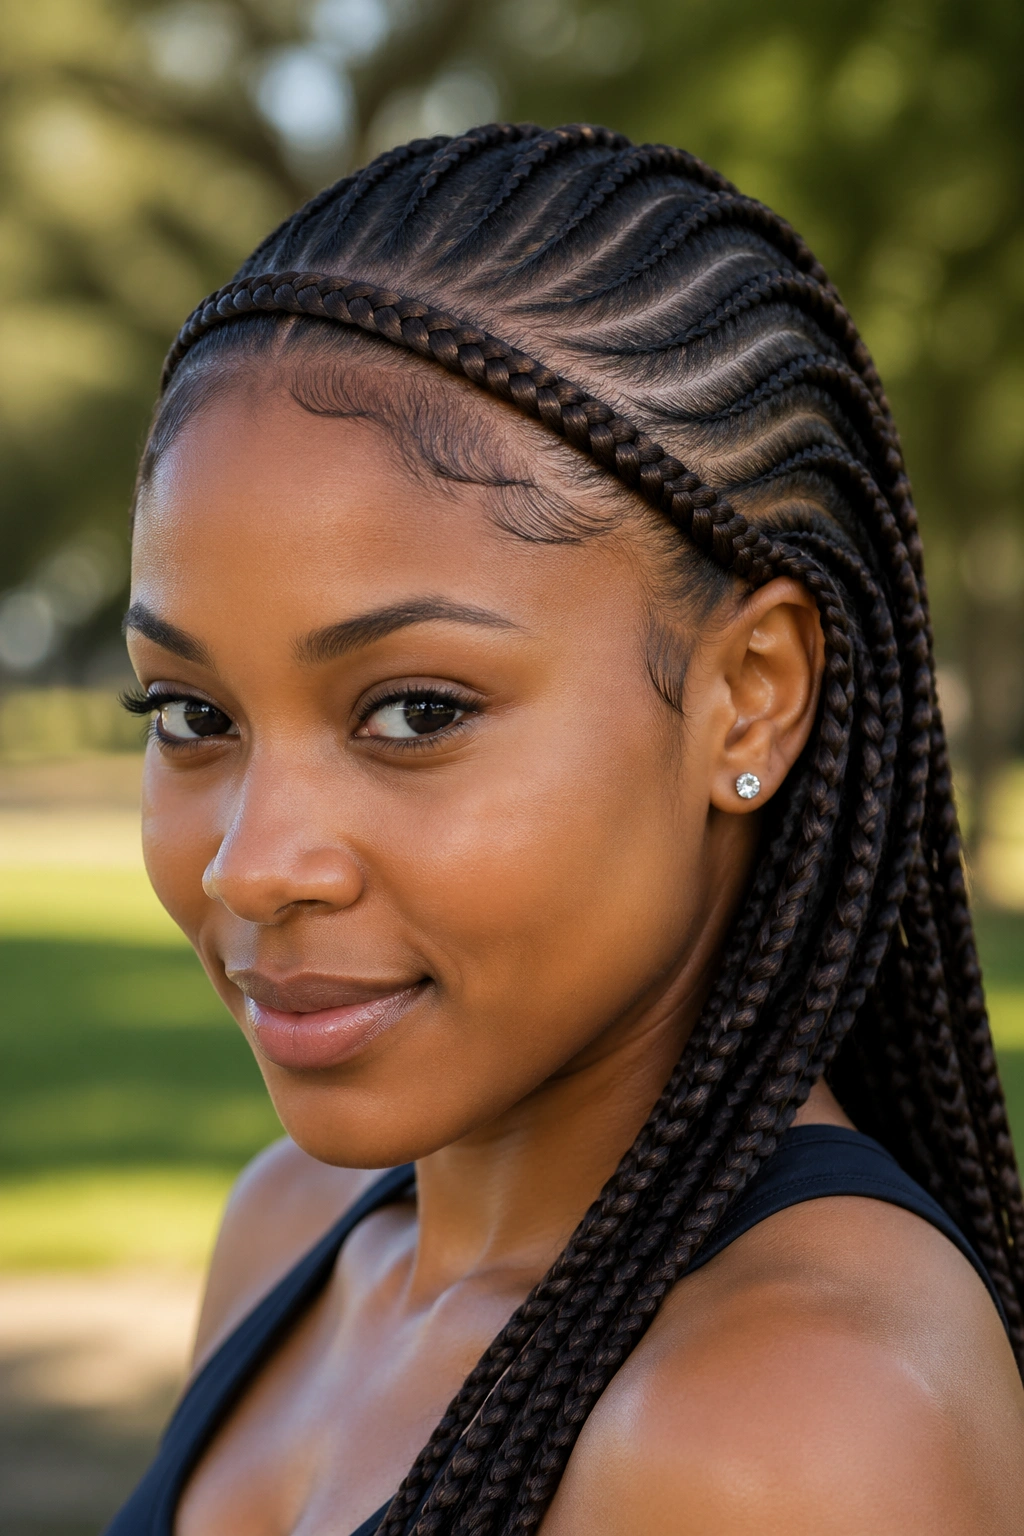
Most side cornrow styles last 2-3 weeks, with Ghana side cornrows going 4-6 weeks. The tension at the side part often shortens the wear time compared to centered styles.
Signs to take down:
- Tightness or soreness at the side part temple that won’t resolve
- Cornrow lift visible on the heavier side
- Flyaways along the side part that edge gel won’t control
- Small bumps at the hairline near the deep-part side
- Shed hair visible at the cornrow bases
- Part line itching that oil doesn’t fix
Takedown starts with loosening the gather (if the style has one), then unbraiding each cornrow from the tip up. Spray with water-and-conditioner mix to ease detangling. Total takedown time: 1-3 hours depending on complexity.
A deep condition and proper wash after takedown restores moisture lost during the install. The side part area may need extra attention — apply a generous layer of hair mask to the part line during deep conditioning.
Side cornrows are one of the most flattering braided categories. The off-center layout adds visual interest to any face shape and any hair length. Choose the variant that suits your features and daily routine, and any of the 25 styles above delivers weeks of low-effort wear.
