



Stitch cornrows changed the cornrow game for a lot of people. The tight horizontal ridges running across each braid — the “stitches” that give the style its name — turn an everyday protective install into something that reads like sculpture. Where a basic cornrow shows three smooth strands twining together, a stitch cornrow shows raised, defined sections that catch light from every angle.
Stitch cornrows for Black women have become one of the most requested salon styles for a reason. The technique works on every natural hair texture from 3B to 4C. The finished result photographs beautifully. The wear time matches or beats traditional cornrows. And the visual impact is significantly higher than basic feed-ins or freehand braids.
The trade-off is install time. Stitch cornrows take longer than any other cornrow style on a per-braid basis. A skilled braider needs roughly 30-50% more time per cornrow to add the stitch detail properly. But for many people, the visual payoff justifies the chair time.
What follows runs through 25 stitch cornrow variations — from minimalist installs that show off pure technique to elaborate designs that combine stitch detail with curves, color, accessories, and structural elements.
What Makes a Stitch Cornrow Different
A regular cornrow is a three-strand braid worked tight against the scalp. The three strands cross over and under each other in a continuous pattern, with new hair fed in along the way.
A stitch cornrow adds an extra step. As the braider works down the cornrow, they pull thin sections of hair from one side of the braid up and across the top before re-incorporating them. This creates raised horizontal lines — the stitches — that interrupt the smooth braid surface.
The visual effect is depth. Light hits the raised stitches and shadows fall in the gaps between them, giving the braid dimension that flat cornrows can’t match.
The Cultural Roots Worth Knowing
Stitch braiding isn’t a new invention. The technique appears in West African braiding traditions going back centuries — different regions, different tribes, different specific patterns, but the underlying technique of raised ridge work in cornrowing has a long lineage.
The current visibility of stitch cornrows comes from braiders bringing the technique forward and applying it to contemporary styling. The roots remain firmly grounded in African hair traditions.
Knowing this matters because stitch cornrows aren’t a trend. They’re a continuation of a tradition with depth — and choosing them means stepping into that lineage.
Why Stitch Cornrows Suit Natural Hair So Well
Tight coily hair (4A through 4C) provides the best canvas for stitch detail. The texture grips itself, holding each stitch in place once the braider creates it. Looser curl patterns can hold stitches too but may need more product or smaller stitches to maintain the definition.
Stretched natural hair takes stitch detail beautifully. The elongation lets the stitches show clearly without competing with shrinkage patterns. A blow-out or banded stretch before install gives the braider a clean foundation.
The technique is also gentler on hair than ultra-tight micro braids. The horizontal stitches actually distribute tension across multiple points along the braid rather than concentrating tension at the root.
Prep That Sets Up Successful Stitch Work
Wash and clarify two days before install. Skip wash day prep — freshly washed hair is too soft and slippery for stitch work to hold. Two-day-old hair has just enough natural oil to give the stitches grip without being greasy.
Deep condition during the wash. Stitch cornrows take longer to install, which means more time of hands manipulating sections. Hydrated hair tolerates this better than dry hair.
Stretch the hair fully. Blow-out on cool to medium heat or banded stretching overnight. Shrinkage hides the stitch detail. Stretched hair shows it.
Tools That Make Stitch Work Possible
Two combs minimum. One rat-tail comb with a fine pointed tip for parting. One small fine-tooth comb for picking up the stitch sections cleanly.
Strong-hold gel. Stitch cornrows live or die by the gel. Weak hold means stitches collapse within hours. Strong hold gel keeps every raised section in place for days.
A hair pick or pintail tool for separating tiny sections during stitch creation. Some braiders use the pointed end of the rat-tail comb. Others prefer a dedicated pick.
Small hair clips for sectioning. Stitch installs require working in detailed sections that need to stay separated.
1. Classic Straight-Back Stitch Cornrows
Six to eight stitch cornrows running from forehead to nape, each with consistent stitch spacing throughout. This is the foundational stitch style. Every other variation builds from here.
The hallmark is uniformity. Each stitch sits the same distance from the next. Each cornrow has the same number of stitches along its length. The result reads like architectural drafting — clean, intentional, mathematical.
Budget 4-5 hours for full install. Stitches add roughly 5-7 minutes per braid compared to a smooth cornrow.
2. Stitch Cornrows With Side Part
What Makes It Different
A clean side part placed deep over the brow shifts the entire silhouette. The cornrows on the heavier side flow at slight diagonals across the head before running straight back. The lighter side has fewer braids worked tighter together.
- Use a sharp rat-tail comb to drag a single clean line for the part
- The first cornrow on each side runs parallel to the part
- Stitch spacing should match across both sides for visual balance
- Edges can be styled with swooped baby hairs to echo the part direction
Tip: A side part should fall on the side that frames your face best. For most faces, the part sits opposite the dominant eye. Try both before committing.
3. Stitch Cornrows With Feed-In Length
Adding kanekalon hair to extend stitch cornrows past the natural ends keeps the style going down the back, the chest, or even past the waist. The feed-in technique starts thin at the hairline and builds gradually so the stitch work shows clearly throughout.
The catch with feed-in stitch cornrows: stitches in the extension hair don’t always hold as visibly as stitches in natural hair. Synthetic kanekalon is smoother, slipperier, and resists holding the raised ridge shape. Some braiders use a small dot of gel at each stitch in the extension portion to lock it in place.
Best for: medium hair length wanting waist-length finish, or anyone who wants serious length without the weight of jumbo extension styles.
4. Jumbo Stitch Cornrows
Three or four wide stitch cornrows across the head. The wider braid scale gives each stitch more space to show, which means stitches read bigger and bolder than on small braids.
This is the easier version of stitch cornrows for DIY attempts. Larger braids are more forgiving of imperfect stitch placement. Beginners can practice technique on jumbo first before scaling down to small stitch cornrows.
Install time runs 90 minutes to 2 hours for a full head. Wear time is shorter than smaller stitch cornrows — maybe 2-3 weeks before frizz dominates.
5. Small Stitch Cornrows
Picture twenty small stitch cornrows, each with a dozen or more visible stitches running along its length. The density and the detail combine to create one of the most visually striking variations on this list.
How to Style It
Don’t add bulky accessories. The detail of small stitch cornrows speaks for itself. Heavy beads or chunky cuffs compete with the stitch work and crowd the look. If you want decoration, use thin metallic threads woven through select braids or small gold rings at the ends only.
Sleep with a silk scarf tied loosely around the head — not so tight that it crushes the stitch ridges, just enough to protect the hairline.
6. Stitch Cornrows in a Curved Pattern
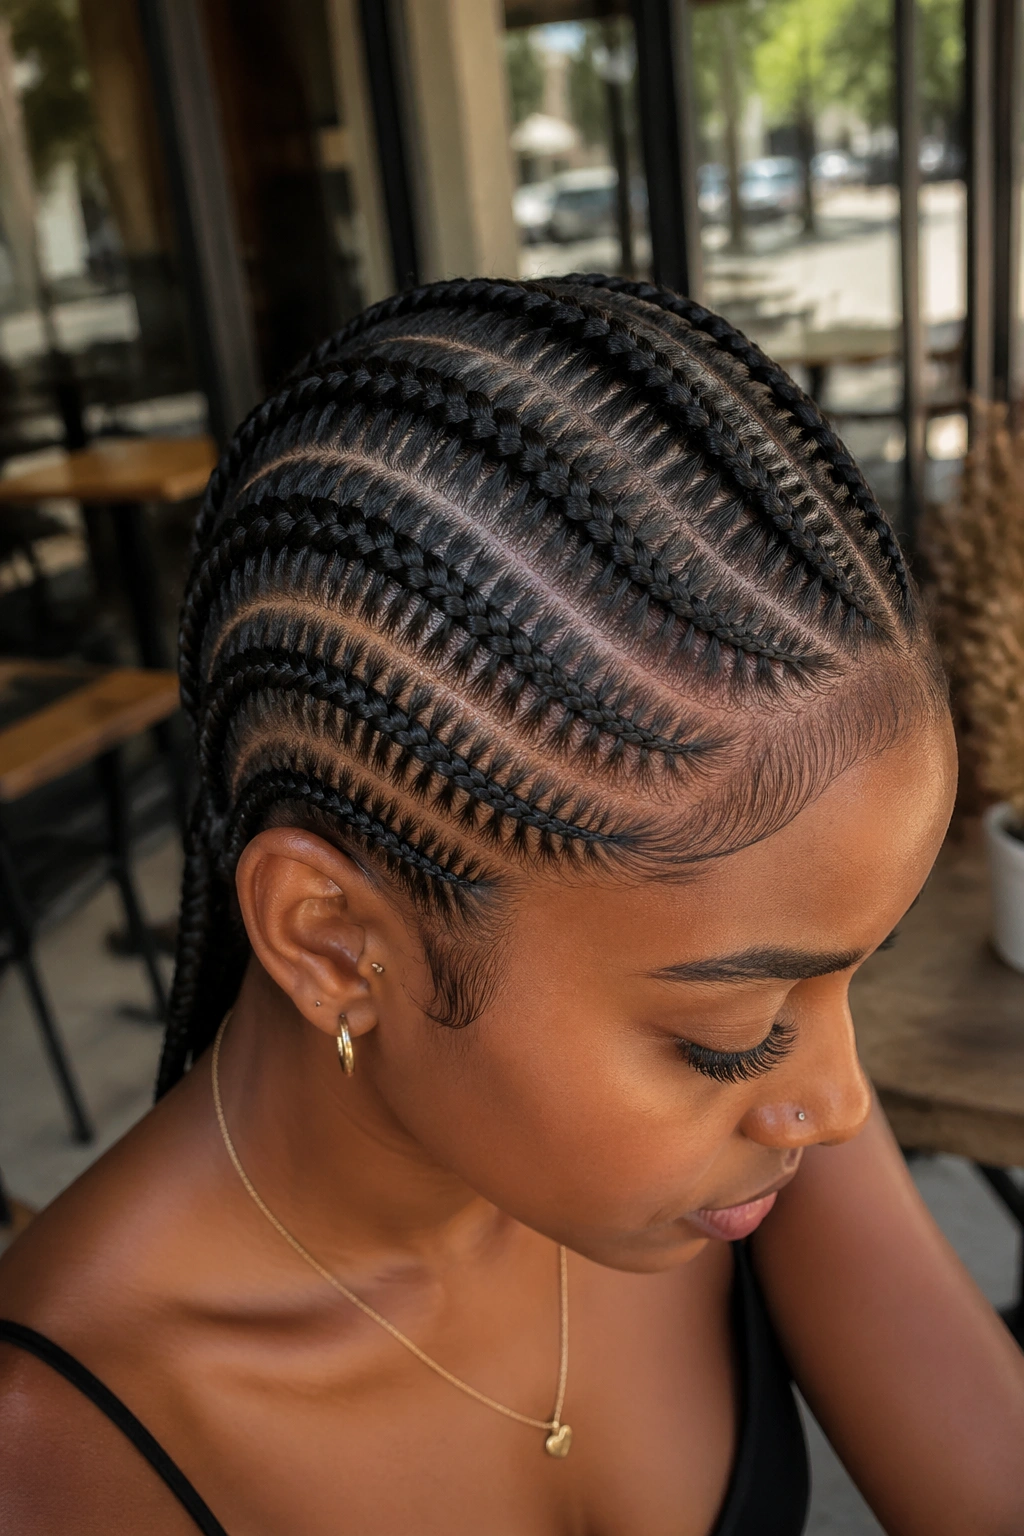
Bold claim: curved stitch cornrows might be the most photogenic variation in the entire cornrow family. The curves give the eye motion to follow. The stitches give the curves texture. Together they create visual interest from any angle.
The curves typically follow the contours of the head — sweeping down from the crown around the perimeter, or spiraling from the center outward. Each cornrow follows its own curve while maintaining consistent stitch spacing.
Designing curves takes planning. A skilled braider sketches the path of each cornrow on the scalp with a fine point of the comb before starting. This map prevents drift mid-install.
7. Stitch Cornrows With Beaded Ends
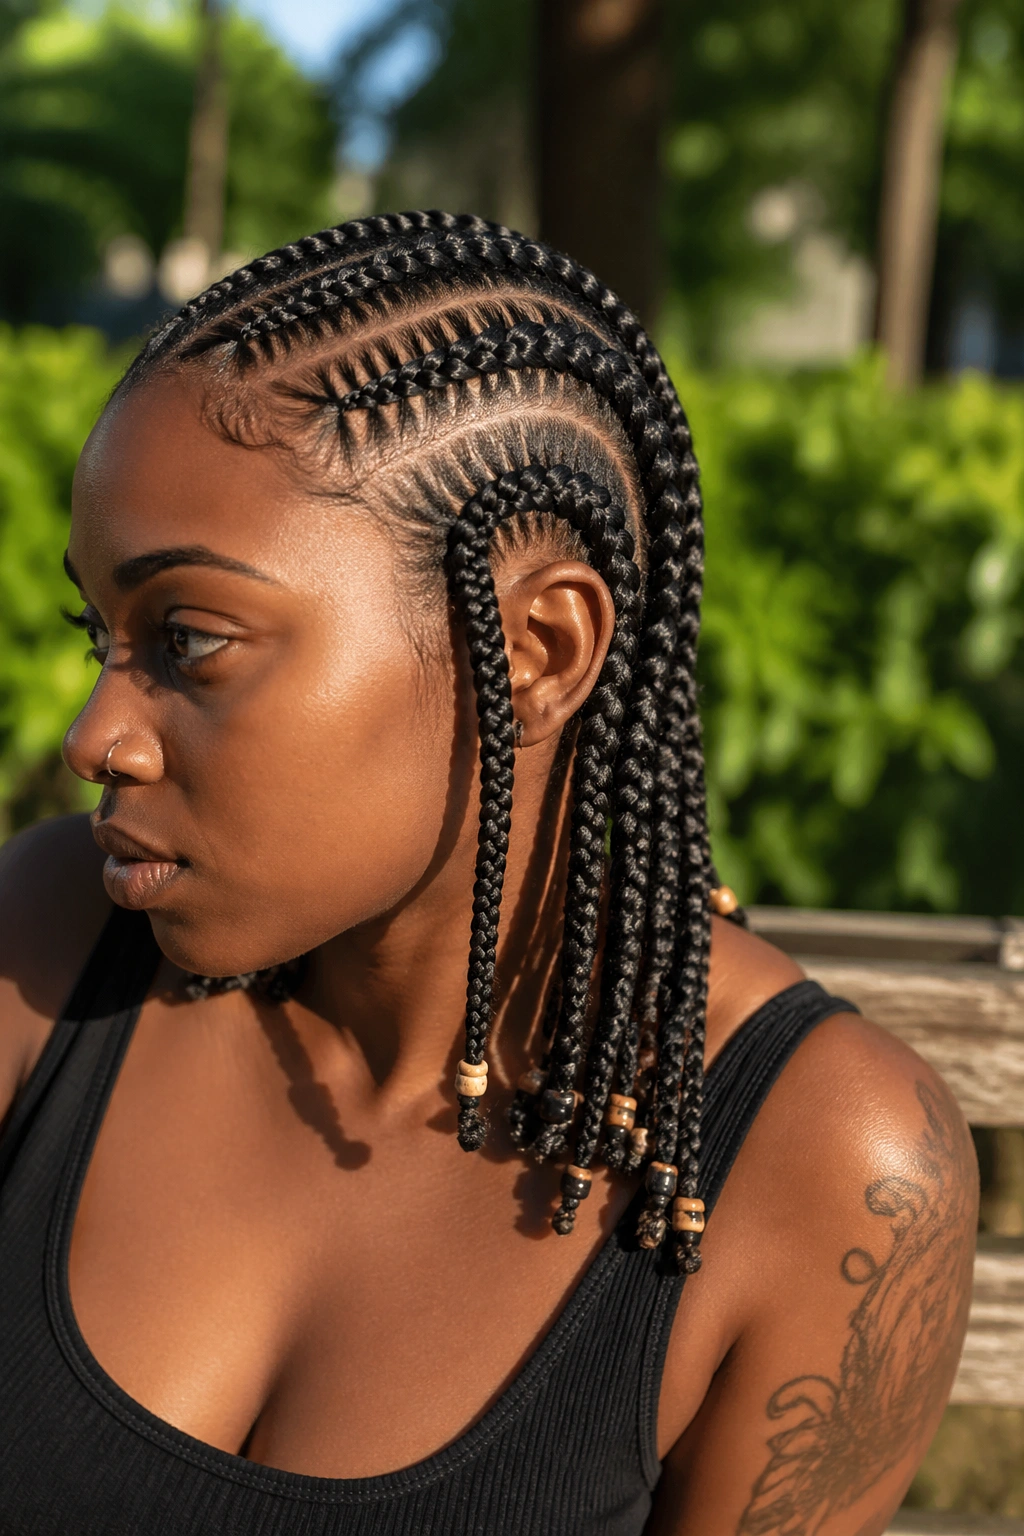
Wood beads, glass beads, gold-tone metal beads — any of these work as accents at the ends of stitch cornrows. Match the bead scale to the braid scale. Small braids get small beads. Jumbo braids can carry larger beads.
Place beads sparingly. Stitch cornrows already have visual detail. Adding too many beads creates competing focal points and makes the install feel busy.
A common balanced approach: 2-3 beads on each braid end, color-coordinated, in a similar tone family.
8. Half-Up Half-Down Stitch Cornrows
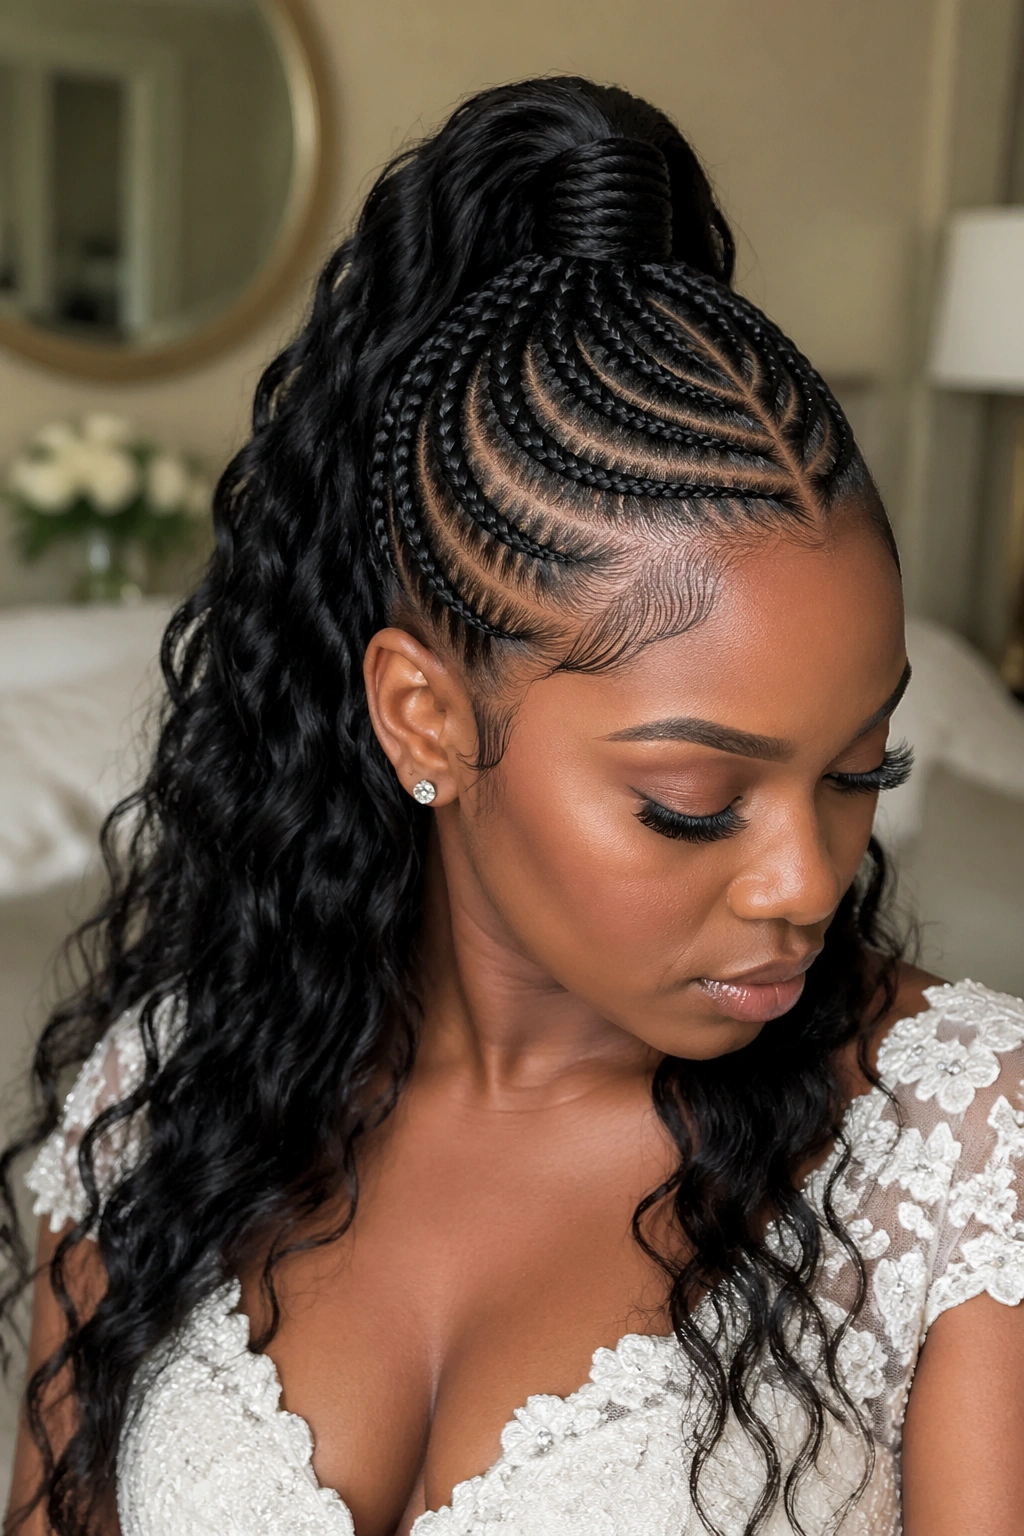
The front and crown sections get installed as stitch cornrows pulled into a high gathering point. The back section hangs loose as longer braids or curls. The contrast between the structured stitch work above and the softer hanging hair below reads dimensional and styled.
This variation works for transitional events — a daytime wedding, a graduation, a formal lunch — where you want the sophistication of stitch detail without the full-head heaviness of all stitch cornrows.
9. Stitch Cornrows With Color Highlights
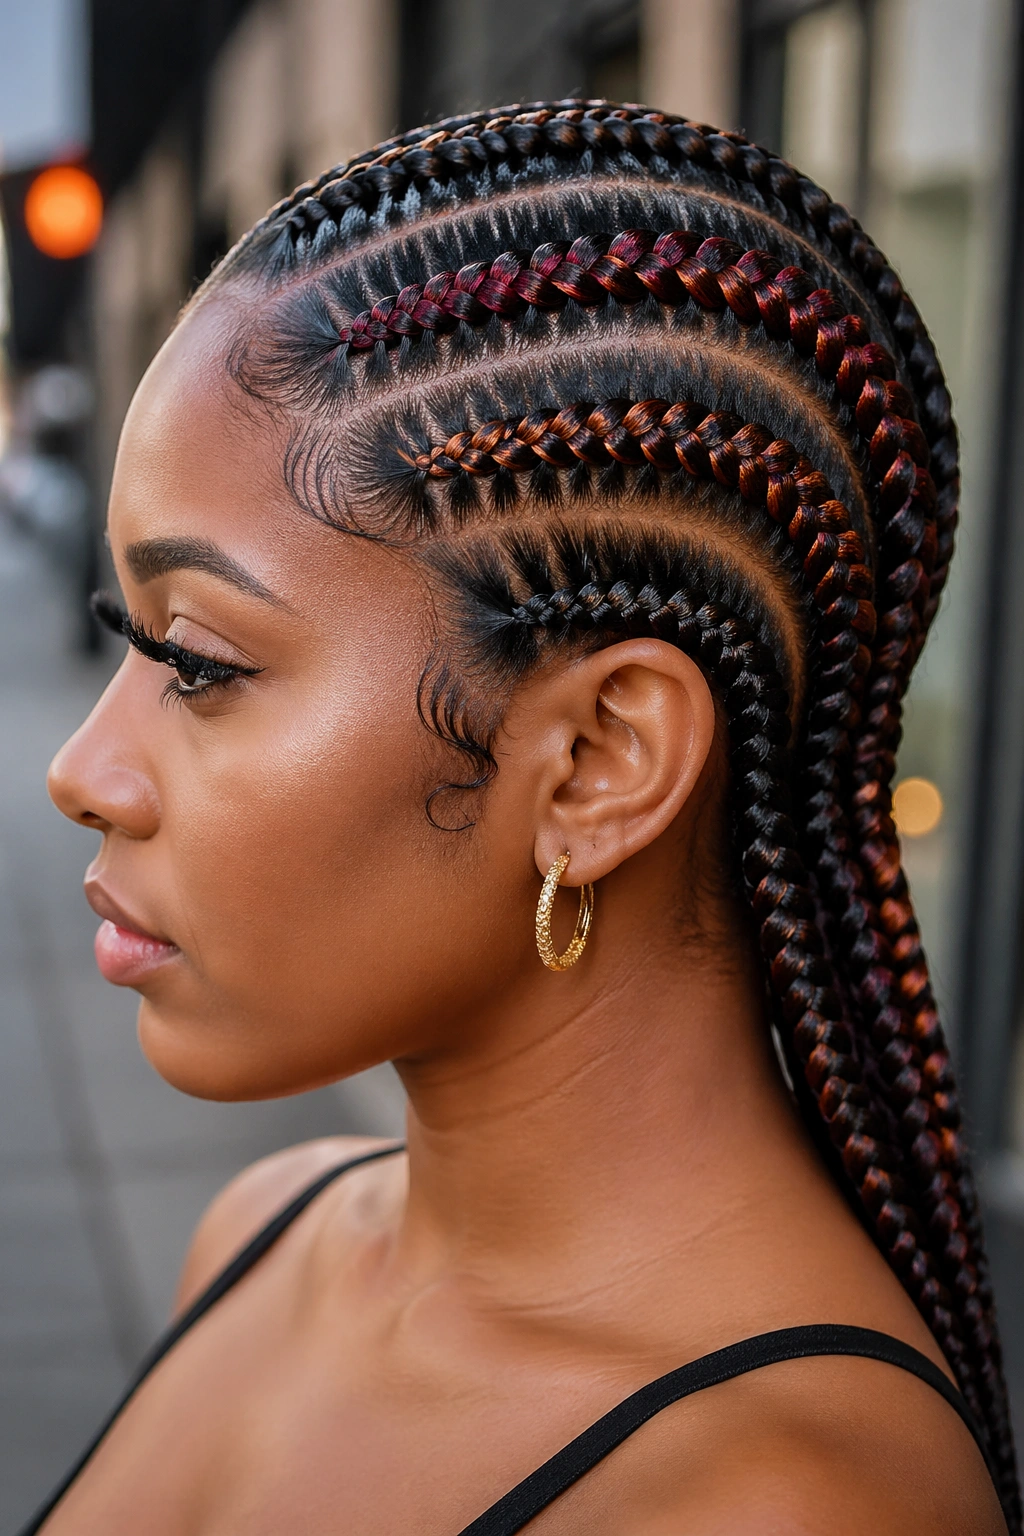
A few specific cornrows get installed with colored kanekalon — burgundy, copper, blonde, blue. The color shows through the stitches, creating a striped effect along the colored braid that doesn’t appear on the natural-hued braids.
Color placement matters. A single colored stitch cornrow at the front draws focus to the face. A cluster of three on one side creates an asymmetric color statement. Scattered single-color braids throughout create a confetti-like effect.
10. Stitch Cornrows Into a Bun
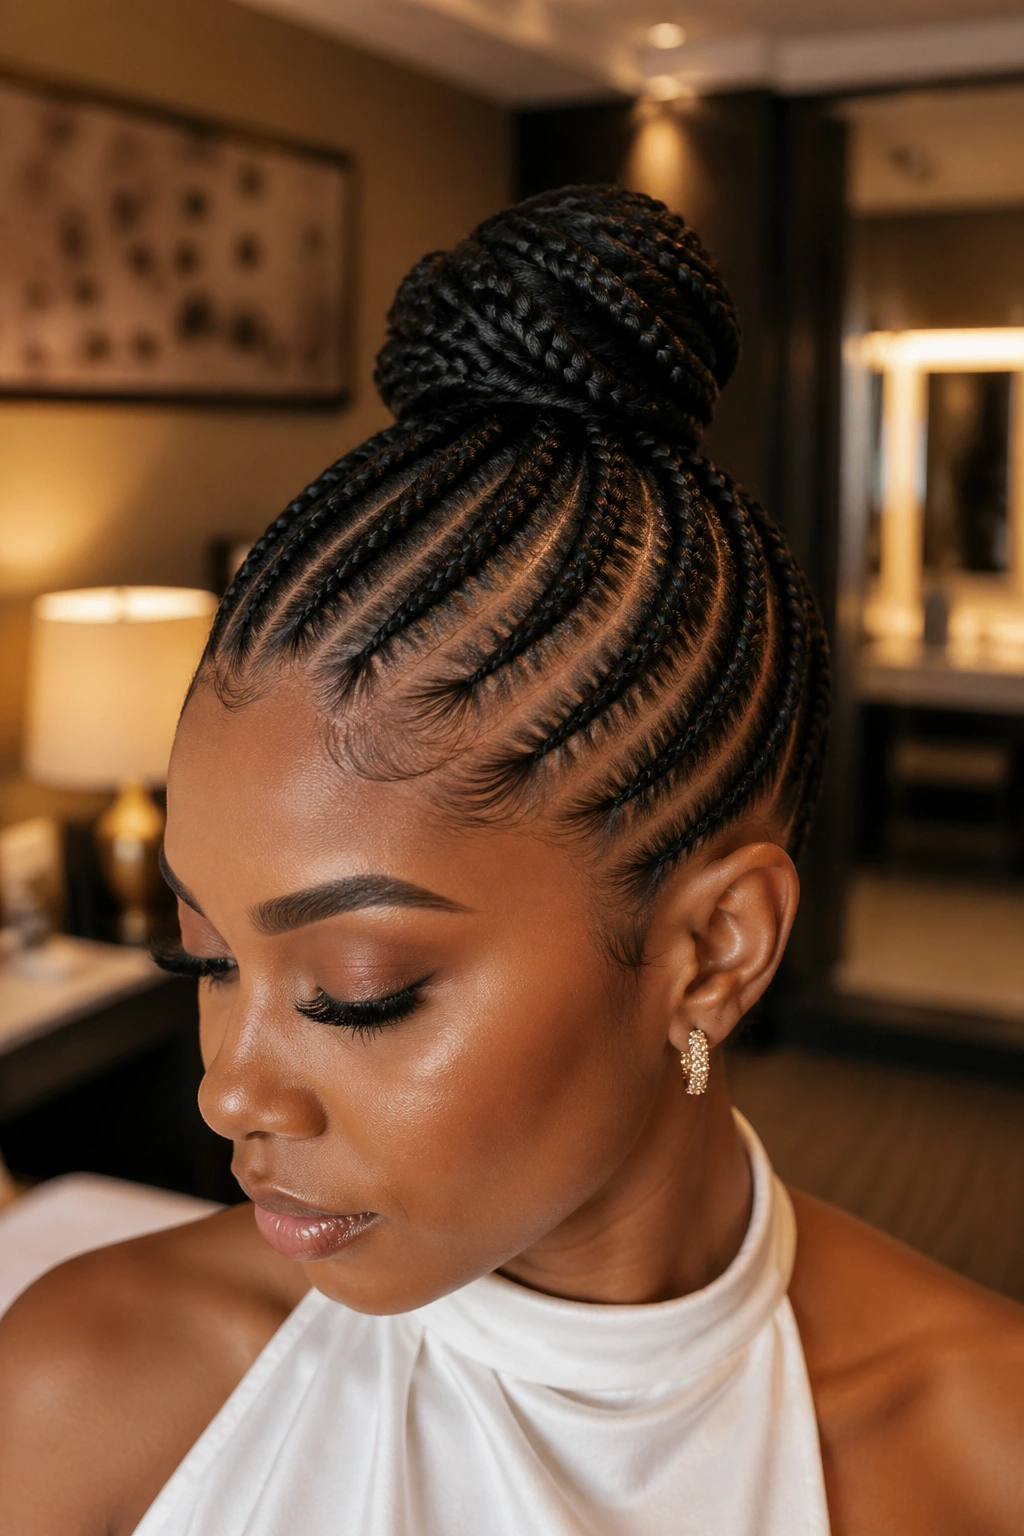
The cornrow base flows into a single bun at the crown, back, or nape. The stitch detail shows along every cornrow leading to the bun. The bun itself uses the braid tails wrapped around a base.
For a polished bun shape, secure the gathering point tightly with a thick elastic, twist all braid tails together, and wrap around the base. Pin with U-pins matched to your hair color.
This variation works well for formal events, work environments where strict styling is preferred, or anyone wanting a complete head silhouette without hanging braids.
11. Asymmetric Stitch Cornrows
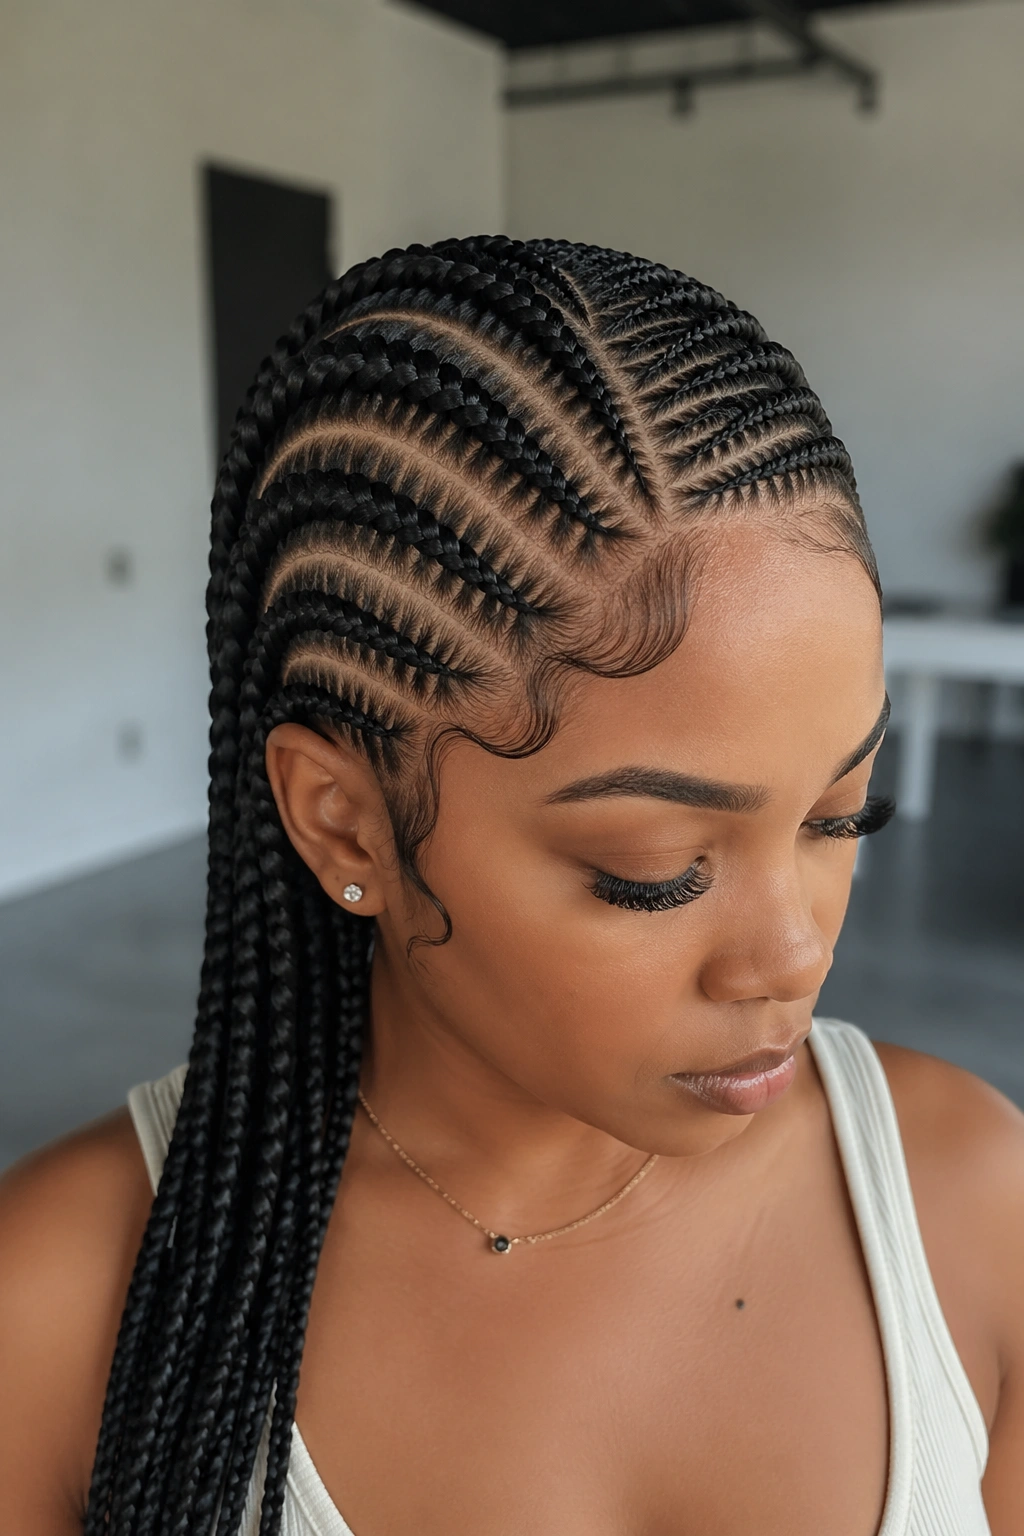
Unlike symmetric installs where both sides mirror each other, asymmetric stitch cornrows deliberately break symmetry. One side might have five jumbo stitch cornrows while the other has eight small ones. Or one side runs straight back while the other curves diagonally.
The asymmetry adds modern fashion-editorial energy. This isn’t a traditional styling choice — it’s a deliberate design decision that reads bold and contemporary.
12. Stitch Cornrows With Shaved Side
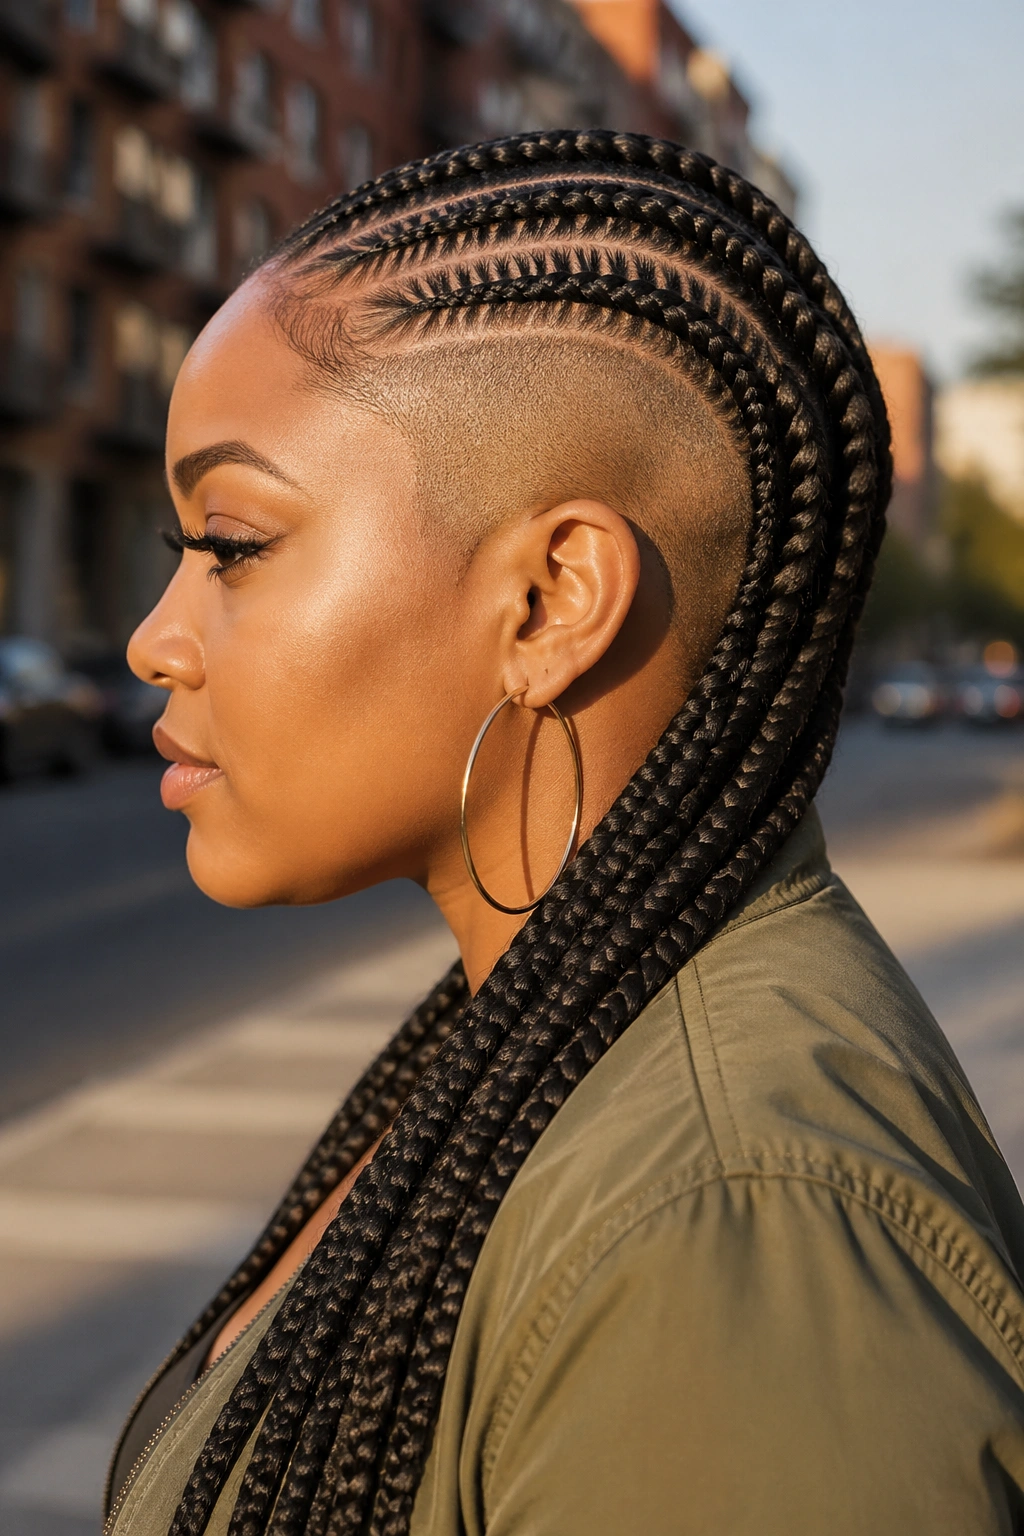
A small section on one side of the head gets shaved or buzzed short. The remaining hair gets stitch cornrowed flowing away from or over the shaved section. The hard-edge contrast between bare scalp and detailed stitch work creates strong visual impact.
The shaved area needs maintenance every 1-2 weeks to maintain the contrast. As the shaved section grows out, the design loses its edge.
13. Stitch Cornrows With Two-Tone Color
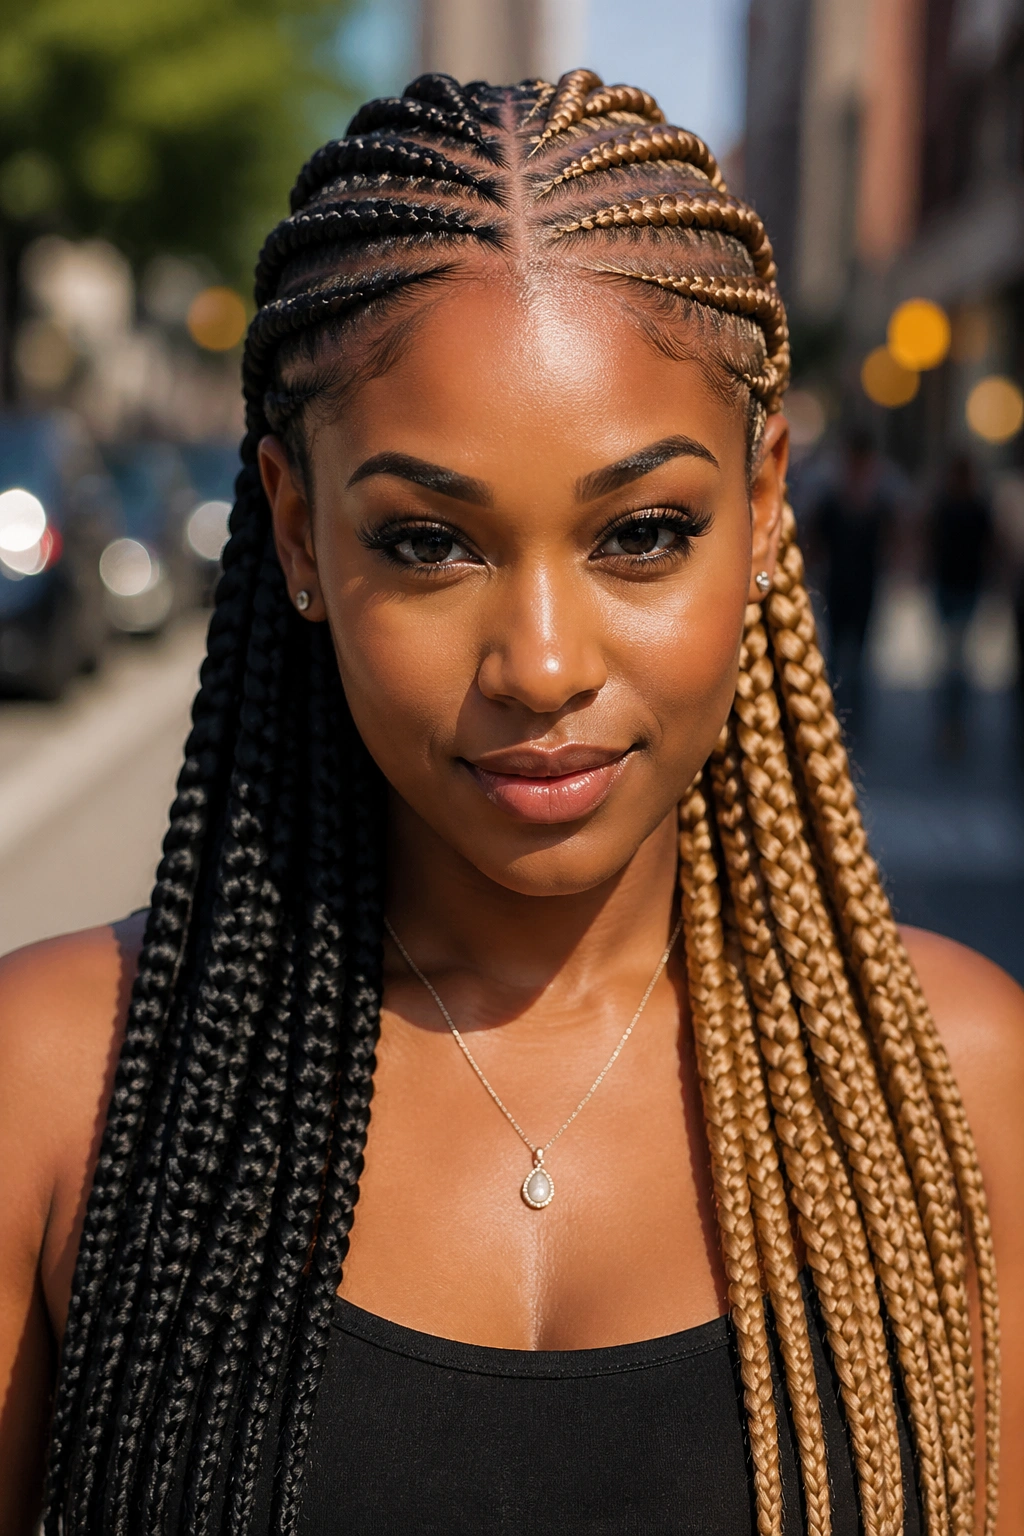
A brief scenario — you want color in your stitch cornrows but you’re not committed to one specific shade. Two-tone color answers this. Half the braids get one color (or natural), the other half get a contrasting shade.
Common two-tone combinations: black and burgundy, dark brown and honey, jet black and copper, dark auburn and platinum blonde.
The result reads styled and intentional. The two colors play off each other and emphasize the stitch detail by giving it contrast against itself.
14. Long Stitch Cornrows With Loose Ends
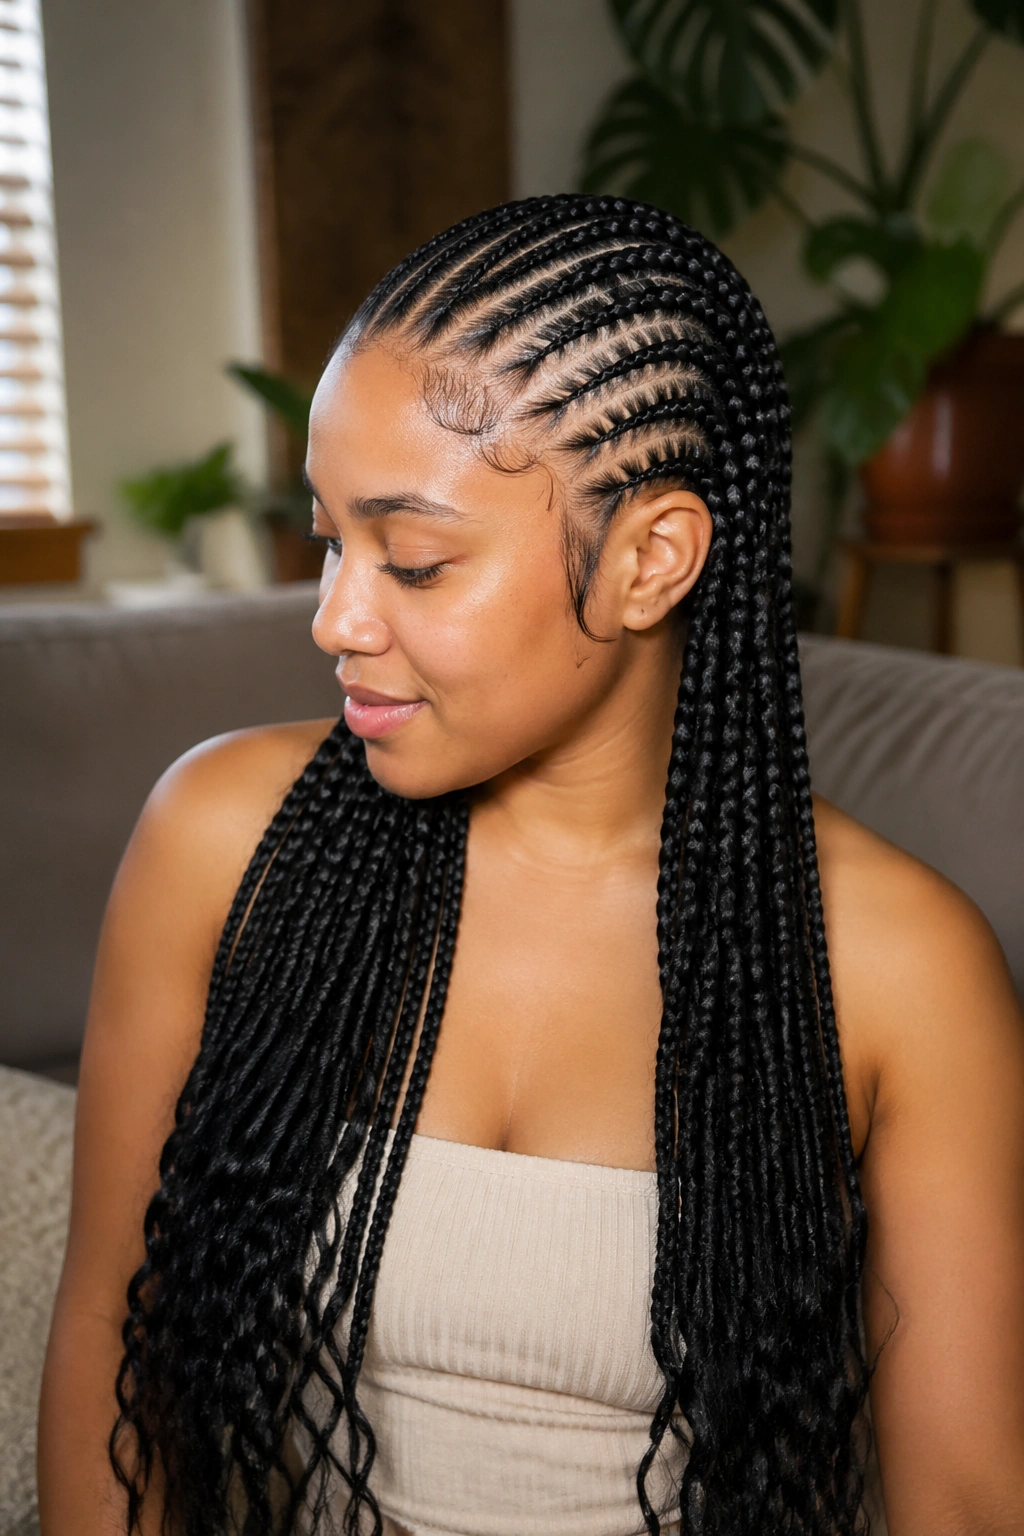
The cornrows themselves are long — installed with feed-in extension hair to reach mid-back or longer. The very ends of each braid are left loose, unbraided, creating a soft tassel finish that contrasts with the precise stitch work above.
Style the loose ends with a tiny amount of curl cream to enhance whatever natural texture the extension hair has — wave, curl, or straight.
15. Stitch Cornrows With Geometric Parts
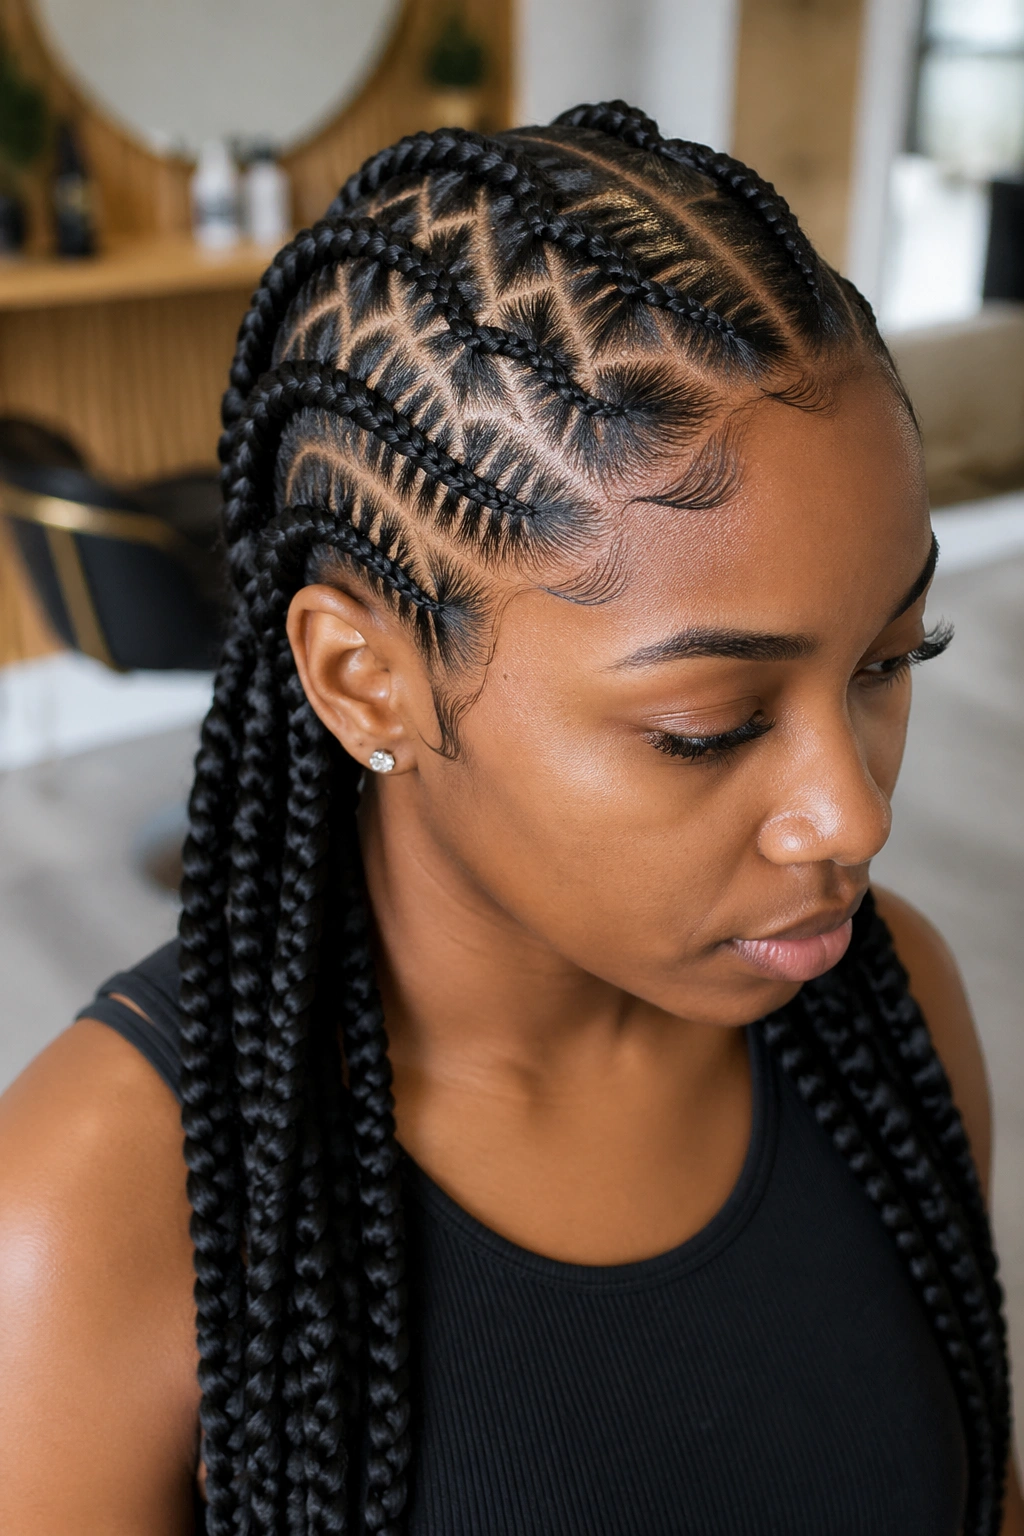
Picture diamond shapes, triangle patterns, or zigzag motifs forming the parts between the cornrows. The cornrows themselves run along the edges of these geometric patterns, with stitch detail showing throughout.
The geometric parting transforms the scalp into part of the design. The exposed scalp lines create the geometric figure while the stitch cornrows fill the space between.
This is advanced parting work. Skilled braiders only — geometric parts require precision that takes years to develop.
16. Stitch Cornrows With Cuffs and Rings
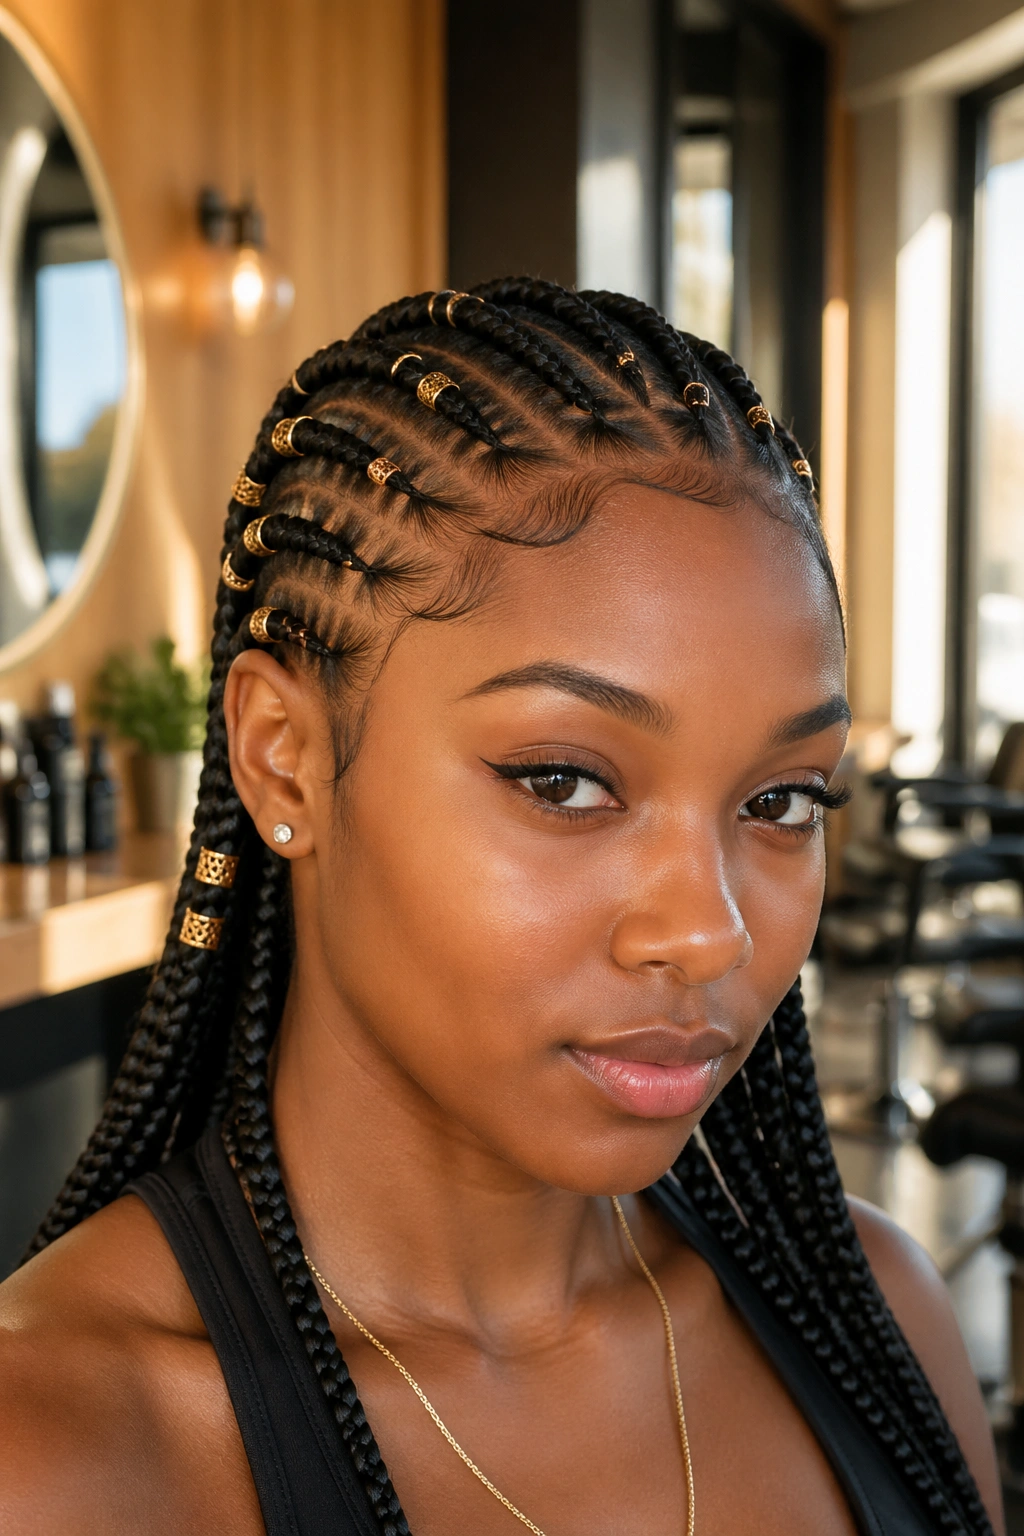
Metal accessories — small gold rings, copper cuffs, decorative beads — placed at strategic points along the cornrows. Not just at the ends, but woven into the body of the braid at specific spacings.
Styling Tips
Cluster accessories rather than scattering them evenly. A group of three rings on one cornrow reads intentional. A single ring on every braid reads like an attempt to copy a Pinterest post.
Stick to one metal family. Mixing gold and silver tends to read messy on stitch cornrows where every detail competes for attention.
17. Stitch Cornrows With Edges Design
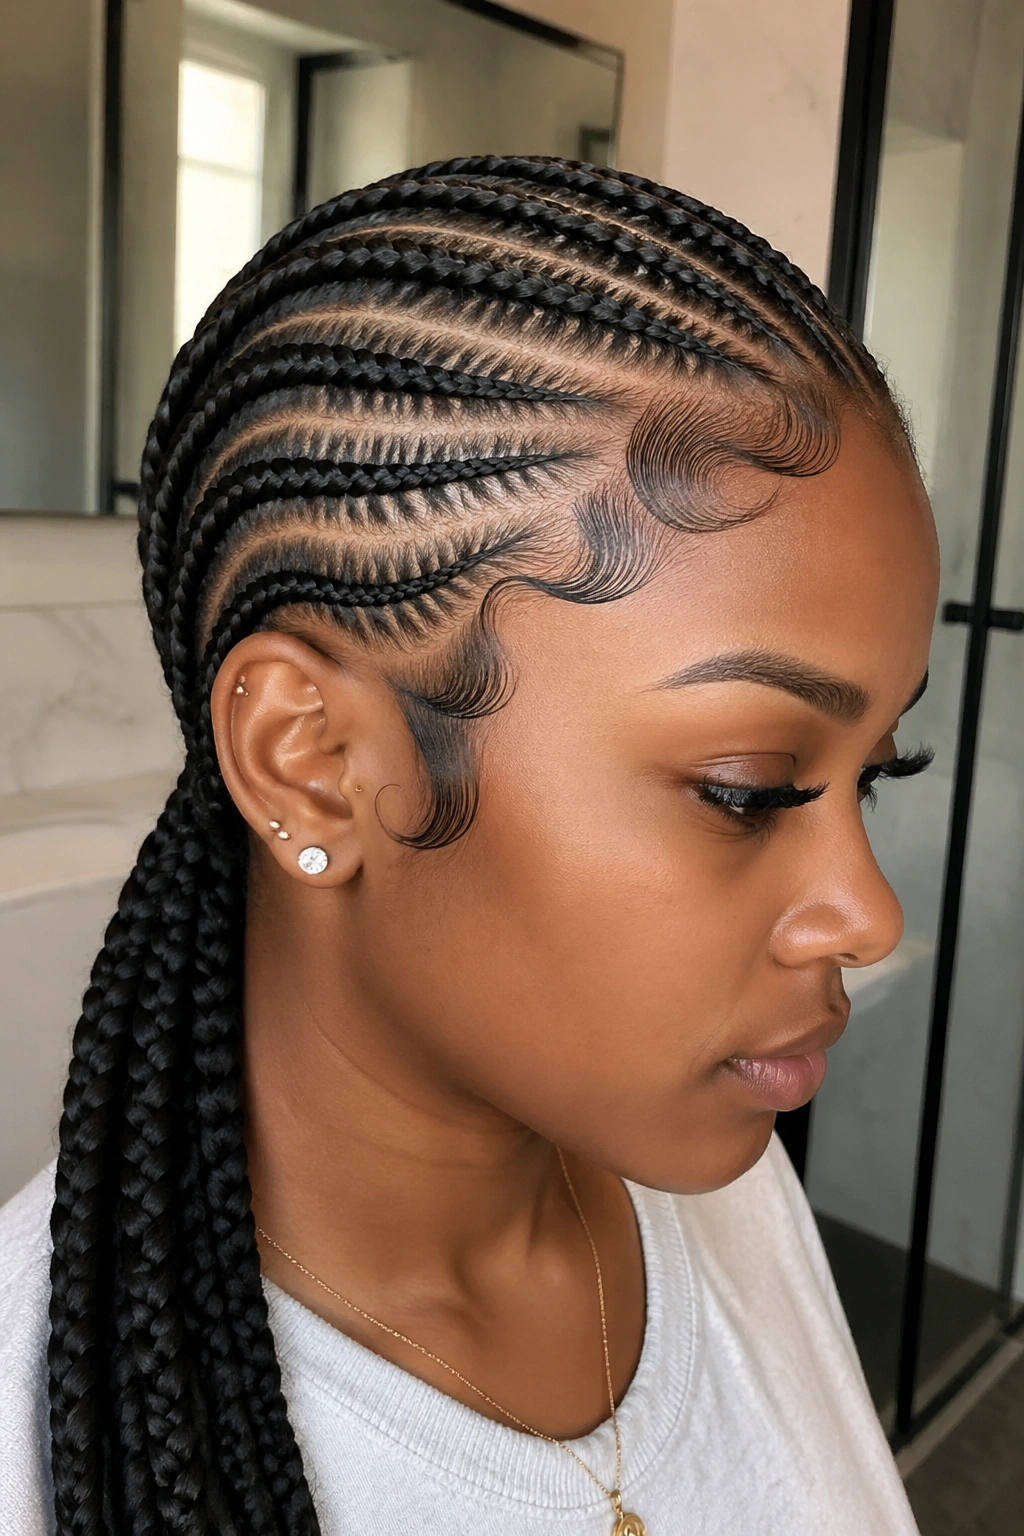
Ornate edge styling that echoes the geometric precision of stitch cornrows. Swooped baby hairs that mirror the cornrow direction. Tightly laid edges with sculpted curves that match the part patterns.
Plan the edges before the install begins. The edge design should complement the cornrow design, not compete with it. Both should feel like part of the same overall look.
18. Stitch Cornrows With Center Part
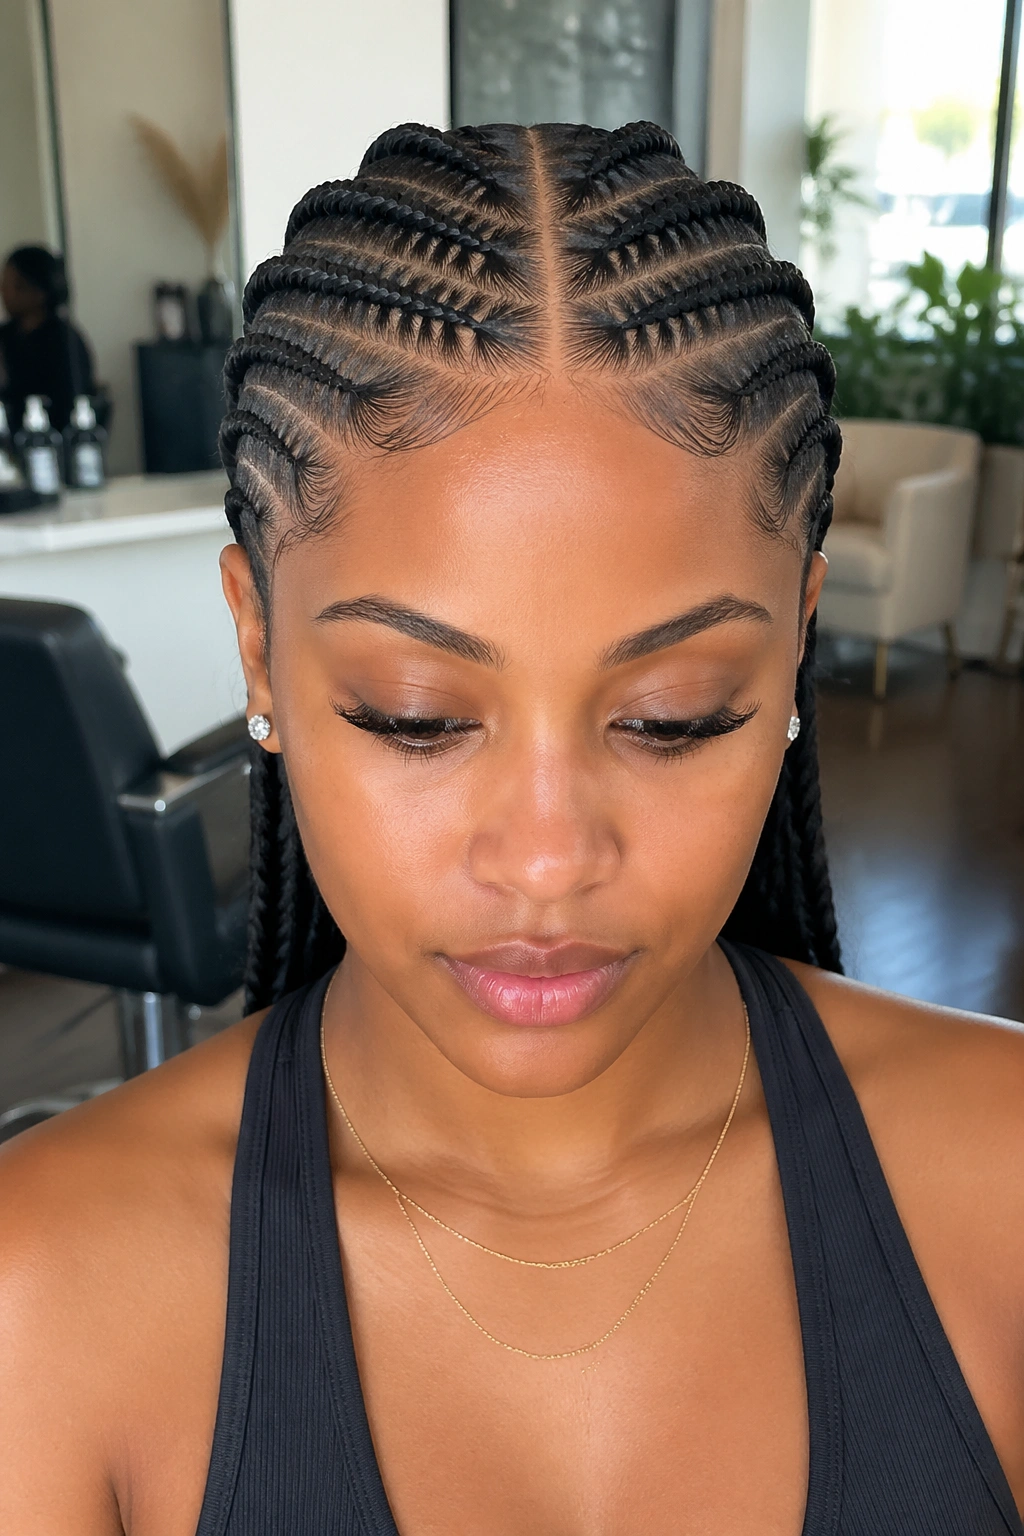
A clean middle part runs from forehead to crown. Identical numbers of stitch cornrows flow from each side of the part down to the nape. The symmetry reads classic and clean.
Center parts work for symmetric face shapes — oval, round, square. Asymmetric face shapes can wear center parts too but might benefit more from off-center placement.
The central exposed scalp line becomes part of the design. Some braiders gel this strip down with a high-shine product to make it visibly intentional.
19. Stitch Cornrows With Loose Top
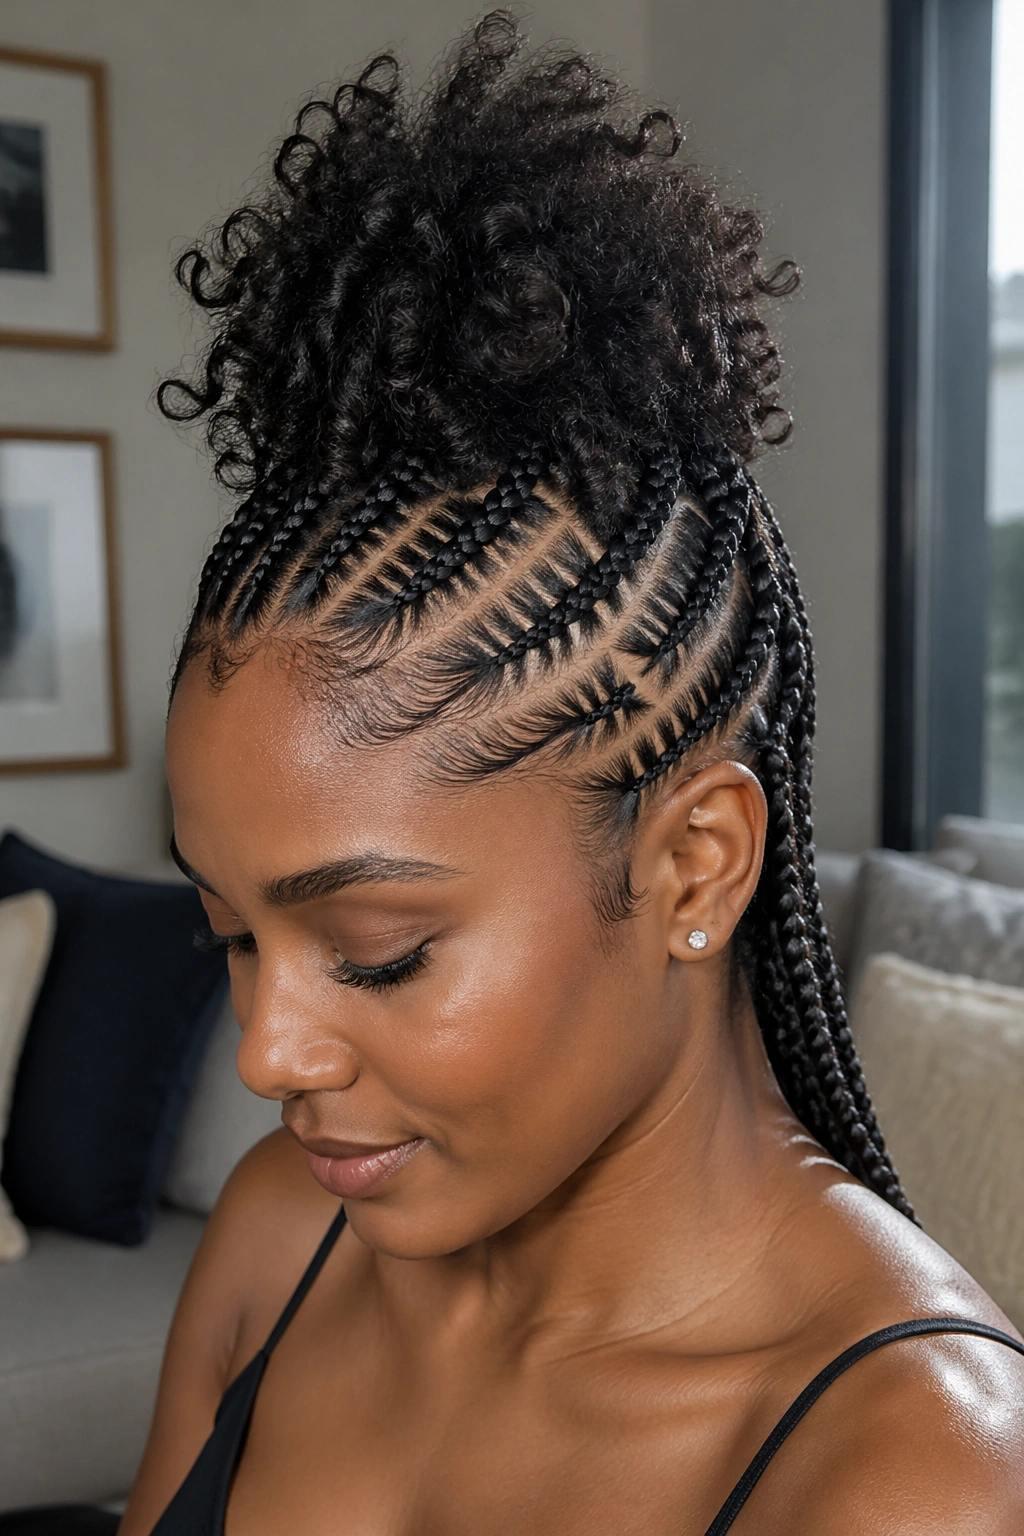
The sides and back get stitch cornrowed. The top of the head remains loose, styled into a puff, twist-out, bantu knots, or a topknot of natural texture. The contrast between sleek stitch sides and free-textured top reads dynamic.
This works for active lifestyles. The cornrowed sides handle workouts and weather while the loose top provides a softer feminine element when desired.
20. Stitch Cornrows Into Twists
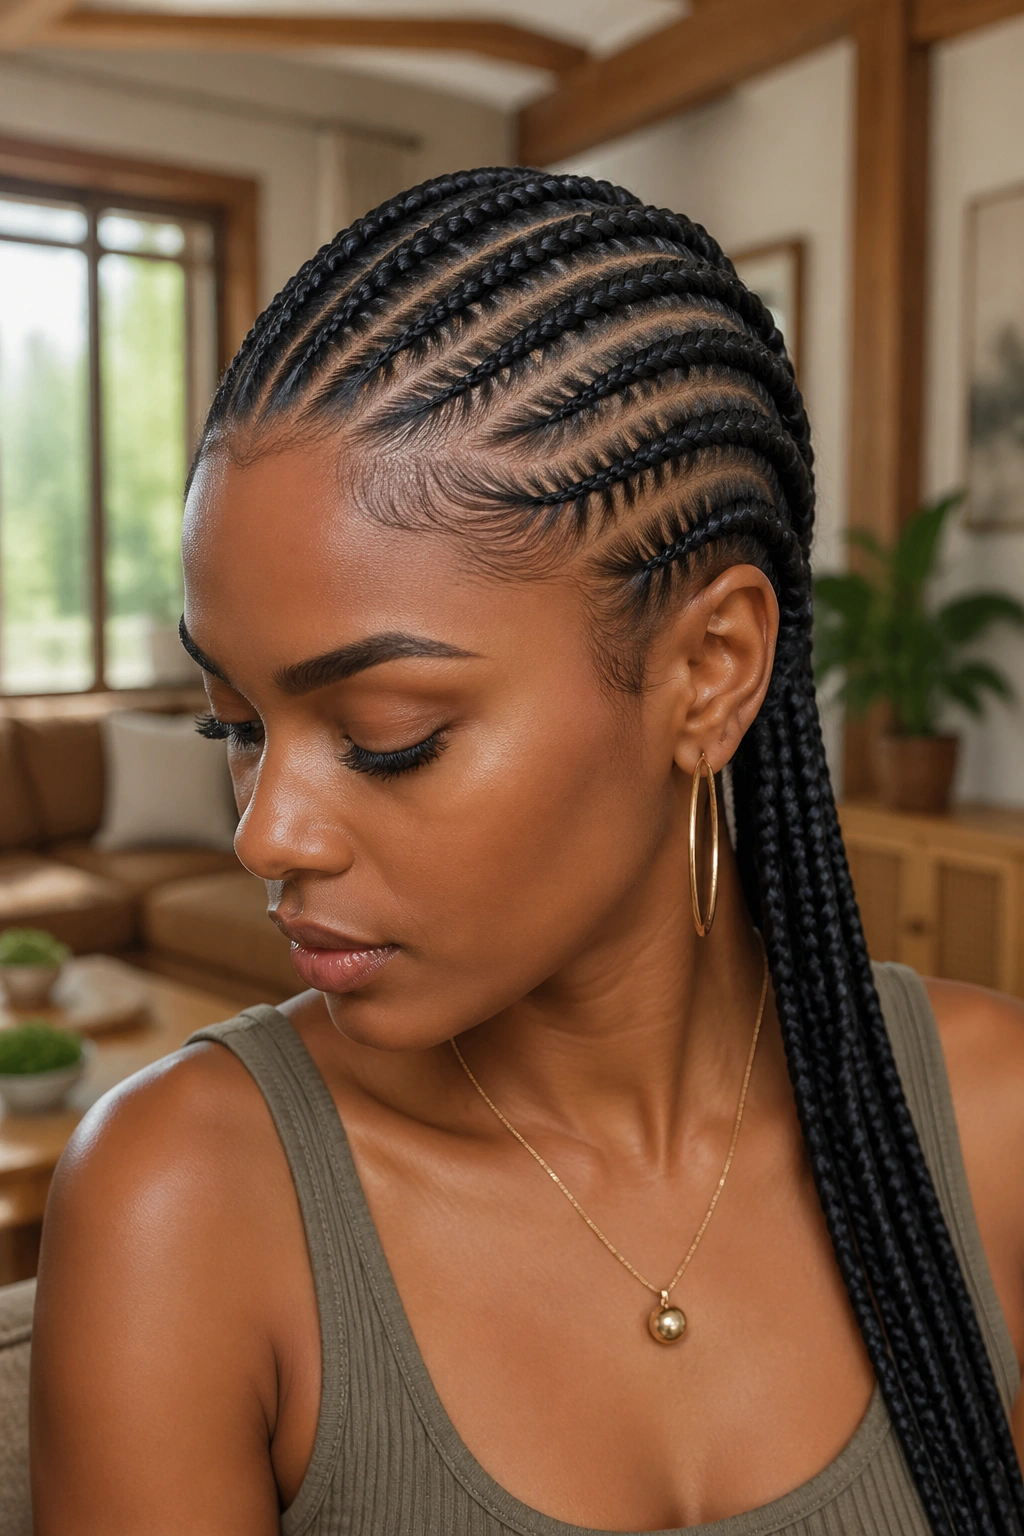
Hybrid style where the top half of each braid is a stitch cornrow and the bottom half releases into a Senegalese twist or loose two-strand twist. The transition usually happens at the nape or just behind the ears.
The two textures play off each other. The structured stitch work meets the softer twist texture for dimensional finish.
21. Stitch Cornrows With Pearl Accents
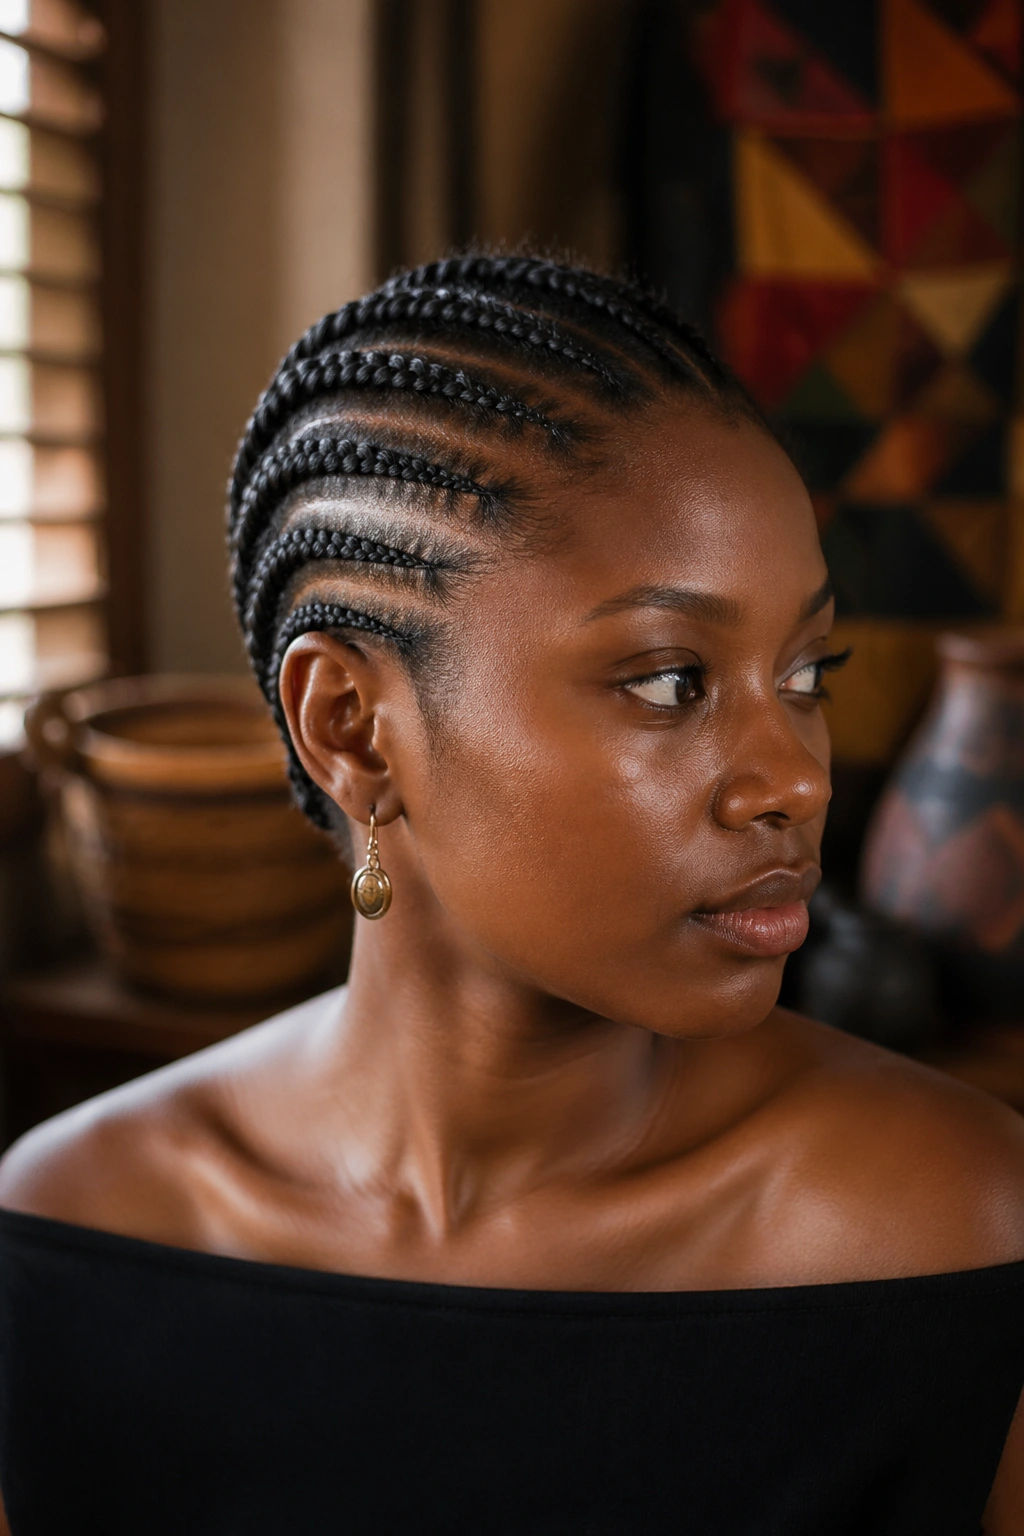
Small pearl beads woven through select cornrows. Pearls give a soft, romantic finish that complements stitch work without overwhelming it. The neutral white-cream tone works on all skin tones and pairs with any clothing.
Use pearl beads with holes large enough for the braid to thread through cleanly. Cheap craft pearls often have tight holes that pinch the braid.
22. Stitch Cornrows With Lemonade Curve
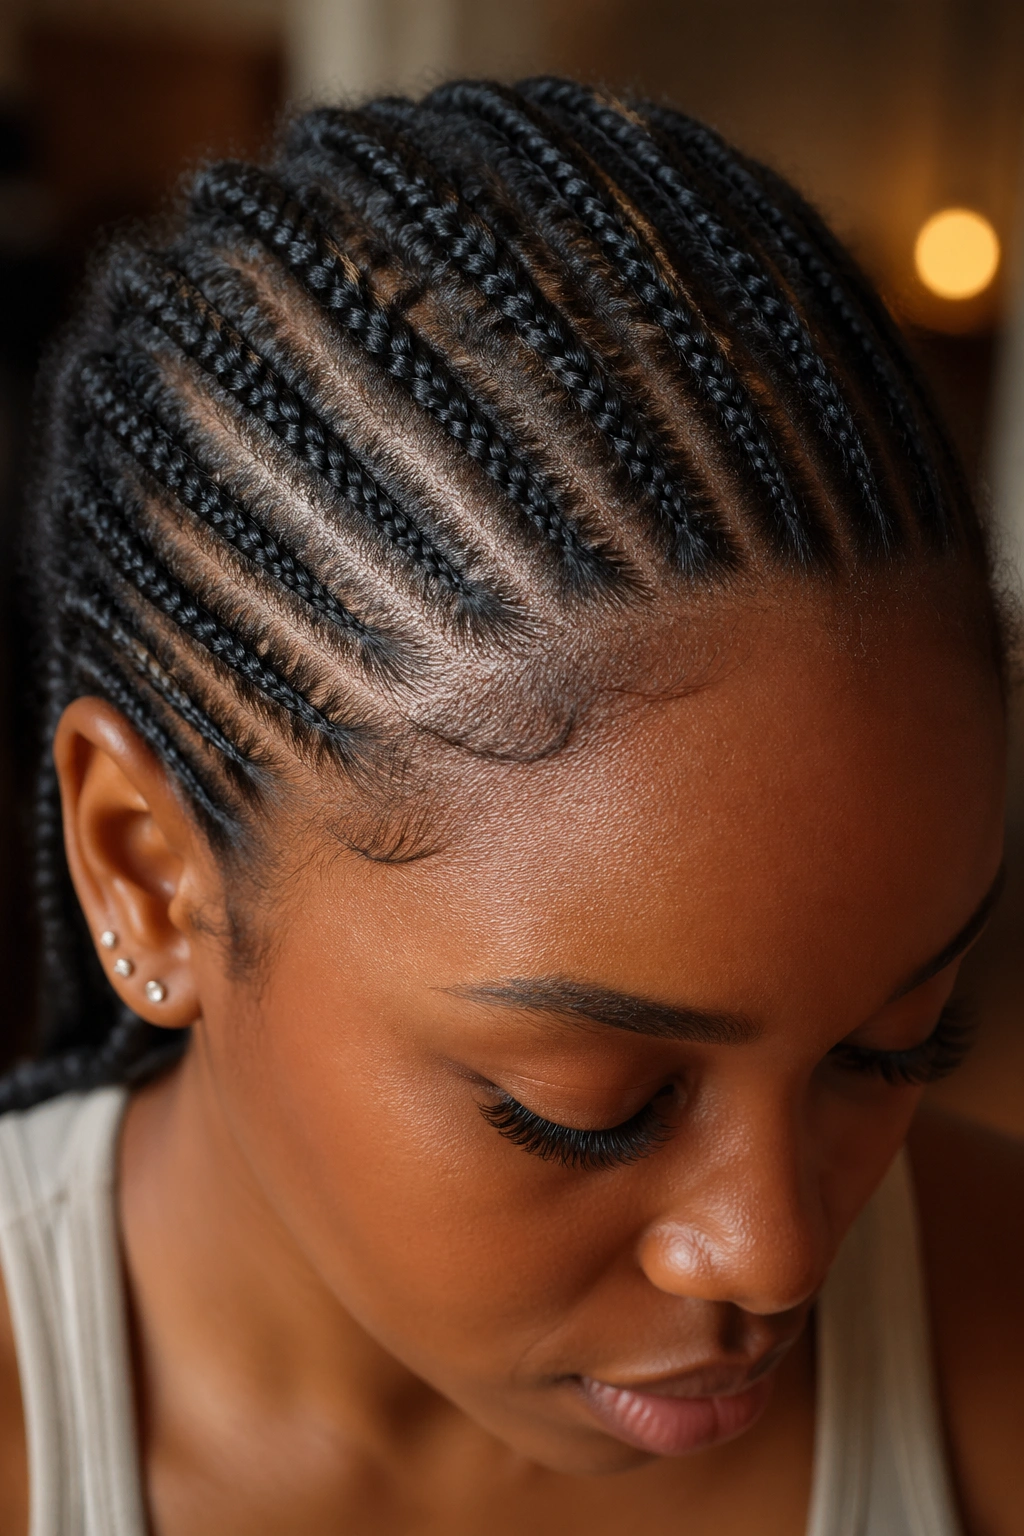
The cornrows curve from one side of the head to the other in the lemonade pattern — sweeping forward at the front and traveling diagonally toward the opposite side. The stitch work shows throughout the curve.
This combines two design elements: the directional sweep of lemonade braids and the textural detail of stitch work. The result is one of the most visually complex variations on this list.
23. Stitch Cornrows With Shaved Designs
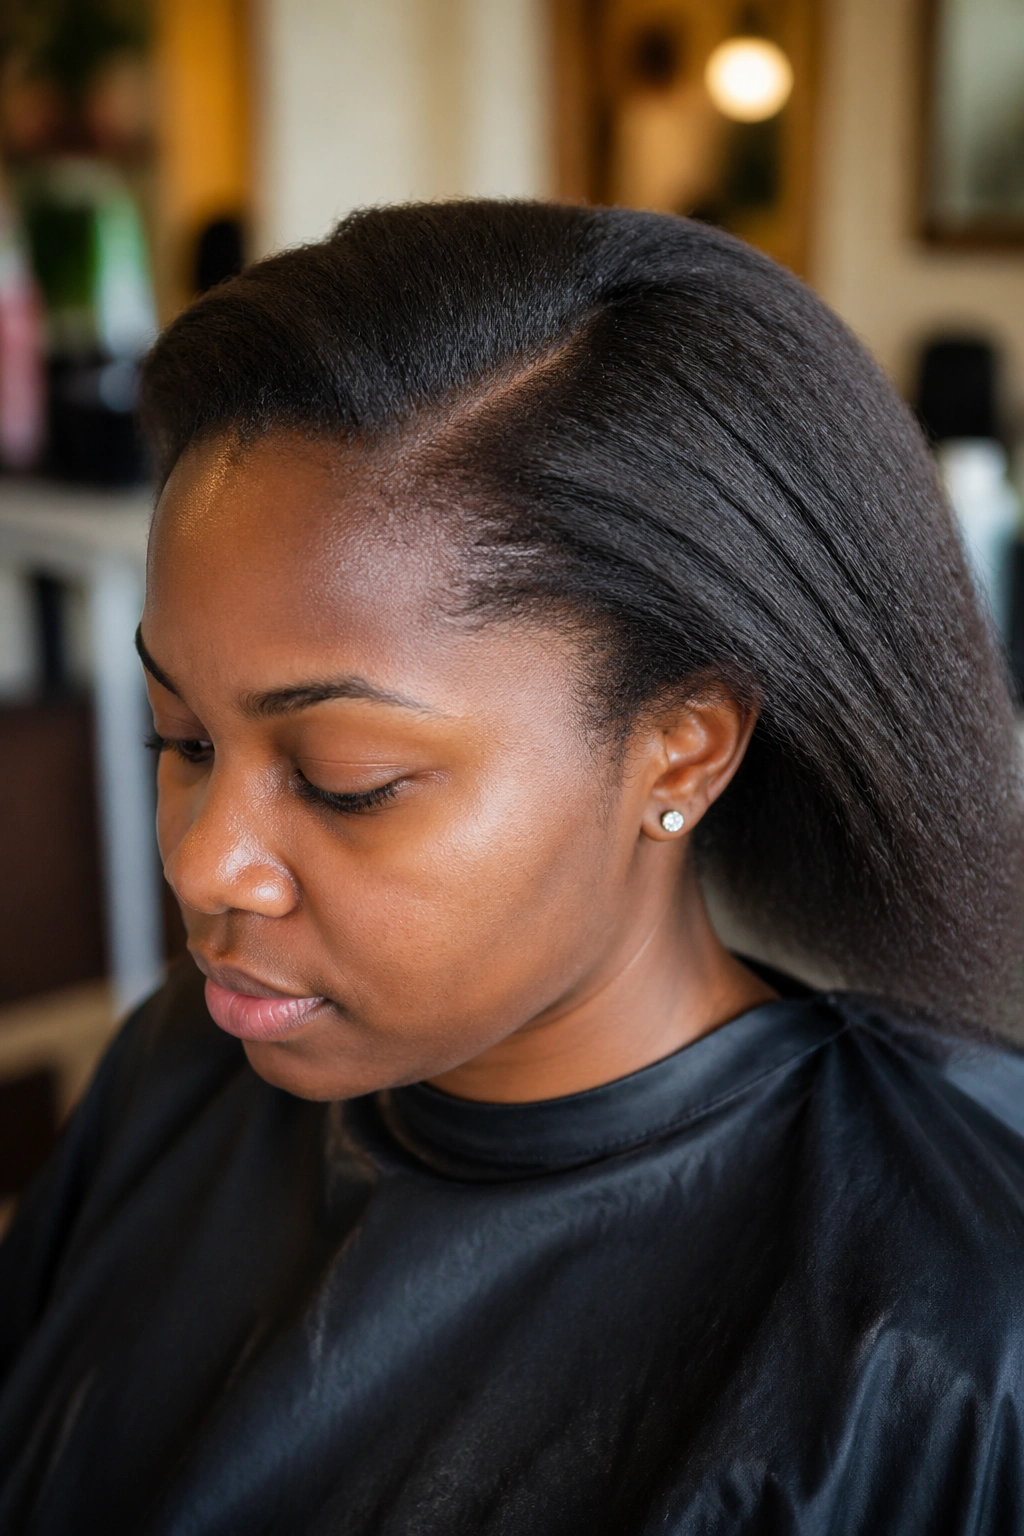
Hair art combined with stitch cornrows. The braids run across the head in standard or curved patterns, while a small shaved section on one side or at the nape carries a design — initials, geometric shapes, or symbolic patterns shaved into the short hair.
The shaved design adds personalization. The stitch cornrows provide the protective base and overall sophistication.
Shaved design maintenance: re-buzz every 1-2 weeks to keep the design crisp.
24. Stitch Cornrows With Wavy Ends
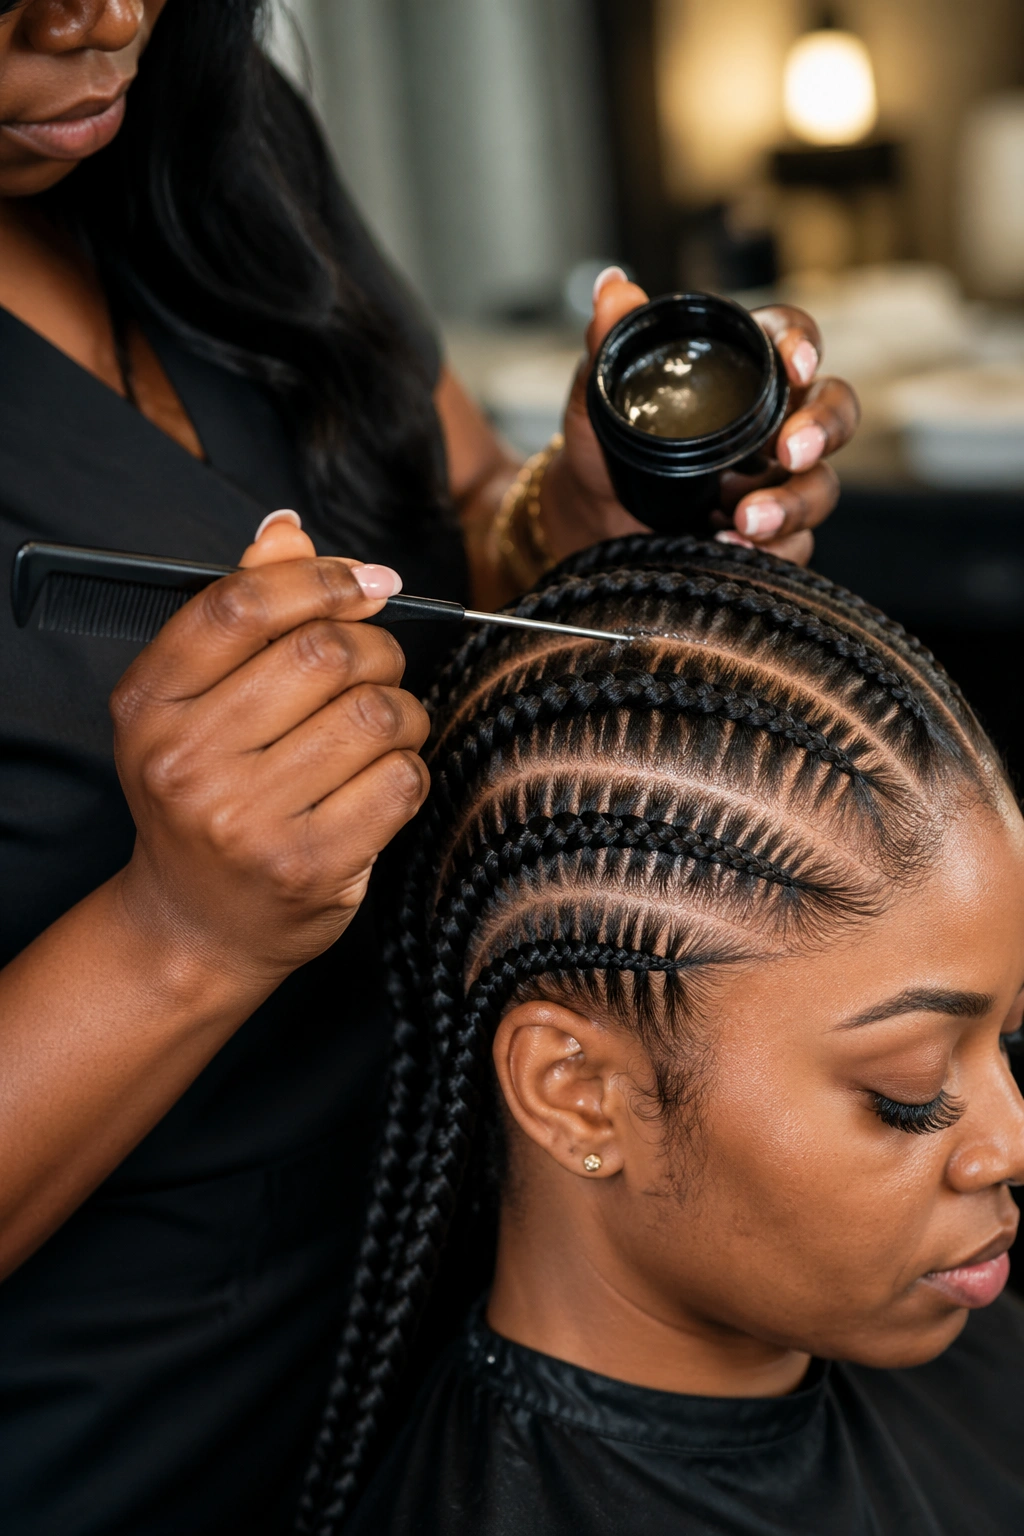
The cornrows are stitch-detailed throughout the braided portion. The ends release into wavy texture — either natural waves of stretched hair or extension waves added at the cornrow stop point.
Wavy ends soften the geometric precision of the stitch work. The combination reads polished but approachable, suitable for both formal and casual contexts.
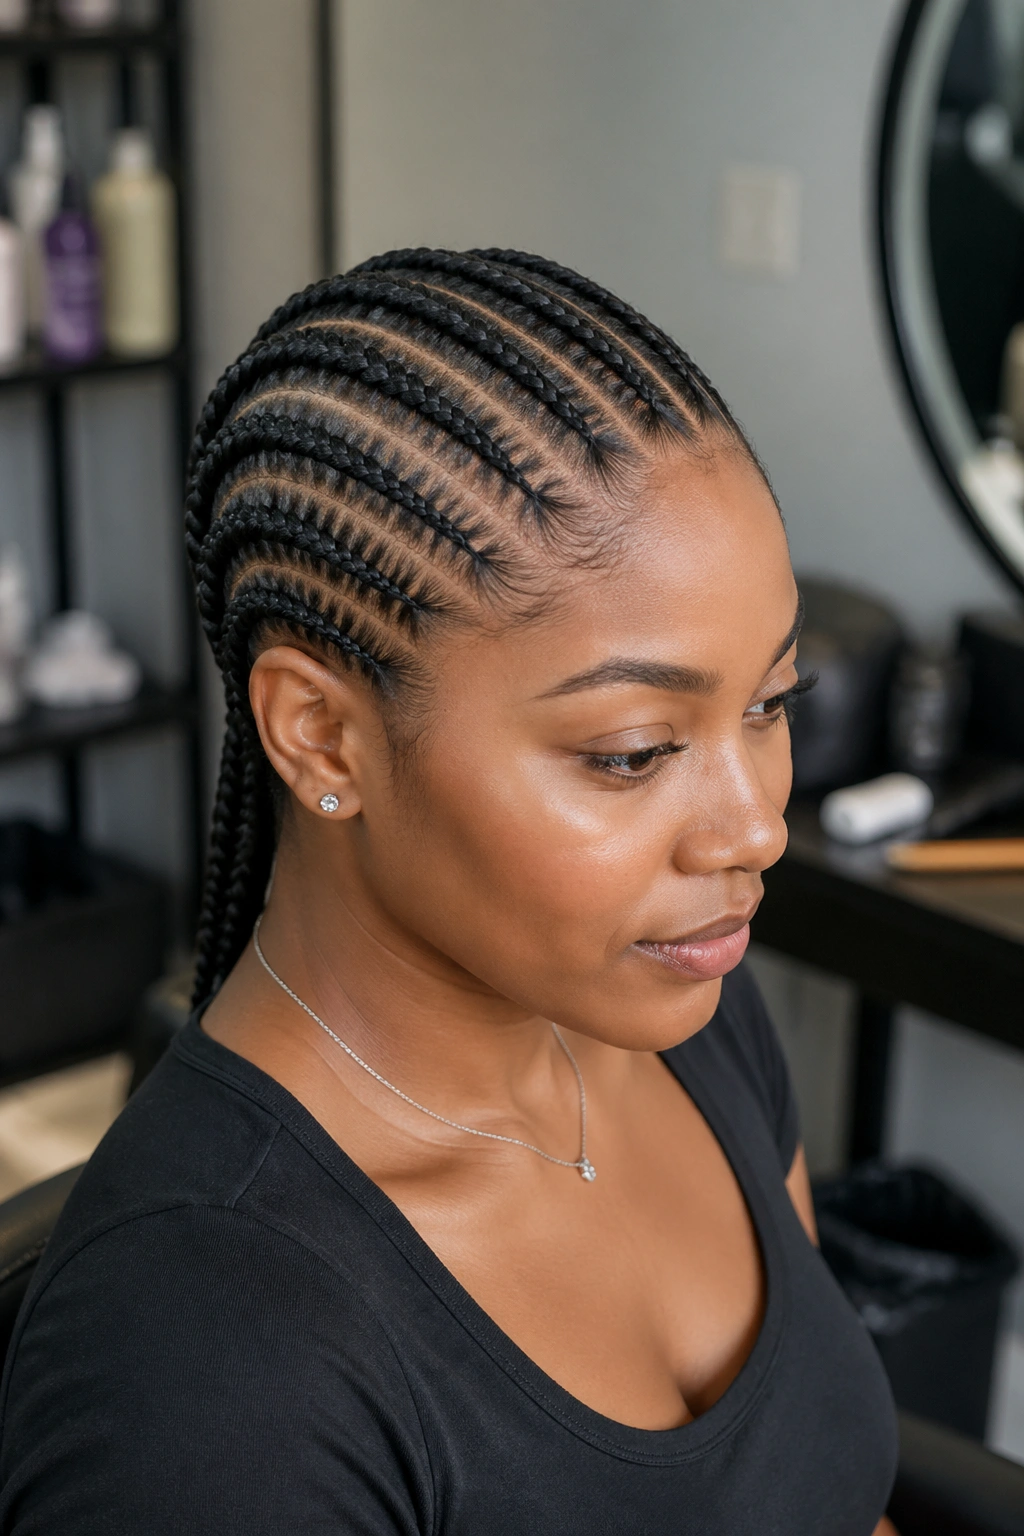
25. Stitch Cornrows With Crown Detail
Maintenance Notes
The cornrows form a central crown pattern on top of the head — usually braided in concentric circles or an inward spiral — before flowing down the sides and back as standard stitch cornrows. The crown becomes the focal point.
Protect the crown with extra care. The central detail is the most fragile part of this style and the most visible. Sleep with a satin bonnet large enough to cover the entire crown without flattening it.
A crown design install takes 6-7 hours minimum. This is a special-occasion or photoshoot install, not a quick weekly rotation.
Maintenance That Preserves the Stitch Detail
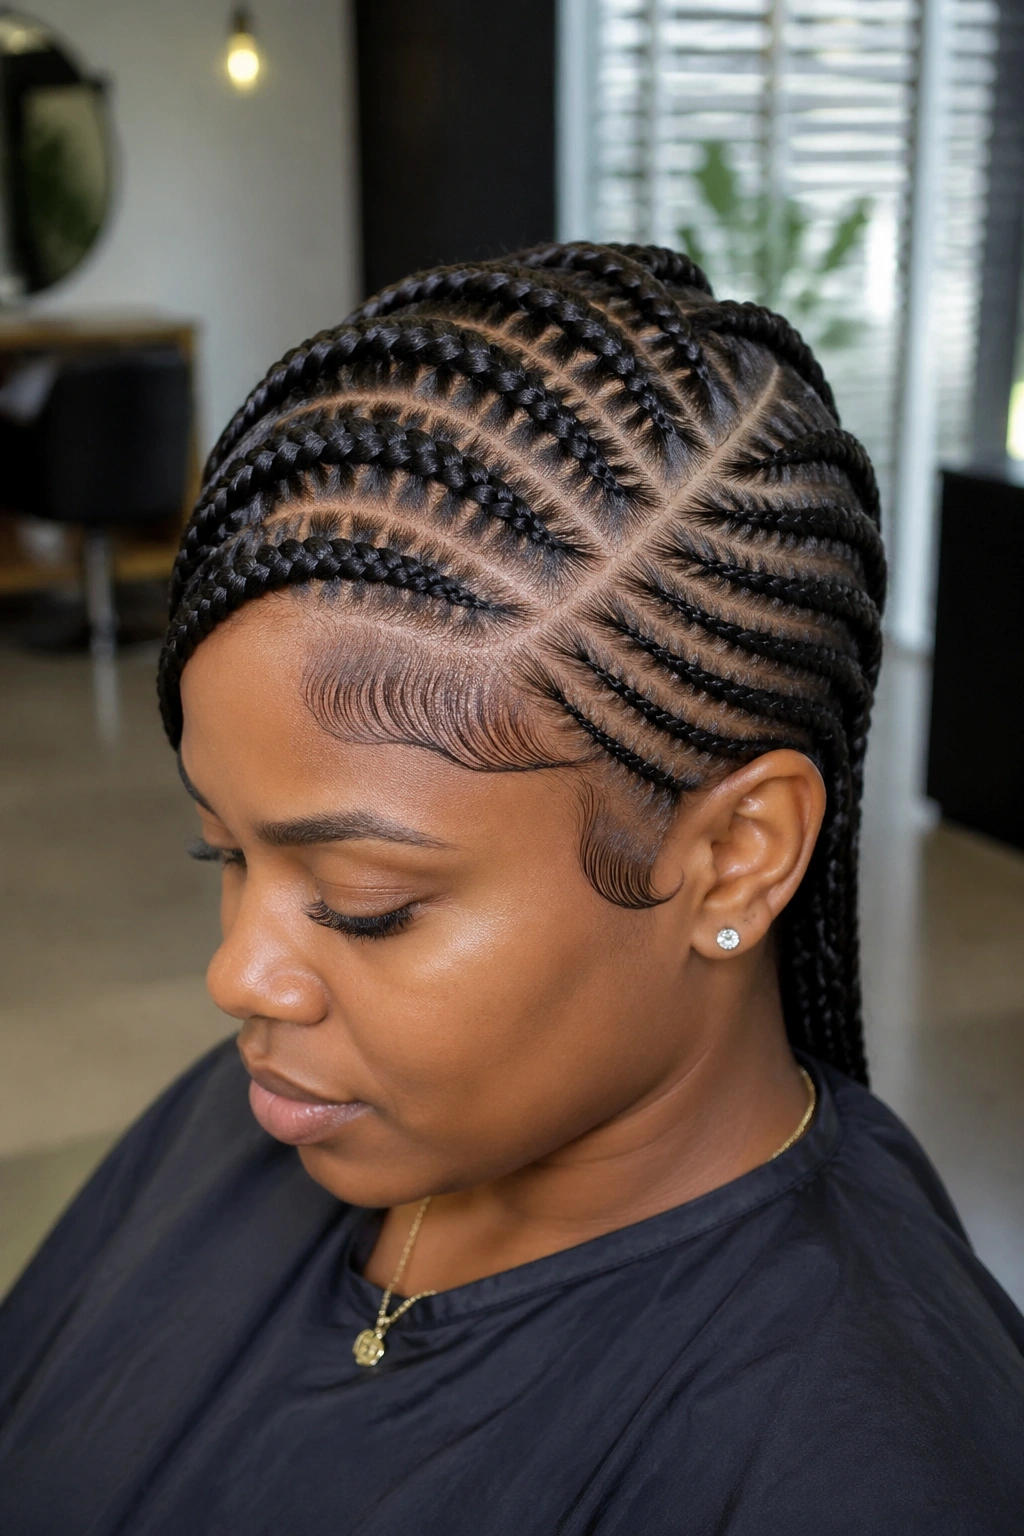
The first 48 hours are critical. The gel needs to fully set. Avoid touching the stitches. Don’t wear hats. Don’t sleep on a cotton pillowcase.
After 48 hours, the install is set enough for normal handling. Wrap with a silk scarf or bonnet at night. Avoid tight ponytails or buns that pull on the braid base.
Refresh the stitches every 4-5 days with a small amount of gel applied directly to any flattened or fuzzy stitches. Use a fingertip — don’t rub. Just press the gel into the stitch and let it set.
Scalp Care Without Disrupting Stitches
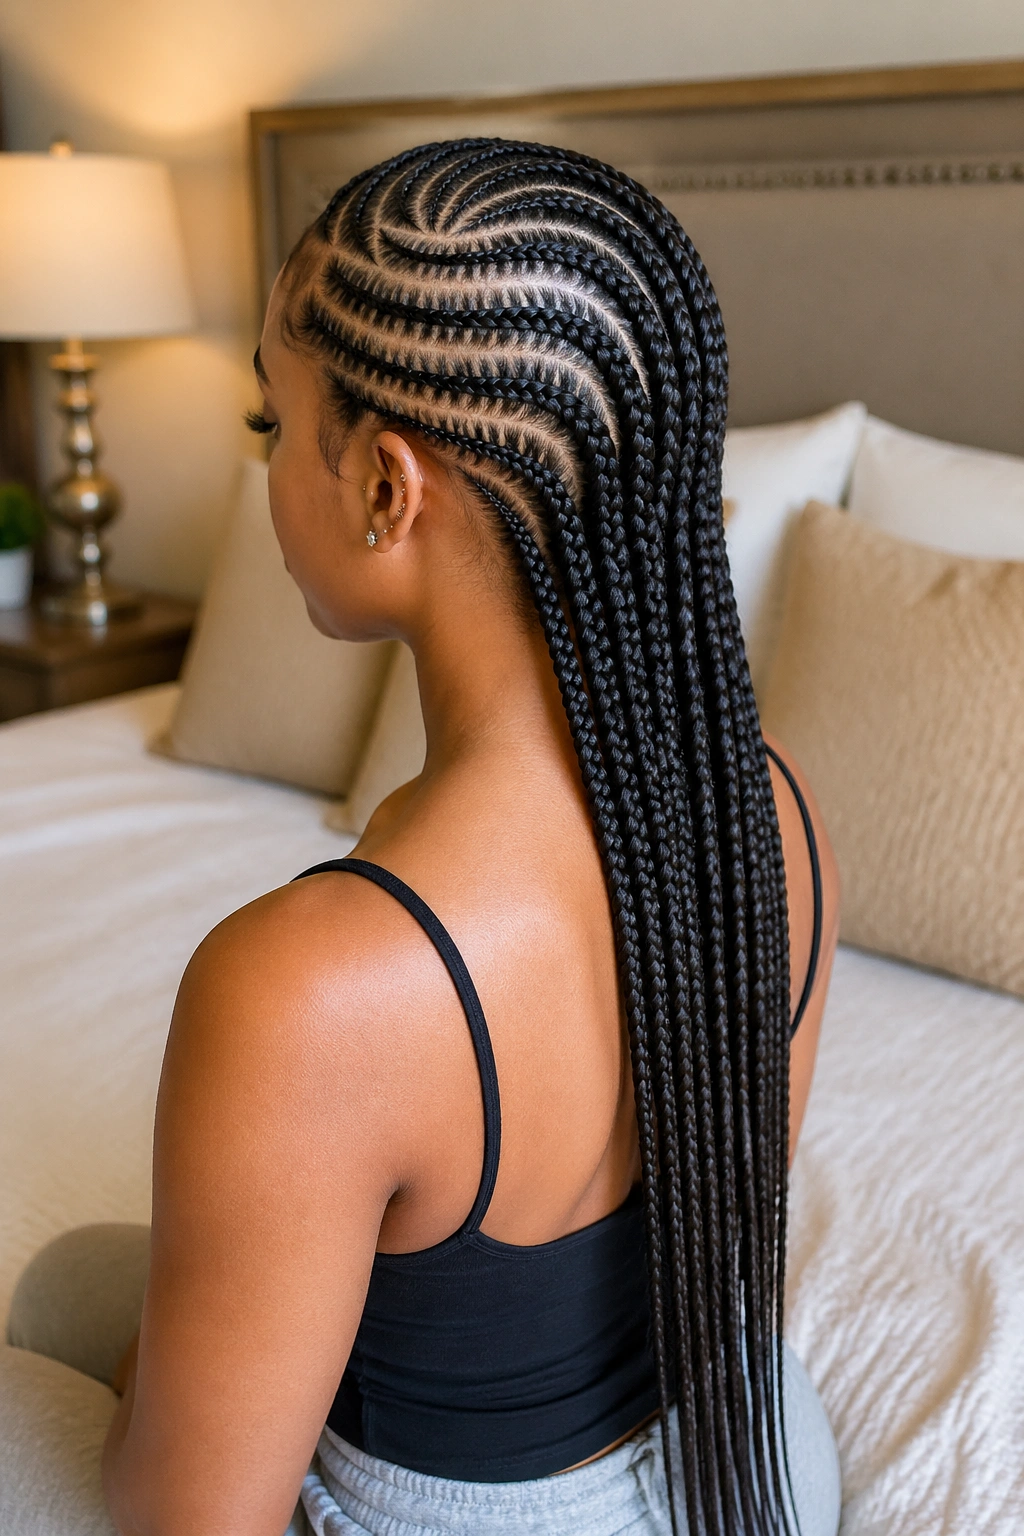
The scalp under stitch cornrows still needs attention. Buildup, dryness, and itching all happen under any long-wear braid style.
Apply a light scalp oil with a pointed-tip applicator bottle. Squeeze the oil directly onto the parts between cornrows. Avoid the cornrows themselves — oil on the braids attracts dust and weighs down the stitch detail.
A scalp spray of witch hazel, water, and tea tree oil works for refreshing without oil heaviness. Mist directly onto the parts. Pat dry with a microfiber cloth.
Wash gently every 2-3 weeks with diluted shampoo applied to the parts only. Rinse thoroughly. Squeeze dry. Air dry without manipulation.
When and How to Take Down
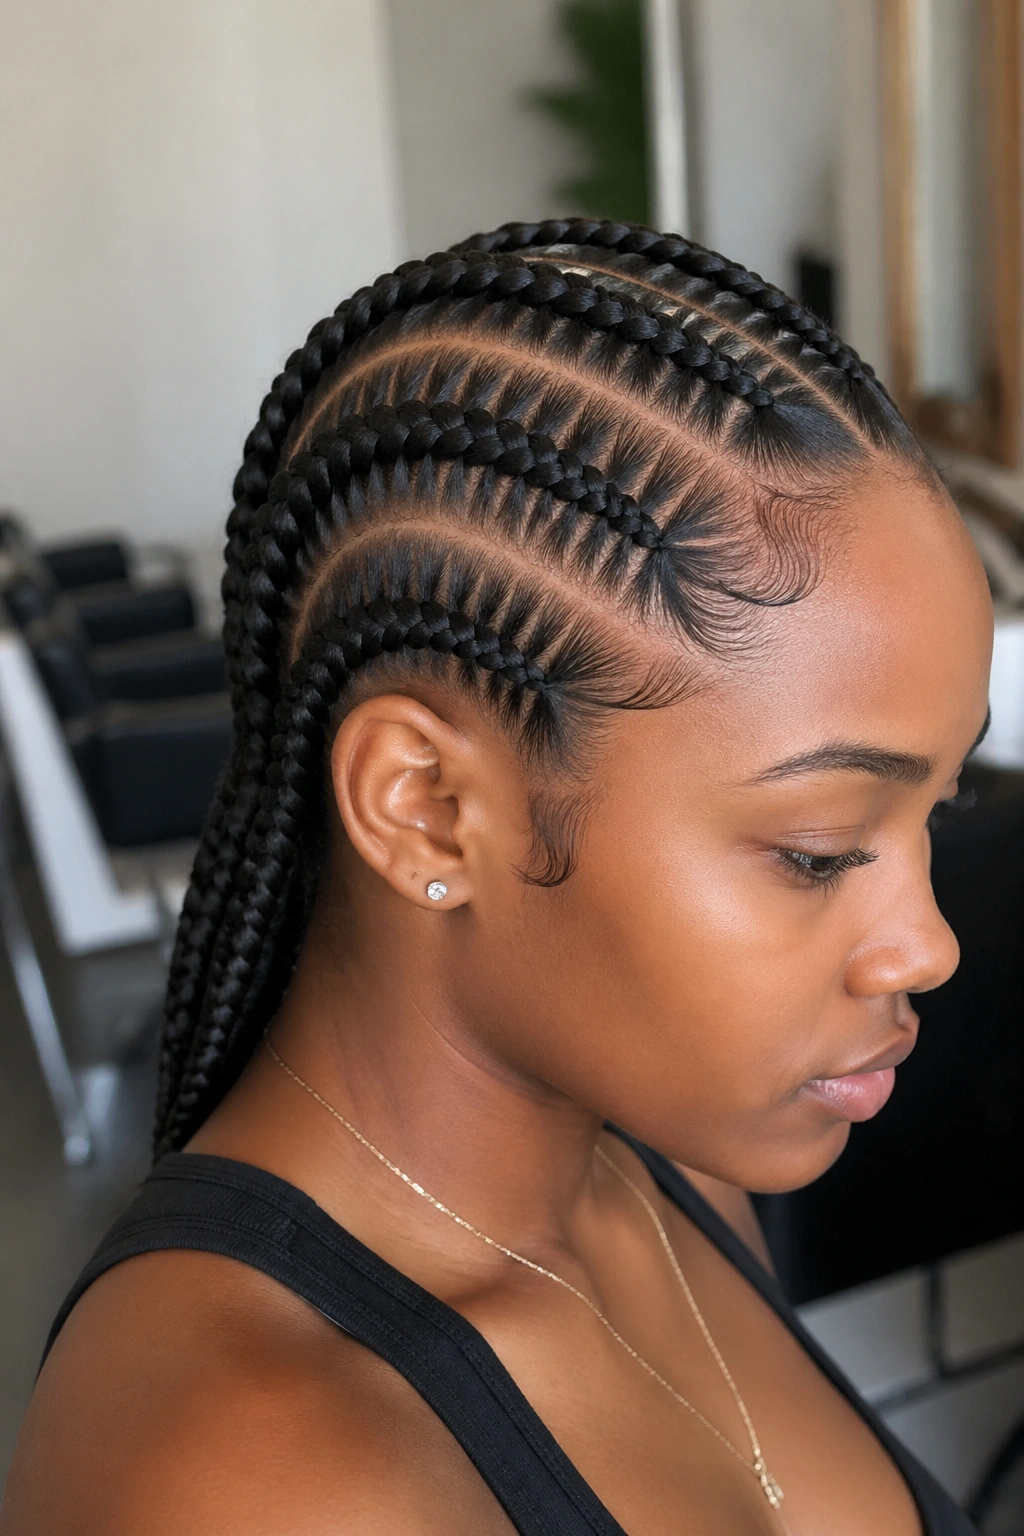
Stitch cornrows wear well for 4-5 weeks before frizz starts to dominate. Beyond 6 weeks, the matting at the root becomes harder to manage.
Take down gently. Saturate each cornrow with conditioner-and-water spray. Unbraid from the bottom up. Use fingers first. Switch to a wide-tooth comb only for stubborn sections.
The stitch detail releases easily once the braid begins unraveling. The horizontal stitches simply fall away as the three-strand braid below them unbraids.
Plan a deep conditioning session immediately after takedown. Stitch cornrows worn for the full 5-6 week period leave hair in need of moisture restoration. A protein-light, moisture-heavy mask applied for 30-45 minutes brings the hair back to balance.
Choosing the Right Stitch Cornrow Variation
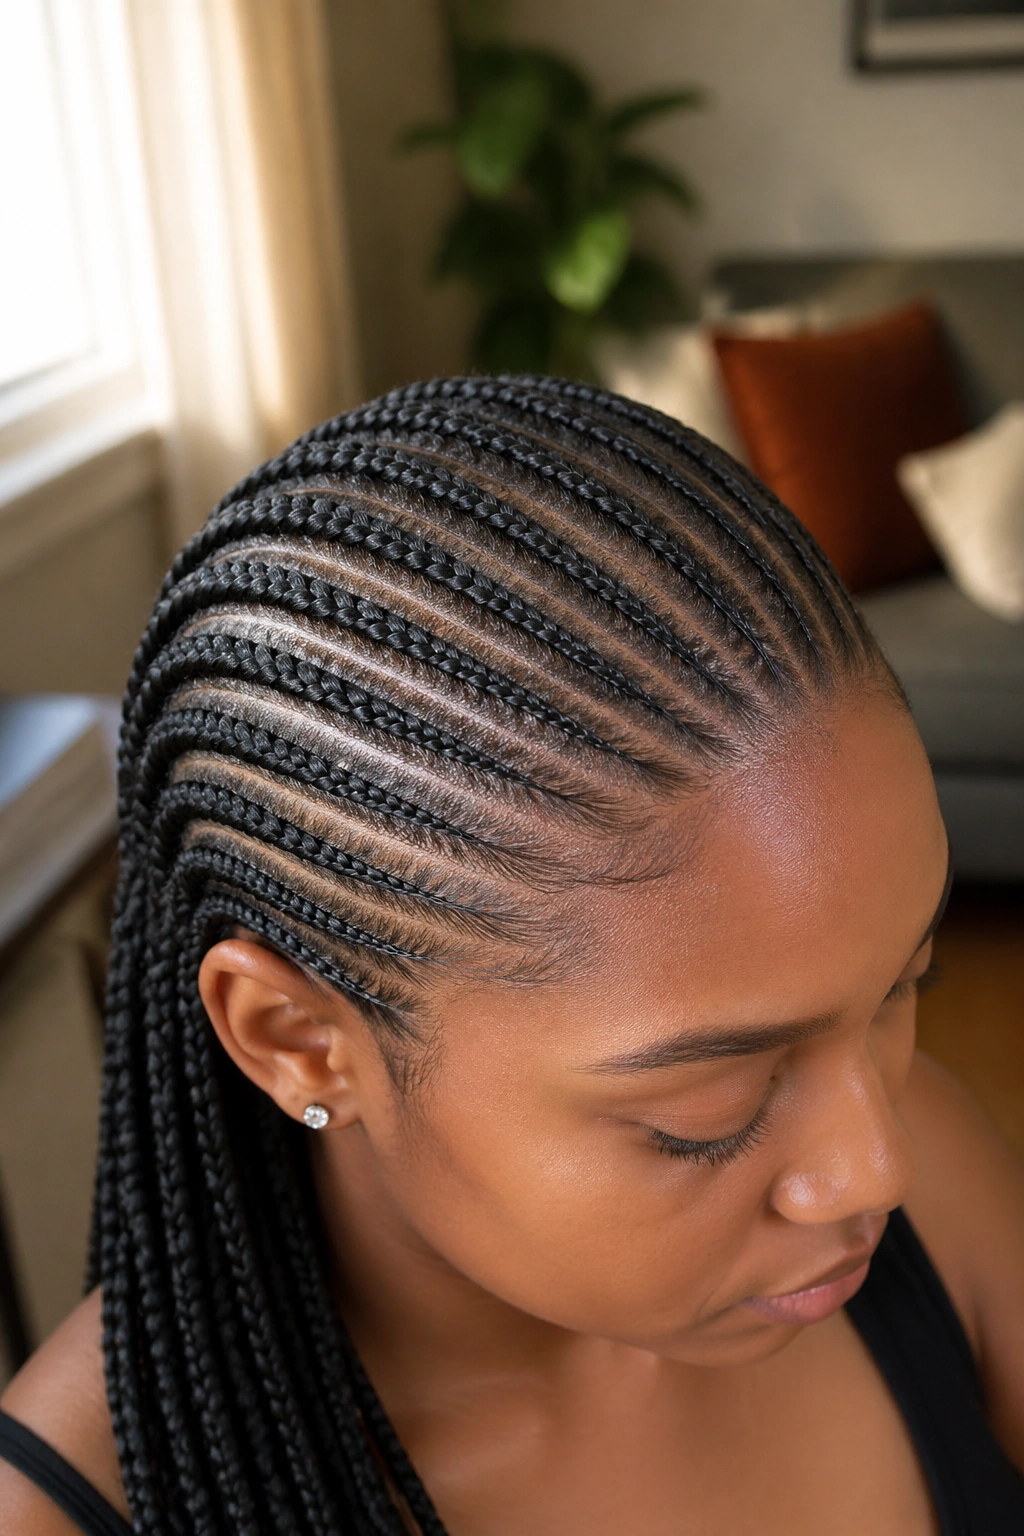
Special event coming up? Consider crown detail or geometric parts variations.
First time trying stitch cornrows? Start with classic straight-back at jumbo or medium scale. Build from there.
Want maximum wear time? Small stitch cornrows or feed-in stitch cornrows give the longest install.
Want easy daily styling? Half-up half-down or stitch cornrows with loose top let you mix things up day to day.
Stitch cornrows for Black women bring together ancient African braiding tradition with contemporary design sensibility. The technique honors lineage while opening new design space. Once you find a stitch braider whose work you love, the styling possibilities expand into territory that no smooth cornrow can match — and the photographs that result will stay impressive for years to come.
