



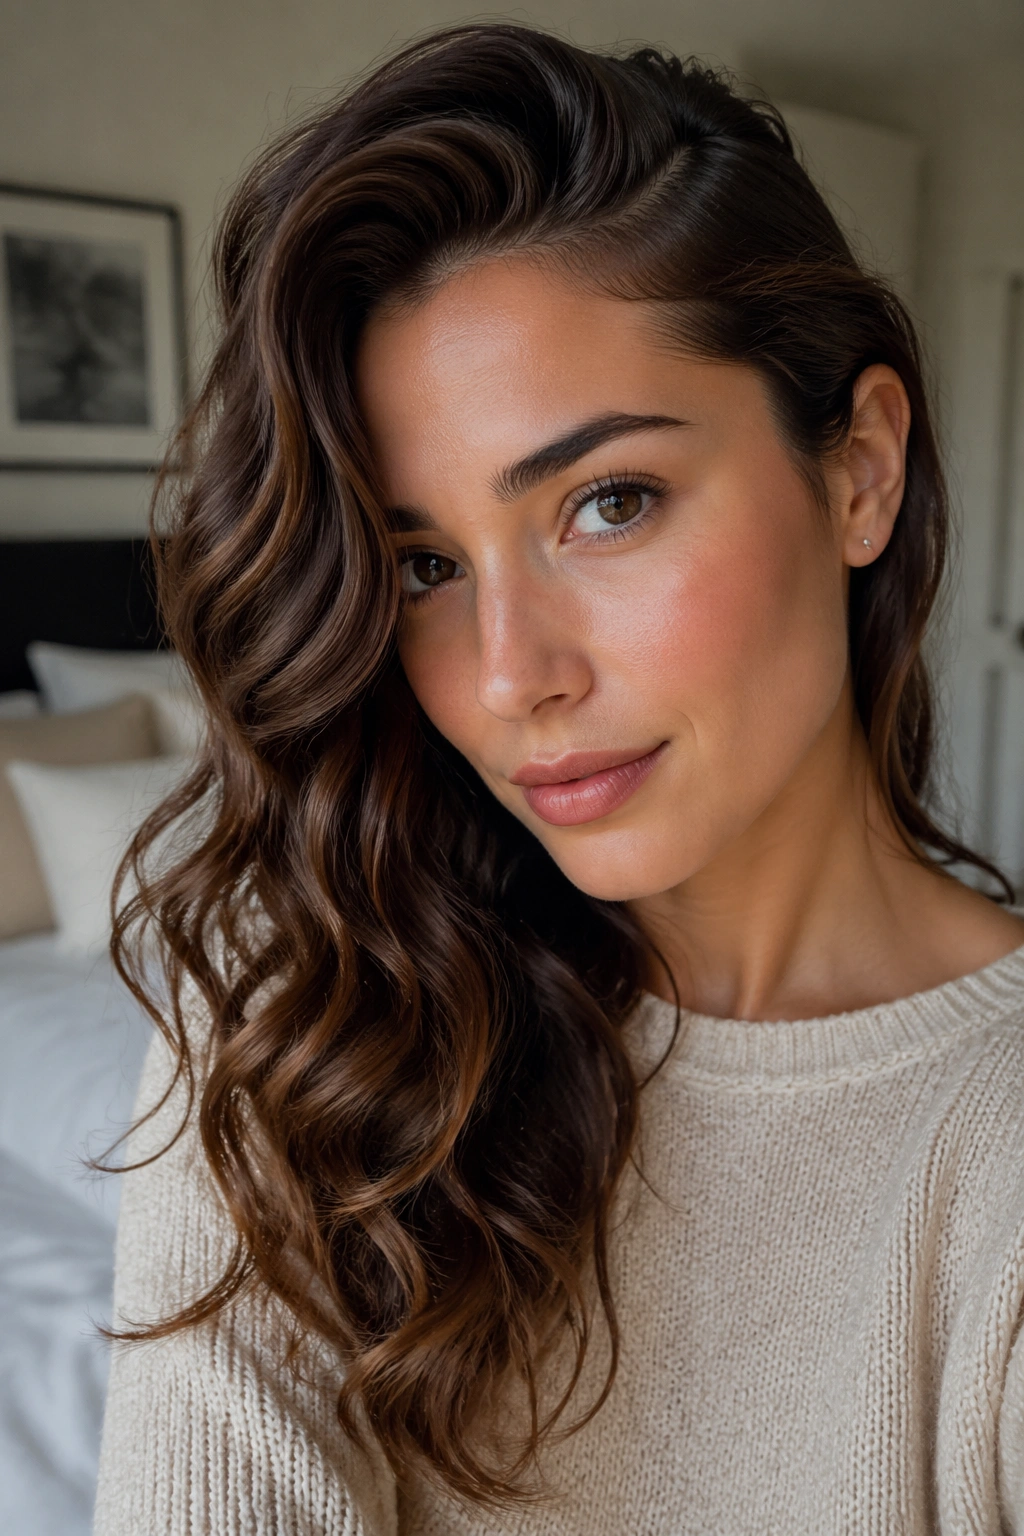
Wavy hair has a charming habit of looking awake in the morning and exhausted by lunch. One minute it’s soft and bent in all the right places, and the next it’s gone flat at the crown, fuzzy at the ends, or somehow both at once. That’s why wavy styles that hold all day are less about chasing a perfect curl pattern and more about giving the hair a shape it can keep.
The best styles for waves usually do one of three things: they anchor the roots, they lock the wave in while it cools, or they hide a little structure where nobody can see it. A side part, a braid, a twist, a pin set, a clipped crown — these are the tricks that buy you hours. A heavy cream on top of that? Usually a mistake. Too much product weighs the wave down and makes it collapse faster.
What lasts is not always the most dramatic-looking style. Sometimes the most reliable choice is the one that looks almost casual, because the tension is hidden inside the shape. A good wave style should survive a commute, a desk chair, a little wind, and the annoying moment when you run your fingers through your hair one too many times.
1. Deep Side-Part Waves
A deep side part does more than flatter the face. It gives wavy hair an instant structural advantage, because more weight sits on one side and the roots don’t have to fight as hard to keep their shape.
I like this style for hair that tends to go limp at the crown. Work a light mousse or root-lifting spray through damp hair, then blow-dry with the part already set. If you’re using a curling iron, curl away from the face on the heavier side and toward the face on the lighter side so the bend looks intentional instead of stiff. A quick mist of flexible hairspray at the end is enough.
Why It Holds So Well
- The part creates natural lift at the front.
- The heavier side hides a little flatness if your hair starts to soften later.
- A tucked-behind-the-ear side stays cleaner through the day.
Best tip: clip the front section across the forehead while it cools for 10 to 15 minutes. That tiny pause keeps the wave from falling straight by noon.
2. Half-Up Twist with Loose Ends
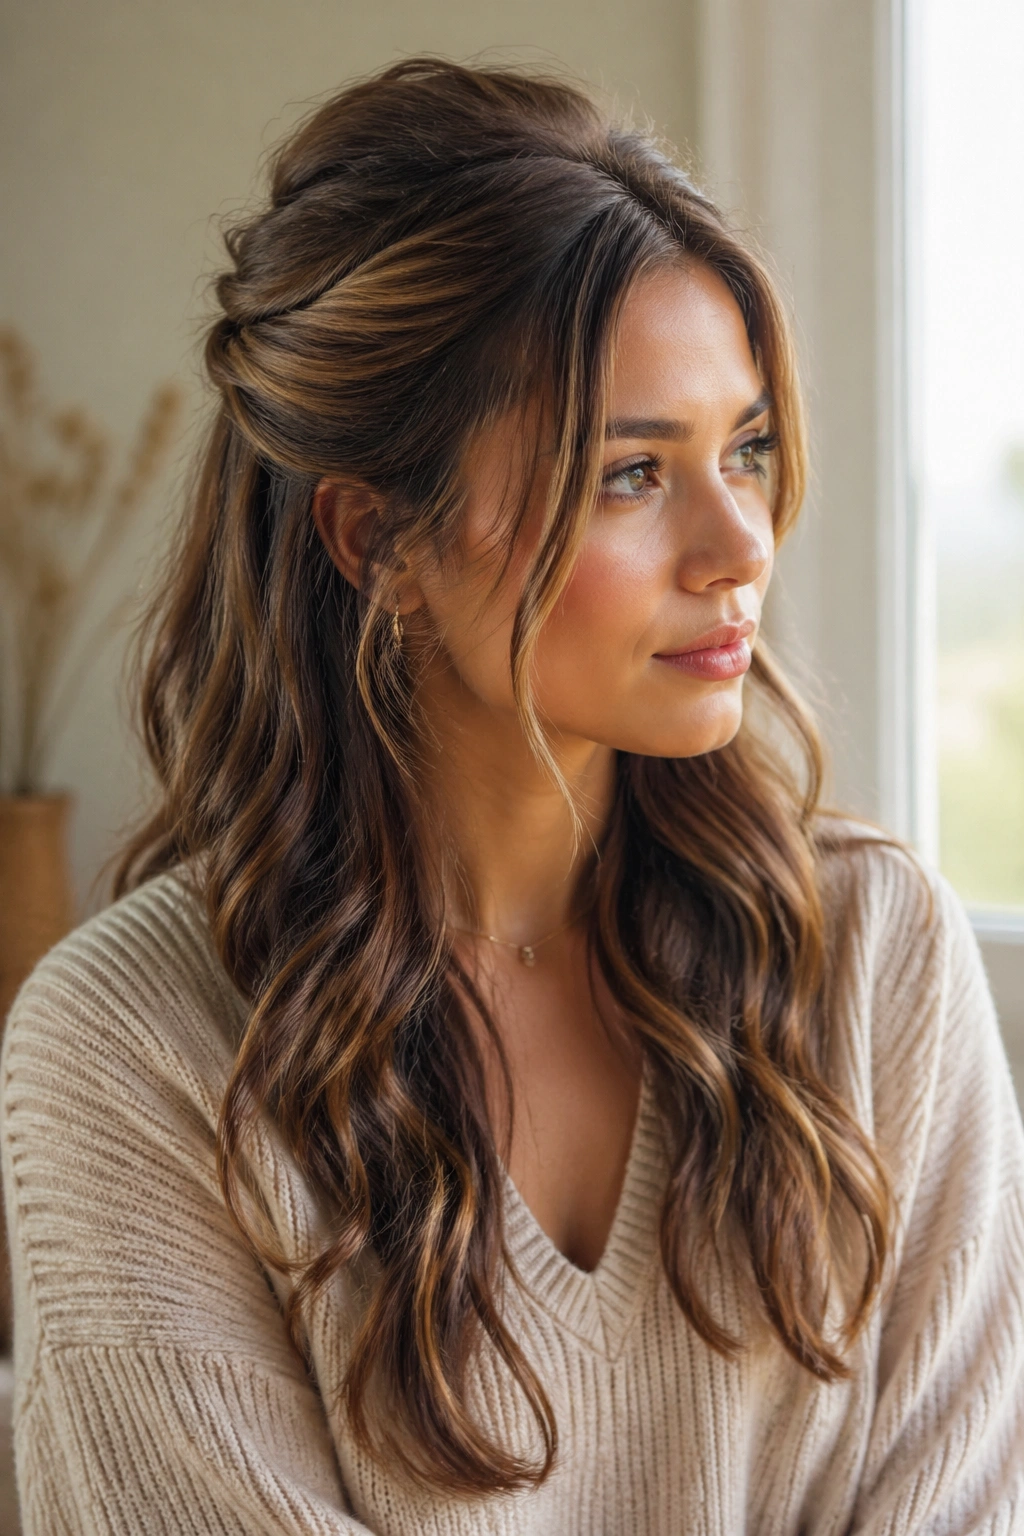
A half-up twist is one of those styles that looks like effort without acting like it. The top half gets pinned and twisted, which means the part that usually collapses first is already secured.
This is a good move for medium-length wavy hair that needs help staying off the face. Twist back two small sections from each temple, meet them at the back of the head, and secure with a pin or small elastic. Leave the rest loose and let the wave pattern do its own thing. The twist acts like a little brace. Simple. Effective.
If your hair is on the finer side, tease the crown slightly before pinning. Not a nest. Just enough grip so the clip or bobby pin has something to bite into.
3. Low Claw-Clip Wave Roll
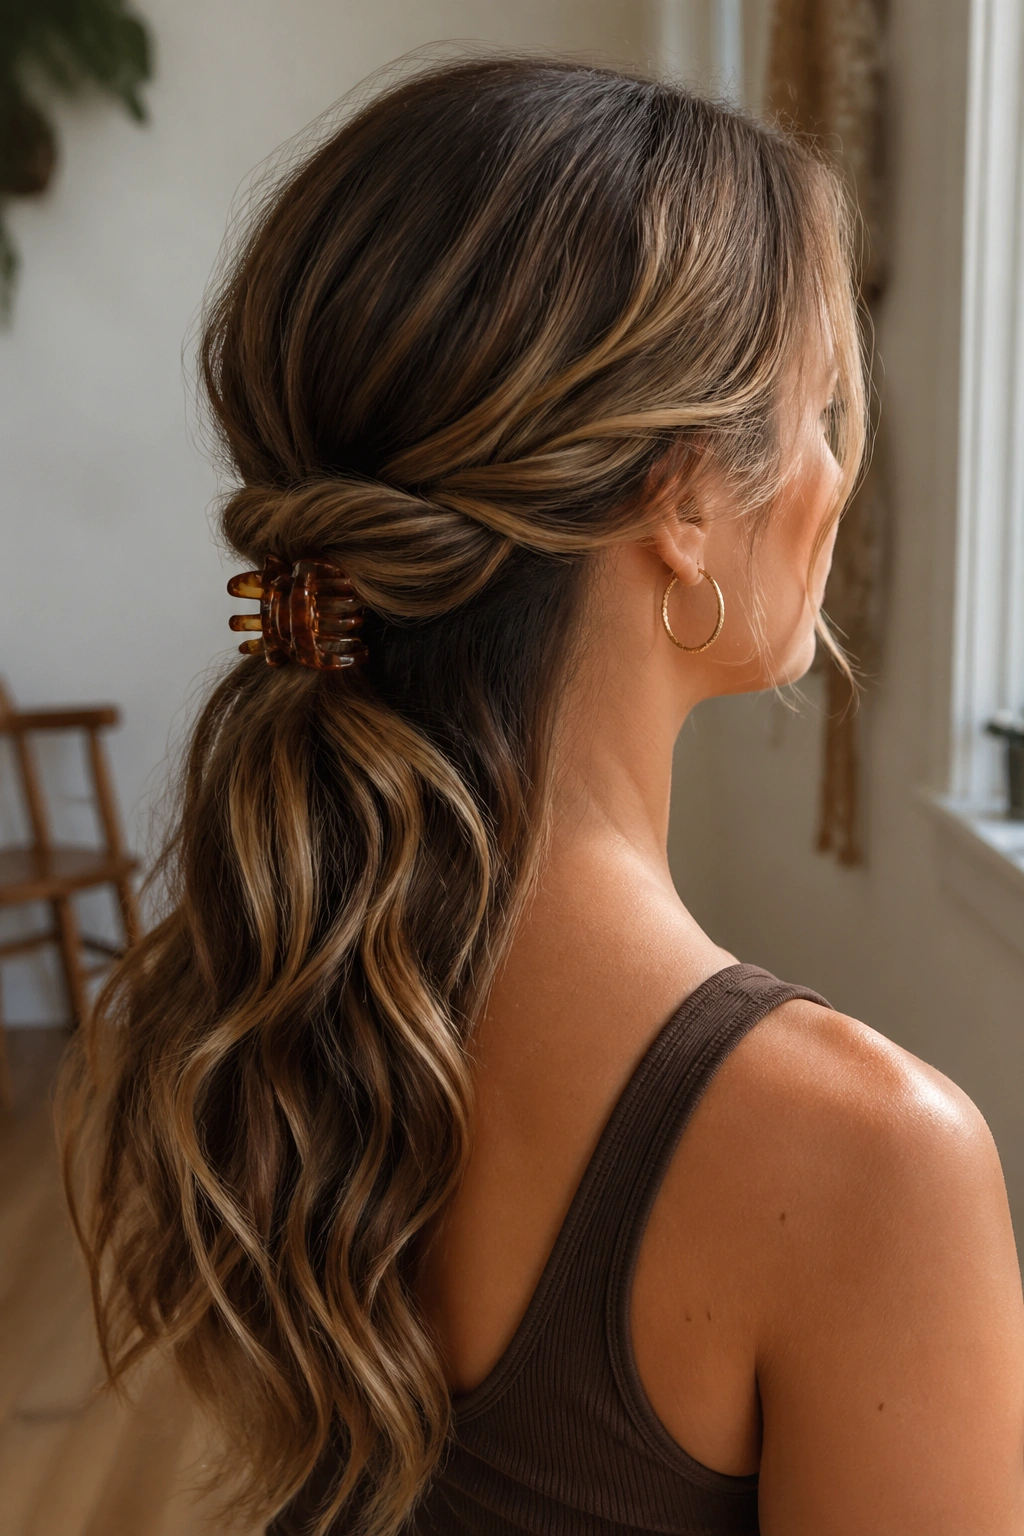
A low claw clip gives wavy hair a place to live instead of a place to flop. That’s the whole appeal. It gathers the lower section without crushing the wave pattern into a flat, tight knot.
I reach for this when I want something quick that still holds its shape. Pull the hair into a low twist, fold the tail upward, and clip it at the nape. Leave the ends to curl over the clip or tuck them in if they’re long. The style works because the wave stays loose through the lengths, while the clip carries the weight.
Keep the crown a little lifted with a dab of dry shampoo at the roots. Too much smoothing cream near the top makes this look slick in the wrong way.
4. Brushed-Out Glam Waves
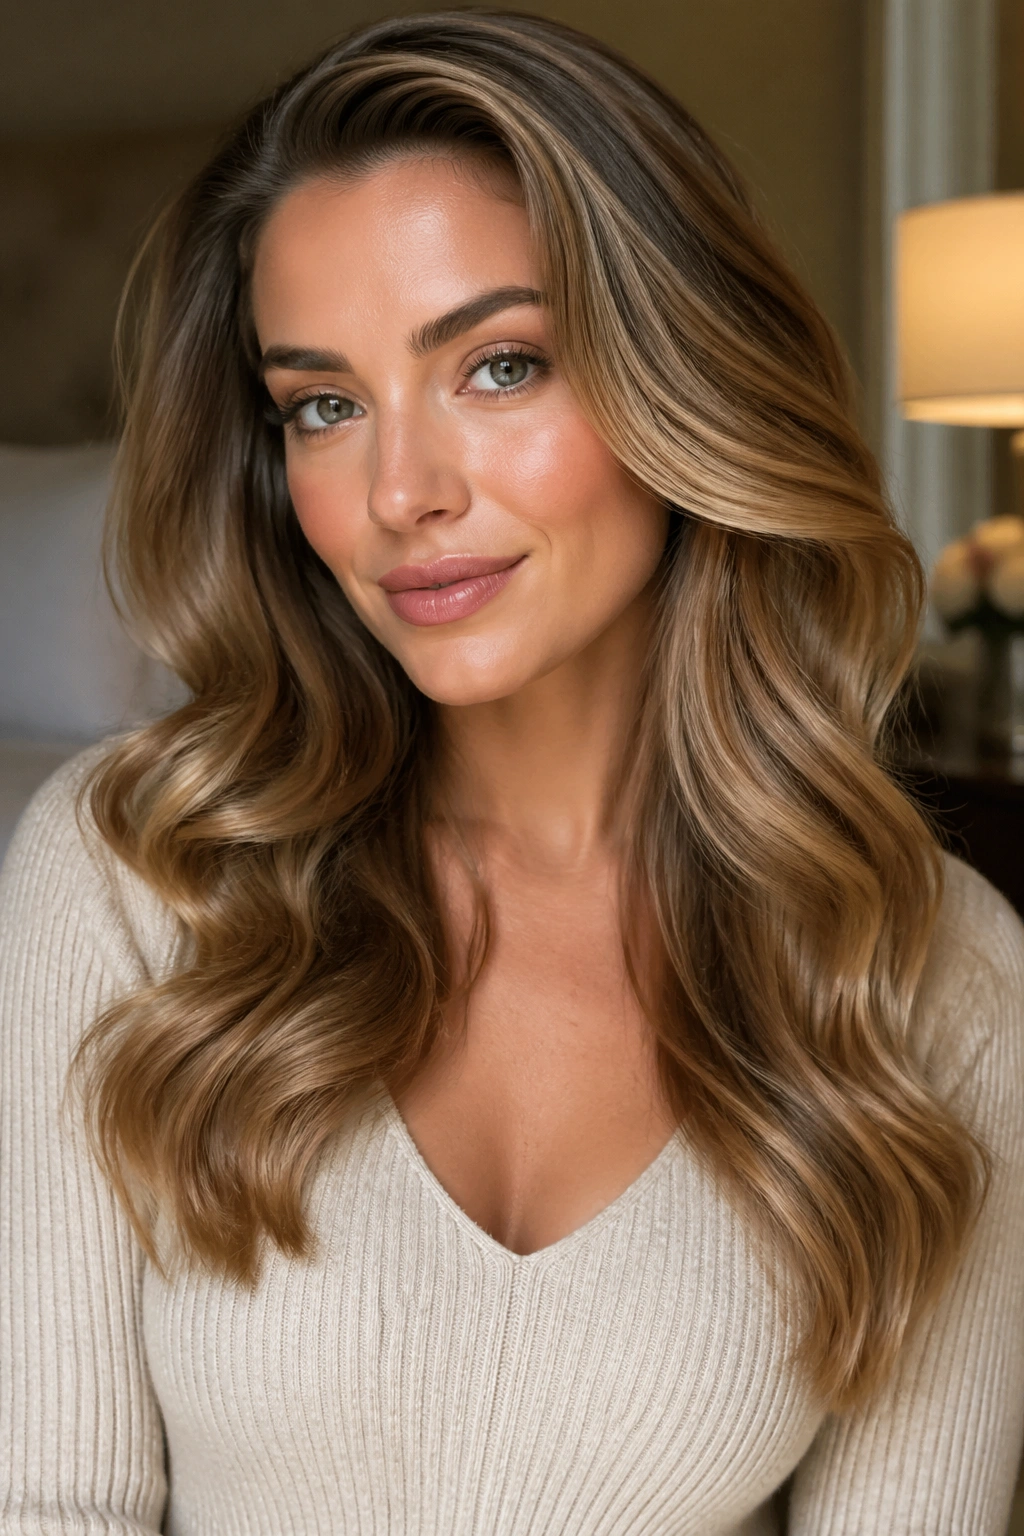
Brushed-out waves scare people because they look fragile at first. Then they settle, and suddenly the shape feels steadier than a tighter curl pattern ever did. That brushed-out texture gives the hair fewer tiny edges to fall apart.
Set the waves with a large-barrel iron or hot rollers, let them cool completely, and then brush through with a soft boar-bristle brush. A light mist of hairspray before the brush, not after, helps the shape stay soft but organized. The trick is restraint. If you overbrush, the wave disappears. If you skip the cooling time, the style slides flat.
This one loves a side part and a shine spray on the ends. Keep it away from the roots. Nobody needs greasy glam.
5. Rope-Braid Crown Waves
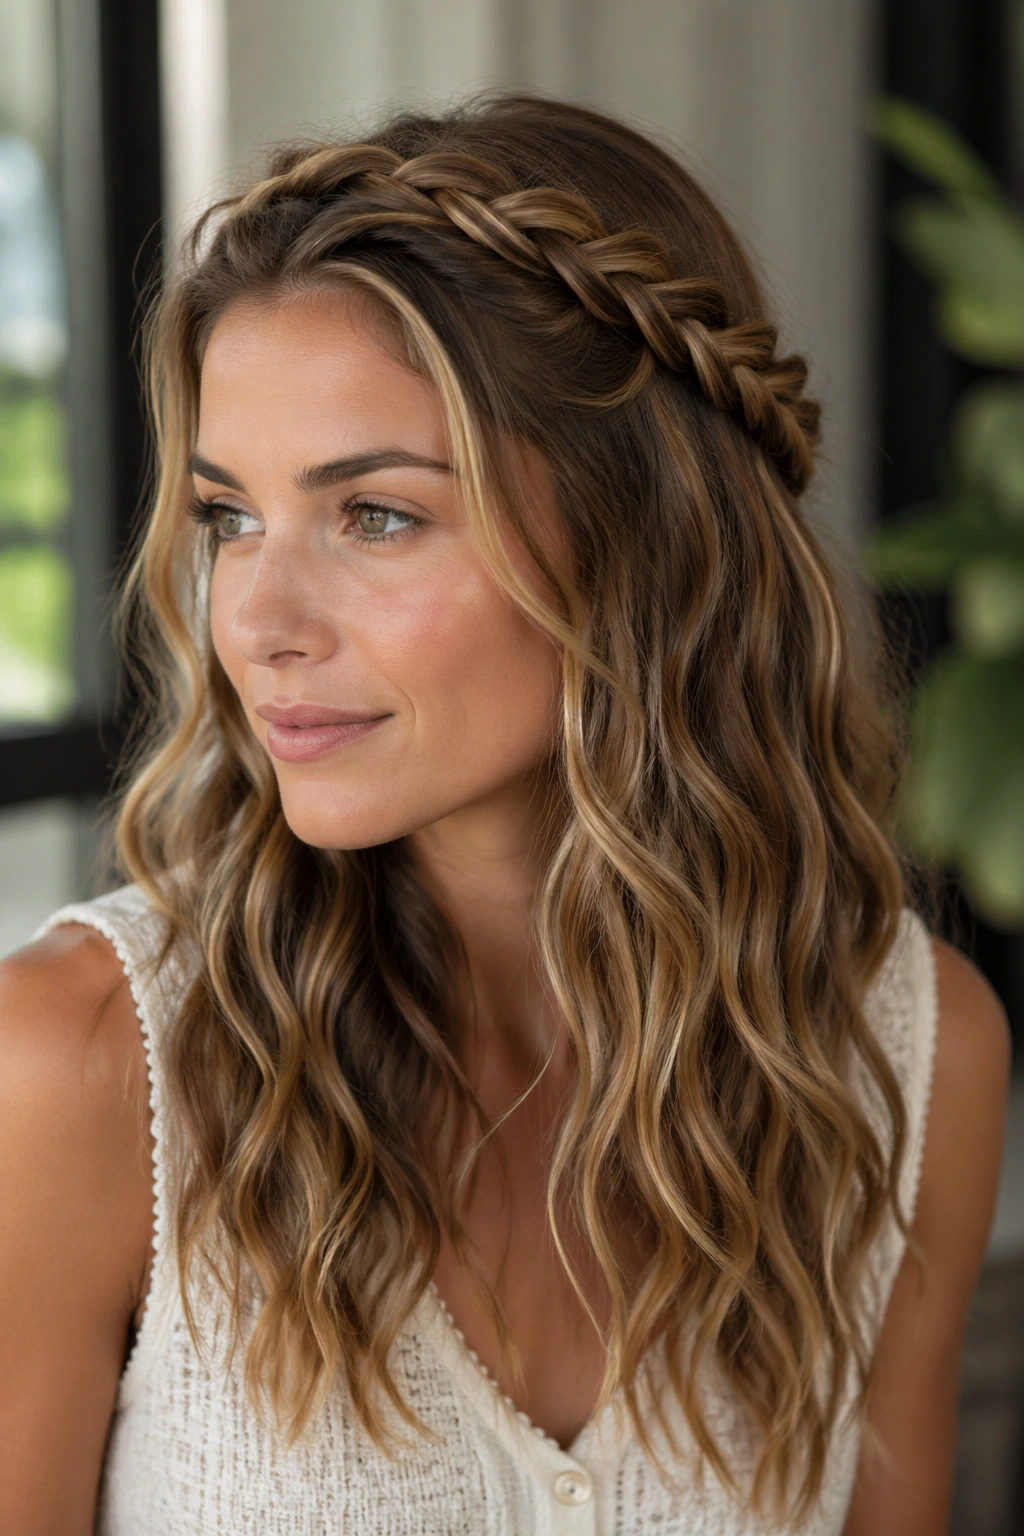
A rope braid across the crown is a sneaky way to keep wave styles from slipping. It looks decorative, but the real job is control: the braid holds the top layer in place while the rest of the hair stays loose and bendy.
How to Anchor It
- Start with hair that’s slightly textured, not freshly slippery.
- Divide a front section into two pieces and twist them over each other.
- Pin the braid behind the ear or at the nape with two crossed bobby pins.
The rest of the waves can stay soft and open. That contrast matters. If every section is tightly controlled, the whole style gets too busy and starts to feel fussy.
I especially like this on second-day hair, because the braid grips better when the hair has a little natural grit.
6. Deep Side-Swept Waves
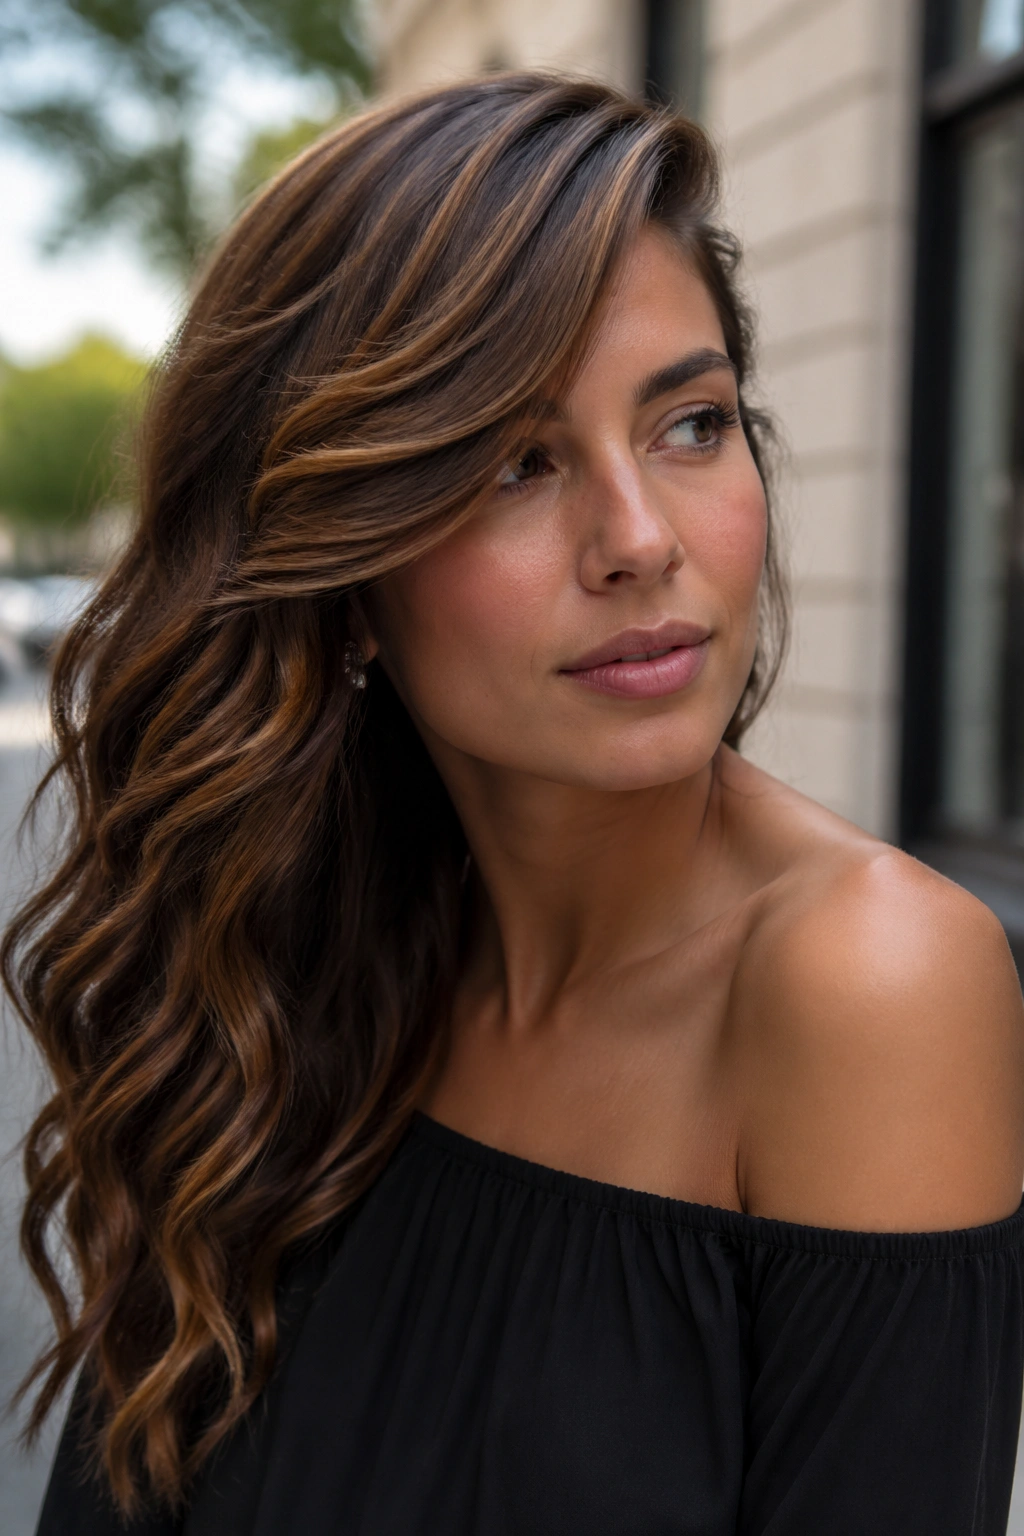
Side-swept waves have a built-in advantage: they keep one side busy. Hair that frames the face and sweeps across the forehead tends to stay put better than a center-part style that has to balance itself evenly on both sides.
This is a smart choice when wind is a problem. Bring the front section across the brow line, pin it discreetly behind the ear or just under the top layer, and let the rest of the wave fall over one shoulder. The result feels polished without being rigid. It also softens the look of layers that won’t sit still.
A tiny bit of finishing cream on the very ends can stop them from puffing up. Use less than you think. Seriously. A pea-sized amount is plenty.
7. Textured Lob Waves with Grit
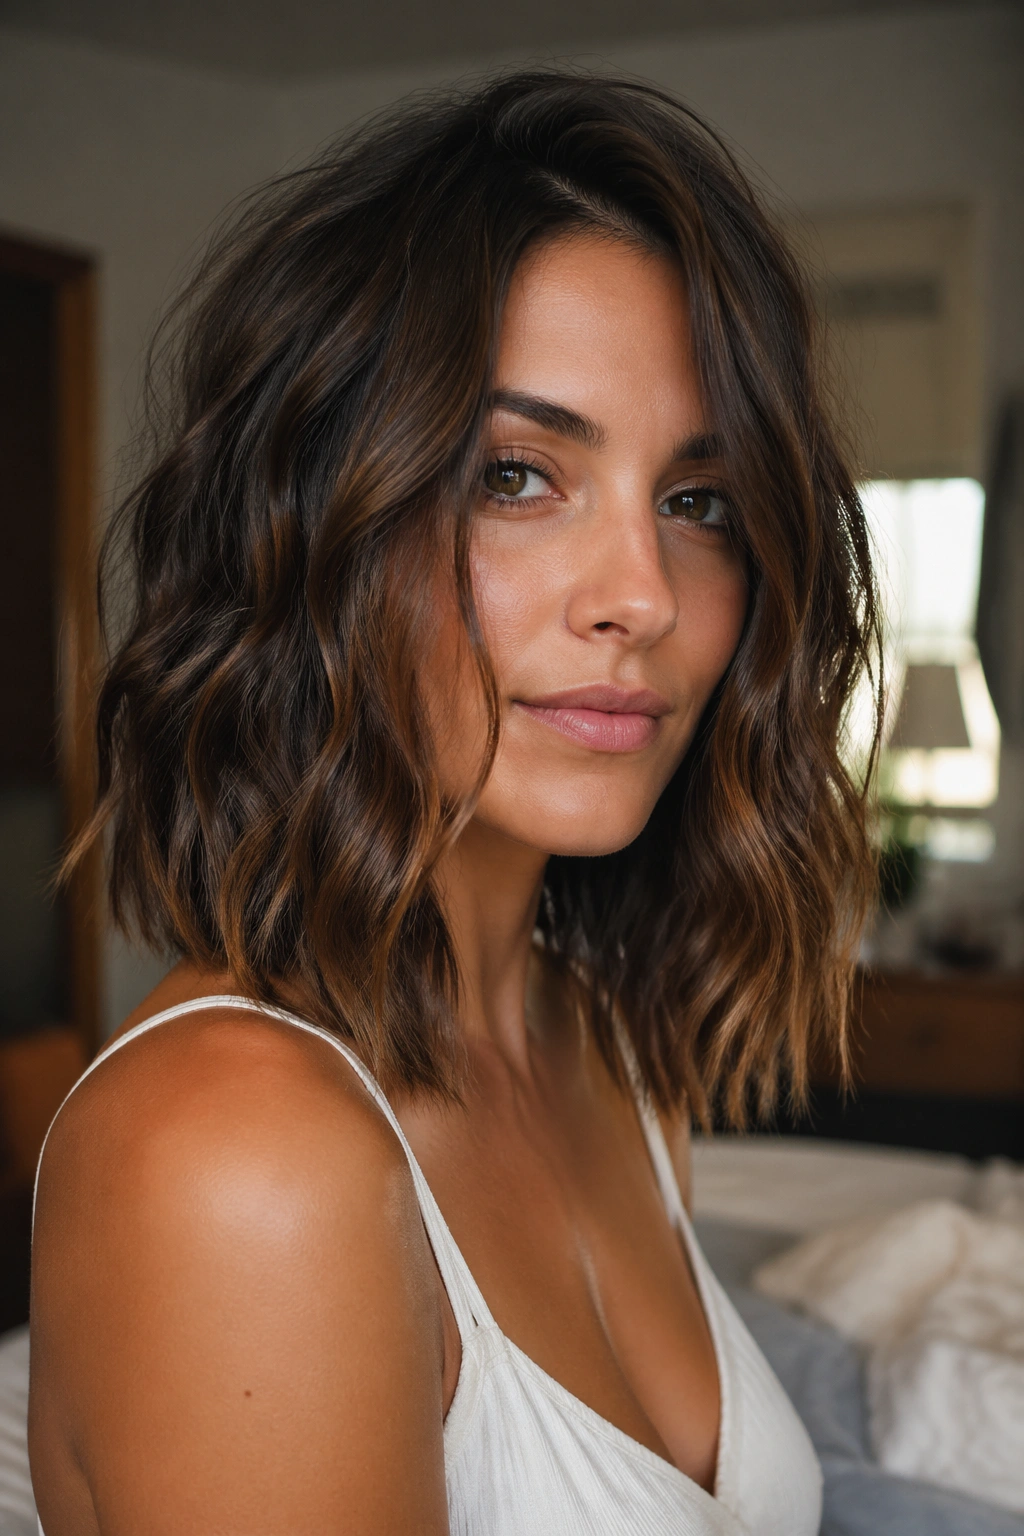
A wavy lob with a little grit in it tends to outlast smoother styles because it doesn’t fight the hair’s natural texture. That matters. Hair that’s forced into a glossy finish often gives up early.
Use a salt spray or texture spray on damp hair, scrunch from the ends upward, and dry with a diffuser if you have one. If not, let it air-dry until it’s about 80 percent dry, then finish with a low heat setting. You want movement, not crispness. A lob gives the wave enough length to swing, but not so much length that it drops under its own weight.
This style is good when you want that slightly undone shape that still looks deliberate. It won’t be as shiny as brushed-out waves, and that’s the point.
8. Braided Face-Frame Waves
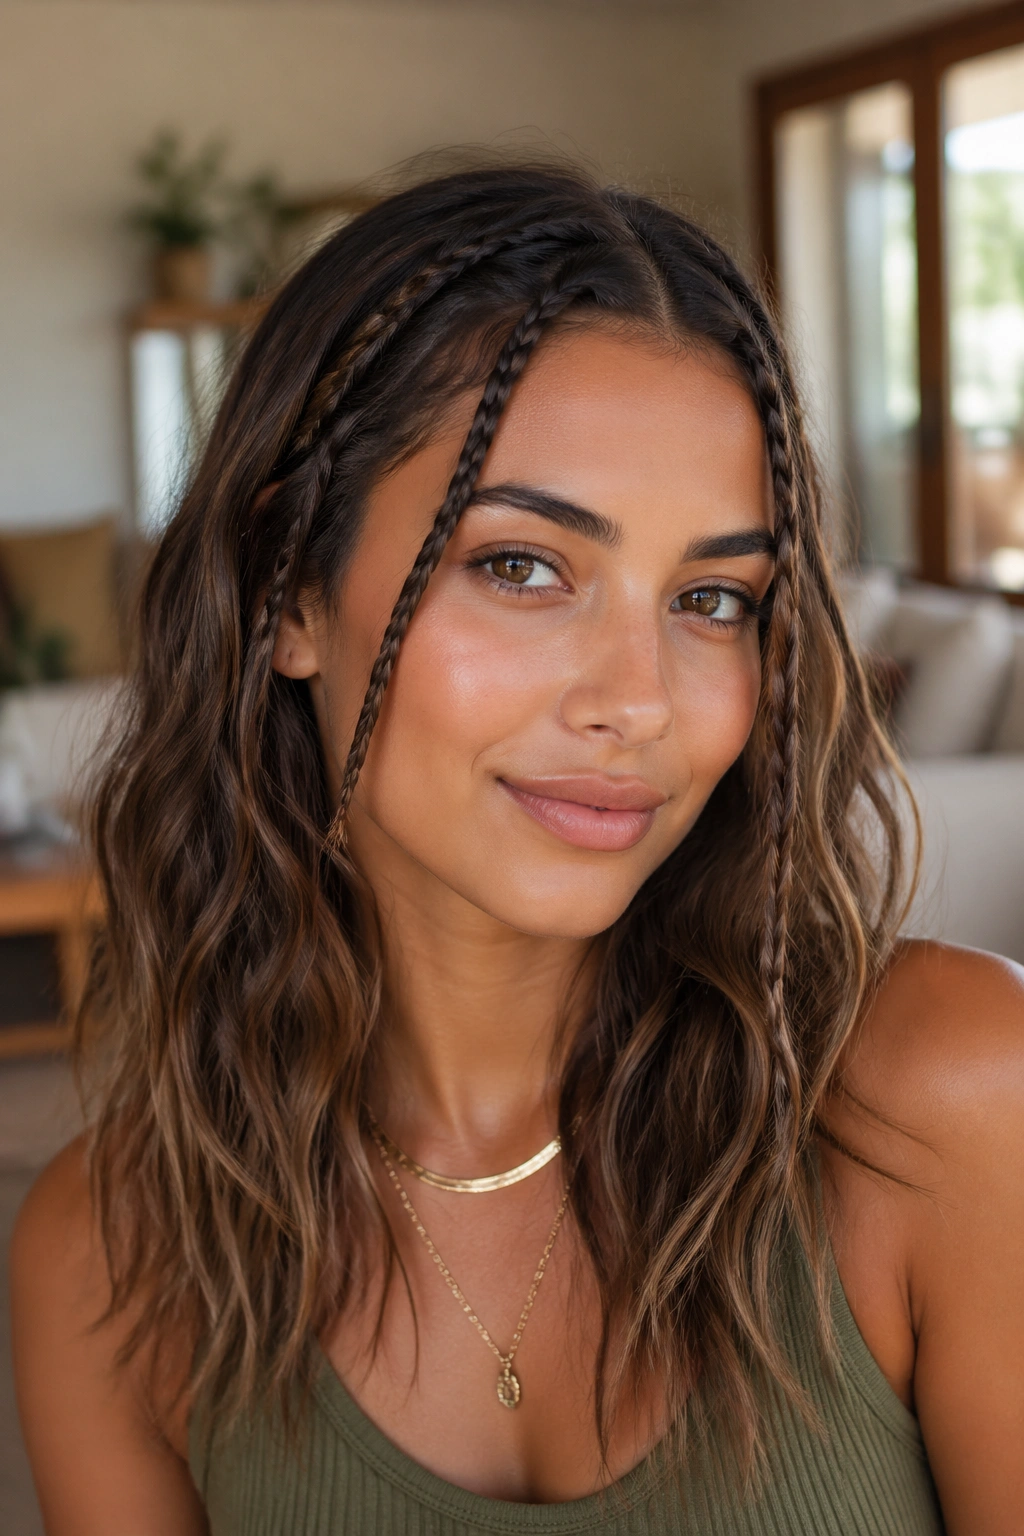
Tiny braids near the face are one of my favorite ways to stop wavy hair from frizzing apart around the front. They keep shorter pieces controlled while the rest of the wave stays loose.
Braid one or two sections from the temples and blend them into the rest of the hair behind the ears or at the back of the head. That little bit of tension keeps the front from puffing up when you move around, and it also stops the style from collapsing onto your cheeks. The rest of the hair can stay soft and airy.
This works especially well if your hair has layers that always escape around the face. Those pieces are the first to lose shape, so pinning or braiding them buys you time.
9. Half-Up Mini Bun Waves
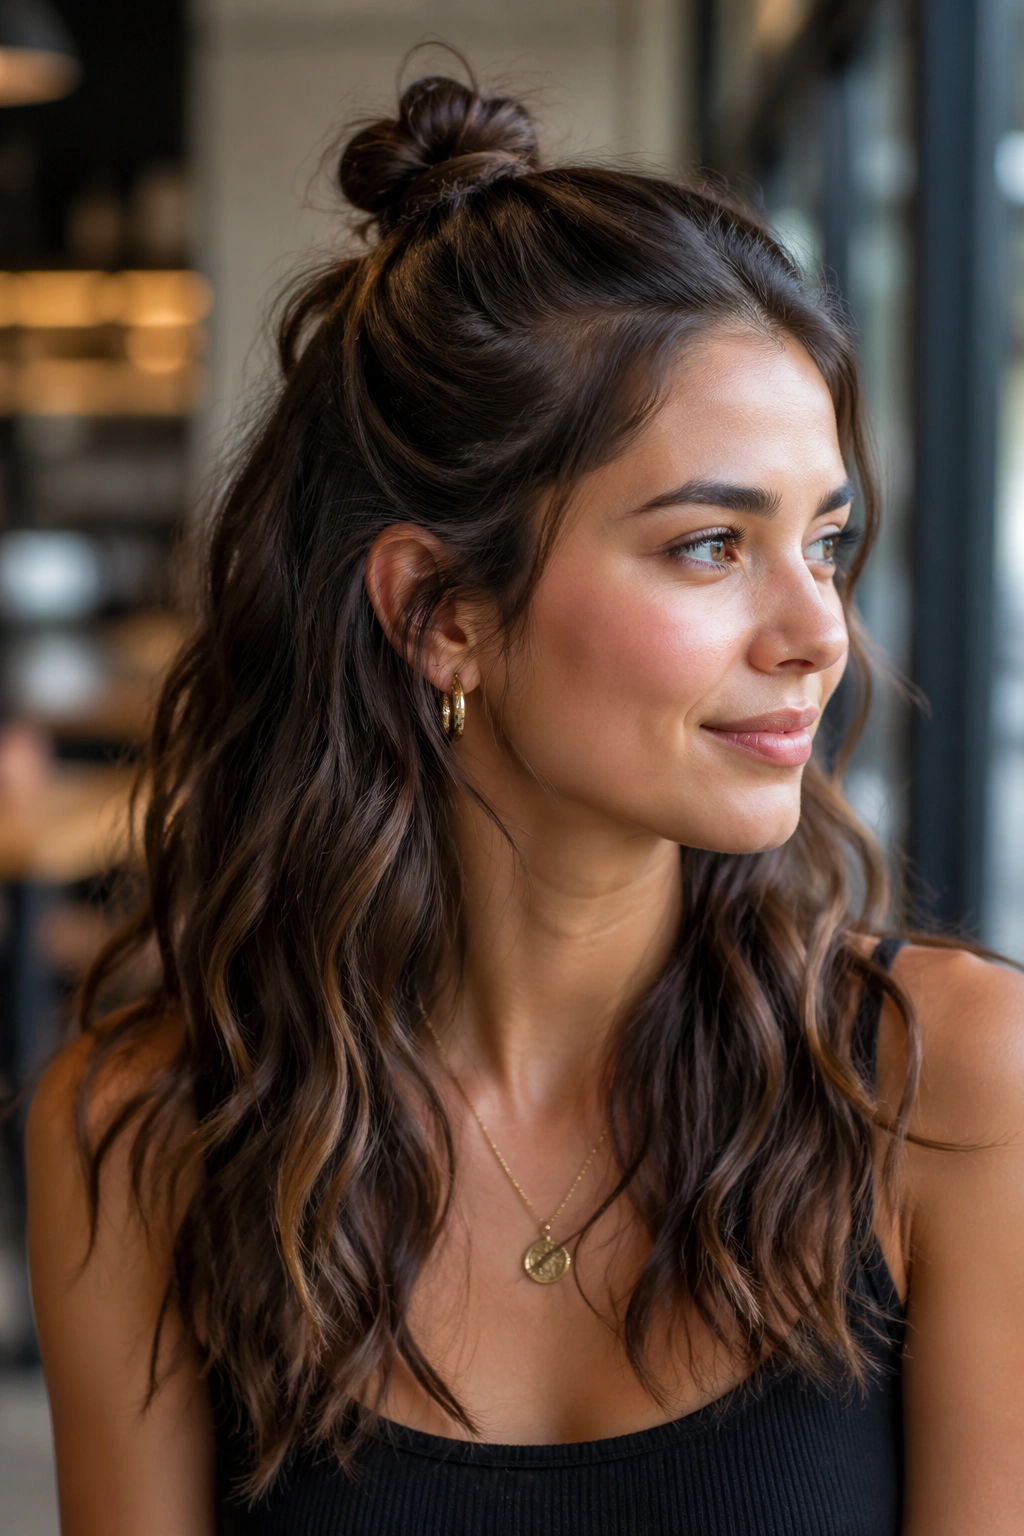
A tiny half-up bun is a good answer for hair that falls flat at the crown but still looks better with movement through the lengths. The top section is gathered, twisted, and secured into a mini bun, while the lower half keeps its wave.
What Keeps It From Collapsing
- The bun gives the crown instant lift.
- The loose bottom section keeps the style from feeling stiff.
- A couple of hidden pins hold the bun flatter than a single elastic.
If your hair is silky, rough up the top section first with dry shampoo or a texturizing mist. Smooth hair slips. A tiny bit of grip changes everything.
I like this when I need a style that looks casual but still survives a full day. It’s one of those shapes that gets better if the lower waves loosen slightly.
10. Loose Wavy Ponytail
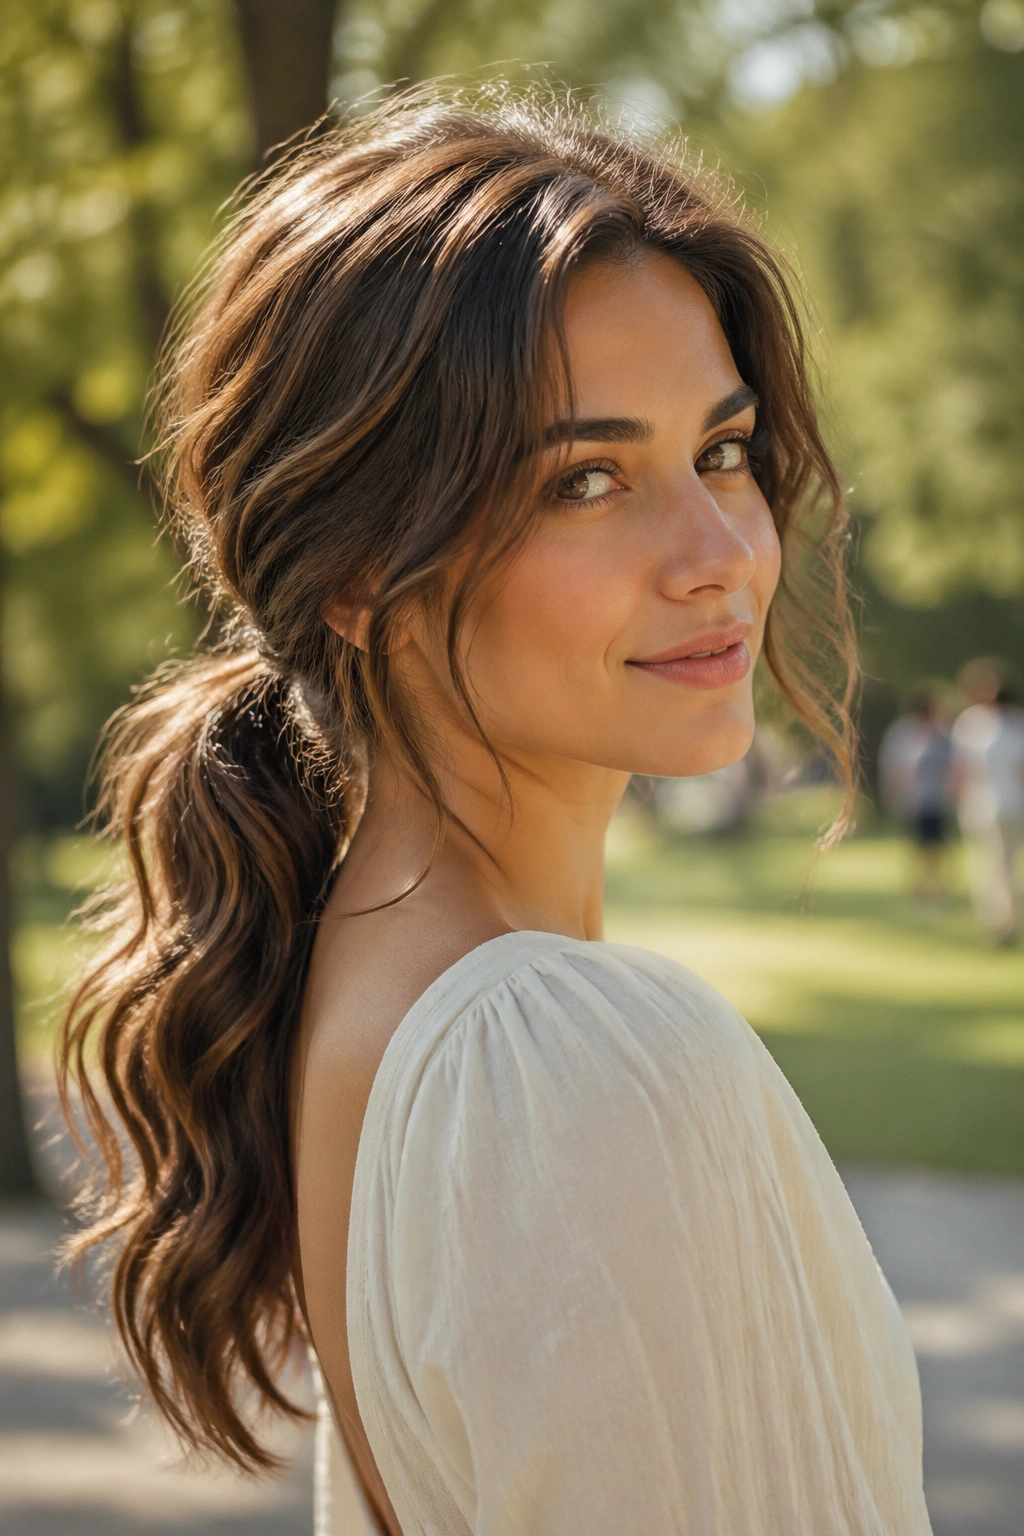
A loose ponytail sounds plain until you build it the right way. Then it becomes one of the most reliable wavy styles for keeping length, shape, and movement all in the same place.
Keep the pony low and secure it with a soft elastic. Wrap a thin strand of hair around the band so it looks finished, then pin the wrap underneath. Leave the pony itself loose enough that the wave pattern stays visible. If you cinch it too hard, the roots flatten and the ends kink in an awkward spot.
This is the style I’d pick for errands, long workdays, or any time I know I’ll be taking hair up and down twice. It doesn’t fight the wave. It works with it.
11. Low Twisted Chignon with Waves
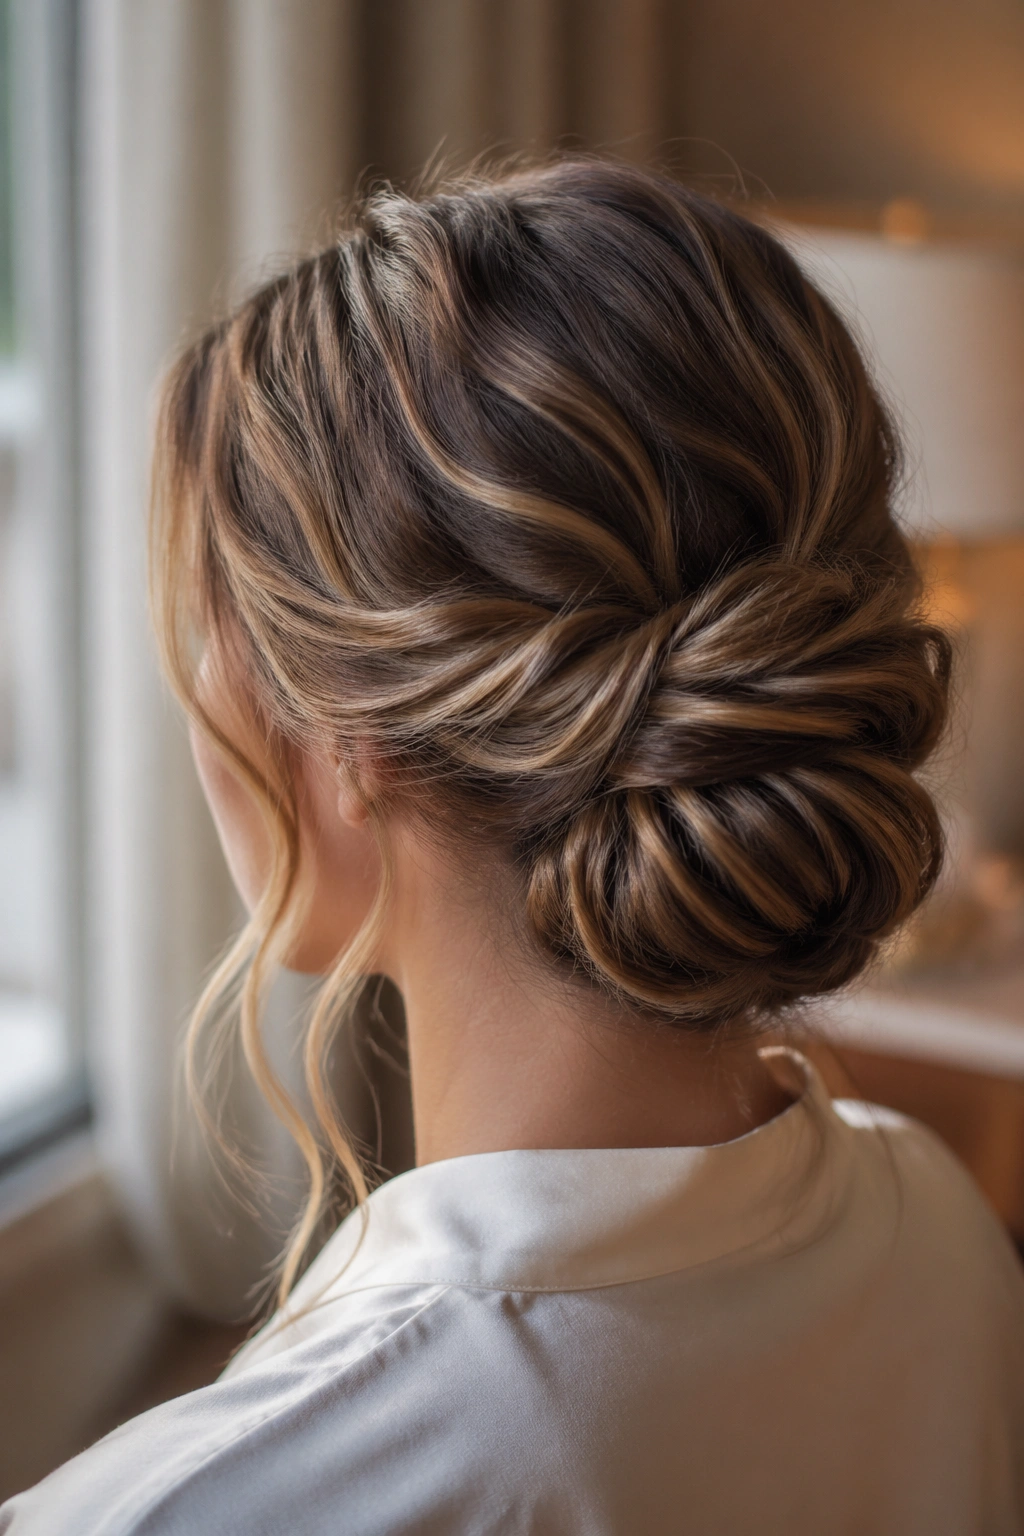
A low twisted chignon gives wavy hair a calm, tidy shape without wiping out the texture. The twist holds the base, and the loose bends tucked into the bun keep it from looking severe.
Gather the hair at the nape, twist it upward, and coil it into a soft knot. Leave a few face-framing pieces out if you want movement around the front, but keep the bun close to the head so it doesn’t sag later. Bobby pins matter here. Use more than you think you need, and place them in different directions so the bun stays locked.
This is one of the better styles for long days because the weight sits low. Your scalp will thank you.
12. Beach Waves with Salt Spray
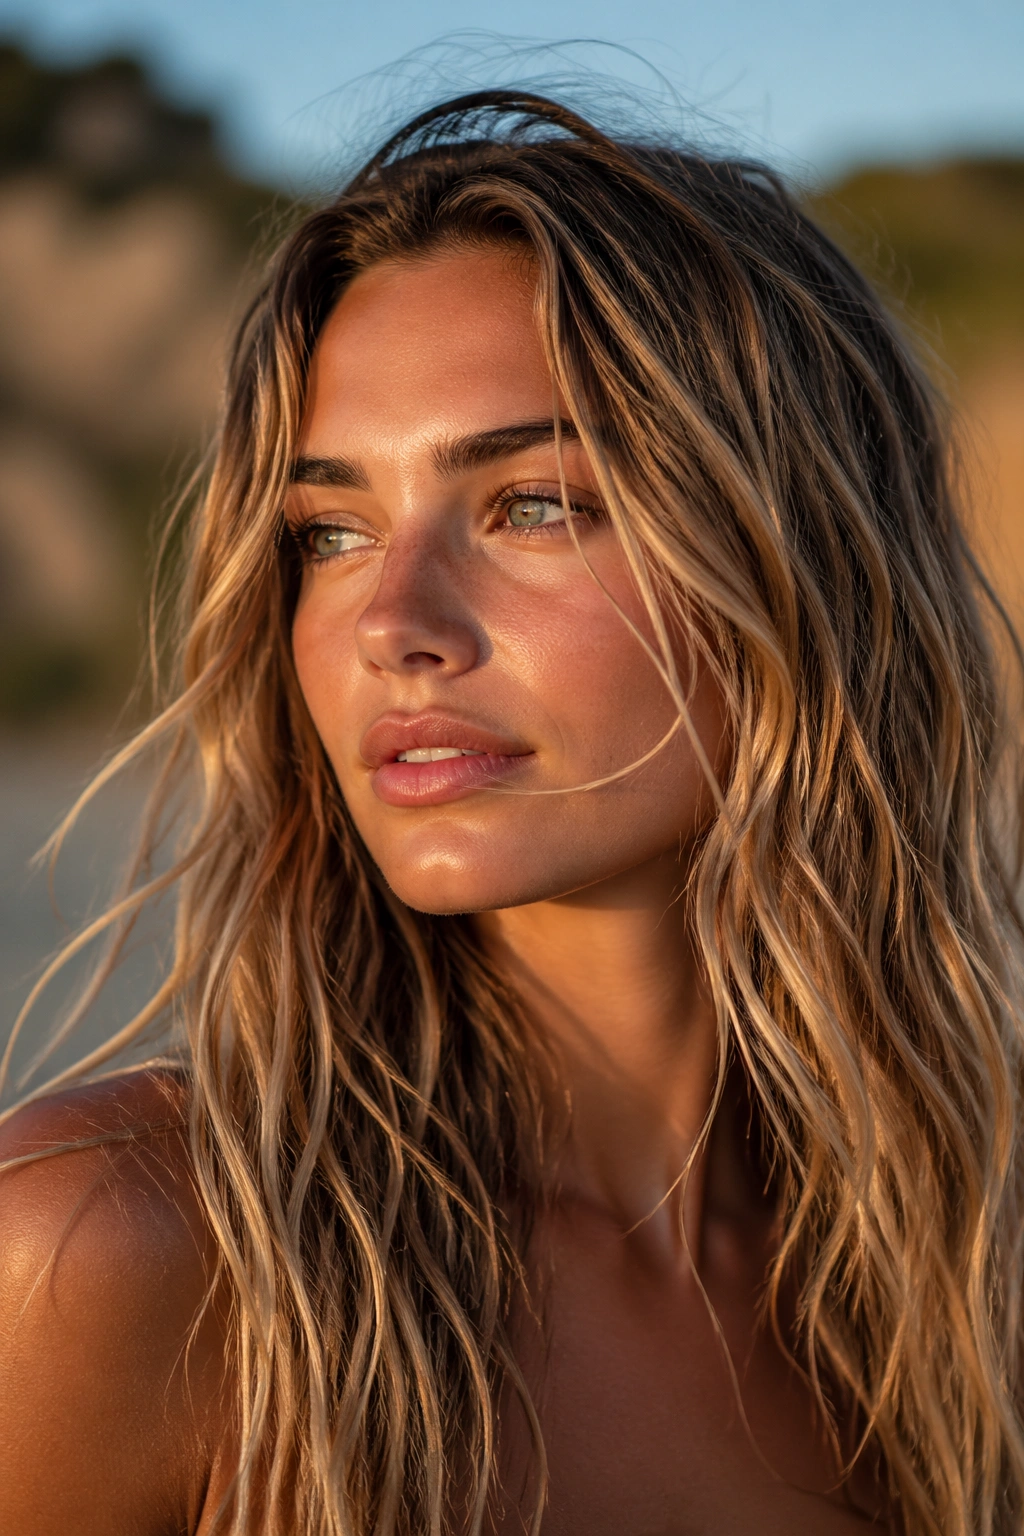
Can beach waves actually last all day? Yes — if the texture is built from the start instead of sprayed on as a last-minute fix.
Work salt spray or a texturizing mist through damp hair, then scrunch and dry in sections. The goal is not crunchy ends. The goal is separation. If your wave is too soft at the roots, it will disappear quickly, so lift the hair at the crown while drying and avoid over-conditioning the top. That’s where a lot of styles go wrong.
This look is strongest on hair that already has some natural bend. If your hair is pin-straight, add a few loose bends with a 1-inch iron before you mist. The spray needs something to hold onto.
13. Pin-Curl Set Waves
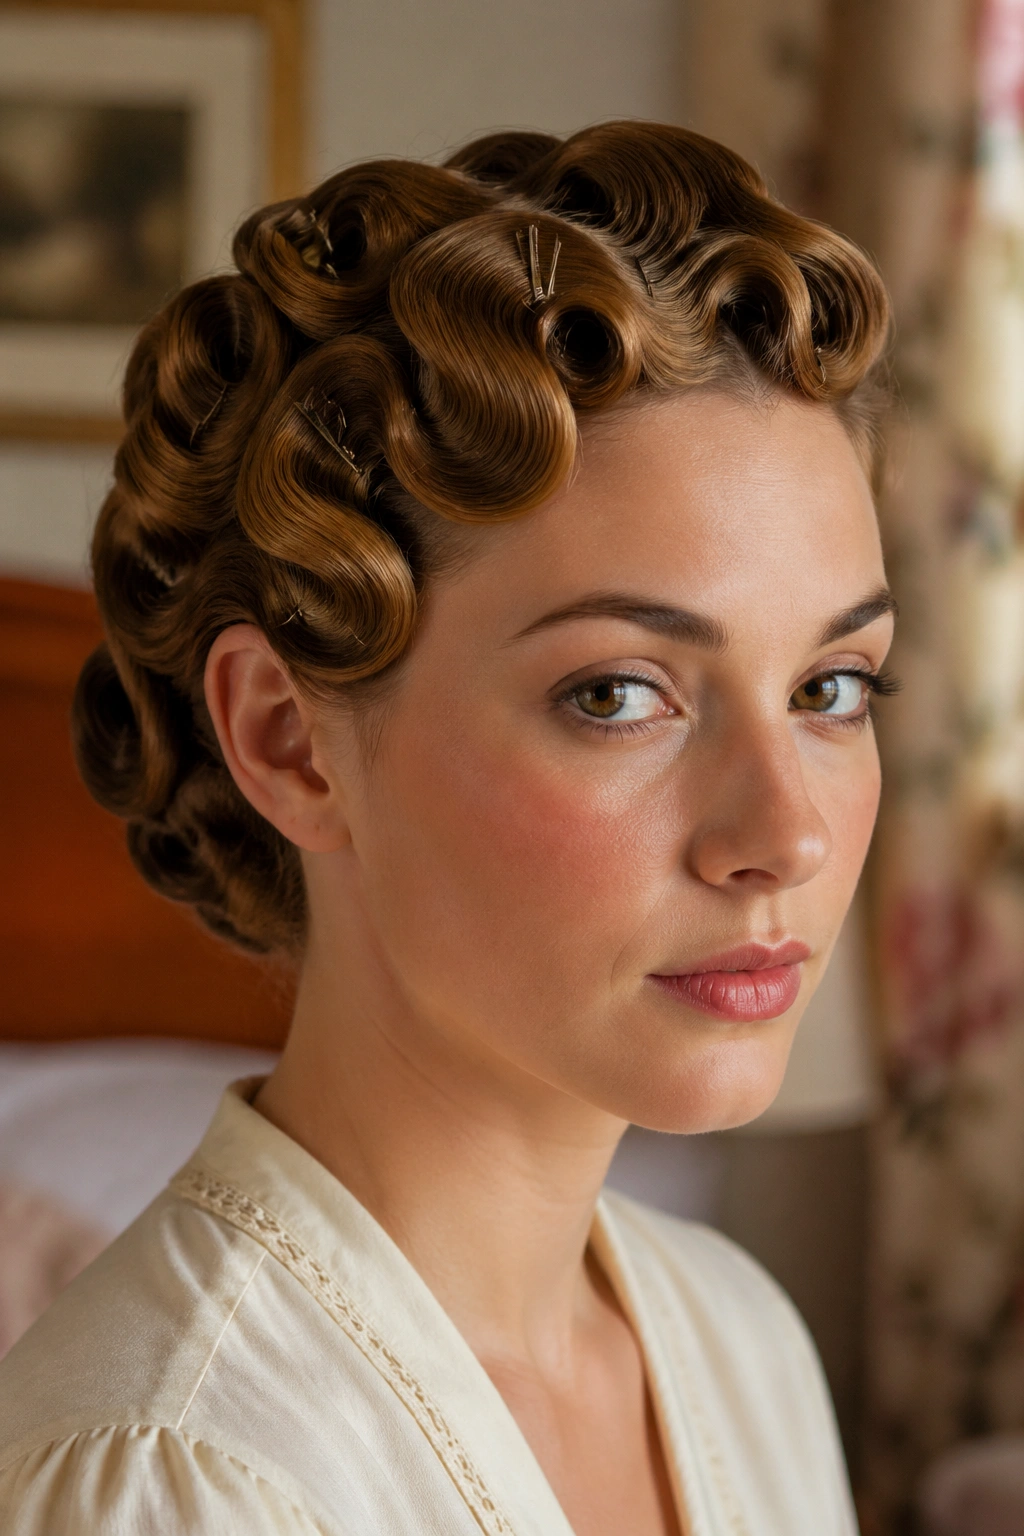
Pin curls are old-school for a reason. They create a wave that has already cooled in place, which makes them far more likely to hold than heat-set curls that get brushed out too soon.
Set Them the Right Way
- Curl small sections, about 1 inch wide.
- Pin each curl flat against the scalp while it cools.
- Leave them in until the hair is fully cold, not just warm.
When you take them down, separate the curls with fingers, not a brush, unless you want a softer, looser finish. A light spray is enough to seal the shape.
This style takes longer, and I won’t pretend otherwise. But if you need waves that last through a long event, pin curls are hard to beat.
14. Heatless Robe-Curl Waves
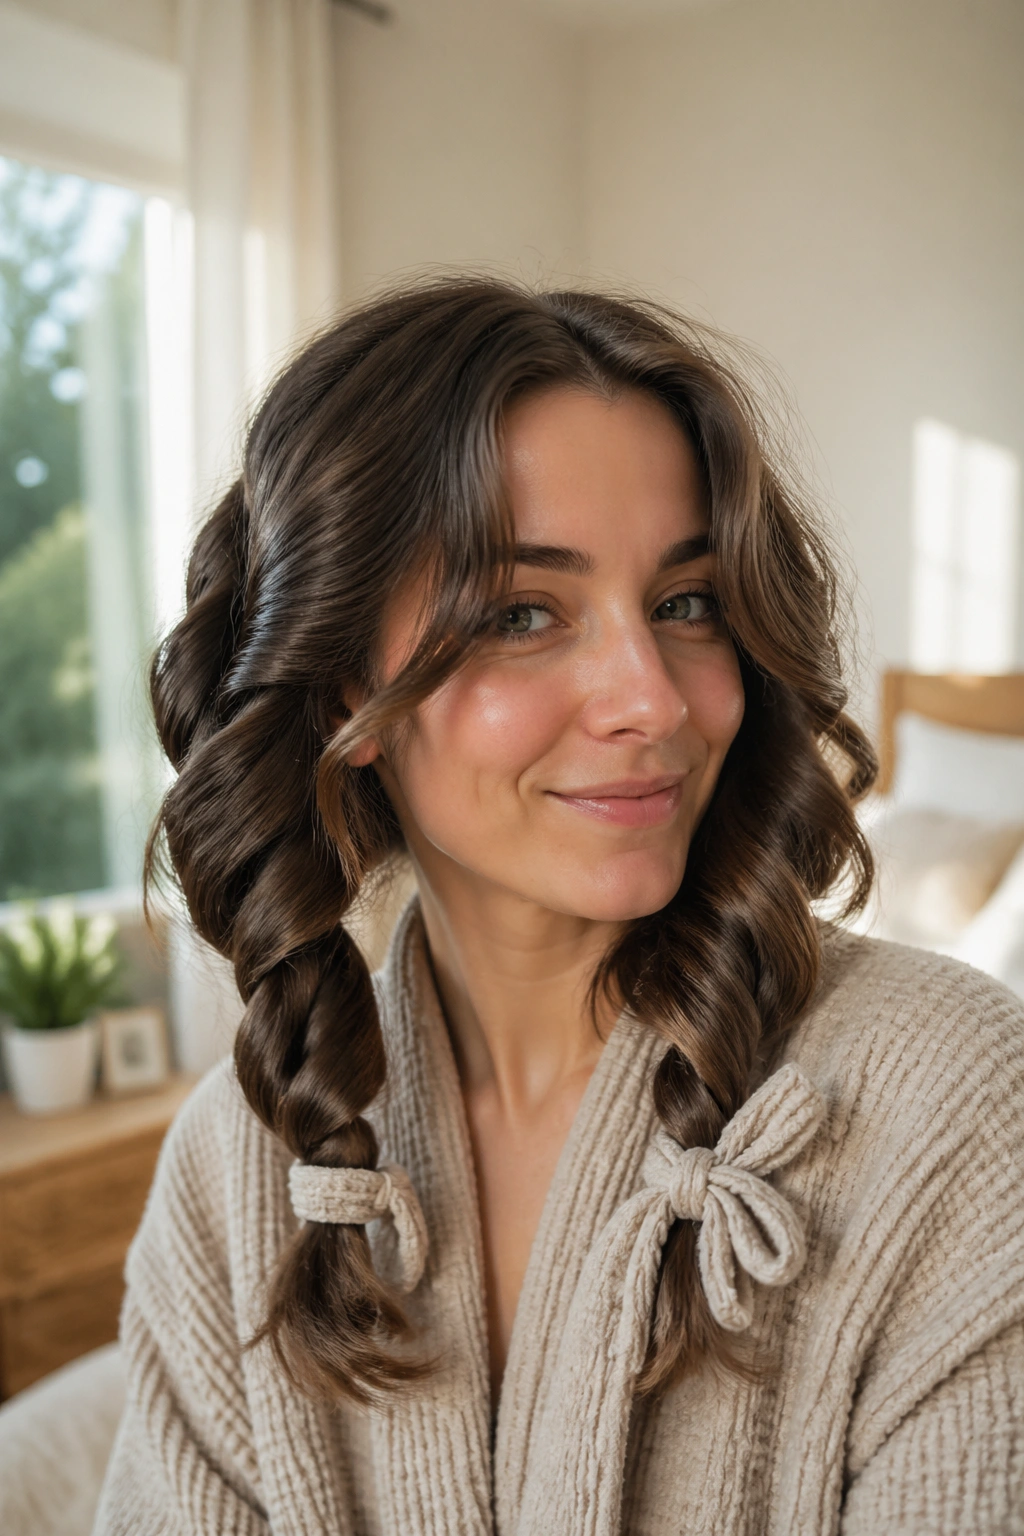
Heatless robe-curl waves are good for one simple reason: they set while you’re doing something else. That makes them low-effort in practice, even if the setup looks a little odd in the mirror.
Use slightly damp hair, not wet hair, and wrap it around a robe tie or soft curling band. If the hair is soaked, it stays damp too long and the wave falls flat before it dries. A little mousse at the roots helps. A little smoothing cream on the ends helps, too, but keep both amounts small.
I like this method for anyone who wants softness without heat damage. The wave comes out gentler than iron curls, but it can hold all day if you let it dry completely before taking it down.
15. Wet-Look Wavy Lob
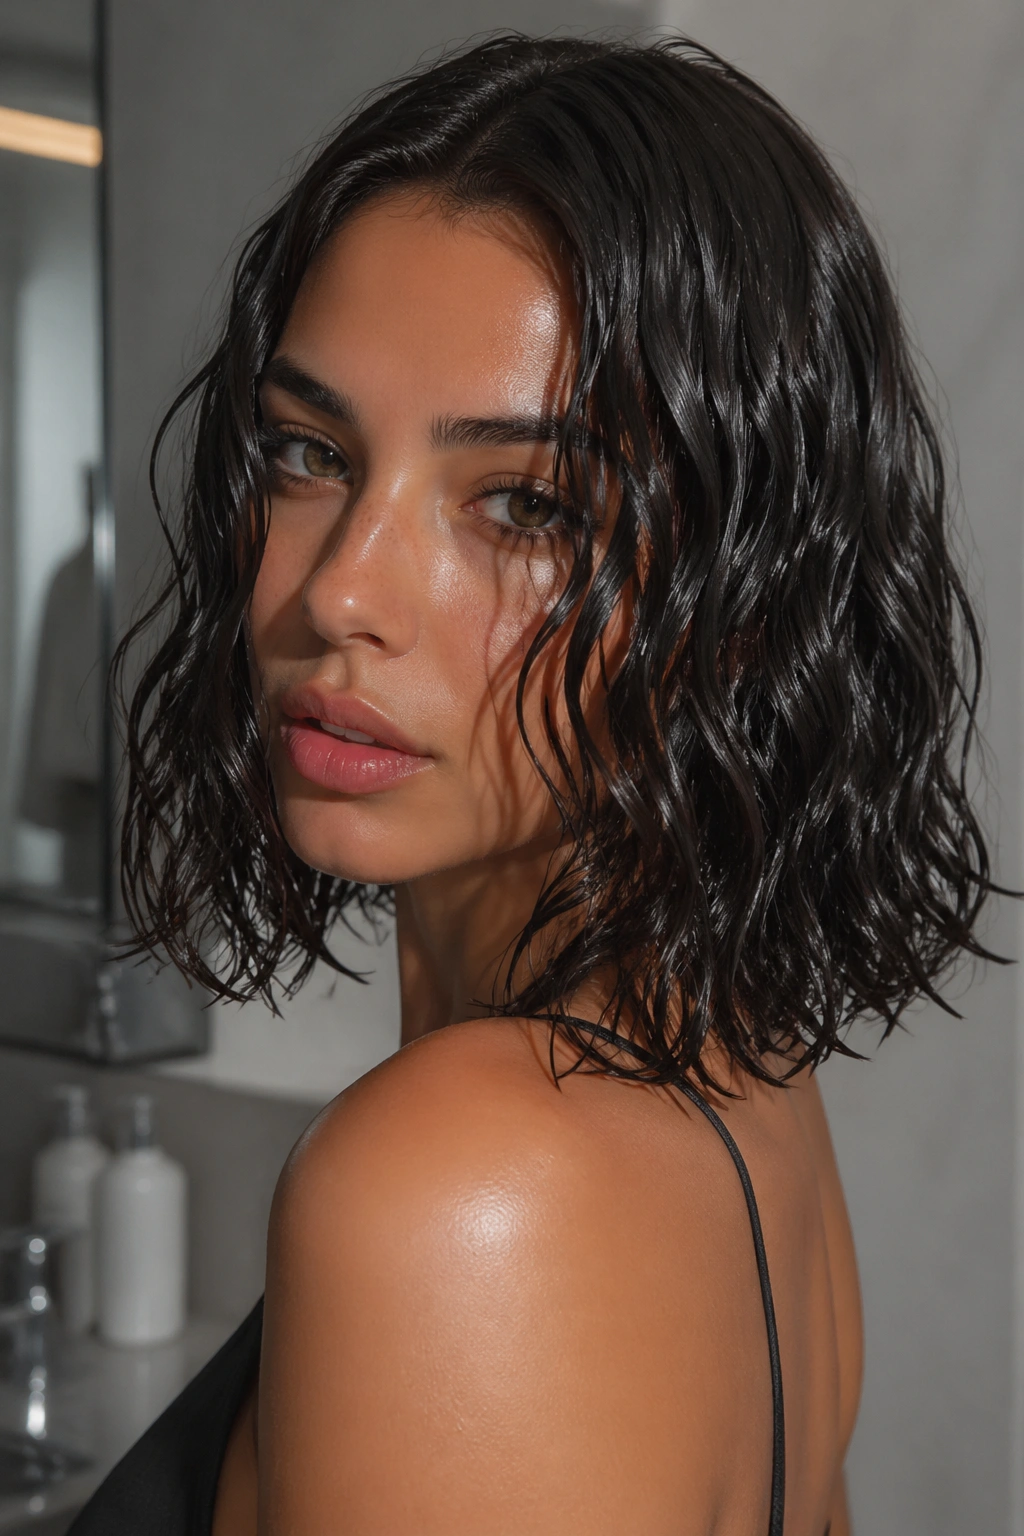
This one is blunt and a little dramatic. If you want hair that stays put, the wet-look wavy lob earns its keep because the product cast does half the work for you.
Use a strong gel or wet-look cream on damp hair, then shape the wave with your fingers or a wide-tooth comb. Concentrate the product through the mid-lengths and keep the roots cleaner if you want the style to move. A diffuser on low heat can help set the shape without breaking the finish.
I wouldn’t call this soft, and that’s the fun of it. It’s sleek, a little glossy, and stubborn in a good way. If you hate anything crunchy or product-heavy, skip it. If you want a style that survives humidity and still looks intentional, this one’s hard to argue with.
16. Curtain-Bang Waves
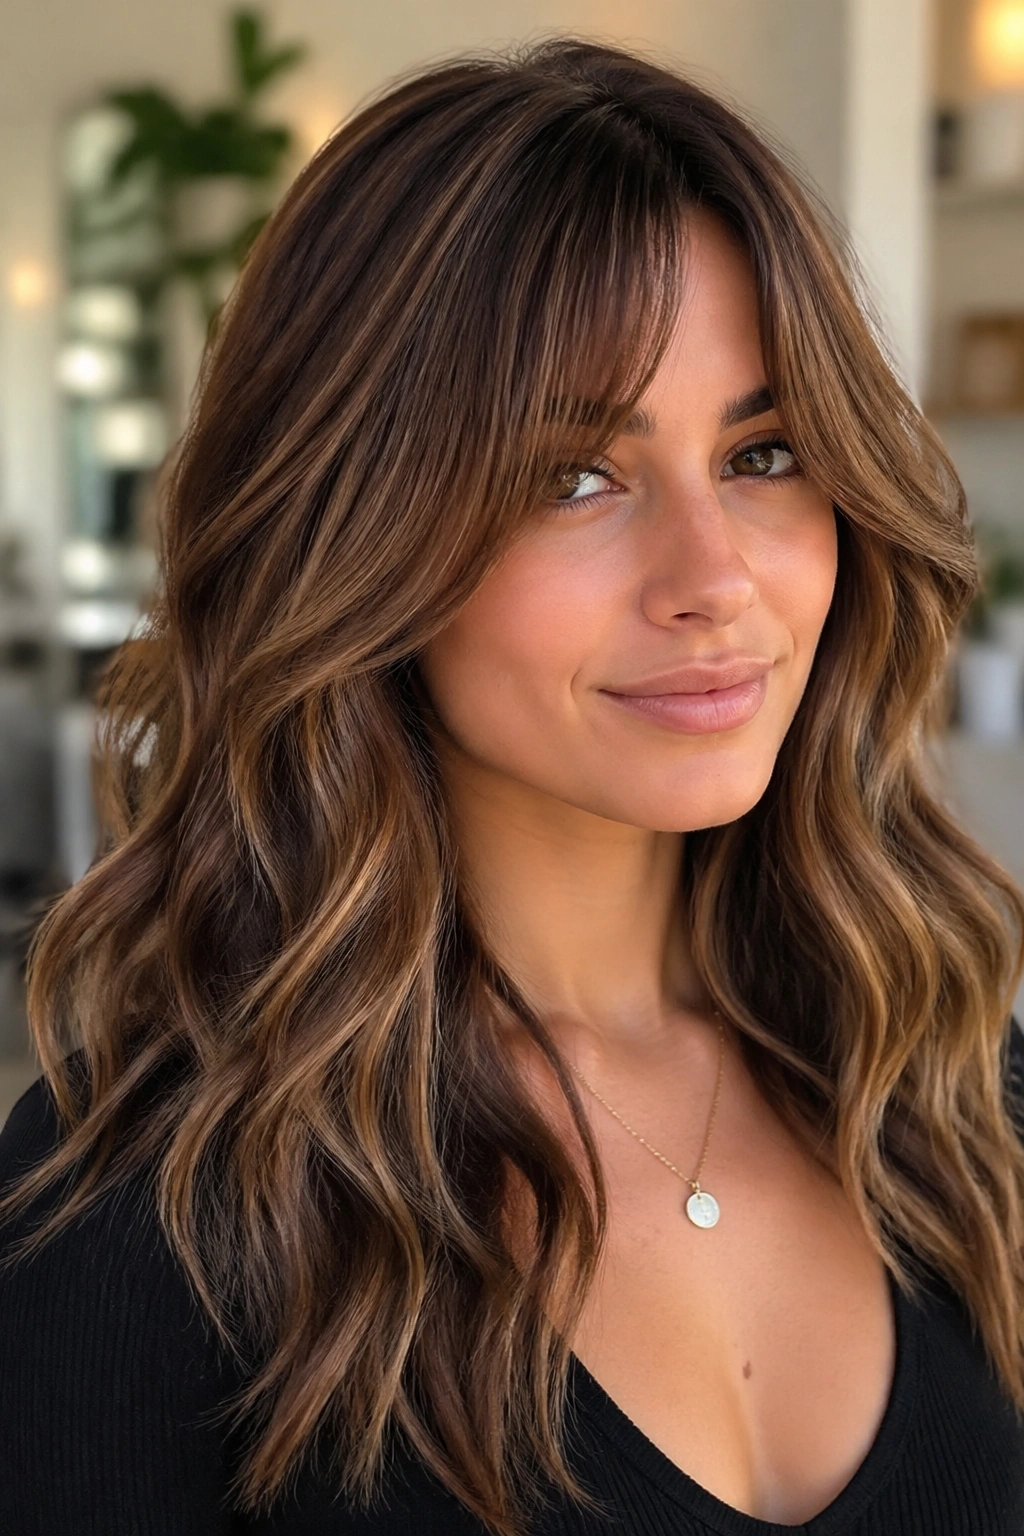
Curtain bangs and waves are a good pair because both like movement, but the bangs need a bit of control so they don’t split into odd little hooks by noon.
Blow-dry the bangs with a round brush or set them in large Velcro rollers for a few minutes while they cool. Then shape the rest of the hair into loose waves that fall away from the face. A tiny mist of root spray at the bang line keeps them lifted without turning them stiff.
The nice thing here is balance. The bangs soften the forehead, and the waves soften everything else. If your bangs are too heavy, though, they’ll drag the whole style down. Keep them airy, and don’t overload them with oil.
17. Faux Bob with Hidden Pins
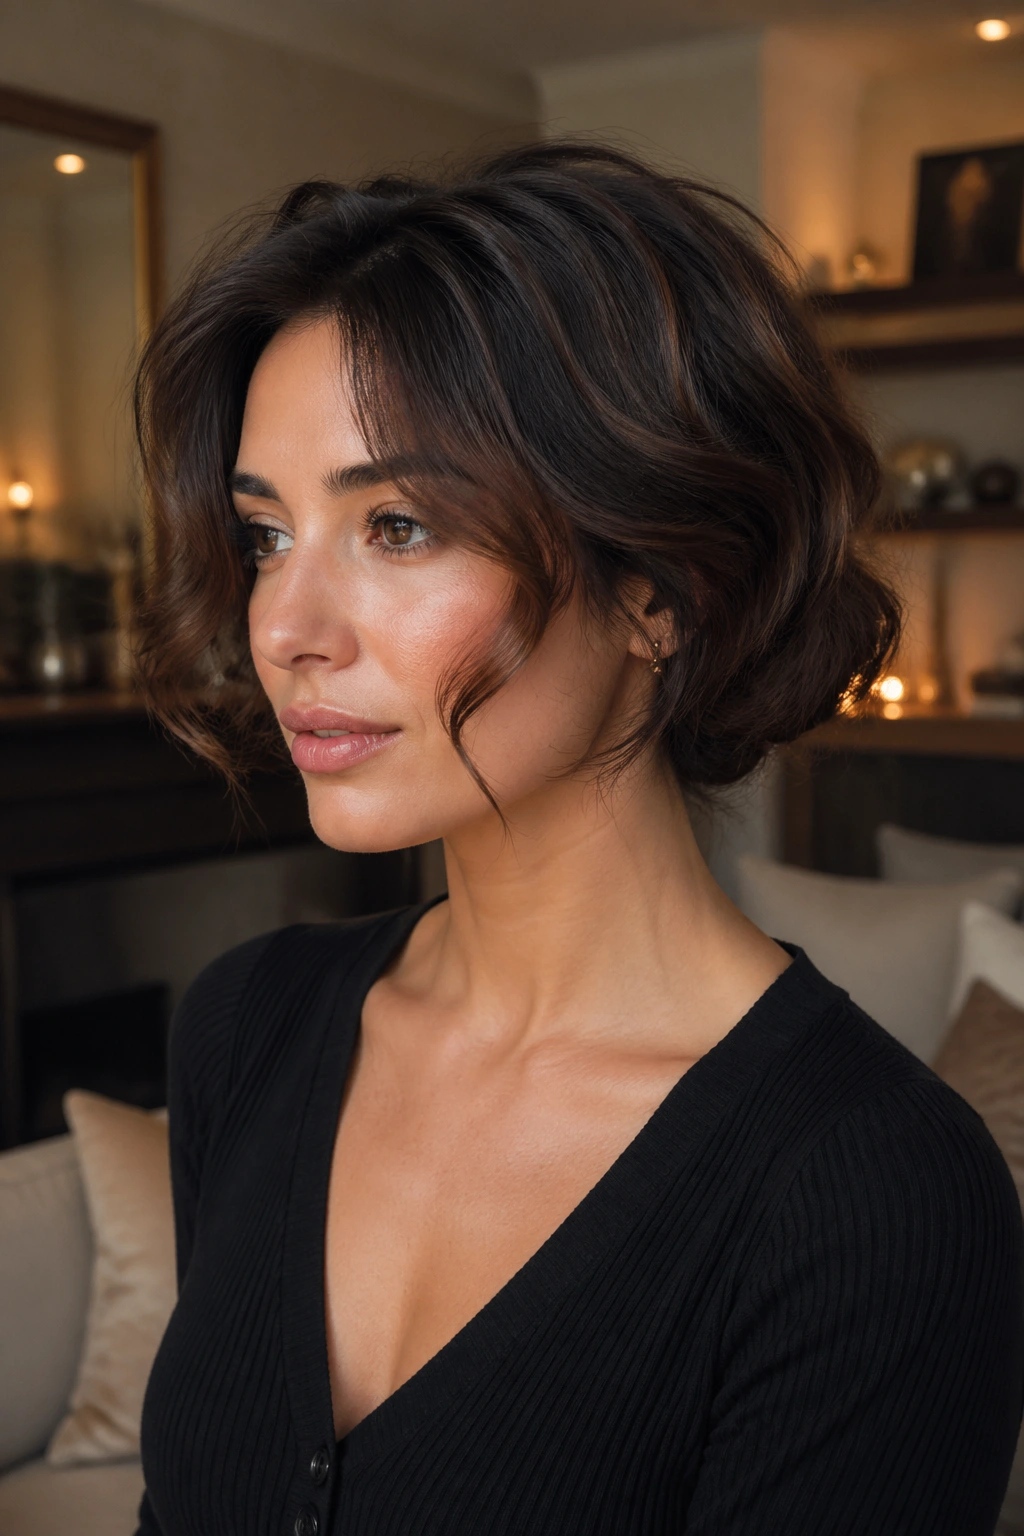
A faux bob is one of the smartest ways to make wavy hair hold all day because the style stops fighting length. Instead of letting long hair pull itself straight, you tuck the ends under and pin them where they can’t unravel.
How to Make It Stay
- Curl the hair first so the shape has some bend.
- Fold the ends under in small sections rather than one big roll.
- Pin each section close to the scalp using crossed bobby pins.
The hidden pins do the real work here, even if the finished style looks delicate. It’s good for shoulder-length or longer hair when you want a shorter shape without cutting anything.
This is one of those styles that looks far more complicated than it is. The trick is simply patience and enough pins.
18. Accent Braid Waves
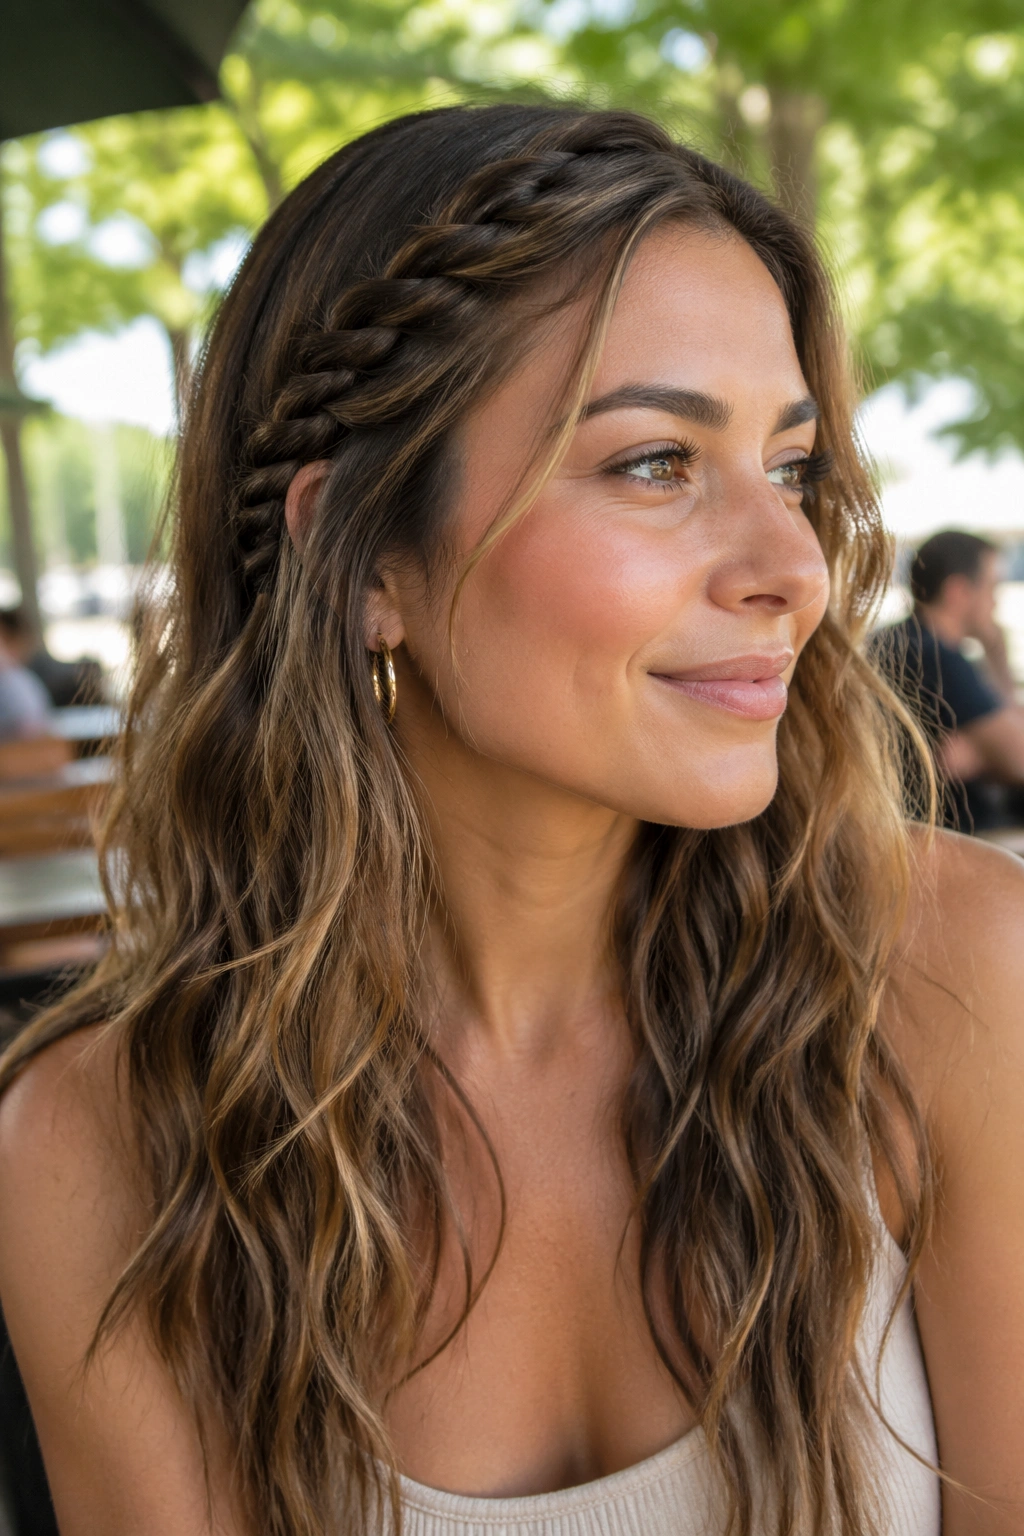
An accent braid gives wave styles a little structure without changing the whole look. One braid can keep a side section controlled, hide a part that won’t sit right, or just stop a front layer from sliding into your eyes.
Start the braid where the hair naturally wants to separate, usually near the temple or just above the ear. Keep it loose enough that it blends with the wave, not tight enough to create a sharp line. Once it’s pinned, let the rest of the hair fall freely. That contrast is what makes it look good.
I like this on second-day waves because the braid grabs hair that’s already got texture. Freshly washed hair can be too slippery, and the braid won’t last as long.
19. Scarf-Tied Waves
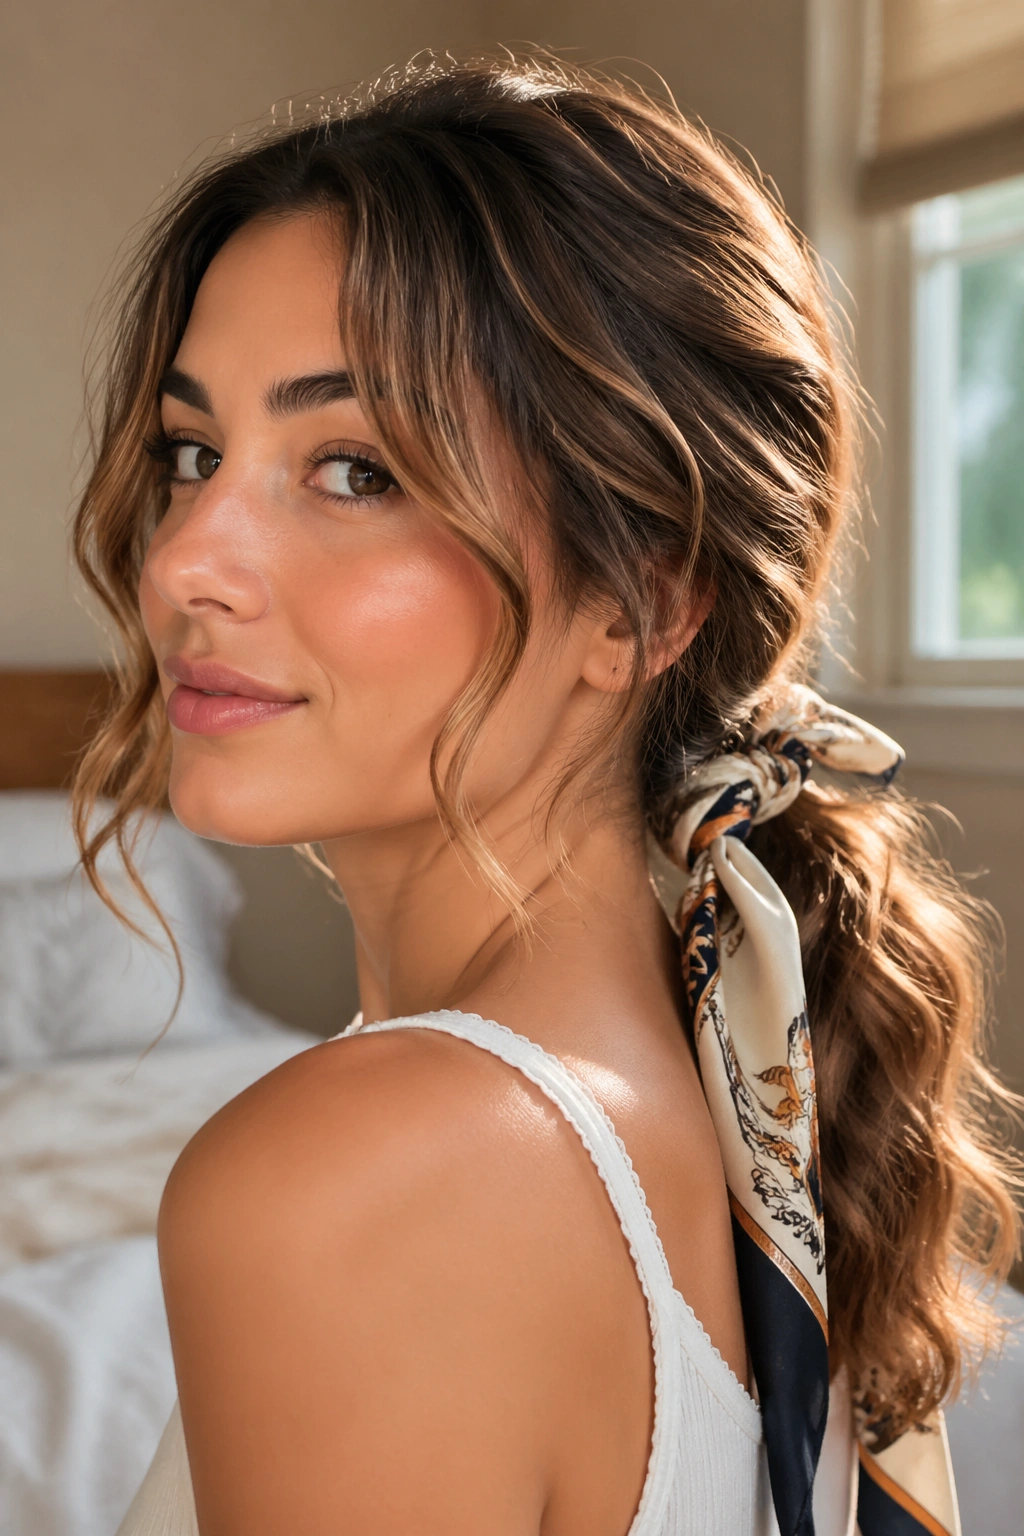
A scarf can do two jobs at once: it holds the style in place and makes the whole thing look finished. That’s useful on days when you want waves to stay soft but still need a little control around the hairline.
Wrap a silk scarf around a low pony, a loose bun, or even over loose waves at the crown if you want to keep the top from puffing up. The scarf gives just enough pressure to stop flyaways from taking over. It also helps hide the places where pins or elastics are doing the ugly work underneath.
This style leans romantic, but it’s practical too. Choose a scarf that isn’t slippery if your hair is fine, or it’ll shift around too much. Cotton blends hold better than slick satin when you need real grip.
20. Crown-Clip Waves
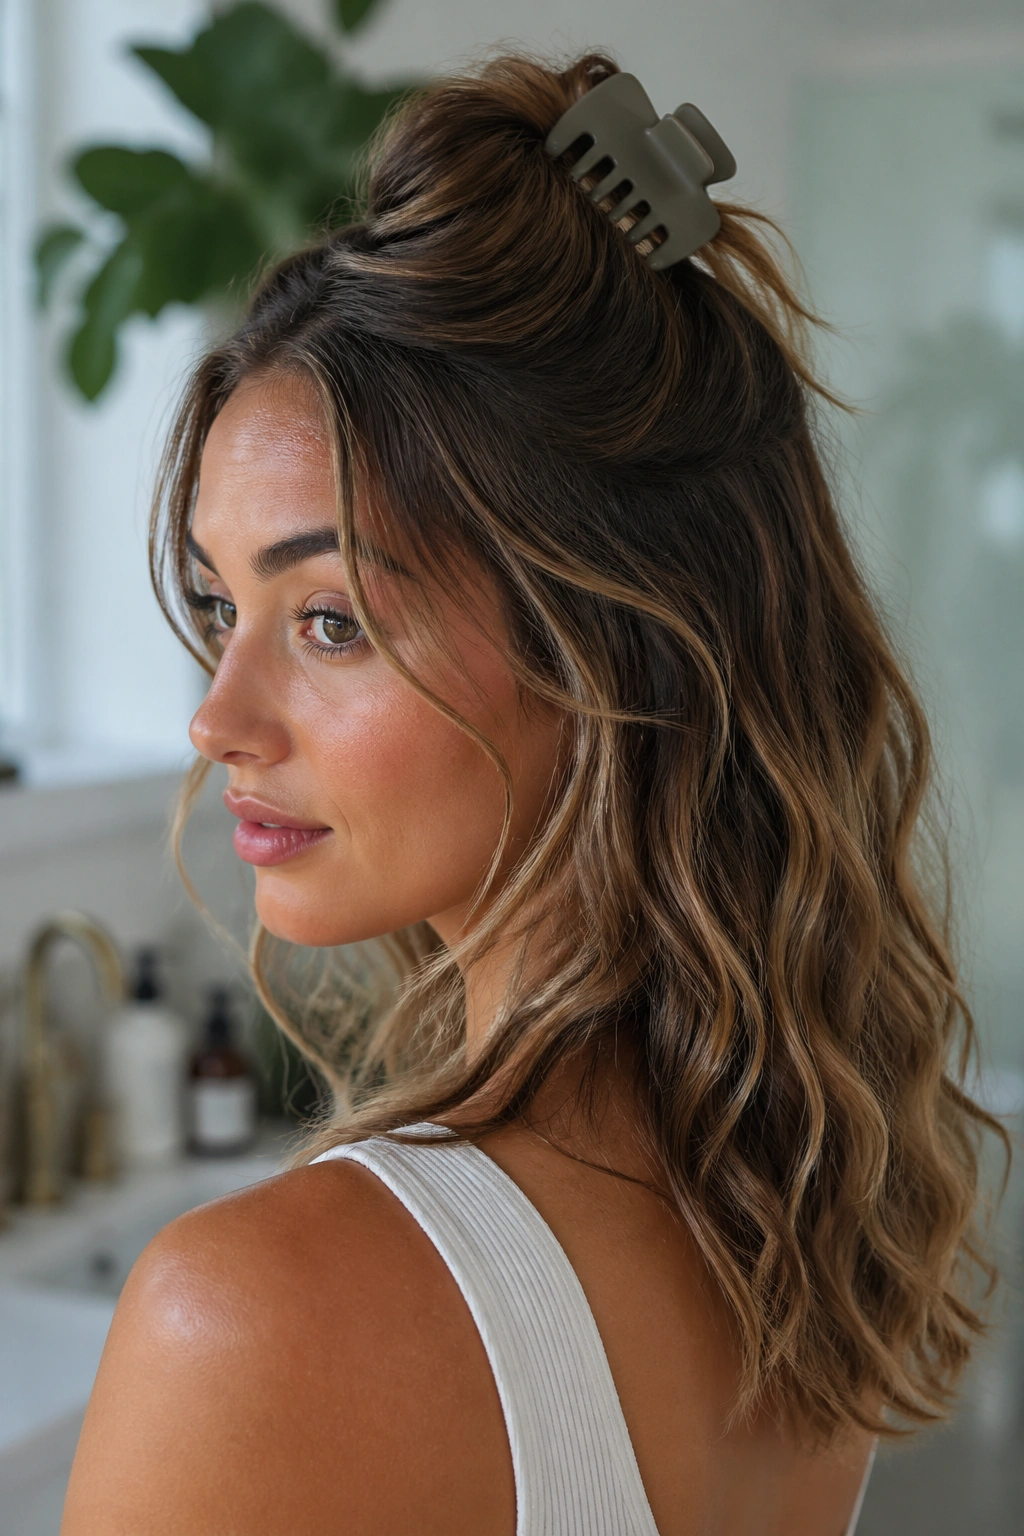
A crown clip lifts the whole shape before it can sink. That’s why this style is so useful for wavy hair that loses volume fast at the top.
Take the upper half of the hair, twist it loosely, and secure it high on the crown with a large clip. Leave the lower wave loose. The twist gives the clip something to hold, and the lifted position keeps the roots from lying flat against the head. If the clip is too small, the whole thing slips. If it’s too slick, the hair slides right out.
A matte-finish claw clip works better than a shiny, narrow one. It grips. That matters more than the color.
21. Mermaid Braid Waves
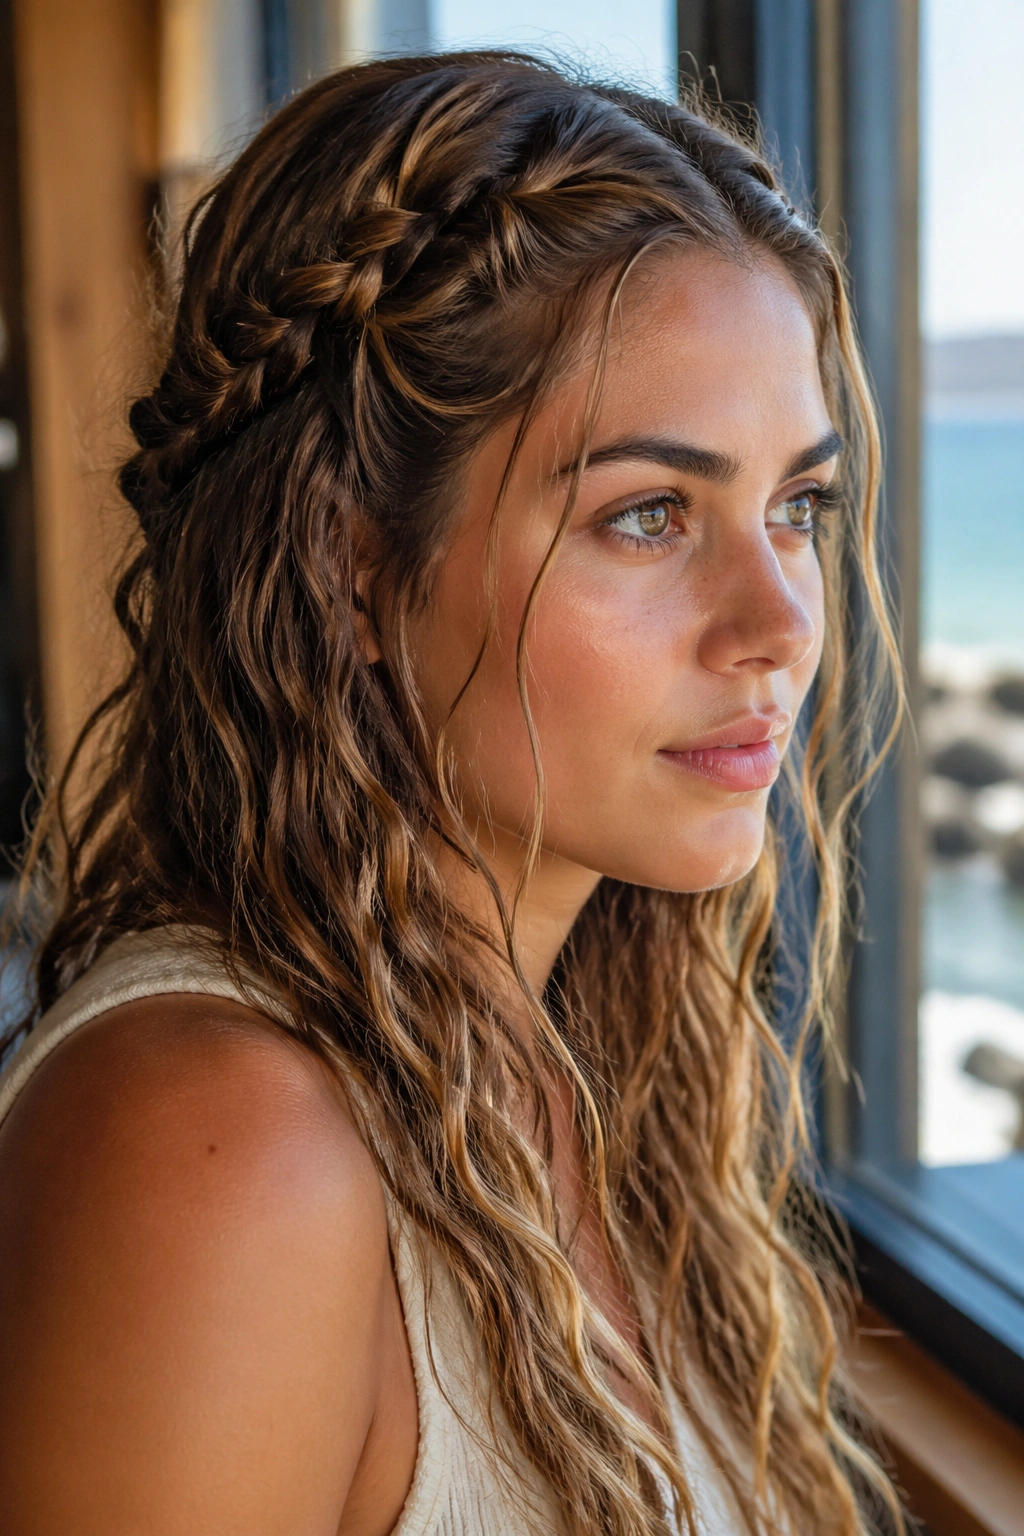
Mermaid braid waves have a built-in advantage because the braid itself acts like a mold. Once the hair is braided and released, the waves keep the shape for hours, especially if you set them with a little mousse first.
The Part That Makes Them Last
- Braid the hair while it’s slightly damp or lightly misted.
- Keep the braid loose if you want soft waves, tighter if you want more bend.
- Let it dry fully before undoing it.
The finished style is one of the easiest ways to get a lot of texture without using hot tools. It also works well on thicker hair, where other waves can fall apart fast.
I’d call this a good choice for daytime plans, because it looks casual and holds up without constant touching.
22. Sleek Roots with Wavy Ends
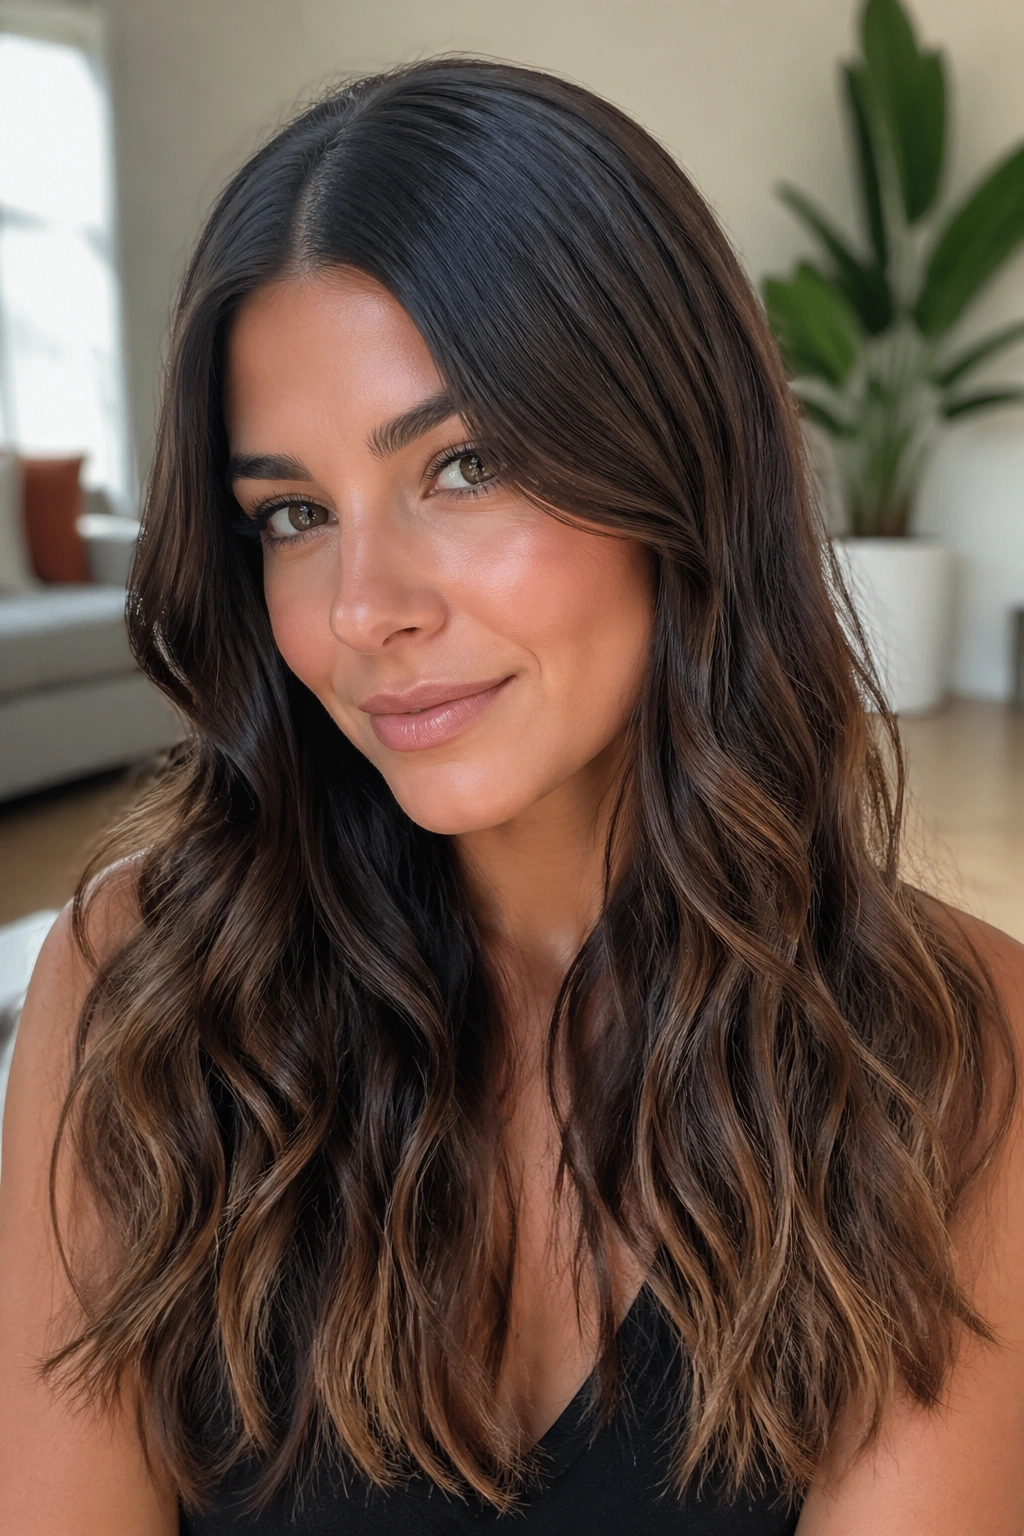
Sleek roots paired with wavy ends solve a common problem: the top of the hair gets fluffy while the bottom hangs limp. By smoothing the top and letting the ends move, you get a cleaner shape that lasts longer.
Use a light smoothing cream or spray at the roots, then keep the wave starting around cheekbone level. A large-barrel iron or a soft bend with a brush can shape the ends without turning the whole head into one big curl. The contrast is the point. Straight roots are less likely to frizz, and wavy ends keep the style from feeling flat.
This look is especially good in humid air, where a full wave can puff up fast. Less volume at the root often means more control by the end of the day.
23. Tousled Shag Waves
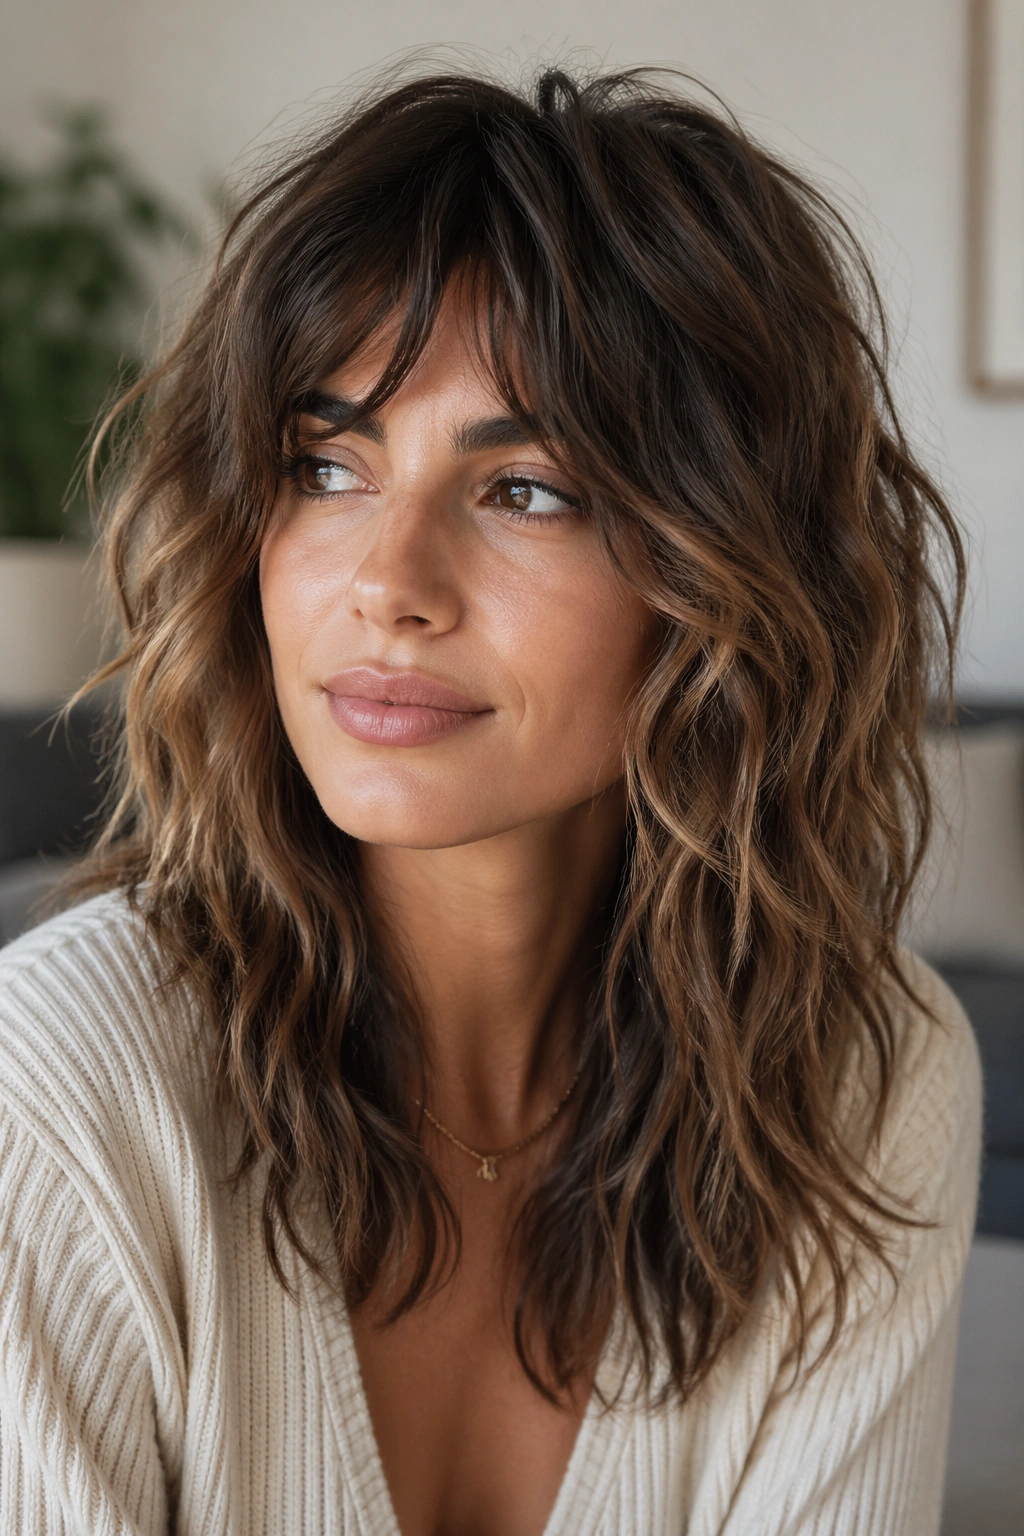
A shag cut does some of the hard work for you. The layers create movement, and the wave sits inside the shape instead of hanging off the ends like a separate idea.
Work a little mousse through damp hair, then diffuse or air-dry until the hair is about 90 percent dry. Scrunch the ends, pinch a few sections around the face, and leave the rest alone. That’s the part people forget: overhandling shag waves makes them frizzy before they’ve had a chance to settle.
This style tends to last because the layers stop the hair from collapsing into one heavy sheet. It’s not formal, and it doesn’t try to be. That’s why it works.
24. Bubble Pony with Wavy Sections
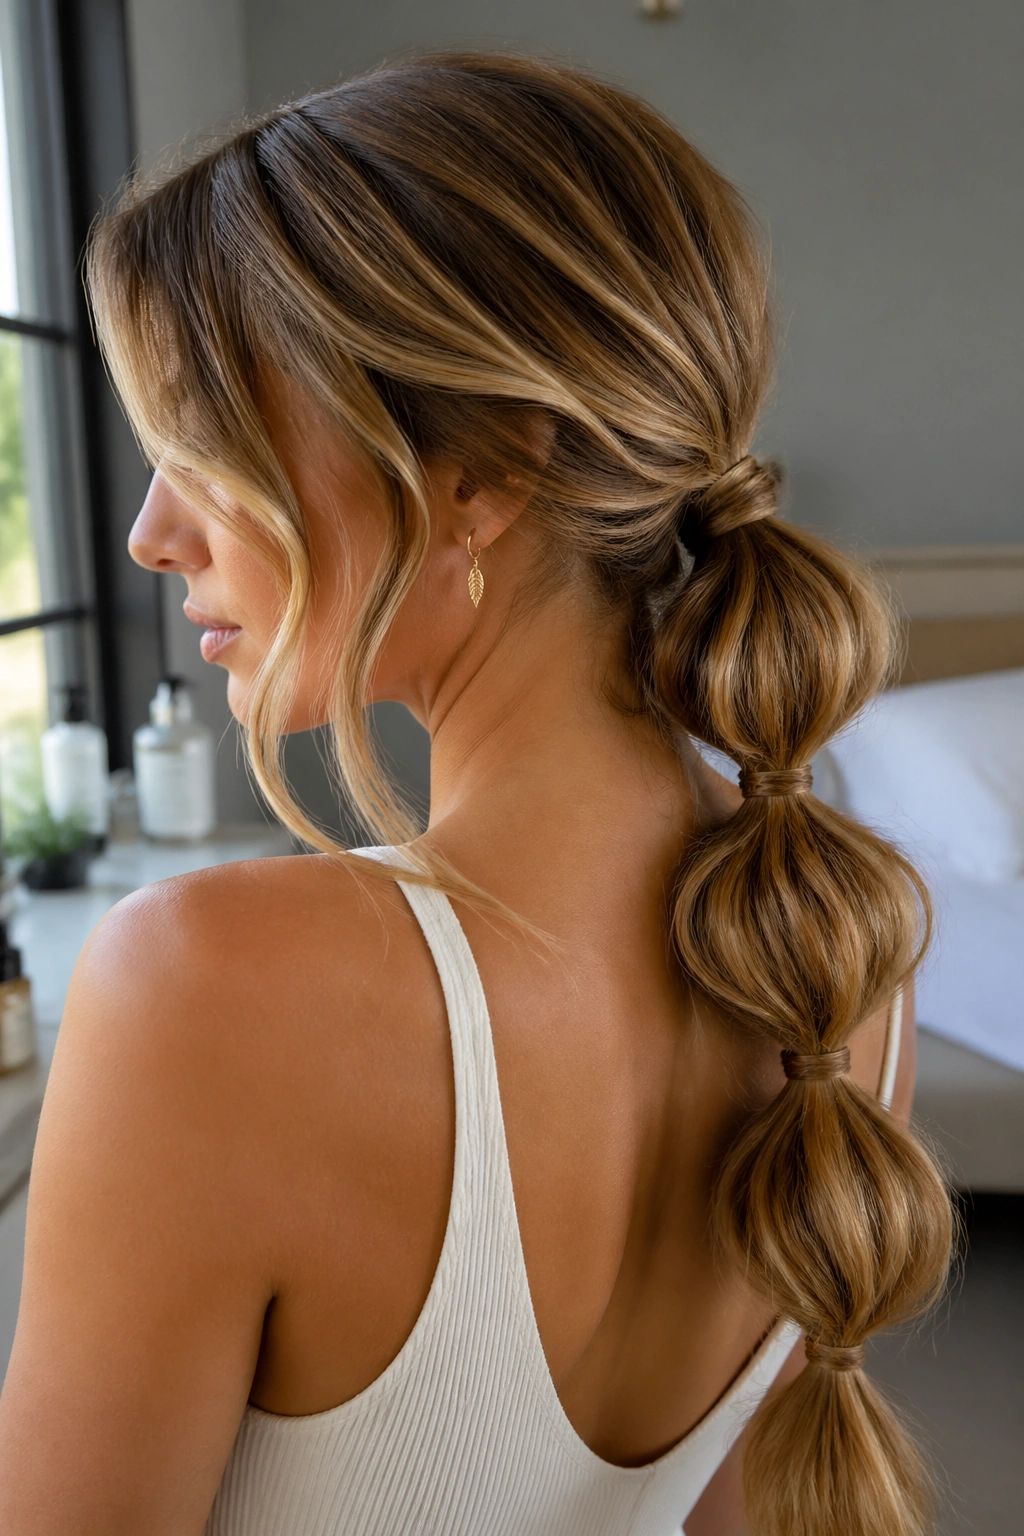
A bubble ponytail sounds playful, but it’s also practical. Each elastic breaks the length into sections, which keeps the wave from sagging under its own weight.
Tie a low or mid ponytail, then add small elastics every 2 to 3 inches down the length. Gently pull each section outward so it puffs into a bubble, but don’t stretch so hard that the wave disappears. If you want a softer finish, wrap a tiny piece of hair around each elastic to hide it.
This one is especially useful for long wavy hair that needs to stay off the neck but still look interesting. It holds because the style is segmented. Hair likes support. Give it enough, and it cooperates.
25. Soft Blowout Waves with Face Framing
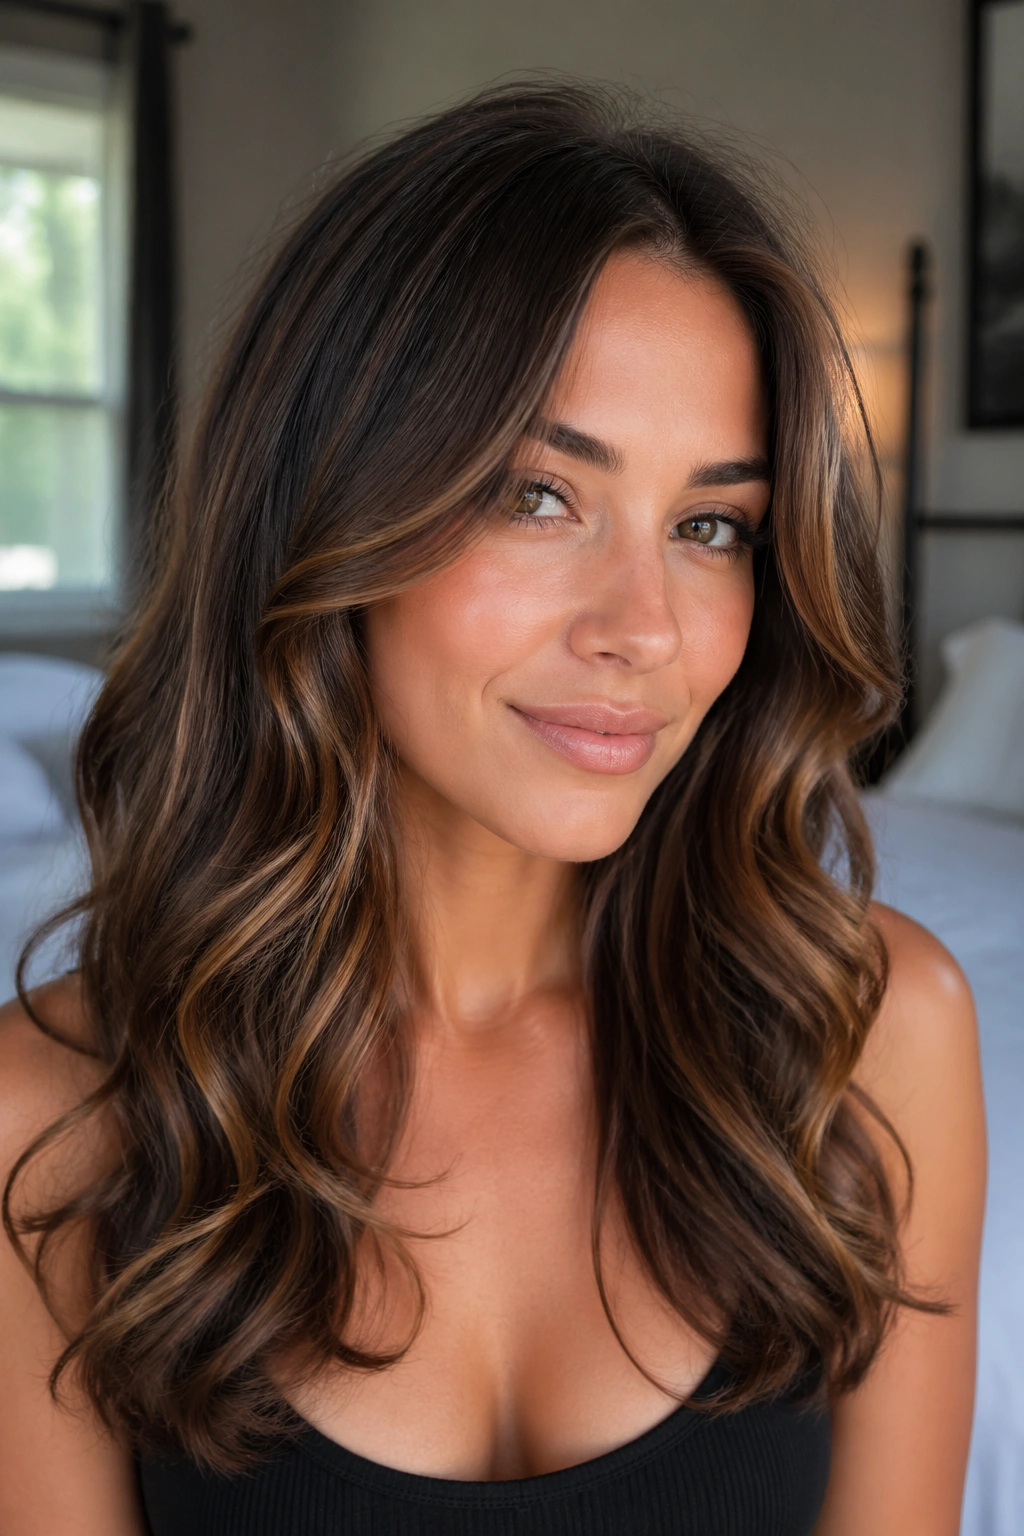
Soft blowout waves are the style I reach for when I want the finish to feel polished without looking stiff. The face-framing pieces do a lot of the visual work, while the rest of the wave stays loose and touchable.
How to Keep the Shape Alive
- Blow-dry the front pieces with a round brush, curling them away from the face.
- Use a large-barrel iron or roller through the mid-lengths.
- Pin the front sections in place while they cool for 10 minutes or more.
The cooling step is the part people rush, and it shows. If you let the wave set before touching it, the style stays smoother longer. Finish with a small amount of shine spray on the ends, not the crown.
This is the most forgiving version of wavy hair, in my opinion. It works for errands, dinners, meetings, and anything in between.
Final Thoughts
The styles that last are usually the ones that do a little quiet work in the background. A pinned crown, a side part, a braid, a twist, or a set that cools fully before you touch it — those details matter more than a pile of product ever will.
If your waves tend to fall apart fast, start by changing the structure, not the finish. Keep the roots supported, let the wave cool, and stop fiddling with it once it’s set. That alone solves a surprising number of bad hair days.
