Heat damage creeps up quietly. One flat iron pass here, a quick blow-dry there, and suddenly the curl pattern at your crown looks looser than the back, and your ends refuse to coil the way they used to. Short afro hairstyles that need no heat solve that problem at the source — they let your natural texture do the work, they cut your styling time in half, and they give your strands a real chance to recover without you having to sacrifice looking put together. I’ve been rocking short natural styles for years, and the ones I come back to are the ones that treat the hair gently and still pull compliments at the grocery store.
The thing about short hair is that every angle shows. There’s no length to hide behind, no cascade of curls to distract from a crooked part or a patch of dry ends. So the technique matters. The prep matters. The products matter more than people admit. But once you figure out the rhythm of your hair, short styles become the easiest thing in your routine — sometimes a quick spritz and a finger-fluff and you’re walking out the door.
What follows is a deep catalog of heatless short styles I either wear myself or have helped friends and family learn. Some take five minutes. Some are overnight sets that unravel into something worth taking photos of. None of them require a blow dryer, flat iron, curling wand, or hot comb.
Why Heat-Free Is Worth the Commitment
Skipping heat isn’t just about saving your curl pattern, though that’s the headline. It’s about cutting out the one thing that does the most damage to textured hair over time. High temperatures lift the cuticle, dry out the cortex, and create those straight pieces that stick out no matter how much leave-in you pile on. Short hair compounds the problem — when your strands are only four or five inches long, losing even half an inch to heat damage changes how the whole style sits.
Going heatless also saves time. Once you stop reaching for the blow dryer, you realize how much of your wash day was just air movement and waiting for sections to cool down. A truly no-heat routine lets the hair air-dry or sit in a set, and that’s it. You get your Saturday back.
And honestly? Heatless styles photograph better. The shape is rounder, the definition is sharper, and the shine comes from the hair itself, not from a serum smoothing over damaged ends.
The Prep Work That Makes Everything Easier
Before any of the styles below will look good, your hair has to start from a decent baseline. That means washing with a sulfate-free shampoo that doesn’t strip the scalp raw, following with a creamy conditioner you leave in for at least five minutes, and detangling while the conditioner is still in — not dry, not soaking wet, but slippery and coated.
A wide-tooth comb or your fingers both work. The trick is starting at the ends and working your way up, section by section. If you try to force a comb from root to tip on 4C hair, you will lose more strands than you should, and your ends will start to split within weeks.
After the rinse, blot gently with a microfiber towel or an old cotton T-shirt. Regular terrycloth towels rough up the cuticle and create frizz before you’ve even applied a product. This one swap changes how every style below turns out.
The Short List of Products That Actually Earn Their Spot
I’ve tried more natural hair products than I can count, and most of them end up gathering dust. The ones that keep earning shelf space share three traits — they absorb without leaving residue, they hold definition through a second day, and they smell like nothing in particular so they don’t clash with your perfume.
A lightweight leave-in conditioner is non-negotiable. A thick styling cream or butter for when you want hold and shine. A clear gel with strong slip for edges, puffs, and any style that needs a crisp finish. And a good oil — jojoba, almond, or grapeseed are my picks for short hair because they soak in rather than sitting on top.
You don’t need twenty products. You need four or five that work together. Anything more is marketing.
How to Tell When a Style Suits Your Face and Head Shape
Short styles expose the shape of your head and the angles of your face in ways that longer hair never does. Before you commit to a specific style, stand in front of a mirror and look honestly at where your natural volume sits, how your hairline frames your forehead, and whether your crown is flat or domed. Some styles amplify those features beautifully. Others flatten them out or make them look uneven.
Round faces benefit from styles with vertical height. Longer faces look balanced under styles that add width at the temples. Square jawlines soften under curly fullness. But these aren’t rules — they’re starting points. Your instinct after wearing a style for a day usually tells you more than any chart.
1. The Fluff-and-Go Wash-and-Go
The simplest heatless style in the catalog, and still the one most people get wrong. A true wash-and-go on short natural hair starts with soaking-wet strands, not damp. You rake a generous handful of leave-in through every section, top with a coin-sized amount of gel, and let it dry without touching it.
Why the Soaking-Wet Start Matters
- Water is the carrier that lets the product spread evenly across every strand
- Damp hair creates patchy definition — some curls pop, others flop
- Gel locks in the water, so the wetter you start, the longer the hold lasts
Let it air-dry fully before you fluff. Touching wet curls is how frizz happens. When the crown feels completely dry to the touch, use your fingers — not a comb — to gently lift sections upward and backward. That’s the whole technique.
2. The Classic Twist-Out on Damp Hair
Twist-outs look intimidating until you’ve done a few, and then they become muscle memory. On short hair, you only need twists about the width of your pinky finger, and you don’t need many of them — maybe twelve to sixteen across the whole head.
The key variable people miss is moisture level. Twist on hair that’s just damp, not wet. Wet twists take too long to dry, and damp twists unravel into softer, fuller curls. Work a styling cream through each section, twist from root to tip, and clip the ends so they don’t unwind overnight.
Morning unravel should be slow. Rush it and you get frizz. Take your time, separate each twist into two or three smaller pieces, and finish with a pick at the root for lift. The whole reveal should take about ten minutes.
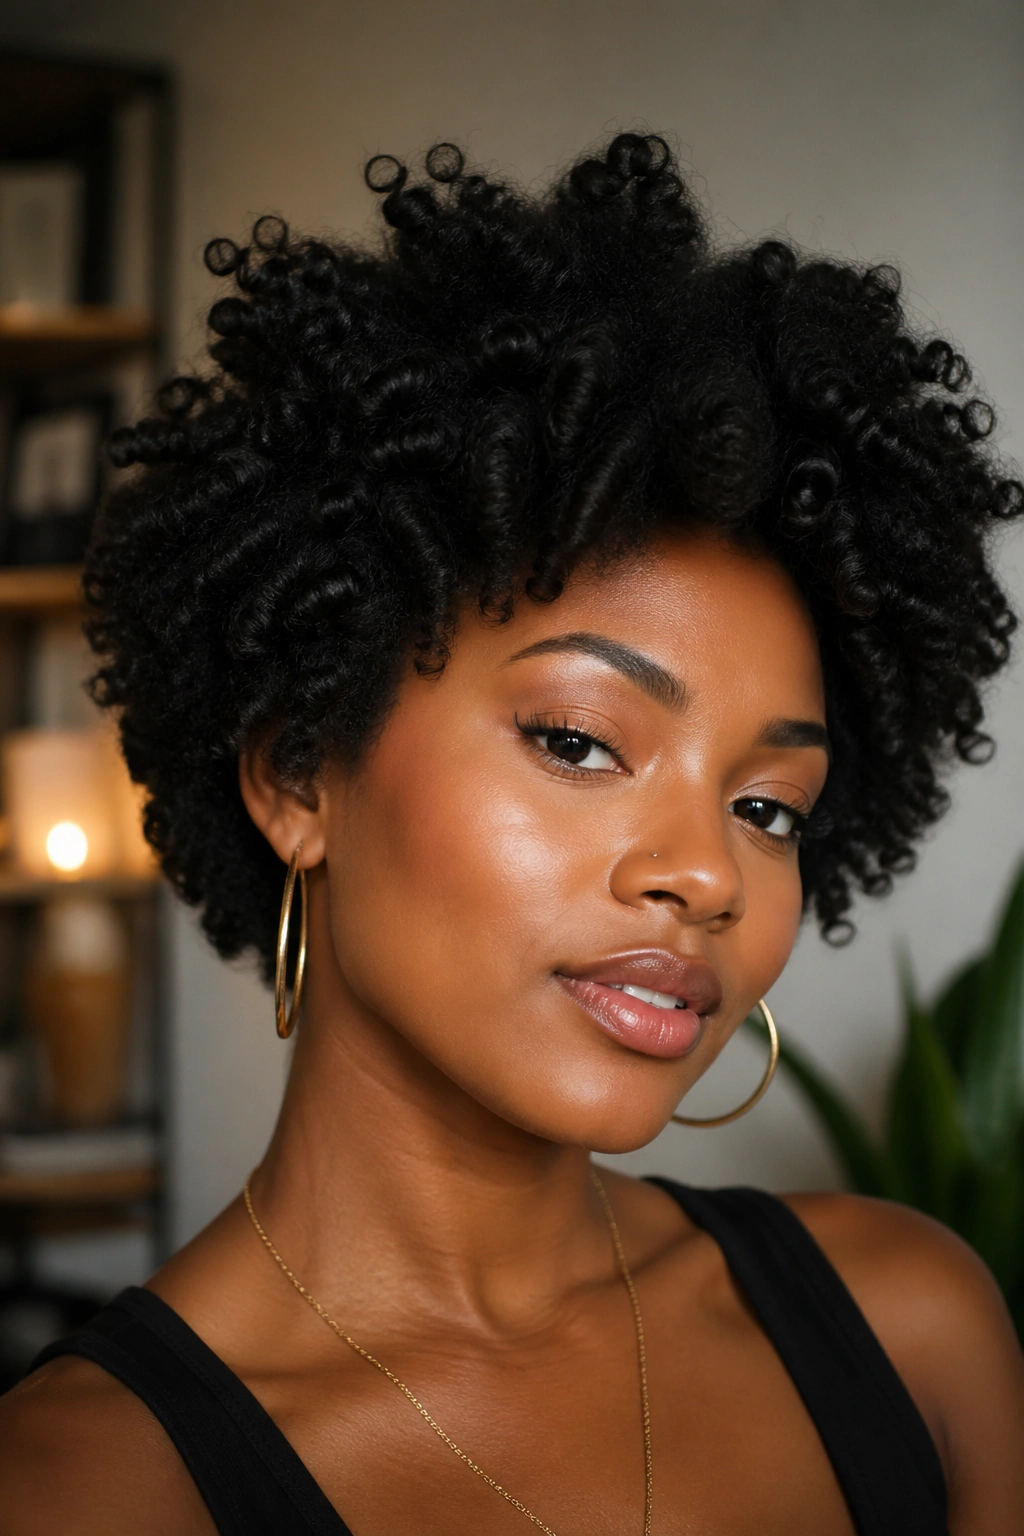
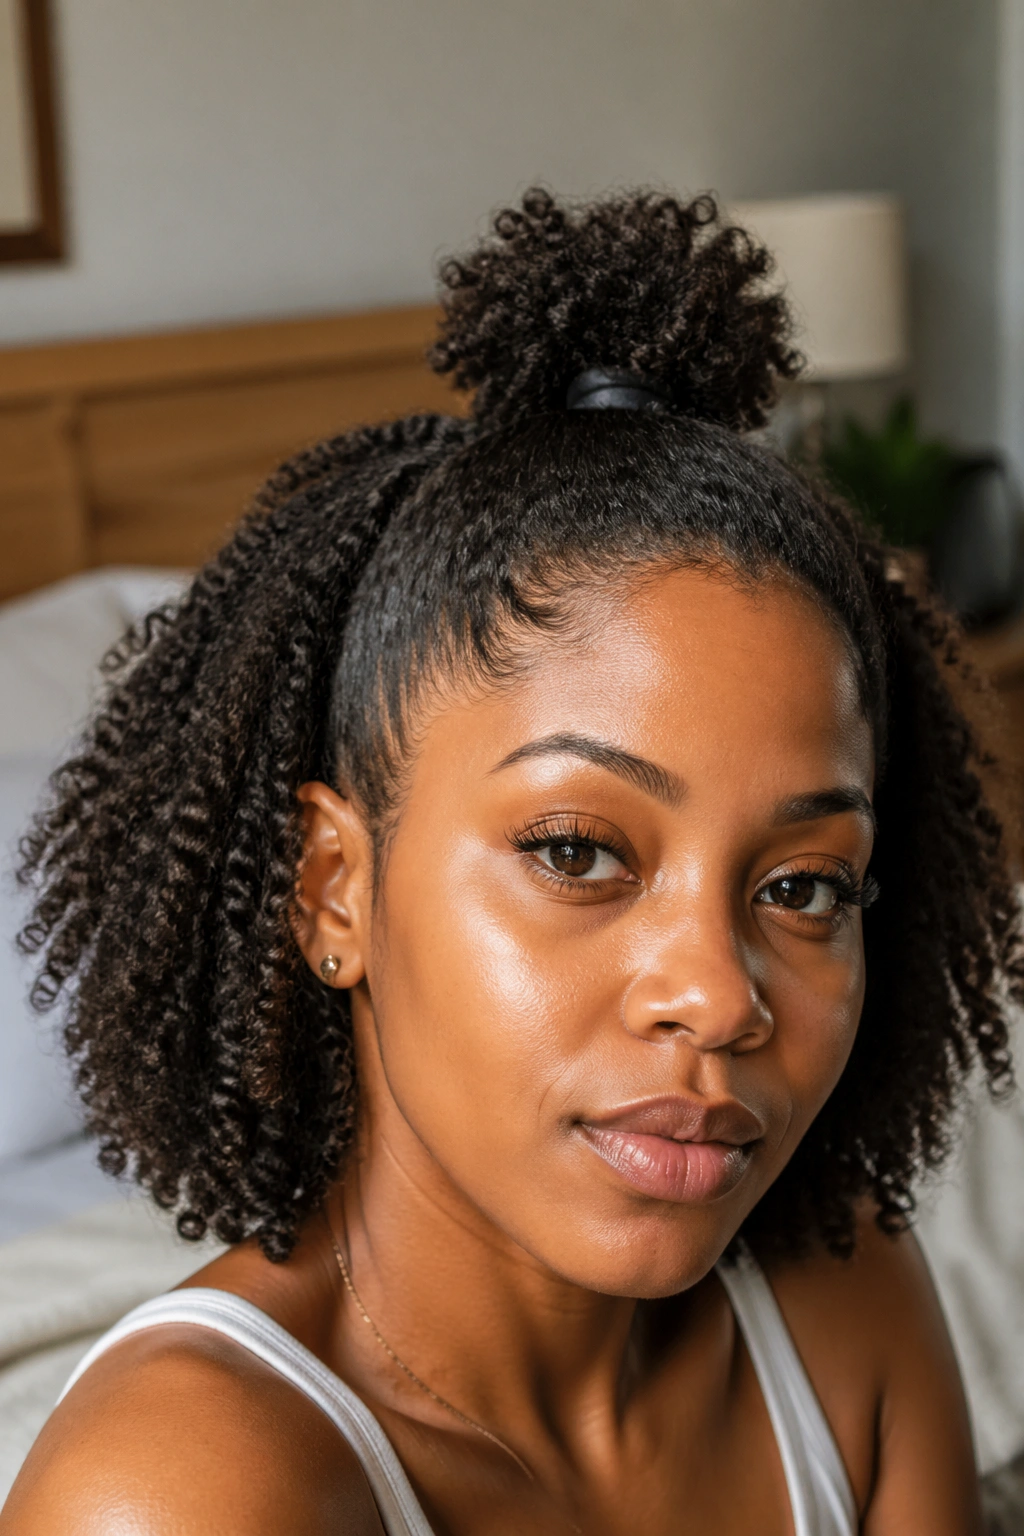
3. The Pineapple Puff
Quick and useful, mostly as a protective overnight style but also as a genuine look for running errands. Gather everything on top of your head with a soft scrunchie or silk scarf tied just tight enough to hold, loose enough to not dent your curls.
The mistake most people make is pulling the hair too tight at the base. That flattens the front and creates tension at the hairline. Keep it loose, and let the curls fan out naturally at the top. If your hair is too short for a full pineapple, a half-up version works — pull only the crown into the puff and leave the sides down.
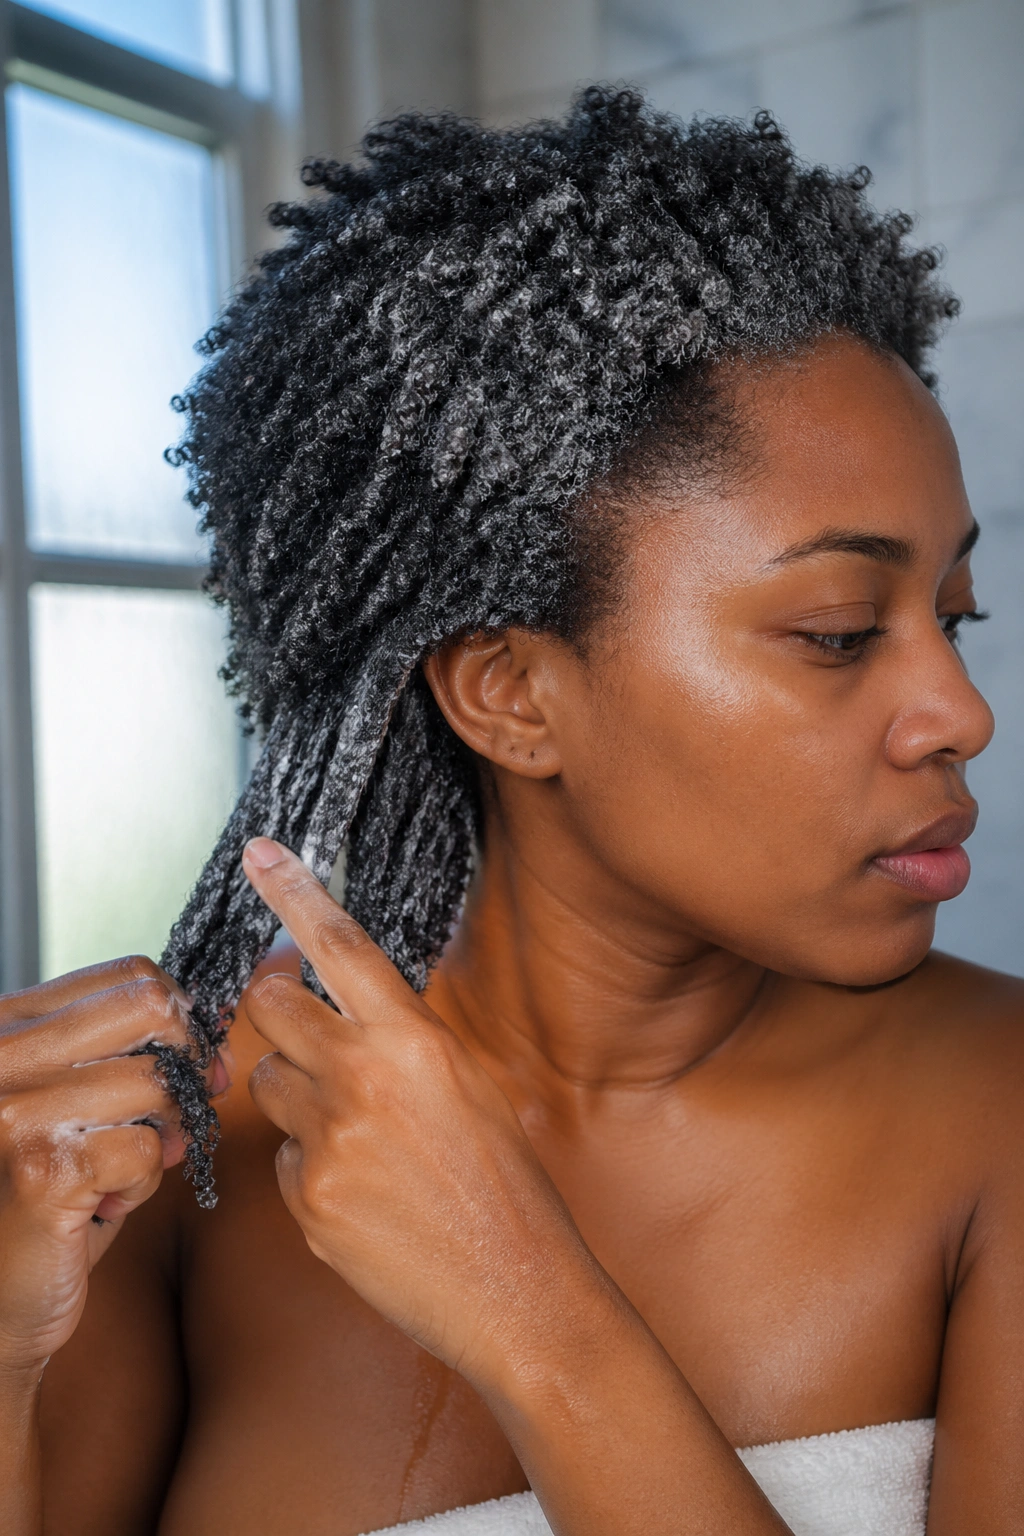
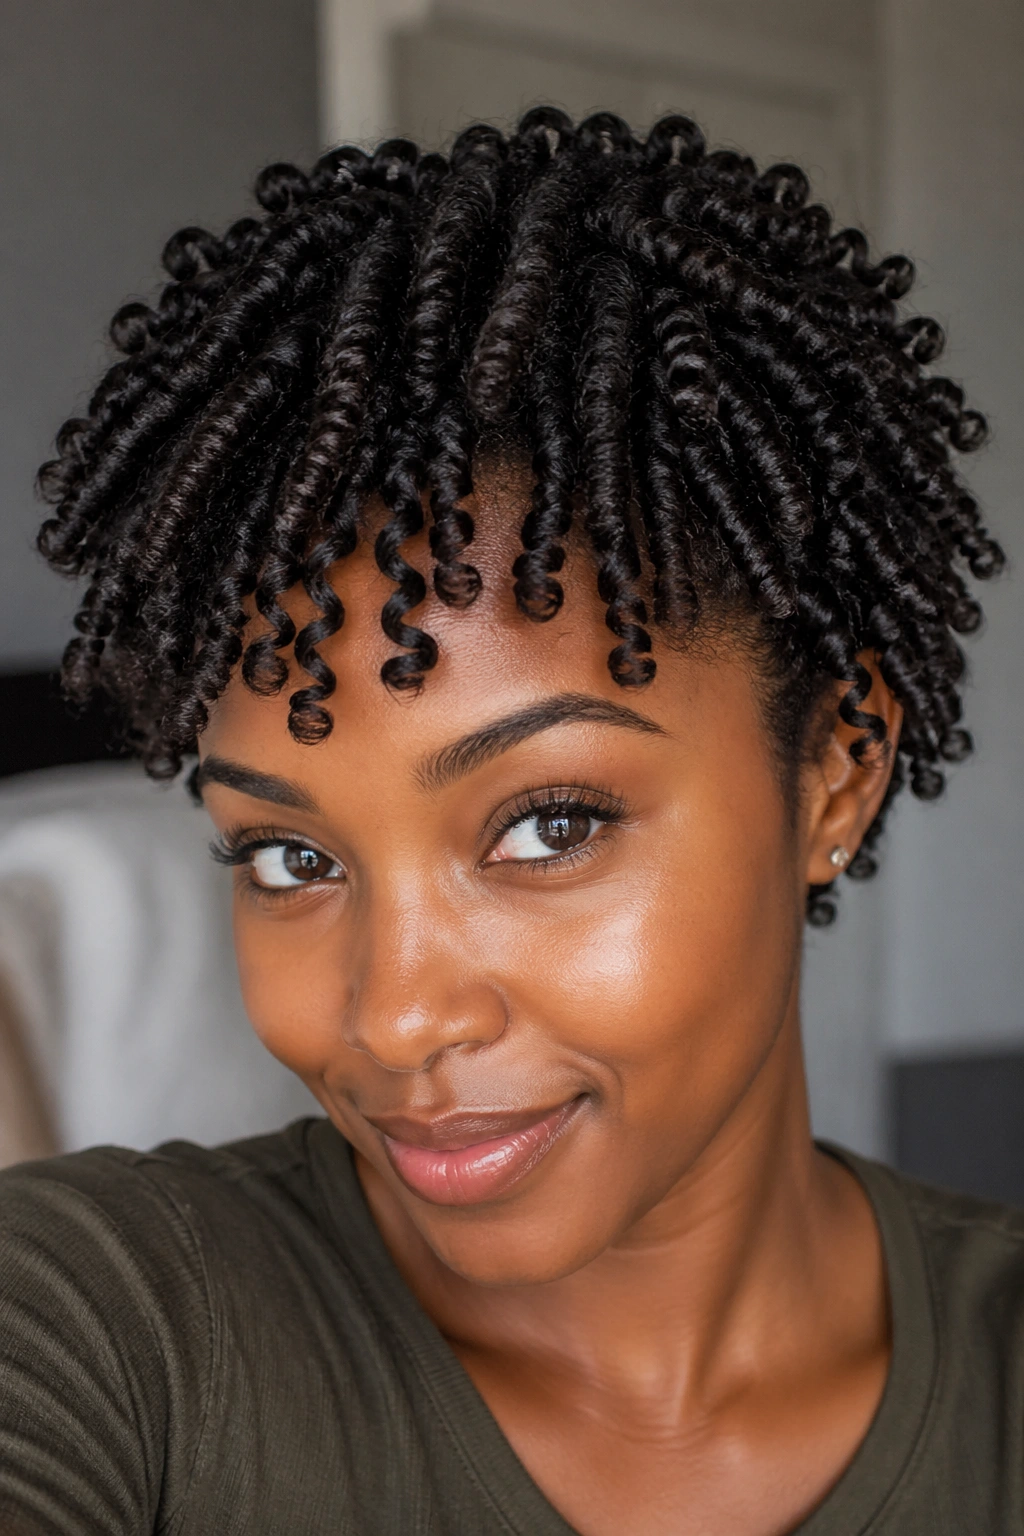
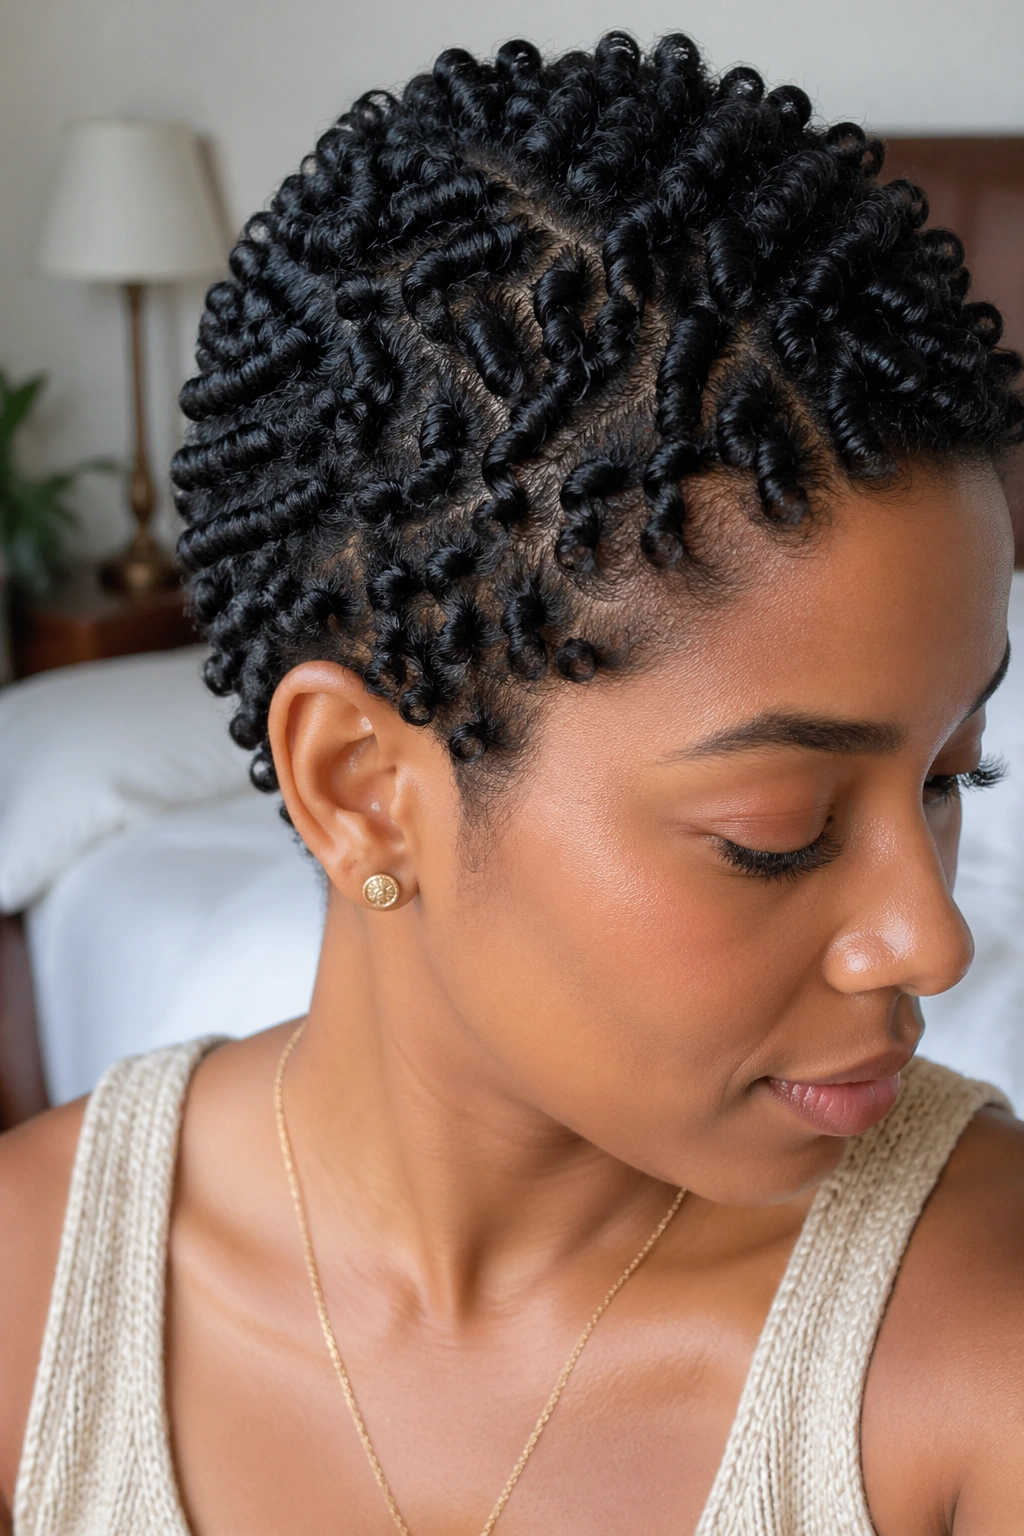
4. The Finger-Coiled Crown
This one is slow. Plan an hour if your hair is mid-ear length. But the payoff is curls so defined they almost look like doll hair.
Section small — half-inch by half-inch squares all across your head. Dampen each section with a water spray, add a small amount of curl cream, and twirl the section tightly around your index finger. Hold it for three seconds, release, and move on. The finished set doesn’t need to dry overnight — you can wear it immediately and the coils will tighten as they air-dry.
Unlike twist-outs, finger coils stay separated. There’s no unraveling step. What you set is what you wear for the next two to three days until you rinse and restart.
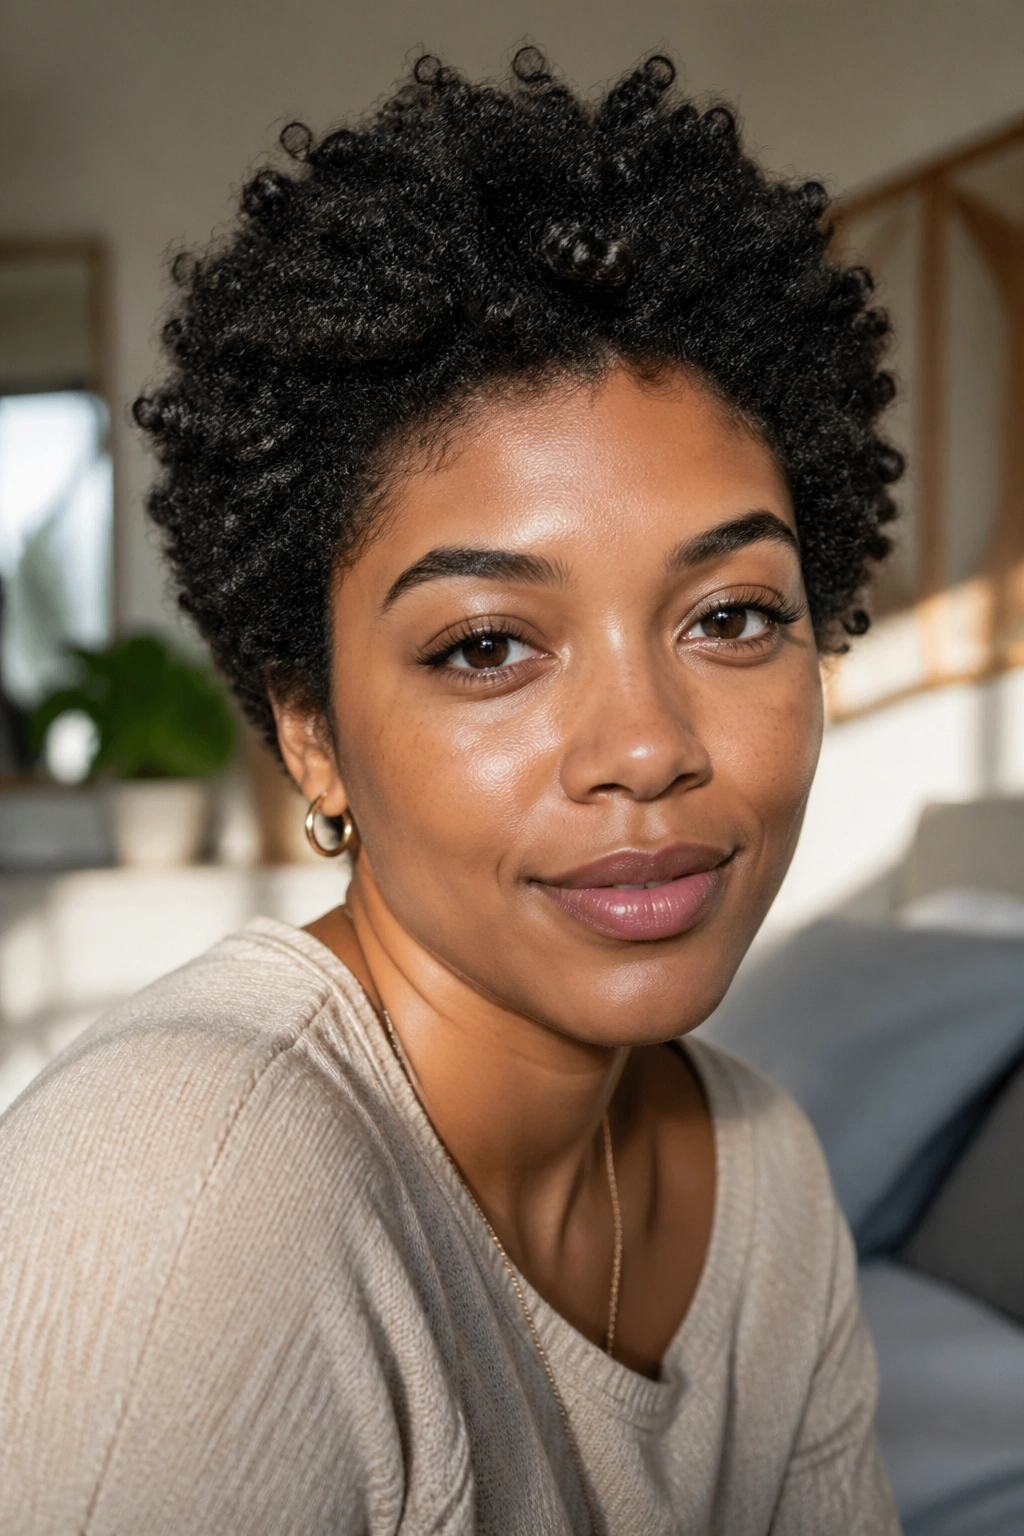
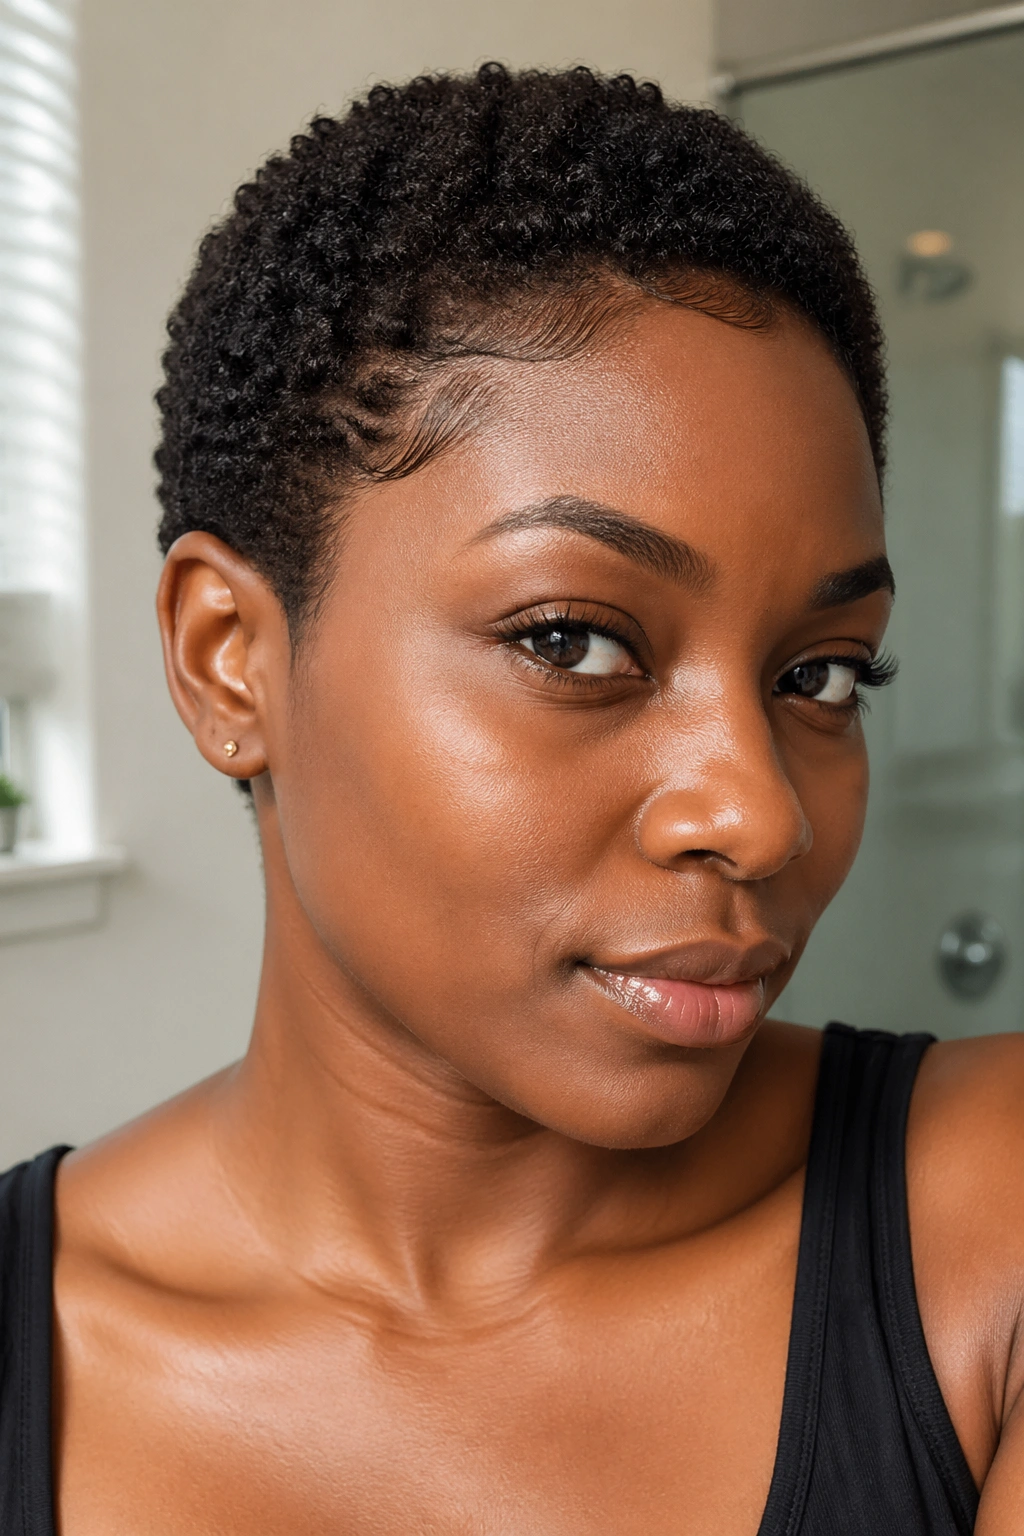
5. The Low-Maintenance TWA Shape-Up
For hair that’s still in the early growth phase after a big chop, a simple shape-up is all the style you need. Brush a small amount of a moisturizing leave-in through the hair with a soft bristle brush, let it dry, and pat gently to set the shape.
The edges are where this style lives or dies. Use a small amount of edge gel and a clean toothbrush to lay down the perimeter — don’t overdo it. Aim for a soft, clean outline rather than sharp painted-on swoops. The goal is natural and polished, not plastered.
This style photographs beautifully under natural light, and it takes less than five minutes start to finish.
6. The Bantu Knot Set
Big, sculpted curls without a curling iron in sight. Bantu knots set on damp hair unravel into spirals that can last four or five days if you take care of them at night.
Section your hair into twelve to twenty squares depending on how tight you want the curl. Twist each section until it begins to coil on itself, then wrap it around the base and tuck the ends. The tighter the section, the tighter the finished curl. Let them dry fully — this can take a full day on thicker hair — before you unknot.
When you unravel, go slowly and use a drop of oil on your fingertips. The spiral pattern is fragile at first and will relax into a softer, fuller shape over the course of the day.
7. The Side-Part Finger Wave
A vintage look that costs nothing and lasts a full day if you do the set correctly. Part your hair sharply to one side, apply a firm-hold gel in generous amounts, and use the side of your finger to push the hair into a wave pattern against your scalp.
The waves need to dry without being touched. A silk scarf tied loosely over the set while you make breakfast or do your makeup helps the shape hold. Once dry, lift the scarf and the waves should stay put.
This works best on hair that’s relaxed or loosely textured, but I’ve seen it done beautifully on 4B hair with enough gel and patience.
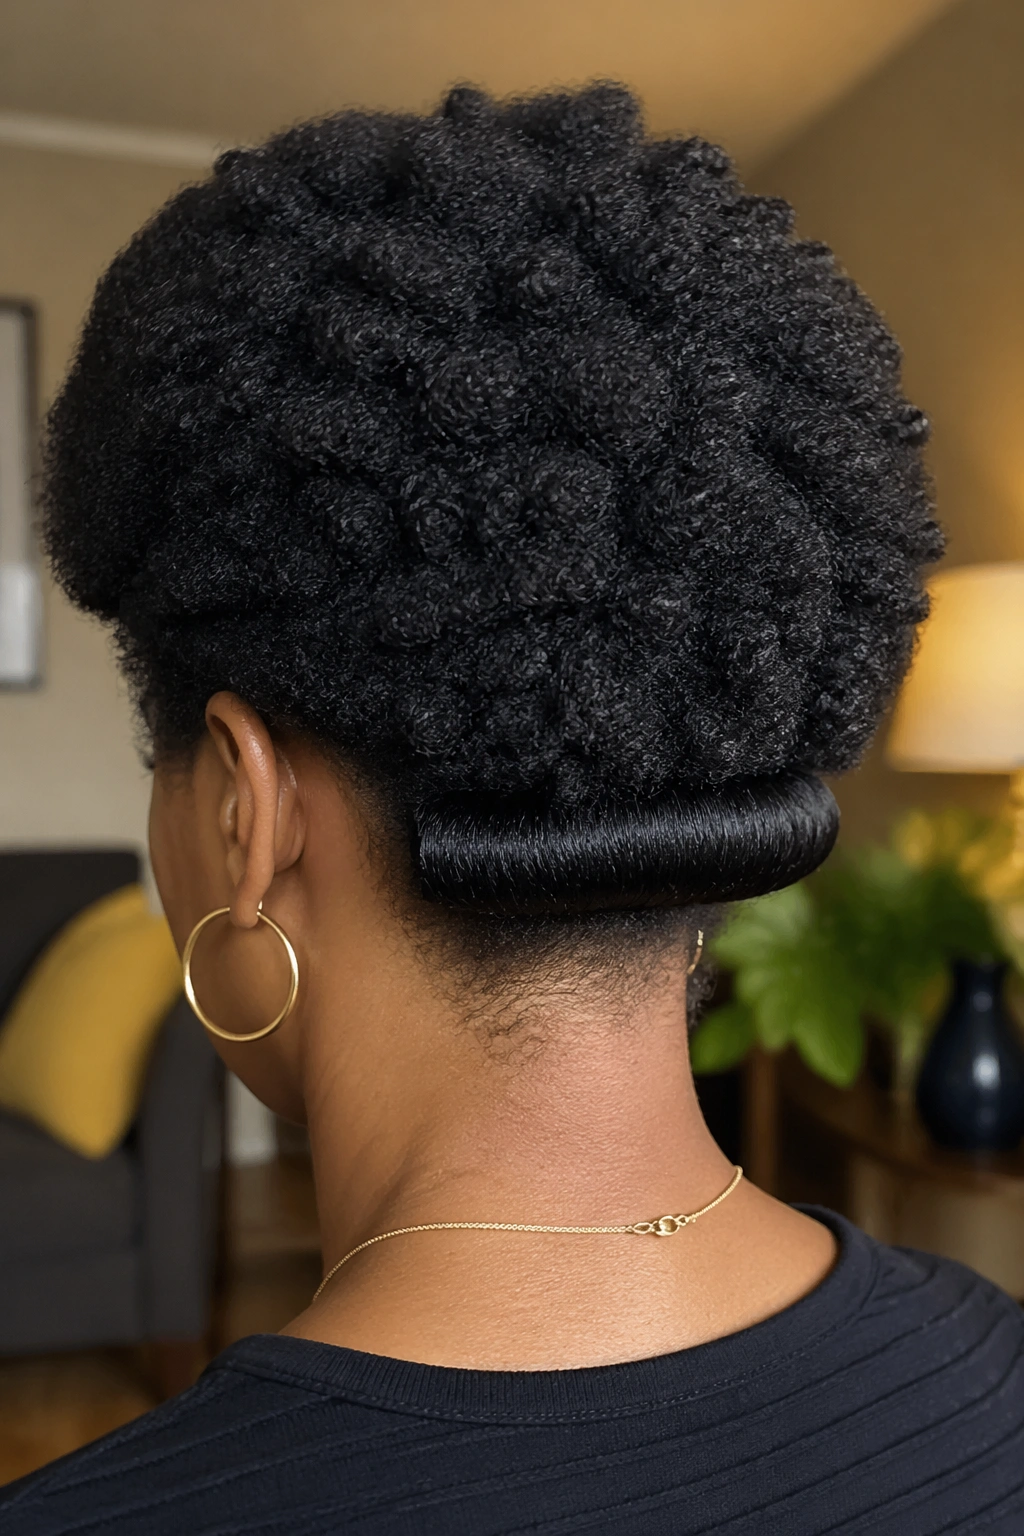
8. The Afro Roll Under
Picture a short afro with the bottom inch of hair subtly curved inward toward the neck. That’s the roll under. It softens the shape of a round afro and gives the outline a tailored look without flattening the volume on top.
How to Get the Roll Without Heat
Mist the bottom inch of hair until damp. Work a small amount of hair butter through just that bottom section. Using a flexi rod or a foam roller, roll the ends under toward your neck, securing the roller against your scalp. Let it dry for two to three hours, or overnight if you have the time.
When you remove the rollers, the top of your afro stays full and round, but the ends curve under neatly. It’s one of those styles that looks effortless and takes about fifteen minutes of actual work.
9. The Half-Up Mini Puff
A tiny puff on the top of the head, the rest of the hair left down in its natural shape. Cute, practical, and a life-saver on second-day hair when your crown is flat but the sides still look okay.
Gather only the front and top sections — roughly from ear to ear across the crown — and secure with a small soft tie. The rest hangs free. If your hair is long enough, you can add a tiny bow or scarf tied around the base of the puff for a softer finish.
Don’t fight second-day crown flatness. Lean into it by pulling everything up top. The puff distracts beautifully from any unevenness beneath it.
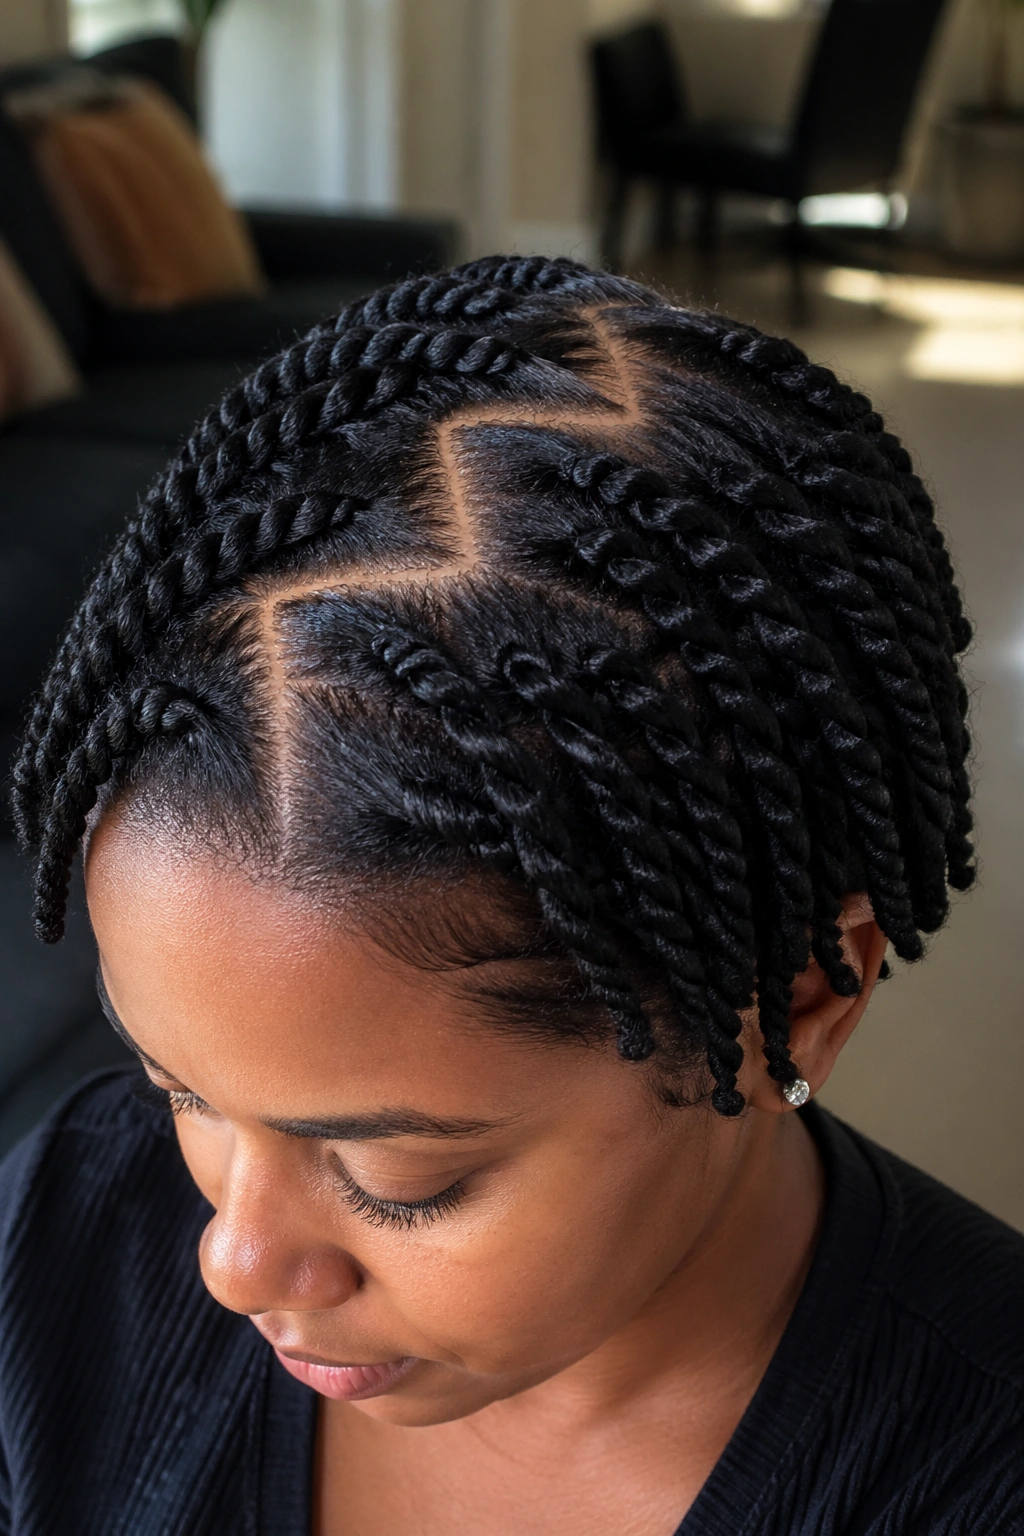
10. The Zigzag Part Twists
Unlike straight parts, zigzag parts create visual movement across your scalp and make short hair look fuller. Using the tail end of a rat-tail comb or even your pinky finger, draw a zigzag line from your forehead to the back of your crown. Divide the hair into large sections along that line.
Twist each section loosely — two-strand twists work, flat twists work better if you can do them. The zigzag part becomes a design element on its own, visible even from a few feet away. You can leave the twists in for a week as a protective style or wear them for a day and unravel for a crinkled twist-out effect.
Who This Is For: anyone tired of the straight middle part or the single side part. The zigzag adds personality without adding any extra steps.
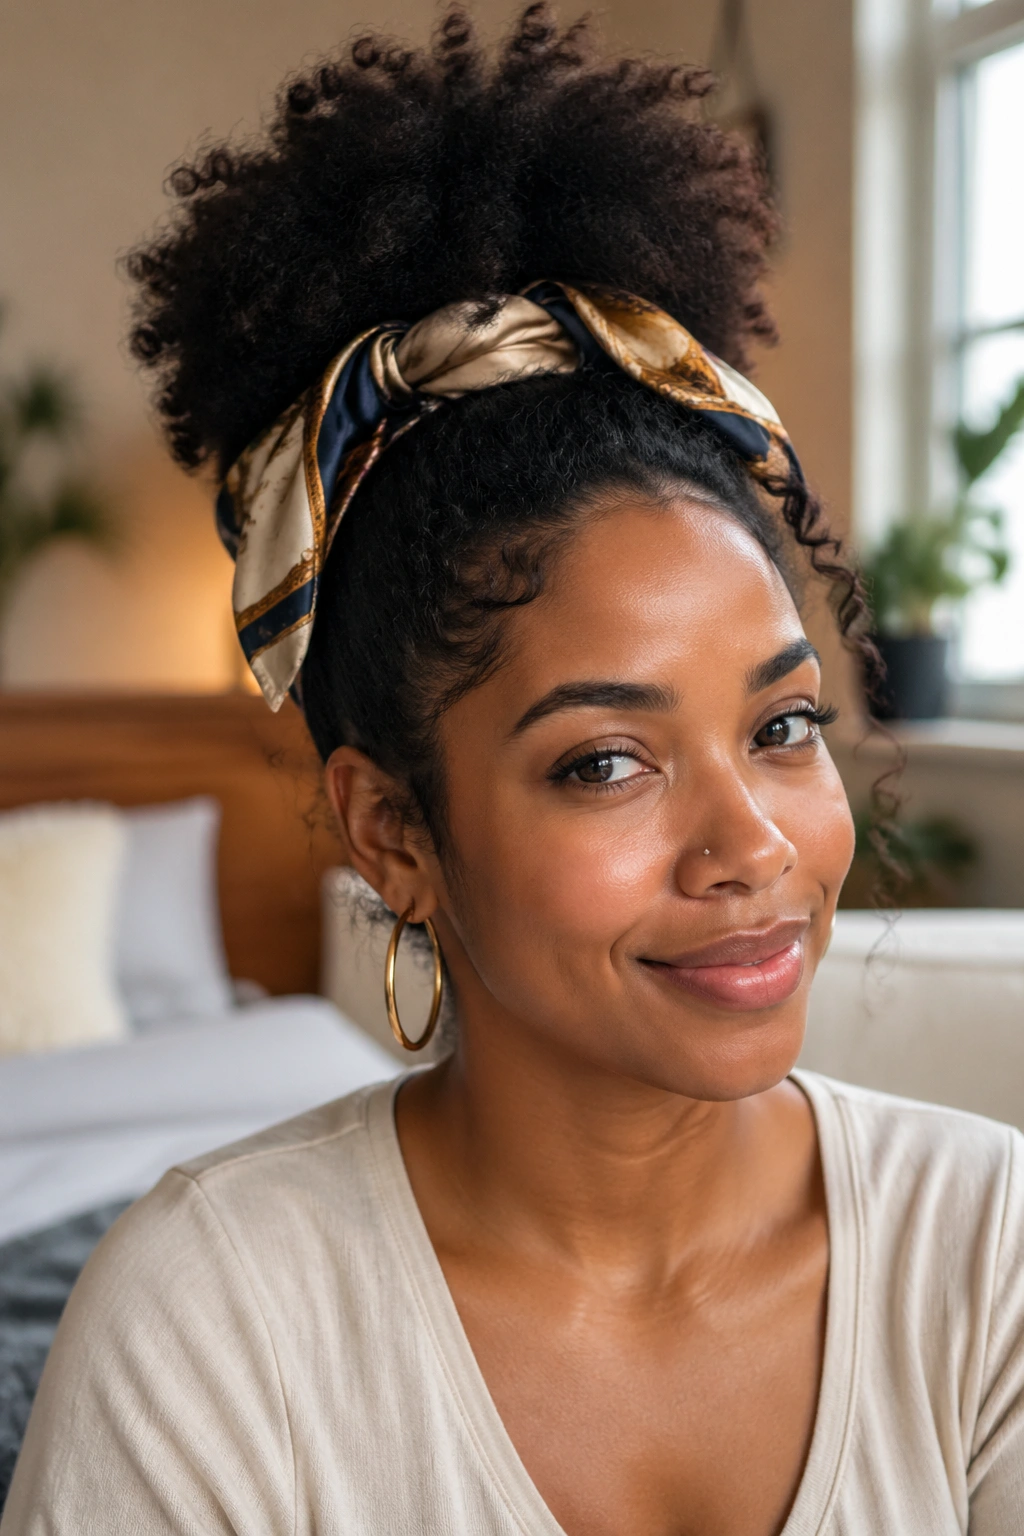
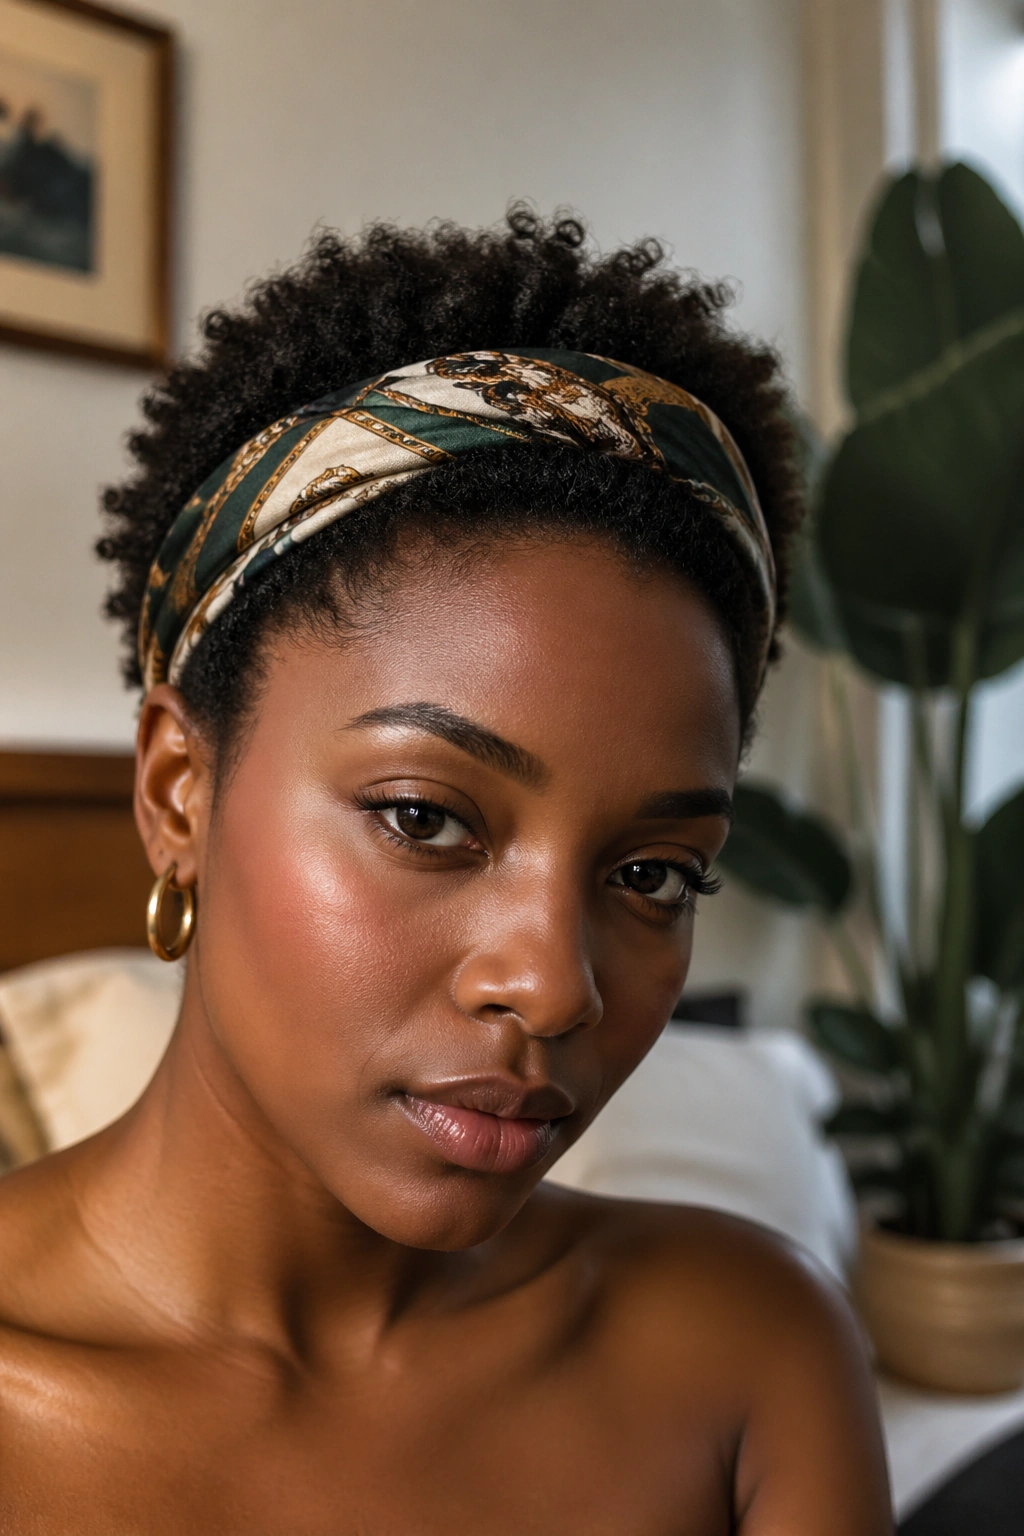
11. The Scarf-Tied Headband Look
Not a style in the traditional sense — more of a finishing touch that transforms a basic short afro into a styled look. A silk or satin scarf folded into a thin band and tied around the hairline pulls the look together in seconds.
Fold your scarf lengthwise until it’s about two inches wide. Place it across the front of your hair, just behind your hairline, and tie it at the nape of your neck or at the crown depending on the look you want. The trick is to let some hair peek above the scarf for volume — don’t try to flatten everything beneath it.
This works on every length from a true TWA up to a six-inch afro. The scarf absorbs no oils from your hair, so it doesn’t trap moisture against your scalp.
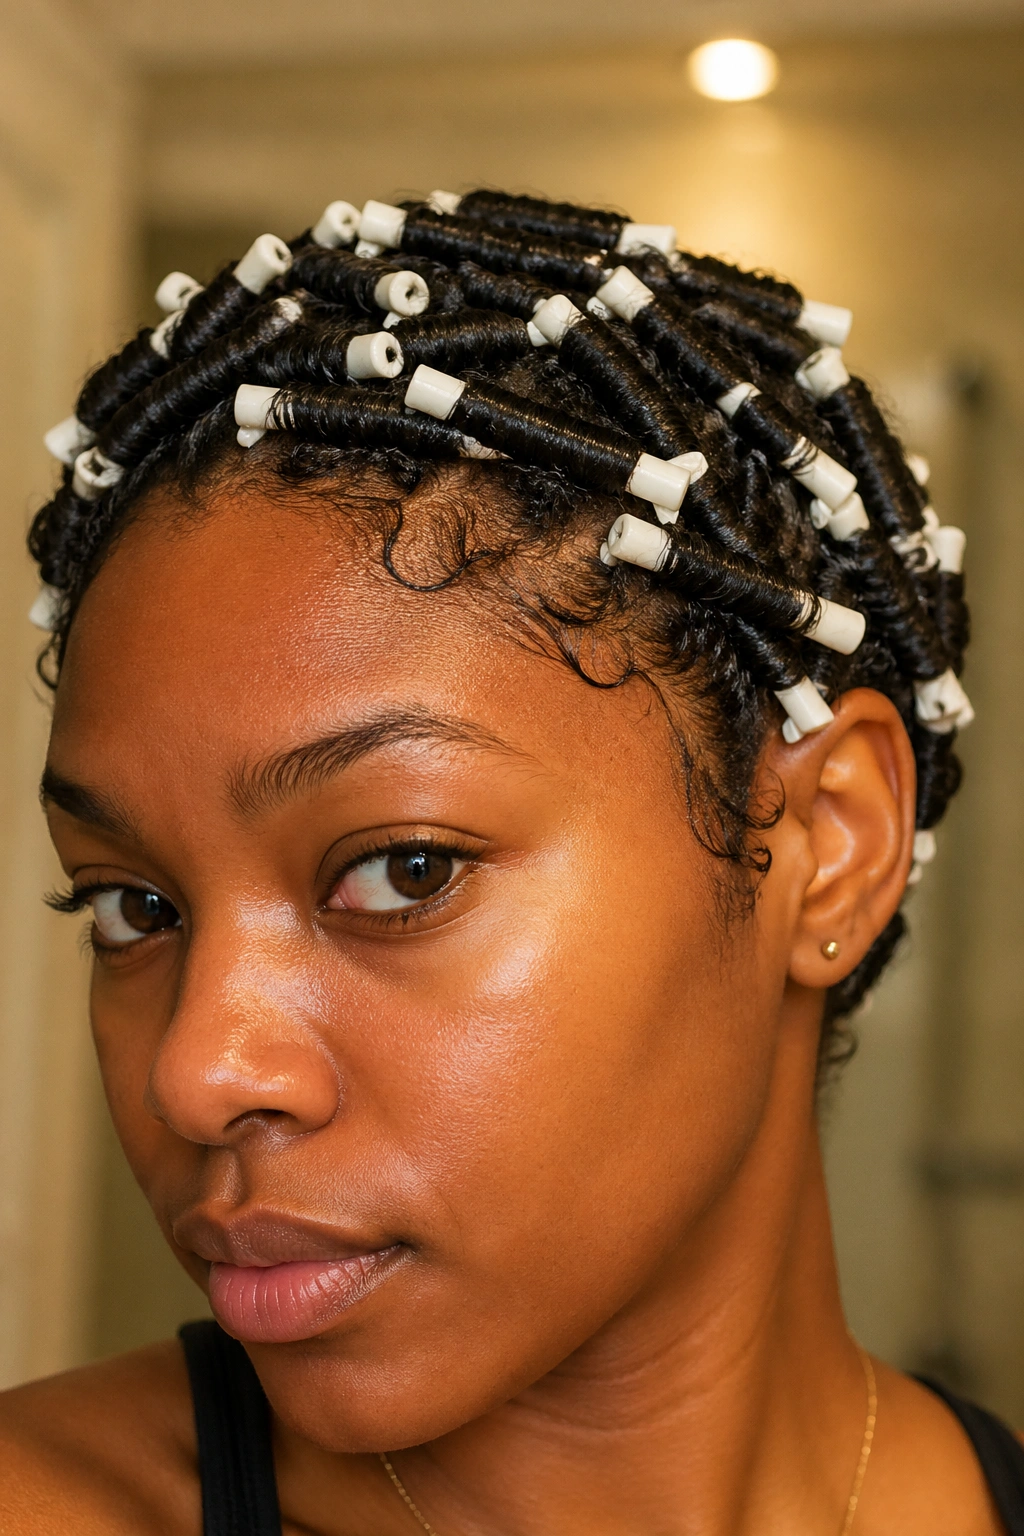
12. The Overnight Perm Rod Set
Perm rods are the unsung heroes of heatless styling on short hair. A full set takes about forty minutes to install but the results last a week if you wrap properly at night.
Use small rods for tight spiral curls or medium rods for fuller waves. Work on damp hair, section by section, and wind each section from the ends up toward the root. The tension has to be firm but not painful — if your scalp aches, you’ve wound too tight.
Let the rods dry overnight. Unravel in the morning by holding the base of each coil and unwinding carefully, and use a pick to separate and lift the roots for height. The finish is shiny, bouncy, and completely heat-free.
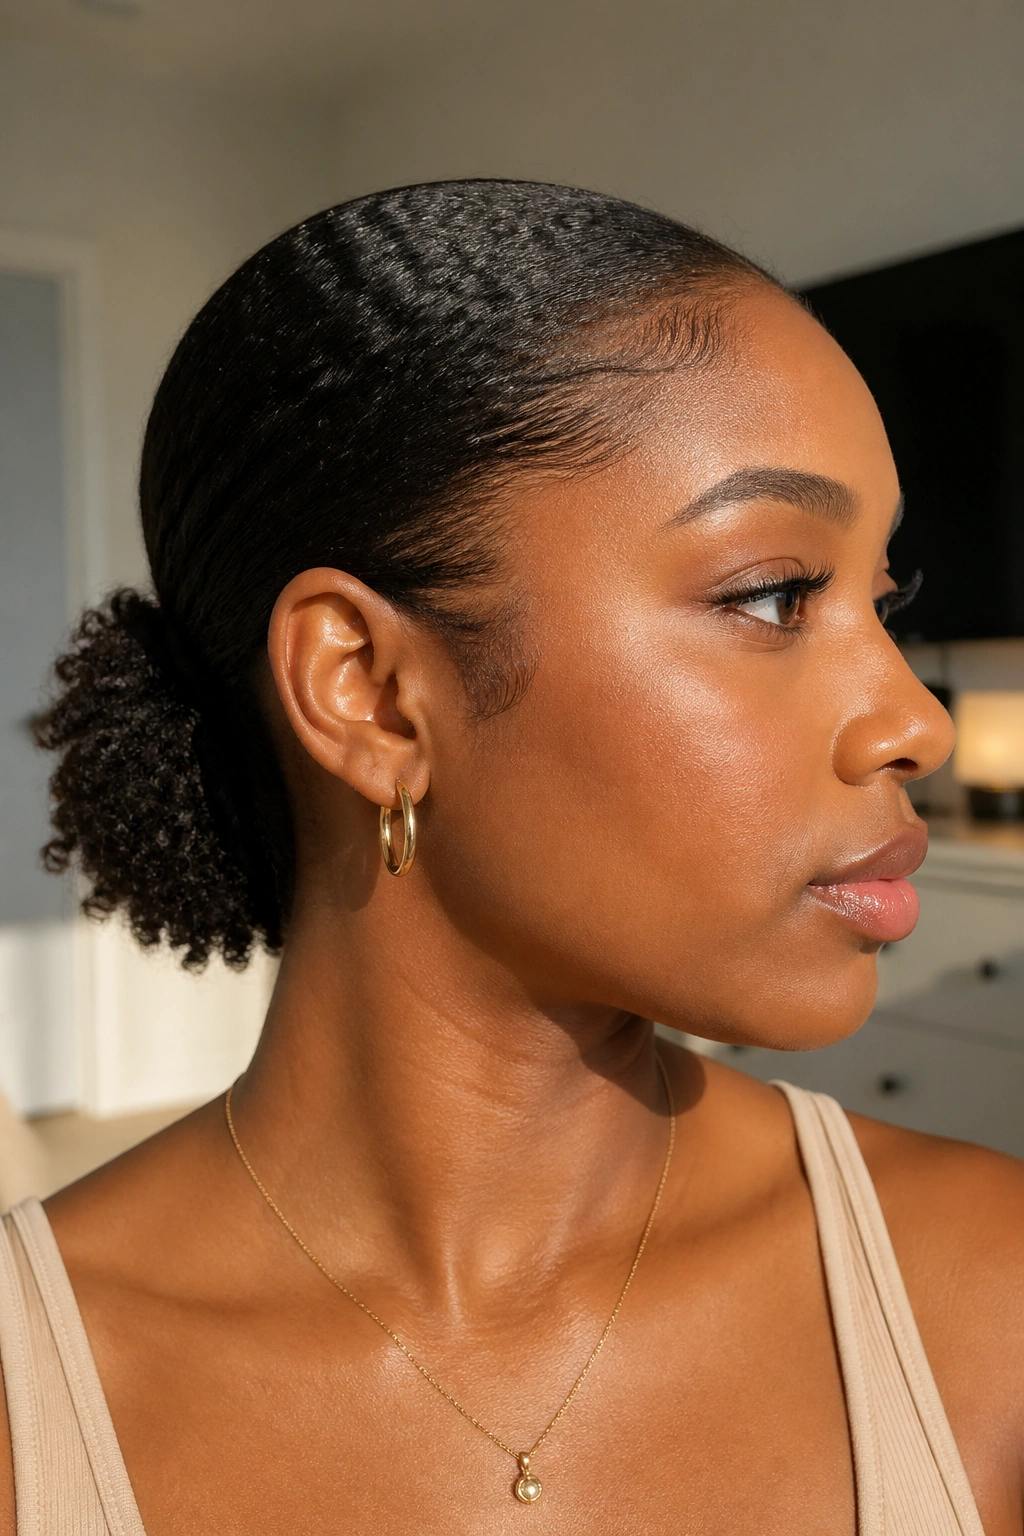
13. The Gel-Slicked Low Pony
For hair that’s long enough to gather at the nape. Work a generous amount of clear gel through wet hair using a soft boar bristle brush, pulling everything back and down toward the base of your skull. Secure with a small elastic covered with a piece of matching hair wrapped around it.
The finish is sleek at the front and mini-burst at the back. On short hair, the “pony” might only be an inch or two, but the contrast between the smooth crown and the puff at the nape creates a clean, intentional shape.
This is the fastest way to look pulled together when you have nowhere to hide.
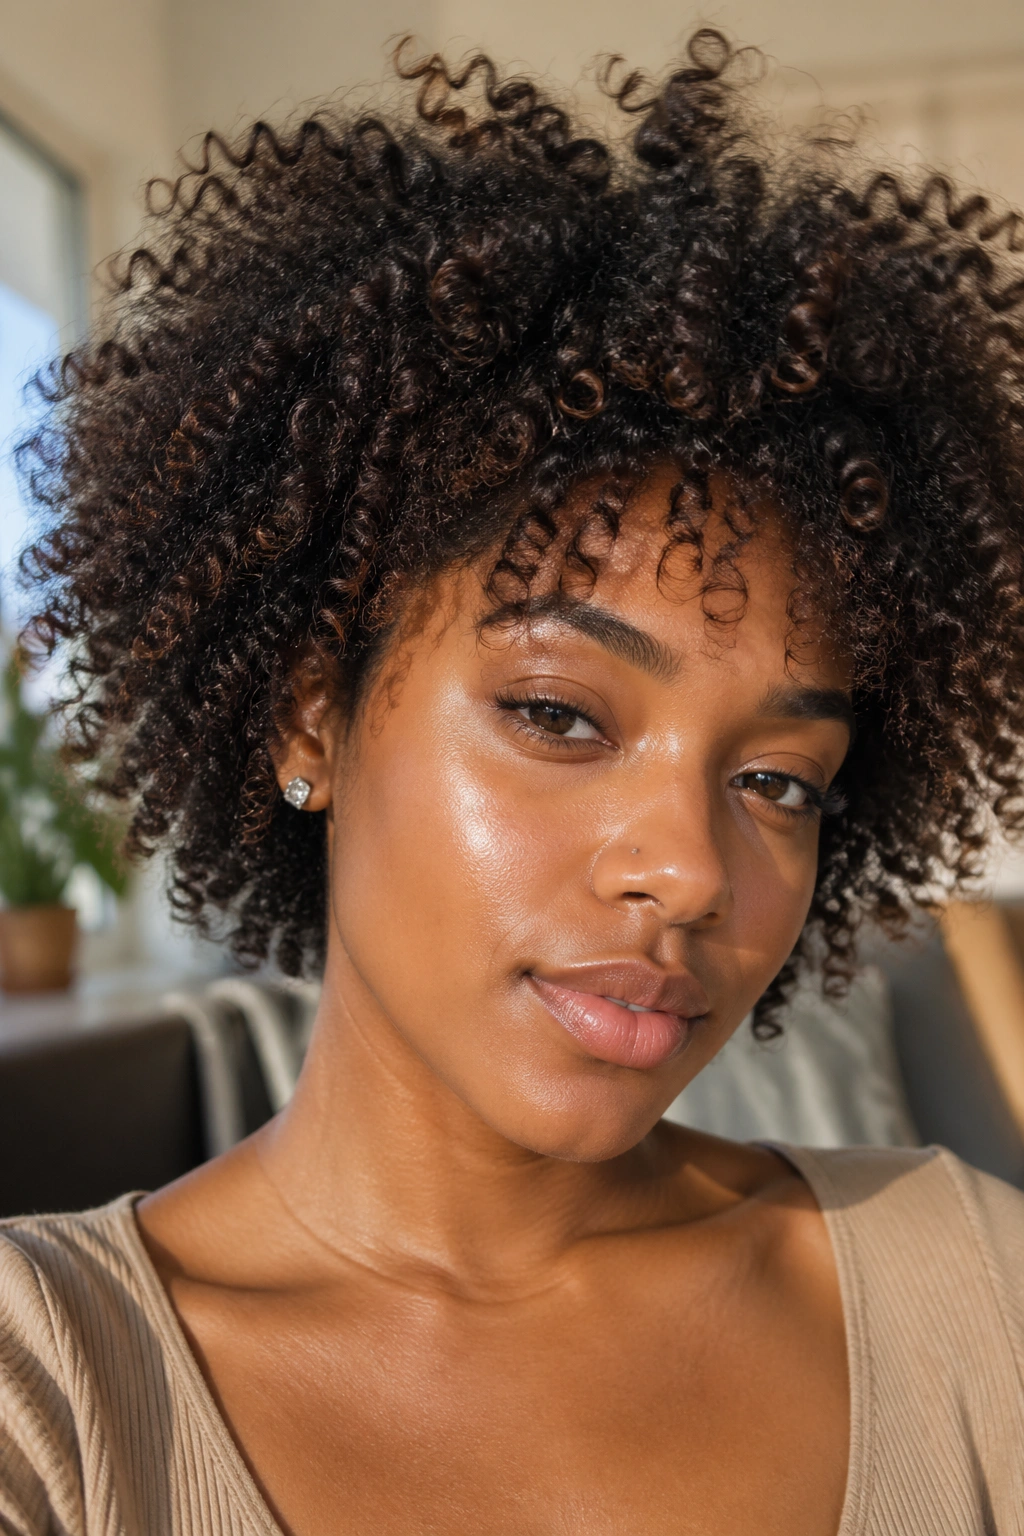
14. The Messy Curl Cloud
Some days you want definition. Other days you want volume and movement. This one is for volume days. Skip the gel entirely and use only a leave-in and a hair oil. Rake both through damp hair, scrunch gently, and let it air-dry.
The result is a softer, looser, more diffused shape — curls still there but no crunchy hold, no stiff cast, no structure. It looks like a lived-in version of a twist-out without the actual twisting step. My honest opinion? This is the most flattering short style on most face shapes because the softness around the hairline is unbeatable.
15. The Flat Twist Crown
Flat twists run close to the scalp, like tiny cornrows but using a two-strand technique instead of three. On short hair, a few flat twists across the crown — three or four rows — add structure without committing to a full cornrow install.
Work with damp hair and a firm styling cream. Start each flat twist at the front hairline, pick up small pieces as you work backward, and secure the end with a clip or an elastic. The rest of the hair hangs free in its natural texture.
What to Watch For
- Tension at the hairline — keep it gentle to protect your edges
- Tangles between the flat twists and the loose hair at the back
- Dry scalp buildup — a weekly oil massage keeps it comfortable
16. The Combo Braid and Fro
A short braid or two along one side paired with a full natural afro on the other side. Asymmetric, a little rebellious, and surprisingly wearable for day-to-day life.
Pick a side — usually the side with less volume — and braid two or three small braids close to the scalp, running from your hairline back toward your ear. Use small elastics to secure the ends. The rest of your hair stays in its natural shape.
The braided side acts as a negative-space accent. It makes the loose side look fuller by contrast, and it keeps growing-out edges out of your face if that’s been a struggle.
17. The Pinned-Back Swoop
Old-school and elegant. Pull the front third of your hair up and back, twist it gently, and pin it flat against the crown with a few bobby pins. The rest of the hair stays in its natural afro shape at the back.
This works for short hair that’s too long for a full TWA but not long enough for a proper updo. The twisted swoop gives you a front accent, and the bobby pins disappear completely into the texture.
Who This Is For: formal occasions, interviews, anywhere you want your face visible but don’t want to hide your natural volume.
18. The Water-Only Refresh
Not really a style, more of a wash-day extender. On the third or fourth day of any heatless set, spray your hair with water mixed with a few drops of leave-in conditioner, scrunch gently with your palms, and let it re-set.
The water reactivates the products still in your hair from your original wash day, and the curls snap back into shape without any new styling effort. Two tablespoons of water mixed with a dime-sized drop of leave-in in a spray bottle is all you need.
This one trick doubles the lifespan of every other style on this list.
19. The Puff Up Top with Gold Accents

A full top puff, pulled up high on the crown, finished with small gold hair cuffs or thin gold wire wrapped around stray curls at the hairline. The accents are the whole point — they catch the light and draw attention upward.
Gather your hair on top using a soft fabric tie. Instead of smoothing every stray curl, let a few escape at the front and sides. Slide a gold cuff onto one or two of those loose curls, or twist a piece of thin gold wire around them loosely.
Unlike plain puffs, this one has personality. And it takes maybe two extra minutes beyond a basic puff install.
20. The Afro with a Deep Side Part
A deep side part changes the geometry of a short afro completely. Instead of evenly round on both sides, the hair swings across the crown and creates a fuller, more sculpted look on the heavier side.
The trick is combing the part in firmly while the hair is damp, then smoothing the crown with a scarf for ten minutes before setting any product. The part becomes a clean line that holds for the whole day without slipping.
On 4C hair, a deep side part needs a bit of gel right along the part line to stay crisp. Otherwise the hair will drift back to its natural position within an hour.
21. The Crinkled Braid-Out
Unlike twist-outs, braid-outs produce a zigzag crinkle pattern rather than defined curls. On short hair, a braid-out set gives you maximum volume with a texture that catches the light differently at every angle.
Work a styling cream through damp hair. Braid small to medium sections — three-strand braids — from root to tip. Sleep on them overnight in a satin bonnet. In the morning, unravel slowly and fluff with your fingers, not a pick.
The finish is fuller than a twist-out and less defined, which is exactly the point. Some days you don’t want clean coils. You want movement.
22. The Wet Set with Rollers
Using flexi rods or cloth curlers on wet hair gives you the roundest, bounciest heatless curls on this list. It takes longer to dry than most other sets, but the shape is unmatched.
Section small, roll tight, and plan to leave the curlers in for at least six hours or overnight. The hair has to be fully dry when you unroll — if there’s any dampness left, the curls will flop within an hour.
How to Get the Most From It
- Use a small amount of gel for hold that survives the full day
- Roll every section in the same direction for a uniform shape
- Unroll gently and use a pick at the root only, never through the curl body
23. The Quick Curly Mohawk
The sides stay low, the middle stays full. On short hair, you don’t need to braid or pin the sides — just apply gel and smooth them flat with a brush while the middle stays in its natural curly volume.
Work the gel into just the side sections, leaving a strip about three inches wide down the middle of your head untouched. Brush the sides down and back. Let them dry. The middle strip puffs up naturally in contrast, giving you a subtle mohawk shape without any cutting or drastic styling.
This works on growing-out hair because it lets the top section become the focal point while the sides look intentional.
24. The Front Twist with Back Fluff

Two or three twists run from your front hairline over your crown, and the back of your head stays in its natural shape. The twists act as a frame for your face, and the back gives you the volume you want.
Start each twist at the hairline with damp hair and a small amount of curl cream. Twist back toward the crown and secure with a small pin. Leave the back untouched except for a light fluff with your fingers to even out the texture.
The whole thing takes about fifteen minutes once you’ve done it a few times, and it’s the perfect middle ground between a protective style and a fully loose afro.
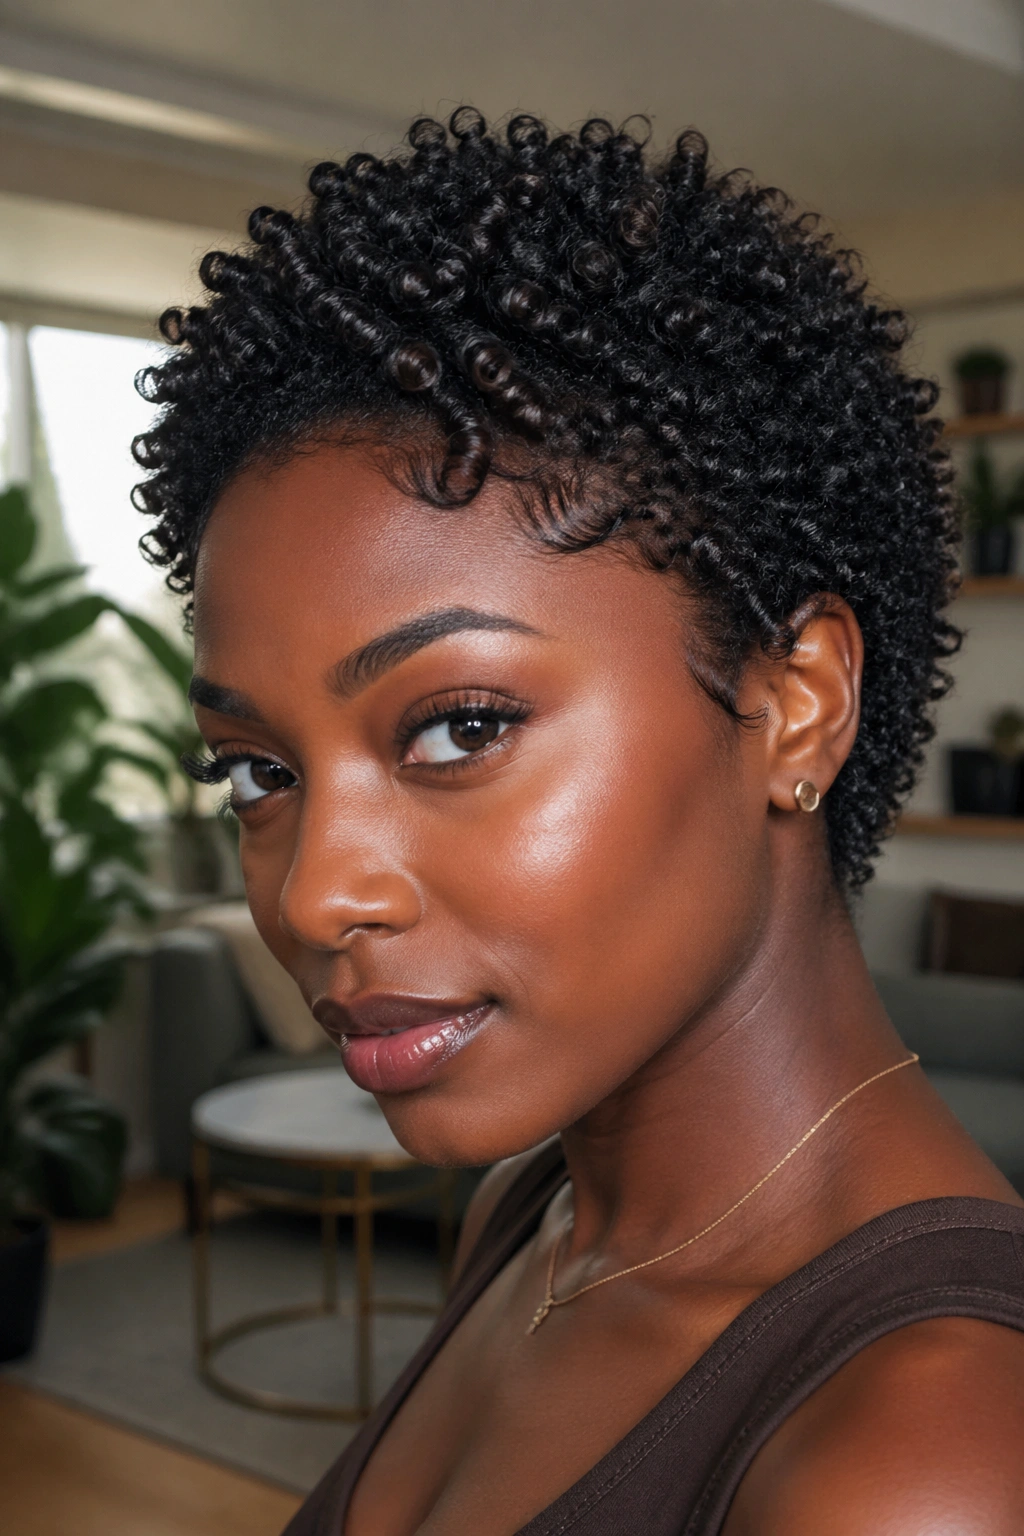
25. The Dry Finger-Styled Afro

When you genuinely don’t have time for a wash-day set, this is the move. Spray your hair lightly with a mix of water and leave-in, work your fingers through the roots, and shape the outline with a pick.
No gel. No cream. Just moisture and your hands. The finish isn’t as defined as a full styling session, but it’s presentable, it takes three minutes, and it keeps your hair healthy by avoiding product buildup.
Some weeks you need this. Don’t feel guilty about it.
26. The High Sponge-Set Curls
A curl sponge is a small plastic tool with textured holes that grip short hair and twist it into coiled patterns as you rub it in circular motions. On true TWA-length hair, a sponge creates defined coils all over the head in about five minutes.
Dampen your hair, apply a small amount of curl cream, and move the sponge in tight circles across your entire head. The pressure and the texture of the sponge do the work. When you’re done, your whole head is covered in tiny, defined coils.
The Catch: sponge curls look best on hair that’s between half an inch and two inches long. Any longer and the sponge can’t grip effectively.
27. The Asymmetric Fade Fro
Short on one side, fuller on the other. If you already have a fade or undercut on one side, a heatless afro style just means letting the top grow full and shaping it naturally with moisture and a pick.
The fade handles the side definition for you. All you have to do is keep the fuller top hydrated and picked out. A light oil on the scalp once a day, a quick pick for lift in the morning, and you’re done.
Who This Is For: anyone who wants a sharper silhouette without giving up natural texture on top. The contrast between the smooth fade and the full fro is what makes the look work.
28. The Protective Pin-Up with Curly Bangs
Pin the back of your hair flat and let the front hang loose as curly bangs. On short hair, this means creating a small roll at the back of your crown and securing it with pins, then fluffing the front into a soft fringe that falls across your forehead.
Twist the back sections into a small roll, tuck them upward against your crown, and anchor with bobby pins that match your hair color. The front sections need only a light spritz of water and a pinch of curl cream to define into a soft bang shape.
It’s the short hair equivalent of a low bun with curly bangs — elegant, protective of the ends at the back, and face-framing at the front.
How to Keep Any of These Styles Looking Good on Day Two and Three
The first night is where most heatless styles go wrong. A cotton pillowcase pulls moisture from your hair and snags the edges, and by morning the shape is flattened on one side and frizzed on the other. Switch to a satin or silk pillowcase, or tie your hair in a satin scarf before bed. Either one works.
Before sleeping, gather your hair loosely on top of your head in the pineapple method — no tight tie, no bobby pins — and secure with a soft fabric scrunchie. This keeps the curls from being crushed flat against your pillow.
In the morning, a spray bottle with water and a few drops of leave-in conditioner is all you need. Mist the roots, scrunch gently, and shape with your fingers. The whole refresh takes three minutes.
The Mistakes That Undo Every Style on This List
Over-manipulating wet hair is the most common one. Every time you touch wet curls, you introduce frizz. Apply your products, then leave the hair alone until it’s completely dry — that’s the hardest part of heatless styling, and it’s non-negotiable.
Using too much product is the second mistake. On short hair, a dime-sized amount of gel or cream is usually enough. Anything more weighs the curls down, creates a white cast when it dries, and flakes when you try to separate the hair the next day.
Skipping the satin or silk at night is the third mistake. Cotton is the enemy of every heatless style, full stop.
Picking the Right Style for Your Schedule
If you have fifteen minutes in the morning and no wash day planned, reach for a dry fluff or a water-only refresh. If it’s wash day and you want something for the week, do a perm rod set or a twist-out overnight. If you want a protective style that still looks intentional, go for flat twists with the back loose or a scarf-tied headband look.
Match the style to how much time you actually have, not how much time you wish you had. The best heatless style is the one you can maintain without resentment.
A Note on Letting Your Hair Tell You What It Wants
Natural hair has moods. Some days the curls pop with almost no effort, and some days nothing you do will make them behave. Working with your hair instead of against it is what separates good hair days from bad ones — and heatless styling forces you to pay attention to those signals in a way that heat styling never does.
When a twist-out unravels into frizz instead of definition, don’t fight it. Pivot to a puff. When a wash-and-go dries limp, don’t start over — try a wet refresh the next day and it usually bounces back. The short styles in this list are all flexible enough to shift into something else if the first plan doesn’t work.
Give yourself a few wash days of trial and error to figure out which of these styles your hair actually loves. Once you know that, heatless becomes the easiest way to wear short natural hair — not the hardest.