Somewhere between the first time you decided to go natural and the first time your hair actually did what you wanted it to do, there’s an in-between period that nobody warns you about. Easy natural afro styles for beginners exist — genuinely easy ones, not “easy if you’ve been doing this for five years” — and the gap between knowing a style exists and knowing how to execute it on your own head is where most new naturals get stuck.
This is for that gap.
The learning curve on natural hair is real but not steep. It just requires the right entry points: styles that are forgiving of imprecision, look good even when you’re still figuring out your products, and don’t demand tools you don’t own yet. Everything here fits that description. If you’re two weeks into your natural hair journey, or two months, or two years in but still haven’t found your footing — these are the styles to start with.
Why Beginner Naturals Struggle in the Beginning
It’s almost never the hair itself. Natural afro hair is not inherently difficult to style. What’s difficult is the transition from straightened hair habits — where moisture came from heat tools and hold came from hard-setting products — to natural hair habits, where moisture comes from water-based products and hold comes from cream-and-gel layering.
The tools are different. The products are different. And your hair’s behavior when it’s healthy and moisturized is completely different from when it was heat-processed. A lot of what looks like “problem hair” in the first year of going natural is actually just unfamiliar hair. You’re learning to read it.
Shrinkage is the first concept that trips people up. Your hair looks shorter than it is. This is normal. Healthy, moisturized hair shrinks significantly — sometimes up to 75 percent of its stretched length. That short look is not a sign that your hair isn’t growing or isn’t healthy. It’s a sign that it’s doing exactly what it’s supposed to do.
The Foundational Routine That Makes Any Style Work
Before anything else: water is your best friend and will remain your best friend forever in this natural hair journey.
Every natural hair style starts with moisture. On wash days, that means shampoo (sulfate-free works for most textures), conditioner, and a leave-in applied while the hair is still wet. Between wash days, that means keeping a spray bottle of water nearby and misting the hair when it starts to feel dry or loses its bounce.
The order matters: water first, then a liquid or cream leave-in, then a heavier cream or butter if you’re adding more hold, then an oil to seal. This layering — often called the LOC or LCO method — keeps moisture locked into the hair shaft rather than evaporating out by noon.
Don’t skip the deep conditioner. Every wash day, apply a deep conditioner after rinsing your shampoo, put on a plastic cap or shower cap, and let it sit for fifteen to twenty minutes before rinsing. The difference in softness and manageability afterward is dramatic. It’s the single biggest thing a beginner can do to make all styling easier.
Products to Buy First (And What to Skip)
A beginner’s natural hair kit needs five things: a sulfate-free shampoo, a conditioner you can use for deep conditioning and detangling, a lightweight leave-in, a curl cream, and a defining gel. That is the full list. Start there.
What you do not need yet: hair butters, pre-poos, hot oil treatments, protein treatments, curl activators, or any product with more than twelve ingredients you don’t recognize. All of those have their place eventually. They’re not where you start.
Edge gel deserves a separate mention. A small jar of firm-hold edge gel — the kind that’s thick enough to hold a wave when you smooth it with a brush — makes every single style on this list look more intentional and polished at the hairline. It’s a cheap product that costs under five dollars and makes a visible difference. Worth buying early.
Your Detangling Routine Changes Everything
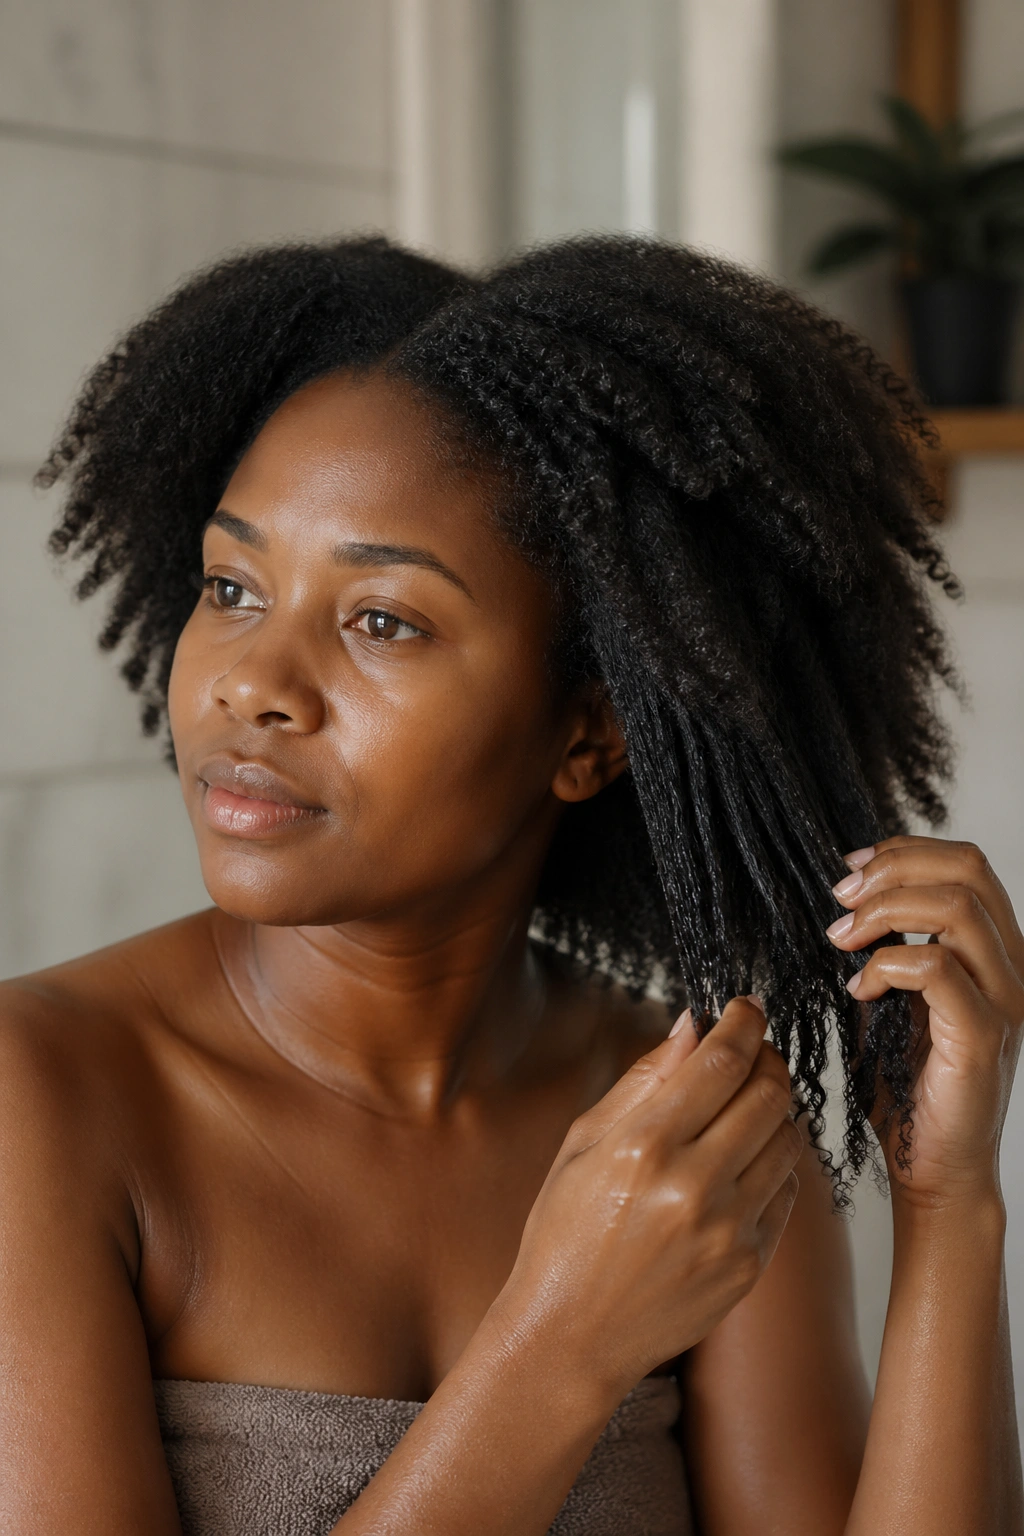
Tangled, matted hair will not style well. Period. Any style you put on improperly detangled hair will sit wrong, frizz faster, and cause more breakage when you take it out.
Detangle before you shampoo, not after. On dry or dampened hair that still has some natural slip from its own oils, tangles release with less force. Detangling on freshly shampooed hair — when the cuticle is open and rough and all natural oils are gone — is where most breakage happens.
Use your fingers first to separate large tangles. Then a wide-tooth comb in small sections, working from the ends up toward the roots. Never root-to-tip on tangled hair. The section method — working your way up an inch at a time — sounds slow but it’s actually faster because you’re not ripping through knots repeatedly.
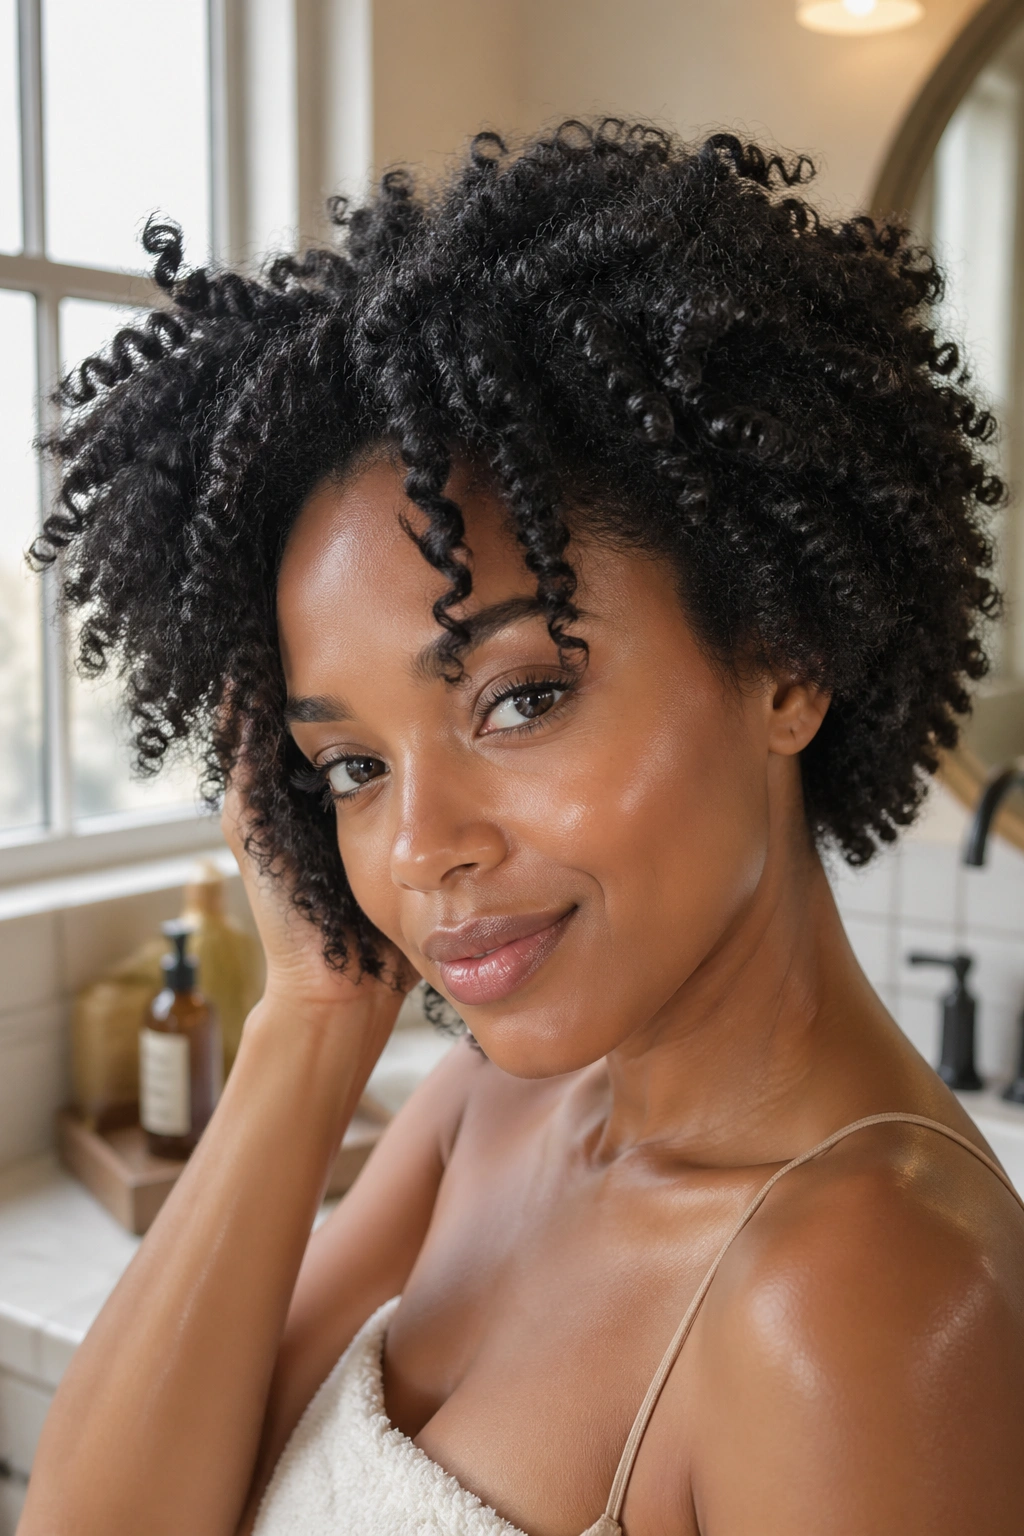
1. High Puff
Start here if you start nowhere else.
Gather all of your hair toward the top of your head — the crown area — and secure with a satin-lined hair tie. Fluff the hair that’s gathered there with your fingers or a pick. Apply a small amount of edge gel along your hairline and smooth with a soft-bristled edge brush or an old toothbrush. Allow to dry for two minutes.
That’s the whole thing. The puff is beginner-proof because it doesn’t require any particular product, any particular hair length past about three inches, or any particular technique. It works on day-one wash hair or day-five hair. It works on every curl pattern from 3A through 4C.
The satin hair tie makes a real difference. Regular elastics catch and break the hair at the nape where it’s typically thinner. Satin-lined options slip on and off without friction.
2. Two-Strand Twist
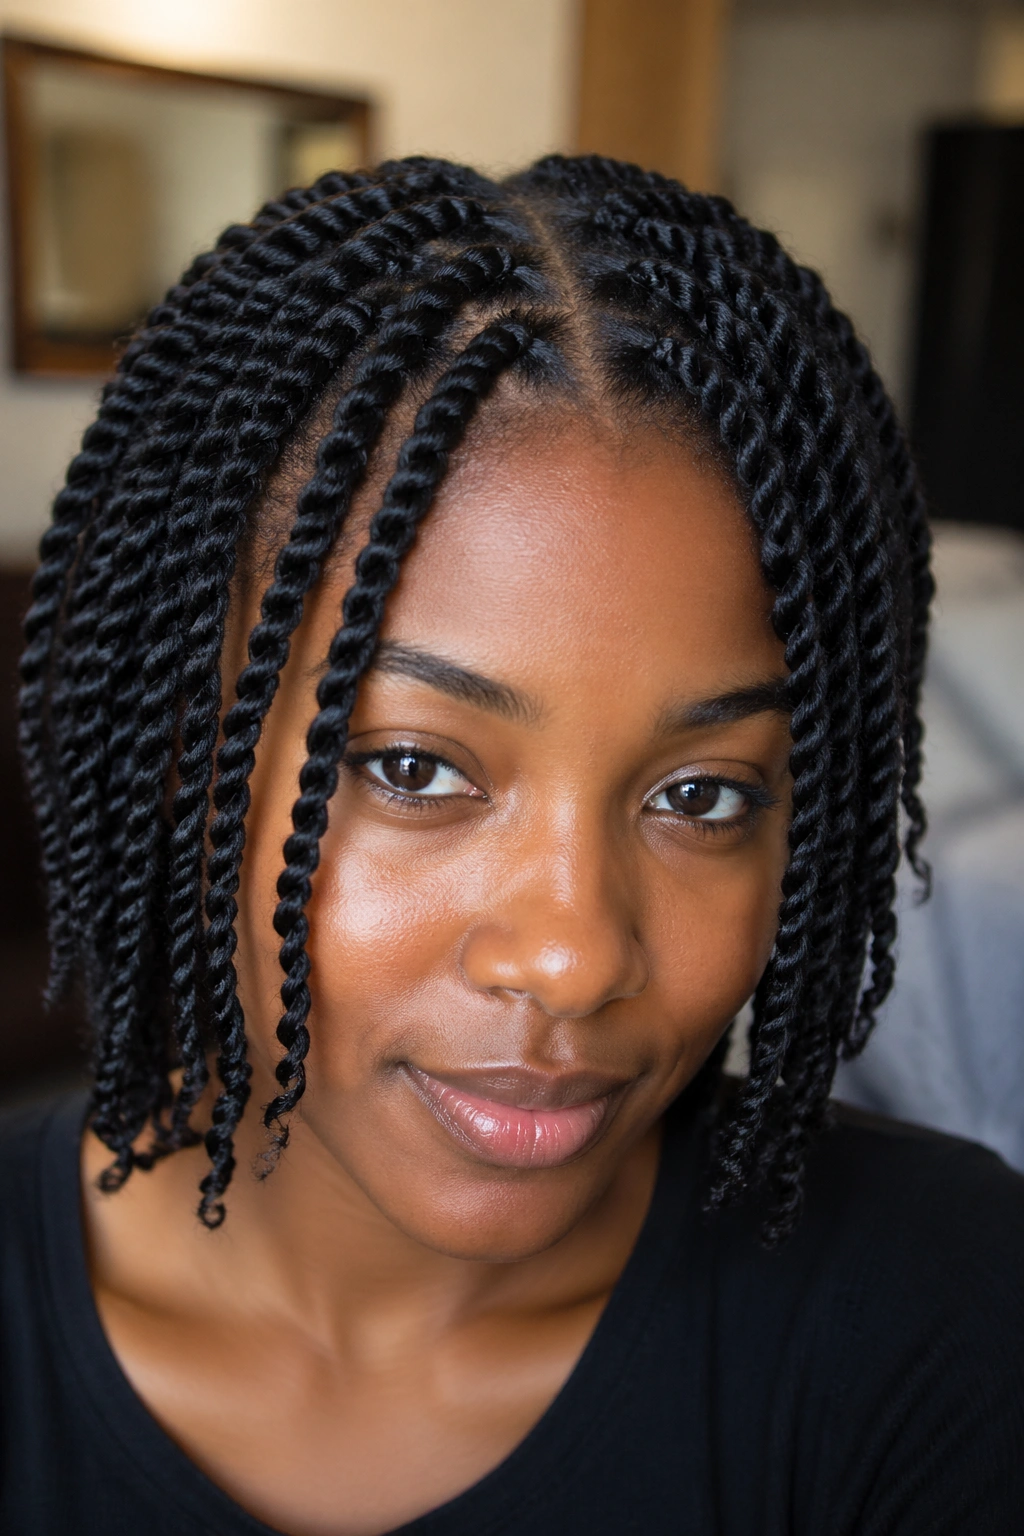
Two sections of hair, wrapped around each other all the way to the ends. That’s the whole technique. It’s the most foundational skill in natural hair — once you can do this, you can do twist-outs, flat twists, protective styles, and a dozen other variations.
Take a quarter-sized section of hair. Divide it in two equal parts. Hold one in each hand. Wrap the right strand over the left, then the new right over the new left, over and over, twisting downward to the ends. Secure with a small rubber band or bobby pin if needed.
Do this all over your head on damp, product-loaded hair. The twists look like a style on their own — wear them for a day or two. Then unravel them the next morning for a twist-out, which has a completely different look (more definition, more volume, a wavy pattern instead of the tight twist).
Beginners usually twist too loosely at first. The twist needs some tension — not pulling-your-scalp tension, but enough that the spiral stays distinct. Practice will get you there in a few sessions.
3. Braid-Out
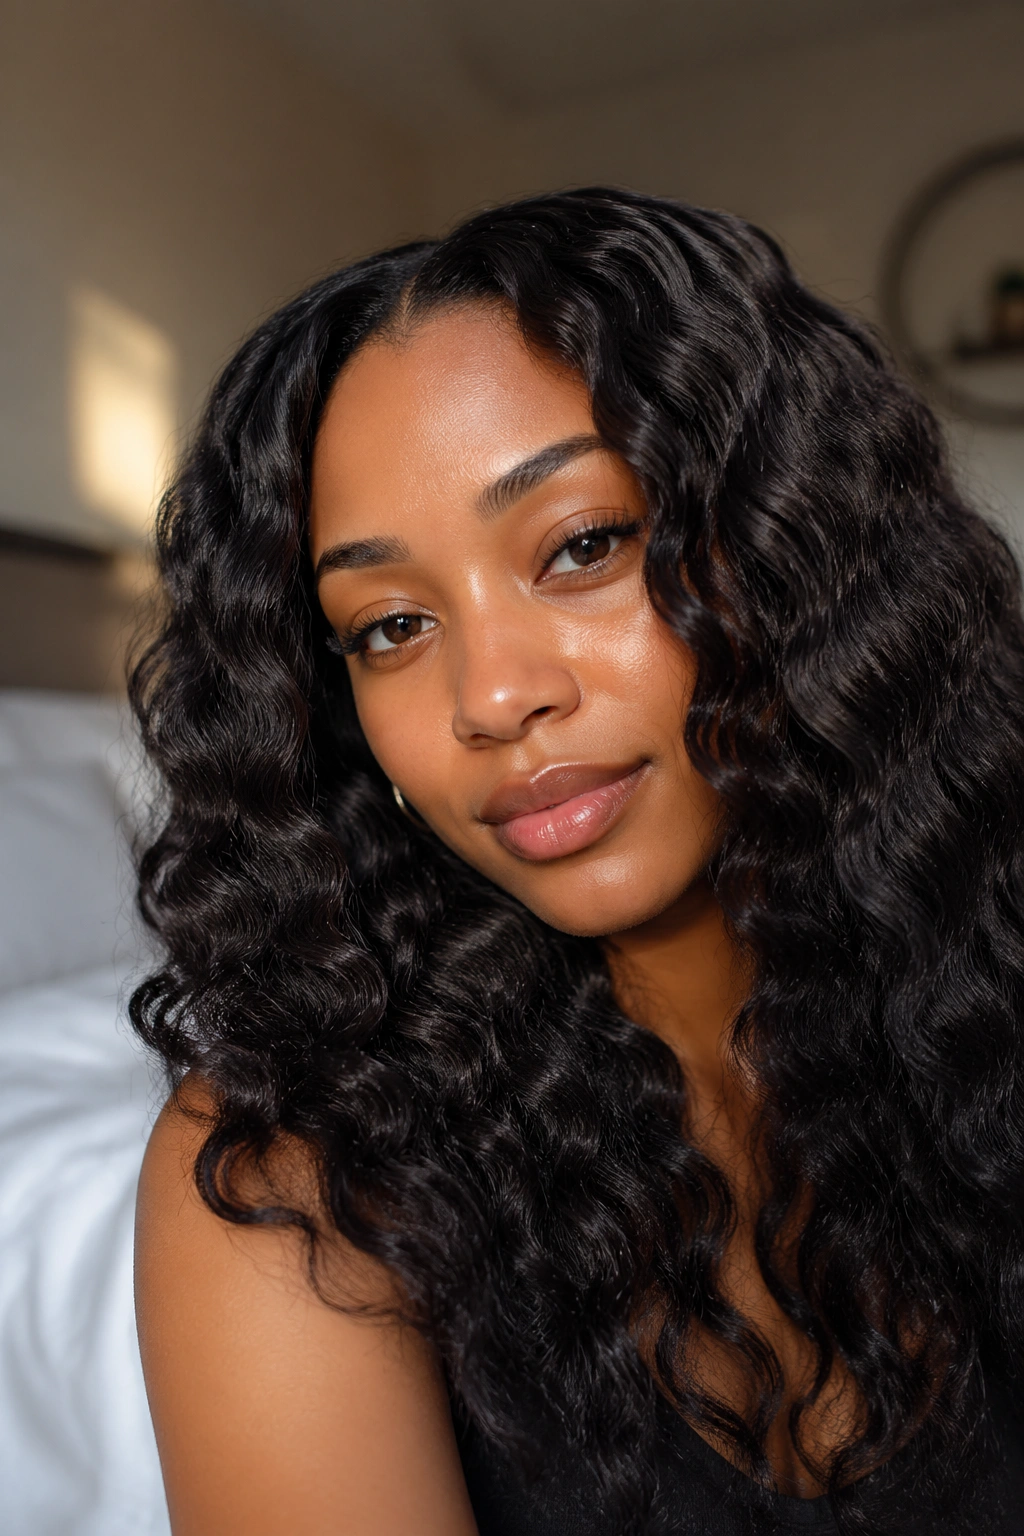
Three strands instead of two. The braid is tighter and the resulting wave pattern is more elongated and open than a twist-out. For beginners who want a looser, bigger result without a lot of product, braid-outs often give a more forgiving result.
Divide a section into three equal strands. Right strand over center, left strand over center, alternating all the way to the end. Secure. Repeat across the whole head.
Allow to dry fully — overnight is ideal. Unravel from the ends upward, keeping a tiny bit of oil on your fingertips to prevent frizz as you separate. Fluff only at the roots.
Why It Works for Beginners
The braid technique itself is something most people already know. You don’t have to learn the two-strand twist motion first. And the resulting wave is wide and soft enough that imperfections in the braid — uneven tension, slightly different strand sizes — barely show in the final look.
The finished braid-out on natural afro hair looks full and dimensional even if your technique isn’t perfect yet.
4. Low Puff or Puff at the Nape
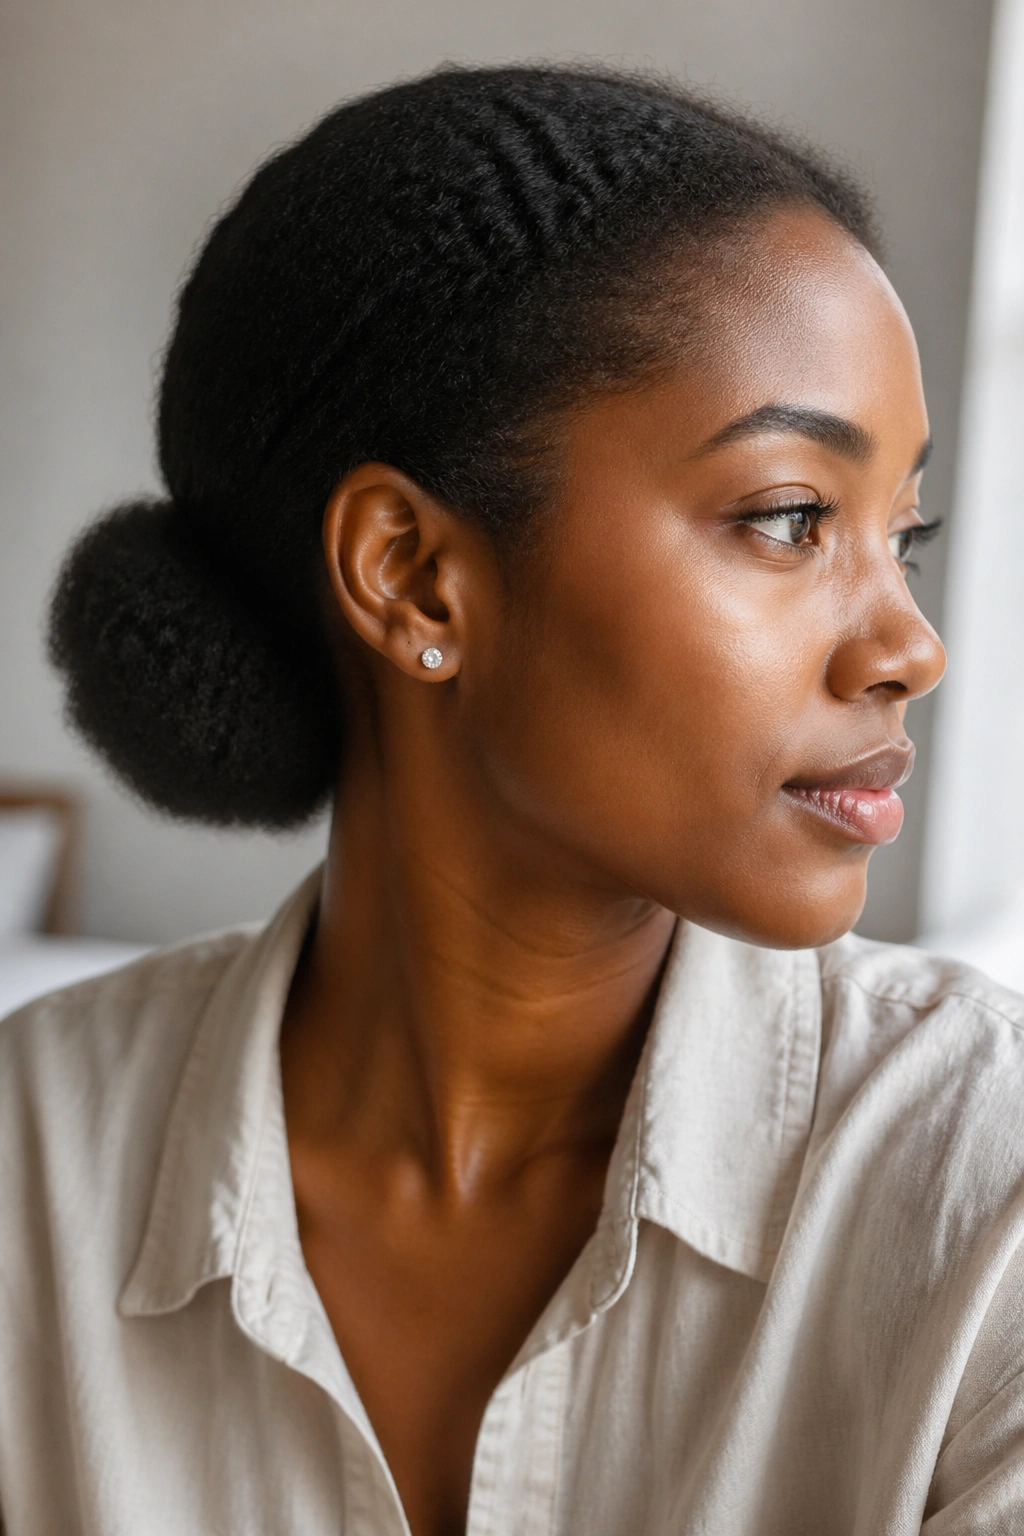
For naturals whose hair isn’t long enough for a crown puff yet, or who want a different look entirely, the low puff gathered at the nape is its own style with a different silhouette.
Gather everything toward the lower back of the head — at the nape, just above the neck — and secure. The hair that gathers there creates a round, full shape that sits lower and has a different visual weight than the crown puff. It’s softer. More relaxed.
For fine or low-density hair where the crown puff looks too sparse, the low puff concentrates all the volume in one place and makes it look fuller. For thicker or high-density hair, the low puff is a welcome change from the crown-only look most people default to.
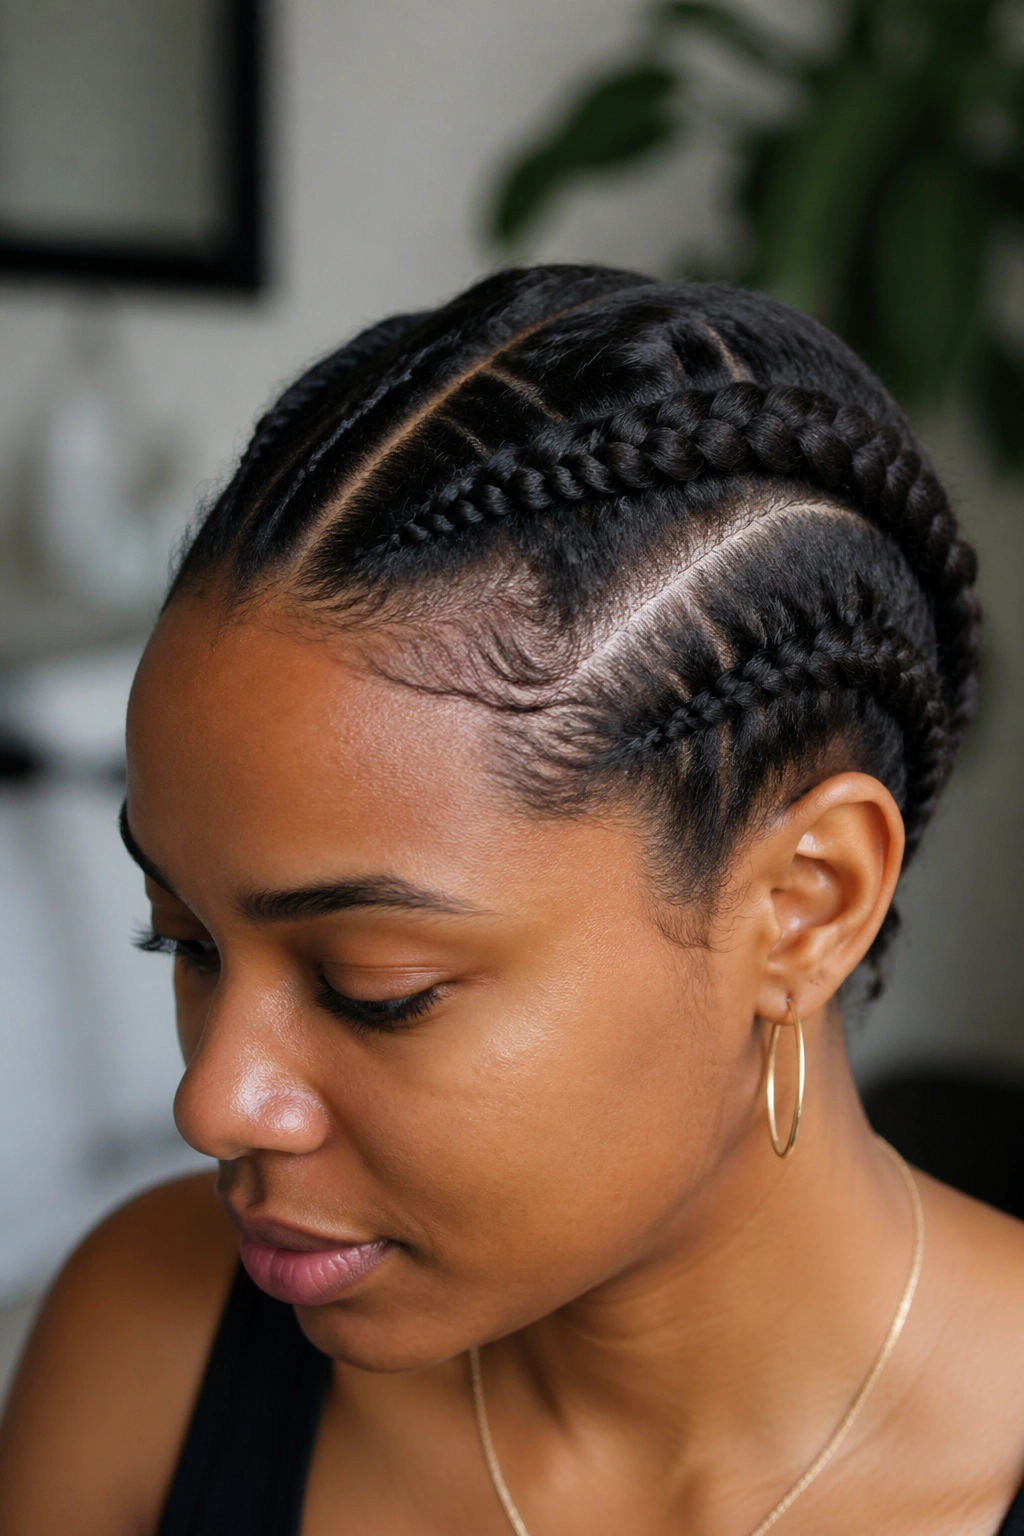
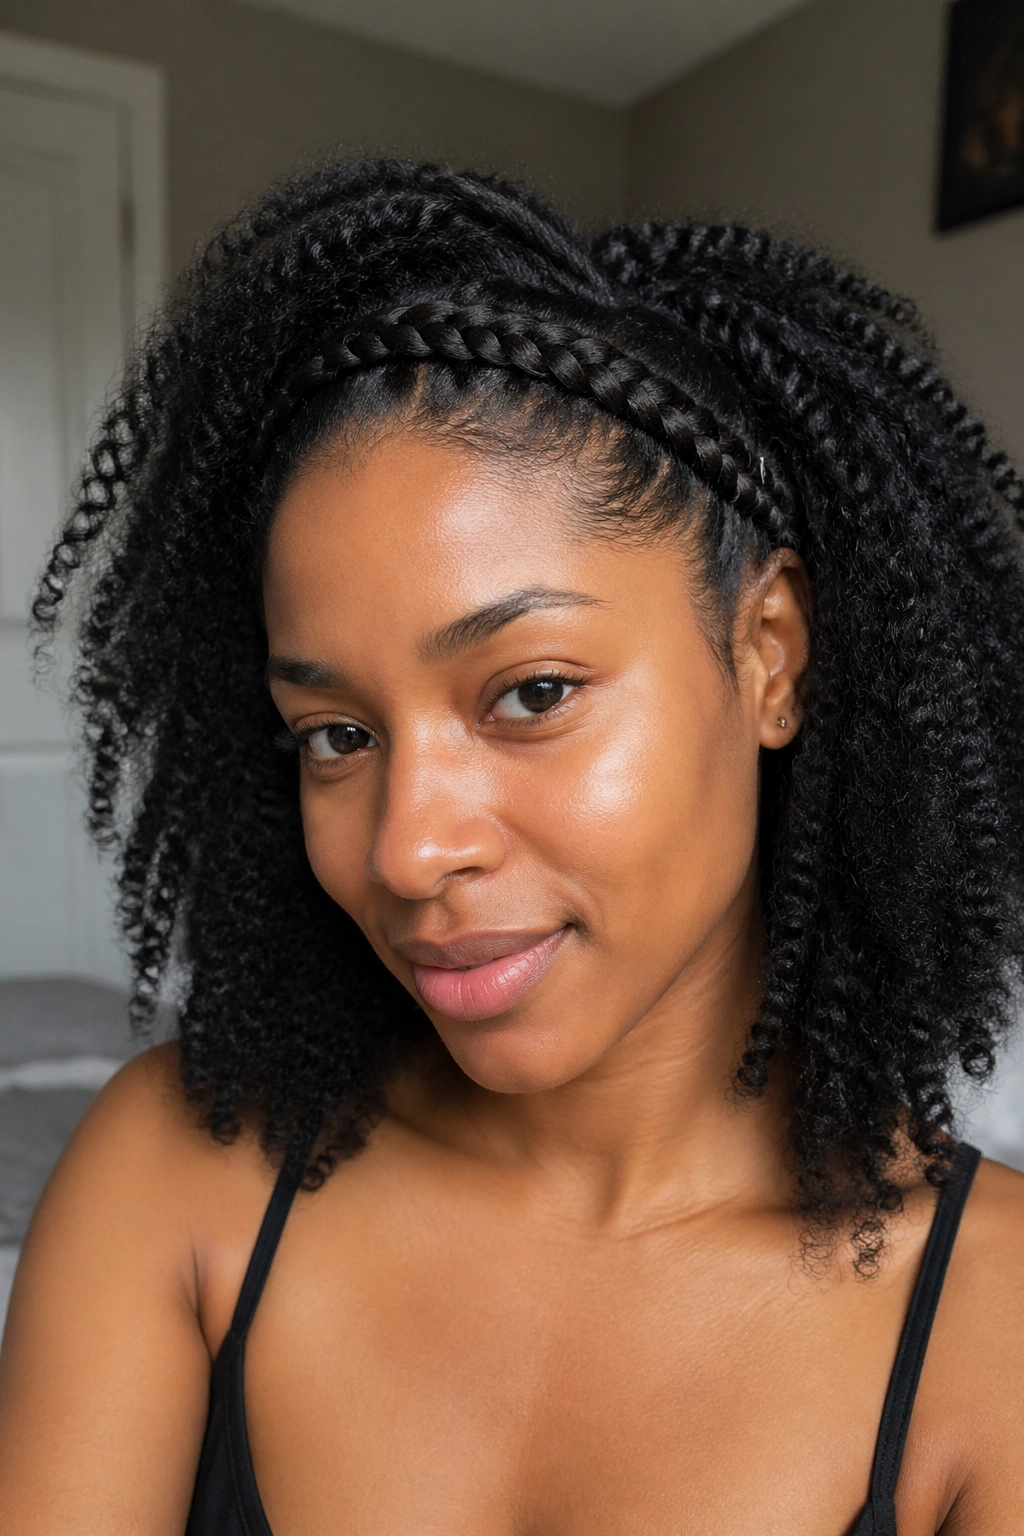
5. Cornrow Basics (Two Simple Braids Going Back)

Two cornrows, one on each side of a center part, going straight back. This is the simplest cornrow configuration and a great place to learn the technique.
The difference between a cornrow and a regular braid: a cornrow is braided flat against the scalp, adding new hair to the braid from the scalp with each stitch. Regular braids hang free. Cornrows require you to work in a straight line while adding hair from below, which takes some practice.
Start at the hairline. Pick up a small section from the front. Divide into three strands. Begin braiding — but with each stitch, pick up a thin sliver of new hair from the scalp on the side facing your parting line, and add it to the strand that crosses over. Continue this way all the way to the nape.
It sounds complicated. The first three times you do it, it will feel slow and imprecise. By the fifth or sixth time, your fingers will understand the motion and it becomes almost automatic.
6. Flat Twist (Easier Alternative to Cornrows)
The flat twist lies flat against the scalp like a cornrow but uses only two strands instead of three. Beginners who find the three-strand cornrow motion difficult often find flat twists much more accessible.
Start at the front of a section. Pick up a thin piece of hair. Divide it in two. Begin a regular two-strand twist — but with each rotation, pick up a thin piece of new hair from the scalp and add it to one of the strands. Work from the front toward the back of the head, maintaining the flat-against-the-scalp angle.
Because you’re only managing two strands instead of three, flat twists are faster to install and easier to keep straight. The finished look is very similar to cornrows — just slightly less uniform in the braid pattern, which is completely fine.
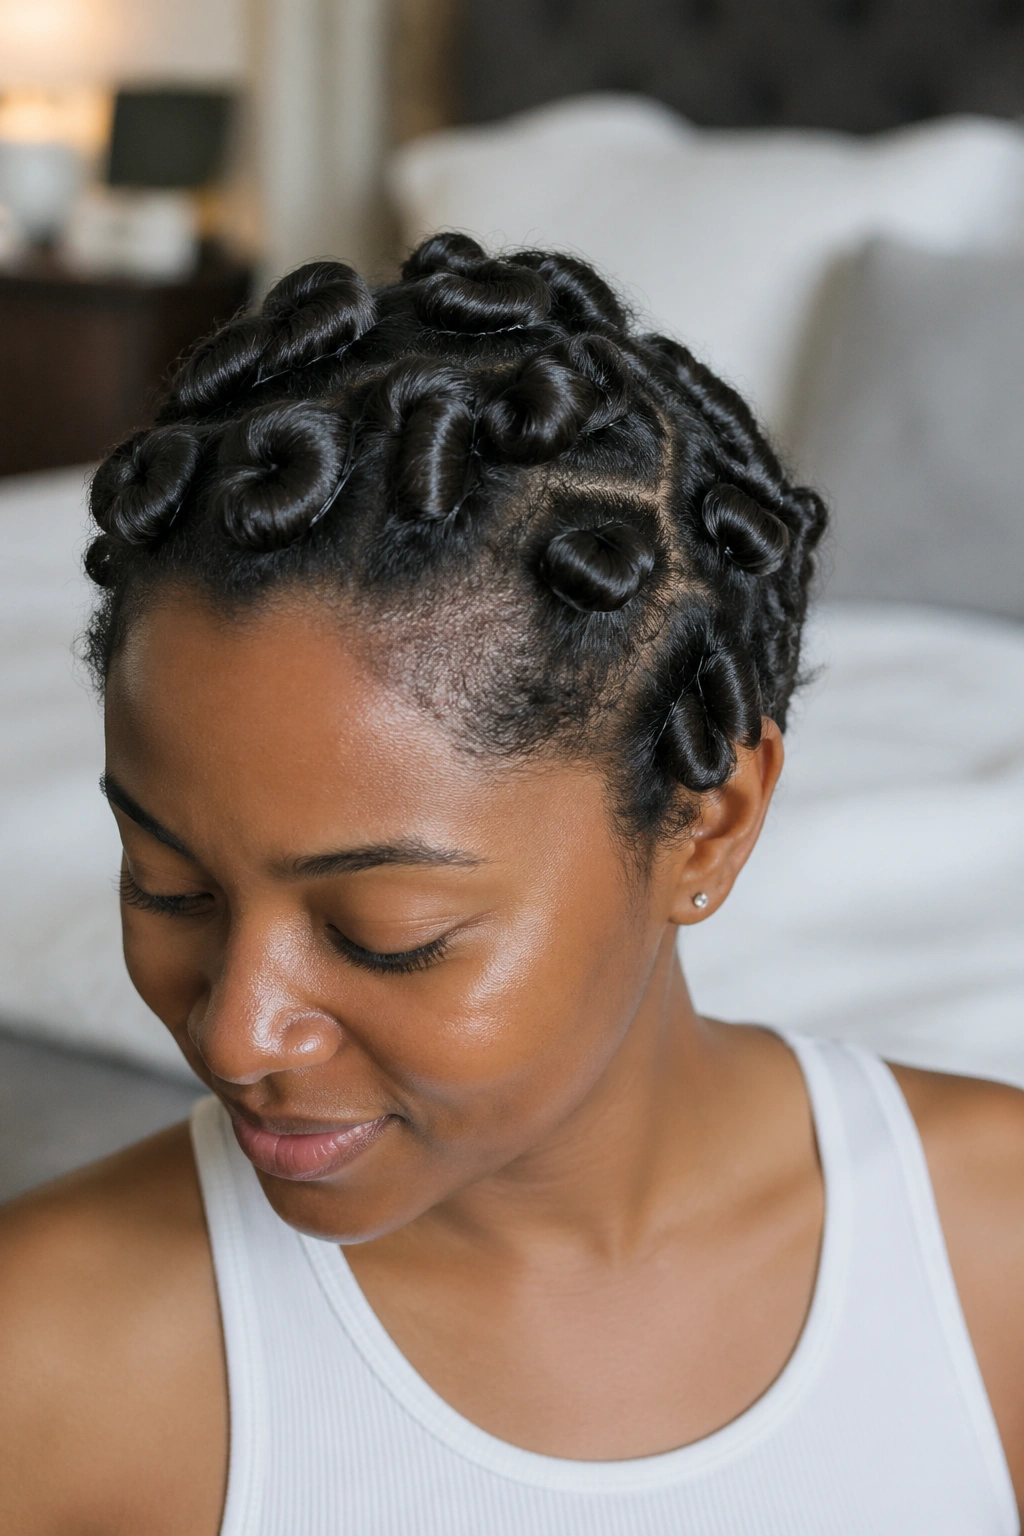
7. Bantu Knots
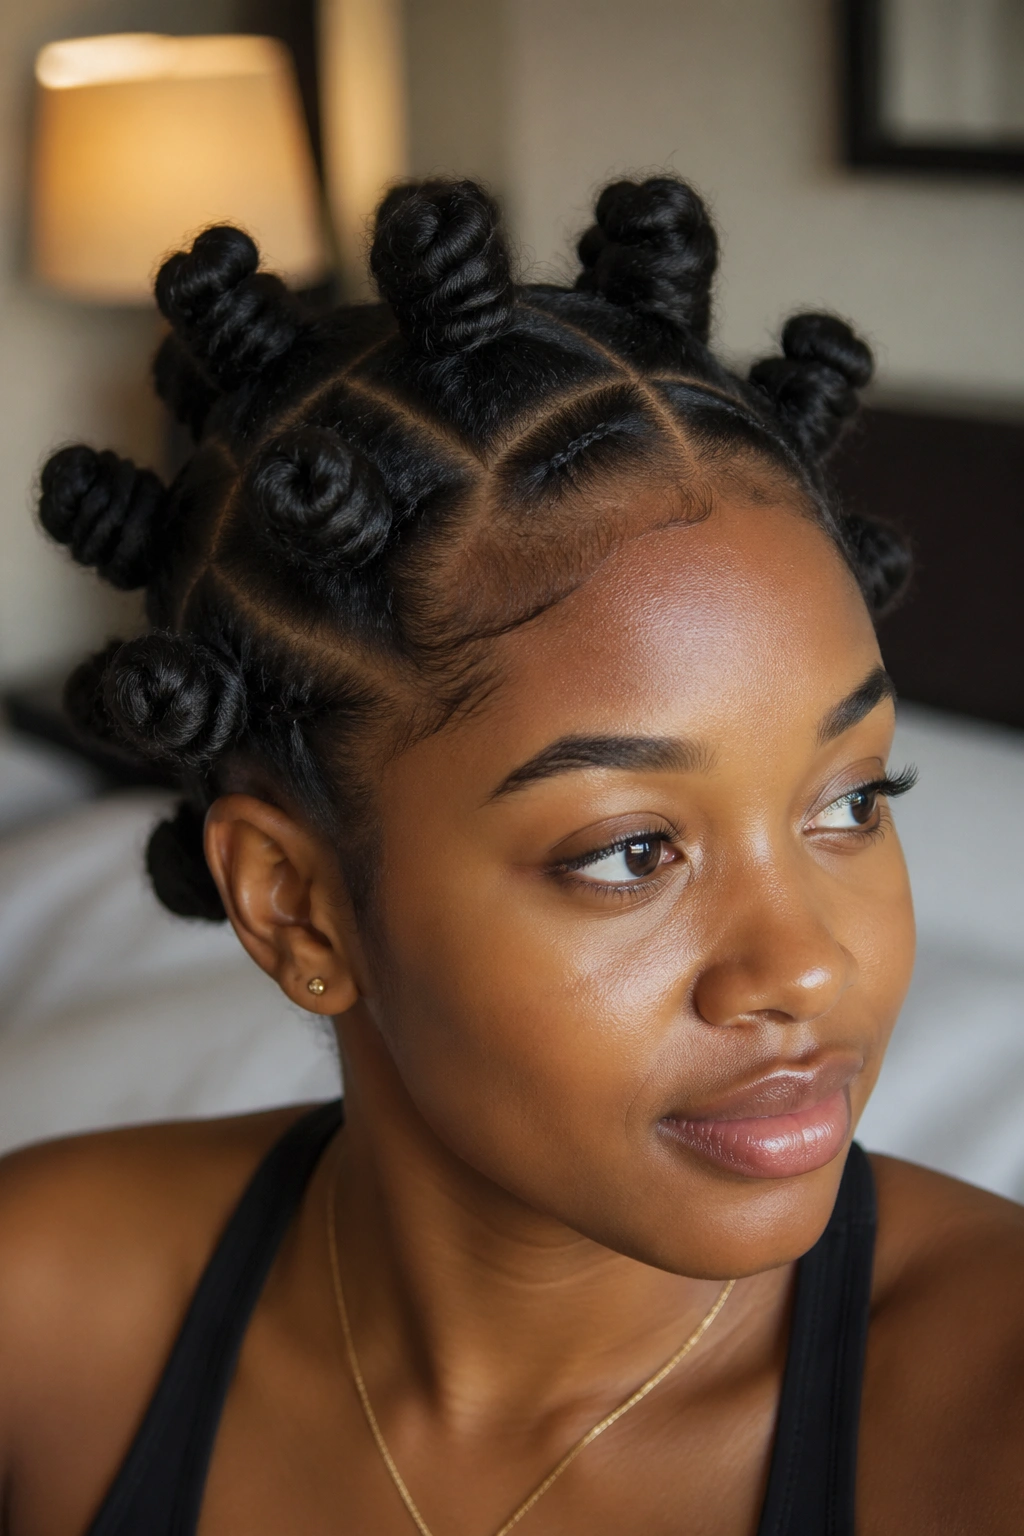
Take a section of hair. Twist it tightly from root to end — a tight single-strand or two-strand twist. Then coil that twist around itself at the base, winding it into a flat circular knot. Tuck the end under the knot and pin if needed.
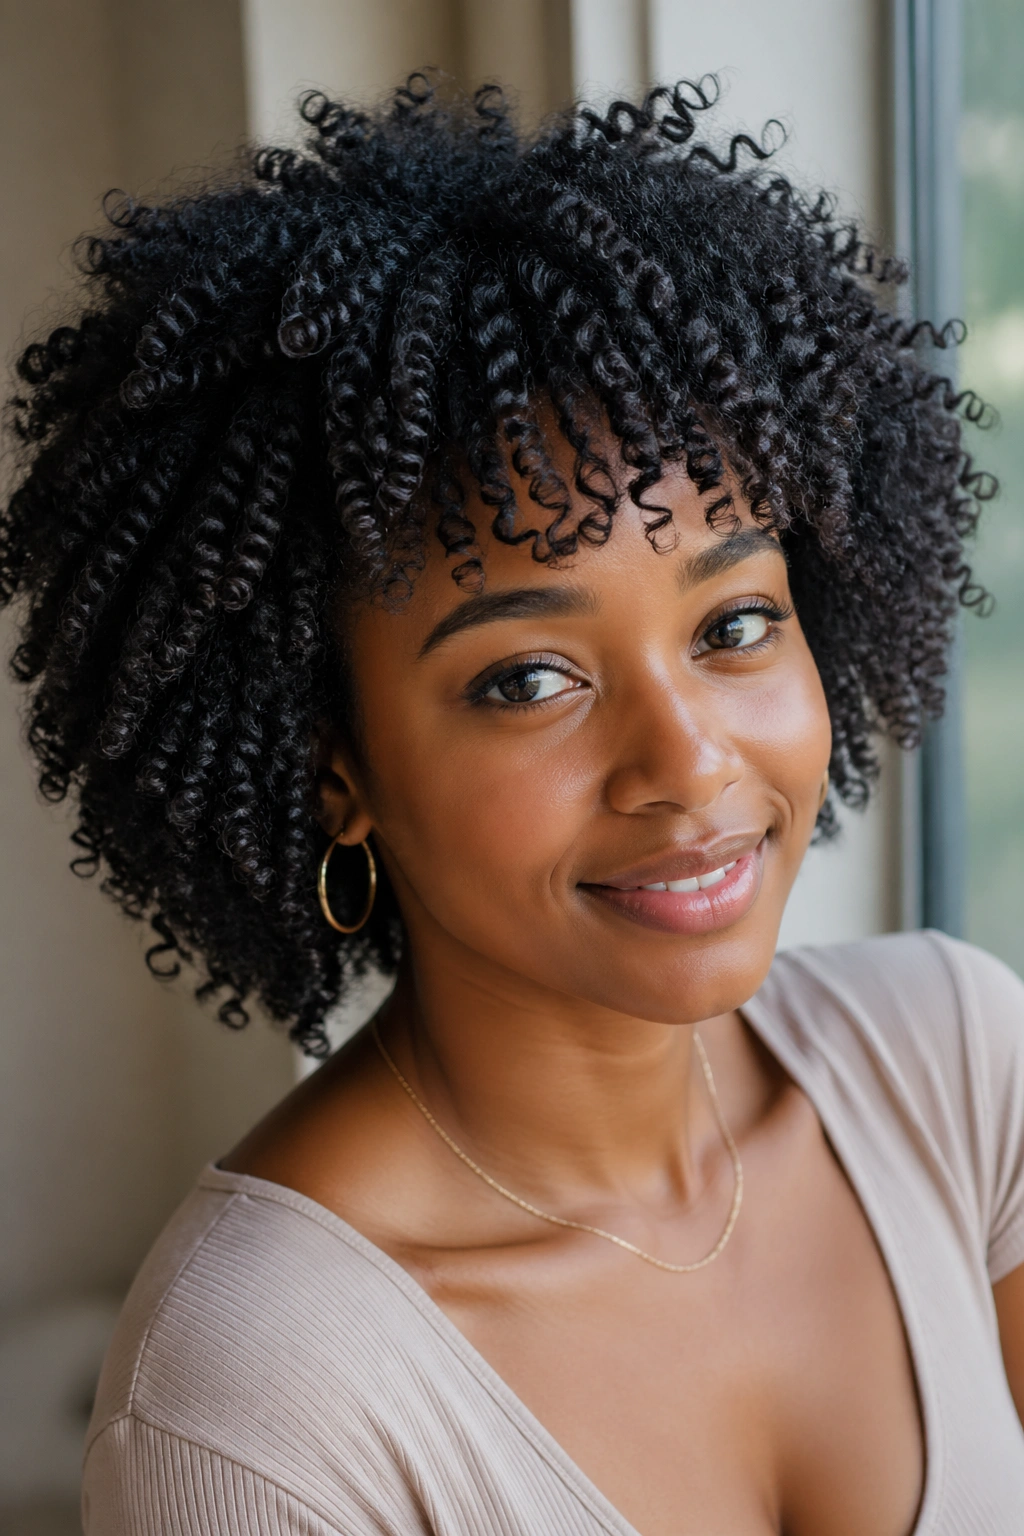
Bantu knots on their own look sculptural and intentional. Worn to a class, a party, or just around the neighborhood, they’re a complete style. They also double as a setting technique for the bantu knot-out — unravel them the next morning for defined spirals.
The Catch
Bantu knots need fully dry hair to set properly. If you go to sleep with damp knots and unravel them the next morning, the resulting pattern will be frizzy and undefined. Make sure the hair is fully product-saturated when you twist and knot, and allow enough dry time — usually overnight — before unraveling.
For beginners, aiming for eight to ten knots across the full head gives manageable-sized sections that are not too hard to work with.
8. Wash-and-Go Simplified
The wash-and-go has a reputation for being complicated. It’s not. It has a reputation for working differently on every texture. That part is true.
The simplified version: wash and condition your hair. Don’t squeeze or ring out the water — leave it soaking wet. Working in sections, rake a palm-sized amount of curl cream through the section from root to tip with your fingers spread wide. Follow immediately with a smaller amount of defining gel. Smooth downward to encourage clumping. Move to the next section.
Once your whole head is done, let it dry. Don’t touch it. Don’t scrunch. Don’t fluff. Just let it dry completely. If you diffuse, use the lowest heat and lowest airspeed setting to avoid disrupting the curl clumping while it’s still forming.
When it’s fully dry — not 90 percent, actually fully — scrunch gently to break the gel cast. Then you can fluff lightly at the roots.
9. Half-Up Half-Down Natural
Top half of hair gathered and secured; bottom half left free. Two minutes. Looks like ten.
There is almost no technique required here. Take everything from the crown down to roughly ear level, gather it with a satin tie, arrange the gathered portion how you want it (puff, loose bun, small knot), and let the lower portion fall however it naturally falls.
For beginners, this style is useful because it doesn’t require the hair to be perfectly defined or styled. The gathered upper portion contains any imperfect sections. The loose lower portion can be in any condition — twist-out remnants, day-three wash-and-go, or even just natural unrefreshed hair — and still look like a real style.
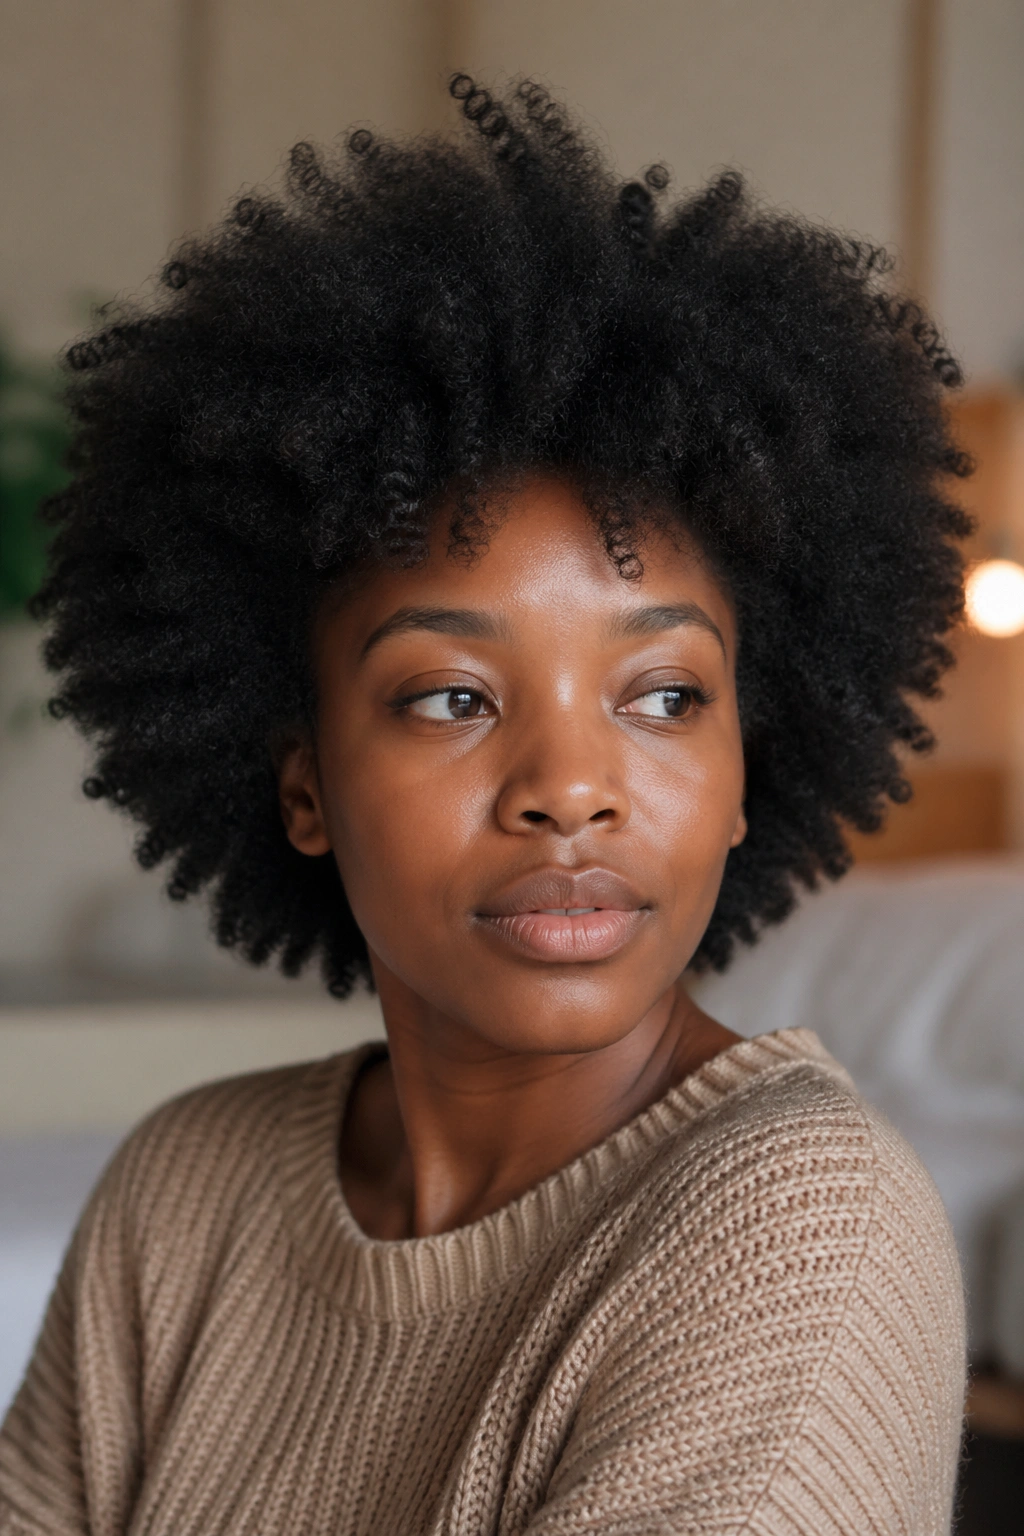
10. Mini Afro with Picks and Hands
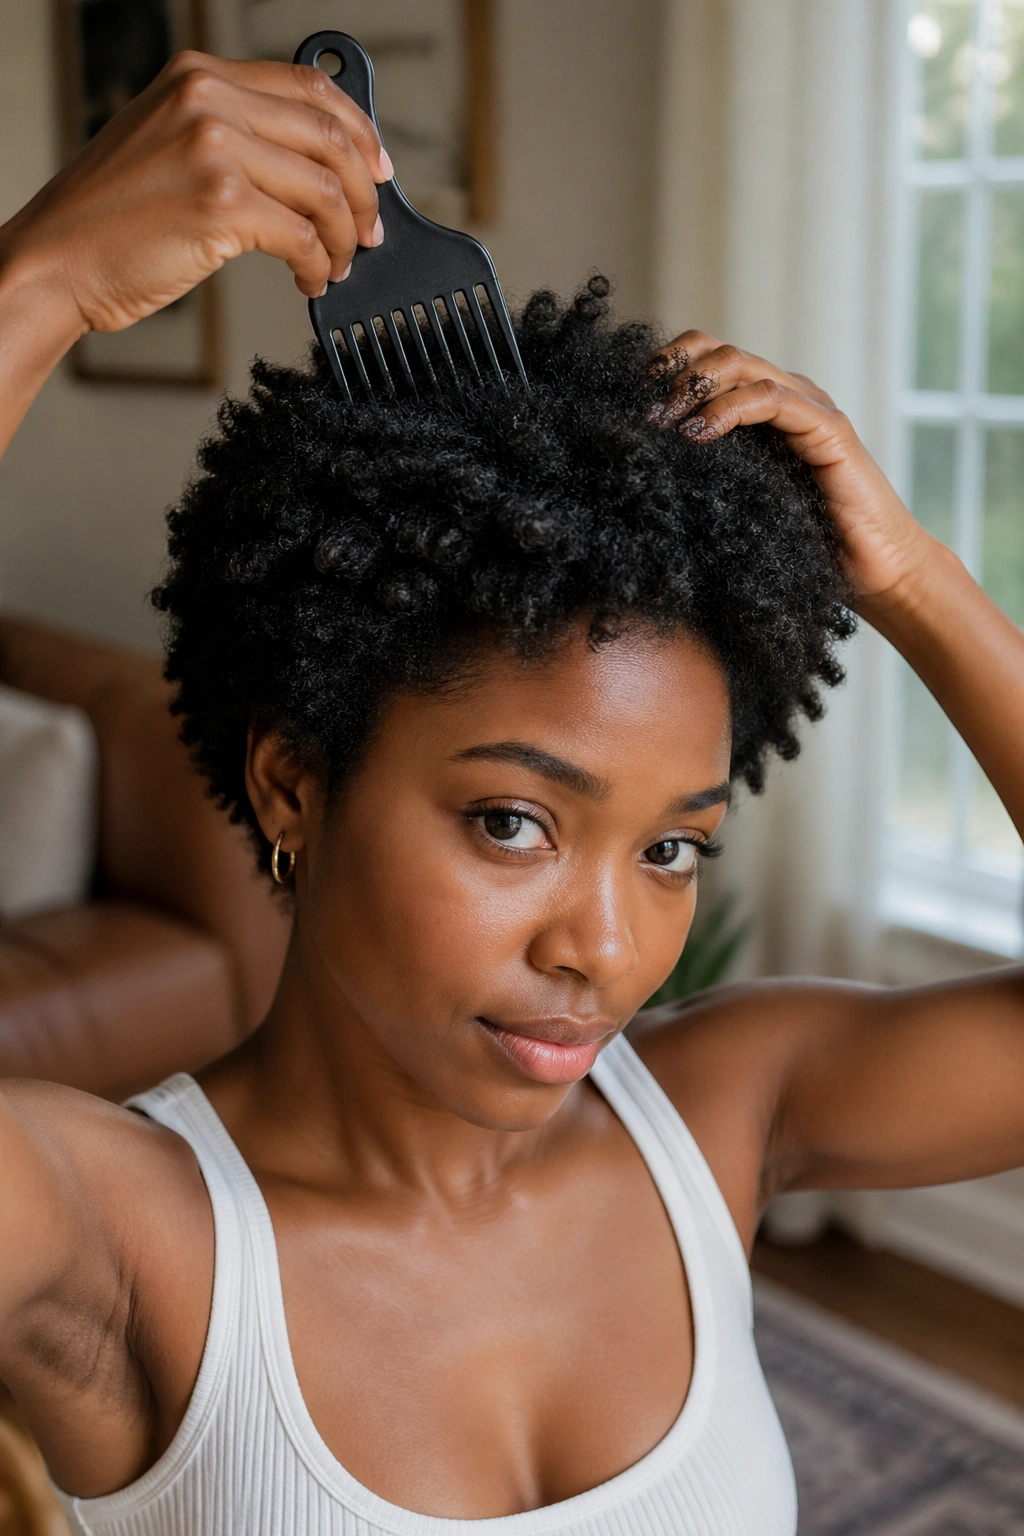
No gel, no cream, no effort beyond picking out the hair. A mini afro — whether your natural length is two inches or eight inches — is a complete style on its own.
After washing and conditioning, allow the hair to air dry. Once it’s completely dry, use an afro pick to pick upward from the roots, working section by section around the head. Shape the perimeter with your hands once the picking is done.
The pick goes in at the roots, not at the ends. Starting at the ends and picking down creates tangles and frizz. Starting at the roots and lifting upward creates volume and shape.
Who This Is For
This style is ideal for naturals who want zero daily manipulation after wash day. Once the hair is picked out and shaped on wash day, the only maintenance it needs is a light re-pick in the morning and nightly protection with a bonnet. No product reapplication, no refreshing, no twist-outs.
Low density hair benefits most from picking — the mechanical separation creates the appearance of more hair. High density hair makes the most dramatic afro silhouette.
11. Slicked-Back Low Bun
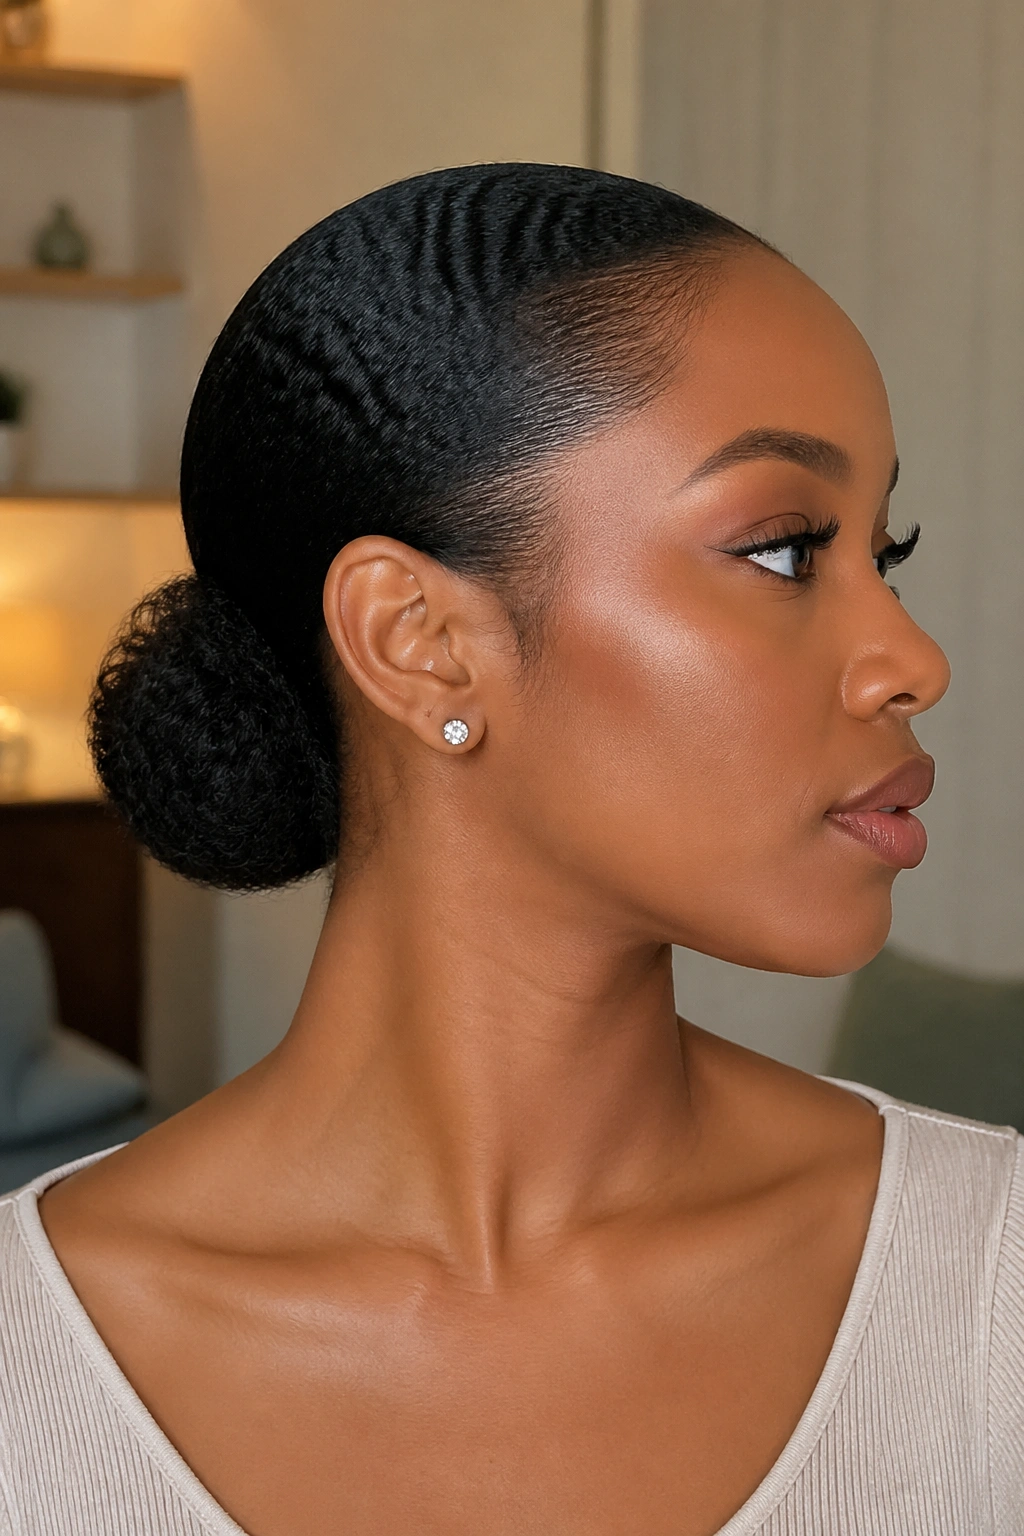
Gather all your hair at the nape. Smooth the hair back with a brush or your hand before gathering to reduce surface frizz. Secure with a satin hair tie. Wrap the gathered section around itself and pin into a loose bun shape.
The slick-back requires some product to work cleanly. A small amount of edge gel or a light holding gel worked through the surface before gathering keeps the hair smooth from hairline to tie.
This style is particularly useful for days when your hair isn’t cooperating and you need it out of your way. It’s also versatile enough for professional settings where you want something neat and contained.
12. Twist-Out on a Single Overnight Twist

If a full-head twist-out (all hair twisted) sounds like too much effort, try this: twist your hair in four to six large sections instead of twenty small ones. Larger sections set faster, install faster, and produce a looser, more relaxed wave pattern.
Divide the hair into four sections (or six for more waves). Two-strand twist each large section. Allow to dry overnight. Unravel in the morning.
The result is not the uniform, defined twist-out of twelve tiny twists. It’s a looser, more textured style with a larger wave. Think boho, not polished. For beginners, the larger sections are significantly more manageable to install and the imperfect wave pattern is part of the charm.
13. Protective Puff with Headband

Wear a wide headband — fabric, satin, or stretchy band — across the front of the hairline. Gather the hair behind it into a puff or loose shape. The headband does the edge work for you, eliminating the need for edge gel application entirely.
This is the easiest possible natural style for mornings when you have no time and no energy. The headband covers whatever the edges are doing, creates a clean frame around the face, and the puff behind it provides the volume that makes it look like an intentional choice.
Wide fabric headbands are more beginner-friendly than thin ones. They stay in place better on natural hair, don’t dig into the scalp, and hide more of the hairline.
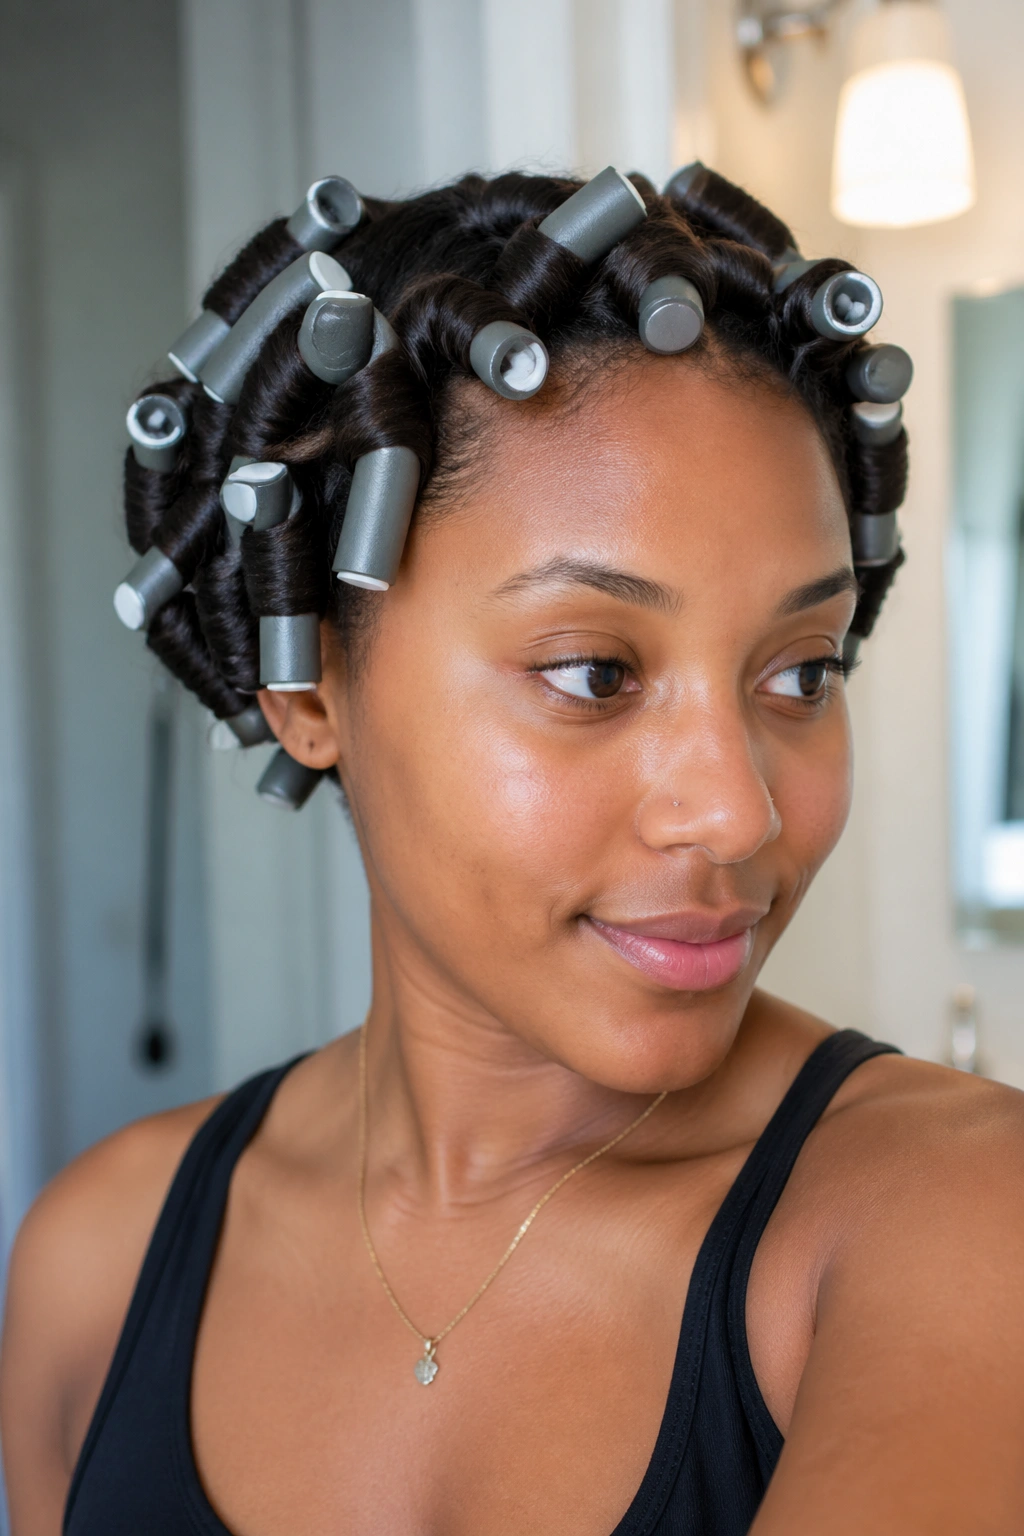
14. Pin Curl Set
Pin curls are small sections of hair coiled flat against the scalp and secured with a bobby pin. They set hair into the shape of the coil — when you remove the pin, the hair retains a small circular curl shape.
On natural afro hair, pin curls are a gentler alternative to flexi rods or rollers. No heat, no foam roller to sleep on uncomfortably, just bobby pins.
Apply product to a damp section. Coil the hair in a flat circle against the scalp. Secure with one or two bobby pins. Repeat across the head. Allow to dry fully. Remove the pins gently, separating each curl carefully.
The result: small, uniform curls distributed evenly across the head. Better defined than a wash-and-go but less structured than finger coils. Medium territory — and for beginners, that middle ground is often the most wearable.
15. French Roll Updo with Natural Hair
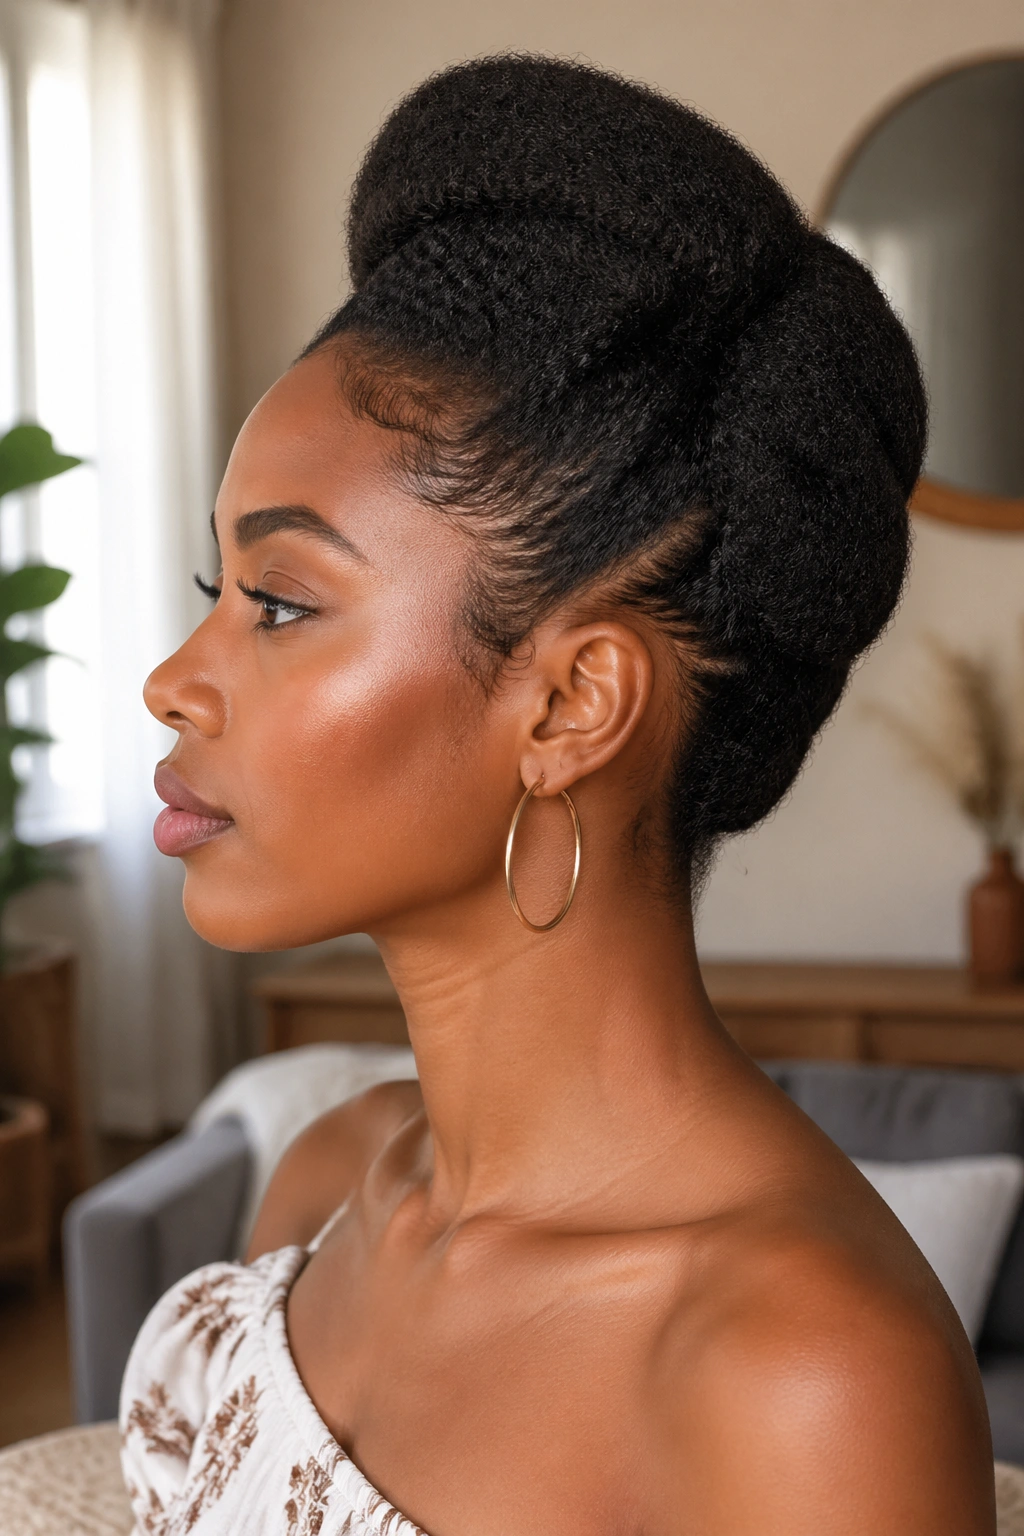
The French roll is a classic updo that natural hair translates into its own version. The hair is gathered at the back, folded up into a vertical roll, and secured along the fold.
On natural afro hair, the French roll won’t look like the smooth, slicked version on straight hair. And that’s better. The afro texture creates volume in the roll and softness at the edges that looks intentionally beautiful rather than precise-and-corporate.
Gather the hair at the nape. Holding it to one side, fold it back on itself upward, creating a vertical column of hair along the back of the head. Pin along the fold to secure it. Adjust the top of the roll so the hair fans slightly above the fold, creating a soft opening.
This style photographs beautifully and holds well for evening events. Secure enough pins and it’ll last a full night without unraveling.
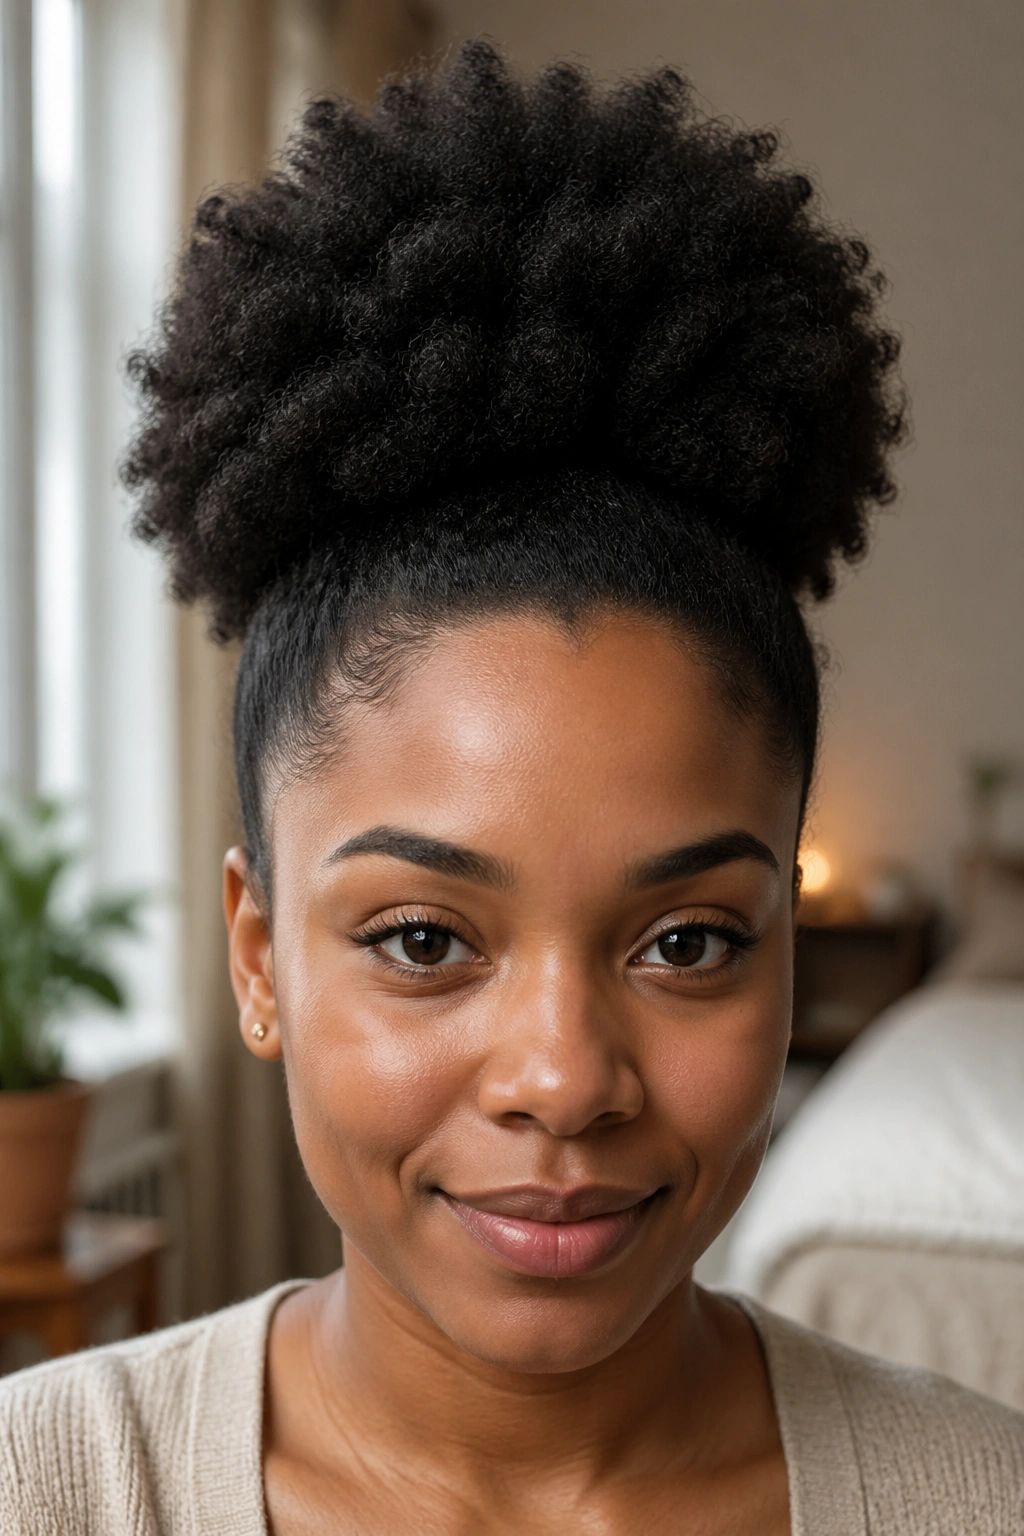
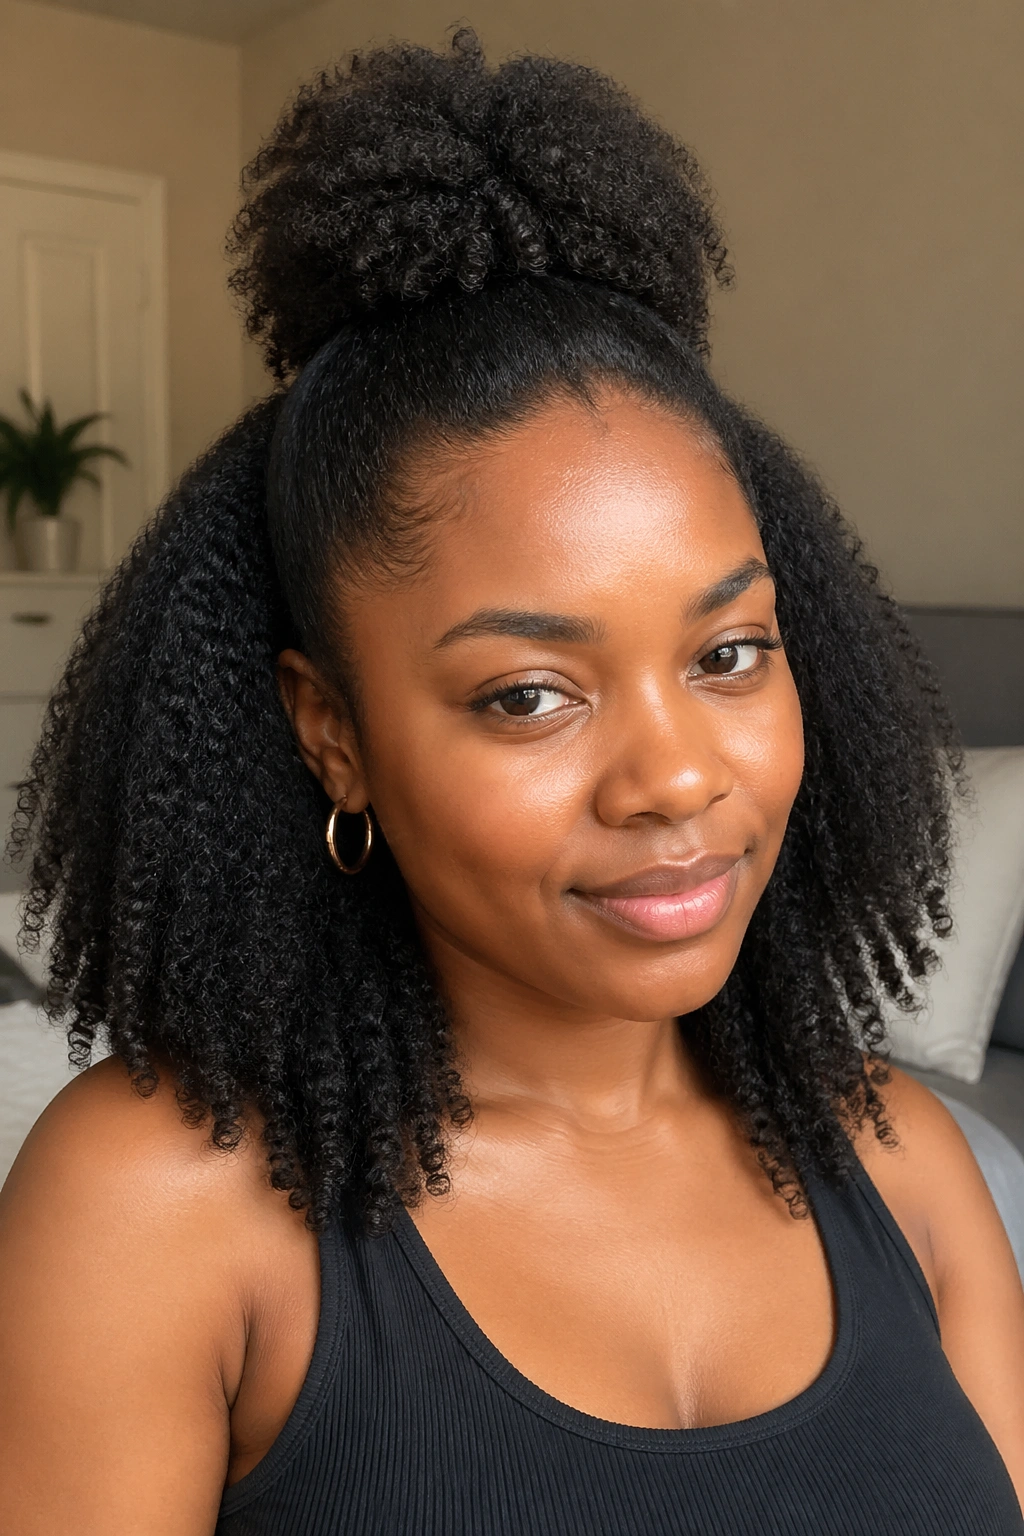
16. Pineapple High Gather
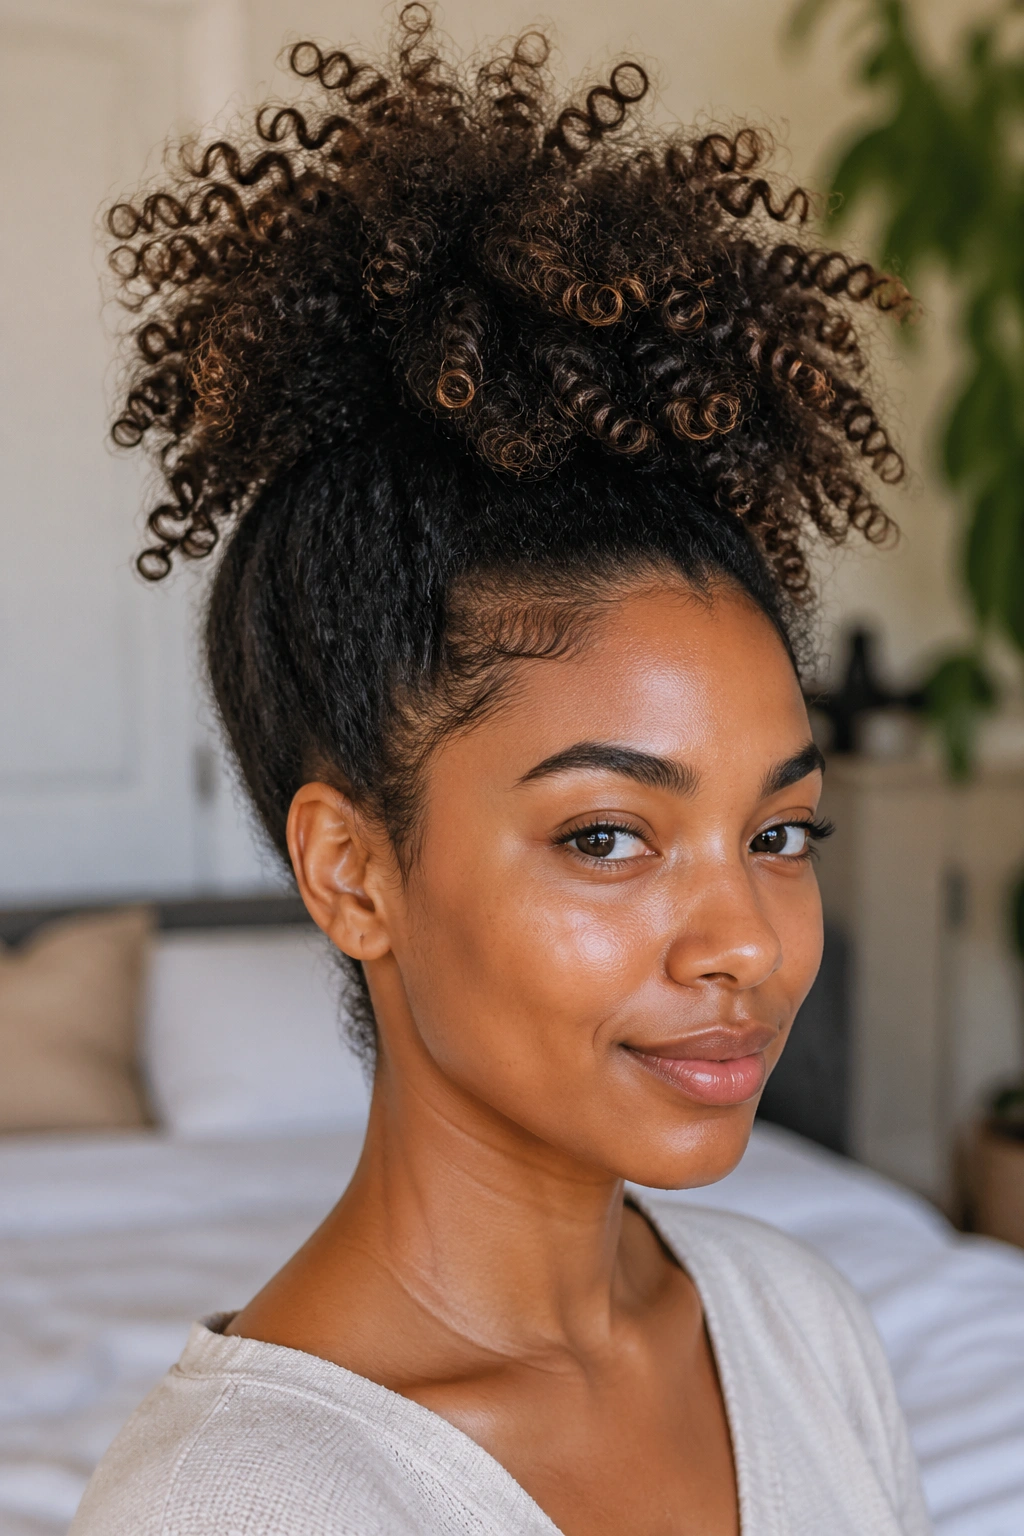
This is the wash-night protective move that has become a daytime style: gather all the hair loosely at the very top of the head — not tight, not smoothed, just loosely gathered — and secure with a soft satin tie. The hair fans above the tie in all directions, like a loose pineapple top.
As a protective sleep style, it preserves curl definition overnight by keeping the ends elevated rather than crushed. As a daytime style, it’s casual and free-spirited in a way that the structured high puff isn’t.
The difference between a pineapple and a high puff: the puff is gathered, smoothed, and shaped. The pineapple is gathered loosely, with no shaping or smoothing. The pineapple looks intentionally undone; the puff looks intentionally done.
17. Flexi Rod Set for Beginners
Flexi rods are foam rods with bendable wire inside. You wrap sections of damp hair around them, bend both ends toward each other to secure, allow to dry, and the hair holds the rod’s shape — bouncy, uniform curls.
The technique is beginner-friendly because the rod does the shaping for you. You don’t need to create the curl yourself; you just wrap and secure. Medium-sized flexi rods — about the diameter of a marker — give a classic, balanced curl size on most natural afro textures.
Work on damp hair with a generous amount of curl cream applied first. Wrap each section from ends to roots, rolling the rod upward. Secure by bending. Allow to dry completely before unrolling — ideally overnight.
What to Watch For
Don’t wrap the sections too tightly. The hair should spiral around the rod without bunching. Bunching creates creased curls rather than smooth spirals. If a section is resisting the wrap, divide it into a smaller section and try again.
18. Headscarf Protective Style
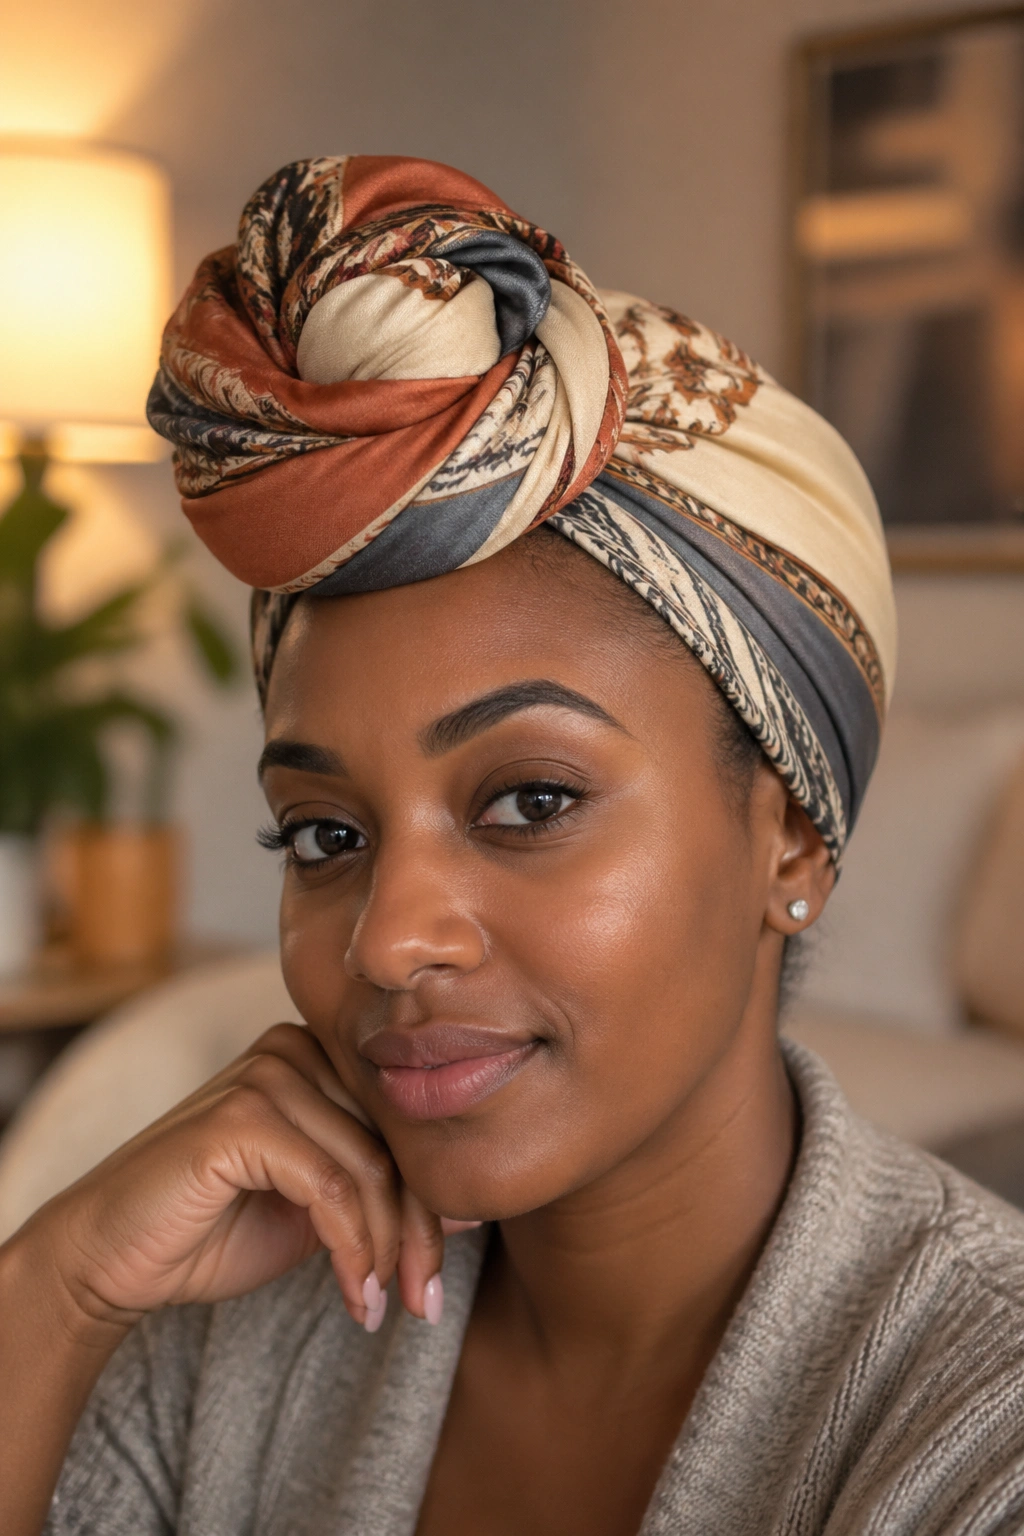
This is less of a traditional hair styling technique and more of a complete presentation choice: wrap a large square scarf (satin, silk, or a printed fabric) around your hair, tying it in a turban style.
For beginners in the early stages of a natural hair journey — when protective styling and moisture retention are the priority and aesthetic styling is secondary — a beautifully tied headscarf is a complete look with zero manipulation of the hair underneath.
The turban technique: fold the square into a triangle. Place the longest folded edge across your forehead. Bring both ends around to the back of the head, cross them, bring them back to the front, and tie in a knot or bow above the forehead. Tuck any loose ends.
It takes about forty-five seconds and looks like an intentional style choice, because it is one.
19. Chunky Twists (Four to Six Total)
Four to eight large chunky two-strand twists as a finished style — not a setting technique for a twist-out, but the actual style you’re wearing. Thick twists have a sculptural quality that smaller twists don’t.
For a four-twist style: divide the hair into four sections. Twist each section tightly from root to end. The twists are thick — maybe as wide as your index finger. They hang or lay in a distinct pattern, and the combination of all four creates a bold, dimensional silhouette.
This works particularly well on medium to longer natural hair where the twists have enough length to be visible and to move. On very short hair, the chunky twist can look more like a bantu knot. Both are valid looks; just know which one you’re going for.
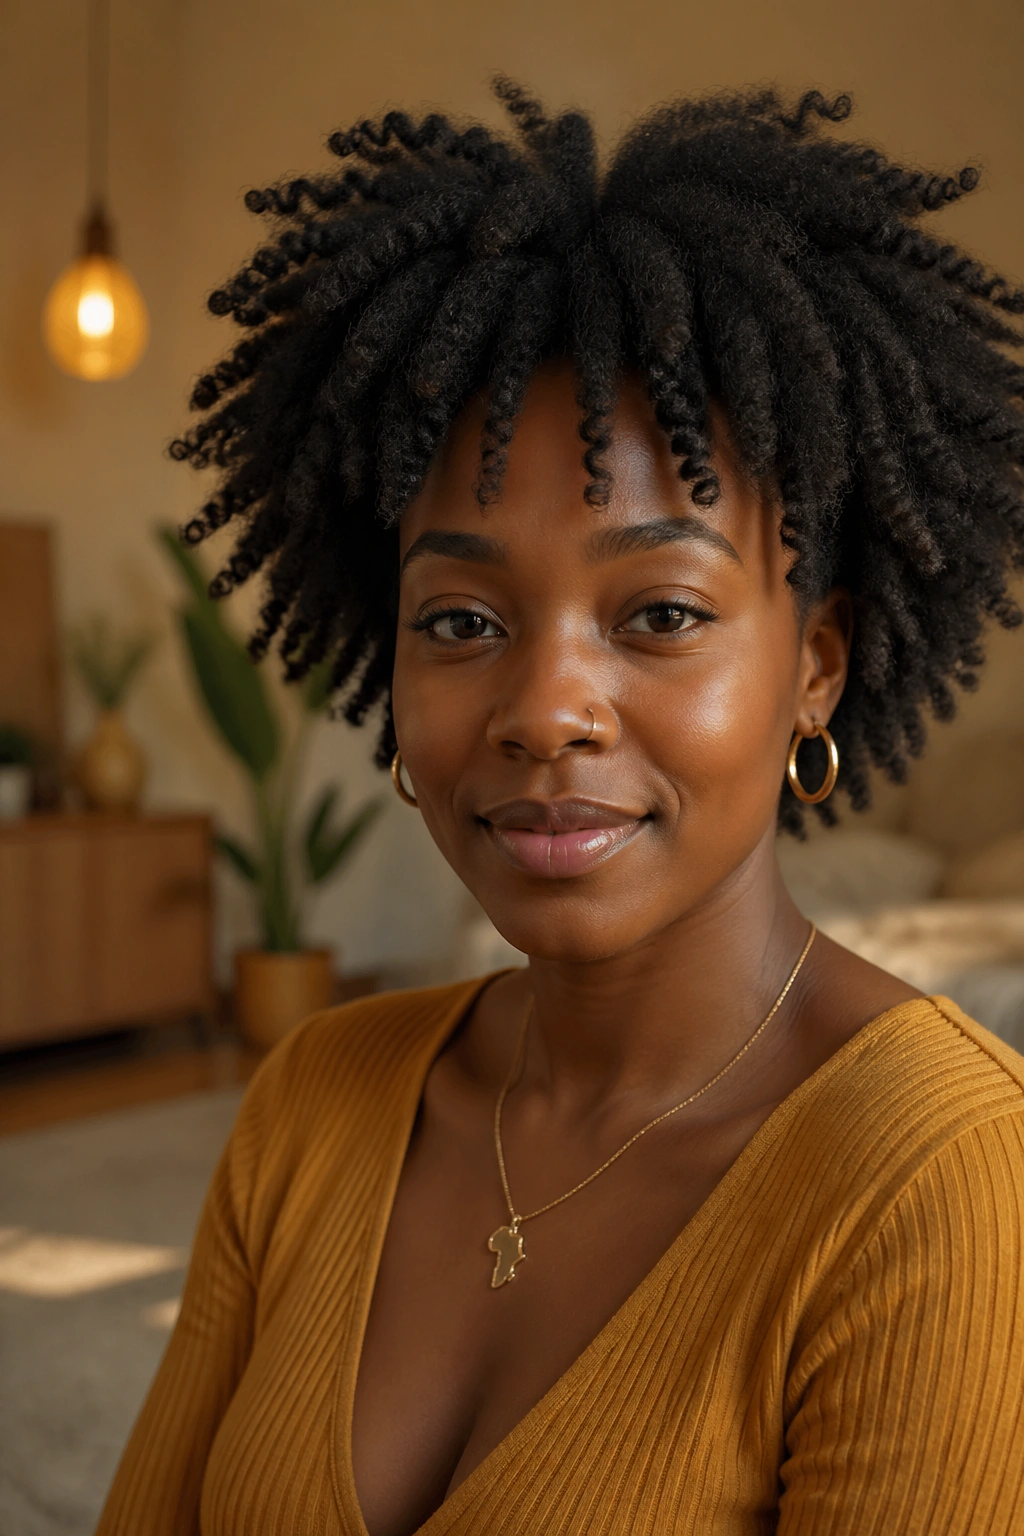
20. Moisturized and Free (Natural Shrinkage Style)
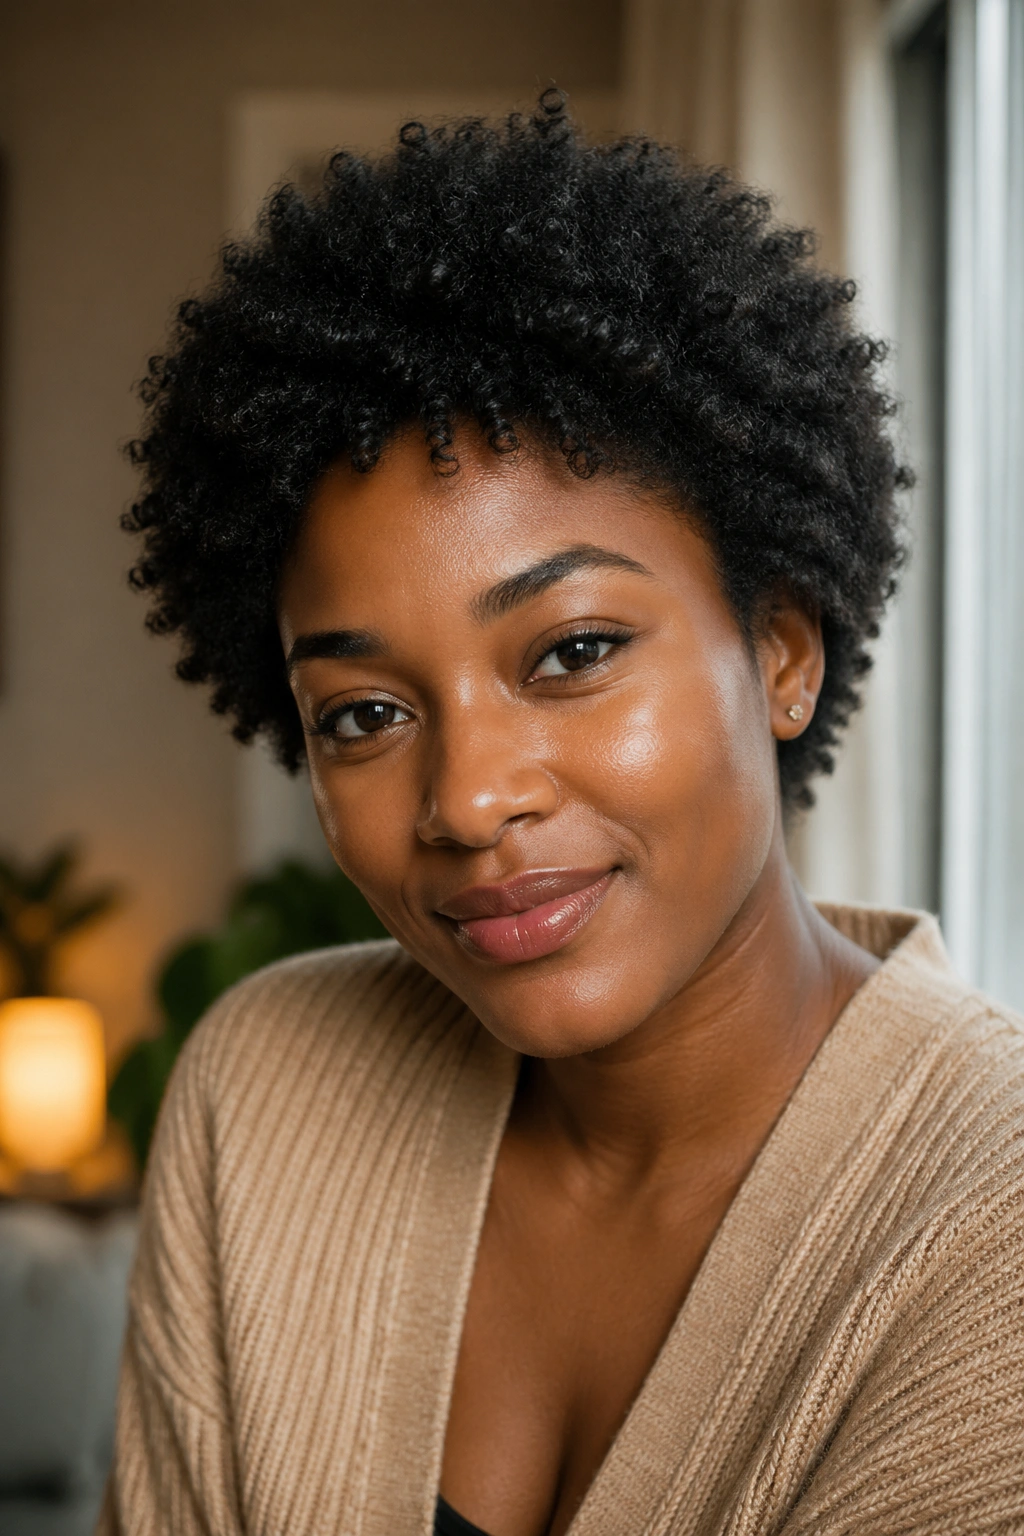
This deserves to be named as a style rather than just a default: clean, moisturized, picked lightly, left to do exactly what afro hair does. No attempt at definition. No specific style. Just healthy, hydrated hair in its natural state.
A fully moisturized natural afro — even without any specific styling — has a presence and a quality that’s distinct. The shrinkage is visible. The texture is rich. The hair looks intentionally worn this way rather than neglected.
For beginners especially, this style is a reminder that natural hair doesn’t require constant styling to be beautiful. Product, moisture, and your bonnet at night. That’s the whole routine some days.
21. Braided Headband with Free Natural Hair
Take a section of hair from one temple — maybe an inch-wide section along the hairline. Braid it in a three-strand braid all the way to the end. Pull that braid across the front of your head toward the opposite temple. Pin it there with two or three bobby pins.
The braided section acts like a fabric headband, holding back the front of the hair on one side while the rest of the natural hair falls free. It’s a delicate style — small-scale but visible — and it shifts the whole feeling of a regular wash-and-go from basic to interesting.
Very beginner-friendly because you’re only braiding one small section. The main hair can be in any condition. The braid draws attention to itself and the surrounding hair benefits from the contrast.
22. Scarf-Wrapped Puff

This combination of the high puff and the headscarf gives the puff a more finished, polished frame. Gather your hair into a high puff at the crown first. Then tie a satin or printed scarf around the base of the puff — wrapping it once or twice around the hair tie and tying the ends in a knot or bow at the front.
The scarf elevates the puff from casual to dressed-up without any additional styling. A solid-colored scarf next to vibrant natural hair creates a clean, intentional look. A printed scarf adds pattern and color to what might otherwise be a very simple silhouette.
Beginners find this style particularly useful because it works on imperfect puff days — when the puff is slightly lopsided or the hair isn’t doing exactly what you want, the scarf draws attention to the decoration rather than the hair.
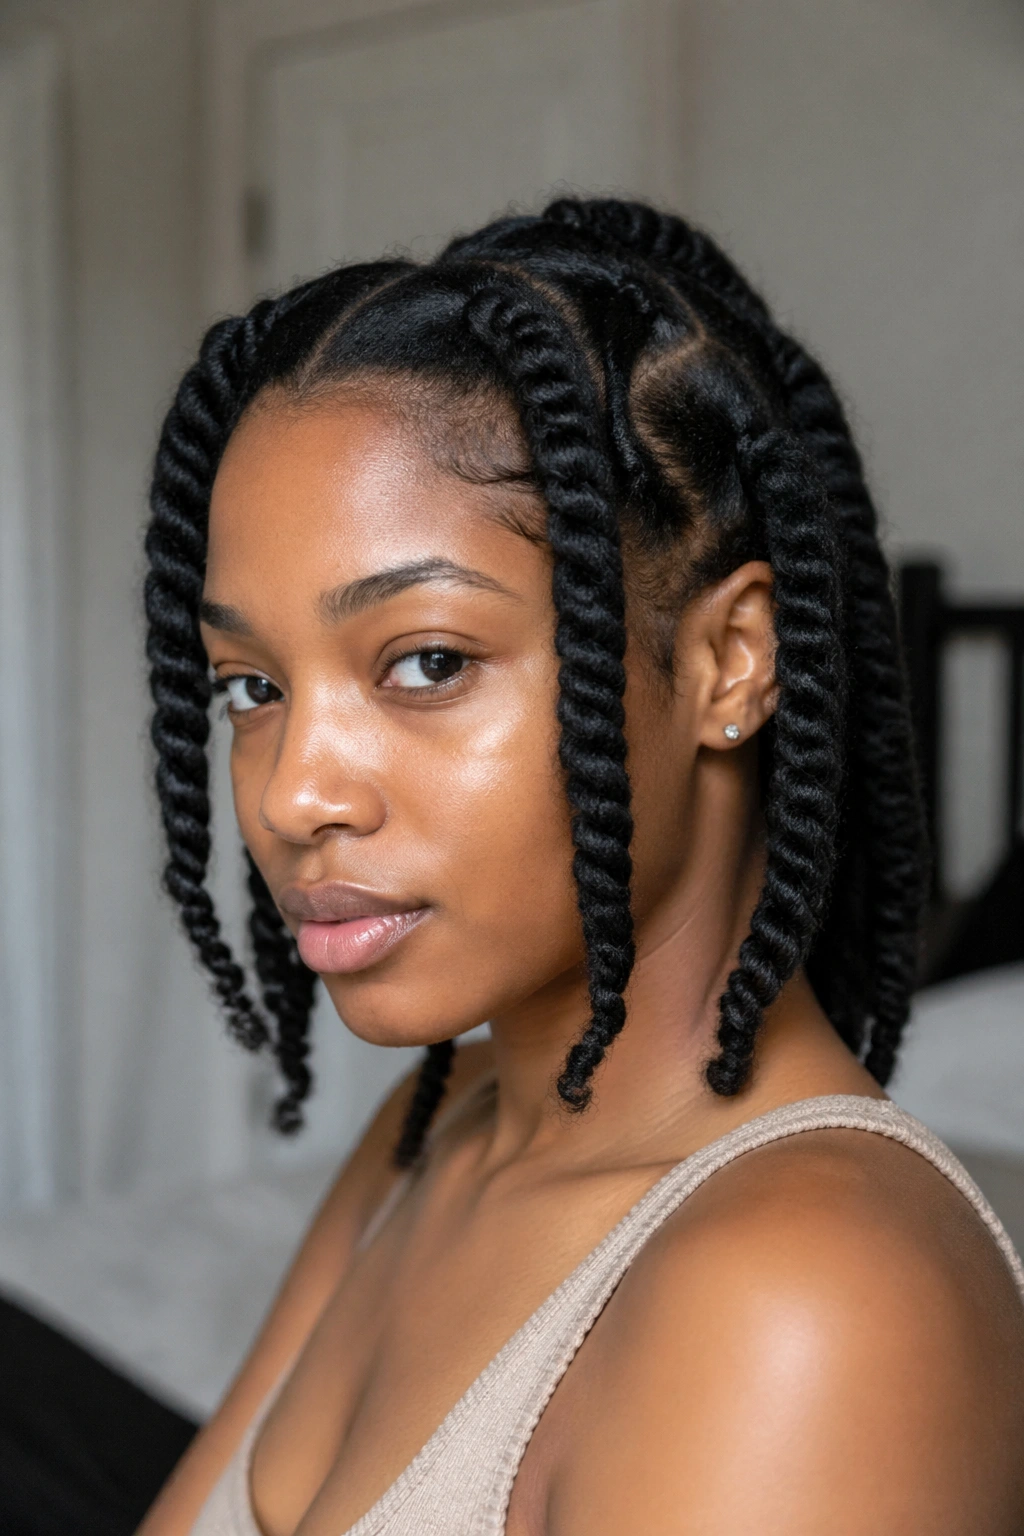
23. Two-Strand Twists as a Finished Style (All One Length)
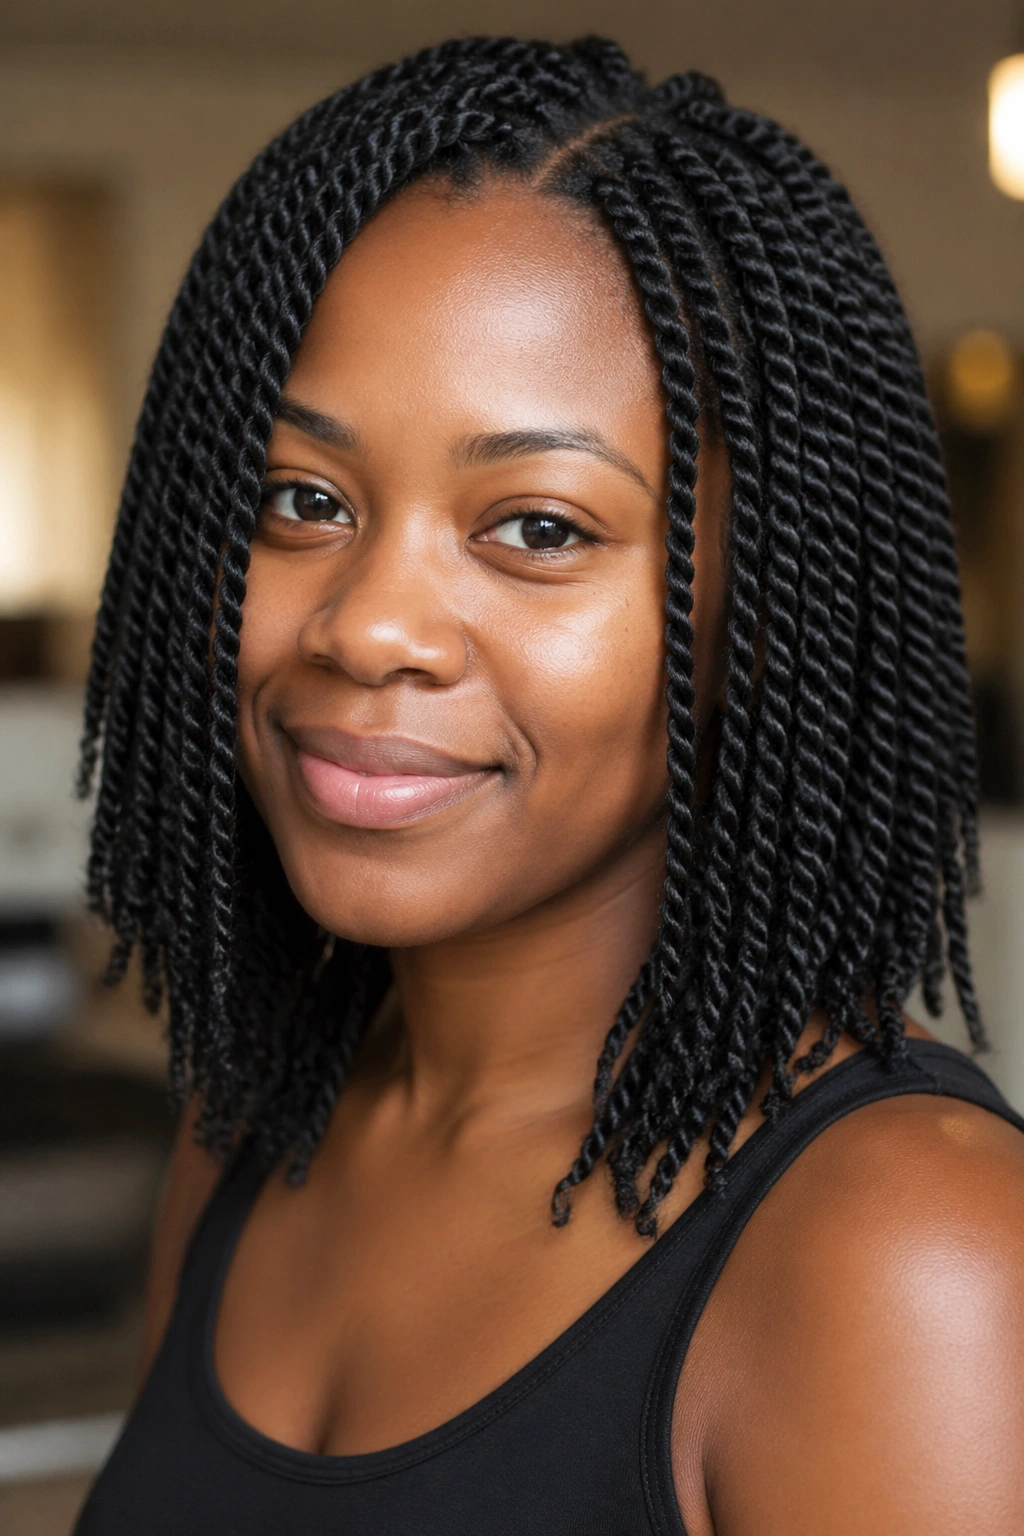
We mentioned two-strand twists as a setting technique earlier. But worn as a finished style — all twists in, not unraveled — they’re a distinct look worth treating separately.
Full-head two-strand twists create a uniform, three-dimensional texture across the whole head. Each twist catches the light differently. The collective result is richer and more layered-looking than a single-texture afro. And on medium-length hair, the twists have enough length to lie in a soft, gravity-influenced pattern rather than sticking straight out.
Install them the same way as for a twist-out — damp hair, product, careful section work. Wear them as-is for two to four days, then either unravel for the twist-out or re-moisturize and keep them in as a protective style for up to another week.
24. Natural Hair with Defined Part
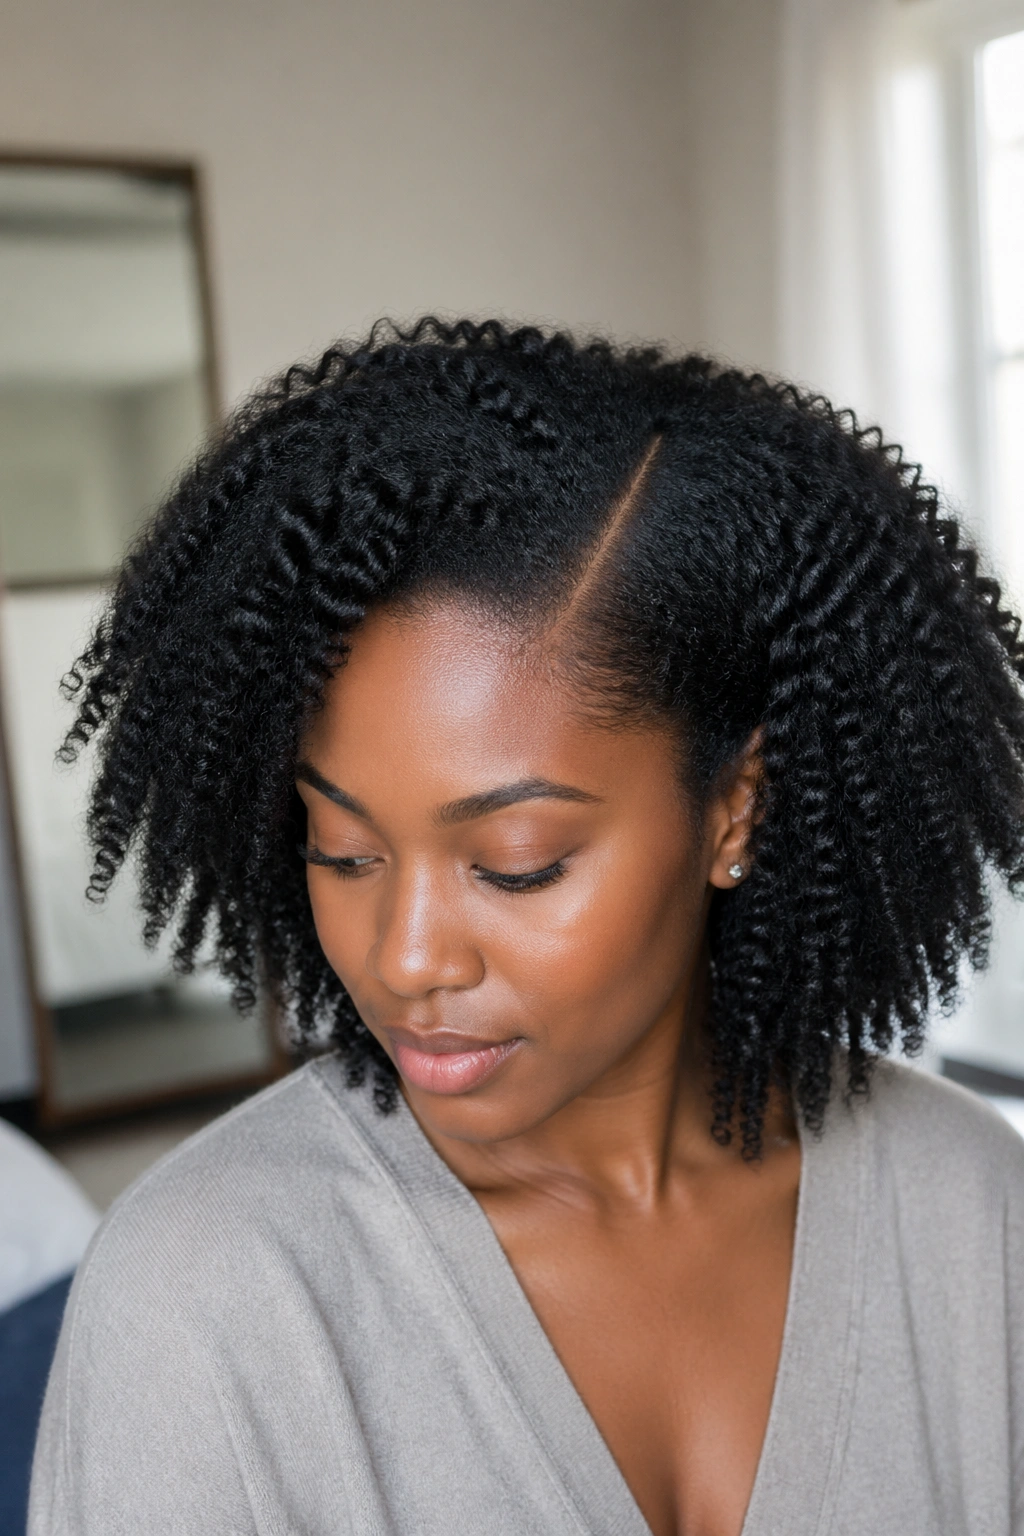
The simplest styling addition that changes everything: a clean, defined part.
A deep side part — way to the left or right, not just slightly off-center — gives natural afro hair an asymmetric quality that reads very intentional. With a fine-tooth rat-tail comb, create a clean line from the hairline back through the hair, pressing to one side. The two sections fall in different directions, creating visual contrast.
On a wash-and-go, twist-out, or braid-out, adding a clean part costs you ninety seconds and gives the style a more considered quality. It’s the difference between looking like you styled your hair with intention and looking like you just woke up, even when the base style is identical.
Building Confidence Over Time
Natural hair styling is a skill. Skills take time. You will have bad hair days early on. You will use too much product, too little product, rush the drying process, detangle wrong, or pick a style that doesn’t suit your texture. These are learning experiences, not failures.
Every natural hair pro you admire — every tutorial creator, every blogger, every woman with gorgeous defined curls or a perfect twist-out — went through the same frustrating learning curve. Some of them for a full year. The learning doesn’t stop, but it gets significantly easier within the first three to six months as you understand your own hair.
What to Stop Worrying About

Length retention, growth rates, other people’s results — set all of that aside for now. Your job in the beginner phase is to learn your hair’s moisture needs, find the products that work for your particular curl pattern, and build a consistent routine. Length follows from a healthy routine. It does not come from obsessing over growth.
Comparison is the fastest way to make natural hair overwhelming. Your 4C coils are not going to produce the same result as a 3B curl pattern, and that’s not a flaw in your hair — it’s a difference in texture. Every curl pattern produces beautiful results with the right technique. Find what works for yours.
The styles in this list — all twenty-four of them — are designed to work even when you’re still figuring things out. Start with two or three that feel accessible. Learn those well. Then expand.