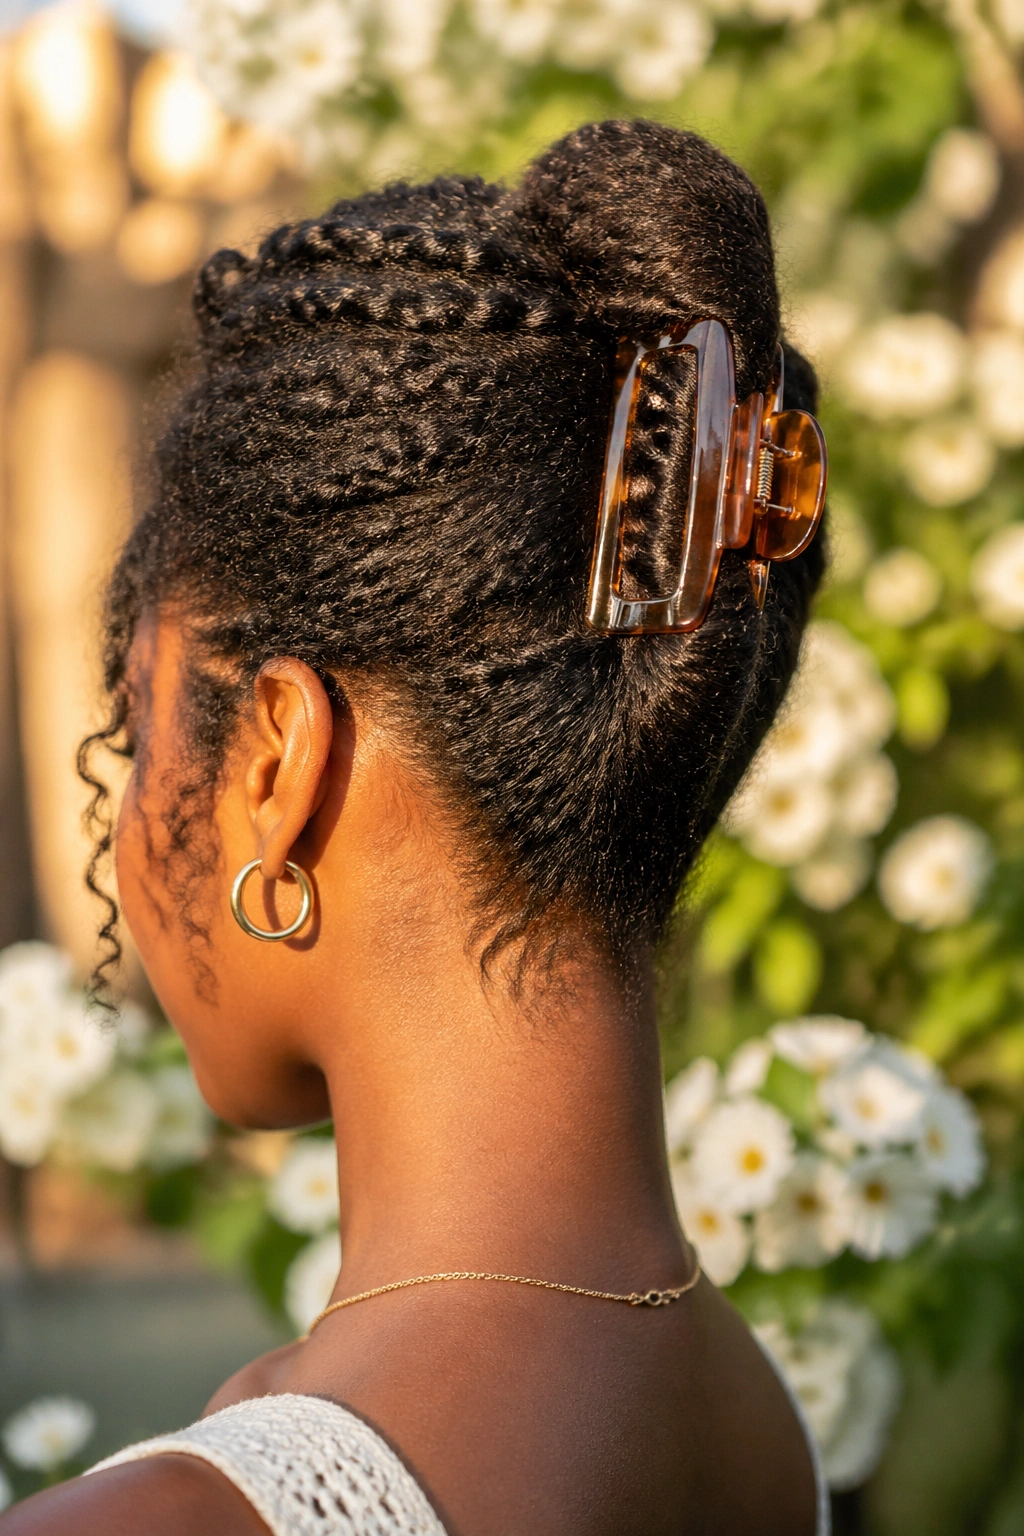
The claw clip moment has arrived — and natural hair girls are absolutely here for it. Curly updos with a claw clip are fast, protective, and genuinely stylish in a way that feels effortless rather than forced. One clip, a few seconds of gathering, and your hair is up and beautiful. The question is never whether claw clips work on natural hair (they do), but which clips, which techniques, and which styles actually flatter your specific texture and length.
Why Claw Clips Work Especially Well on Natural Hair
There’s a real reason the claw clip revival has resonated so strongly in the natural hair community. The clip’s open jaw design means it grips without pulling — it holds by clamping down on a gathered section rather than wrapping around the hair the way a regular elastic does. This reduces friction, reduces tension, and dramatically reduces the breakage that traditional hair ties cause at the gathering point.
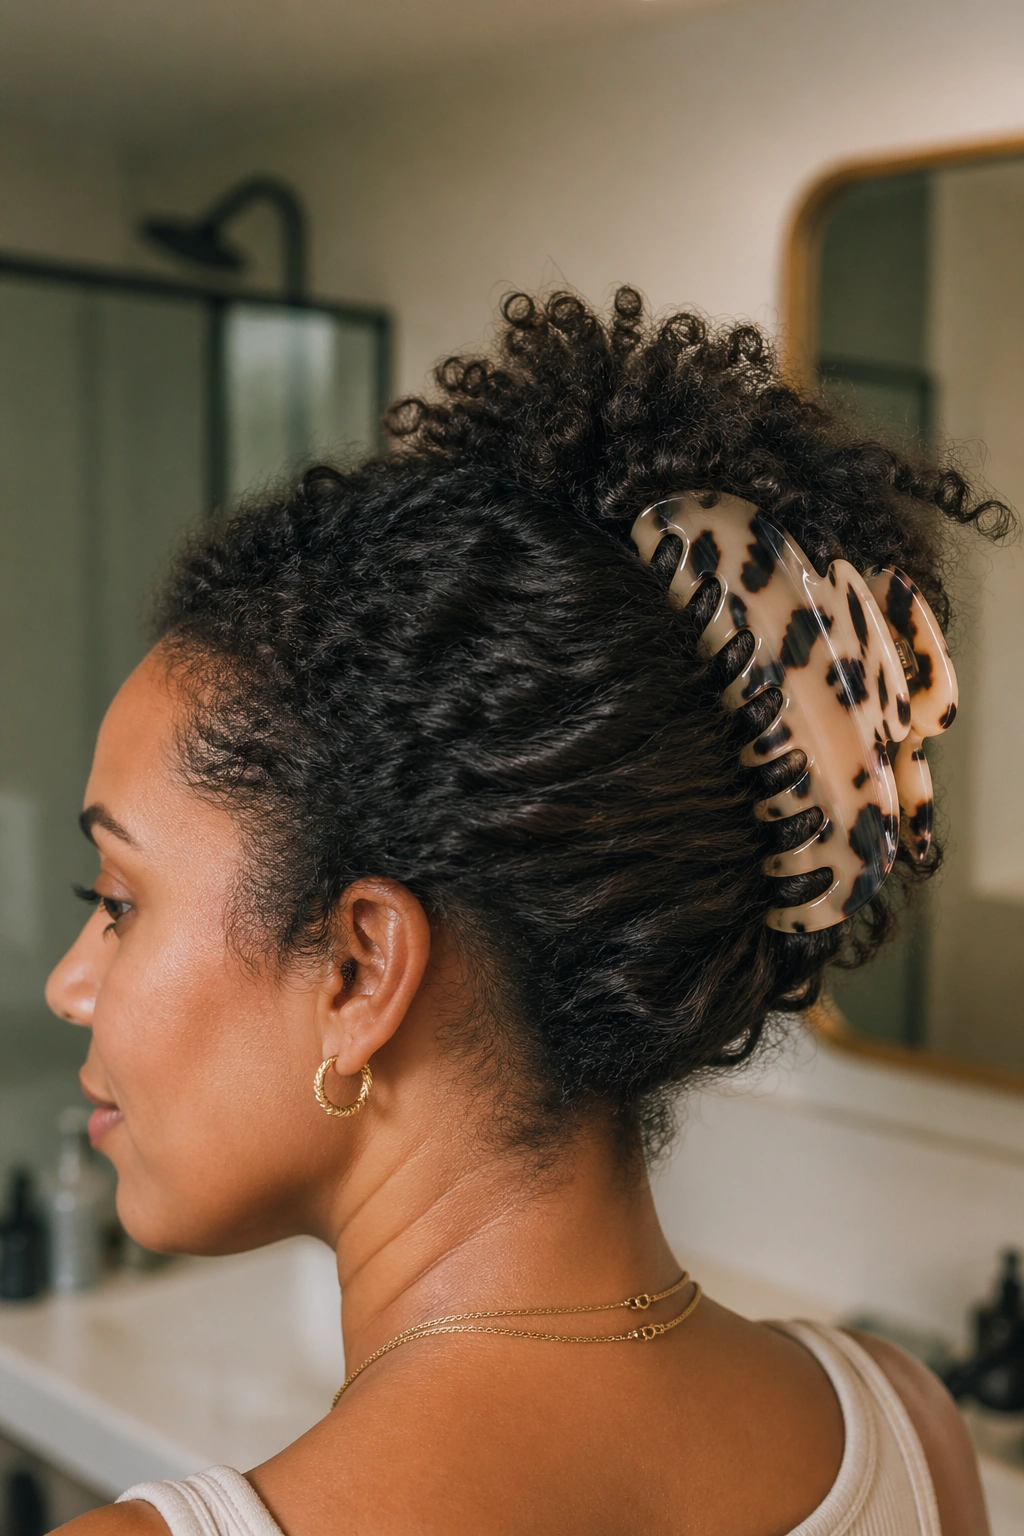
For natural hair specifically, the volume question is the defining advantage. A claw clip can hold an enormous amount of hair — dense 4C coils, thick twist-outs, long natural curls — without compression. A large claw clip on a full natural hair updo doesn’t flatten the volume the way a traditional elastic would. The style stays large, stays textured, and stays interesting.
The other advantage is what claw clips do when the clip itself is decorative. An embellished tortoise shell clip, a gold metallic claw, a resin clip in a jewel tone — the clip becomes part of the style rather than just a functional fastener. That shift makes claw clip updos feel intentional and finished in a way that a plain elastic rarely does.
Choosing the Right Claw Clip for Your Hair
Not all claw clips are created equal, and using the wrong size for your hair type will either mean the clip can’t hold the weight or doesn’t show at all because the hair swallows it.
Size matters more than anything. For thick, dense natural hair, you need a clip with a wide enough jaw to accommodate the gathered hair without the teeth being forced apart. A clip that’s too small will pop open mid-day — embarrassing and inconvenient. Look for clips described as “extra large” or “jumbo” — these typically measure four to five inches wide and are designed for high-volume hair.
The jaw depth also matters. Clips with deep jaws (the distance from the hinge to the tooth tips) grip more securely on thick hair than shallow-jawed clips. If you’ve had clips slip out before, jaw depth was likely the issue.
For material, resin and acetate clips tend to be grippier than metal or plastic — the slightly textured surface of the material catches natural hair better. Metal clips look gorgeous but can slip on very smooth styles. For everyday use, a quality resin clip in a large size is the most reliable choice.
How to Prep Natural Hair for a Claw Clip Style
The biggest factor in how a claw clip updo looks is what your hair looks like before the clip goes in. A claw clip doesn’t hide messy or undefined texture — it gathers it and puts it on display. So the prep matters.
Start with hair that’s been moisturized and has some product in it — even just a leave-in conditioner and a touch of oil. Dry, undefined hair gathered in a clip will look dry and undefined, which is fine for lazy days but not for a style you’d want to photograph or wear to an event.
For defined, polished claw clip styles, use a curl cream to define your curl pattern before gathering. The defined clumps will sit attractively inside and around the clip rather than frizzing outward. For a deliberately fluffy, volumized look, scrunch with a little oil after the clip is in to encourage the gathered section to puff outward.
Edge control is the final prep step. Even for the most casual clip style, smooth edges elevate everything. A small amount of edge control and one minute with a soft brush is the difference between looking like you got dressed and looking like you got dressed with intention.
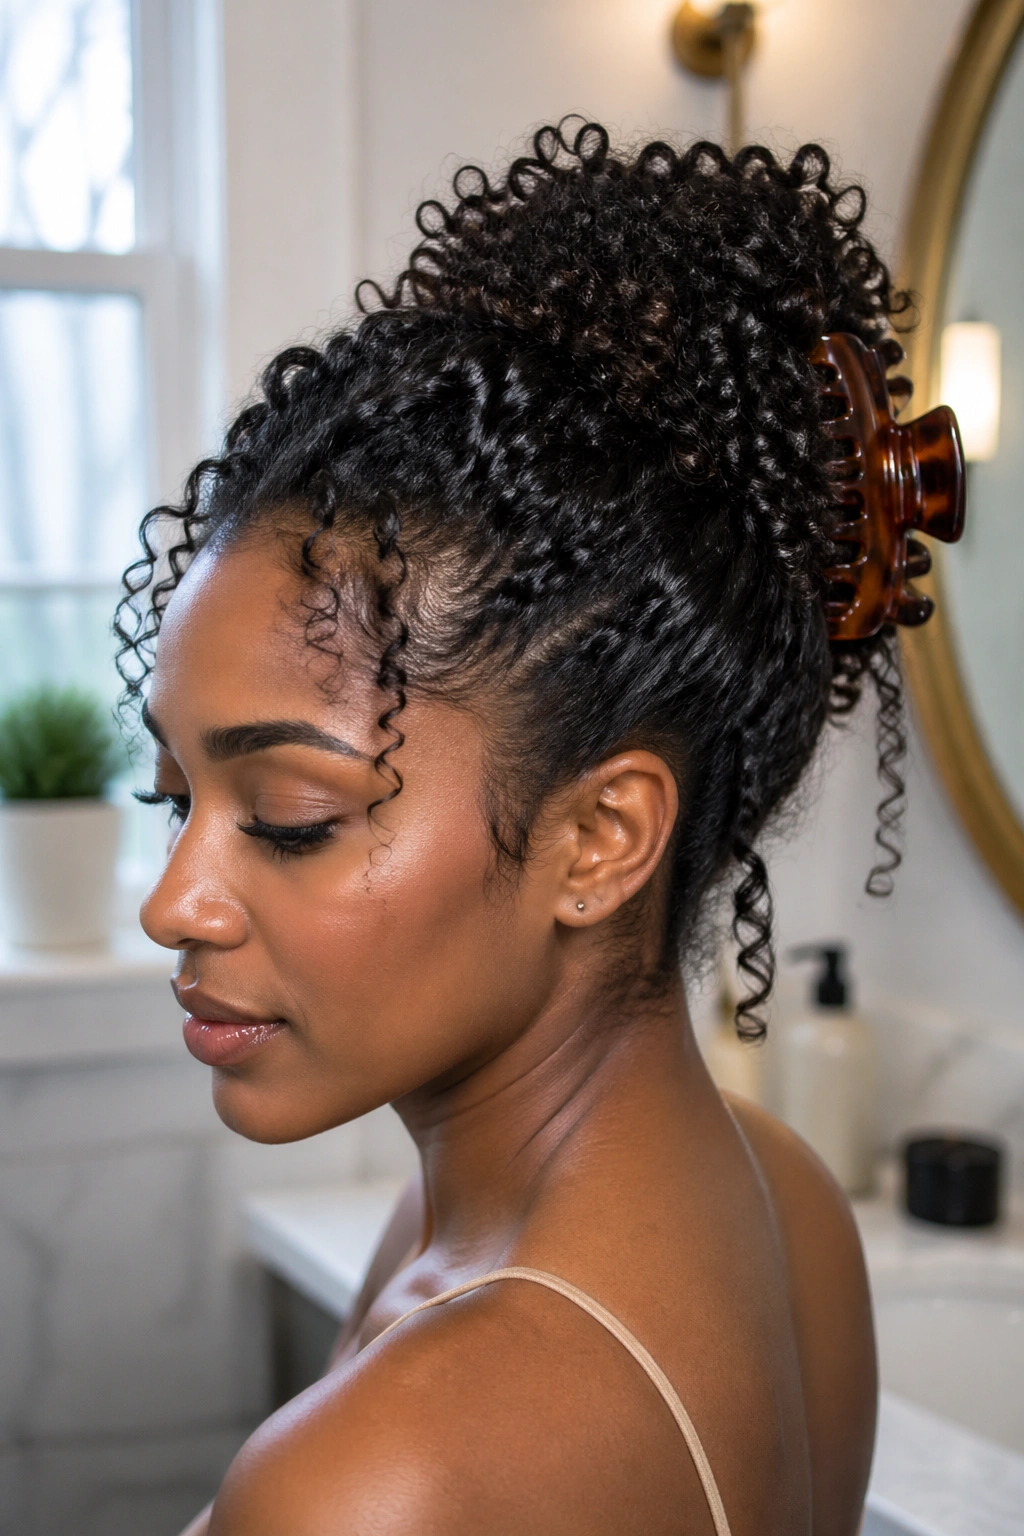
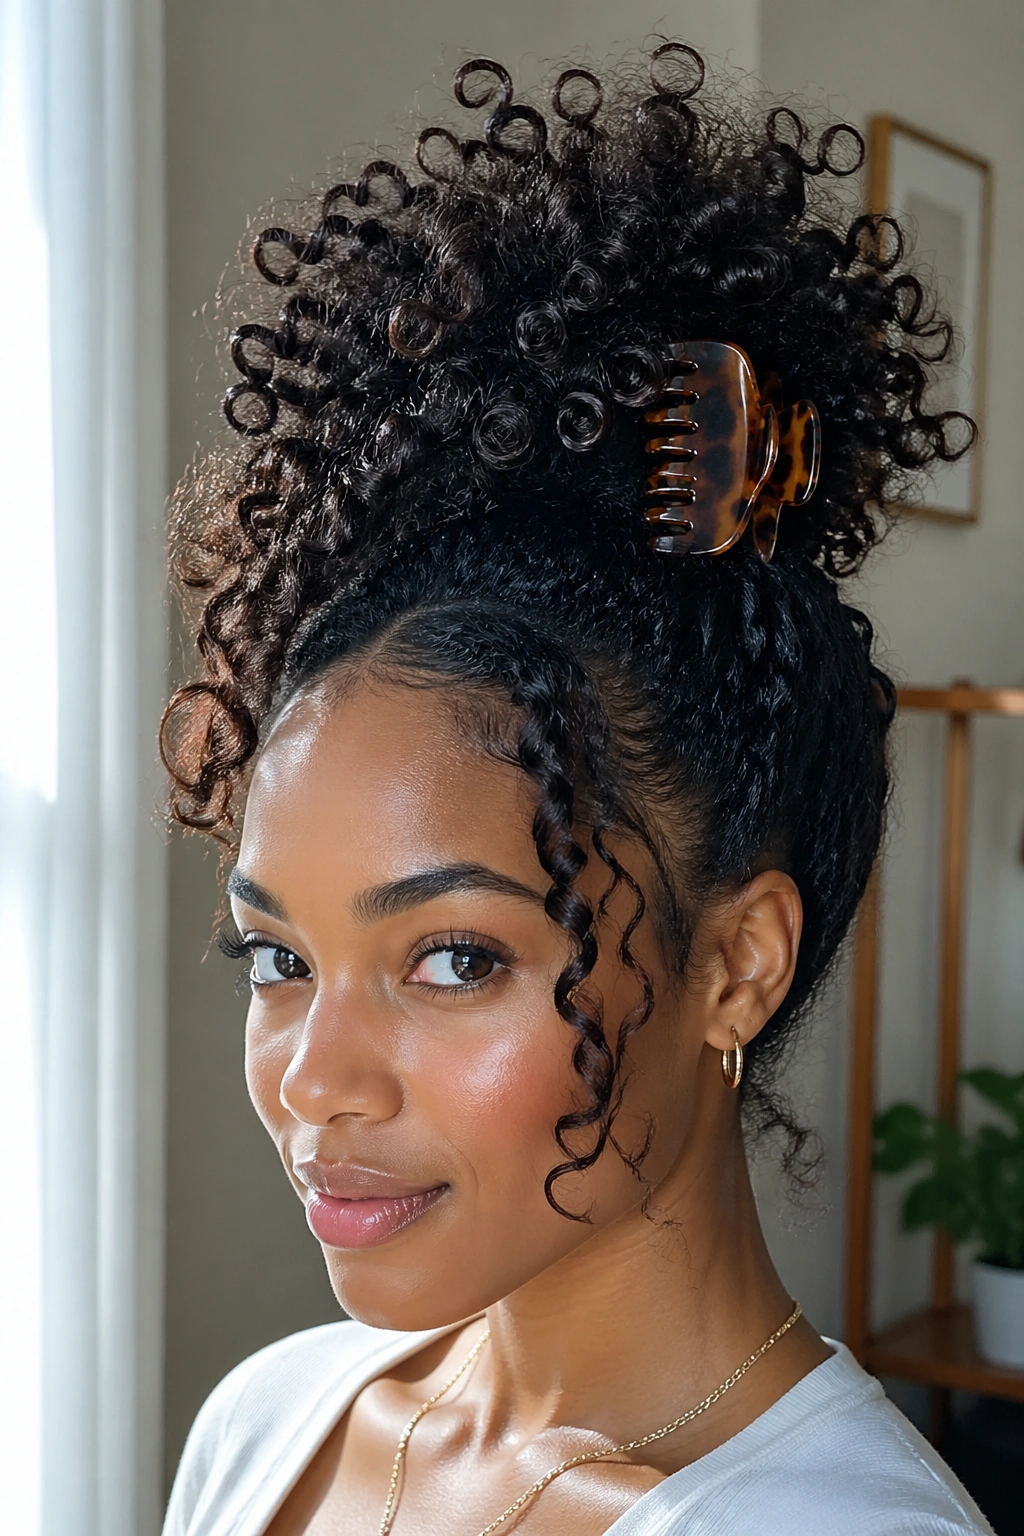
1. The Claw Clip Bun
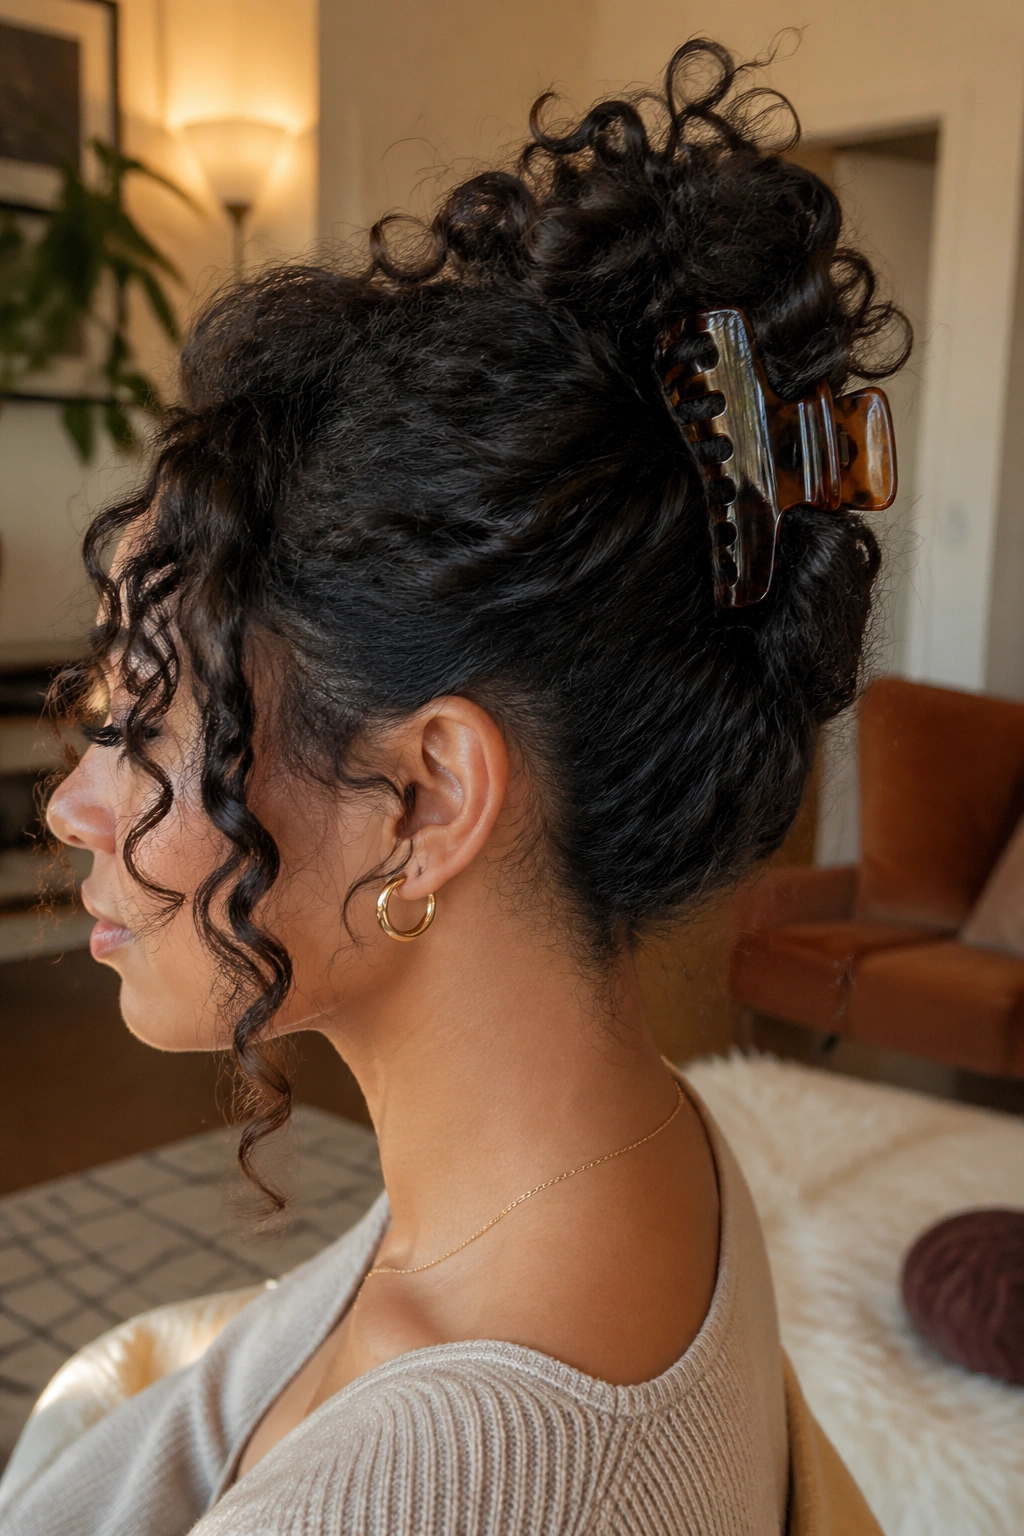
The most classic claw clip updo — gather your hair into a loose bun shape and clamp the clip down through it. But “classic” doesn’t mean boring. The claw clip bun on natural hair looks completely different from a straight-hair version: messier, fuller, with curls escaping at every angle in a way that looks deliberate rather than accidental.
How to Get This Look
Gather your hair at the nape or crown — your preference. Twist the gathered section loosely two to three times, then fold it over on itself to create a loose bun shape. Hold the bun with one hand and clip the claw clip through it, catching the folded hair securely. Release. Adjust any pieces that are sticking out too far or flatten anything that’s escaped from the clip.
- A larger clip creates a grander, more dramatic bun
- Letting a few curls fall around the face softens the style
- Mist the gathered section with a light hold spray to keep everything together
- For a more polished look, apply curl cream to your hair before gathering
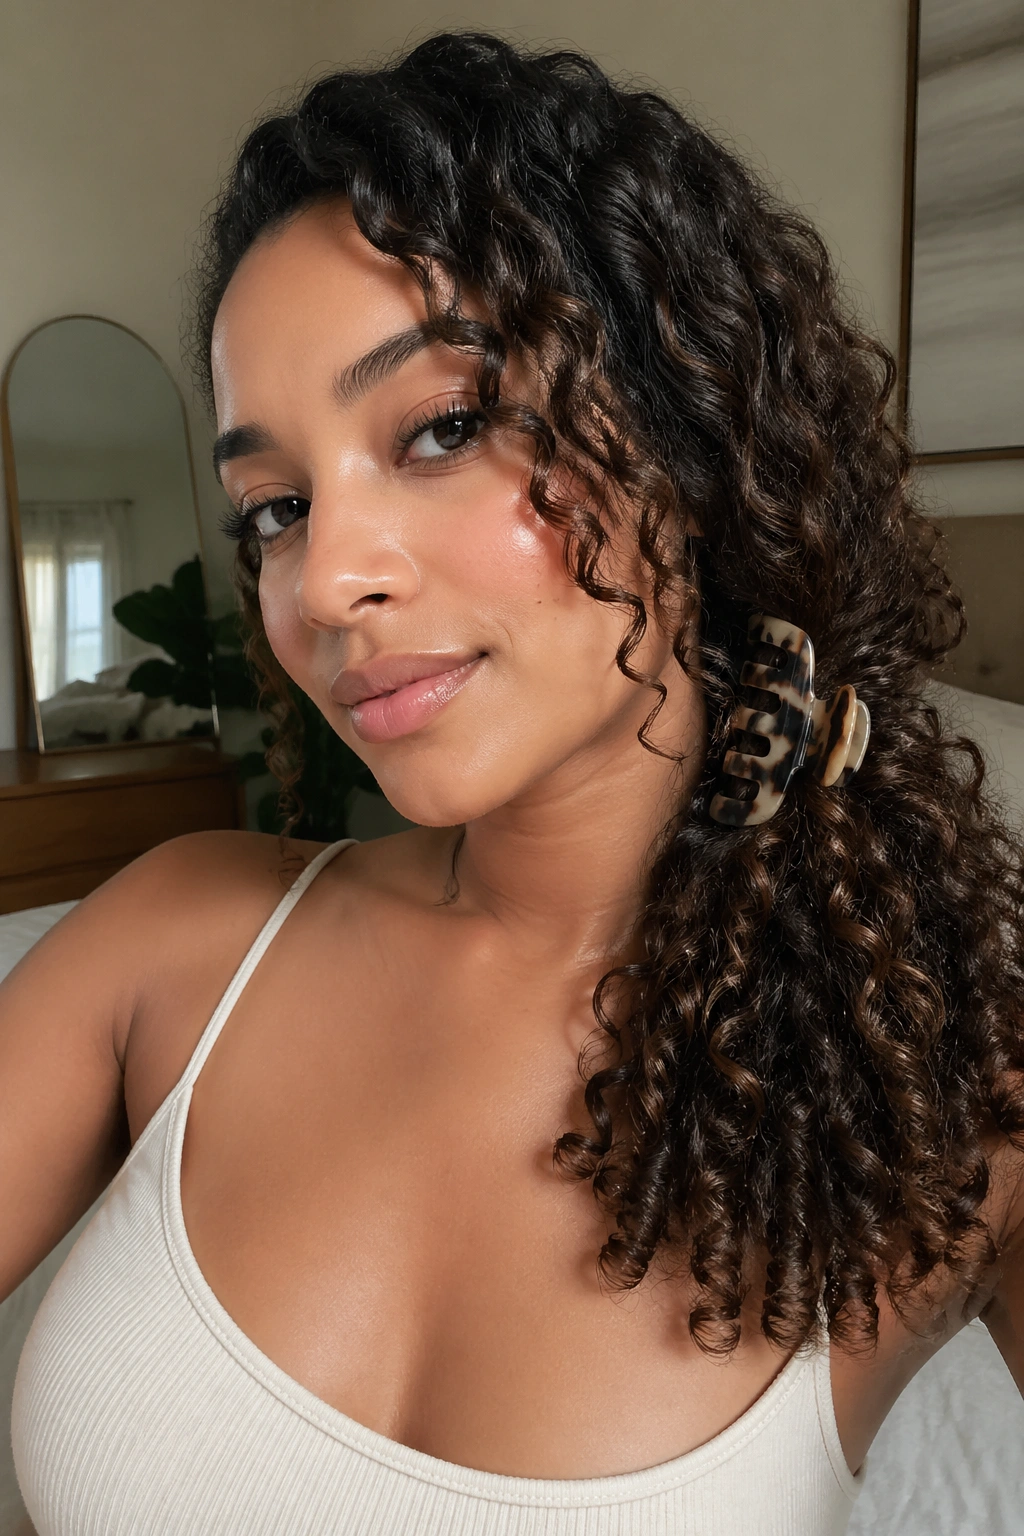
2. The Half-Up Claw Clip
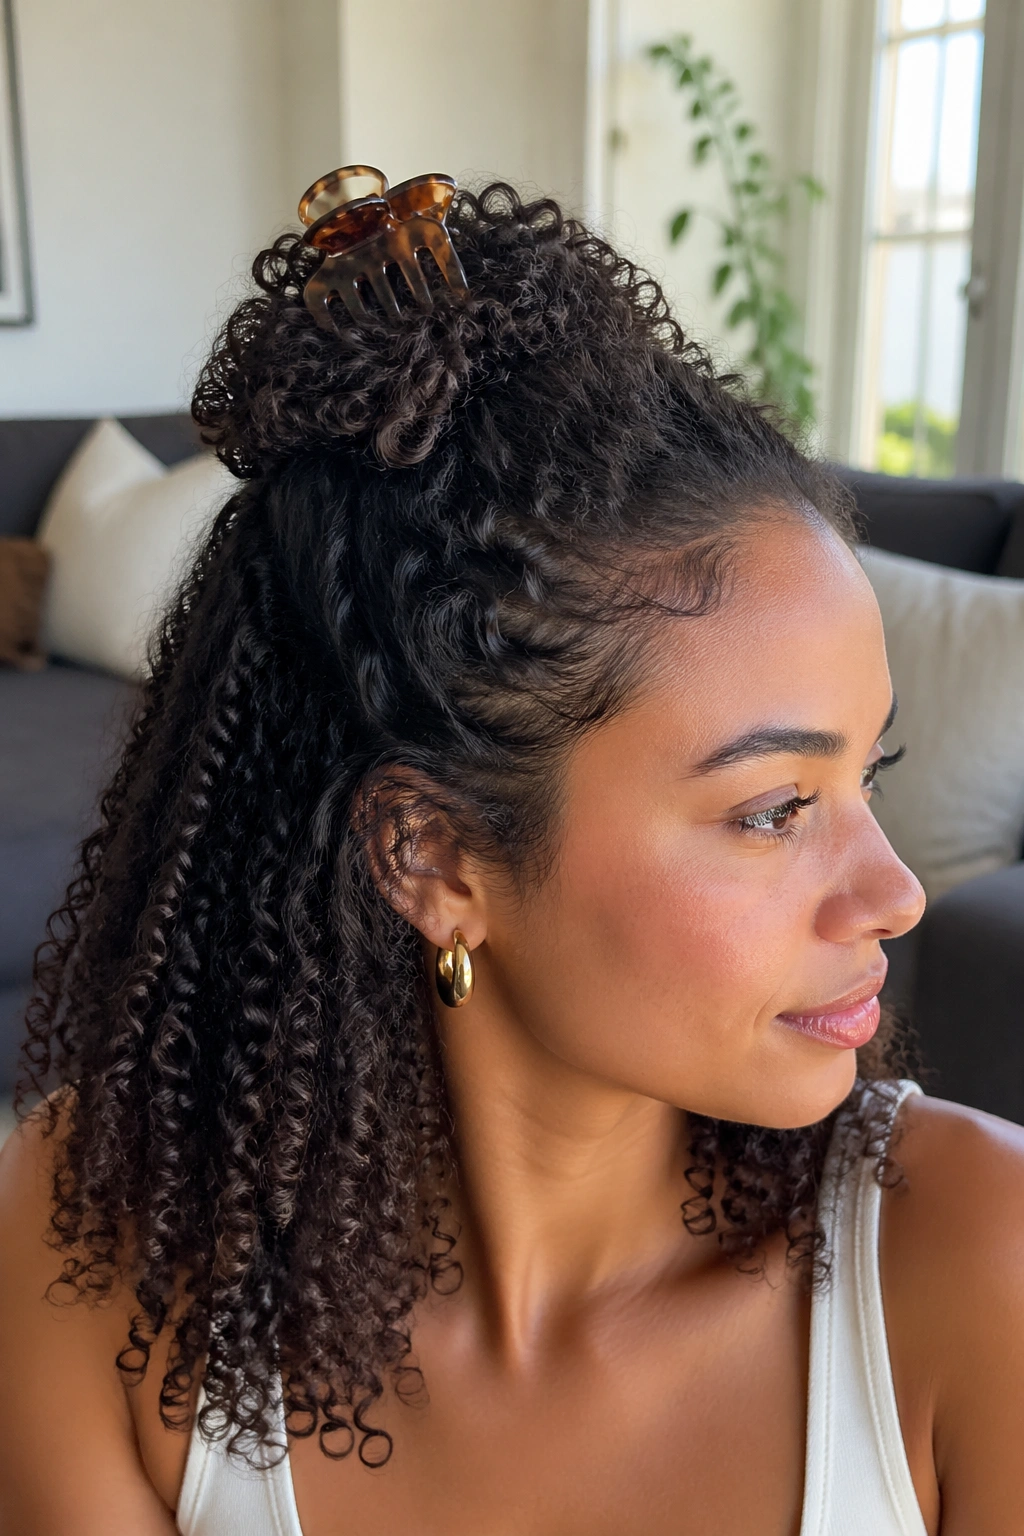
Take the top half of your hair — from ear to ear — and gather it into a clip at the crown. The bottom half hangs free in its natural curl state. This is one of the fastest claw clip styles and one of the most universally flattering.
The clip position determines the silhouette. A clip placed at the very top of the crown creates maximum height in the gathered section. A clip placed slightly back from the hairline creates a softer, more casual look. Experiment with placement until you find the position that frames your face best.
Apply a curl cream to the hanging section and scrunch it to define the curls. The contrast between the controlled top section and the free, curly bottom section is the whole visual interest of this style.
3. The Pineapple Clip
A pineapple updo done with a claw clip rather than a scrunchie has a slightly different profile — the clip creates a flat point of gathering rather than a round scrunchie ring, which means the pineapple sits slightly differently on the head. The result tends to look a bit cleaner and more structured than the scrunchie version.
Gather all hair at the very top of the head. Twist the gathered section loosely — don’t flatten it — and clip through. The curls at the top can fan outward, sit upward, or be tucked slightly — whatever your hair naturally does when gathered is what the style will be.
4. Side-Swept Clip
Gather all your hair to one side of your neck and clip it there. This sounds simple because it is — but on natural hair, the side-swept clip creates a beautiful one-sided cascade of gathered curls that frames the face differently than any centered style can.
The visual weight of gathered natural curls on one shoulder is quite striking. Apply a defining product to the entire length before gathering, so the curls visible in and around the clip are defined rather than frizzy. Add a decorative clip — something metallic or jeweled — for an elevated version.
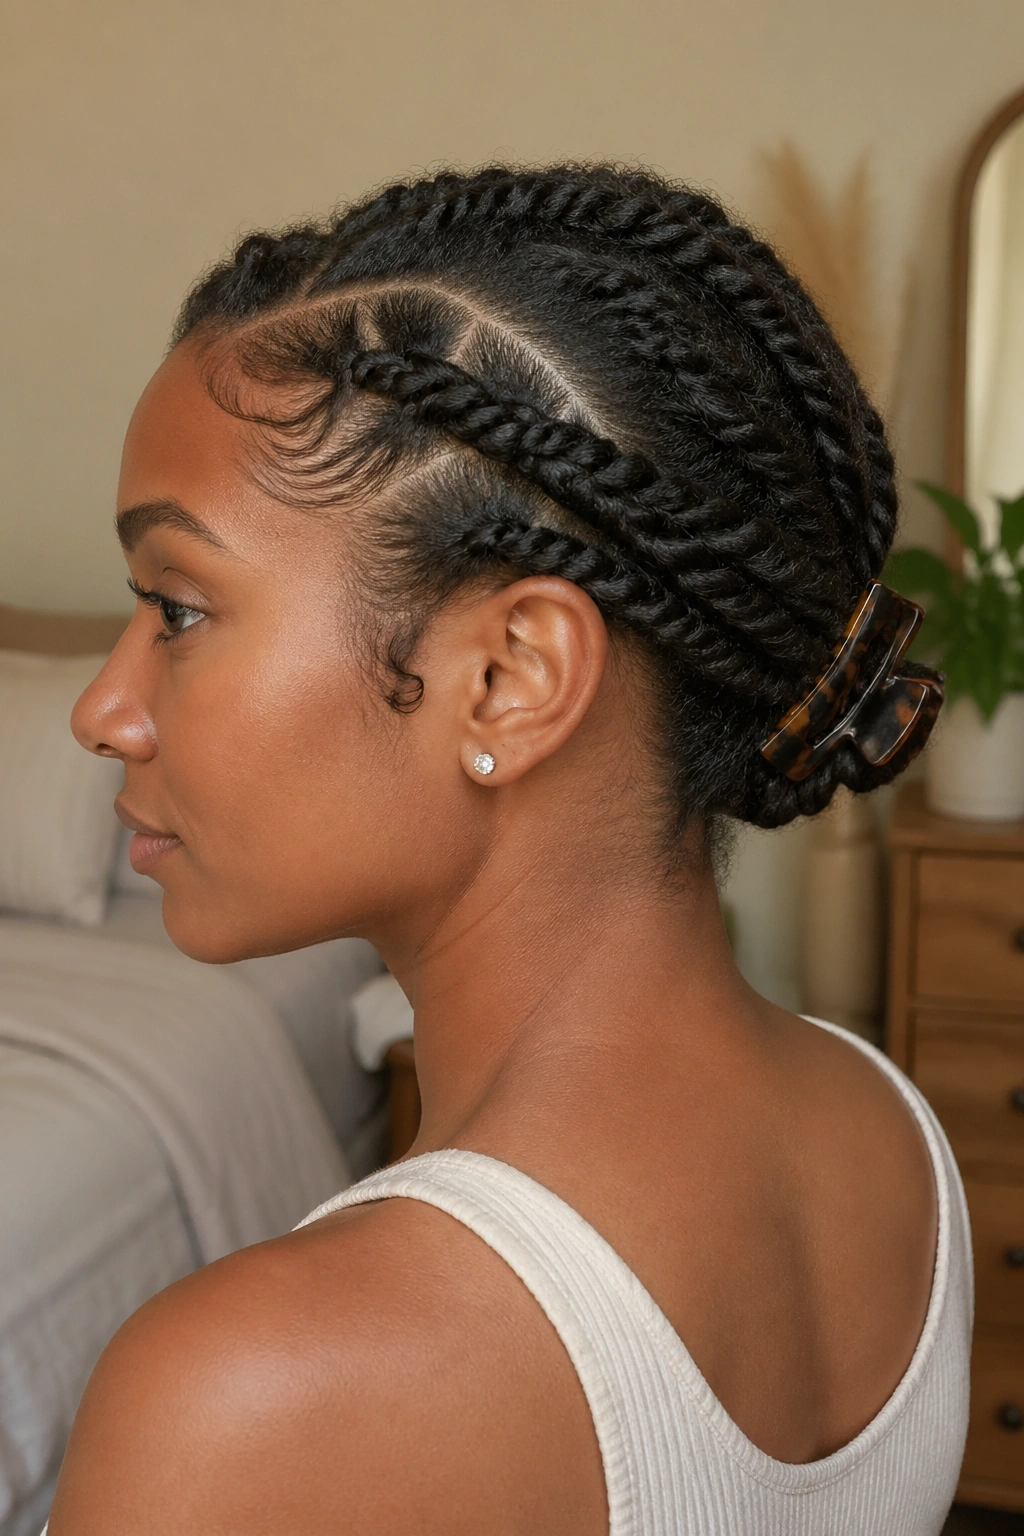
5. The Twisted Section Clip
Before clipping, twist the hair you’re gathering. Take the entire mass of hair, divide it into two sections, and twist them around each other two to three times. Then clip through the twist. The twist creates a more structured, defined shape inside and around the clip — the hair doesn’t just bunch up randomly inside the jaw; it sits in a deliberate spiral shape.
This technique adds visible texture to the clip and makes the style look more considered. It works especially well on Type 3 and 4A hair, where the twist holds neatly.
6. Double Clip Style
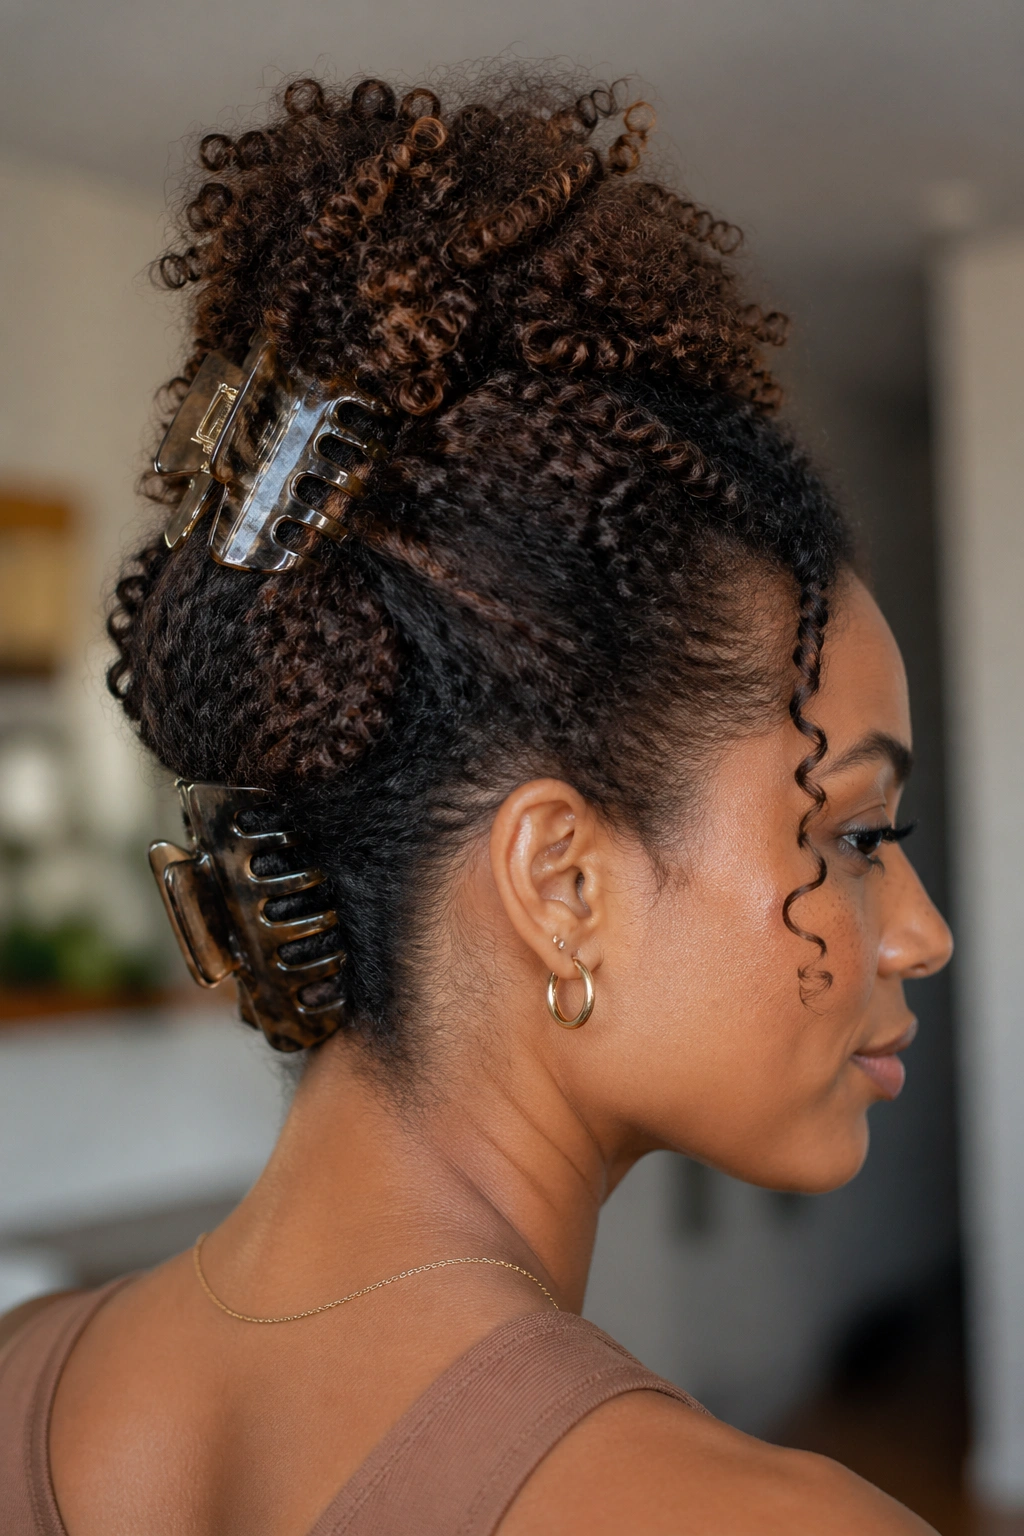
Use two claw clips side by side — or stacked vertically — to create a style that accommodates more volume than a single clip can hold. Position the first clip at the nape and the second clip at mid-scalp, gathering half the hair into each. The result is two clip points creating a stacked updo effect.
How to Get This Look
Gather the bottom section of your hair and secure with the first clip at the nape. Gather the top section and secure with the second clip slightly above and behind the first. The two clips create a distributed updo that holds more total hair than one clip can manage. Use matching clips for a cohesive look, or play with contrast.
7. The Messy Clip Updo
Gather your hair without any smoothing or preparation — let the hair go where it wants, frizz and all — and clip it loosely. Then pull individual sections out from the clip: a few around the face, a few from the sides, maybe a large section from the top of the gathered mass. The strategic pulling-out creates the “messy” look that still somehow appears intentional.
This style leans into the natural volume and texture of curly hair rather than trying to control it. It’s the most casual style on the list, and its casualness is its strength.
8. Claw Clip Bun With Accessories
Take the basic claw clip bun and layer additional accessories on top of it — bobby pins in metallic finishes pushed into the gathered section, small jeweled pins scattered through the visible curls, a satin ribbon tied around the clip itself. The clip is the structure; the accessories are the decoration.
On natural hair, bobby pins and decorative pins sit securely in the curl texture without sliding out. This makes natural hair particularly well-suited for accessory-heavy styles where other hair types might struggle to keep pins in place.
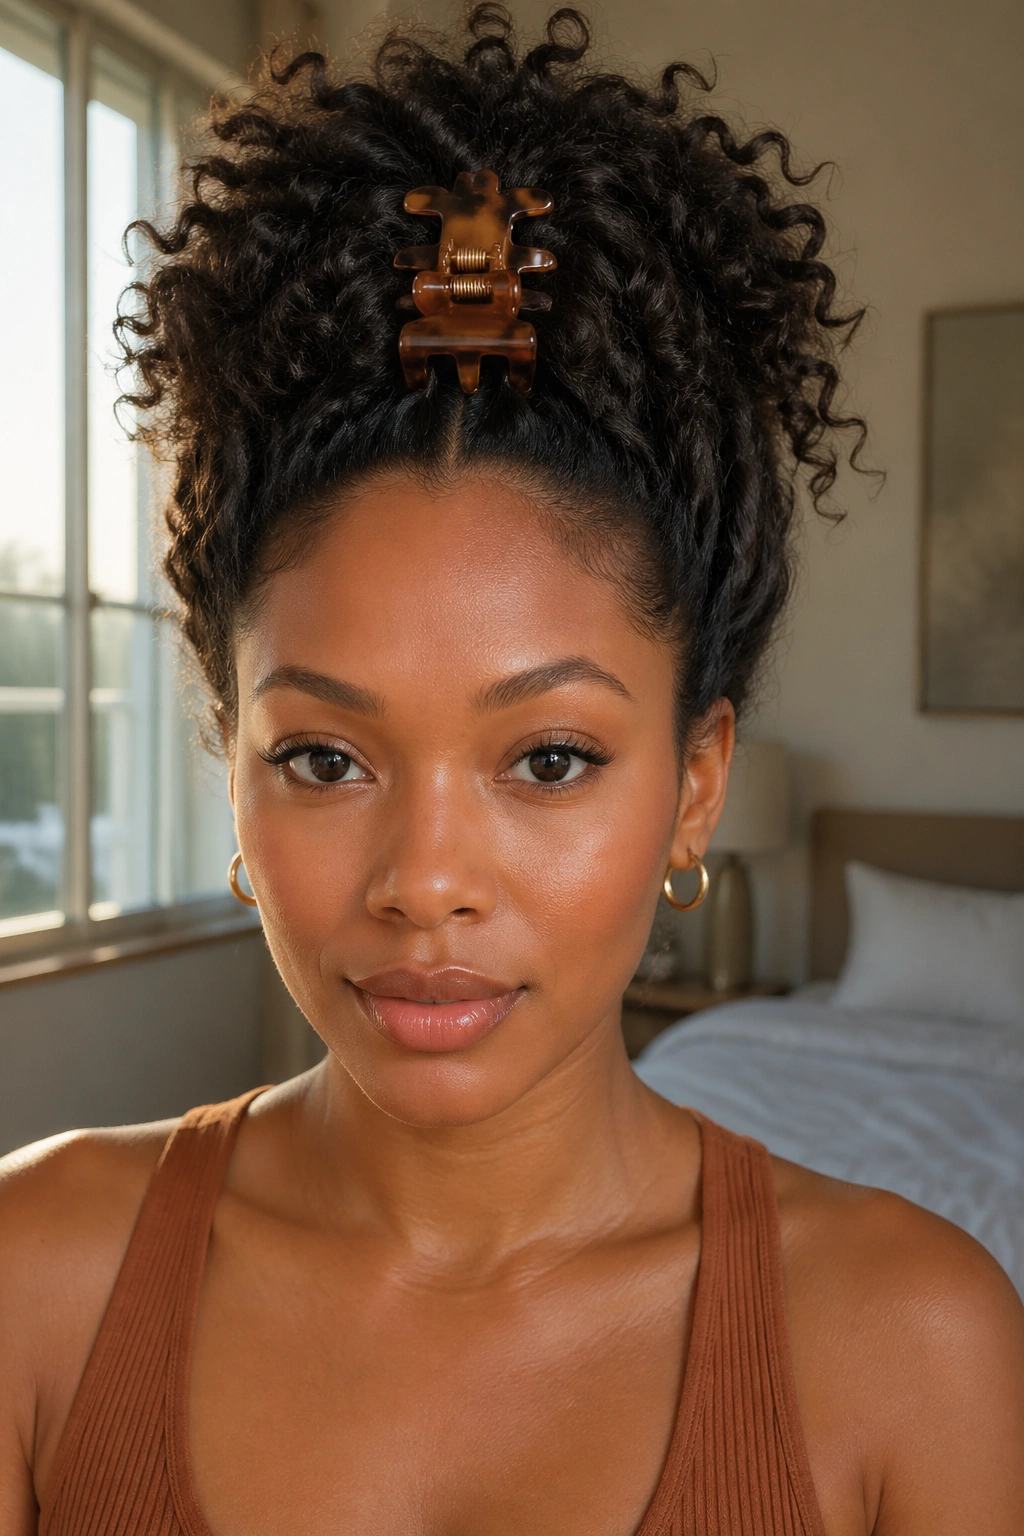
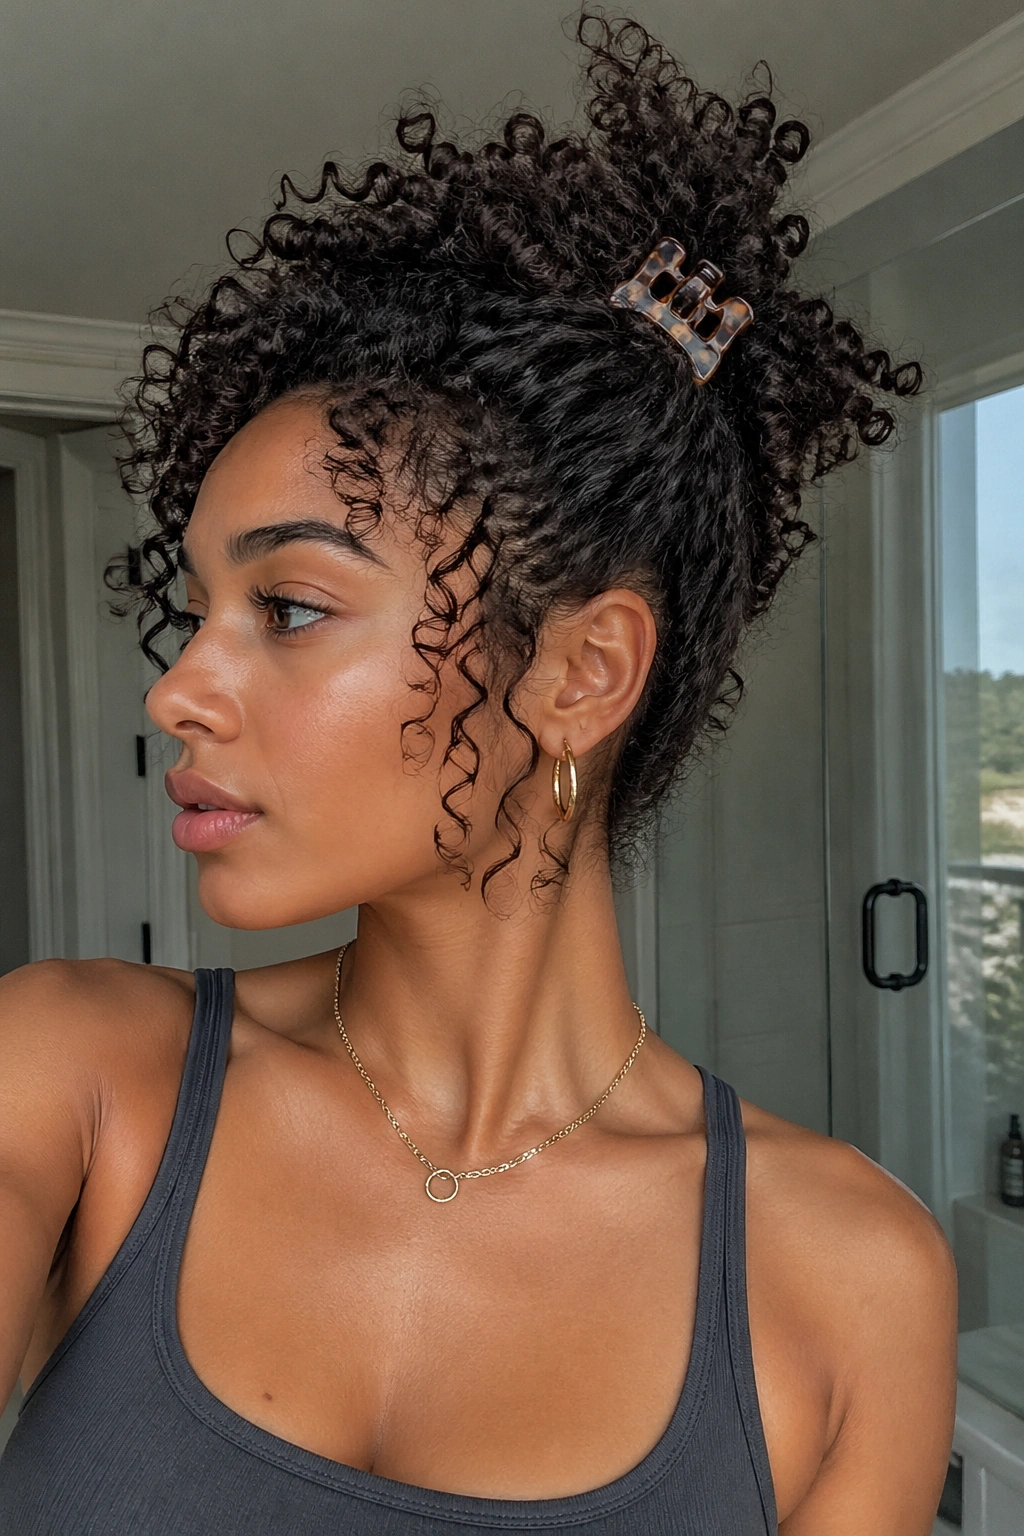
9. High Puff Clip

Instead of the usual high puff secured with a scrunchie, use a large claw clip to gather the hair at the crown into a high puff position. The clip holds the gathered section while allowing the puff itself to remain loose and full — unlike a scrunchie, which compresses the gathering point slightly.
Smooth your edges first. Apply edge control and brush with a soft-bristle brush before clipping. The combination of smooth edges and a full, free puff at the crown creates a polished, intentional look that works for professional settings as well as casual ones.
10. Clip-Supported Twisted Updo
Create two large two-strand twists — one on each side of the head, dividing hair roughly from a center part to the nape. Gather both twists at the center back, fold them upward together, and clip through the folded twist structure. The clip holds the fold while the textured twist sits visibly on each side of the clip, creating a distinctive, textured updo with real structure.
11. The Low Clip Chignon

Gather hair at the nape of the neck. Instead of twisting or bending the gathered section, let it fall over itself in a loose S-curve and clip through the lower loop of the S. This creates a gentle, low chignon shape — not a round bun, not a straight tail, but a softly curved gathered shape that sits elegantly at the base of the neck.
For formal or professional occasions, apply a light smoothing gel to the surface of the hair before gathering, and use a decorative clip that matches your outfit’s metallic accents. The low clip chignon reads as genuinely elegant.
12. The Clip-Wrapped Scarf Style
Wrap a silk scarf around your gathered hair before clipping — the clip goes through the scarf-wrapped section, holding both the scarf and the hair simultaneously. The scarf becomes part of the structural element of the style, not just a decoration. It adds color, texture, and a layered quality that makes even a simple clip bun look like a complete look.
13. Curly Clip Updo With Face-Framing Pieces

Gather the back and side sections of your hair into the claw clip. Intentionally leave sections at the temples and in front of the ears loose. Define these loose sections with a curl cream, scrunching them into their natural curl pattern.
The face-framing pieces are the style here — they soften the gathered updo and draw attention to your facial features in a flattering, deliberate way. This style works across all lengths, from mid-neck to very long hair.
14. Single Large Twist Into a Clip
Take all your hair, divide it into two sections, and twist them tightly together into one large rope twist running from the nape upward. When the twist reaches the gathered point, clip through it. The entire twisted length coils against itself inside the clip, creating a structured, visually interesting gathered shape.
The exposed twist pattern is what makes this style distinctive. Unlike a bun where the interior is hidden, this updo shows the twist pattern running through the clip area.
15. The Crown Clip
Position the claw clip at the very front of the crown — directly above the center of the forehead, two to three inches back from the hairline. Gather all the hair backward from this point and clip. The effect creates maximum height at the front of the style, which is an unusual and flattering silhouette for round or square face shapes.
16. Clip Style With Flat-Twisted Sides
Before gathering into the clip, flat-twist the hair on each side of the head — starting at each temple and working backward. When both flat twists meet at the back, clip through both of them together. The flat-twisted sides create a structured, braided-looking frame on each side of the face, while the clip holds everything neatly at the back.
How to Get This Look
Apply a cream product to the side sections. Start the flat twist at each temple, picking up hair as you go, and working toward the nape or center back. When both twists meet, gather them together and clip. Use a satin scrunchie under the clip if the twists alone aren’t enough to hold the volume.
17. Quick Refresh Clip
This isn’t really a styled updo — it’s the style you do when you wake up on day three and your hair needs to be up but you have exactly two minutes. Flip all your hair forward, gather it at the top, clip it. That’s it.
The key is leaning into the imperfection. A rough, textured, slightly chaotic claw clip style on natural hair looks edgy and cool in a way that a rough straight-hair clip does not. The volume and texture of natural curls make even a genuinely rushed clip look interesting.
18. The Decorative Clip Statement
Some claw clips are so beautiful that the clip is the style. An enormous tortoise shell clip with golden undertones, a jeweled resin clip in a deep emerald green, a sculptural metallic clip with architectural shape — when the clip itself is the statement piece, the hair just needs to be up.
Gather loosely, clip, done. Let the clip speak. This is not laziness — it’s smart accessorizing.
19. Diffused Wash-and-Go Into a Clip
Do your wash-and-go, let it fully dry (or diffuse), and then gather the fully-dried defined curls into a claw clip. The defined curl pattern remains visible in the gathered section, so the clip updo shows beautiful, distinct curl texture rather than a mass of undefined hair.
The dried gel cast should be fully broken before clipping — scrunch out any remaining crunch with a few drops of oil. Then gather and clip. The defined curls will sit beautifully inside and around the clip.
20. Multi-Texture Clip Style
If your hair has different textures in different sections — tighter coils at the nape, looser curls at the crown — gather everything together and clip, letting the different textures show simultaneously in the gathered section. Multi-texture natural hair creates a dimensional, varied look inside the clip that’s completely unique to your specific hair.
Don’t blend or try to make the textures uniform before gathering — the variety is the beauty.
Maintaining a Claw Clip Style Through the Day
Claw clip styles are low-maintenance almost by definition, but there are a few things worth doing to keep the style looking its best through a full day. A light hold spray over the gathered section (and over the exposed curls around the clip) after you’ve placed the clip locks the surface frizz down without making your hair stiff.
If your clip tends to slide on very smooth or oiled hair, apply the clip to hair that’s slightly drier and less product-saturated at the gathering point. The natural texture of dry or lightly product-coated natural hair grips the clip teeth better than very slippery, oiled-down hair.
At the end of the day, before removing the clip, take a moment to detangle any sections that may have wrapped together inside the clip — especially if the style was worn all day. This prevents breakage at the gathering point when you release the hair.
Claw clip updos are the style category that rewards simplicity. The hair, the clip, the texture — that’s all you need.