



Big feed-in cornrows sit in a category of their own. Not quite the tiny, intricate patterns that take six hours in a braider’s chair, and not quite the chunky single plaits that leave your scalp exposed. They’re the middle ground, the workhorse, the protective style that actually protects while still looking polished enough for a wedding, a boardroom, or a Sunday service. And honestly? They’ve earned every bit of attention they get.
The thing about big feed-in cornrows is the illusion they create. Your real hair might be shoulder-length, shrunken, or mid-breakage recovery, but once those kanekalon wefts get layered in section by section, you walk out looking like your hair grew down your back overnight. That’s not vanity talking. That’s technique.
Over the years, big feed-ins have shifted from being purely functional into a full-on art form. Stylists compete to get their parts cleaner, their edges sharper, their transitions invisible. The results show up on red carpets and in coffee shop lines alike. When you get a good set done, people notice. They may not say anything, but they notice.
Below are twenty-two distinct takes on the big feed-in cornrow. Some are classic. Some bend the rules. All of them are worth considering the next time you sit down in the braiding chair.
What Exactly Makes a Cornrow “Big Feed-In”
The word “big” does real work here. A standard cornrow might sit at half an inch wide. A big feed-in cornrow typically ranges from three-quarters of an inch to a full inch and a half, depending on your stylist’s hand and your head size. That width matters. It changes the drape, the weight, the speed of installation.
Feed-in refers to the method, not the thickness. Your braider starts with your natural hair alone at the hairline, then gradually adds small pieces of braiding hair as the cornrow moves back along your scalp. The result is a braid that tapers naturally at the front — no visible bulk at the edge, no telltale knot giving away that it’s extensions at all.
Combine “big” with “feed-in” and you get a protective style that feels light at the front, heavy at the tail, and looks grown straight out of your head. That’s the magic.
Before You Sit Down in the Chair
Prep makes or breaks the install. If your hair isn’t clean, if your scalp is flaky, if your ends are tangled, the braider will spend more time detangling than braiding and your parts will look muddy by week two.
Wash with a clarifying shampoo the day before. Not the morning of — that leaves the cuticle slightly raised and the braid won’t grip the same way. Follow with a moisturizing conditioner, then air-dry or blow-dry on low until the hair is fully stretched. Stretched hair is non-negotiable for big feed-ins. Shrunken hair means uneven parts and short-lived neatness.
Trim your ends if they need it. Split ends get worse under tension, and a big cornrow pulls. A small trim costs you maybe half an inch. Leaving the splits costs you the whole benefit of the protective style.
The Tools That Actually Matter
You don’t need fifty products. You need a few that work.
- A rat-tail comb with a metal tail for clean parts. Plastic tails bend.
- Edge control that grips without flaking — something in a tin, typically.
- Kanekalon or pre-stretched braiding hair. Pre-stretched saves about forty-five minutes of prep.
- A spray bottle with water and a lightweight leave-in for smoothing.
- Hair clips or butterfly clips to hold sections out of the way.
- A bonnet or satin scarf. This part isn’t optional.
If your braider uses gel on your scalp, check the ingredients. Anything with alcohol as the first or second ingredient will itch by day three.
The Technique Most Braiders Skip
Here’s something I wish more people knew. The direction of the first few stitches determines whether the front of your cornrow lies flat or lifts within a week. A braider who starts the cornrow at a sharp angle, pulling against the natural grain of your hair, will create tension that forces the braid to lift.
The fix is simple. The first three to four stitches should follow the natural direction your hair grows at the hairline. After that, the braider can redirect as needed. This is why some sets look like they just came out of the chair two weeks in, while others look fuzzy by day five.
If you’re sitting down for big feed-ins and you know your hairline is sensitive, ask your braider to go slightly looser at the first inch. You’ll barely notice the difference in appearance, but your scalp will thank you.
A Brief Note on the History
Cornrows aren’t a trend. They’ve been worn across the African continent for thousands of years — some of the earliest depictions date back to carvings and sculptures from regions that are now Nigeria, Ethiopia, and Sudan. The patterns weren’t decorative in the sense we think of now. They carried meaning. Marital status, age, tribe, social standing — all of it could be read in the parting.
That context matters because every cornrow worn today is part of that lineage. The big feed-in is a newer expression of an ancient practice, and knowing the history adds weight to the style. It’s not just hair. It’s inheritance.
1. Classic Six Straight-Backs
Six clean, wide cornrows running from hairline to nape. That’s it. No curves, no swirls, no side part. The simplicity is the point.
Why It Works
The straight-back pattern is the most flattering because it pulls the eye upward and lengthens the face. Six cornrows means each braid is substantial enough to feel modern but not so chunky that they read as lazy. The feed-in method keeps the front invisible, which makes the parts look sharper than a freehand version ever could.
- Best for oval and heart-shaped faces
- Holds 4-6 weeks with proper night care
- Takes about 3 hours for a skilled braider
- Looks great pulled back or swept to one side near the nape
Tip: Ask for the parts to be slightly wider at the front and narrower at the back. This creates a natural tapering effect that photographs well and adds visual weight without feeling heavy.
2. Jumbo Four Going Back
Four cornrows. That’s it. Each one big enough that you can wrap your hand around the tail.
This style is for confident energy. When you only have four braids, each part is essentially a statement — the lines between them become as important as the braids themselves. Stylists who do this well treat the scalp like a canvas, making sure each stripe of parted skin is perfectly even, with no wavering edges.
The install goes fast — maybe two hours — because there are fewer braids to weave. The weight, though, is significant. You’ll feel those tails swinging when you walk. Some people love that. Others find it too much after the first three days.
I’ve worn jumbo fours twice. Once I loved them. Once I swore I’d never do it again because the tension at the front was more than my edges could handle. Your mileage will vary.
3. Feed-Ins With a Deep Side Part
What if you skipped the center part entirely and committed to one dramatic side?
A deep side part shifts the whole energy. The cornrows on the heavier side become a curtain of braids that can sweep over one eye, tuck behind an ear, or pool on one shoulder. The thinner side pulls the face cleaner and makes cheekbones do more of the work.
How to Use It
Pick your dominant side based on how you part your natural hair when you wake up. That’s your natural grain, and cornrows worn against your grain will lift. Your braider should start the side part about an inch off-center and angle it slightly toward the crown. A part that runs in a perfectly straight vertical line looks stiff. A part with a subtle diagonal looks sculpted.
4. Big Feed-Ins With Gold Cuffs
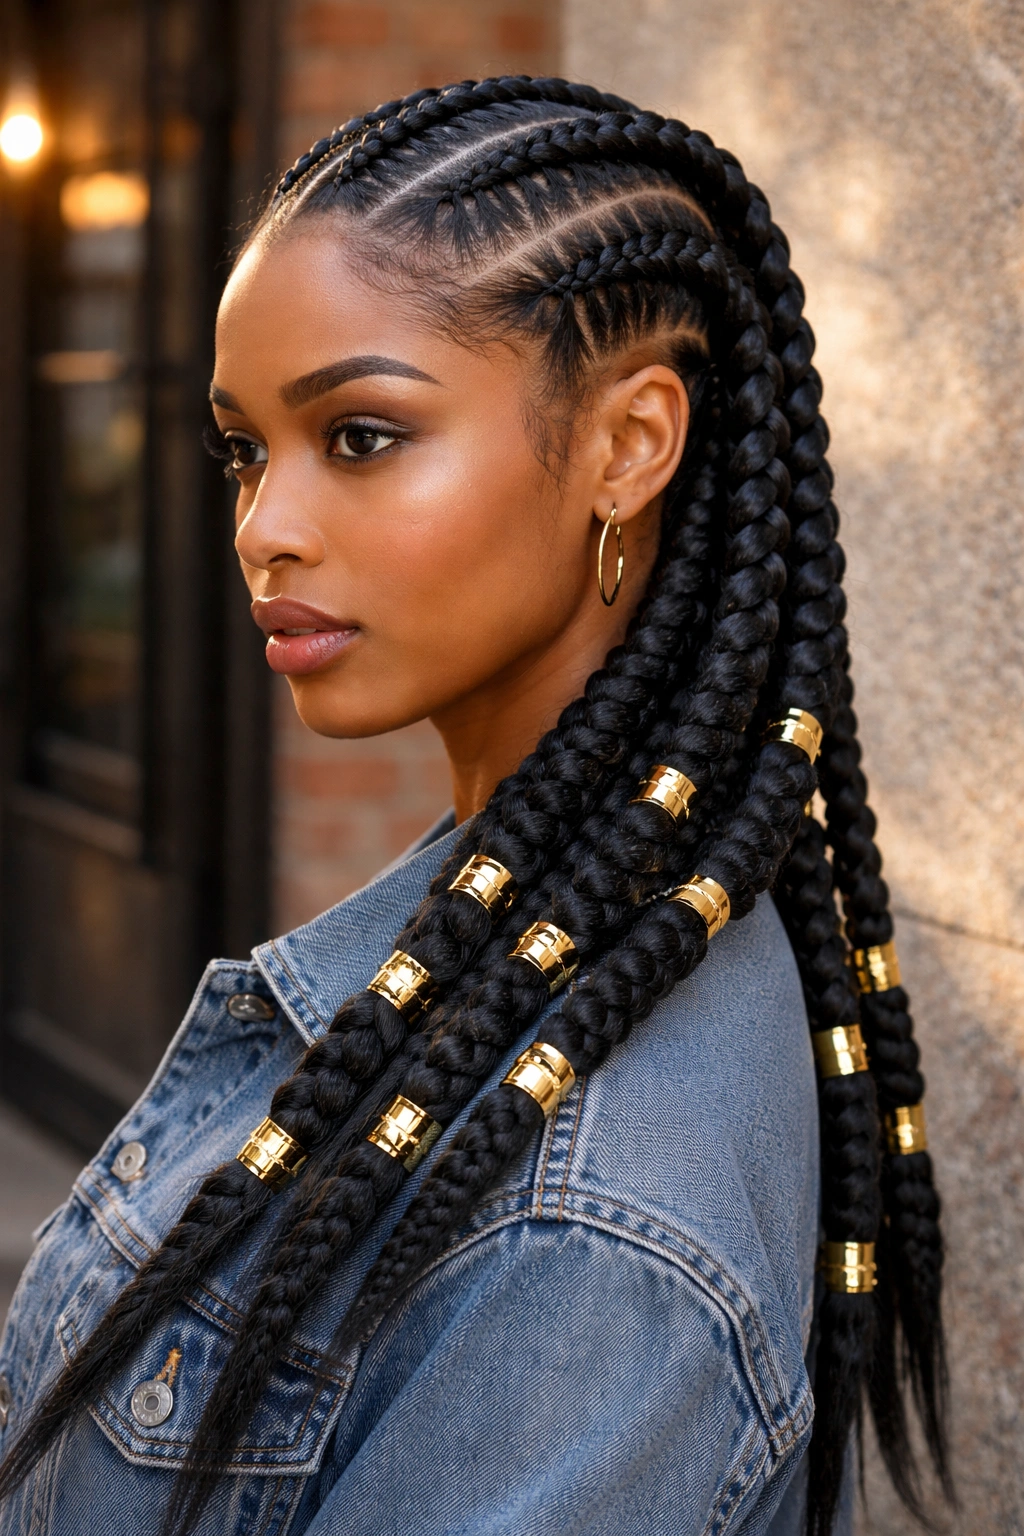
Big feed-ins left plain at the tail are the canvas. Gold cuffs are the frame.
Here’s the thing — cuffs don’t actually require a specific style underneath. What makes gold cuffs work on big feed-ins specifically is the width of the braid. Cuffs slide down thin braids. They sit where you put them on fat ones. You can place three cuffs along the length of one cornrow and they’ll stay stacked perfectly, each one catching light as you move.
Pro tip: Stagger the cuffs so they don’t line up horizontally across all braids. Uneven placement looks intentional and artistic. Perfectly aligned cuffs across every braid can look like a uniform.
5. Seven Cornrows With a Curved Center Back
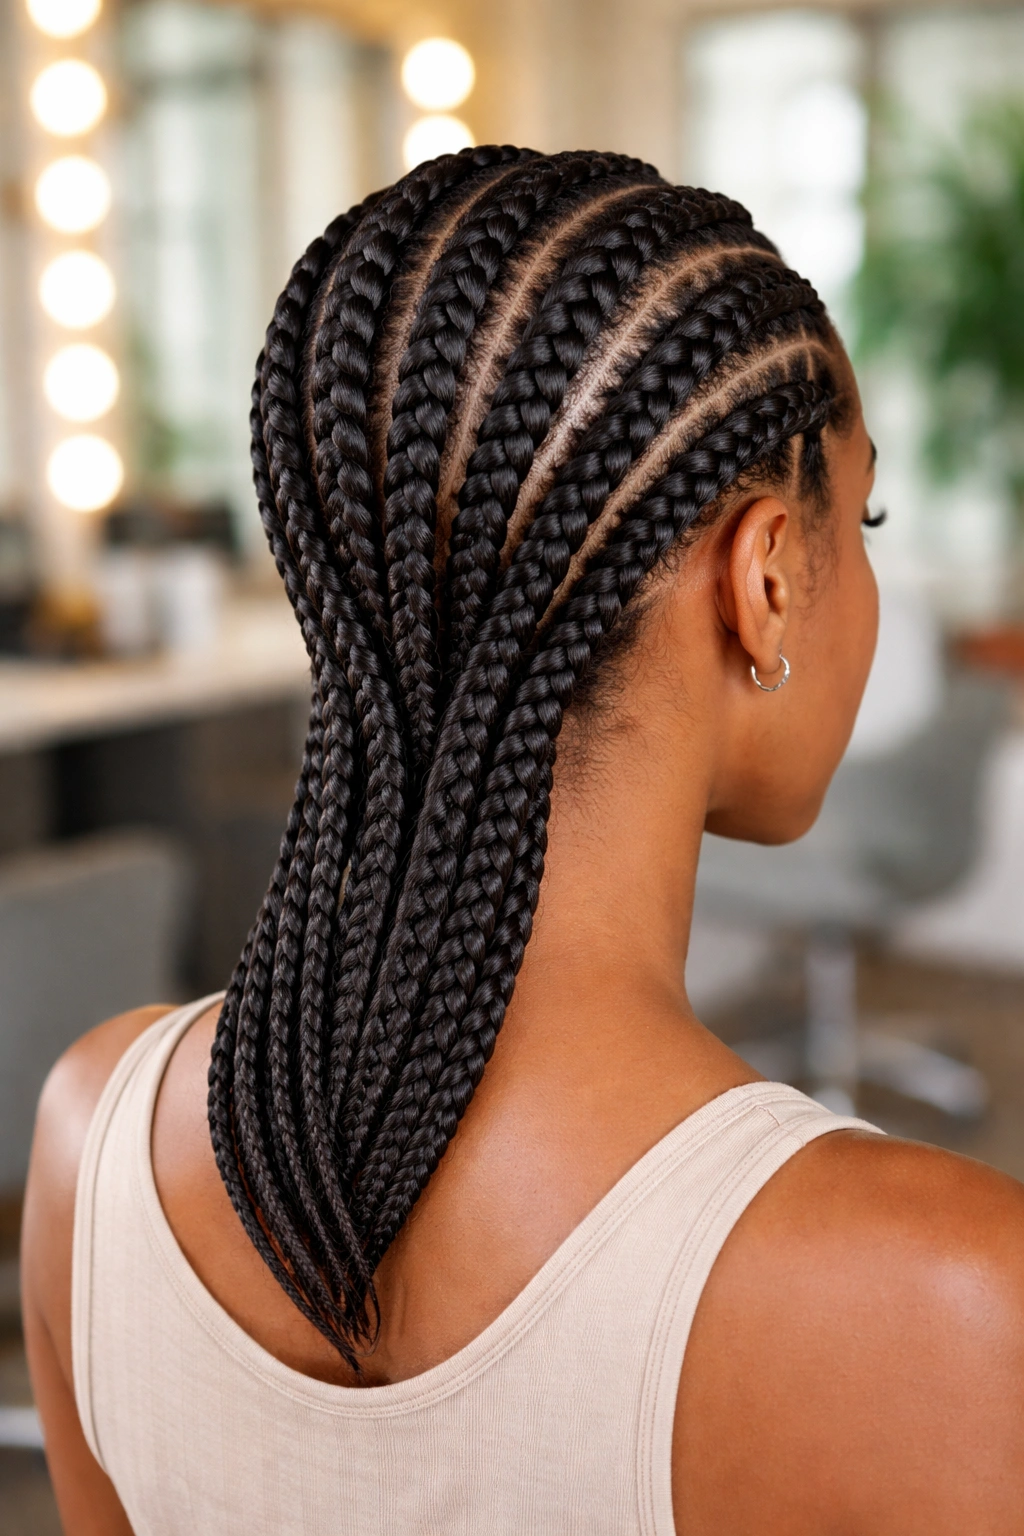
Seven braids, but with a twist — the center two curve inward to meet at the nape.
This is a subtle flex. From the front it reads as a regular seven-back. From the back you get a soft V-shape at the nape that frames the neckline beautifully if you wear your hair up or in any neckline-showing outfit. Bride-to-be energy. Photographer-favorite energy.
The curved center requires a braider who can see the whole head while working, which sounds obvious but isn’t. Some braiders work braid-by-braid without stepping back to check symmetry. You want someone who looks at the overall shape every fifteen minutes.
Expect 3.5 to 4 hours in the chair. The curving adds time.
6. Thick Cornrows with Natural Hair Only
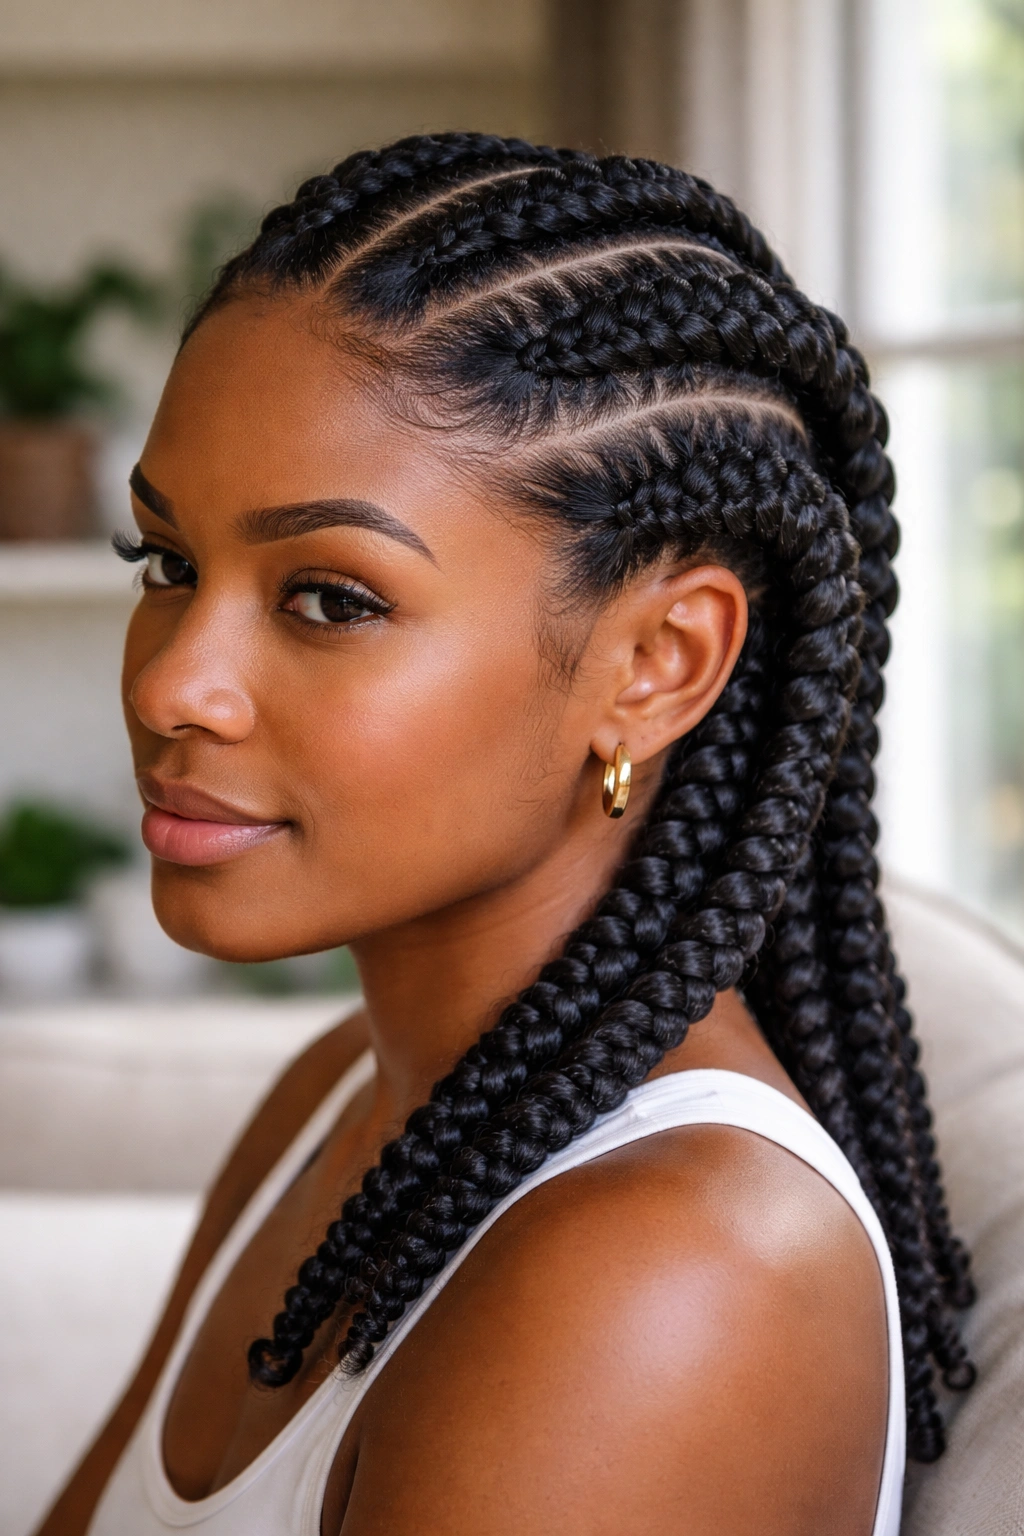
No extensions. Just your hair, parted big, braided big, and set.
Not everyone wants kanekalon woven in. For people with dense 4C hair or mid-back length natural hair, big cornrows done with just your own hair can be the cleanest look possible. No bulk at the tail. No weight. No fake sheen.
- Lighter on the scalp than any feed-in version
- Lasts about 2 weeks at peak neatness
- Shows off hair length and texture honestly
- Easier to wash while installed
The tradeoff is obvious. The tails will be shorter. If your hair shrinks significantly, the finished look might sit at your shoulders even if stretched length is longer. That’s fine for some. Frustrating for others.
7. Ombre Feed-Ins in Honey Blonde
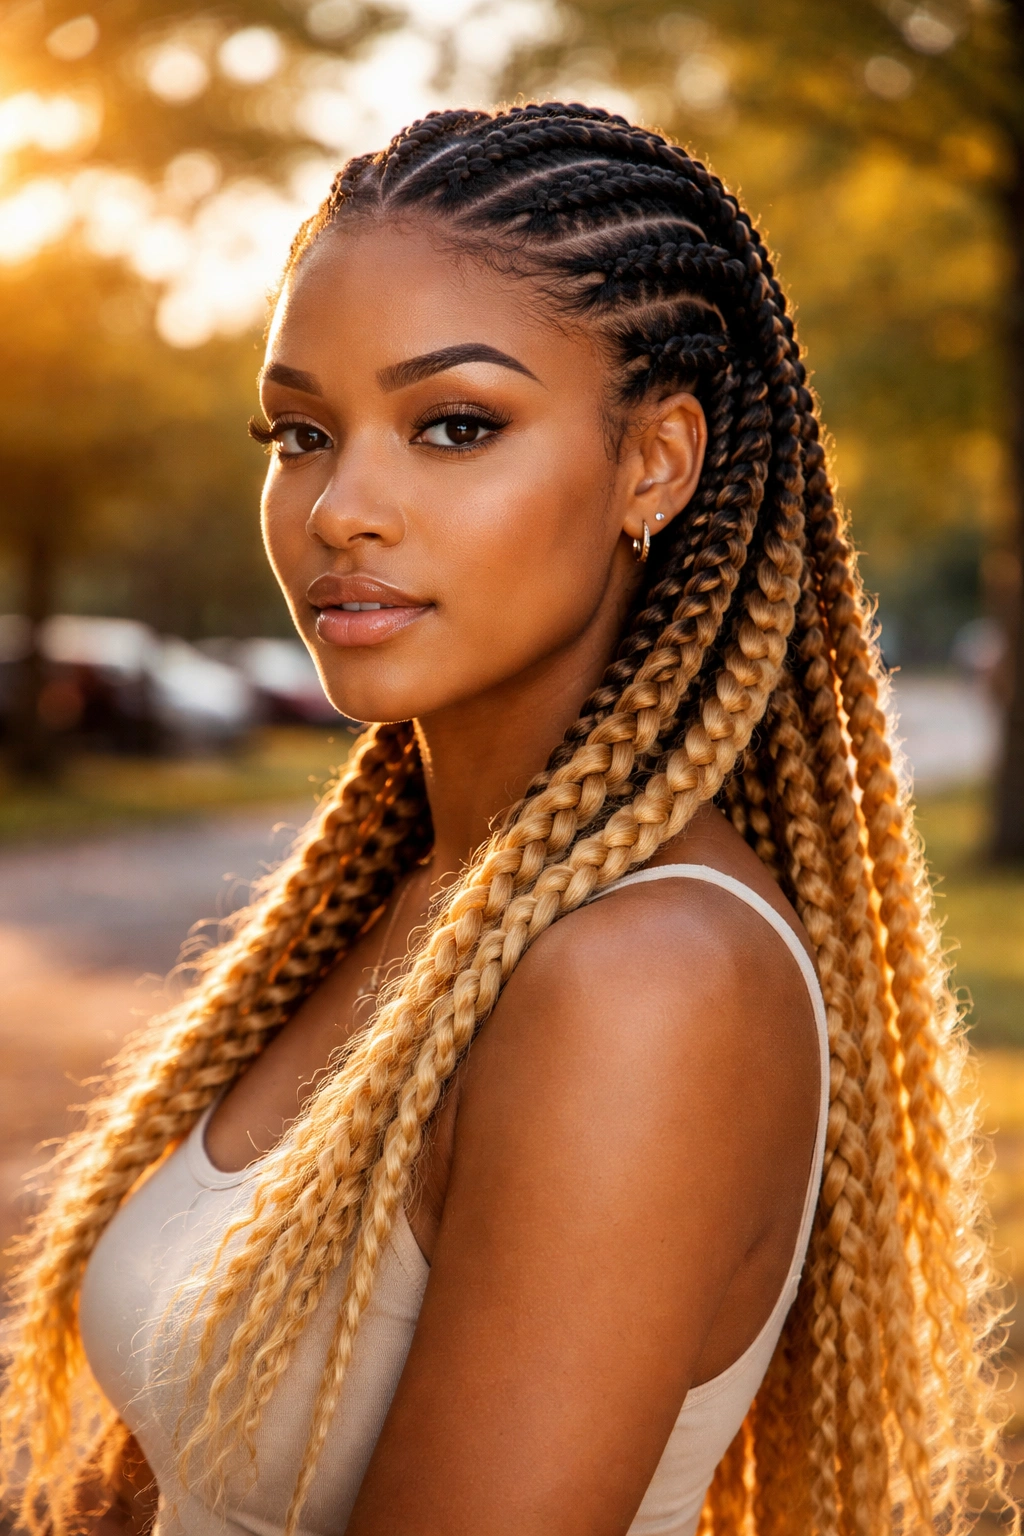
Dark roots, honey tails. A color story.
The beauty of ombre kanekalon is that it arrives pre-done. You’re not bleaching, you’re not dyeing, you’re not destroying your real hair. You’re just selecting pre-colored braiding hair and asking your braider to feed it in the same way they would any other color.
The honey blonde specifically catches warm light in a way that feels earthy rather than flashy. It pairs well with deeper skin tones because the warmth in the blonde echoes the warmth in the skin. Against cooler undertones it can read slightly brassy, in which case an ash blonde or caramel might sit better.
8. Five Fat Cornrows With Beads at the Ends
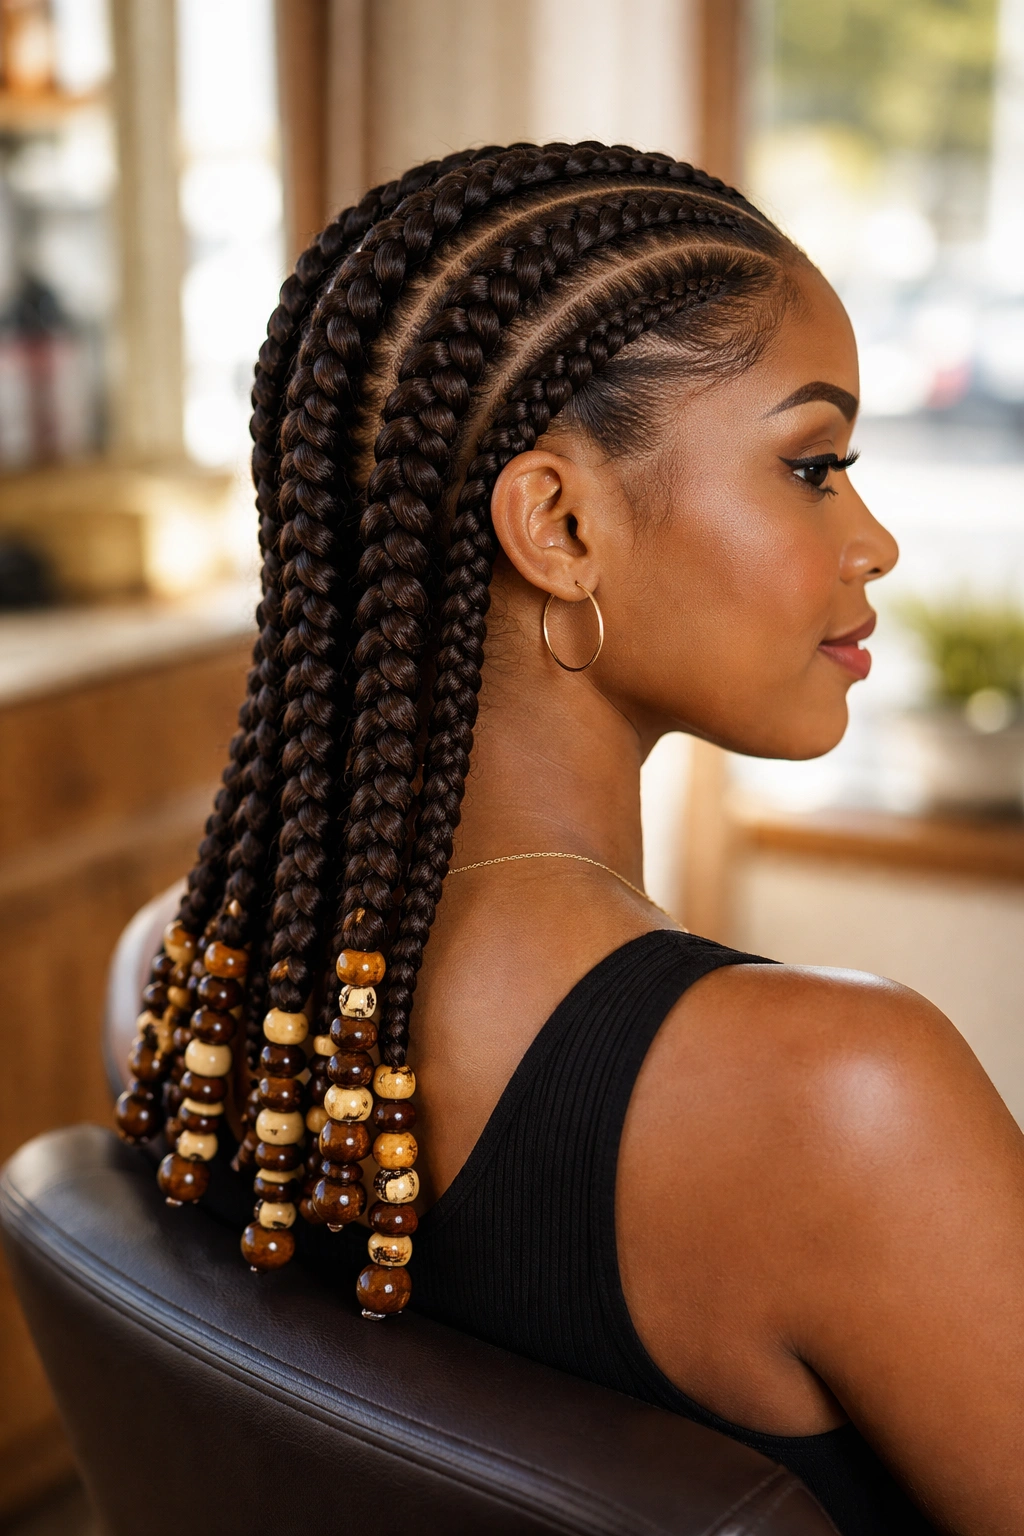
Beads on big feed-ins hit different than beads on small braids.
On micro braids, beads cluster and clatter. On big feed-ins, you can place one large wooden bead or two or three smaller ones at the tail of each cornrow, and they swing like pendulums. The sound is softer. The visual is cleaner.
Styling Tips
Wood beads beat plastic here. Plastic looks cheap on a big braid because the scale demands a certain weight. Wood, bone, or ceramic beads all photograph better. Secure them with a rubber band folded in on itself, then tucked under the bead. Don’t use elastic bands visible at the top — they look unfinished.
9. Cornrows With Curly Ends Left Out
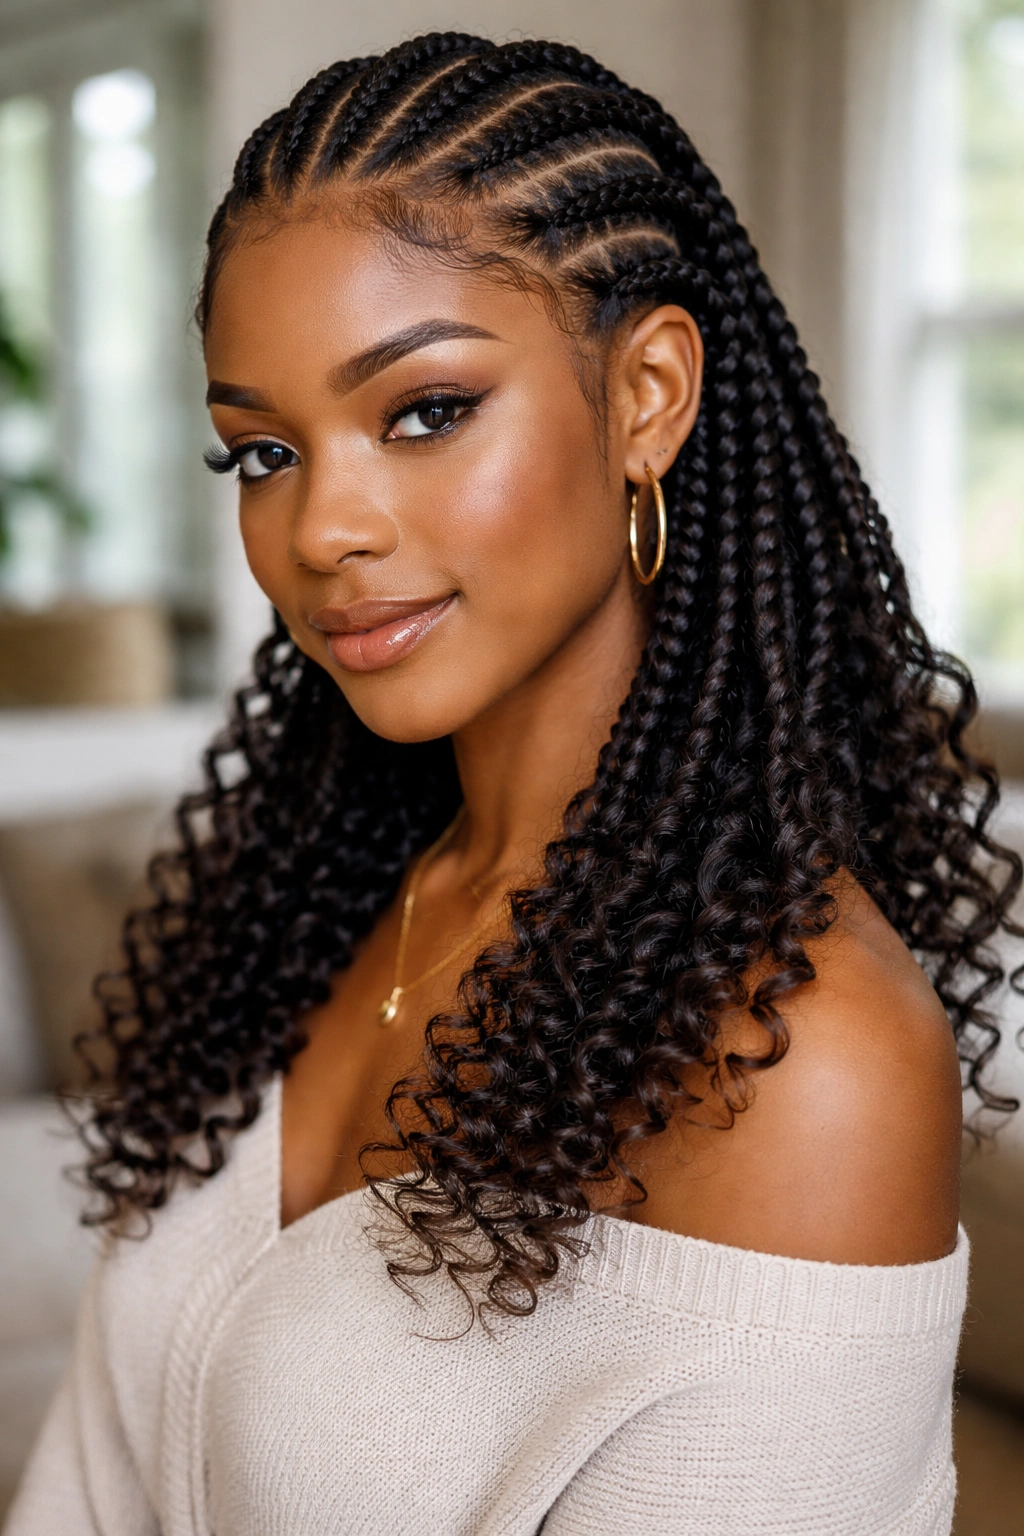
Braid the cornrow, stop about four inches from the tail, leave the ends curled loose.
This style plays with texture contrast. The slick, sculpted braid transitions into a soft curl fringe at the bottom — like a cascade of spirals pouring out of a clean line. The curly ends can come from the hair you braided down or from a curly braiding hair blend that your braider ties off at the transition point.
Is it the easiest style to maintain? Not really. Those curly ends need their own care — mousse, a light hold gel, finger-coiling every few days. But when they look good, they look incredible.
10. Feed-Ins Pulled Into a High Ponytail
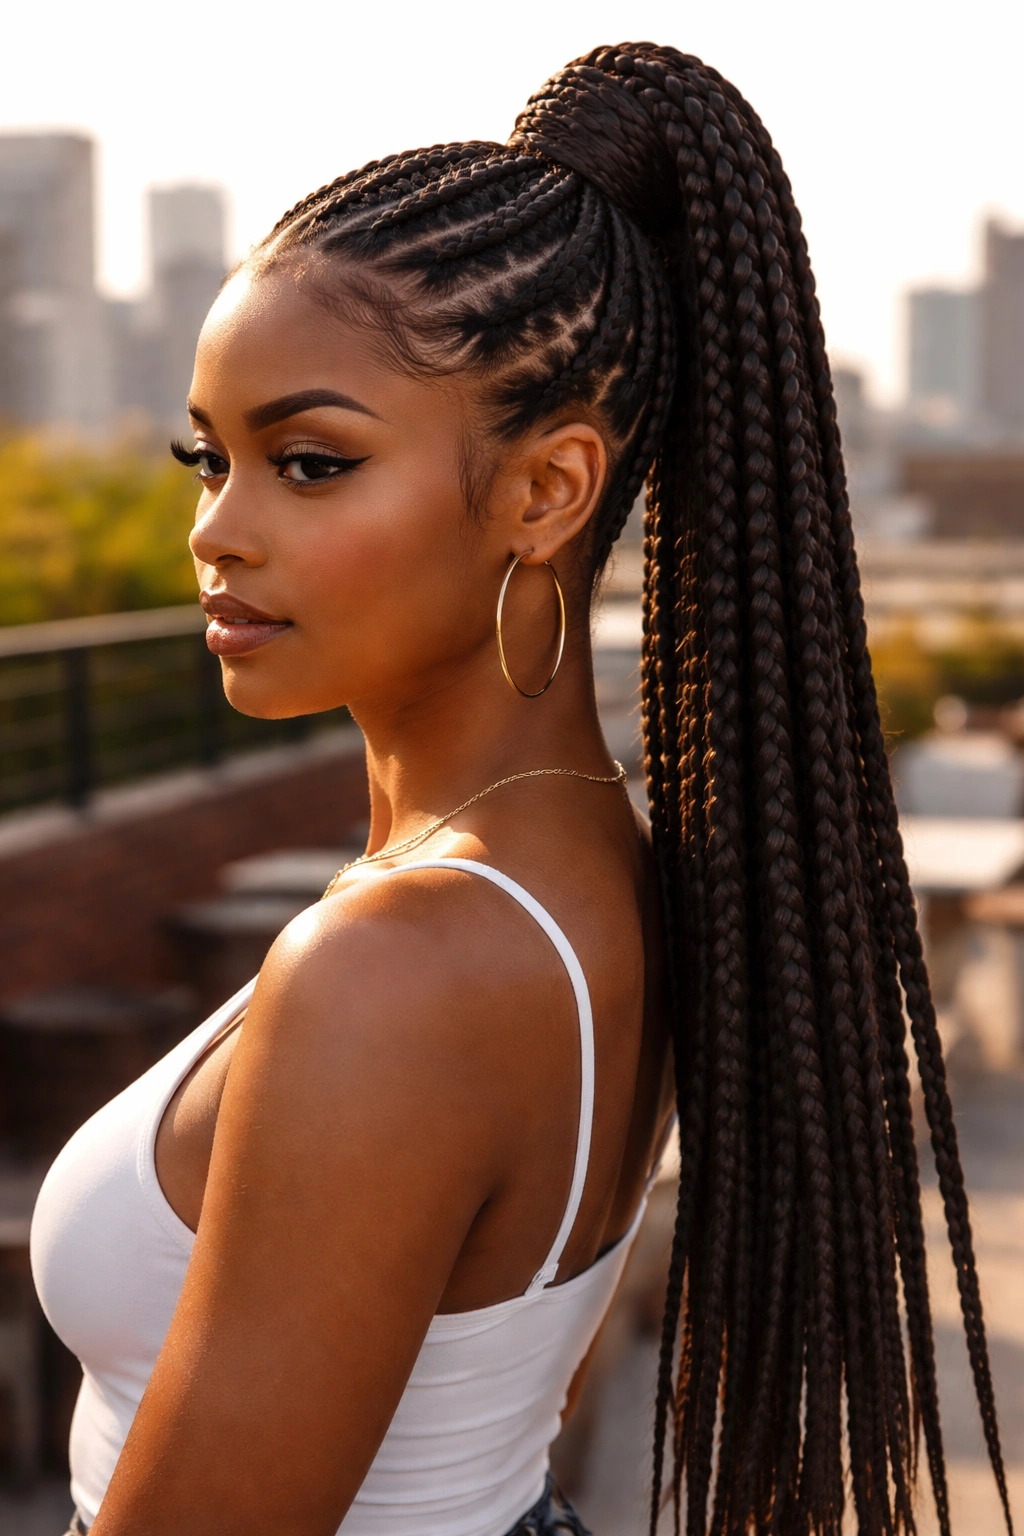
A classic that never stops working. Big feed-ins with long tails, all gathered into a sleek high pony at the crown.
Bold claim: This is one of the single most photogenic hairstyles in existence. The straight lines leading up, the cascade of braid tails falling down from the pony, the silhouette it creates — it photographs from every angle. Wedding guests, red-carpet appearances, graduation photos — the high pony with feed-ins has carried all of them.
The structure works because your hairline is pulled up and cleaned, which exposes your face and draws attention to the jaw. The heavy tail of braids falling from the pony adds drama without fuss. You do nothing after the install. You wake up, tie a silk scarf, sleep, untie, go.
One thing to watch — the pony placement matters more than the braid pattern. Too high and it pulls your edges. Too low and it loses the dramatic effect. Aim for a point about halfway between the crown and the top of your head.
11. Cornrows With Two Sections Going Opposite Directions
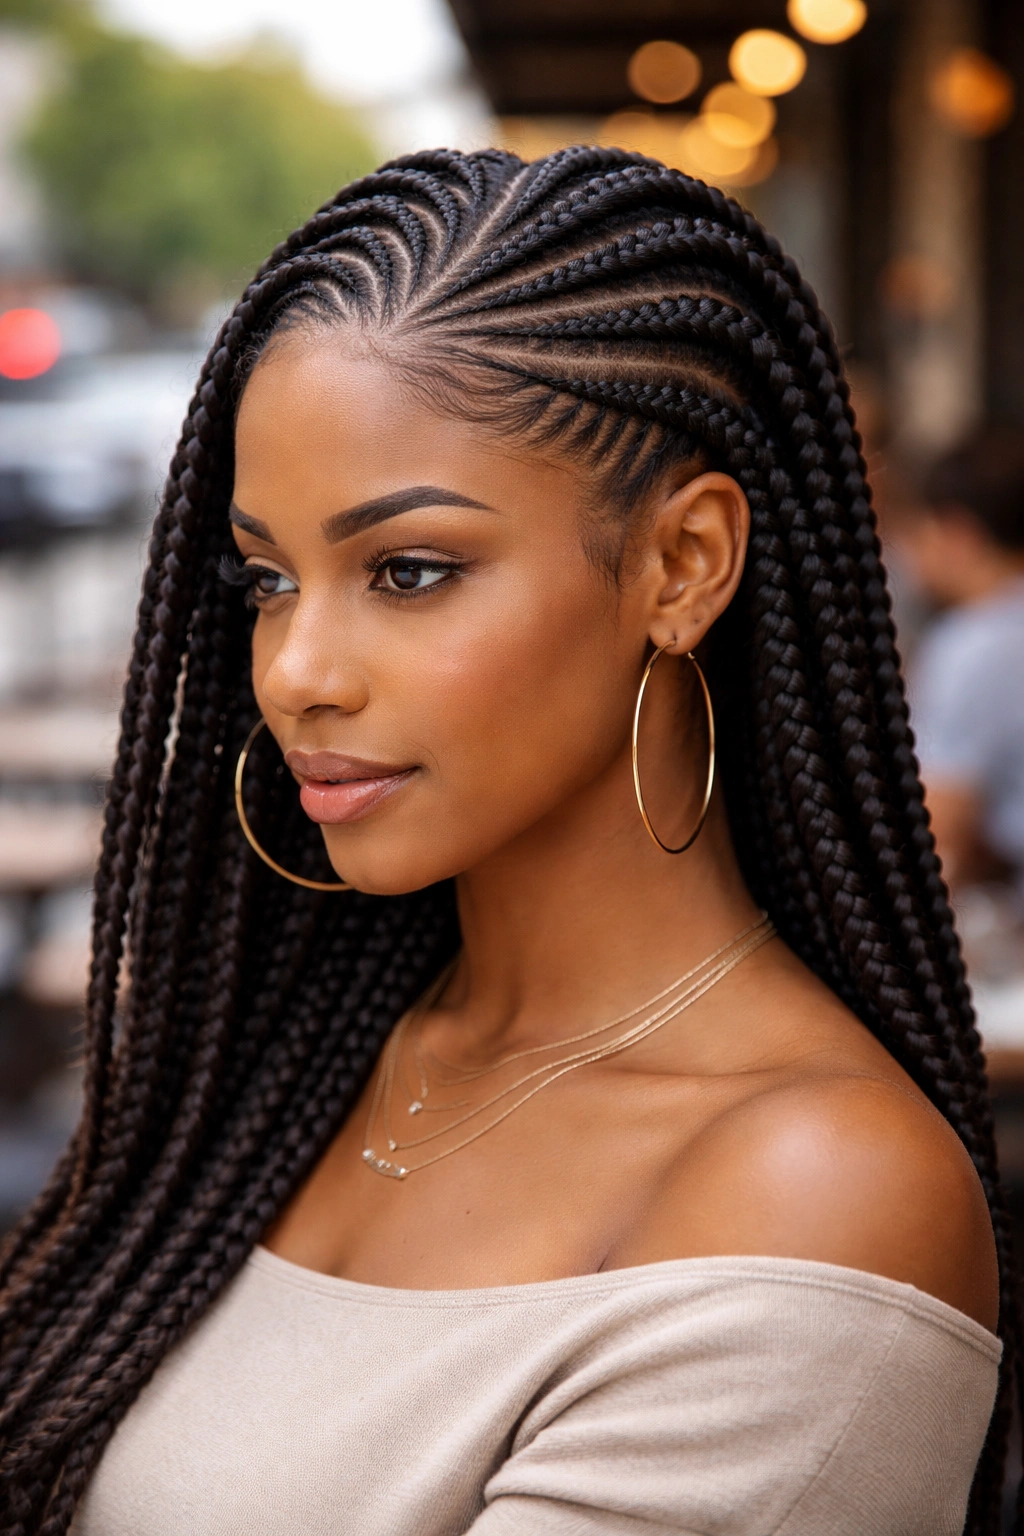
Half the cornrows run forward toward your face. Half run back from your face. They meet at the crown.
This is engineering as much as styling. The convergence line at the crown can sit as a clean horizontal, a soft V, or a zigzag, depending on what your braider designs. When done well, the two-direction layout turns heads because it’s rare and a little confusing to the eye at first glance.
Does it last as long as straight-backs? No. The forward-facing cornrows press against the forehead, and the constant movement of your face during the day creates friction that shortens the lifespan. Expect 3 weeks instead of 5.
But the first week? Stunning.
12. Lemonade-Inspired Side-Swept Cornrows
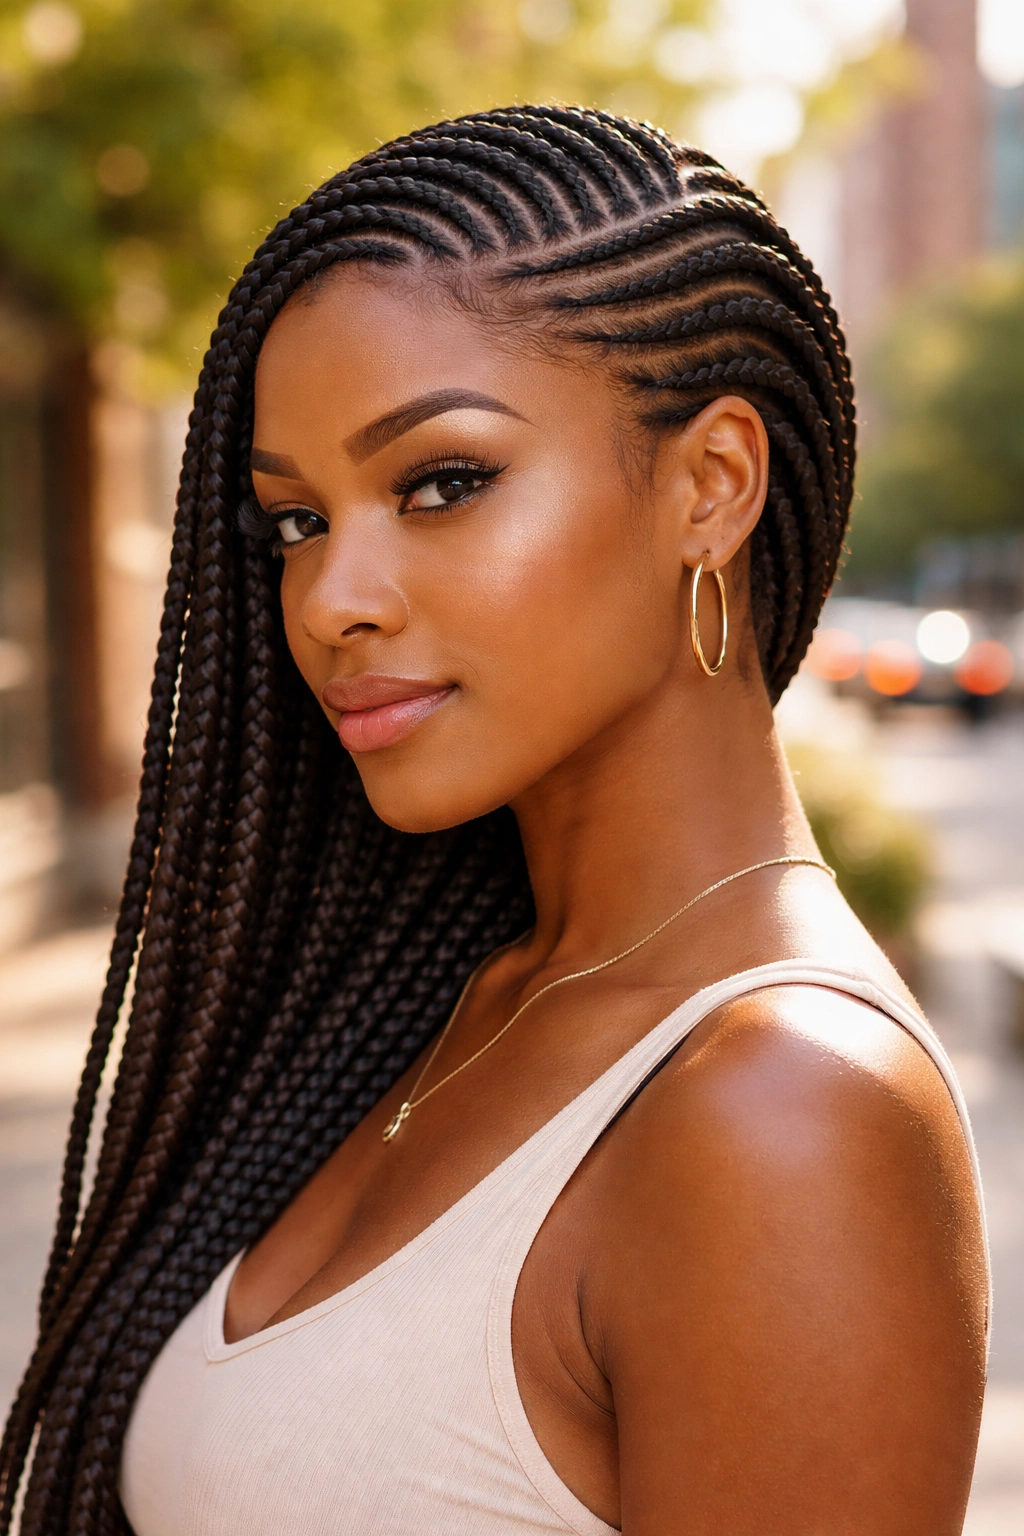
Angled cornrows sweeping from one temple across the head to the opposite ear. Named after the Beyoncé album, codified in pop culture, still not going anywhere.
The technique requires the braider to set a diagonal line at the hairline and keep each subsequent cornrow parallel to the first. Even spacing is more challenging here than on straight-backs because you’re working against gravity — the cornrows want to straighten out as they travel. A skilled braider fights that pull and keeps them angled the whole way.
- Works on any face shape but especially flatters round faces
- The dramatic angle creates vertical illusion
- Expect 3-3.5 hours for a full head
- Braid count: 8-12 depending on scalp size
Tip: Pair with a single gold ear cuff on the exposed ear. The asymmetry completes the look without feeling over-styled.
13. Big Cornrows Styled Into a Low Bun
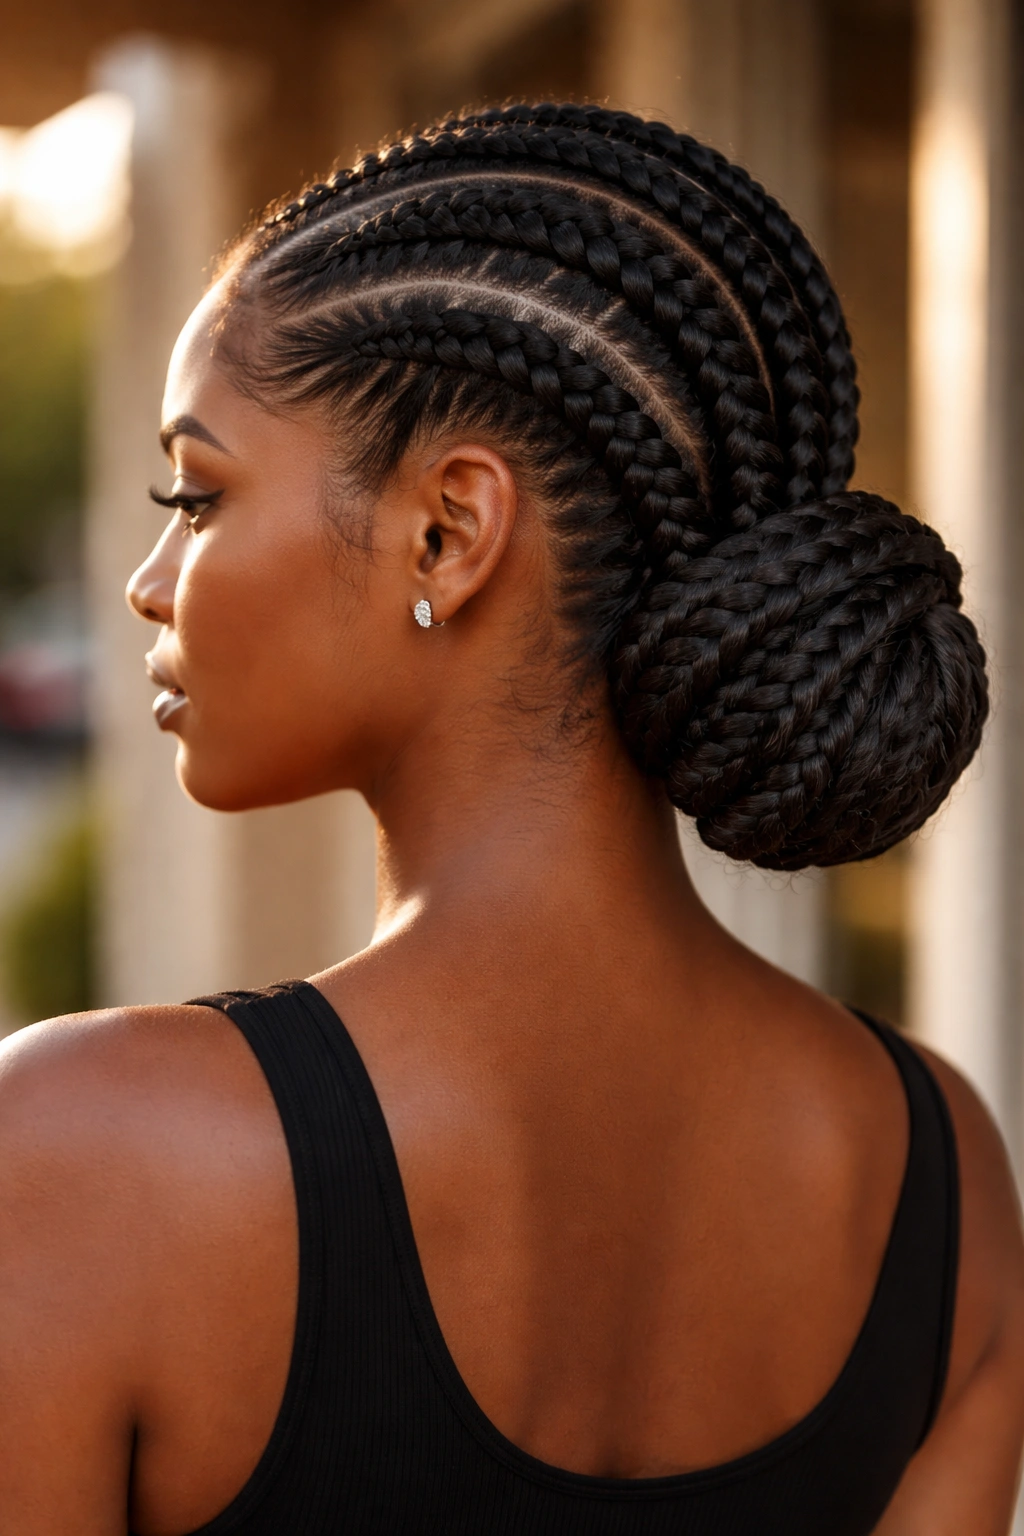
Wrap the long tails of big feed-ins around themselves at the nape to create a thick, sculpted bun.
Low buns on big feed-ins have weight and presence. You’re not getting a wispy, messy bun — you’re getting something closer to a braided rope coiled into a substantial knot. It looks architectural. It feels secure. And it lasts.
The bun can be pinned with U-pins or bobby pins. For longer life, some people stitch the bun closed with a matching thread, which sounds extreme but takes thirty seconds and keeps the bun intact for weeks. No re-styling required.
14. Tribal-Inspired Curved Patterns
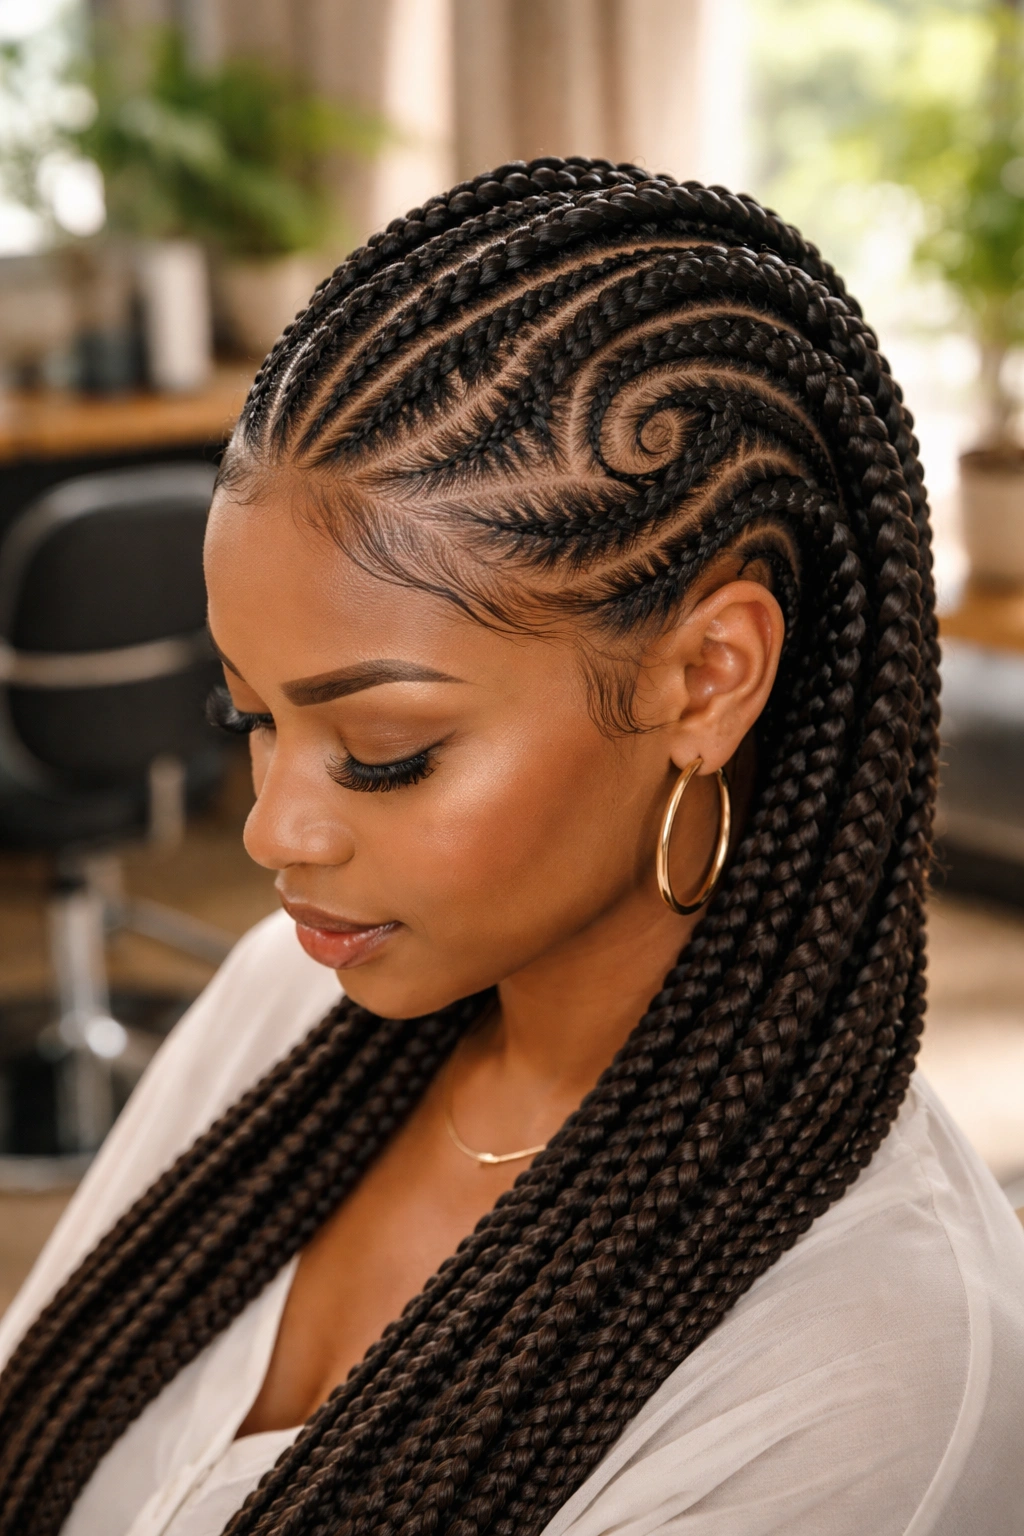
Curved cornrows that form loops, swirls, and shaped patterns across the scalp — moving beyond parallel lines into actual artwork.
What Makes It Different
Tribal patterns break the grid. Instead of all cornrows running back, you might have three cornrows that curve into a half-circle, meet a center cornrow, then diverge back into three straight cornrows. The design varies by stylist, region, and cultural inspiration. Some reference specific West African traditions. Some are modern interpretations. The name “tribal” is loose and sometimes contested — if the specific cultural origin matters to you, ask your braider what the design draws from.
Design complexity translates to time. Simple tribal patterns might take four hours. Highly detailed ones can stretch to six or seven.
15. Feed-Ins With Hair Rings Along the Length
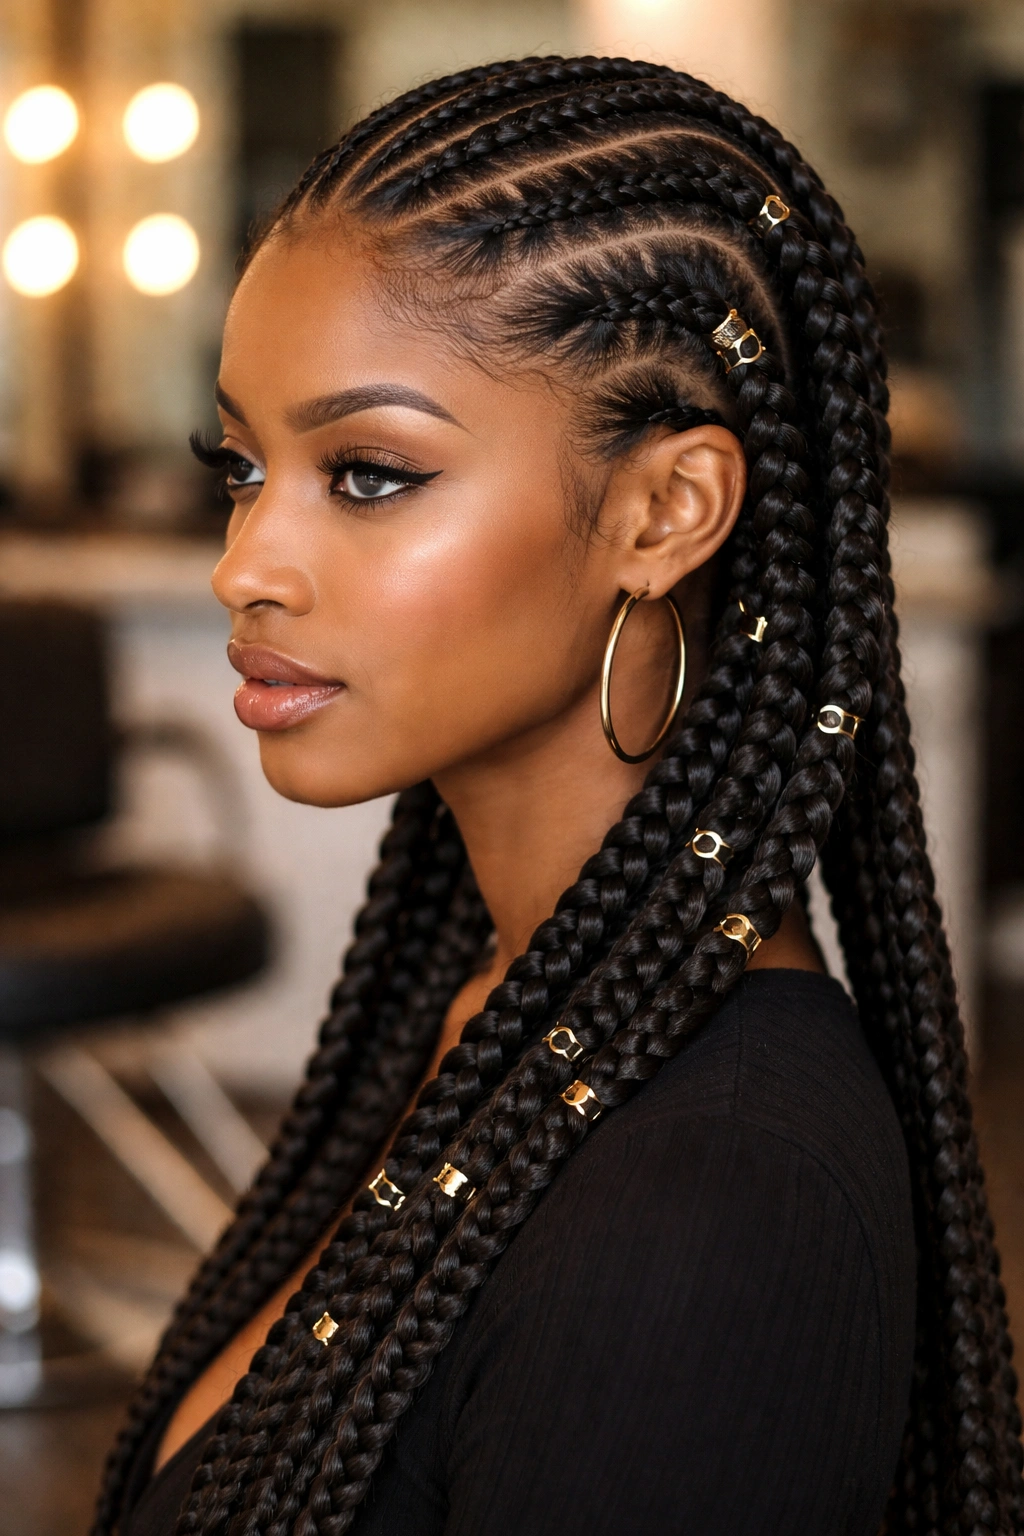
Small metal rings threaded onto the braid every few inches along its length, not just at the tip.
Unlike cuffs, which sit at the end, rings along the length create rhythm. Three rings on each braid, spaced evenly, turn the cornrow into a patterned object. They catch light. They make sound. They hold attention.
What it’s best for: photo shoots, events, any moment where you want your hair to be part of the outfit rather than accompaniment. Less ideal for a quiet week at home — all that metal needs somewhere to rest at night, and bonnets get caught on it.
16. Big Cornrows With a Burgundy Undertone
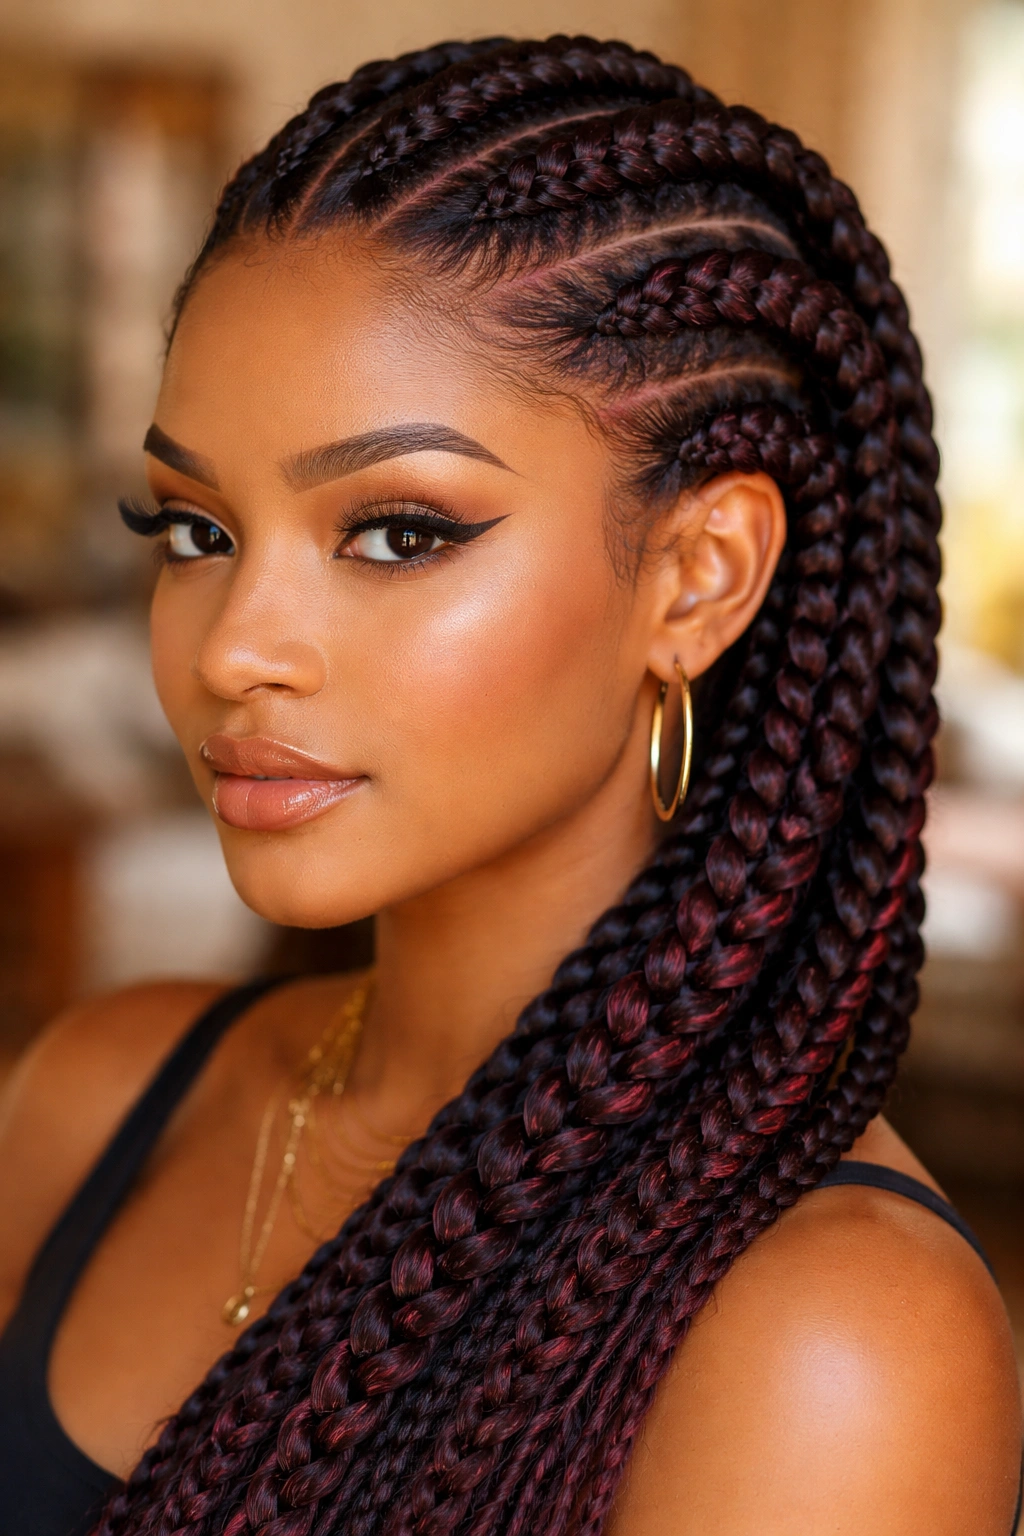
Black and burgundy mixed braiding hair. Two packs of each, alternated as the braider feeds in.
The effect is subtle from far away. Your hair reads as dark. Move closer and the burgundy threads reveal themselves — deep reds woven through the black, hinting rather than shouting. It’s one of my favorite color techniques because it flatters everyone and doesn’t require real hair dye.
Burgundy plays well with autumn-toned makeup. It also pairs unexpectedly well with cool-toned outfits, creating a nice contrast against navy or slate.
17. Ten Small-But-Thick Cornrows With Zigzag Parts
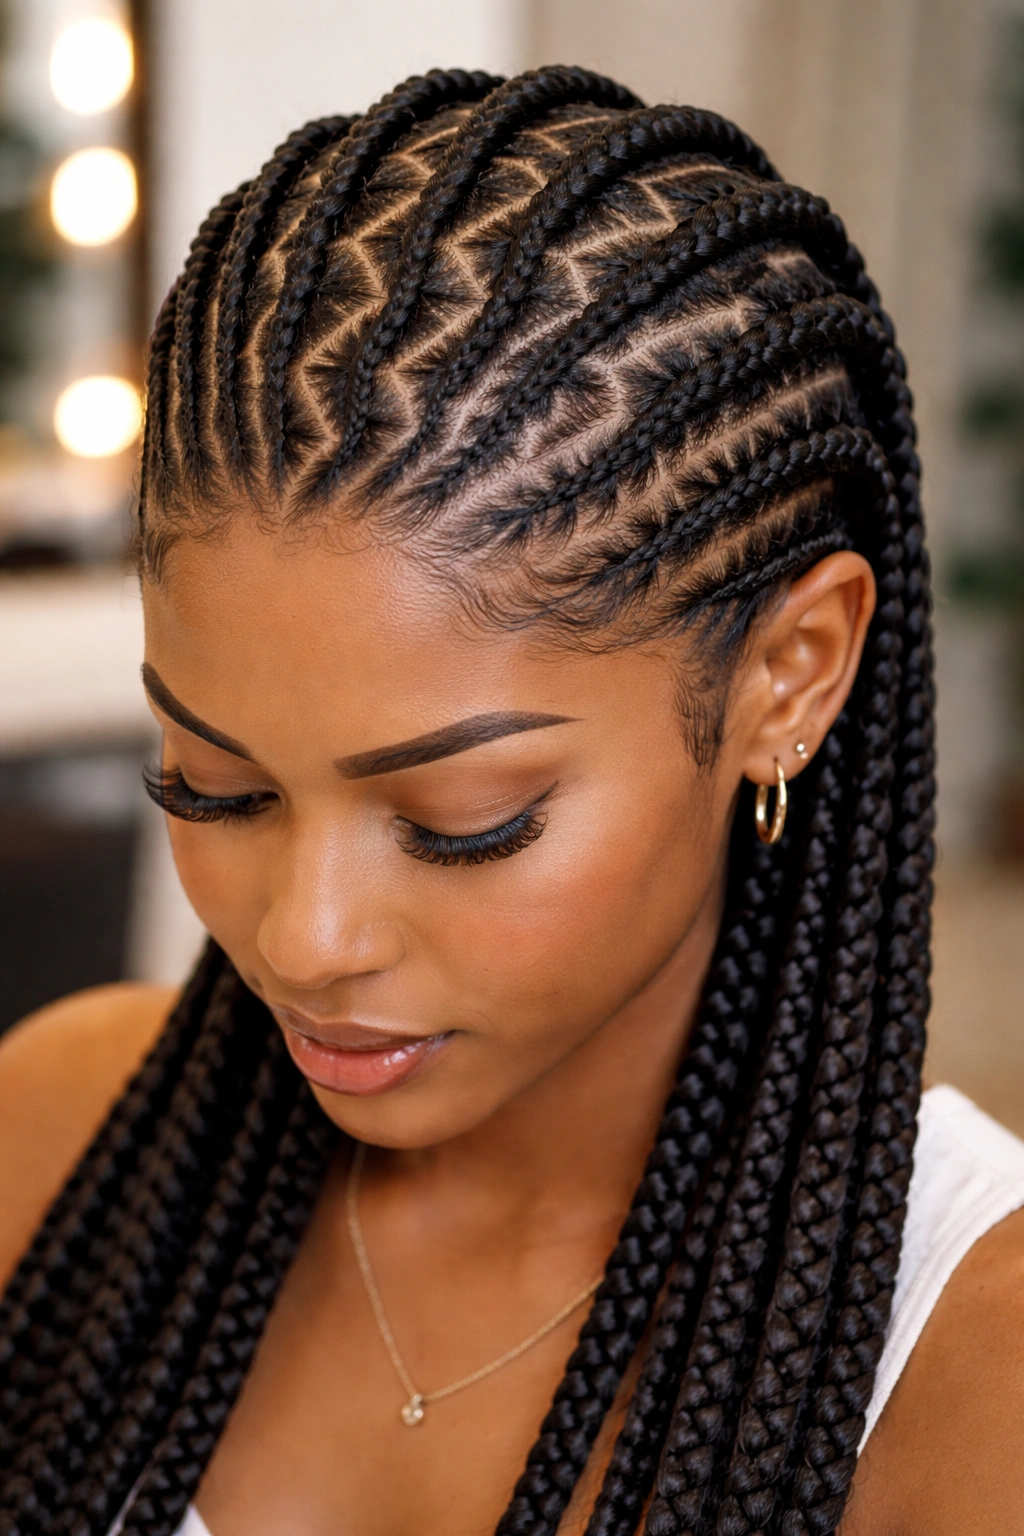
Ten cornrows. Medium-thick. Parts aren’t straight — they zig, zag, and angle across the scalp in sharp turns.
The parts do the visual work here. The braids themselves are ordinary thickness, so the cornrows don’t dominate. What you see is the dance of the scalp parts moving in and out of each other like a hand-drawn pattern.
Zigzag parts require patience from the braider. Every angle change demands a fresh set of precise stitches to keep the next cornrow crisp. It’s slower work — expect an extra hour compared to straight-line parts.
18. Feed-Ins Into a Halo Braid
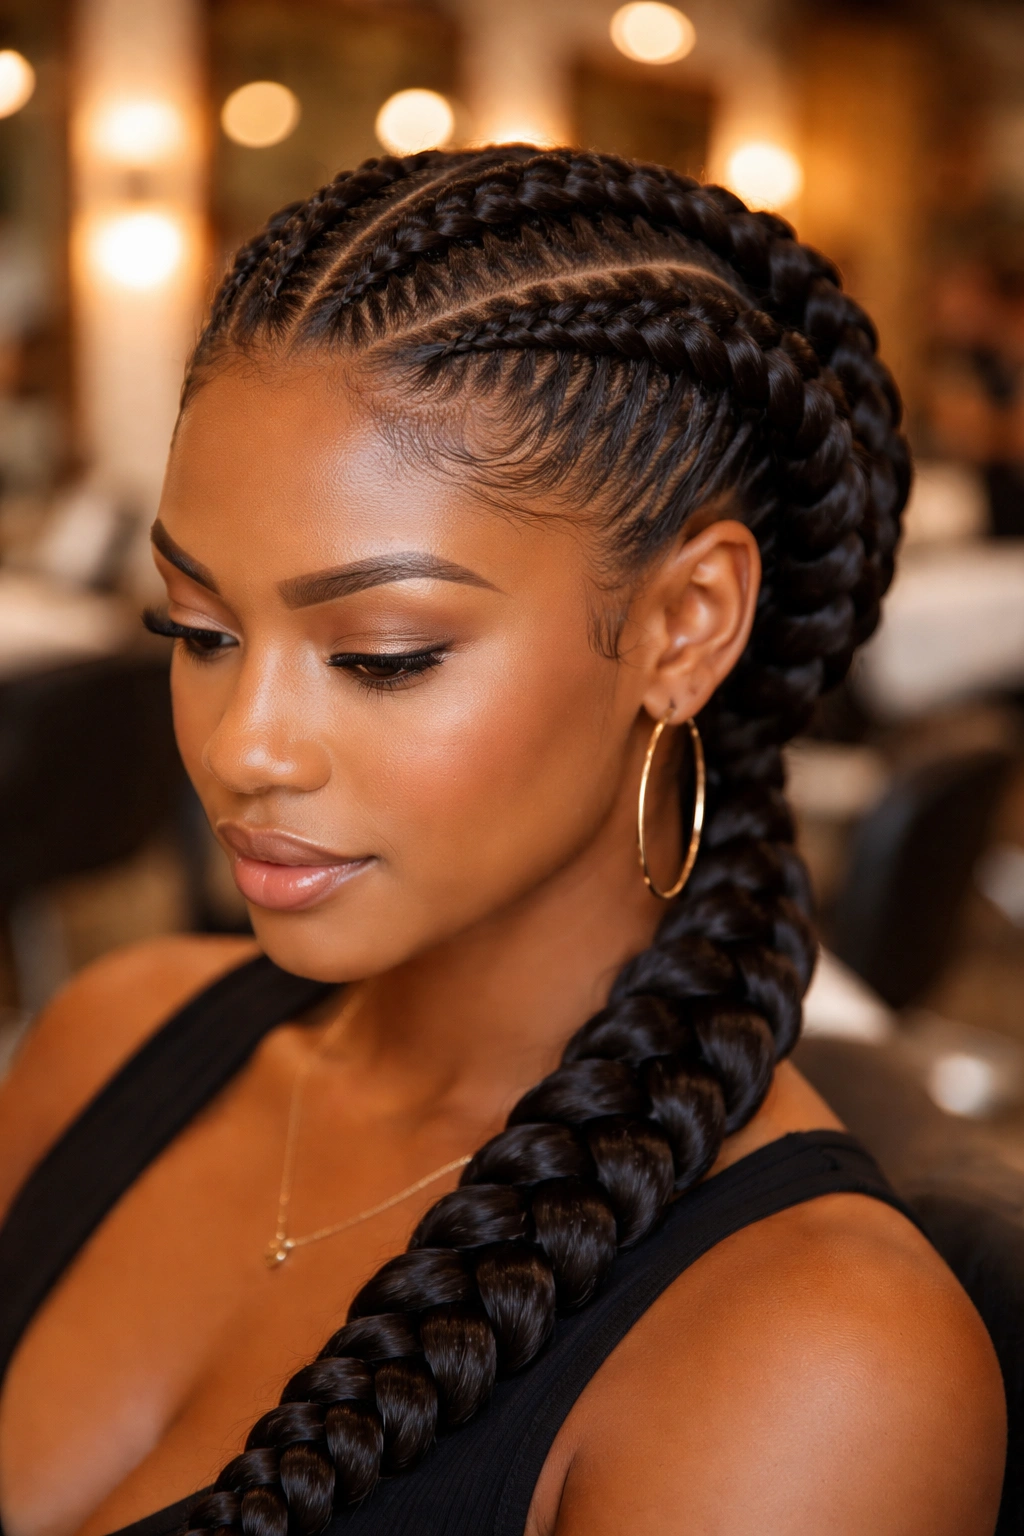
Big feed-ins braided from the hairline, traveling around the entire head, meeting at the back in a continuous crown.
This is not beginner territory. A true halo braid with feed-ins requires the braider to work in a spiral, maintaining consistent thickness while the angle of the scalp constantly changes. Few braiders do it well. If you find one who does, book them in advance and tip generously.
The result is regal. It sits like a woven crown. For weddings, formal events, or any moment when you want dramatic presence without long tails hanging, the halo wins.
19. Cornrows With Bangs Left Out
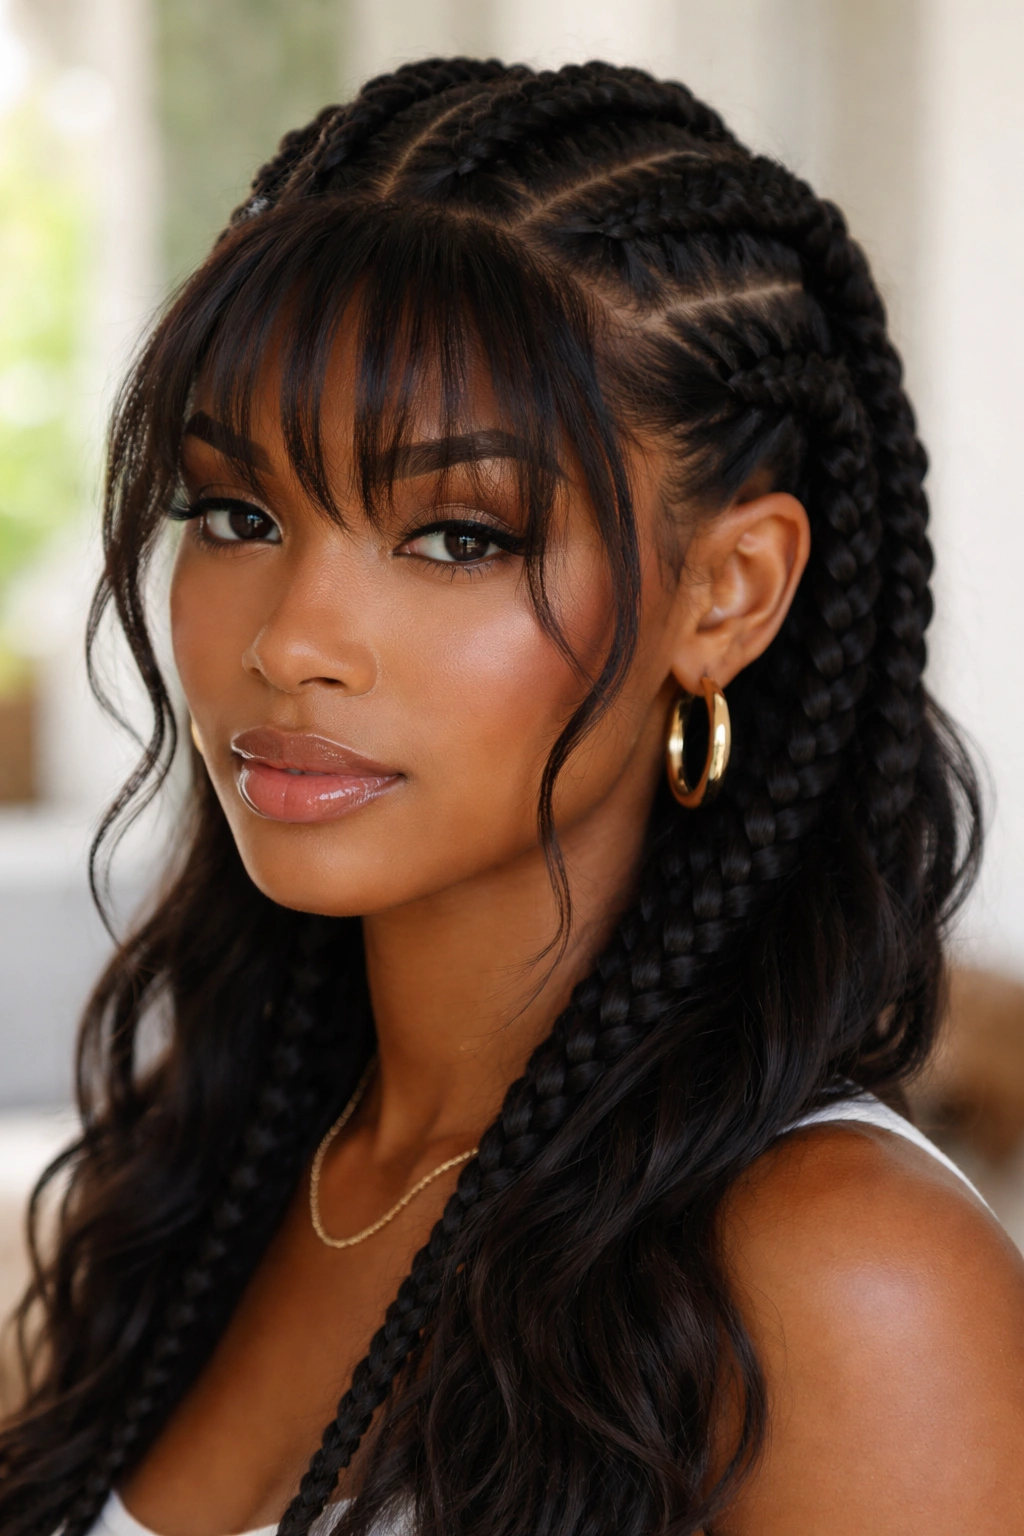
Bangs in the front. Cornrows in the back. A hybrid.
Picture this — three big cornrows running back from the crown, but at the hairline your hair is swept forward into a soft bang. The bang can be baby hairs laid flat, a section of natural hair flat-ironed straight, or even a clip-in bang for the day.
The bang adds softness to the severity of big cornrows. It’s a face-framing move for people who feel that pulled-back styles harden their features too much. Downside: bangs in humidity puff up immediately, so plan around the weather.
20. Cornrows With a Single Accent Color Braid
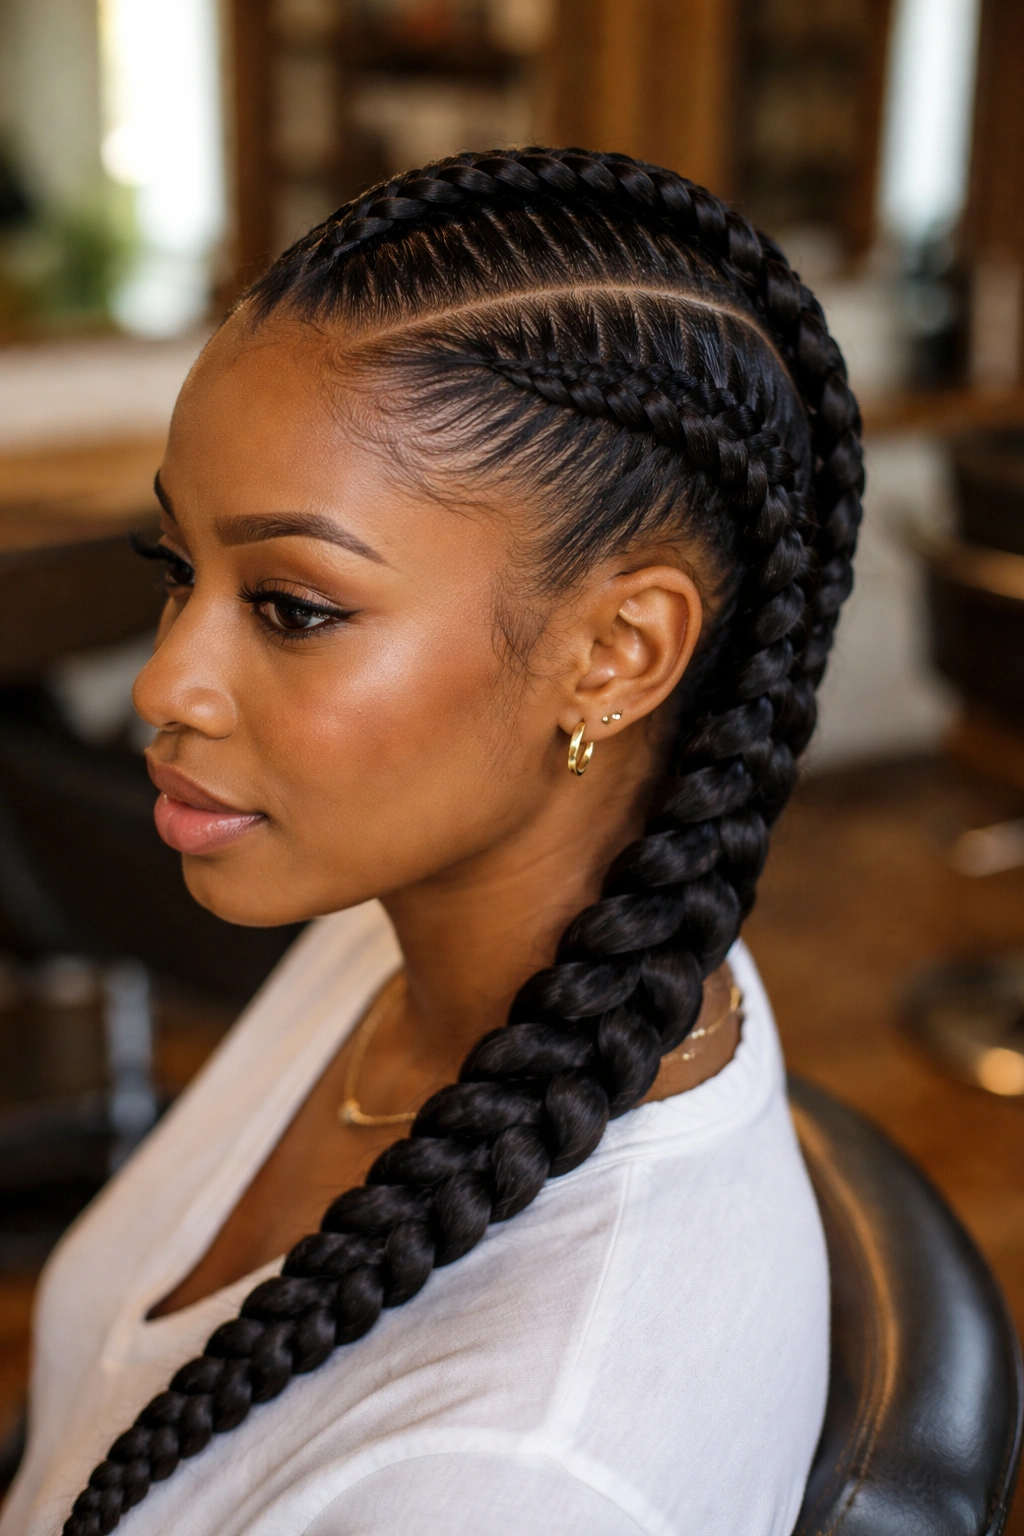
Twenty-one black feed-ins and one in a bold color — scarlet, cobalt, emerald, silver. Your choice.
Why It Works
Single-accent styling is a confident aesthetic move. Instead of loud color throughout, you pick one cornrow — often at the side part or near the temple — and make it pop. The rest of the head reads traditional. The single accent signals that you’re paying attention to your look without trying to dominate the room.
The placement matters as much as the color. An accent at the very front of the hairline is visible from any angle. An accent hidden behind the ear is a private detail that only reveals itself when you turn your head. Both are valid. They send different messages.
21. Big Feed-Ins Styled Into Double Braided Ponytails
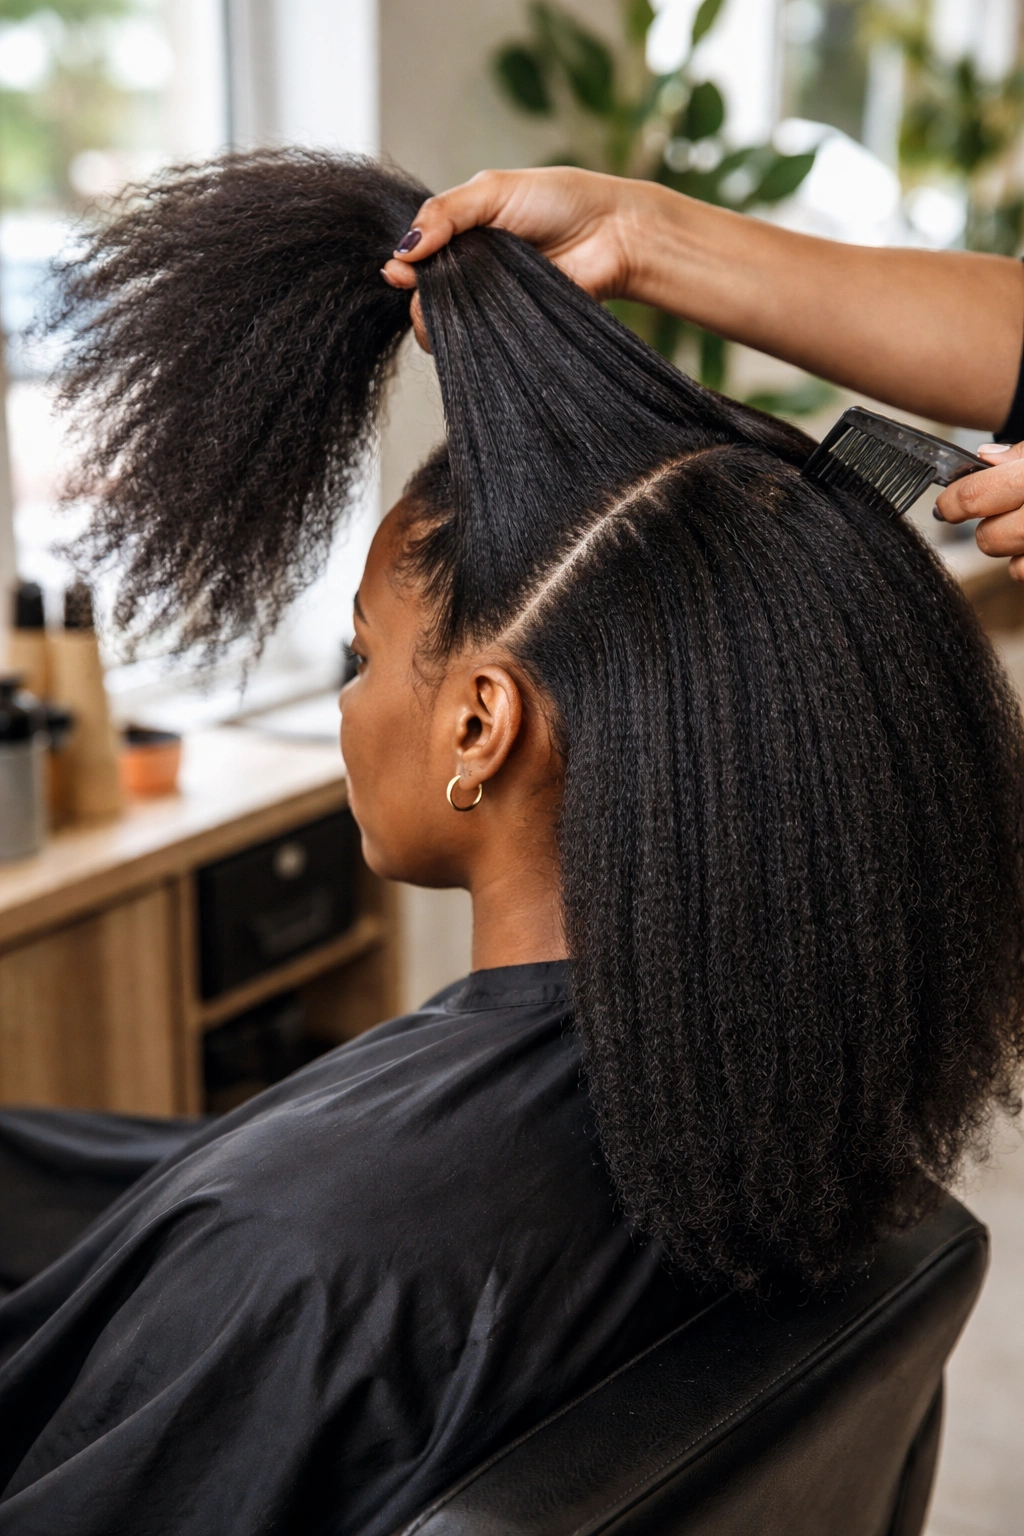
Split the long tails into two equal ponytail sections, one behind each ear, then braid each section into a single large plait. You end up with two enormous braids hanging down your back.
This style stretches the “protective” in protective style. The cornrow phase protects your scalp and hairline. The double-braid phase protects the extension tails from tangling and weather. Both sections tuck into the same satin bonnet at night with no drama.
It’s a style that ages backward — day one feels dramatic, day ten feels iconic, day twenty-one still looks intentional.
22. Fat Feed-Ins With Short, Blunt-Cut Tails
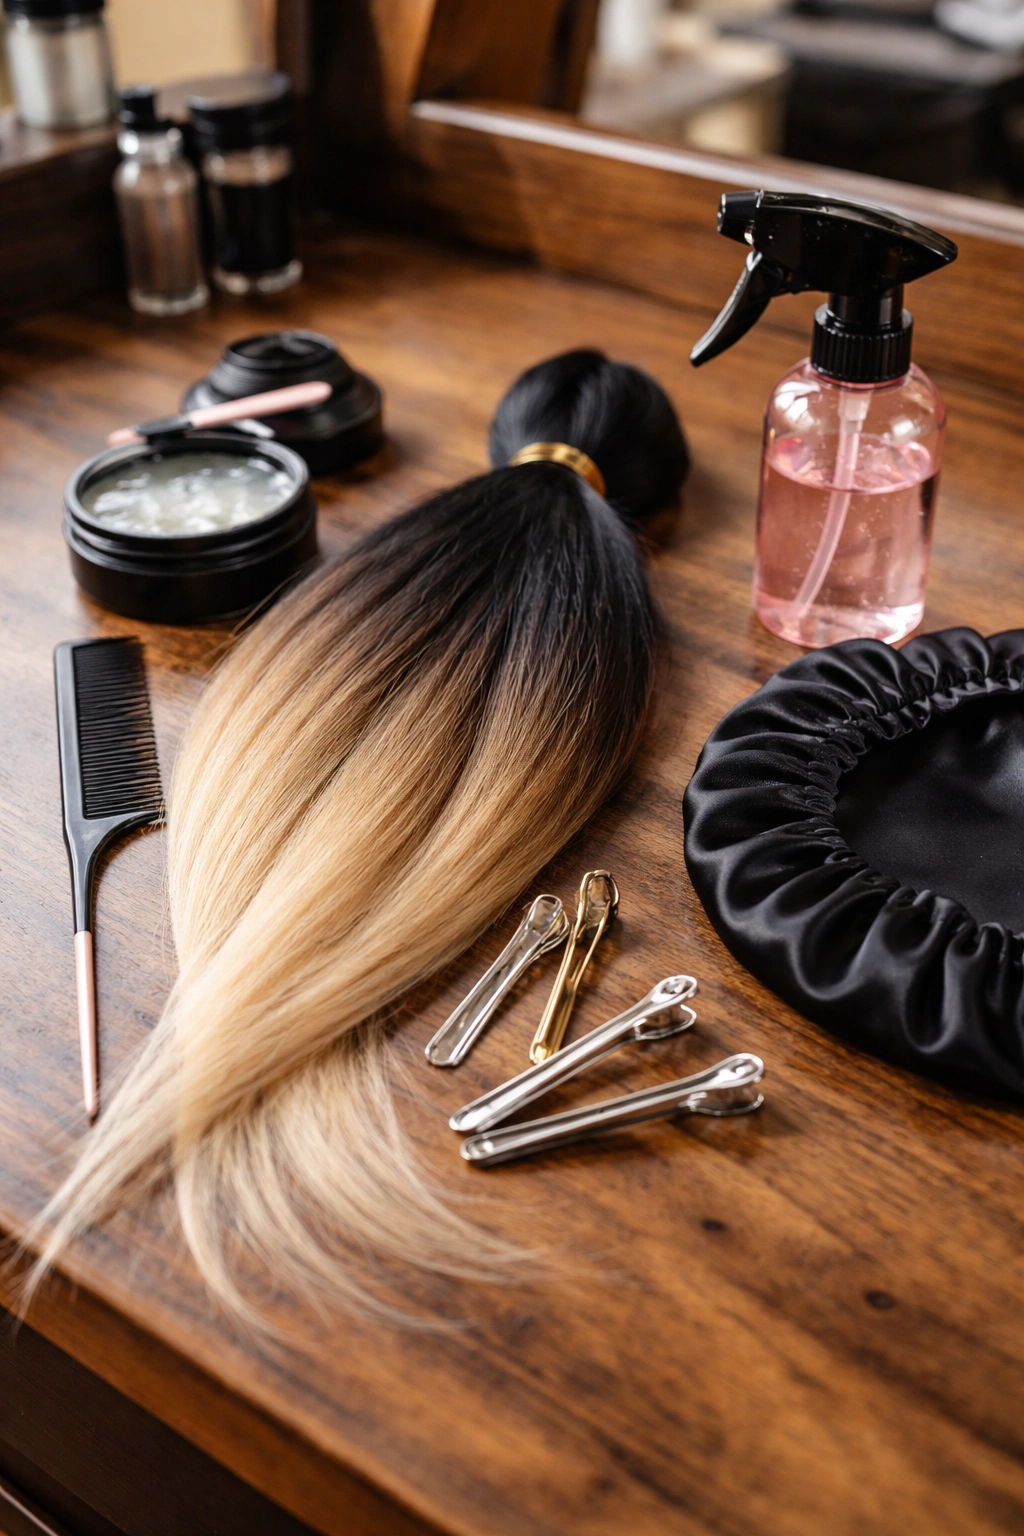
Big feed-ins cut straight across at shoulder length. No tapering. No curls. Just a clean, blunt edge.
Bold claim: This is the most underrated way to wear feed-ins. Everyone gravitates toward long tails because more hair equals more drama, but shorter feed-ins have a completely different energy — sharper, more graphic, more architectural.
The cut is what sells the style. Uneven tails look accidental. A blunt cut looks intentional. Your braider should trim the ends wet, with the hair pulled taut against a flat surface, using sharp shears. The finish is a row of tails all hitting at exactly the same point.
This look photographs like a graphic design choice. Great for professionals who want a strong protective style without the weight of long extensions.
Maintenance That Actually Extends the Life
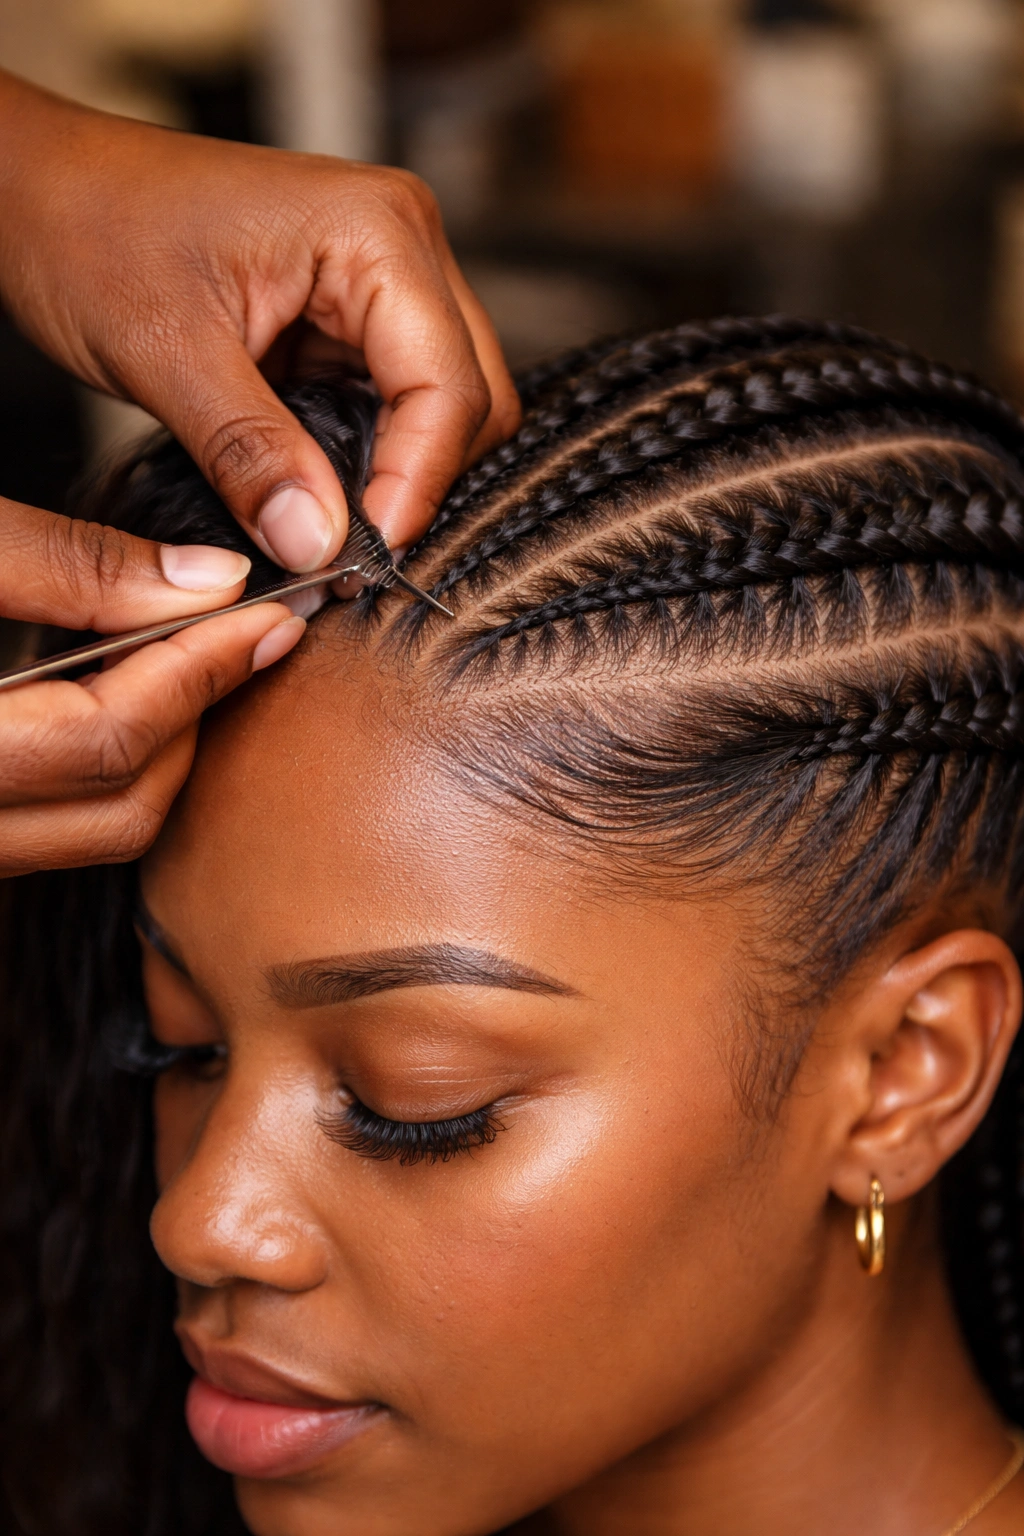
Big feed-in cornrows survive or fail based on what you do at night. Everything else — how the install looked, what products your braider used, whether you chose the perfect style — gets overridden by whether you sleep in a silk or satin bonnet.
A satin bonnet costs six dollars. It saves you two weeks of style life. There’s no valid reason to skip it.
Beyond the bonnet, the second most important habit is scalp care. Week one, your scalp feels tight. That’s normal. By week two, you’ll feel dryness or itching. Don’t scratch. Instead, dilute a light oil — jojoba, grapeseed, or sweet almond — and apply it to the scalp between the cornrows using a pointed applicator bottle. A few drops per section is enough.
If your scalp gets flaky, a cotton pad soaked in witch hazel can clean between braids without disturbing them. Wipe gently along each cornrow path. Don’t saturate. Let it air-dry.
Scalp Care During the Install
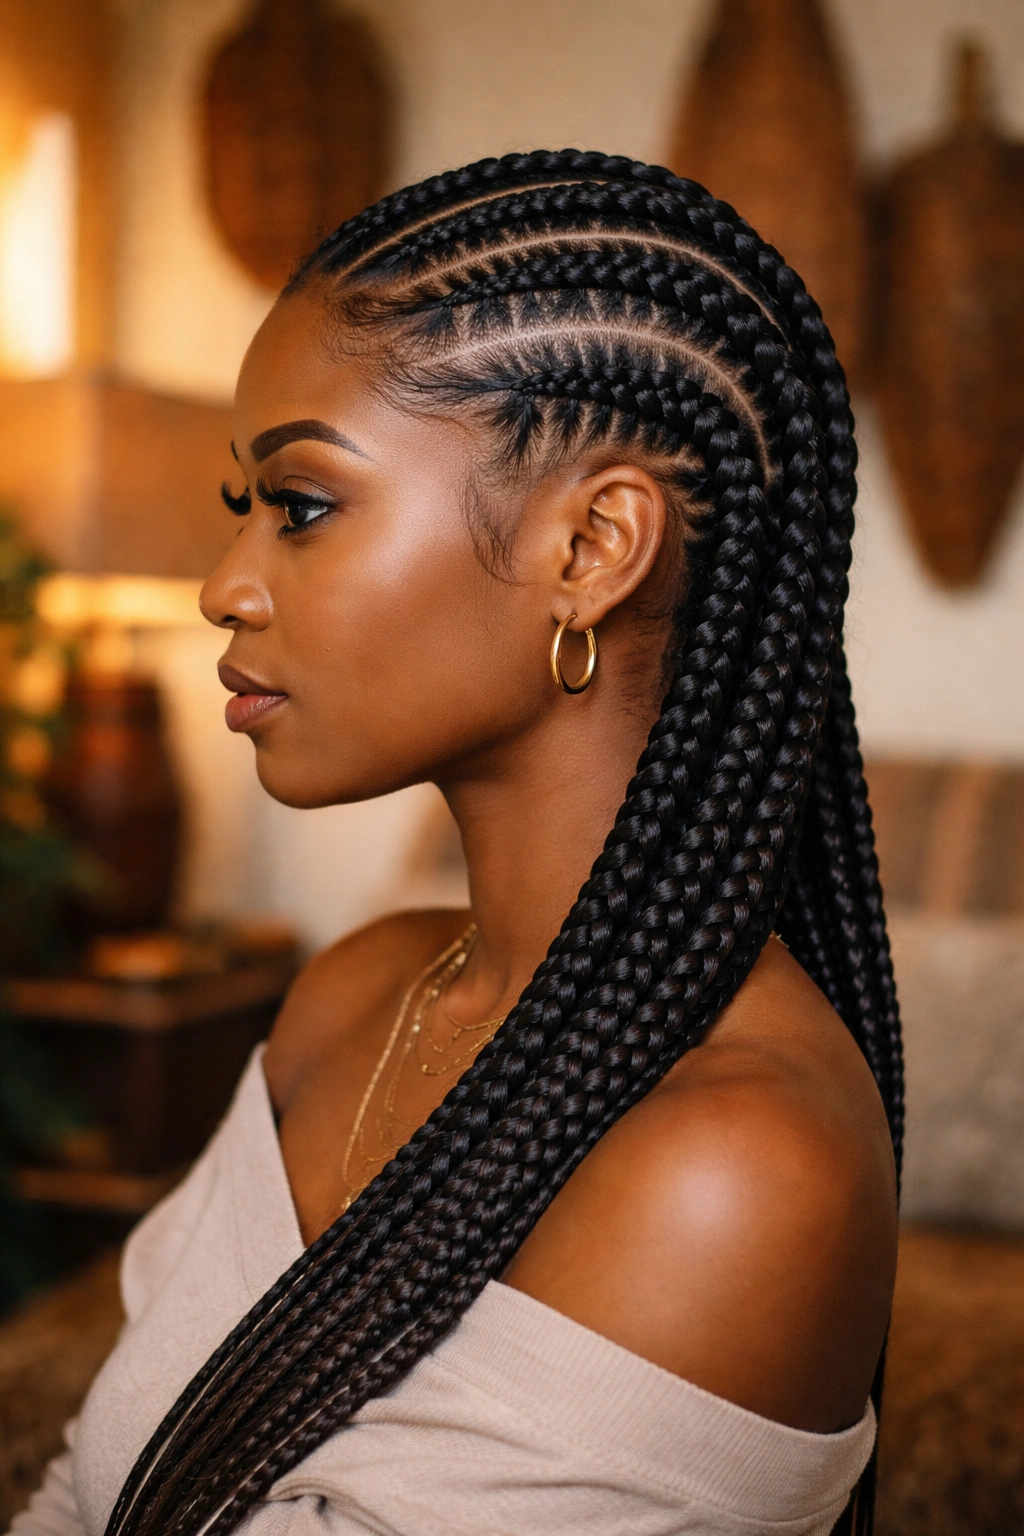
Your scalp needs attention beyond oil. Once a week, spritz a diluted apple cider vinegar solution — one part ACV to three parts water — along the parts. This clears buildup without drying out the skin.
Avoid heavy greases. They sit on the scalp, attract lint, and turn your parts muddy within days. The lightest oils are always the best. If a product feels thick coming out of the bottle, it’s too heavy for under-braid use.
Itching that doesn’t respond to oil or witch hazel might mean your braids are too tight. Tight braids restrict blood flow and cause persistent irritation. If week three passes and you’re still itching constantly, the install was probably too aggressive at the roots. Take them down early. It’s better than risking hair loss.
How to Take Them Down Without Losing Hair
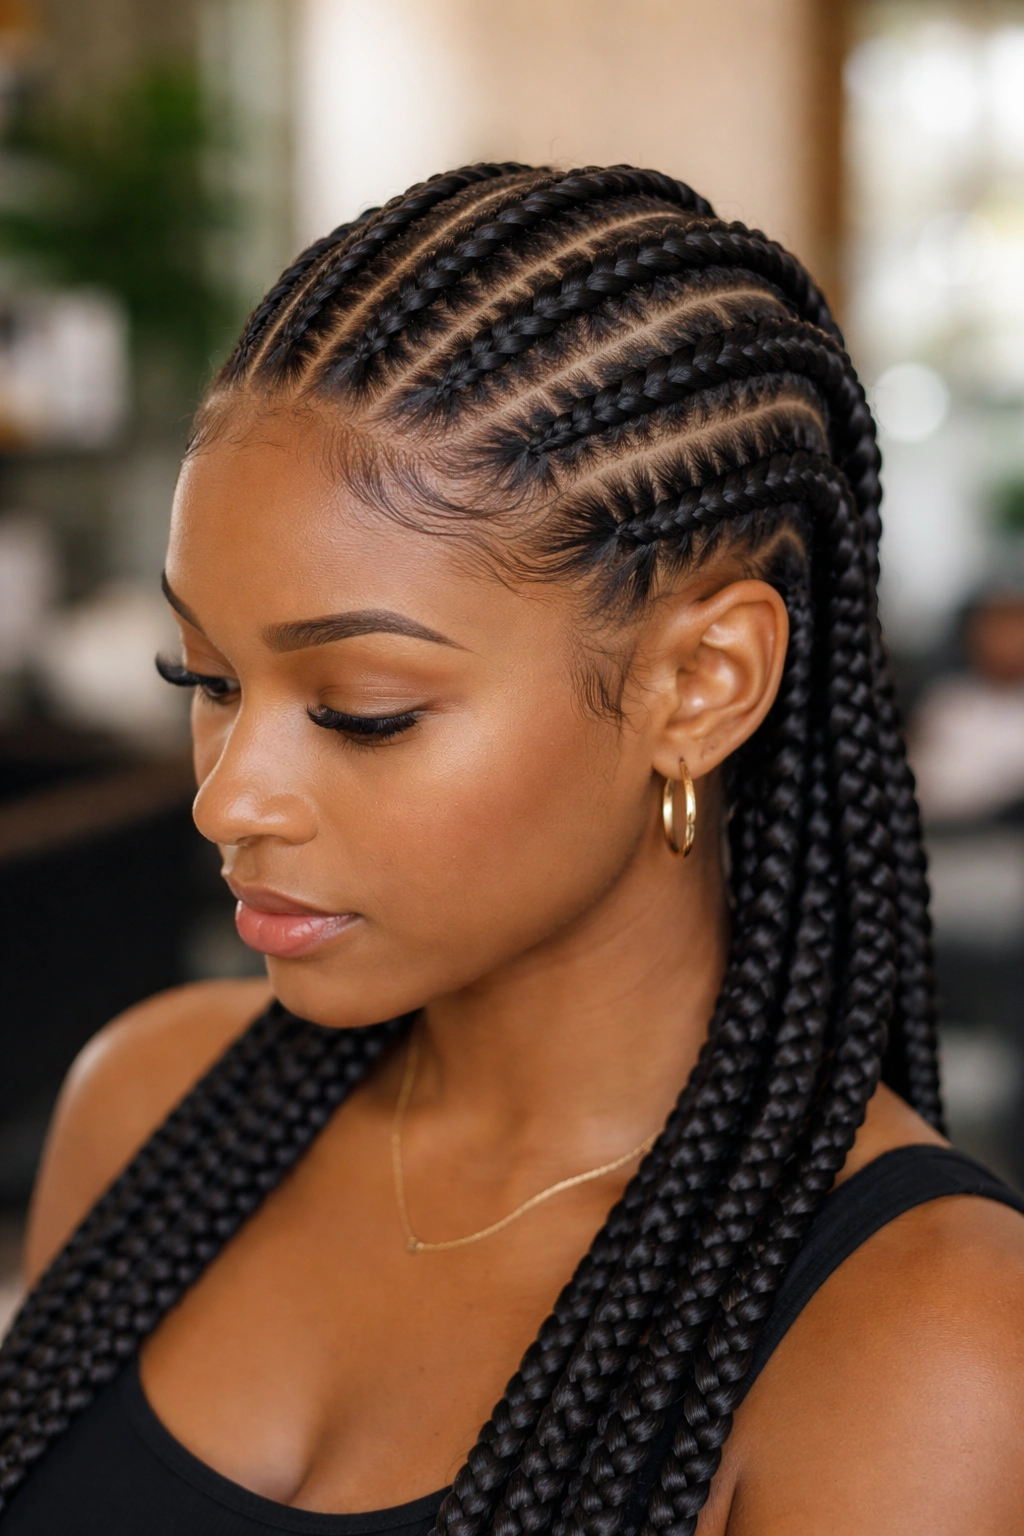
Takedown is where people lose the most hair. Not during the install. Not during the wear. During the rushed, frustrated, late-night takedown.
Start by misting each braid with a leave-in conditioner and water. Let it sit for five minutes. This softens the product buildup and makes unraveling easier. Work from the tail up, unpicking the braid slowly. When you hit the feed-in transitions, go even slower — that’s where shed hair tangles.
Once unbraided, your hair will have six weeks of shedding caught in it. This is normal. Finger-detangle before combing. Use a wide-tooth comb, then a detangling brush, always working bottom to top. Expect to lose a small pile of shed hair. That hair was going to shed anyway — it just couldn’t fall out while braided.
After takedown, do a gentle clarifying wash, followed by a deep conditioning treatment. Give your hair a week off before the next install. Your scalp and edges need rest.
Picking the Right Style for Your Face and Lifestyle
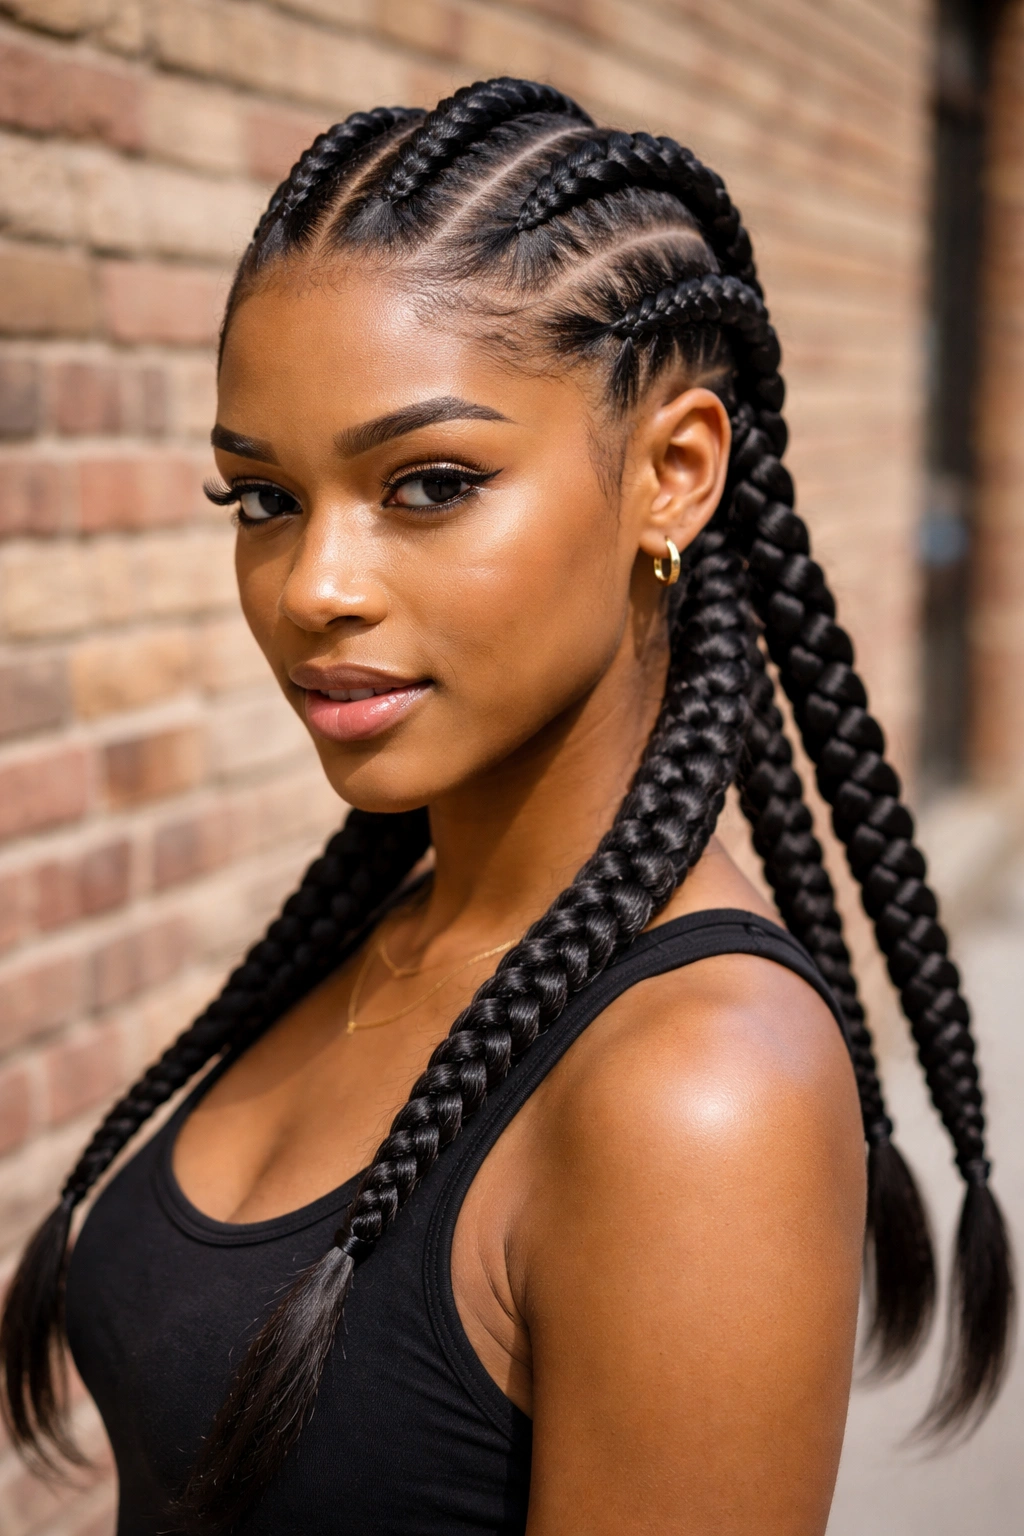
Face shape matters less than people think. What matters more is your lifestyle and what you need from a protective style.
If you work out five times a week, avoid long tails that will end up sweaty and tangled. Shorter feed-ins, buns, or pinned-up styles will serve you better. If you travel a lot and need something that survives airport pillows and rental-car bonnets, go with a simple six-back rather than an elaborate tribal pattern — repair work on simpler styles is easier.
If you’re new to cornrows, start simple. A six or seven-back feed-in install is low-risk, photographs well, and lets you see how your scalp and edges respond to the tension. You can graduate to jumbo-fours, tribal patterns, and colored styles once you know your hair’s tolerance.
And if you have a sensitive hairline — or any history of traction damage — tell your braider upfront. A good braider will adjust tension without making you feel awkward. A braider who insists that tight is better is someone to avoid.
The Mistakes to Sidestep
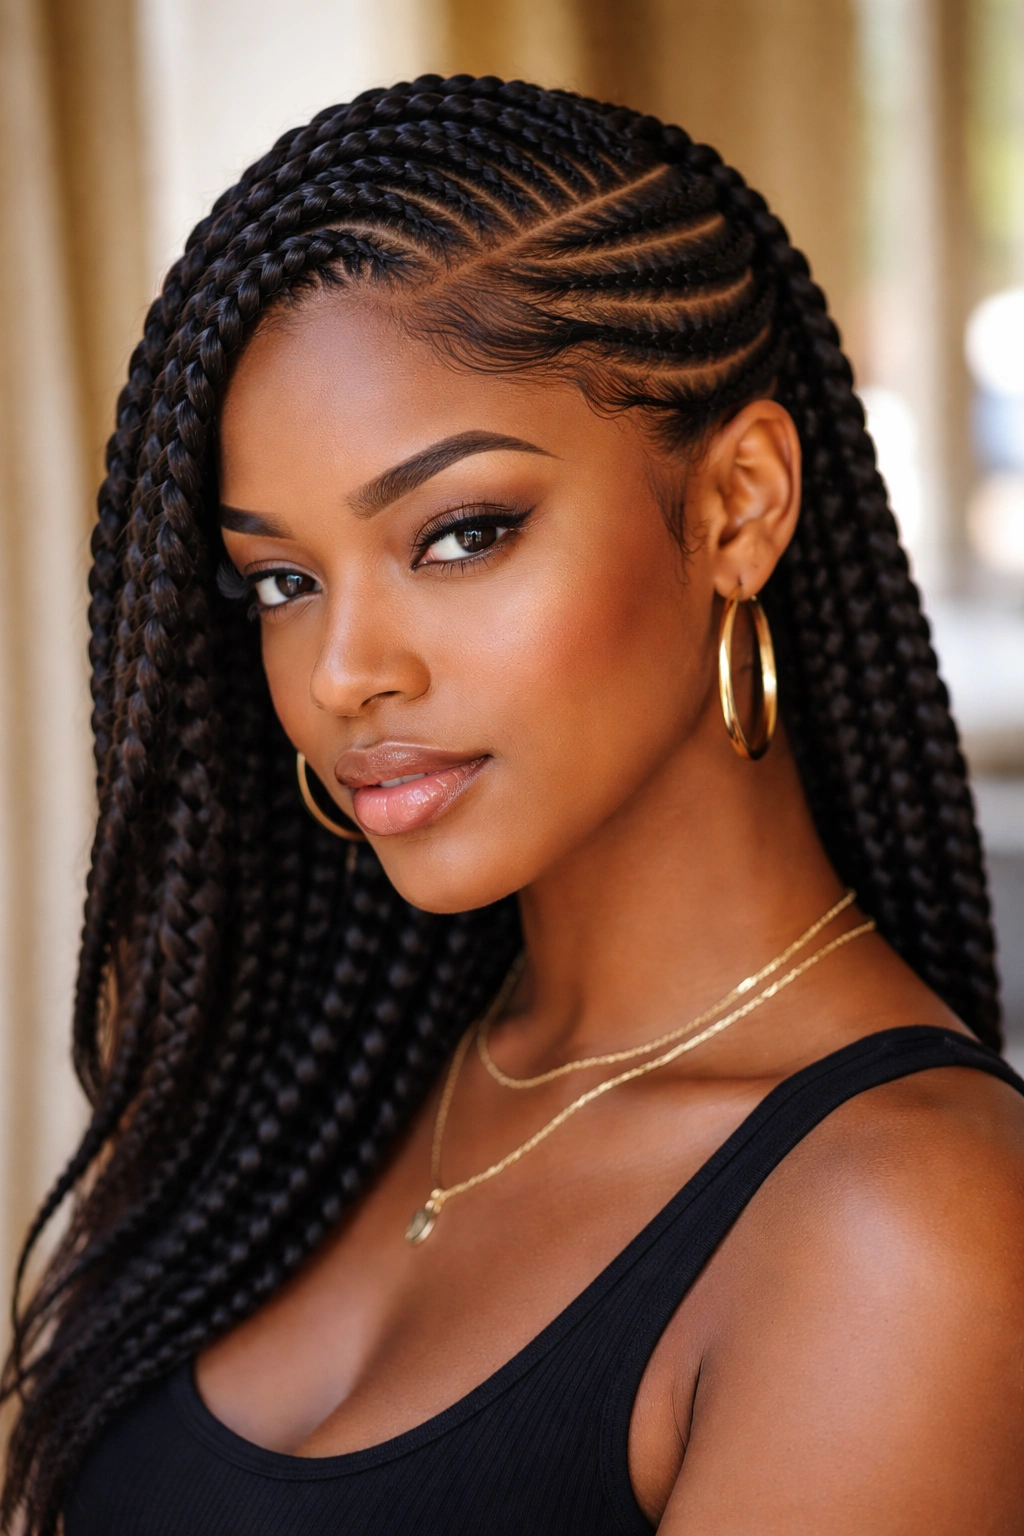
A short list of things that derail big feed-in cornrows.
- Sleeping without a bonnet. Ruins the install in under a week.
- Over-oiling. Makes parts muddy, attracts lint, defeats the protective purpose.
- Taking them out past six weeks. Matting at the root becomes severe and takedown turns traumatic.
- Getting them too tight at the hairline. Bumps, soreness, and edge loss follow.
- Swimming without a cap. Chlorine destroys kanekalon and your real hair underneath.
- Skipping the wash before install. Dirty hair doesn’t hold the braid and looks fuzzy fast.
- Using cheap braiding hair. The $3 packs shed constantly and itch within days.
None of these are obscure. All of them are common. Sidestep the predictable pitfalls and you’ll get the full four-to-six weeks of wear with minimal frustration.
Big feed-in cornrows reward people who commit to the small habits. The bonnet. The oil. The gentle takedown. Do those, and the style gives back far more than the hours spent in the chair. Skip them, and you’ll wonder why yours didn’t last the way your friend’s did. The style isn’t the variable. The care is.
