



Two braids pulled into a single ponytail hits a specific sweet spot in the protective-style world. You get the clean symmetry of cornrows with the gathered elegance of a pony, and the whole thing takes half the install time of a full head of small braids. It’s the style you wear when you want to look pulled-together but don’t have six hours to spare at the braider.
The cornrow ponytail with 2 braids works for nearly every head shape and hair texture. Short 4C natural hair benefits from the feed-in option, which adds length and weight gradually. Longer natural hair can be braided without extensions for a sleeker, flatter look. And the ponytail itself can go anywhere — high on the crown, swept to one side, low at the nape.
What matters is how the two braids meet the ponytail. That junction is the make-or-break point. A clean merge reads as polished. A messy merge looks like two forgotten braids tied up in a hurry.
Below, I’ll walk you through 22 distinct interpretations of the cornrow ponytail with 2 braids — different parts, different finishes, different drama levels, and a bunch of details you won’t read elsewhere.
The Appeal Of A Two-Braid Ponytail
Two braids feeding into one pony is a geometric puzzle that somehow looks effortless when done right. The middle part runs down the crown, each side gets one cornrow, and both braids terminate at a single gathered point — often at the back of the head, but sometimes higher or lower depending on the style.
It’s the mathematics of minimalism. Fewer parts. Fewer braids. Fewer places for mistakes to hide. Which means the ones that exist show up more clearly.
Compare it to a six-braid pony and you see why some people prefer the two-braid version. Six braids create complexity and fullness, but they can look busy near the scalp. Two braids give the scalp breathing room and make the ponytail the clear focal point. The eye goes: clean scalp, crisp braids, then dramatic pony.
The Right Prep Sets The Foundation
Prep for two-braid styles is simpler than full cornrow installs, but it’s not optional. Wash your hair with a clarifying shampoo the night before. Deep condition for 20-30 minutes. Blow-dry on low with a leave-in cream applied section by section.
The key detail: stretch the hair completely. Coily hair that isn’t stretched will fight the braid pattern and create lumpy, uneven cornrows. You don’t need pin-straight — you need hair that’s been tension-dried or blown out enough that it lies smoothly when parted.
Skip heavy butters the day of install. Slippery hair loses grip on the braider’s fingers, and braids that start slippery end up loose and frizzy within days.
Tools That Make A Difference
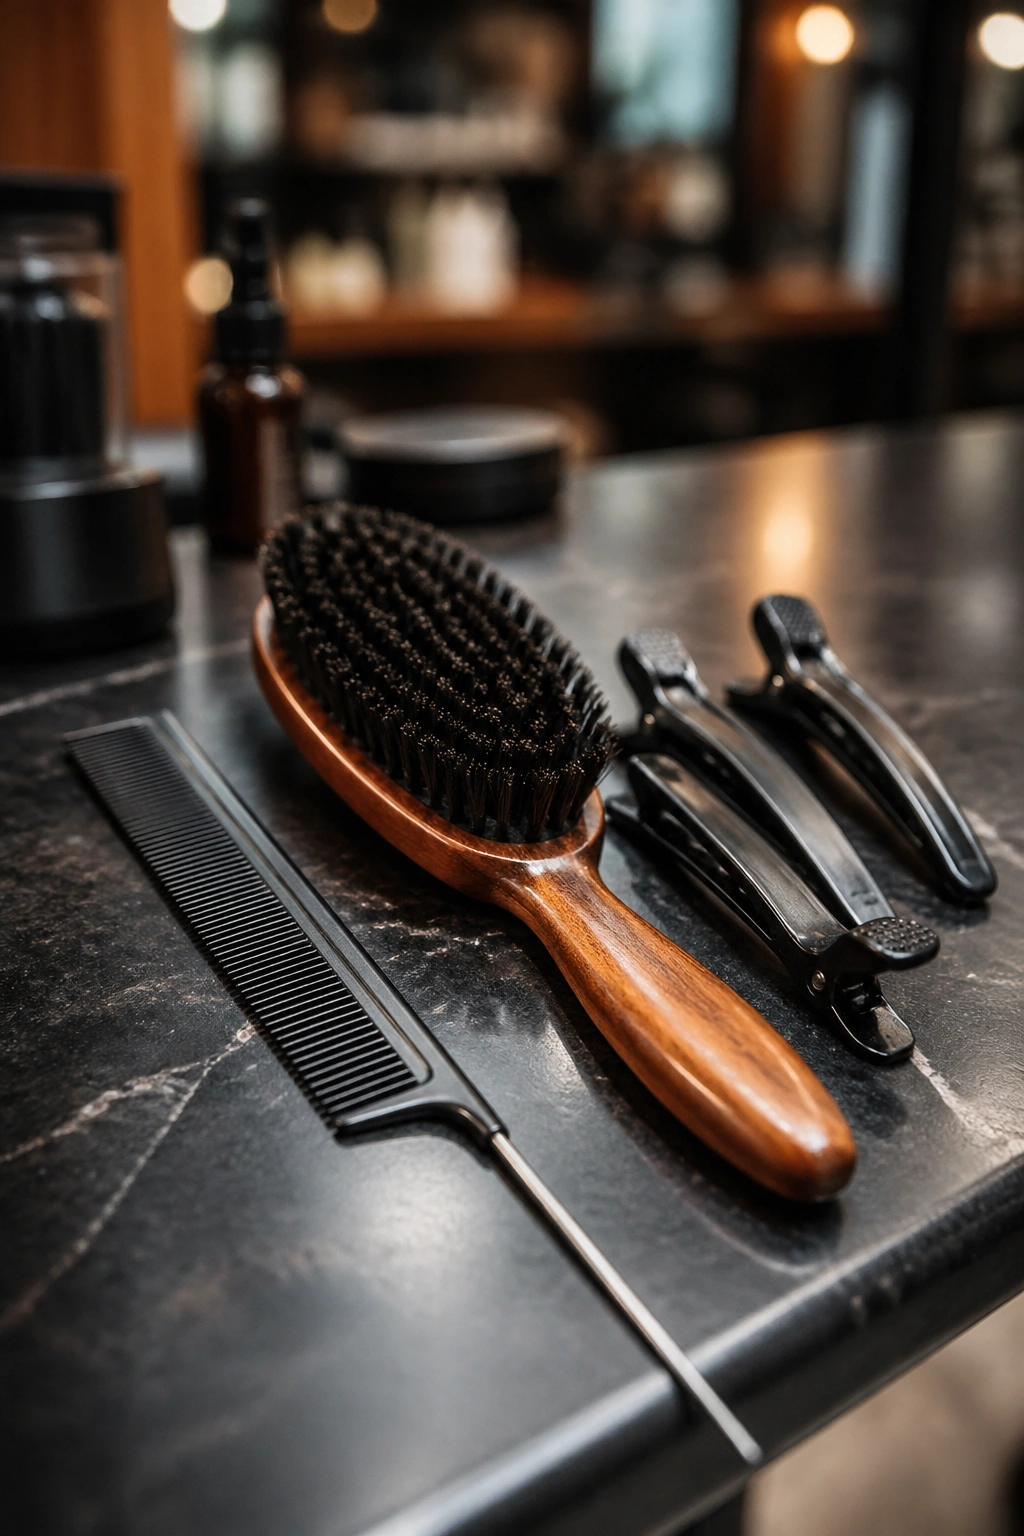
A rat-tail comb for parting. A boar-bristle brush for smoothing. Edge control gel — something with moderate hold, not the crunchy kind. Duckbill clips to hold sections. A spray bottle of water mixed with a splash of leave-in.
If you’re adding extensions, pre-stretched kanekalon is the move. It saves cutting time because the ends are already tapered, and the pre-stretching makes the hair easier to braid with.
For the ponytail itself, you’ll need a wrap — either a piece of the same kanekalon used in the braids, or a satin scrunchie if you want a softer finish.
Parting The Middle Right
The center part is the bedrock of every two-braid ponytail. It must be arrow-straight from the forehead to the nape — any wobble in that line ruins the whole symmetry of the style.
Use a rat-tail comb and work in short one-inch increments from front to back. Don’t try to draw the whole part in one sweep. At each increment, press down with the comb to set the line before moving on. Clip one side away with a duckbill so you’re only looking at the section you’re parting.
Some braiders use a bit of edge control gel on both sides of the part to keep the line sharp during braiding. A thin smear along the part creates a visible, clean division.
Deciding On Length And Placement
Before anything starts, decide where the ponytail will sit. High on the crown is playful and youthful. Mid-back of the head is classic and professional. Low at the nape is sleek and elegant. And the length of the pony can range from shoulder-grazing to waist-length depending on the extensions used.
Placement affects tension. A high pony puts more pull on the hairline, which can be painful for people with sensitive edges. Low ponies are gentler but can feel heavy at the nape. Mid-placement is the balanced middle ground.
1. High Ponytail With Sleek Feed-In Cornrows
Two feed-in cornrows running from the hairline up to a high ponytail at the crown. The braids start thin at the hairline and build thickness as they ascend, creating a tapered effect that flows seamlessly into the pony.
Why It Works
Feed-ins distribute weight along the braid, so even though the pony sits high, the tension at the hairline stays manageable. The extensions fill out the braid gradually, meaning the root looks natural and the pony looks voluminous.
- Start the high pony point about 3 inches above the natural crown
- Use 2-3 packs of braiding hair total (1.5 per braid)
- Wrap the ponytail base with a strand of matching kanekalon for a seamless finish
Pro tip: Ask for the pony point to sit directly between the two braids. If the gathering point shifts left or right of center, the whole style looks off-balance.
2. Low Sleek Ponytail With Flat Cornrows
Two tight, flat cornrows running straight back to a low, polished ponytail at the nape. This is the executive-assistant-meets-editorial-model energy. Clean lines. No drama. Works at a boardroom meeting and a dinner reservation.
The cornrows are braided tight against the scalp with minimal lift. No jumbo feed-ins, no dimension — just sleek braids that read almost as painted lines. The pony sits right at the base of the skull, often wrapped with a thin ribbon or elastic to keep the finish clean.
Smoothness is everything in this style. Any frizz at the part or along the braid breaks the illusion of effortlessness. Use a generous amount of edge gel along the length of each braid, not just the hairline, and smooth with a boar-bristle brush before pinning the pony.
For extra polish, add a few drops of shine serum to the ponytail length itself. The combination of matte braids and glossy pony creates a high-end texture contrast that reads as expensive.
3. Two Braids Into A Bubble Ponytail
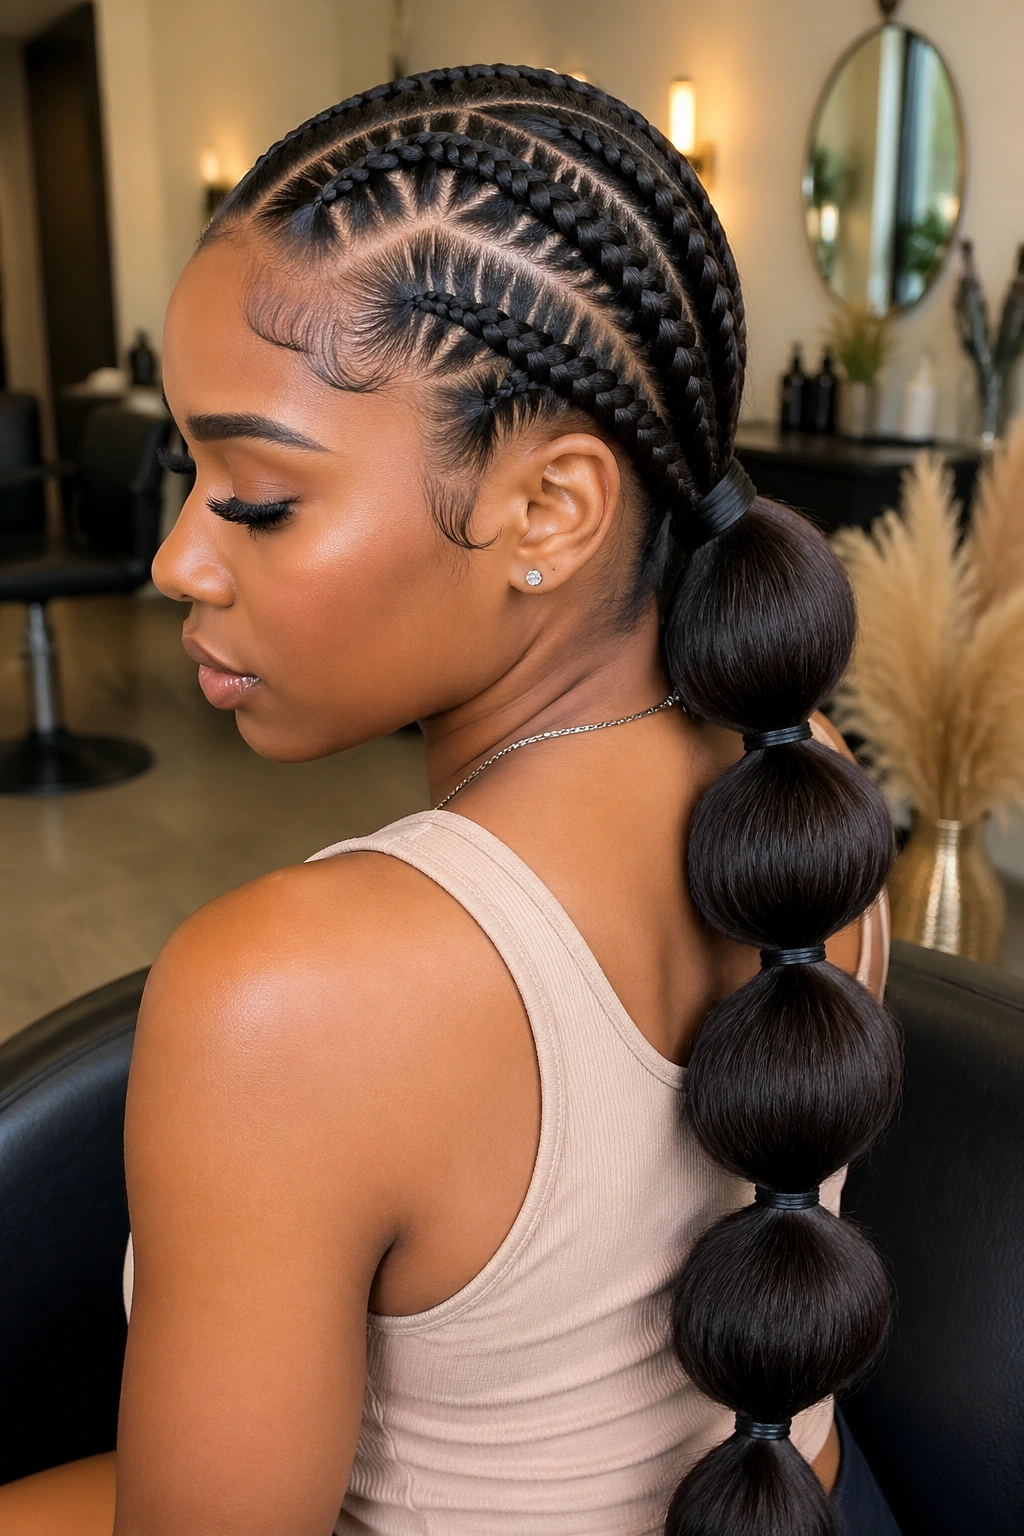
What if the ponytail didn’t just hang straight? A bubble pony divides the pony into sections with elastic bands, creating a segmented, puffy silhouette that looks like vertical bubbles stacked on top of each other.
How To Style It
After the cornrows feed into the ponytail, section the pony into three or four equal lengths. Tie each section with a small clear elastic, then pull gently on the hair between elastics to puff each segment outward. The result is a ponytail that looks like a string of pearls.
The bubble effect works best with longer pony lengths. Short bubbles look cramped. Aim for at least shoulder-length hair in the pony for three bubbles, or waist-length for four or five.
You can accessorize each bubble with a different ribbon or charm, though less is usually more. One accent at the top of the pony is enough.
4. Side-Swept Two-Braid Ponytail
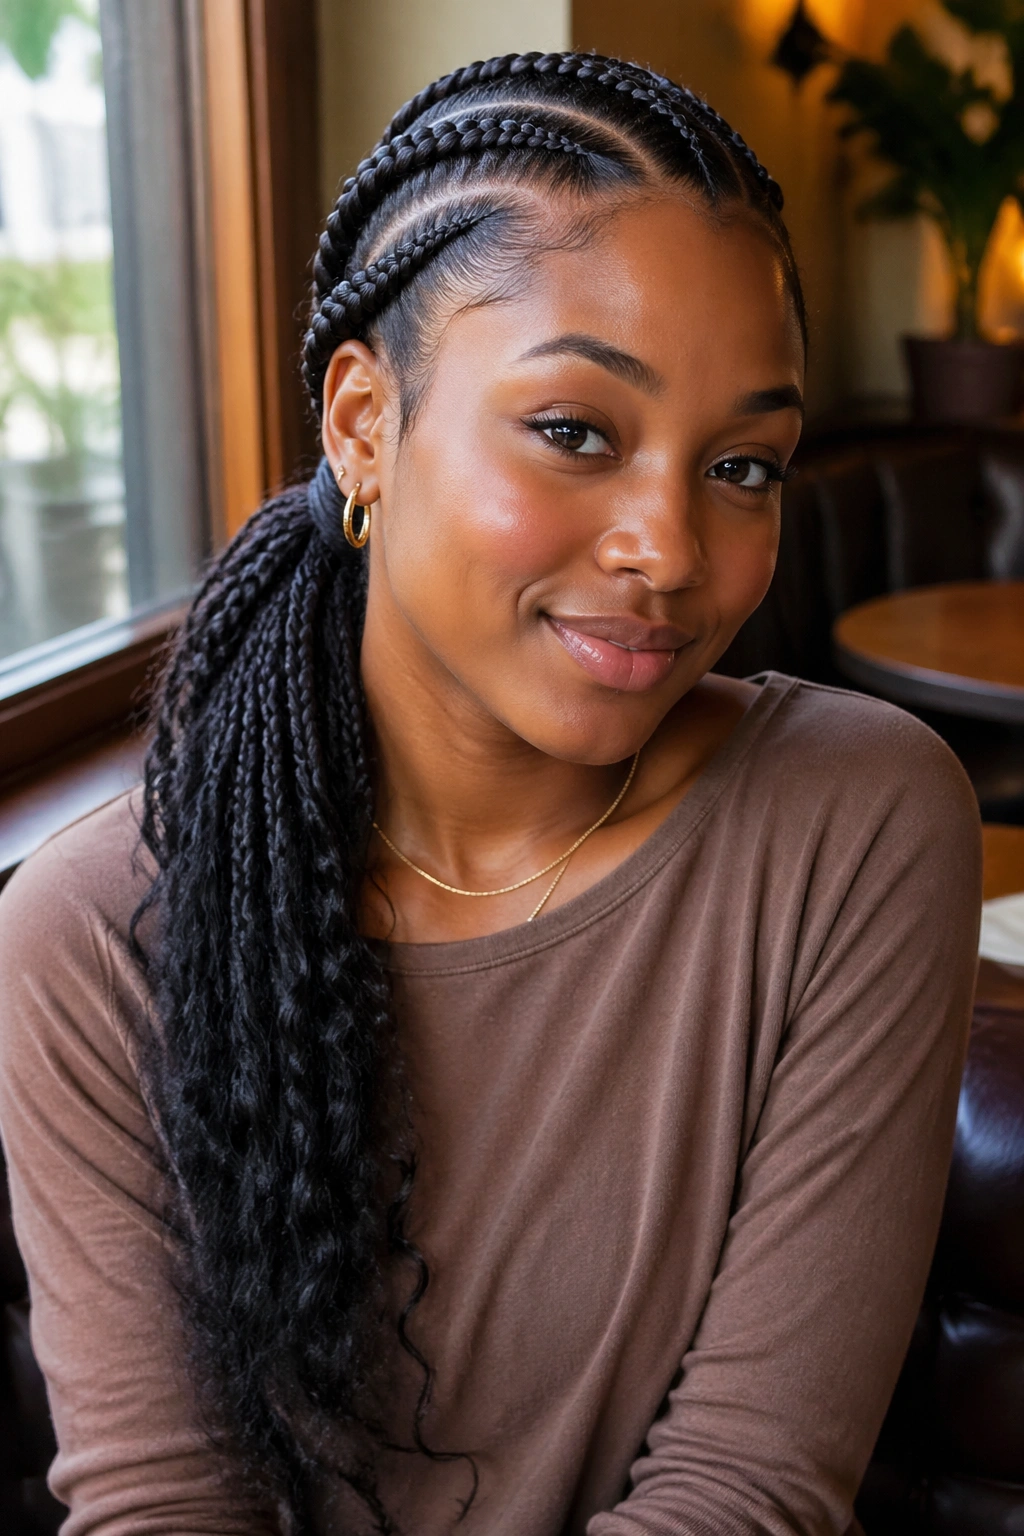
Two cornrows both sweeping diagonally across the head to one side, ending in a ponytail that hangs over one shoulder. Instead of the traditional center part, this style uses a deep side part and angles the braids toward the opposite ear.
The diagonal creates flow. Rather than the strict symmetry of a center-part two-braid style, the side-swept version has movement built in. It’s softer, more romantic, and tends to be more flattering for angular face shapes.
Pick your sweep side carefully. If you have a cowlick or a natural part, go with your hair’s grain. Fighting your growth pattern creates constant flyaways and weak braids that don’t hold as long.
The pony sits behind the ear on the sweep side, which means it drapes over the shoulder rather than down the back. Good for off-shoulder tops and wedding day looks.
5. Two-Braid Pony With A Wrapped Base
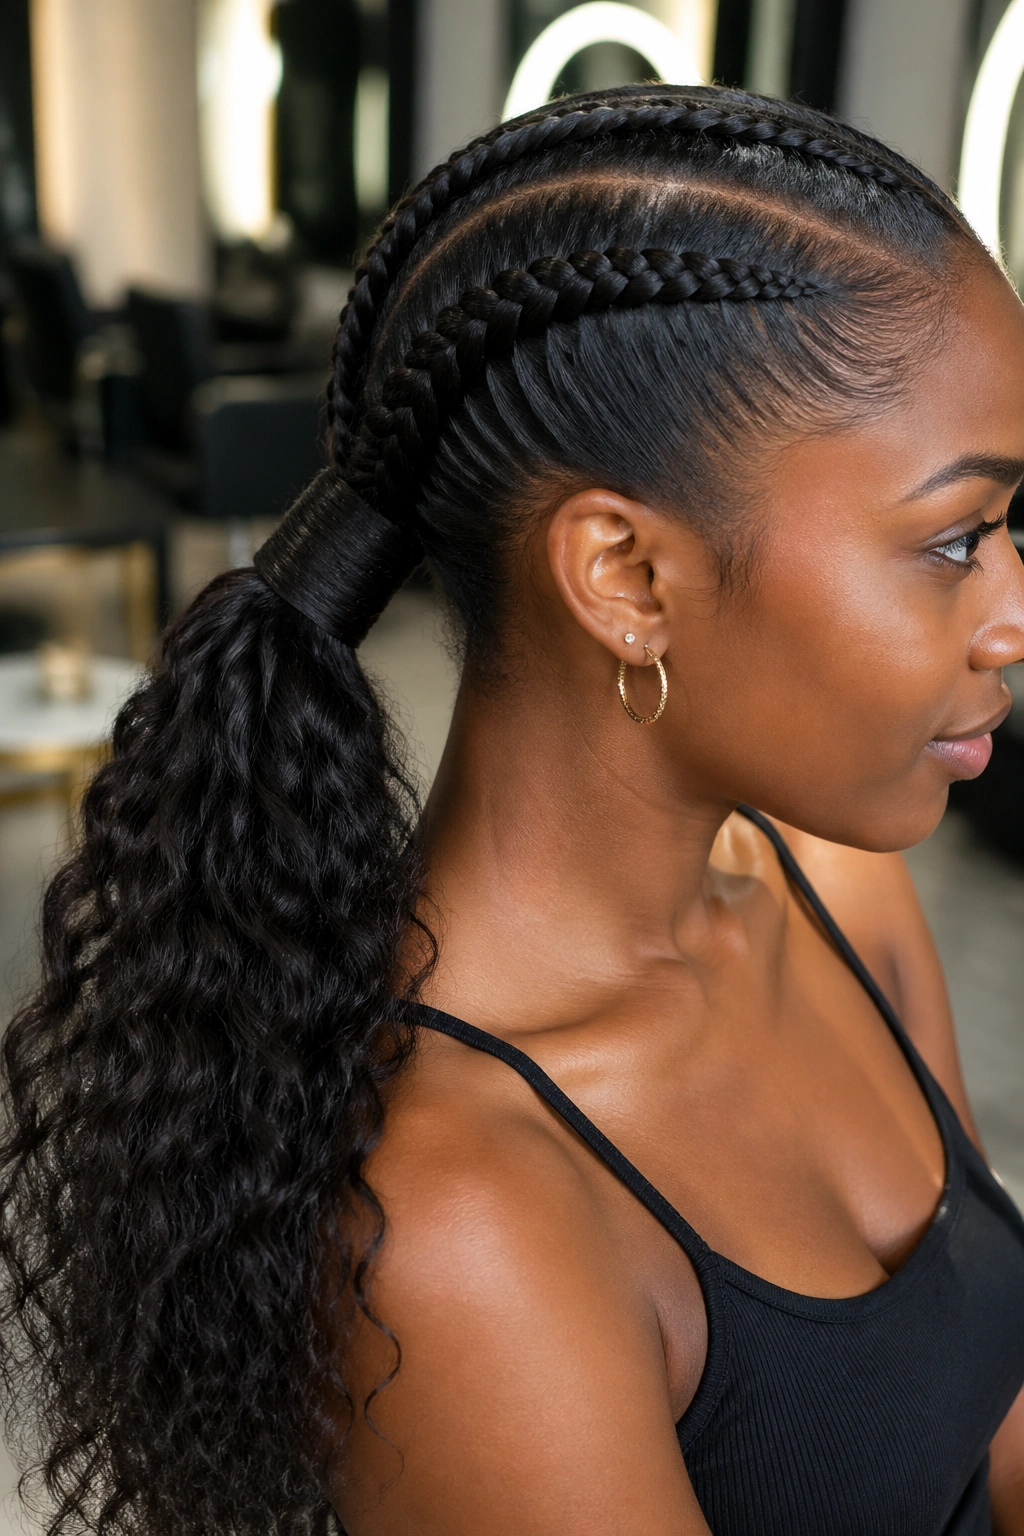
The pony gets a full wrap at the base — usually kanekalon in the same color as the braids, twisted tightly around the elastic or clip that secures the pony. The wrap hides all the gathering hardware and creates a clean, seamless finish.
Wrapping technique matters. A sloppy wrap unravels in a day. A tight wrap lasts the full duration of the style. Start by securing the pony with an elastic. Take a small strand of kanekalon (maybe 6-8 inches long), fold it in half at the base of the pony, and wrap it tightly around the elastic multiple times. Tie off the ends with a simple knot, then tuck the ends into the wrap using a hairpin.
Some braiders use clear gel to set the wrap, which locks it in place for the duration of the install. Just a pea-sized amount rubbed into the wrap before tucking the ends.
The wrap can also be a contrast color for drama. Black braids with a gold wrap. Brown braids with a deep red wrap. Gets attention without being over-the-top.
6. Two Jumbo Braids Into A Volumized Pony
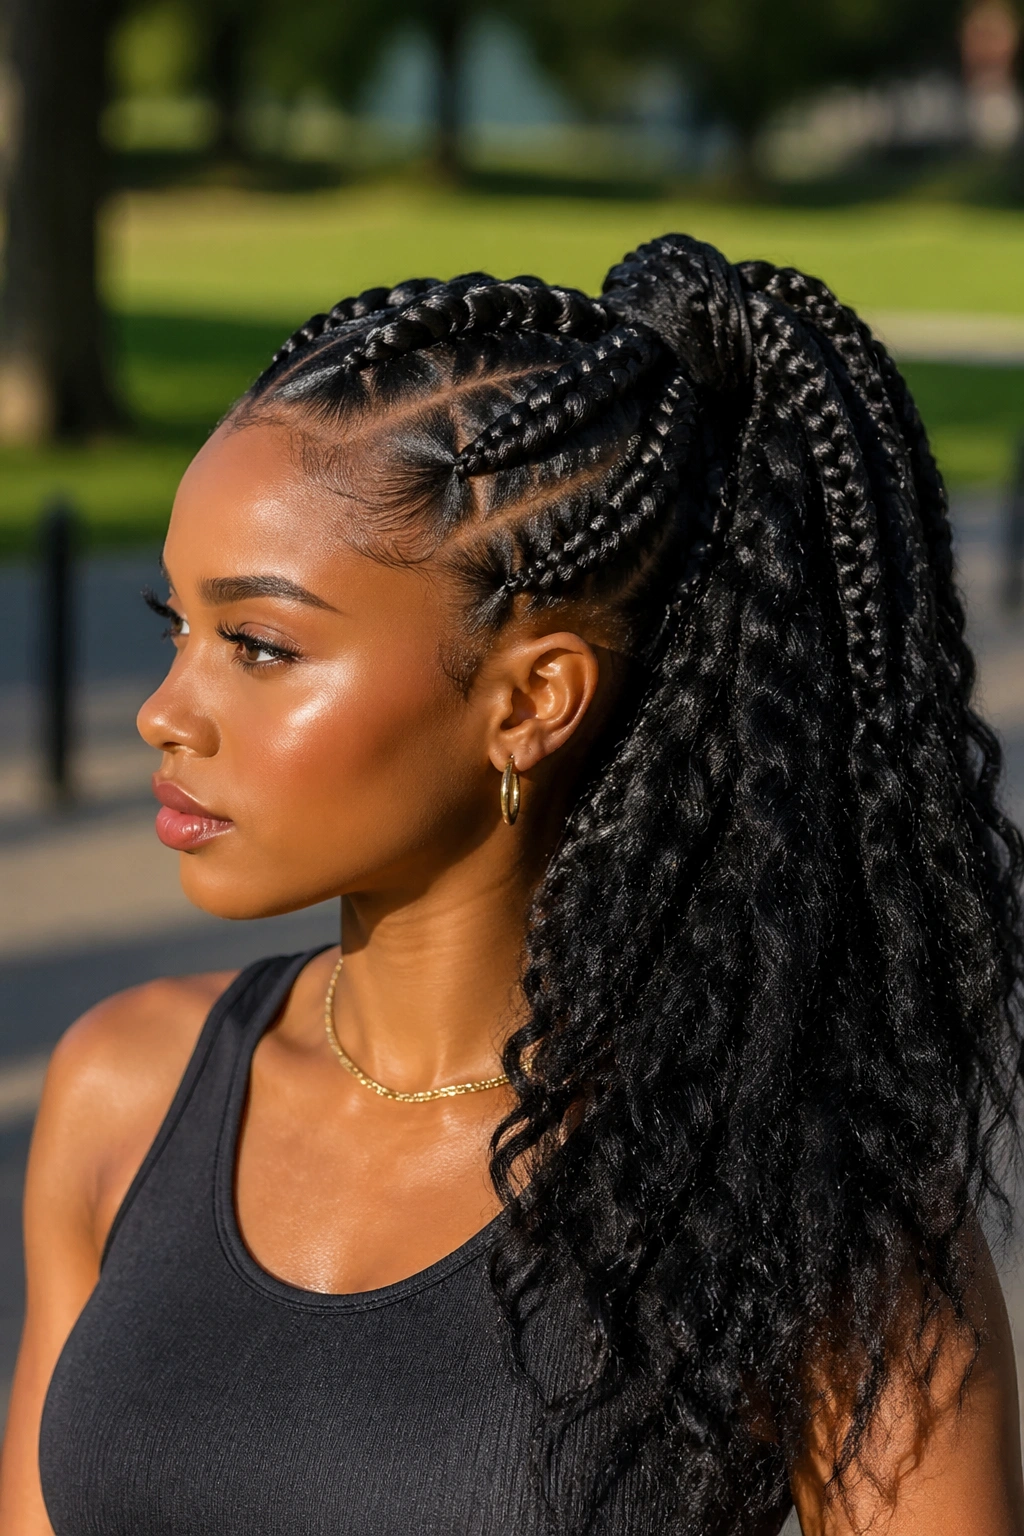
Chunky cornrows paired with a full, thick ponytail. Each braid is substantial — closer to 2 inches wide at its fullest point — and the pony is loaded with extension hair for maximum volume.
What To Watch For
Volume requires tension management. Heavy ponies pull on the braid base, which transfers tension down to the hairline. If you have a sensitive scalp, ask the braider to distribute more weight along the braid length rather than concentrating it at the pony base.
The extensions in the pony itself should be added gradually — not just bunched at the gathering point. Good braiders layer several strands of kanekalon into the pony for natural-looking fullness.
Avoid the “helmet” effect. When the braids and pony are too chunky, the whole head starts to look like an oversized hat. Aim for balance between braid and pony thickness.
7. Two-Braid Ponytail With A High Bun Finish
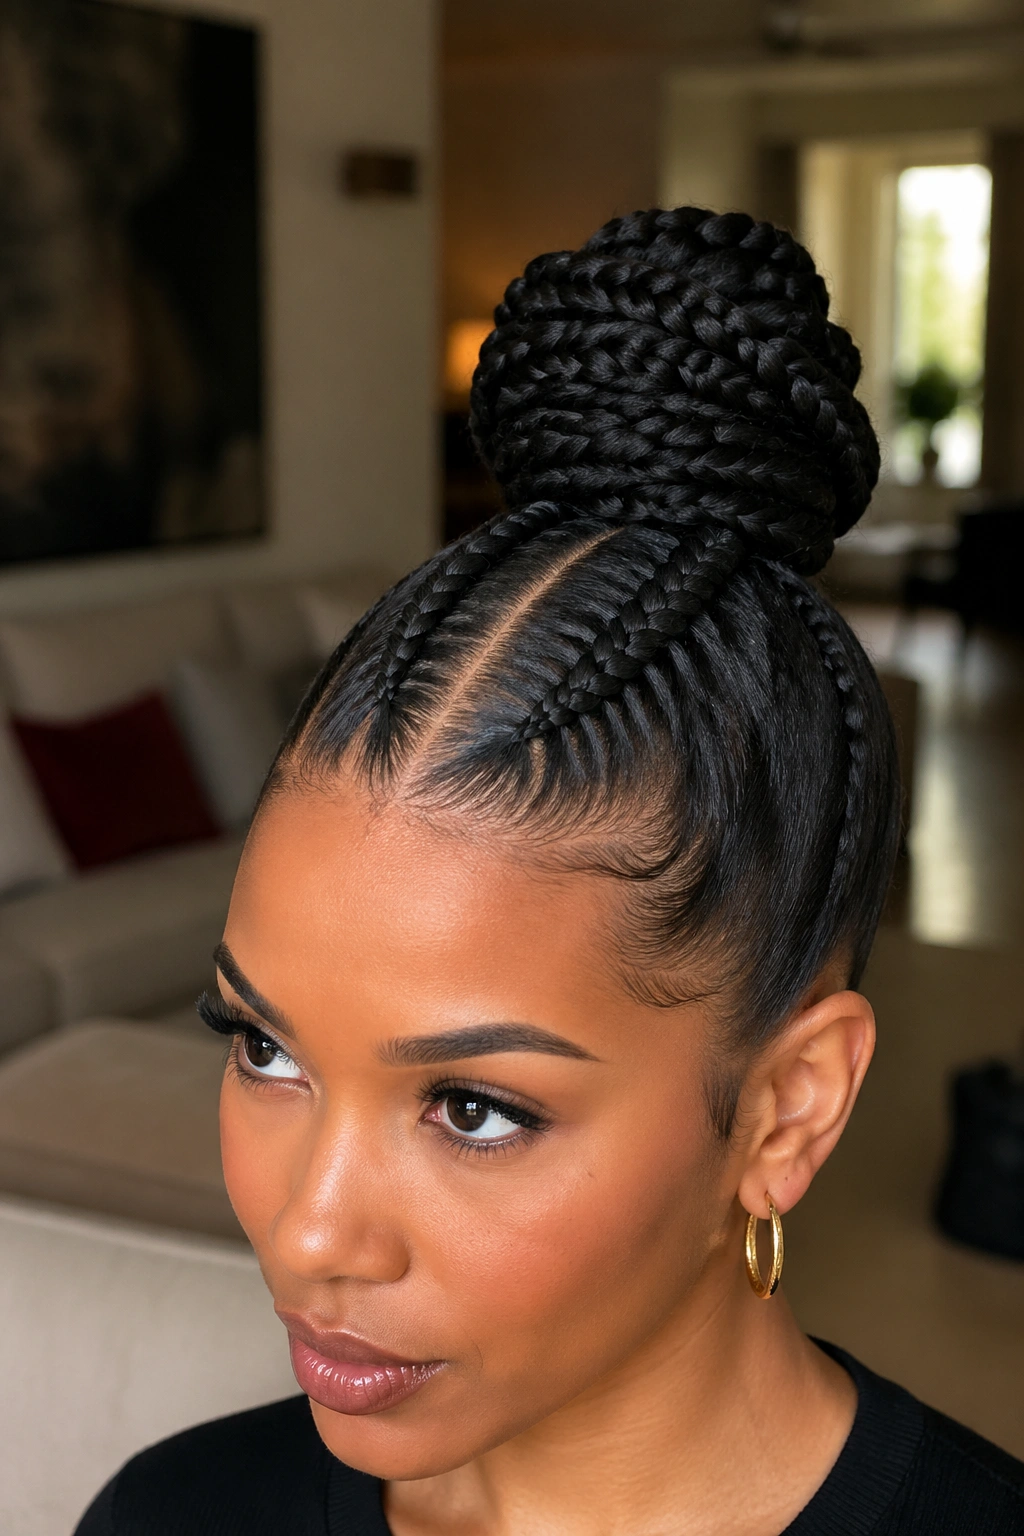
Same two-braid install, but instead of leaving the pony loose, it’s twisted or plaited and wrapped into a high bun at the crown. The bun sits directly on top of the head like a cherry on a sundae.
This is a great updo for heat-wave days. The braids hold the side hair off your face, the bun sits high and keeps weight off your neck, and the whole style looks intentional rather than improvised.
For a sleek bun, smooth the pony with edge gel before wrapping. For a messier, bohemian bun, fluff the ends slightly before securing with bobby pins.
Use U-pins rather than standard bobby pins to secure the bun. U-pins grip braided hair better and don’t slip out when you move.
8. Two Braids Feeding Into A Low Side Pony
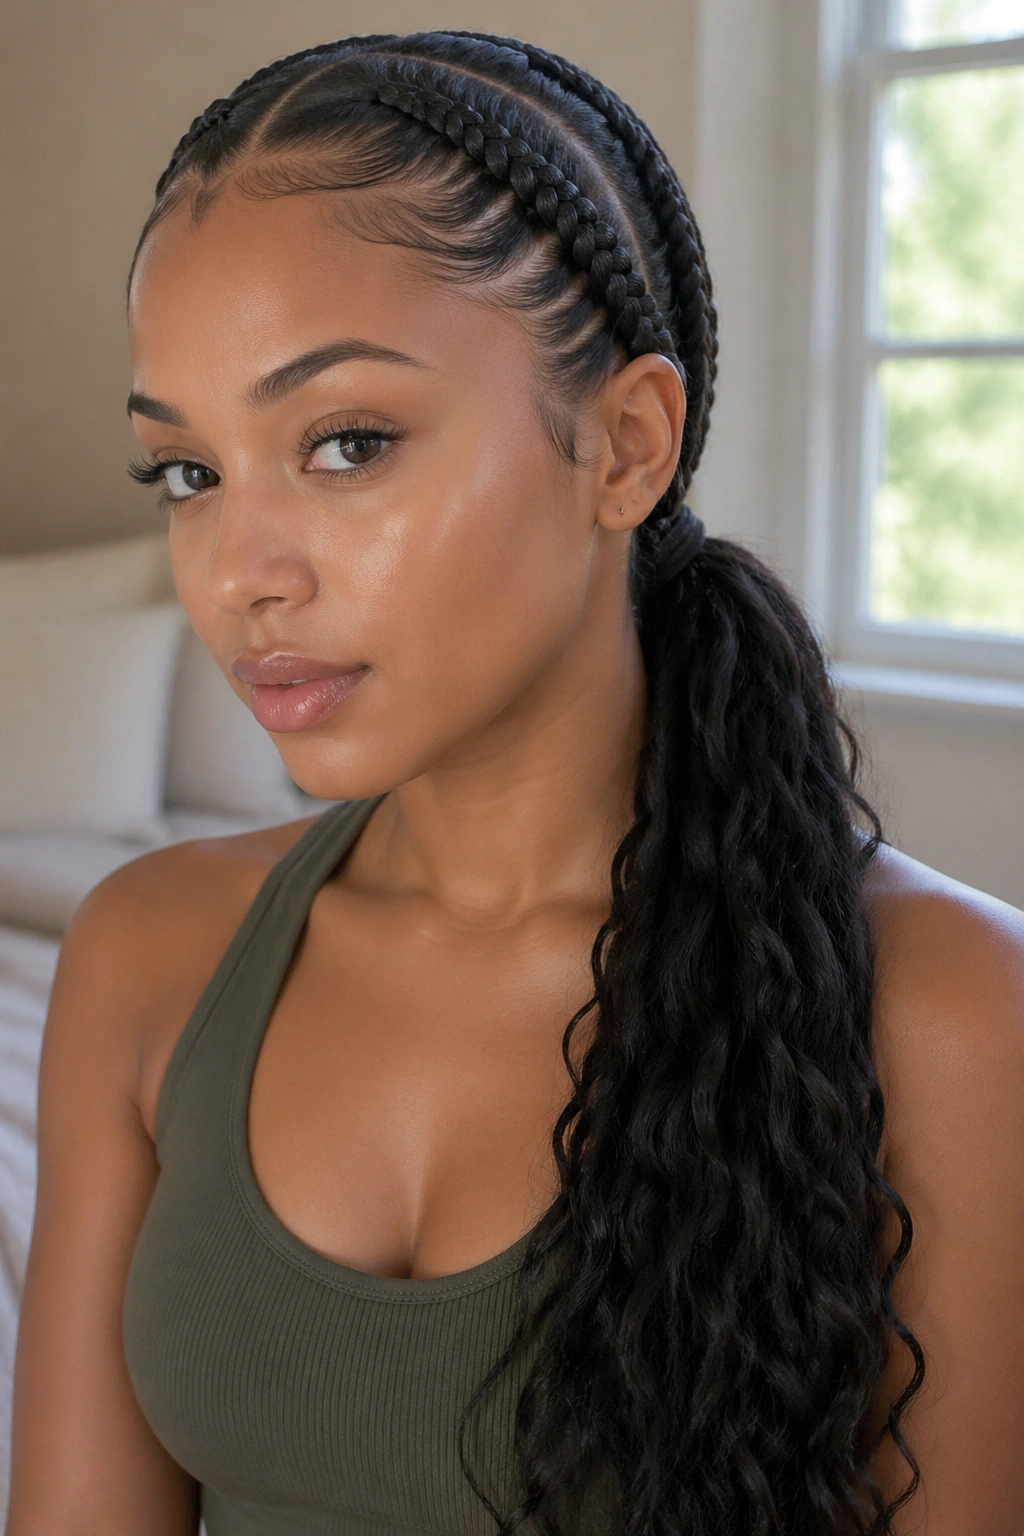
Both braids run from the hairline toward one side of the head, meeting at a ponytail that sits below and behind one ear. The pony drapes over the shoulder and down the chest.
This style works especially well with backless dresses or outfits that show off the opposite shoulder. The pony creates a diagonal line across the back that feels sculptural rather than just functional.
Keep the braid direction consistent. If both braids are heading to the left pony point, they should both curve in the same general direction. Crossed braids look messy at the crown.
9. Two-Braid Ponytail With A Zigzag Part
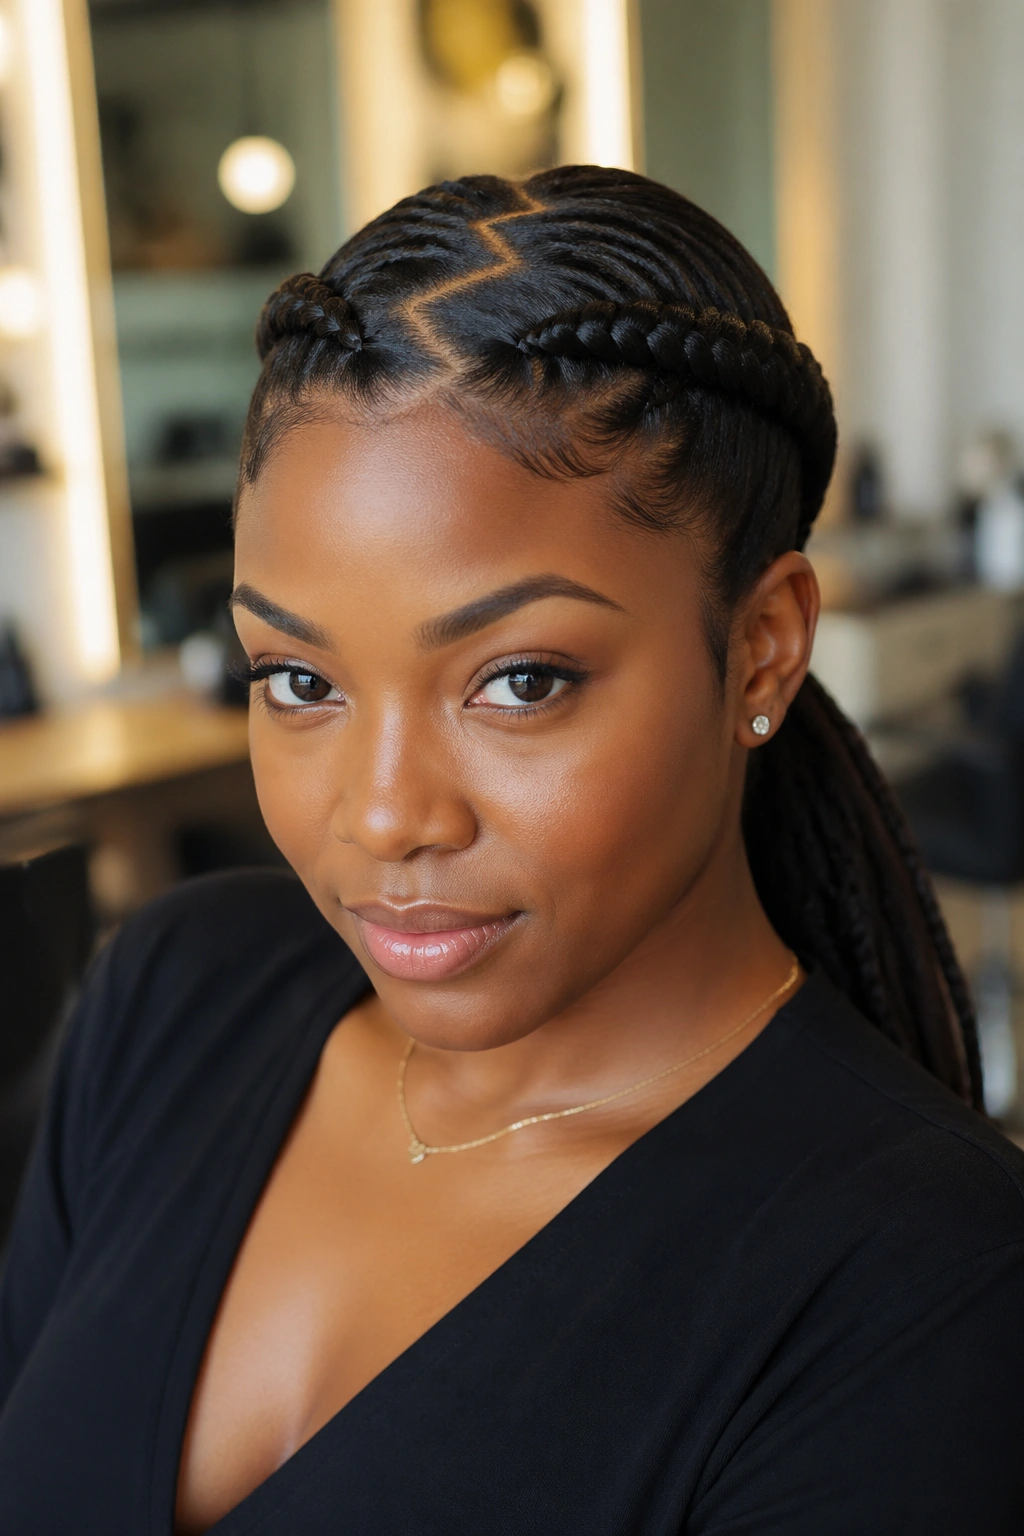
The central part isn’t straight — it zigzags down the crown in sharp triangular peaks. The braids on either side run normally back to the ponytail, but the peaking part creates visual interest at the top.
Styling Tips
Three to four peaks is the right count for most head sizes. More looks cramped. Fewer looks like a wavy line rather than a zigzag.
Each peak should be the same width. Use the rat-tail comb to measure as you go — one inch from peak to peak is a good starting point. Adjust wider for larger heads or longer hair.
The zigzag is best combined with beads or a wrapped pony base. Too many decorations at the top plus decorations at the bottom feels overdone.
10. Cornrow Ponytail With Loose Curled Ends
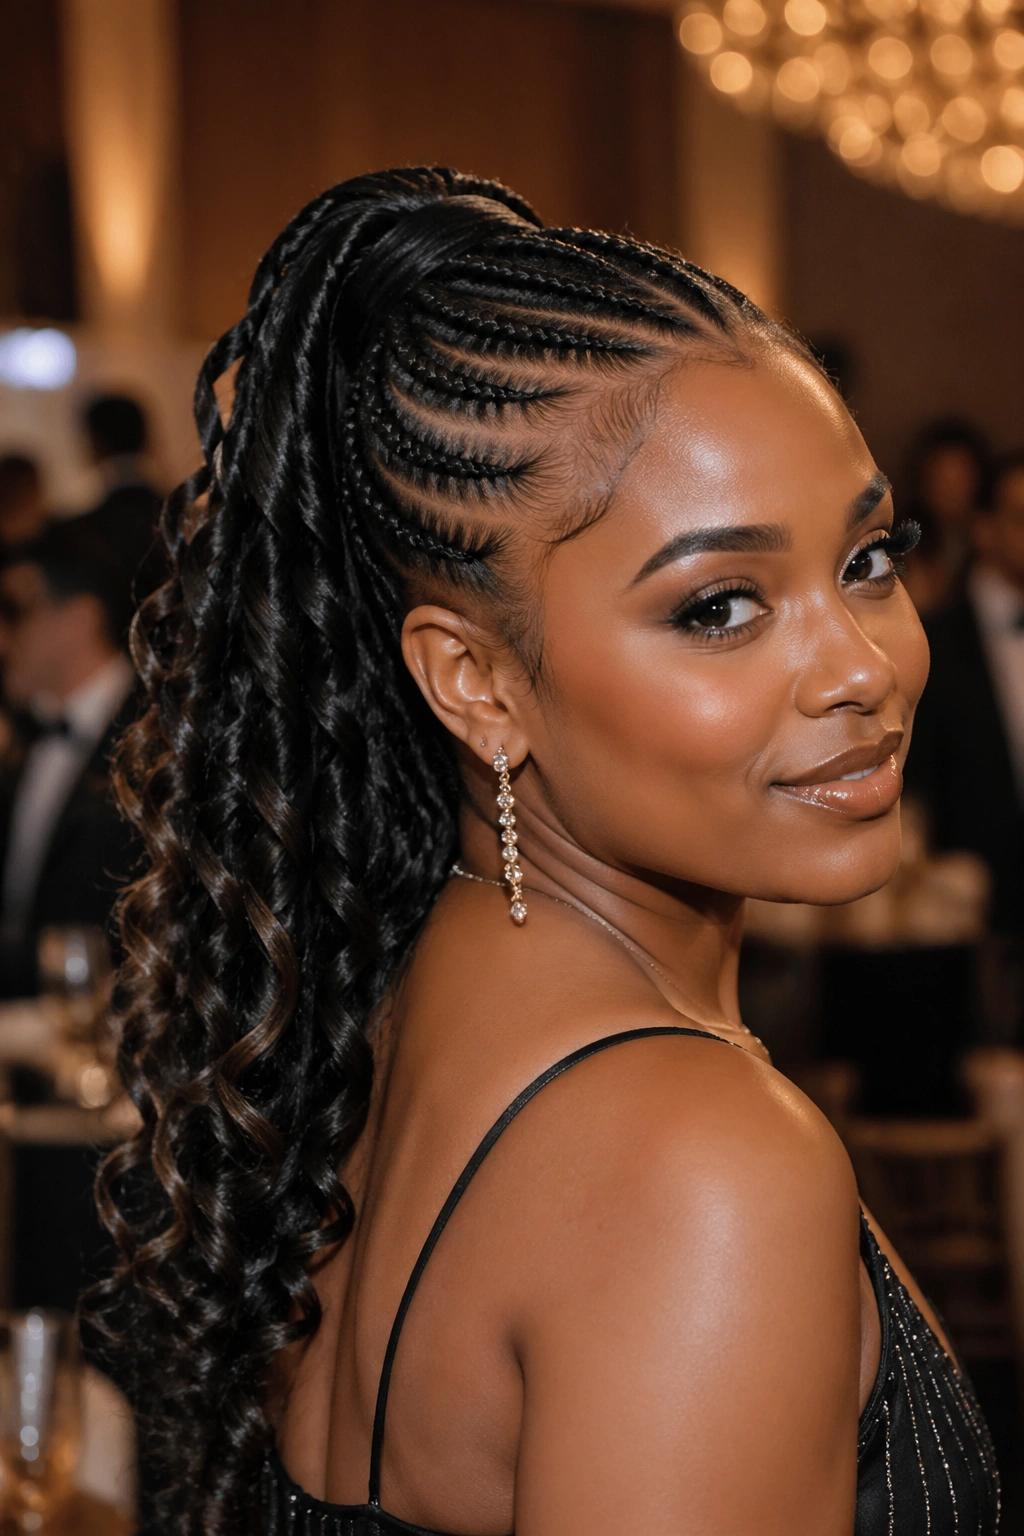
The cornrows and pony are installed normally, but the ends of the pony are curled — either with hot rollers on the extension hair, or with pre-curled kanekalon pieces added to the end. Flowing, bouncy curls at the bottom of the pony soften the structured braids.
Curly kanekalon is sold as “loose curly” or “spiral curl” braiding hair. It’s added either by mixing it into the pony from the start or by attaching pre-curled clip-ins at the tail end. Clip-ins are easier for beginners.
The contrast between structured braids and loose curls creates a “braid-and-glam” aesthetic that works well for events. Weddings. Galas. Engagement shoots. Anywhere you want something that reads as dressed-up.
Keep the curls moisturized. Dry kanekalon curls frizz faster than braided sections. A light leave-in spray twice a week preserves the curl pattern.
11. Two Braids With A Braided Ponytail Finish
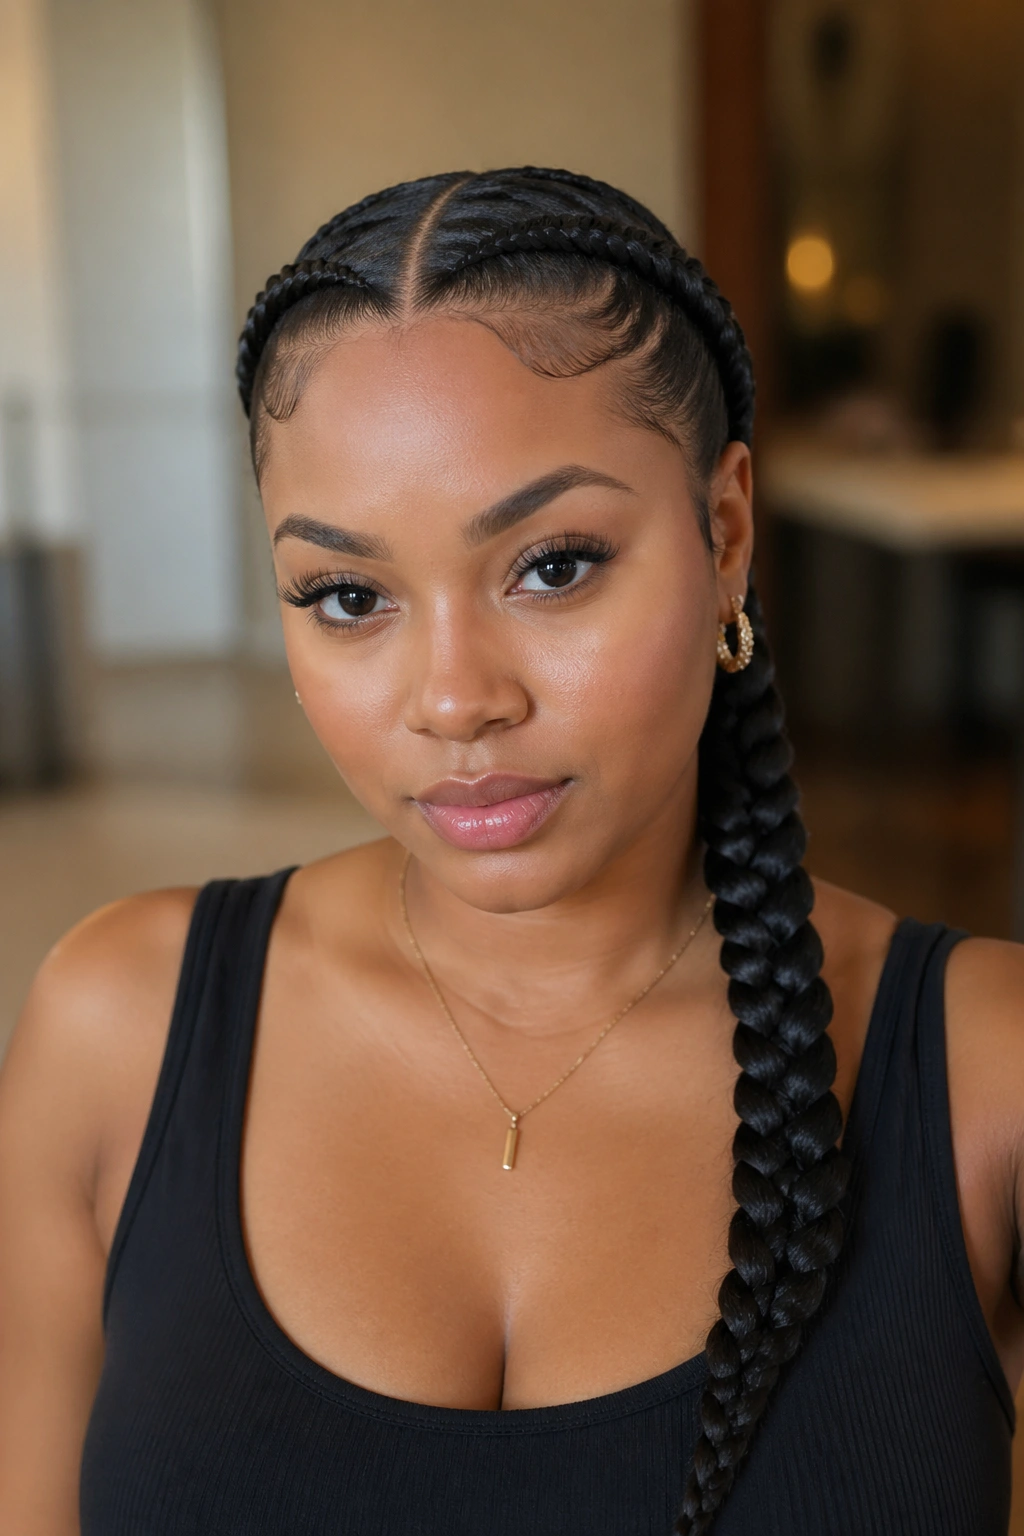
Instead of leaving the pony loose, it gets braided into a single large plait. Two cornrows in. One big braid out. Minimalist in concept but striking in execution.
The single pony-braid can be plaited in a three-strand pattern, a fishtail, or a four-strand rope. Each style produces a different visual texture at the tail.
Three-strand is classic. Fishtail looks intricate and takes longer. Four-strand rope creates a twisted, rope-like texture that looks unique.
Decide whether the pony-braid matches the cornrow thickness or deliberately contrasts. Matching looks continuous. Contrasting — small cornrows feeding into a chunky pony-braid — creates drama.
12. Two Stitched Cornrows Into A Sleek Pony
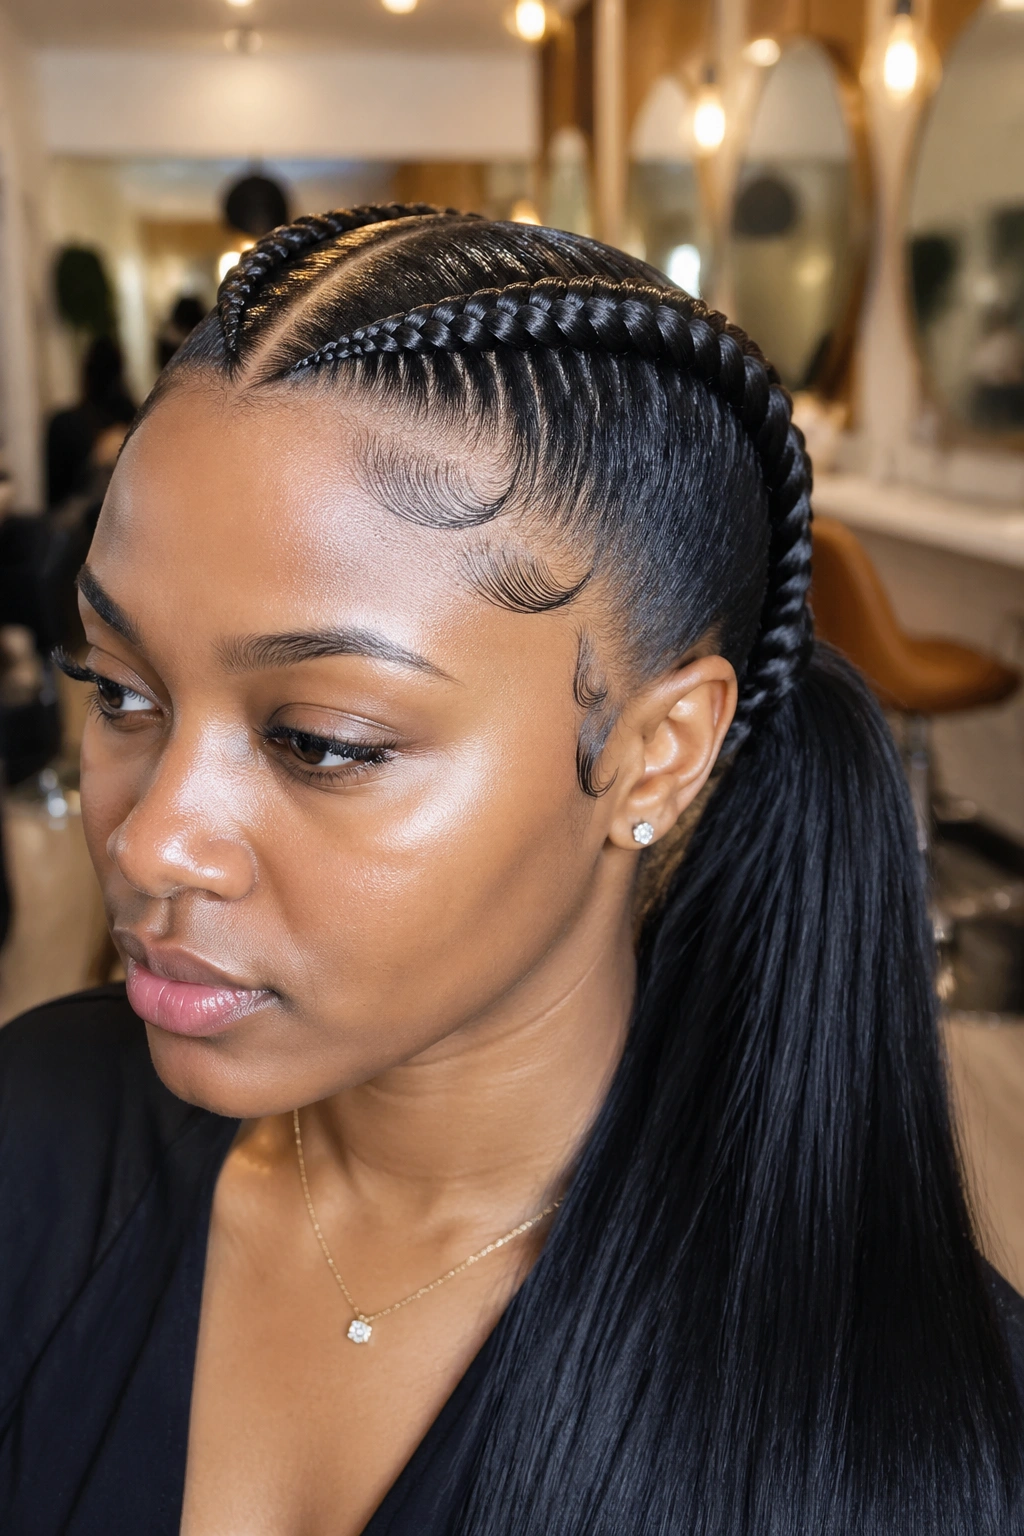
Stitch braids have horizontal lines etched into the braid pattern, creating a ribbon-like texture. Two stitched braids feeding into a pony combine the textural detail of stitching with the clean silhouette of a ponytail.
The Catch
Stitching takes longer. Add 1-2 hours to a standard two-braid install for the stitch work. Each horizontal line is created by pulling hair tighter at specific intervals, which means the braider needs more time per braid.
- Stitches every half-inch for dense pattern
- Stitches every inch for lighter pattern
- Stitches concentrated in the first third for a tapered look
Pro tip: Stitch work requires careful tension. If your scalp starts throbbing during the stitching, speak up. Aggressive stitching is the number one cause of traction alopecia along the part line.
13. Two Braids Into A Pinned-Up Updo
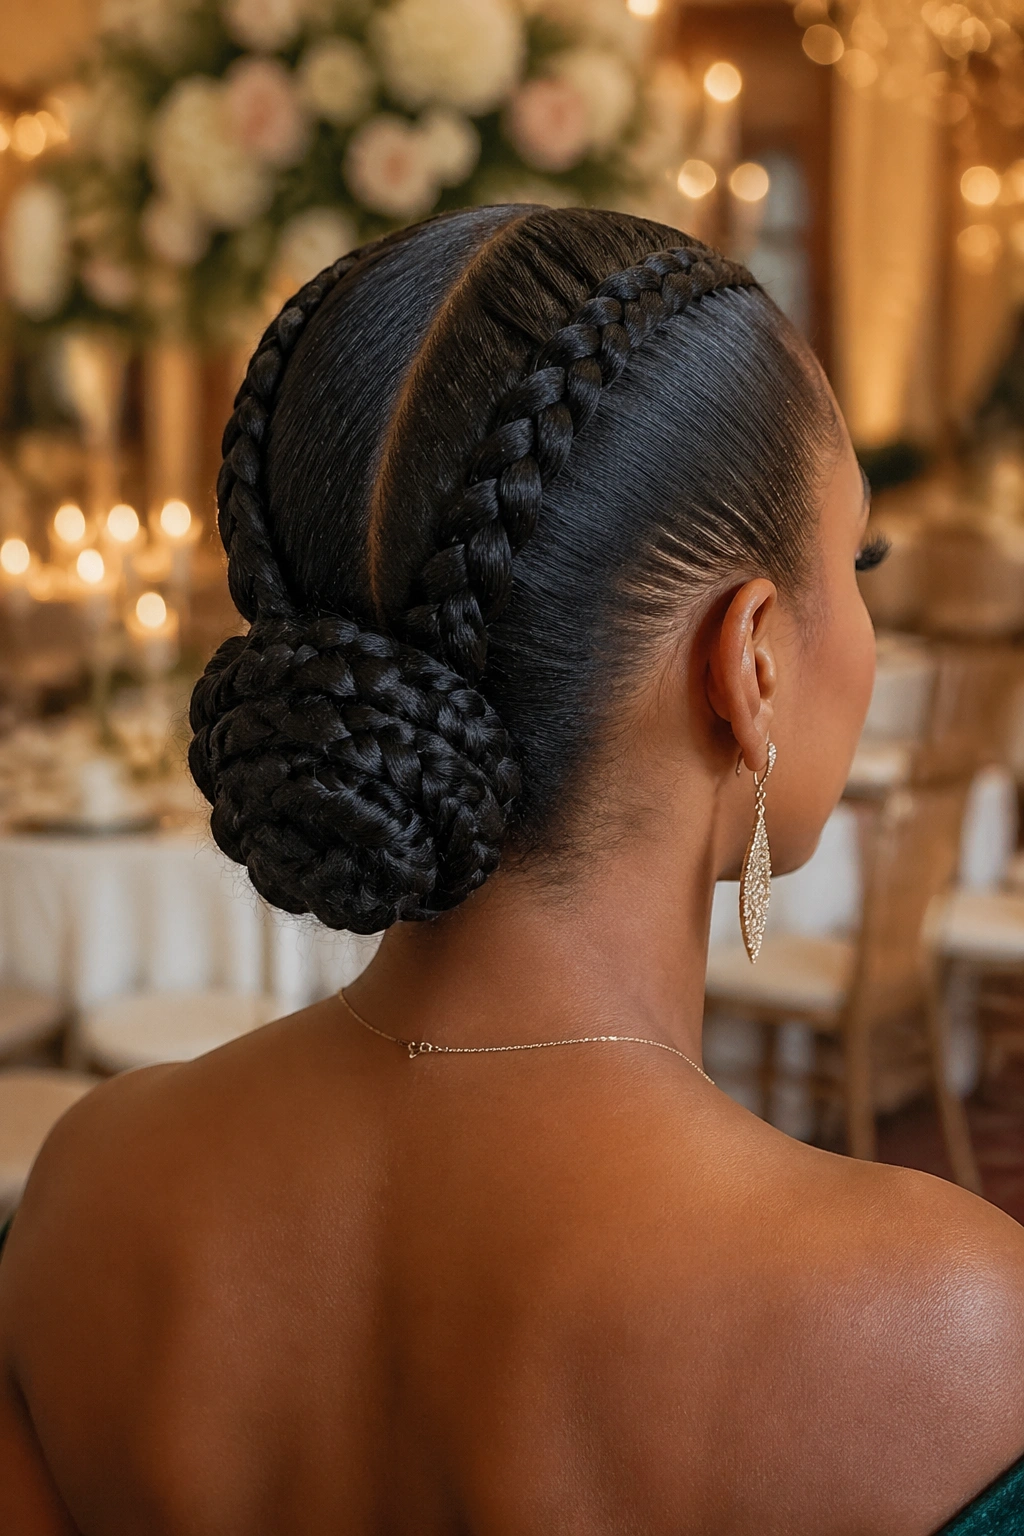
The two braids run to the back of the head, but instead of forming a hanging pony, they’re pinned up into a swirled updo. The ends tuck under the braids themselves, creating a braided crown at the back of the head.
This style is sleep-friendly because the weight stays close to the scalp. No heavy pony pulling on the hairline. No long braid tangling on pillows. Just a compact updo that sits neatly at the back.
Bridesmaids and mothers-of-brides love this style. It photographs well, lasts all night through dancing, and doesn’t need constant adjustment.
14. Two-Braid Pony With Colored Braiding Hair
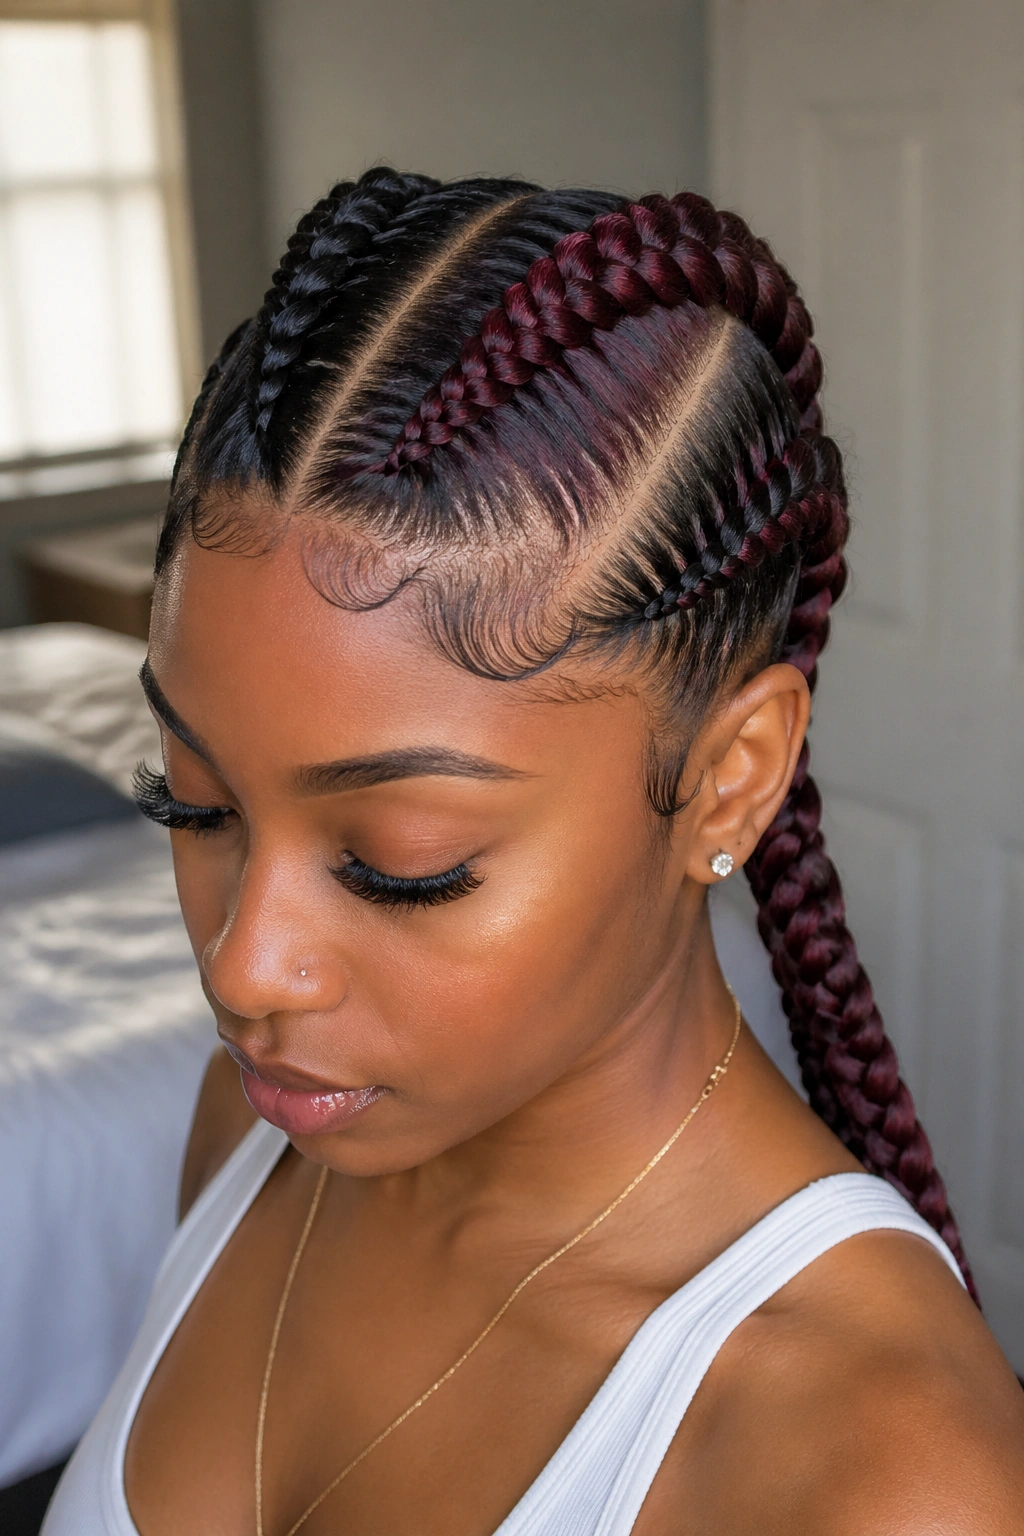
One braid stays natural color, the other uses a contrasting color like burgundy, copper, or honey blonde. Or both braids are colored but in different shades. The color split runs parallel down the head.
Who This Is For
Color mixing is for people who want a style that’s clearly intentional — not something that could have happened by accident. It’s a choice. A bold choice.
The split can be subtle (two similar shades, like dark brown and medium brown) or dramatic (jet black next to bright platinum). Subtle mixes look sun-kissed. Dramatic mixes look editorial.
One downside: colored kanekalon can bleed when wet. If you wash the style, the color may transfer onto light clothing or pillowcases. Rinse thoroughly after washing and let the braids dry completely before bed.
15. Two Braids With A Waterfall Ponytail
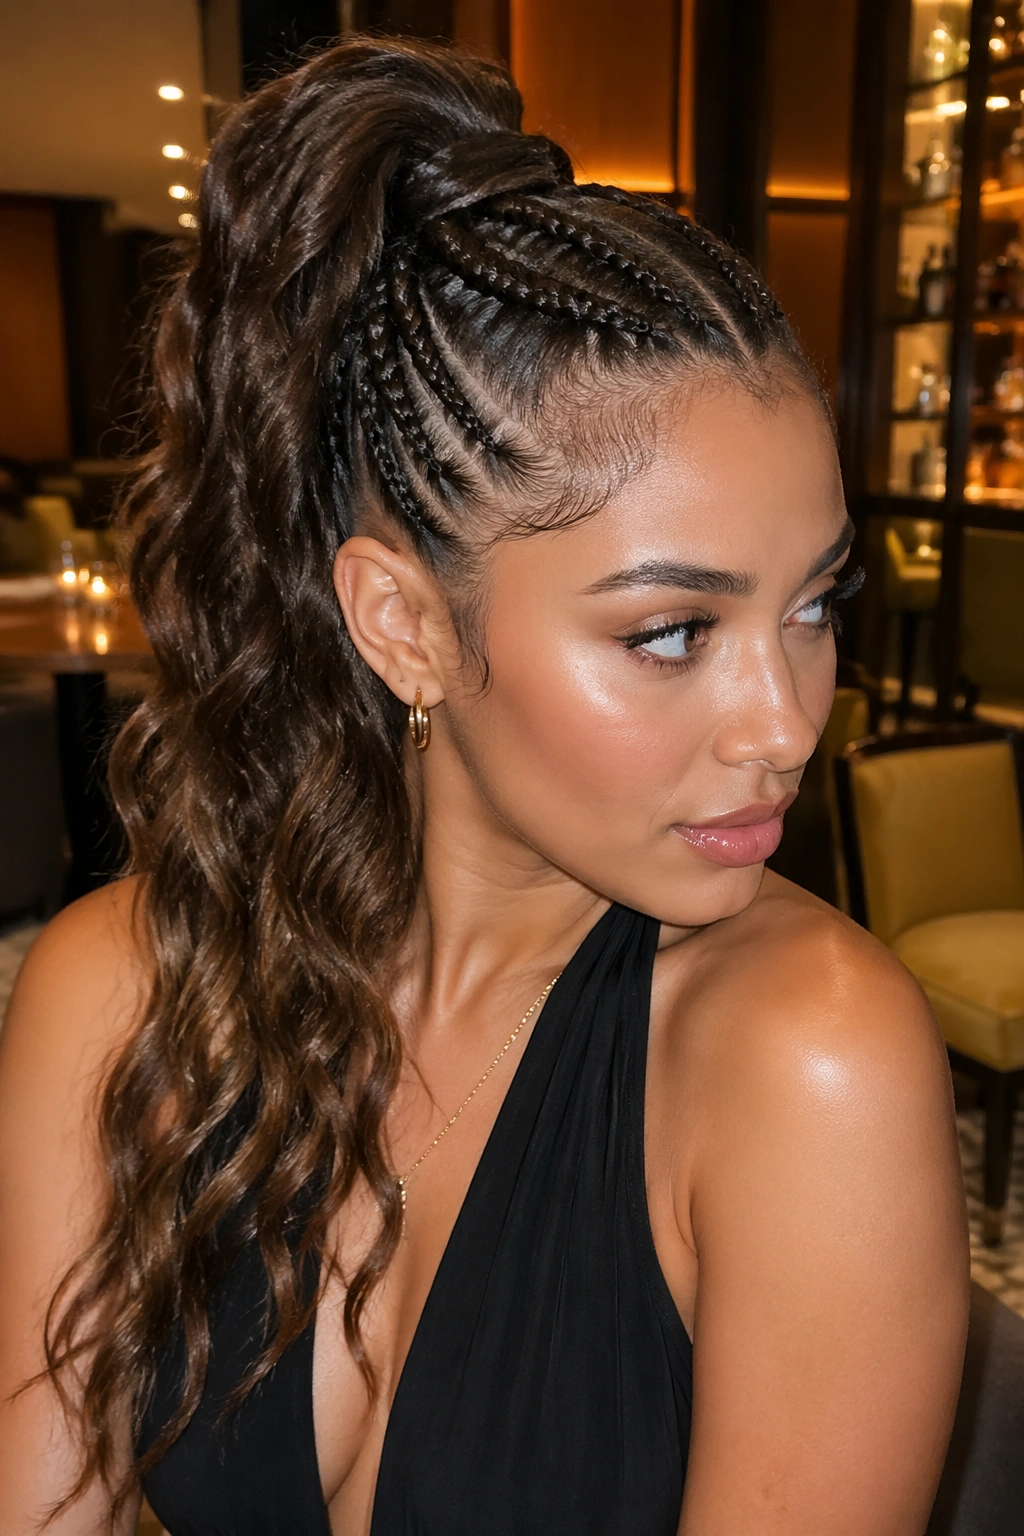
The pony is styled to cascade down in loose, flowing waves rather than hanging straight. The effect is like a waterfall of hair spilling from the gathering point, especially flattering for evening or bridal looks.
Achieve the waterfall effect by using wavy or lightly curled braiding hair for the pony section. The waves add bounce and movement. Some braiders mix straight kanekalon for the cornrows with wavy extensions for the pony only, creating a contrast in texture.
Mist the pony with a sea-salt spray for extra definition in the waves. Avoid heavy products that flatten the waves back into straight lines.
16. Two Small Braids With A Thick Ponytail
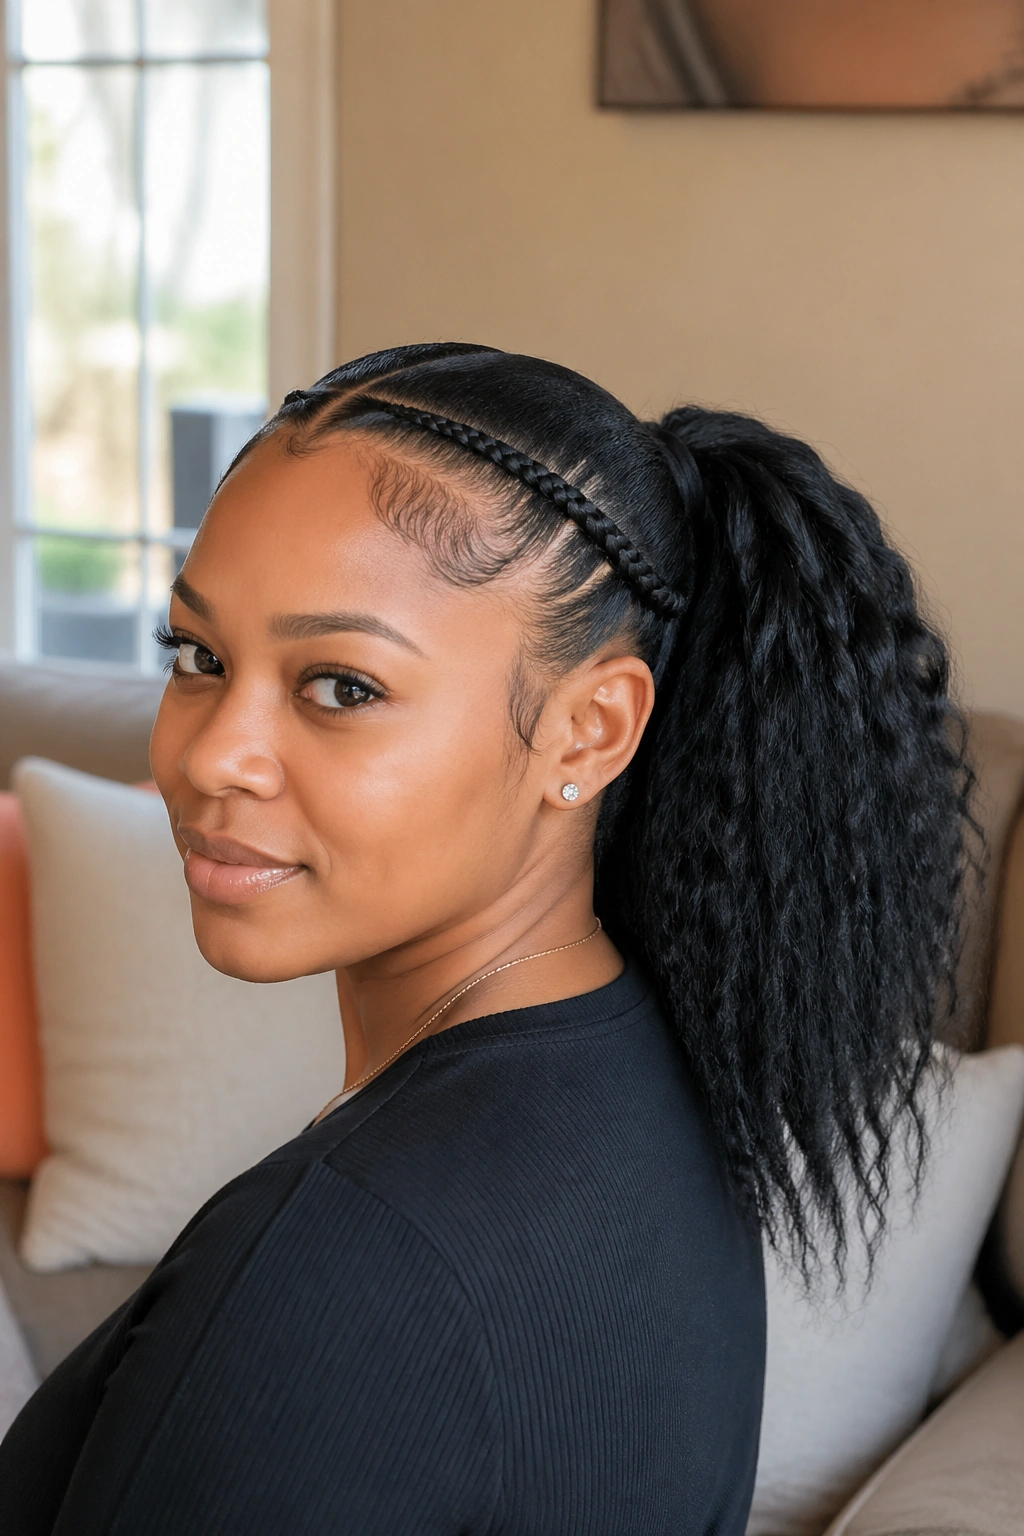
The cornrows are kept deliberately thin — maybe half an inch wide each — while the pony is loaded with extensions for maximum volume. The thin braids read as almost invisible, while the pony becomes the dominant feature.
This style is often called the “invisible cornrow” effect because the braids recede visually and the pony takes center stage.
It’s a great option for shorter natural hair or people who want the illusion of long, thick hair without the commitment of full box braids or extensive cornrows.
The transition point from thin braids to thick pony requires careful work. Ask the braider to feed in the extensions gradually over the last 3-4 inches of each braid so the pony doesn’t look stuffed at the junction.
17. Two Braids Into A Double-Tail Ponytail
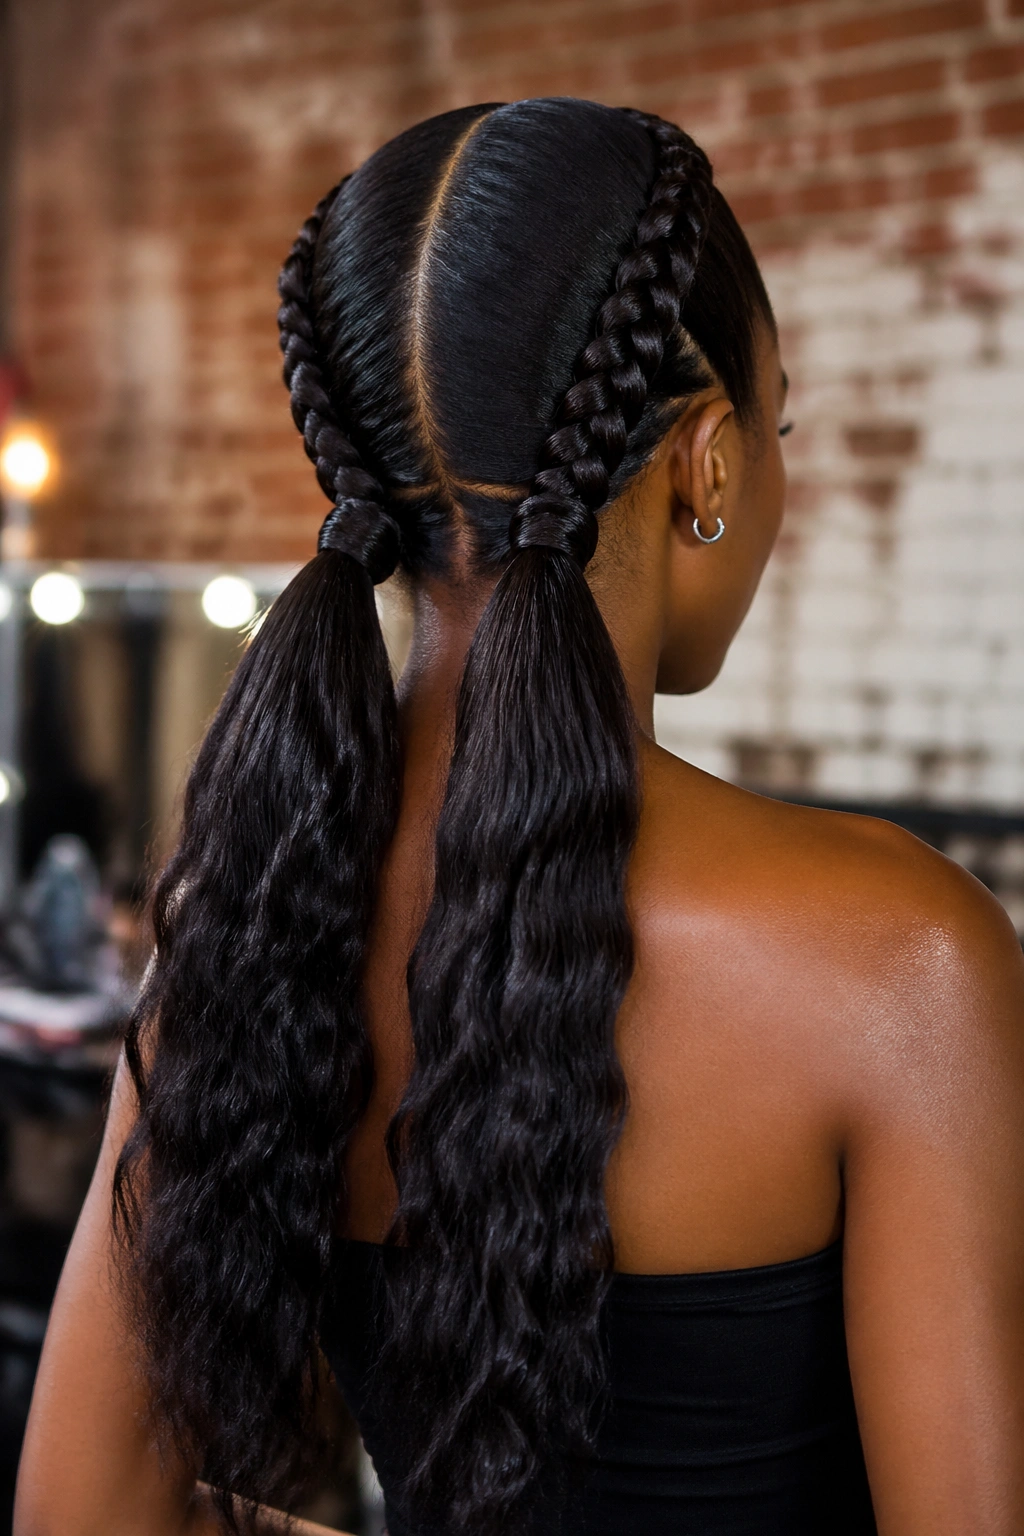
Instead of one pony, the two braids feed into two separate tails — one pony for each braid, both sitting close together at the back of the head. Twins-style energy.
What Makes It Different
The double-tail style gives you that playful duality without going full-on pigtails. The ponies sit close enough that they read as a pair, but they’re not split to opposite sides of the head.
- Each pony gets its own elastic and wrap
- Length should match between the two ponies
- Works well with curled or styled ends
Styling note: This style looks particularly good from the back, which is why it’s popular for photo shoots and content creation. If you’re styling for specific angles, keep that in mind.
18. Two-Braid Pony With Beaded Accents
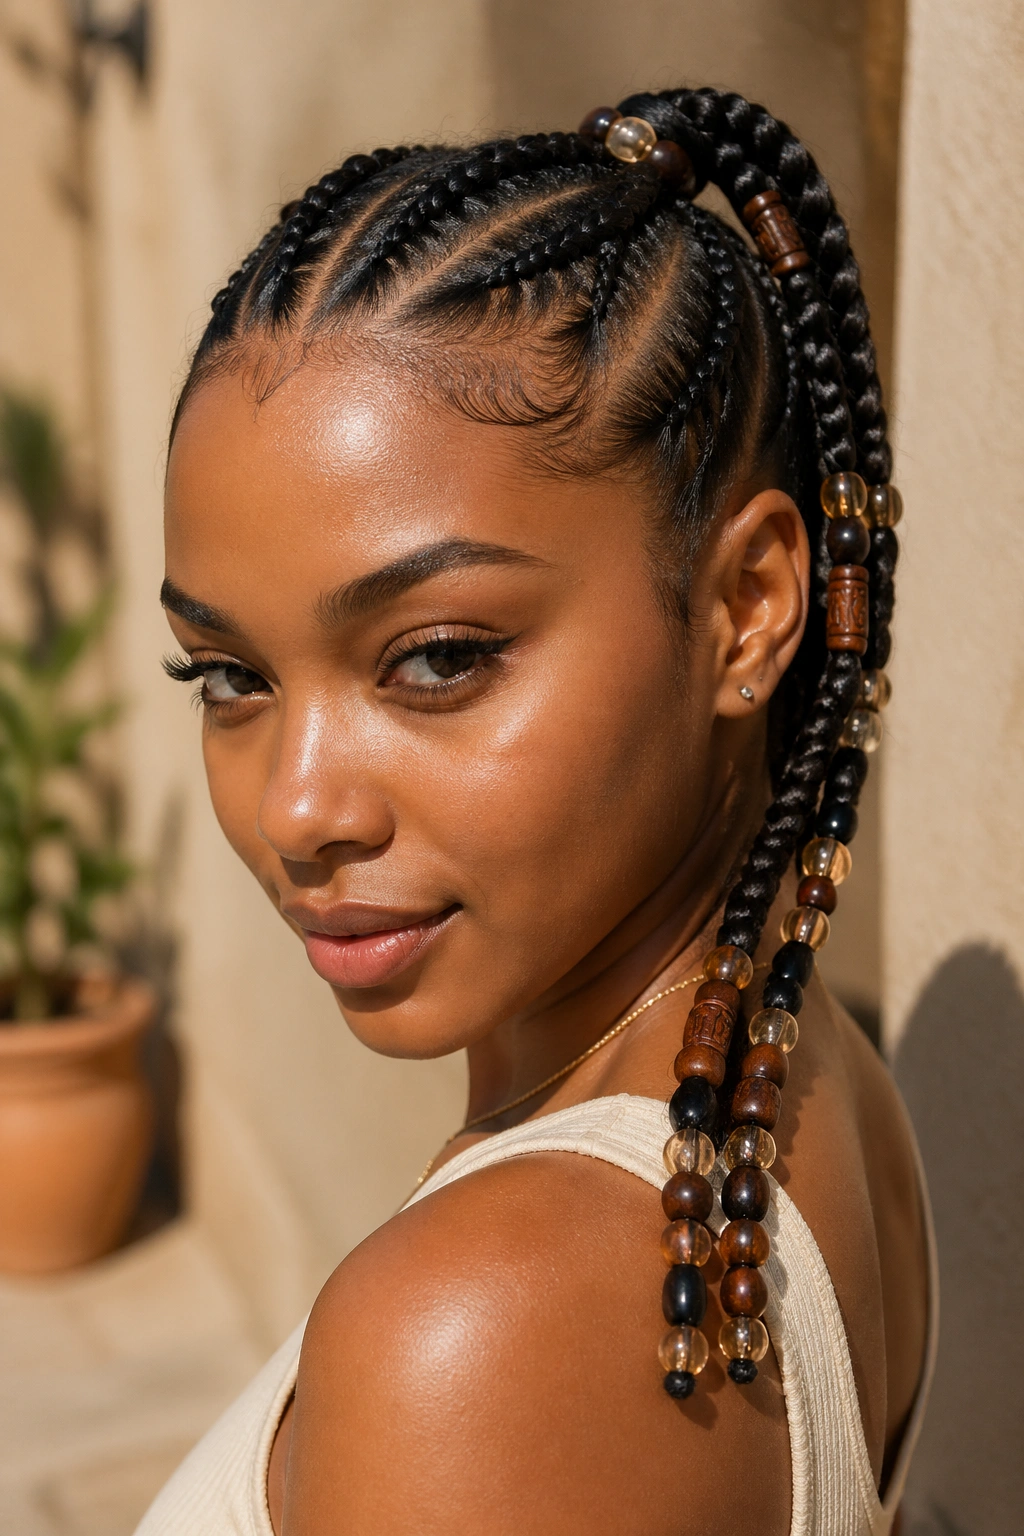
Beads scattered along the length of the pony — or just at the ends — add a rhythmic, tactile element. Wooden beads are lightest. Metal beads are heaviest. Glass beads sit somewhere in between.
Beads can be strung on individual sections of the pony rather than the pony as a whole. Thread five or six beads onto a smaller sub-section of kanekalon, secure with a bead cap or elastic, and let them dangle.
For children, cover the beads in a wrap or bonnet at night to prevent them from falling off or becoming choking hazards.
19. Two Braids Into A Looped Ponytail
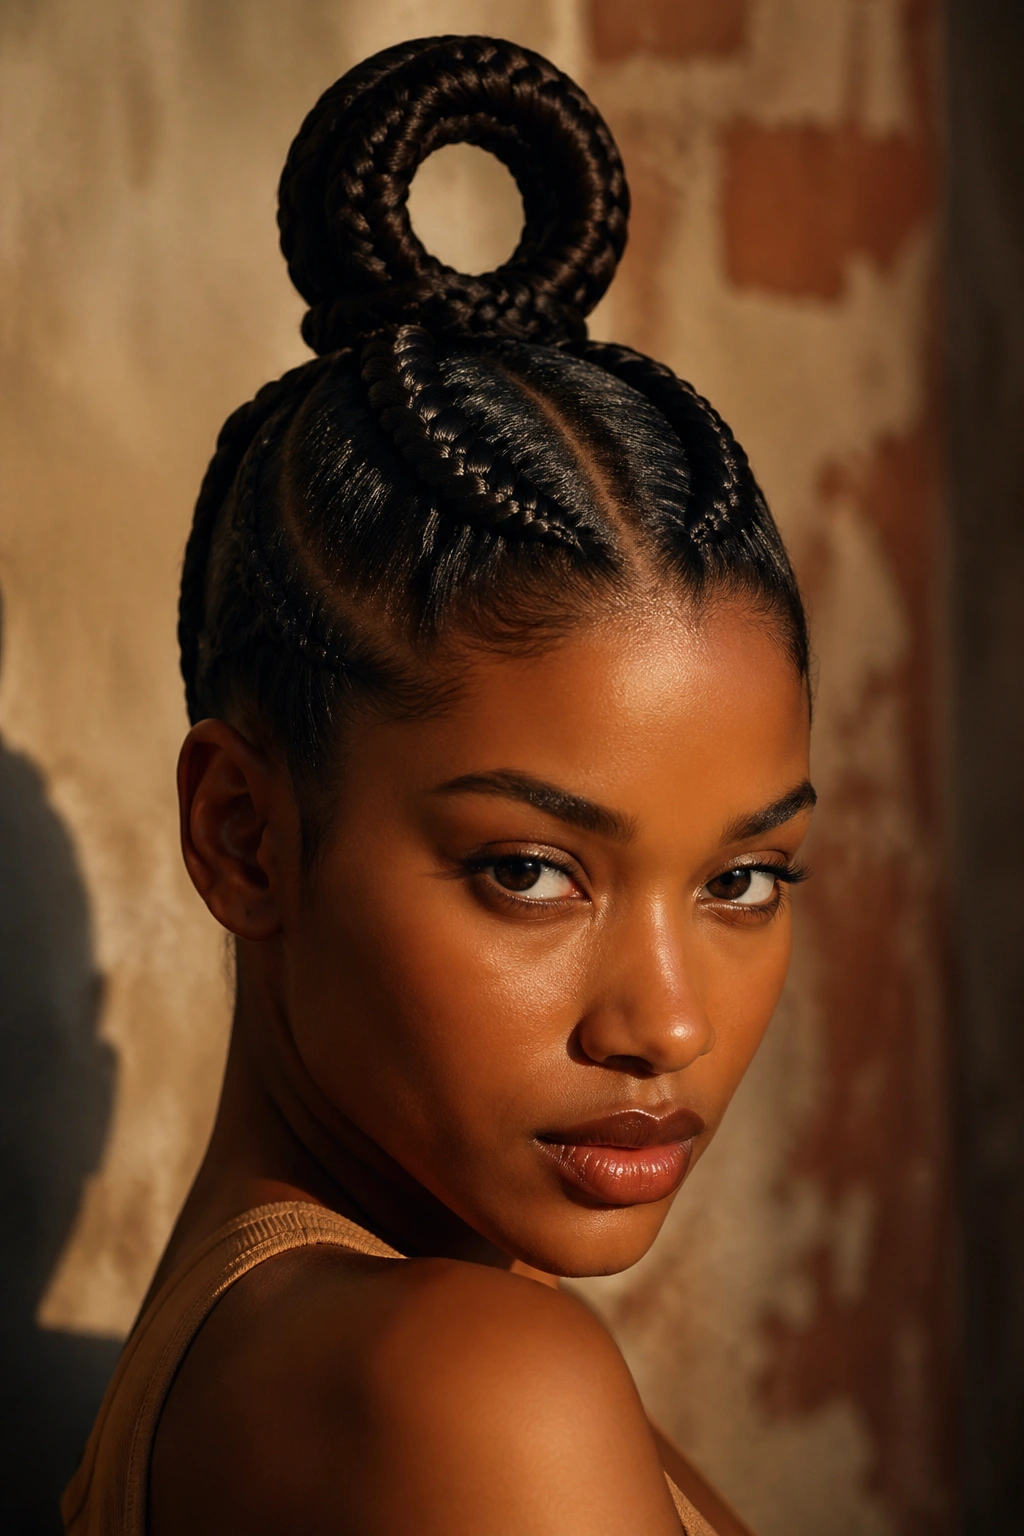
The pony is bent back on itself and pinned to create a loop rather than a hanging tail. The loop sits like a rounded wreath at the crown or nape.
Looping requires enough length to bend the pony back and pin the ends underneath. Short ponies can’t loop — you need at least 12 inches of pony length to make the loop work cleanly.
The effect is sculptural. The loop reads as architectural rather than hair-like. Works well for avant-garde events or photoshoots where the silhouette matters.
20. Two-Braid Pony With An Accent Braid On Top
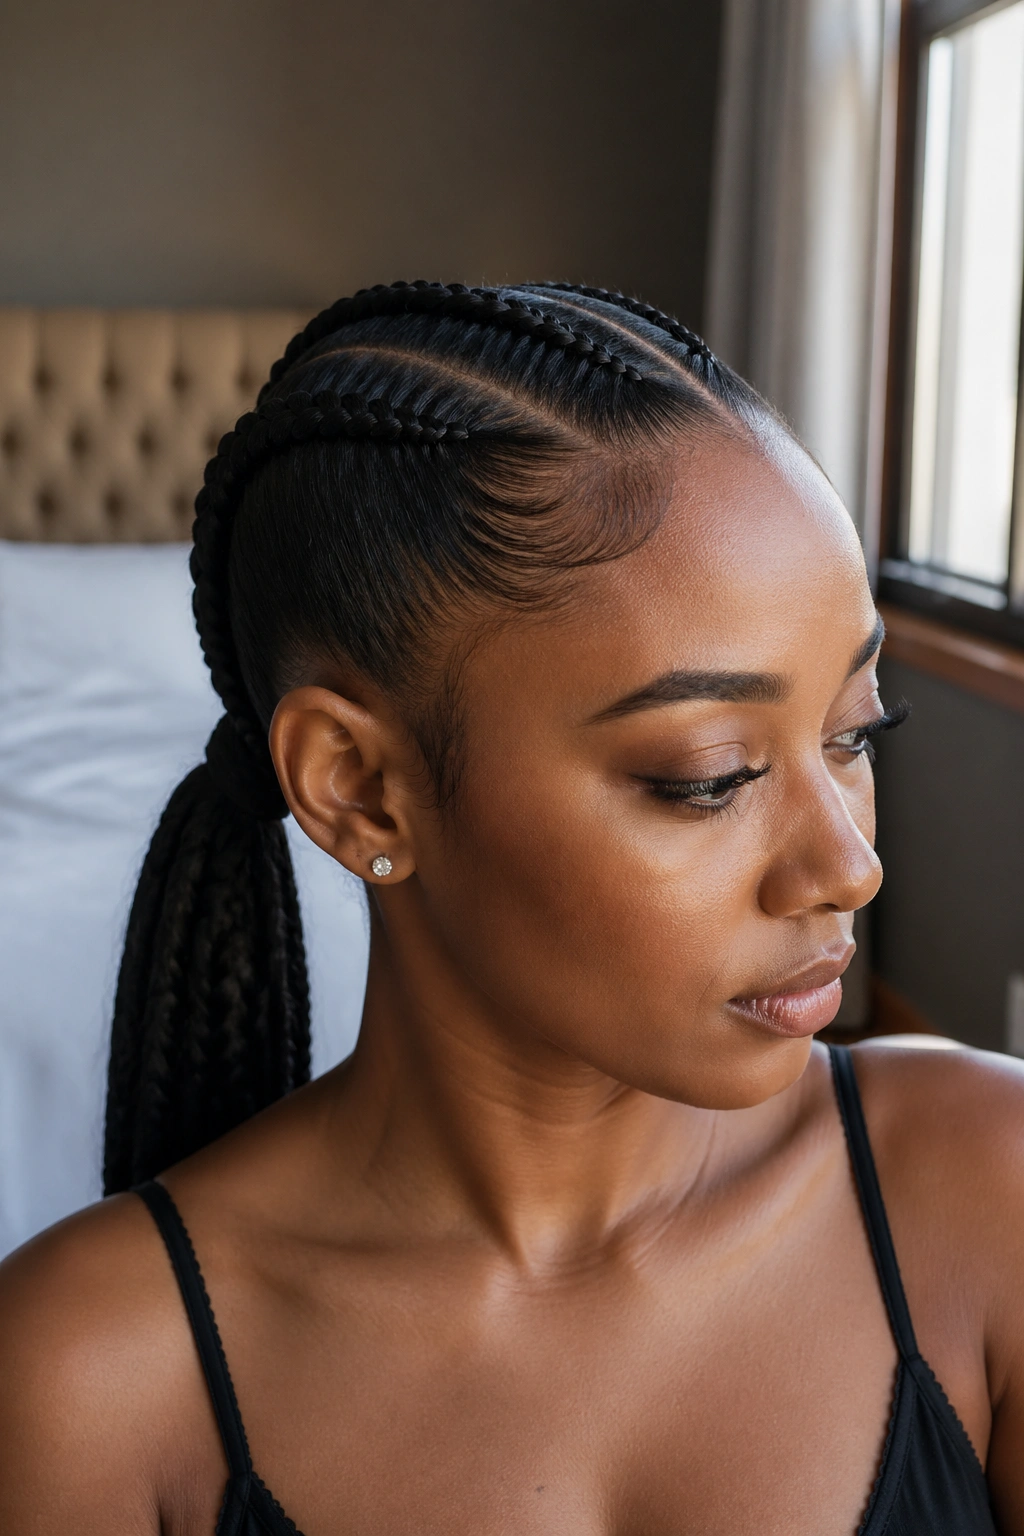
Two standard cornrows feeding into a pony, but one additional accent braid runs across the crown perpendicular to the main two. It’s like an “X” or cross-braid pattern drawn on the head before the ponytail.
The accent braid adds architectural detail without changing the overall silhouette. It photographs well because it breaks up the symmetry of the two main braids with an unexpected visual element.
Keep the accent braid small — around half an inch wide. Larger accent braids compete with the main cornrows and create visual chaos.
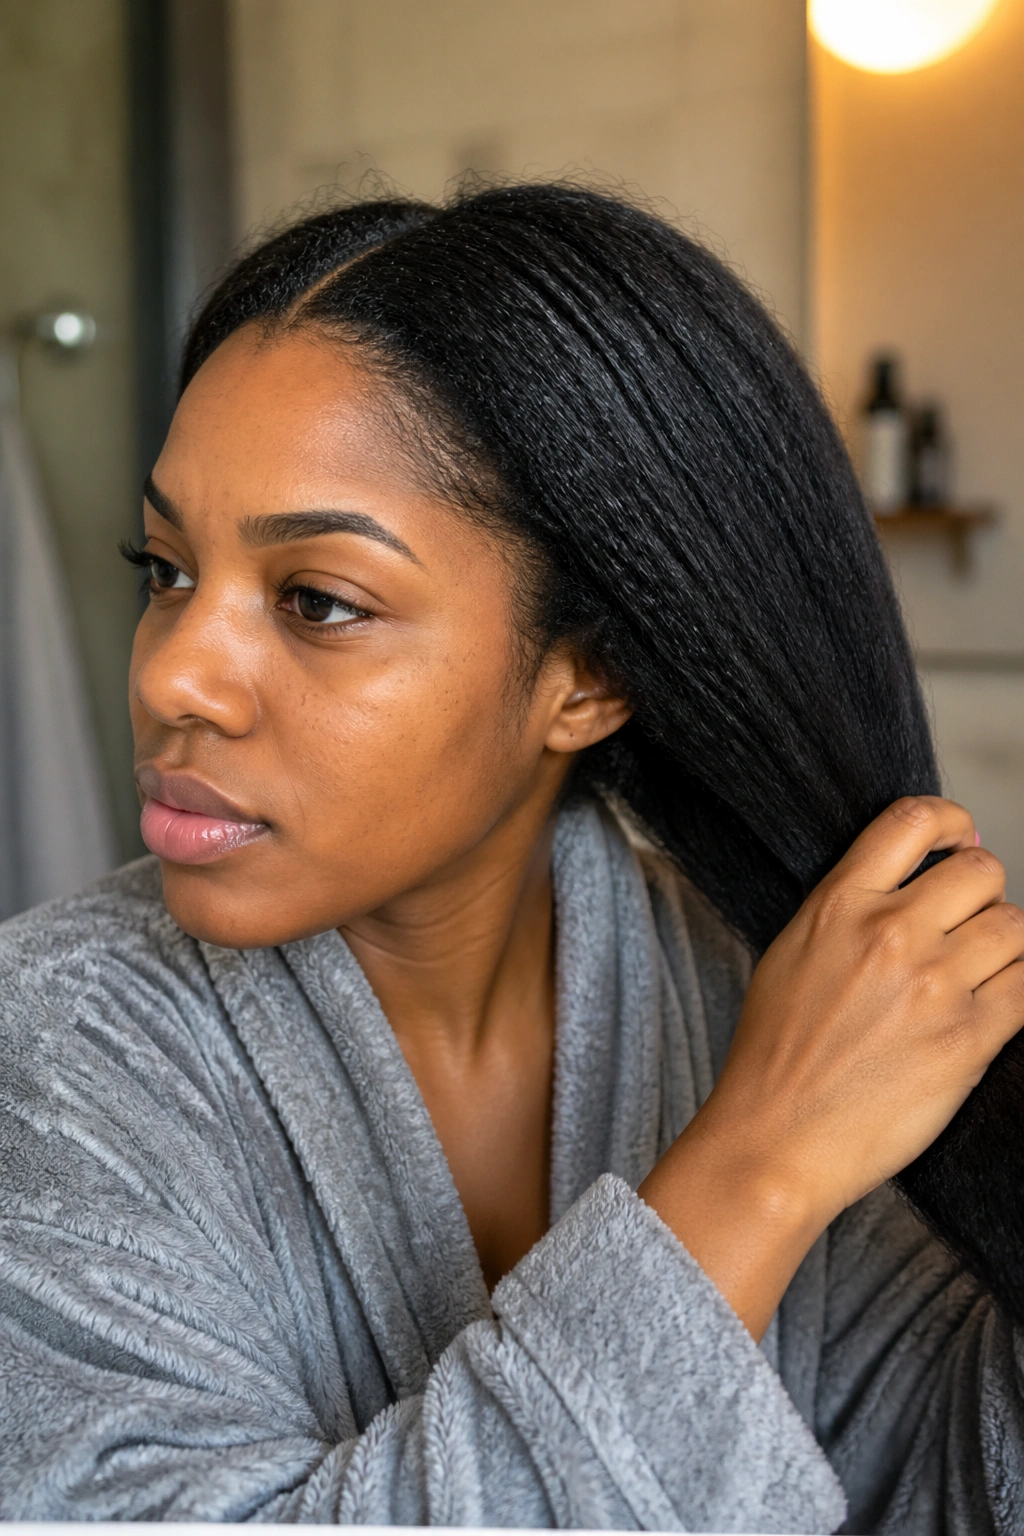
21. Two Braids With A Heart-Shaped Part
How To Style It
The center part features a small heart shape at the forehead, carved out before the braids begin. The braids then flow around the heart on either side, making it a focal point at the hairline.
The heart is drawn with edge gel or a washable marker before the braider starts. Drawing the heart first makes it easier to adjust if the shape looks off. A good heart is balanced and symmetrical, about 1.5 to 2 inches wide at its widest point.
Inside the heart, baby hairs can be styled with small swirls or left unbraided for contrast. The rest of the head follows the standard two-braid pattern.
This is one of the most popular styles for young Black girls because the heart adds a playful, decorative touch that feels like built-in jewelry.
22. Two Braids With An Ombre Ponytail
The pony transitions from one color to another — often dark at the root to lighter at the ends. Ombre kanekalon is sold pre-colored, which saves time and costs less than having the pony dyed after installation.
Popular ombre combinations include black-to-honey, black-to-burgundy, brown-to-blonde, and black-to-gray. Each combination creates a different energy: black-to-honey reads as warm and sun-kissed, while black-to-gray reads as edgy and avant-garde.
The color transition should happen gradually over 8-12 inches of braid length. Abrupt color changes look like the pony was spliced together rather than blended.
Keeping The Braids Clean And Fresh
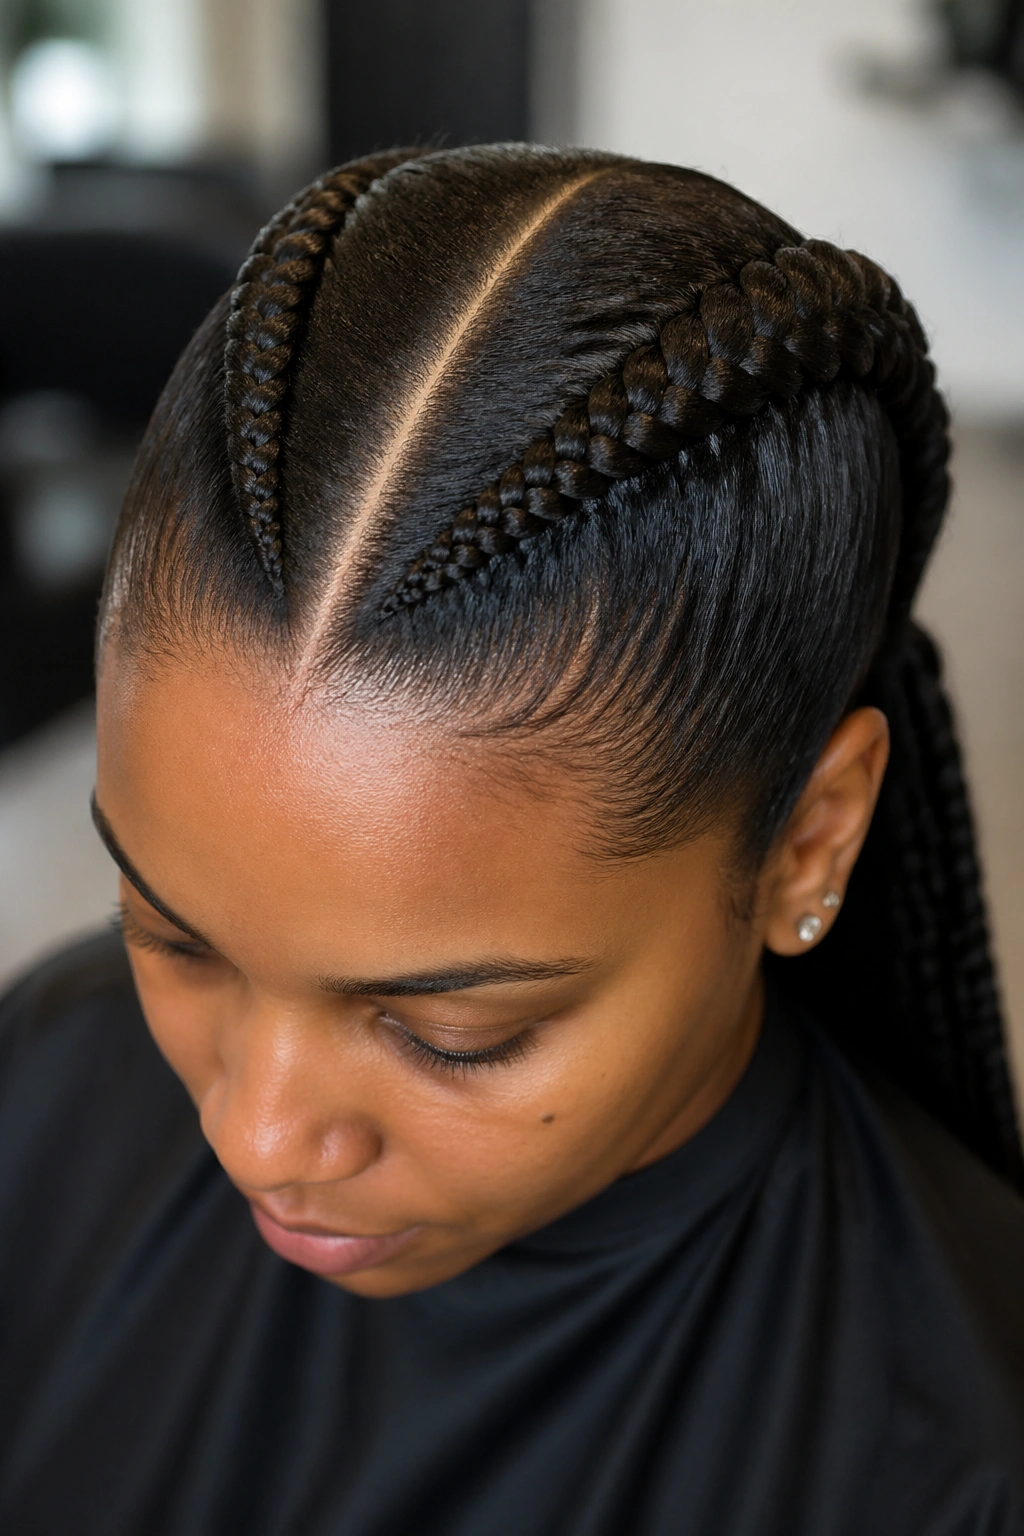
Wash day for a two-braid pony is simpler than for a full head of cornrows. Use a diluted clarifying shampoo applied only at the scalp, then rinse thoroughly without scrubbing the braids themselves. Let the hair air dry as much as possible before going to bed, since damp braids create mildew over time.
Between washes, a dry shampoo spray can freshen the scalp. Spray lightly, wait 30 seconds, then work it in with fingertips. Avoid heavy powders that sit on the scalp and create gray residue.
Night Routine For Long-Lasting Style
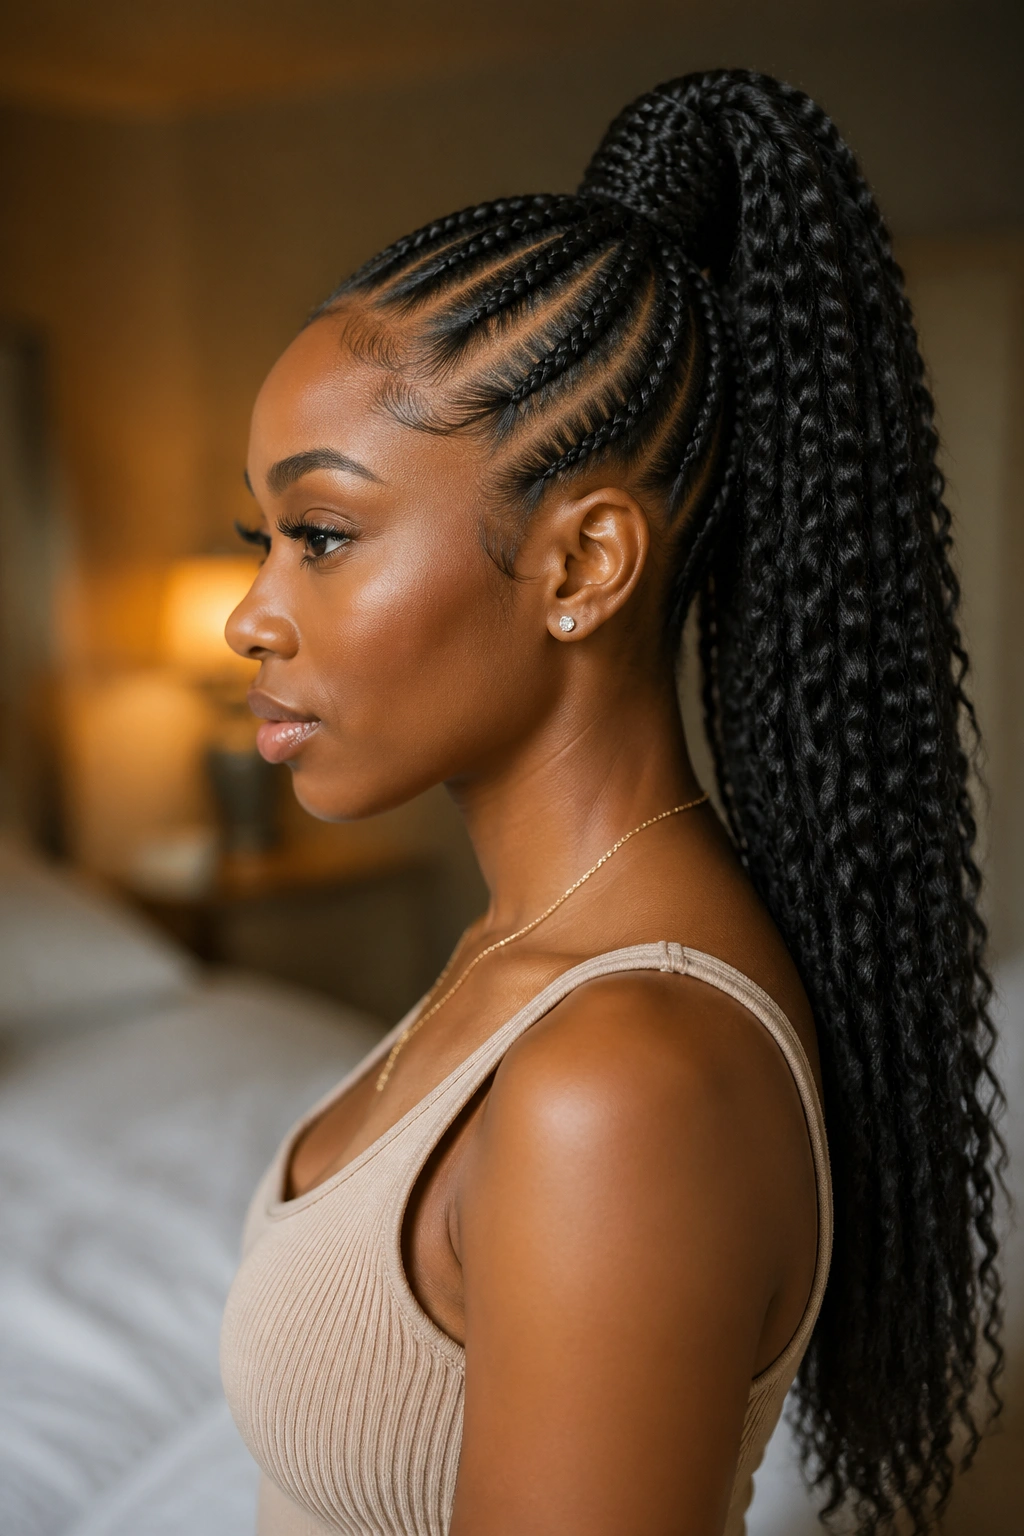
A satin bonnet is non-negotiable. Cotton pillowcases pull moisture from the braids and create frizz by morning. Satin lets the braids slide smoothly against the fabric, preserving the style’s crispness.
If the bonnet won’t stay on, wrap the braids with a silk scarf first, then tuck the bonnet over the scarf. The double layer keeps everything secure while you sleep.
Moisturize at night, not in the morning. A light spritz of water-glycerin-oil mix before bed gives the hair time to absorb moisture overnight. Morning moisture just leaves the scalp damp at the start of your day.
When It’s Time To Take Them Out
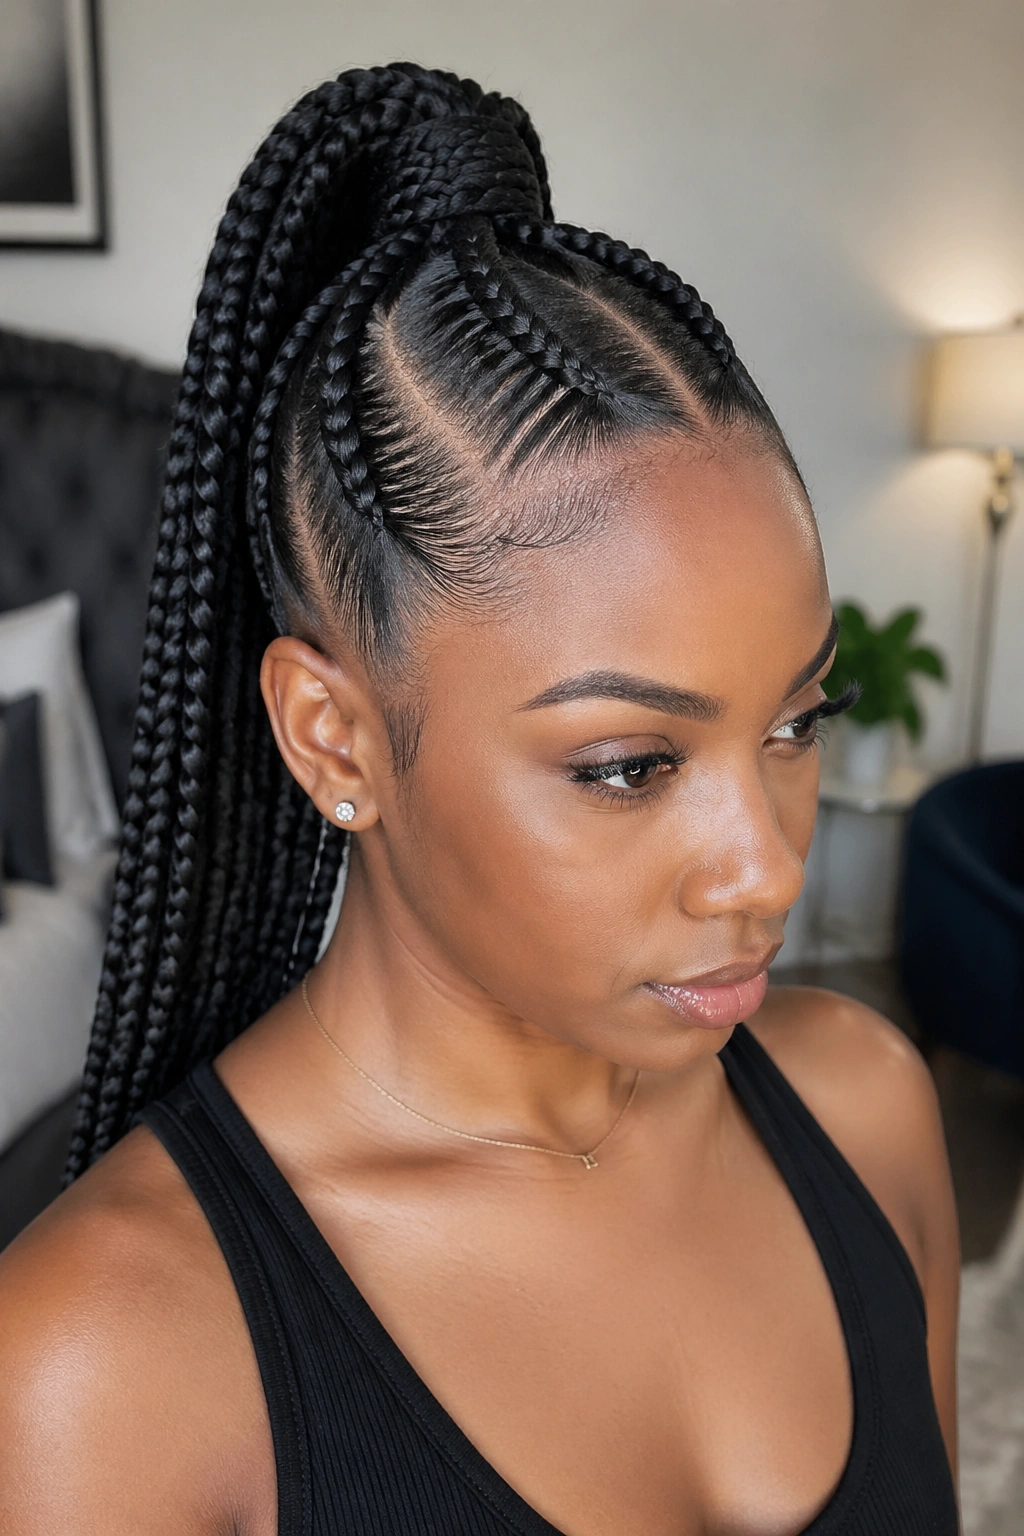
Three weeks is the sweet spot for two-braid ponies. Beyond that, new growth at the scalp starts to push against the braids, creating loose, frizzy roots and increasing the risk of matting.
Before takedown, cut off the kanekalon tail above where your natural hair ends. This eliminates hours of unraveling extensions that will be tossed anyway. Then work from the ends up, spraying each section with diluted conditioner to soften the braid.
Shedding will be significant. A month’s worth of shed hair comes out in one sitting. It’s normal, not alarming.
Avoiding Common Mistakes
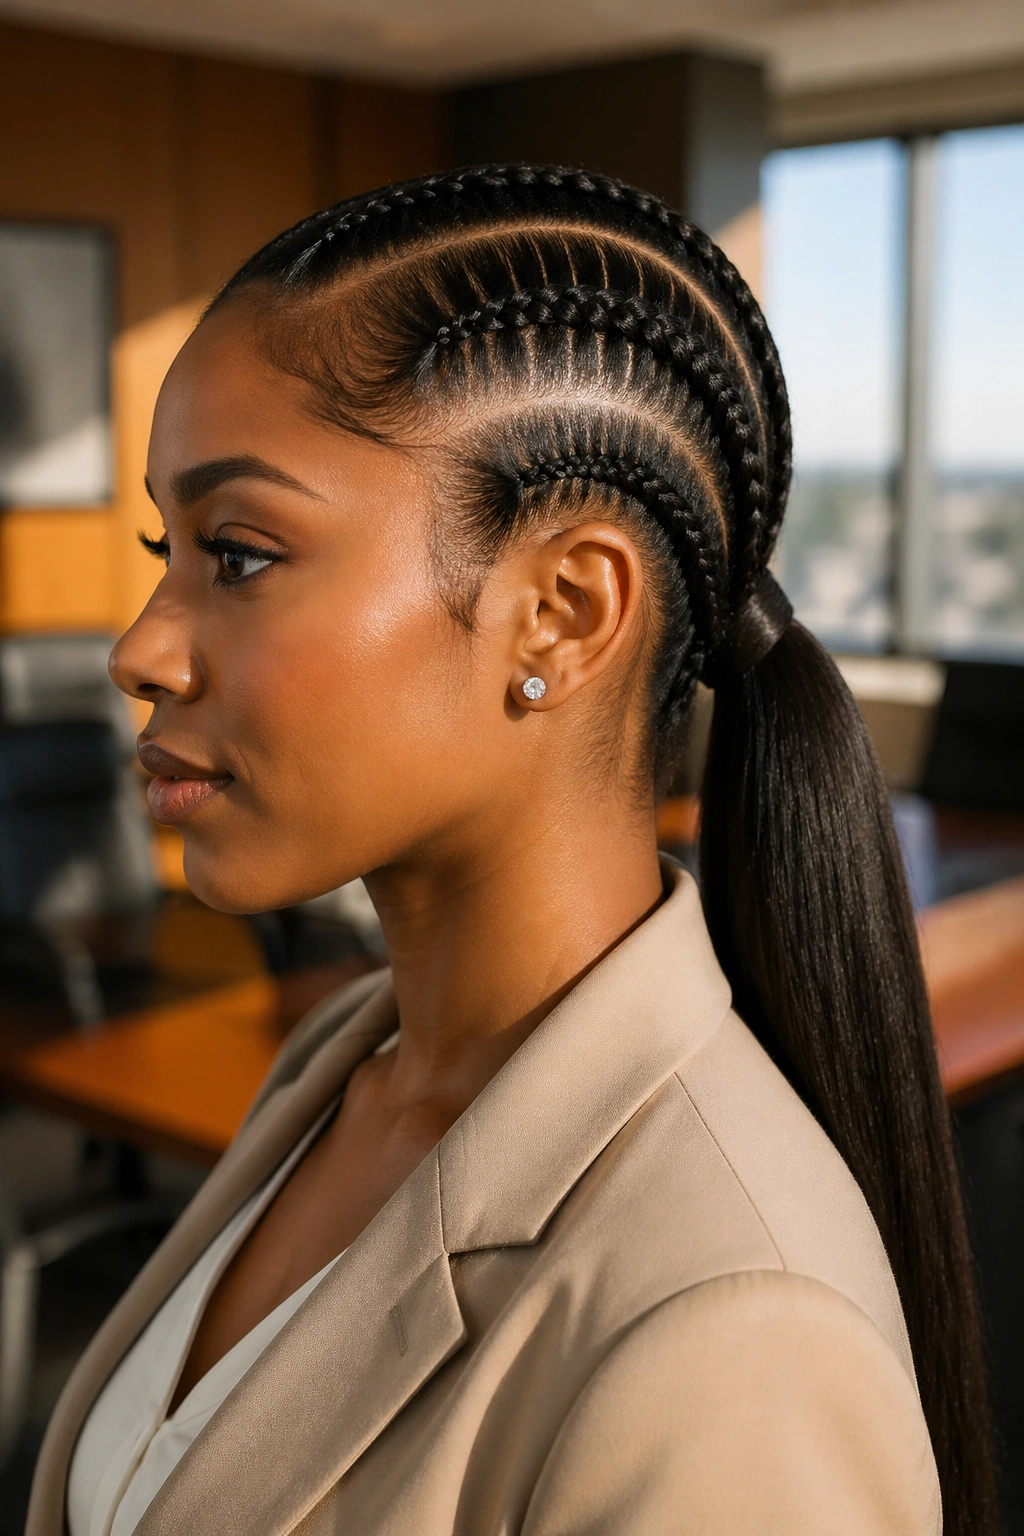
Starting the pony too high when you have sensitive edges. High ponies look great but pull harder on the hairline. If your edges are thinning or prone to breakage, stick to mid-back or lower pony placements.
Using the wrong grip for the pony. Rubber bands without a covering will catch on the kanekalon and cause breakage when you remove them. Use fabric-covered elastics or a thin strand of wrapped kanekalon instead.
Ignoring the pony’s weight distribution. Heavy ponies pull at the base, which transfers tension to the hairline. If your pony feels like it’s straining the front, ask the braider to redistribute weight or lower the pony point.
Not moisturizing the ponytail itself. Kanekalon dries out over time and becomes brittle. Light conditioning spray twice a week keeps the pony flexible and soft.
Leaving accessories in too long. Beads, cuffs, and wraps can shift and slide, loosening over time. Check them weekly and re-secure if needed. A loose bead that falls off in public is more embarrassing than a hair mishap needs to be.
