



Cornrows that protect your hair — meaning installs specifically designed to minimize tension, reduce breakage, and create real recovery time for stressed strands — have become one of the most researched categories in natural hair care. The difference between a cornrow style that shields your hair and one that damages it comes down to a handful of technical choices: braid tension, parting size, starting technique, extension weight, and how long you leave the install in. Get those right and cornrows can genuinely repair a hairline that’s been struggling. Get them wrong and the same category of style that should be protective can cause exactly the damage it’s supposed to prevent.
I’ve seen both outcomes on my own head. In my twenties, I wore tight cornrow installs that left me with thinning temples and a receded hairline that took two years to recover. In my thirties, I learned which cornrow choices actually protect, and my edges came back fuller than they’d been since childhood. The difference wasn’t magic — it was specific, replicable technique. The 22 styles below are all installs I’d trust with hair that needs protection, not punishment.
What Makes a Cornrow Protective in the Real Sense
The word “protective style” gets thrown around so broadly that it’s lost meaning. Not every cornrow install protects your hair. Some create traction damage, some trap moisture-stripping product, some sit so long that matting forms at the root. A genuinely protective cornrow has to meet specific criteria.
Four things matter most.
- Low tension at the hairline. The front inch of your hair carries the weight of almost every install. If the braider pulls tight there, damage happens there.
- Ends fully tucked. Exposed hair ends dry out and break. Protected styles tuck them into the install or extensions.
- Reasonable wear length. Two to three weeks, not six. Extended wear leads to matting and traction damage.
- Breathing room at the parts. Scalp under tight cornrows needs air and moisture access. Overly tight parts suffocate the scalp.
Any cornrow installation that fails these tests isn’t protective. It’s just a cornrow that happens to last a while.
The Knotless Revolution
The biggest technical shift in protective cornrow braiding has been the knotless technique. Traditional cornrows start with a bulk of extension hair gripped tight at the scalp. That starting knot creates tension from second one and pulls on the hairline for the entire install.
Knotless cornrows start with just the natural hair. Extension hair is fed in gradually as the braid progresses downward, so the start at the hairline is flat and tension-free.
If you want cornrows that genuinely protect your hair, ask for knotless starts. Every time. No exceptions. The small extra install time is worth years of preserved edges.
Tools for Protective Cornrow Installs
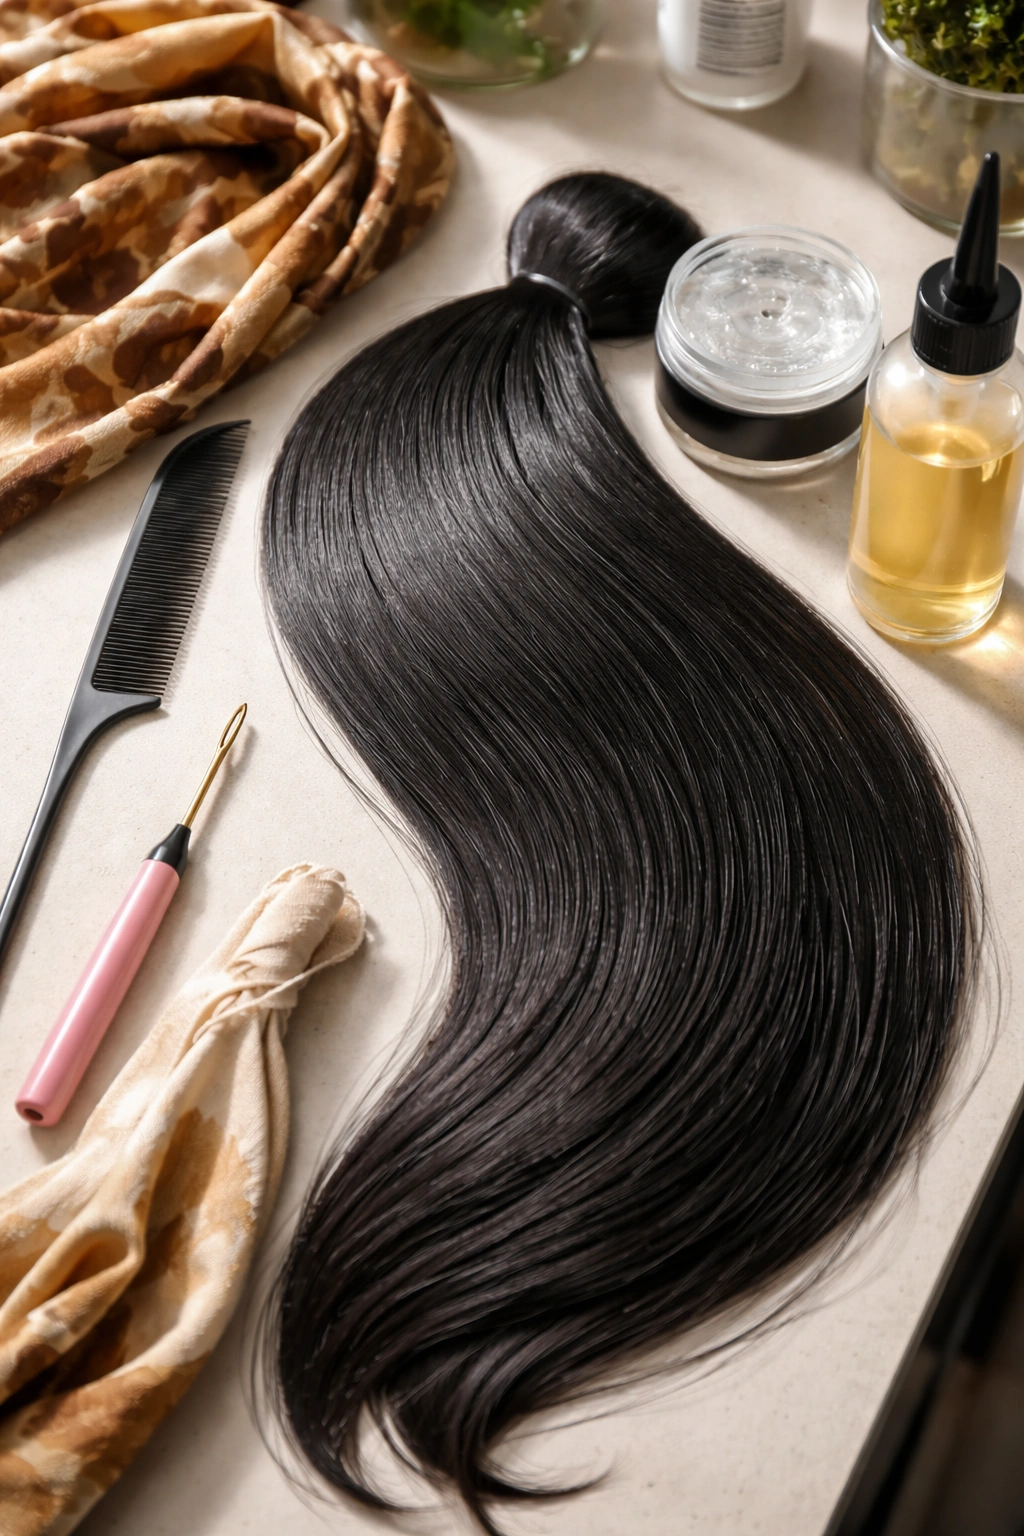
- Rat-tail comb with a smooth metal tip — no sharp edges that scratch scalp.
- Water-based edge gel without alcohol.
- Pre-stretched kanekalon (alcohol-rinsed to remove chemical coating).
- Crochet hook size 1mm for knotless starts.
- Silk scarf for setting after install.
- Light hair oil applicator bottle for parts.
Tip: Rinse your kanekalon in apple cider vinegar diluted with water before braiding. The chemical coating on new synthetic hair causes scalp irritation for many women — the rinse removes it and the install wears more comfortably.
Prep Work That Sets Up Protection
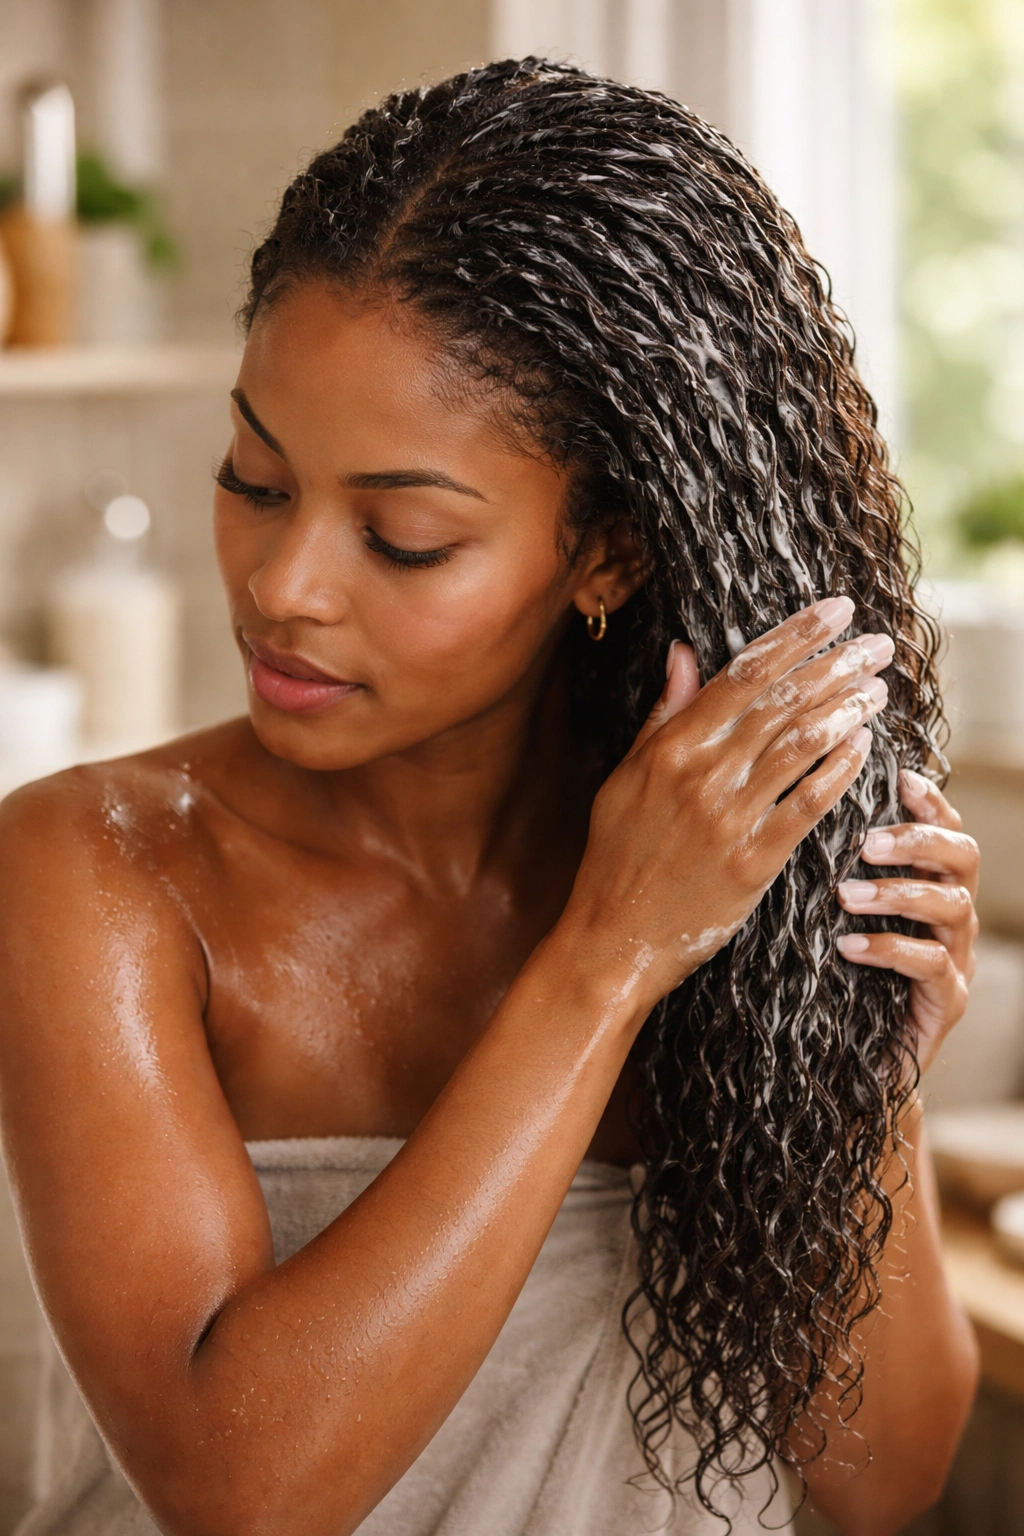
The braid protects your hair, but only if your hair goes into the install healthy.
- Wash with a moisturizing sulfate-free shampoo.
- Deep condition with heat for 45 minutes.
- Trim any split ends before braiding.
- Apply a leave-in conditioner and a light oil.
- Stretch with overnight twists or a low-heat blowout.
Skipping deep condition before braiding means the hair goes into a 2-3 week install already dry. That’s a setup for breakage during the wear and at the takedown.
Wear Duration That Actually Protects

Two weeks is the protective sweet spot. Three weeks is the ceiling. Anything longer causes more damage than the protection prevents.
I know women who push cornrow installs to six or eight weeks. They lose hair at every takedown. The extra weeks of wear don’t save styling time; they cost hair volume that takes months to recover.
Signs Your Install Is Actually Protecting vs. Damaging

Good signs: Scalp feels comfortable within the first hour. No sharp pain at the hairline. You can sleep on it night one. No flaking or redness at the parts.
Bad signs: Scalp feels hot or tingly within the first hour (that’s damage in progress). Headaches that don’t ease. Bumps around the hairline by day three. Redness at the parts.
If you see bad signs, the install is too tight. Have it loosened at the front, or take it down and start over. A damaged hairline is harder to fix than a redone install.
1. Knotless Straight-Back Cornrows
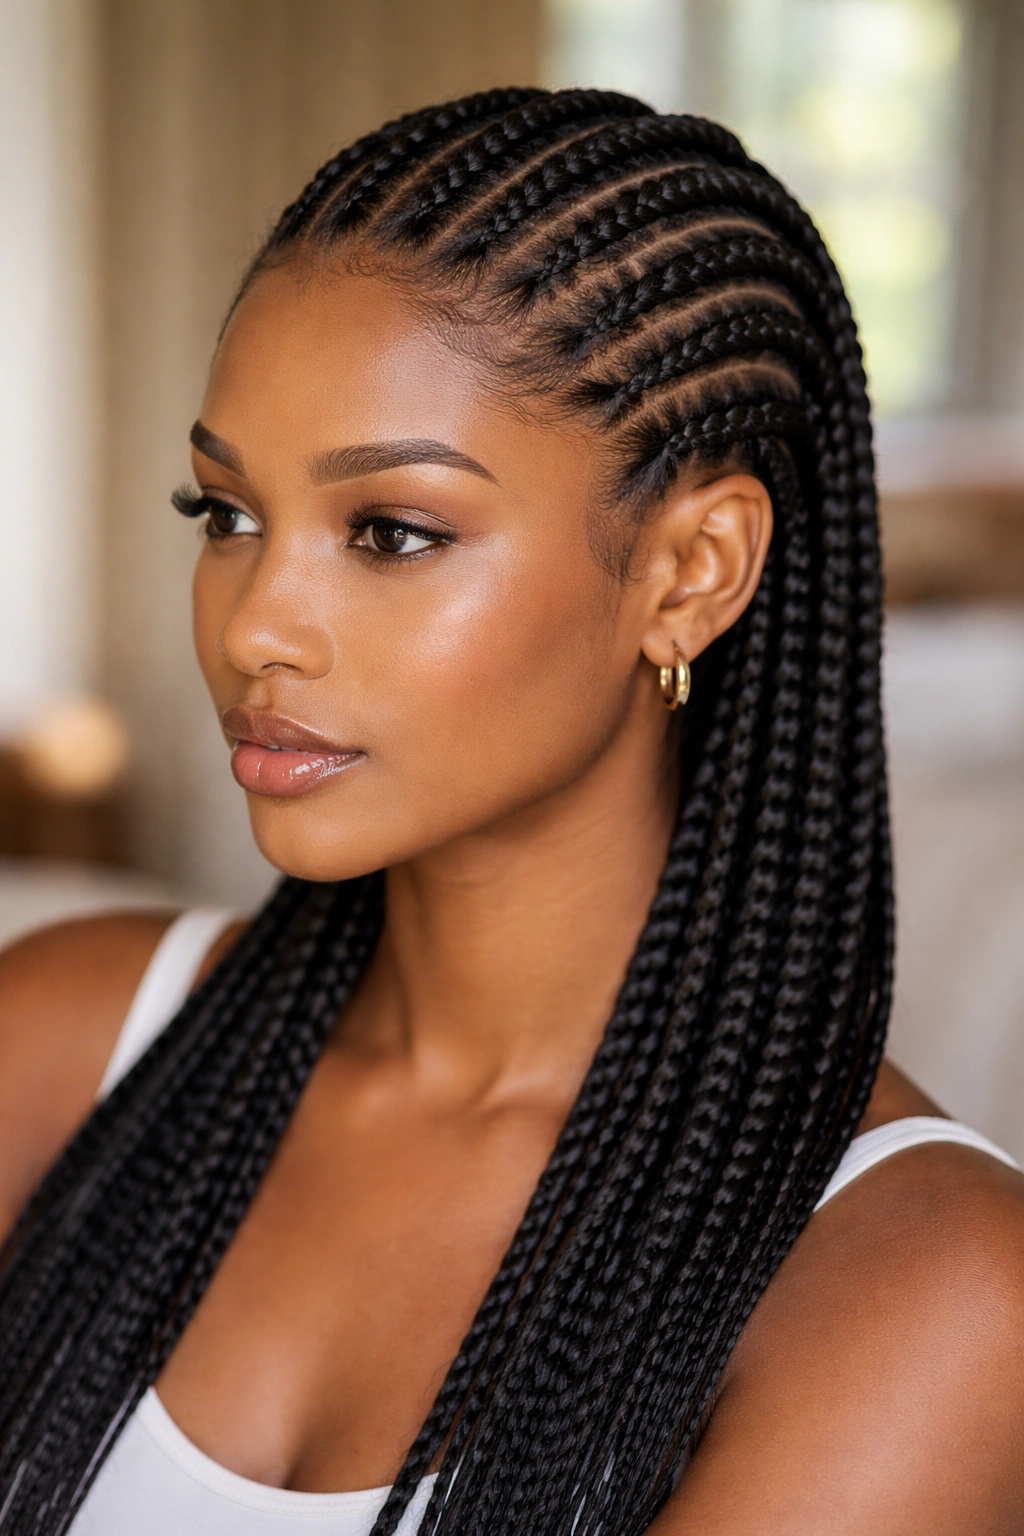
Ten to twelve knotless cornrows running straight back. The base protective cornrow style — simple, low-tension, easy to maintain.
Why It Works
Knotless starts protect the hairline. Straight-back direction distributes weight evenly. Standard count doesn’t crowd the scalp.
- Install time: 3-4 hours.
- Lasts: 2-3 weeks.
- Best for: any hair type needing protection and recovery.
Tip: Request the first two braids at the hairline be slightly looser than the rest. Extra softness at the most vulnerable inch of hair.
2. Low-Tension Feed-In Cornrows
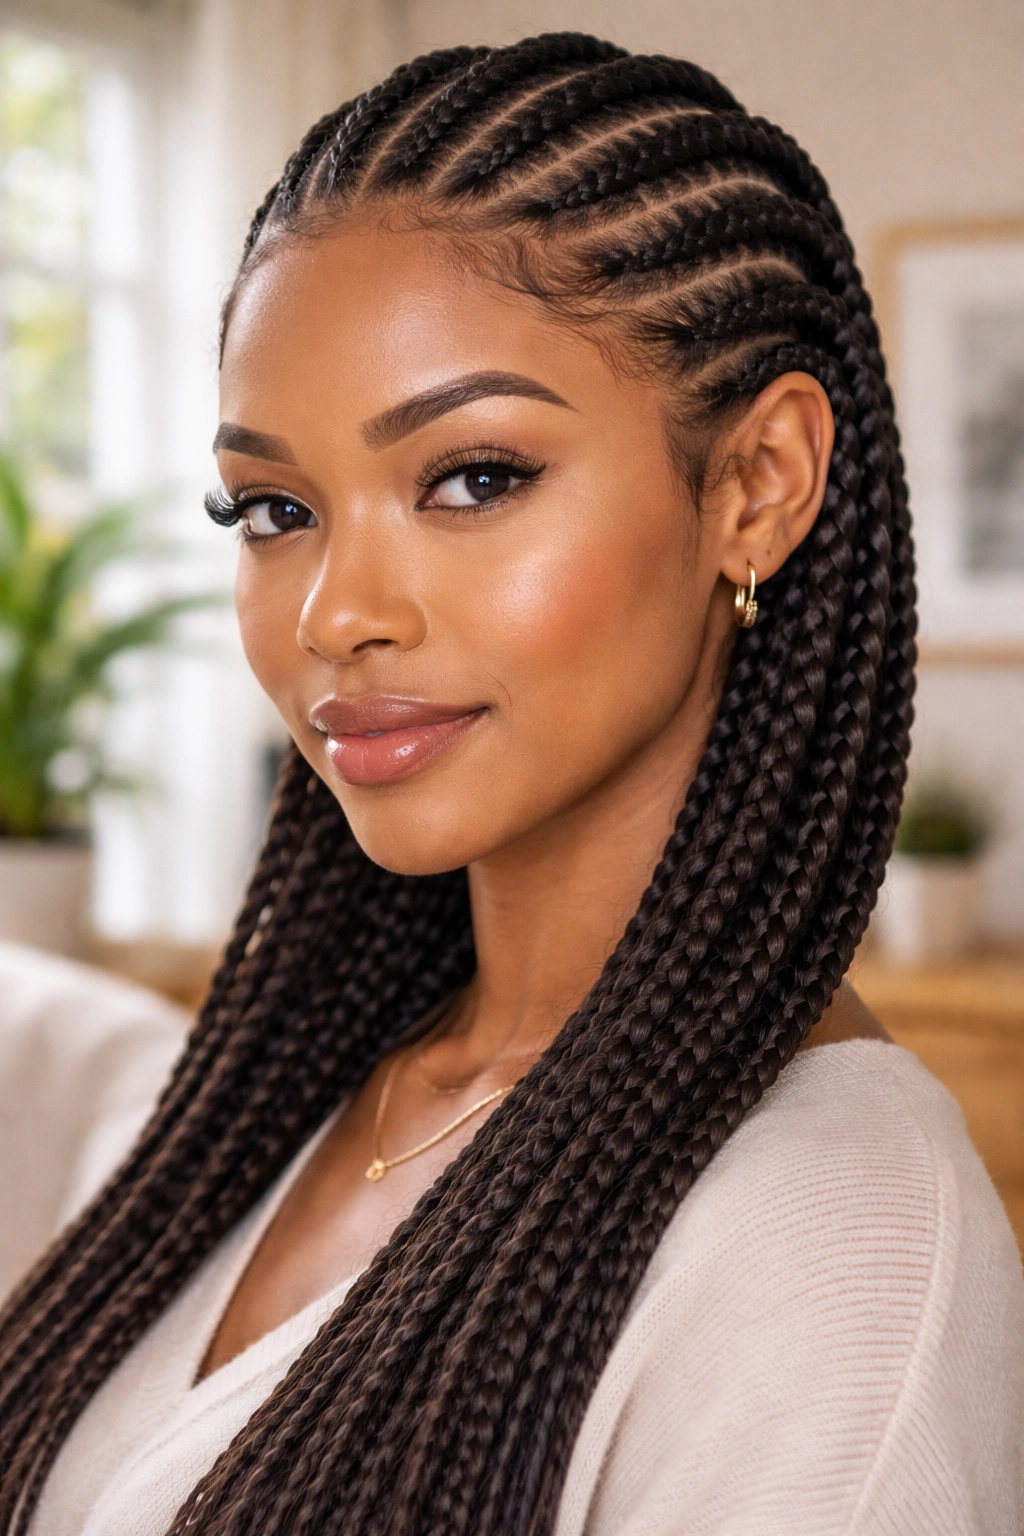
Feed-in cornrows with minimal tension, light extensions, and starts that are almost invisible against the scalp. The lightest cornrow install in the protective category.
Feed-ins work because the extension weight builds gradually rather than being dumped at the start. The hairline barely feels the braids the first week.
3. Chunky Protective Cornrows
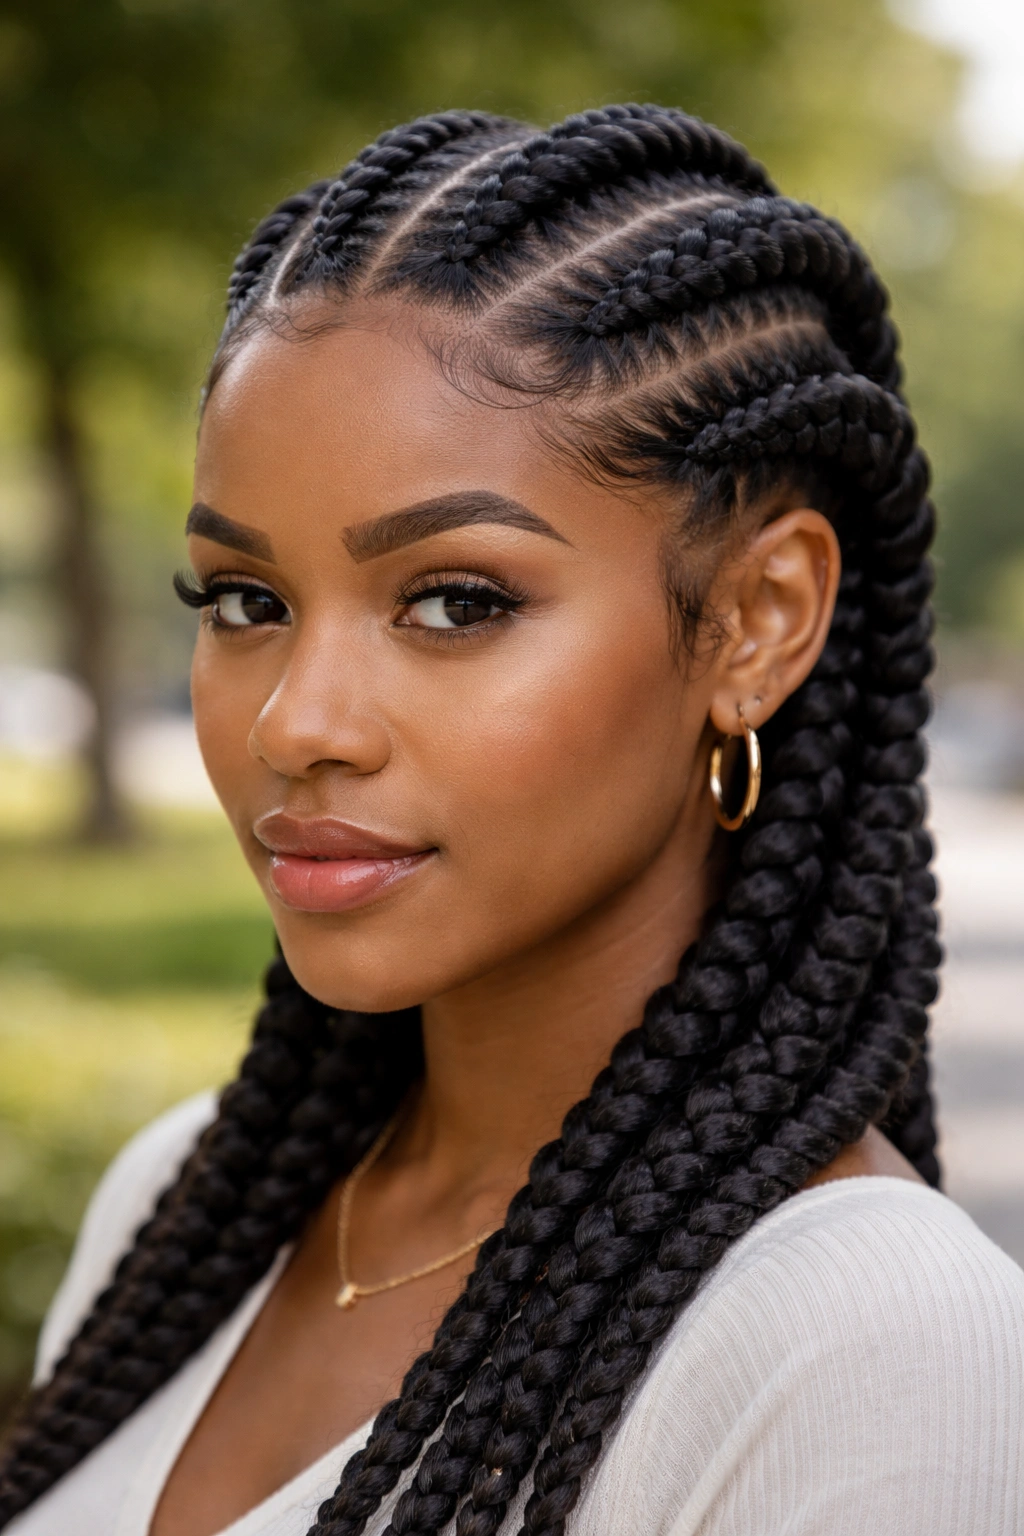
Wider cornrows — 5-7 total across the head — instead of the standard 10-12. Fewer, thicker braids distribute tension across broader sections of scalp.
Faster install time too, usually 90-120 minutes. Good for women with sensitive scalps who can’t tolerate long install sessions.
4. Two-Cornrow Protective Style

Two thick cornrows, one on each side of a center part, running back to meet at the nape. The most minimal protective cornrow install.
Solo-braidable. Fast install (30-45 minutes). Lasts 7-10 days. Best as a refresher between fuller protective styles rather than a long-term installation.
5. Cornrows with Tucked Ends
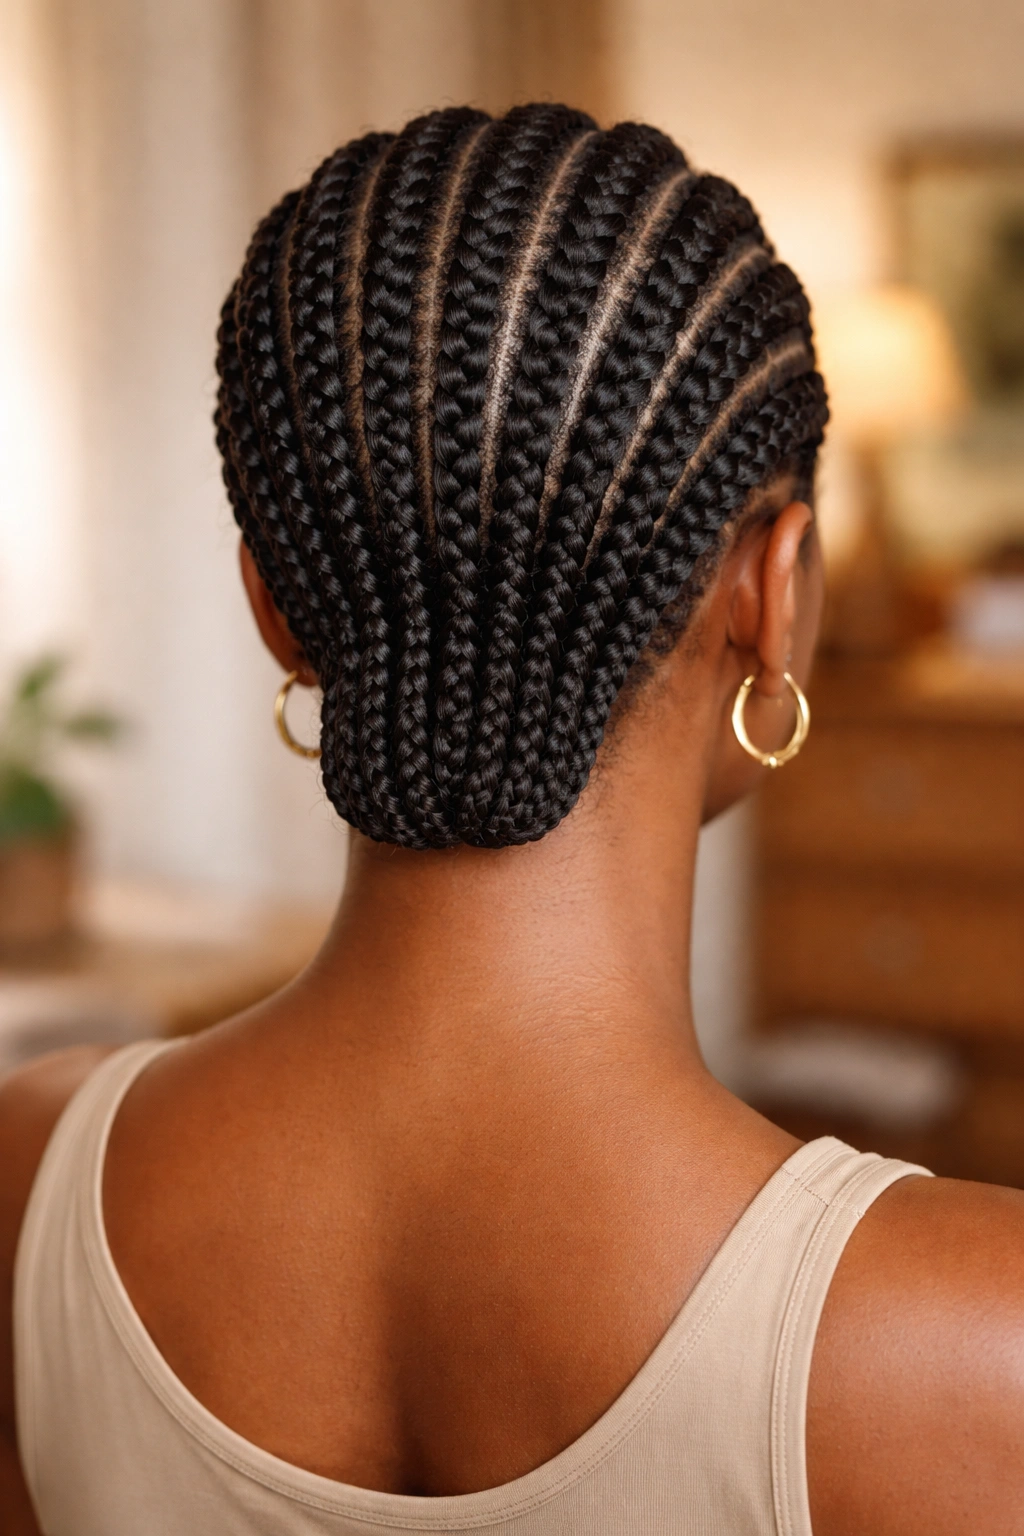
Standard cornrows with the tail ends folded and sewn or tucked into the braids themselves, so no hair tips are exposed. Sealed ends protect from dryness and breakage throughout the install.
The tucking technique adds 15-20 minutes to install time but significantly extends how long the ends stay healthy.
6. Cornrows with Satin-Lined Bonnet Installation
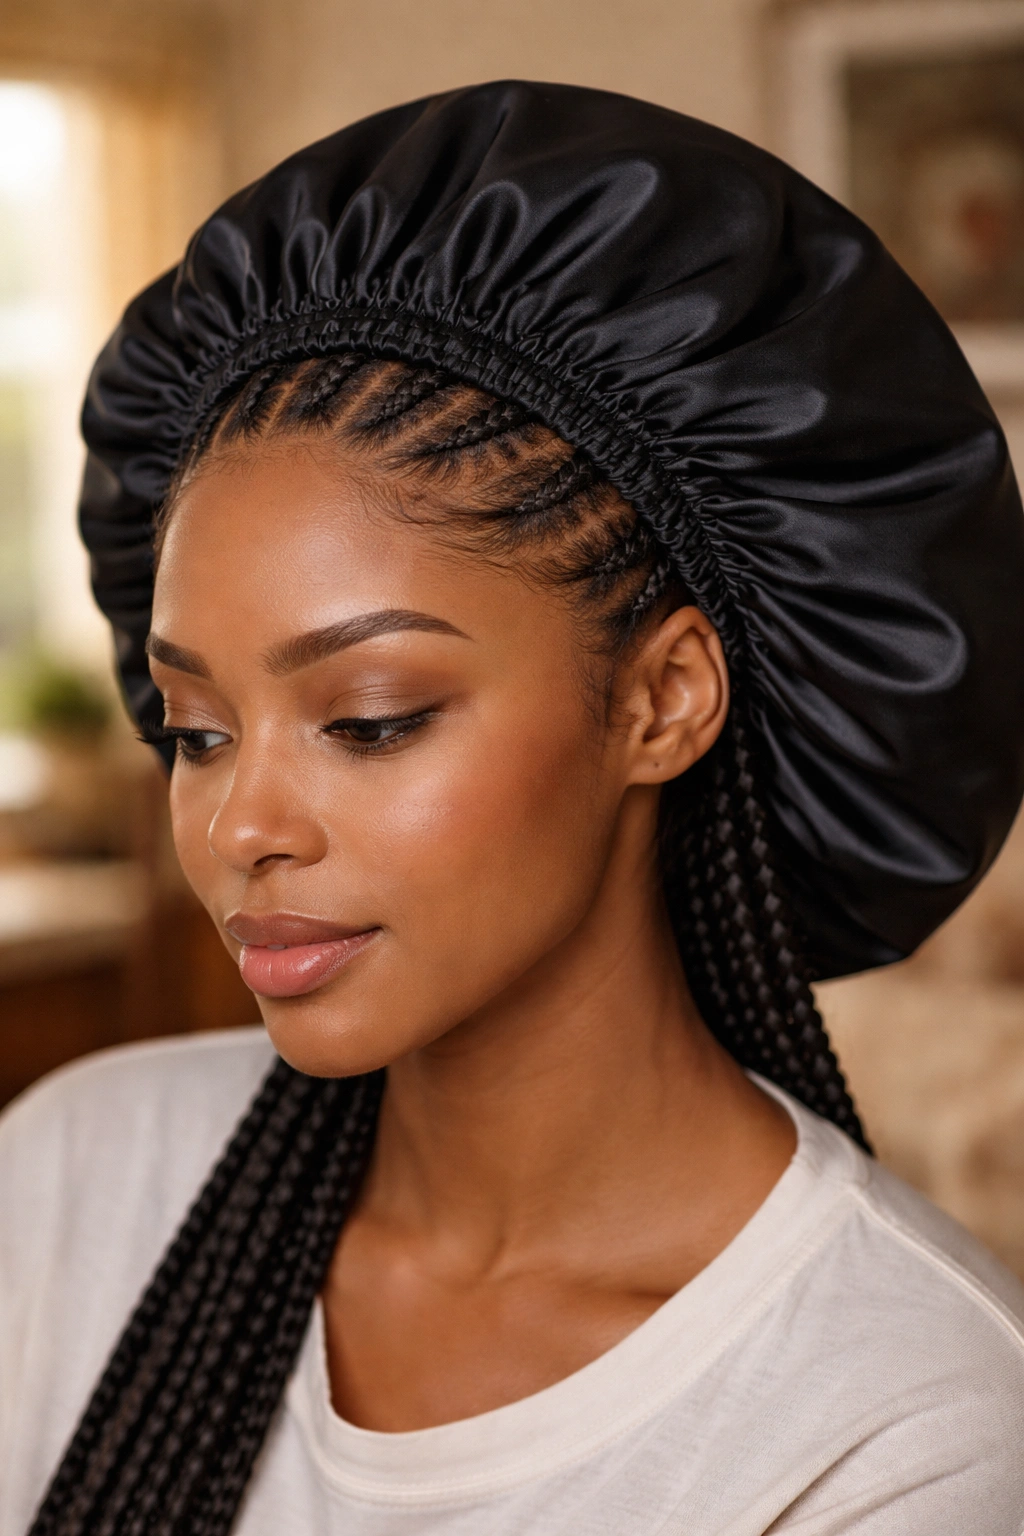
Not a style per se — a choice to wear a satin-lined bonnet from the moment the install is done, including for photos. No air exposure. No rubbing against clothes or seats.
How to Style It
- Complete your cornrow install as normal.
- Put a satin-lined bonnet on immediately.
- Only remove for photos, events, and washing.
- Replace whenever you’re home, sleeping, or in-between.
Tip: This approach extends any cornrow install’s lifespan by 3-5 days and keeps the ends pristine. Consider it on any protective cornrow install where maximum protection is the priority.
7. Cornrows with No Extensions

Pure natural hair cornrows — no kanekalon added. Just your own hair braided tight to the scalp. Maximum tension reduction because there’s no extension weight at all.
Works for women with shoulder-length or longer natural hair. Shorter hair doesn’t give enough length to hold the braids.
8. Protective Cornrows with Scalp Oil Treatment
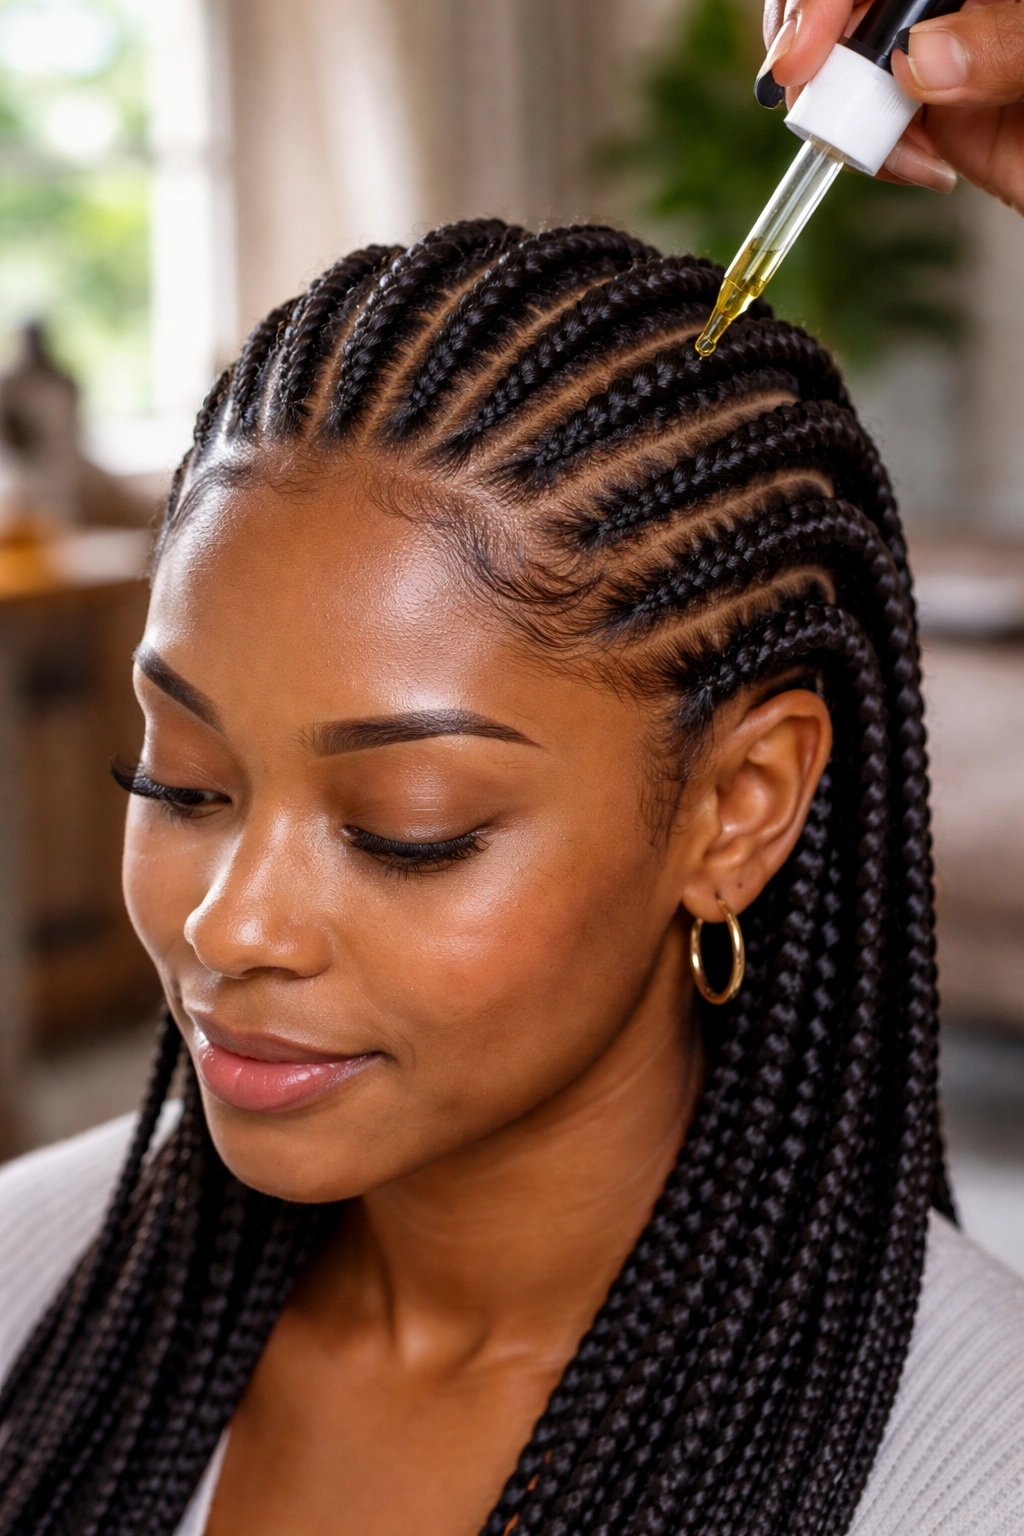
Before installing, apply a scalp oil treatment — rosemary, black castor, or argan — and massage thoroughly. The oil penetrates during prep and supports the scalp through the wear.
The oil application at prep time plus a weekly oil refresh during the install creates an environment where the scalp stays nourished rather than stripped.
9. Cornrows with Graduated Length
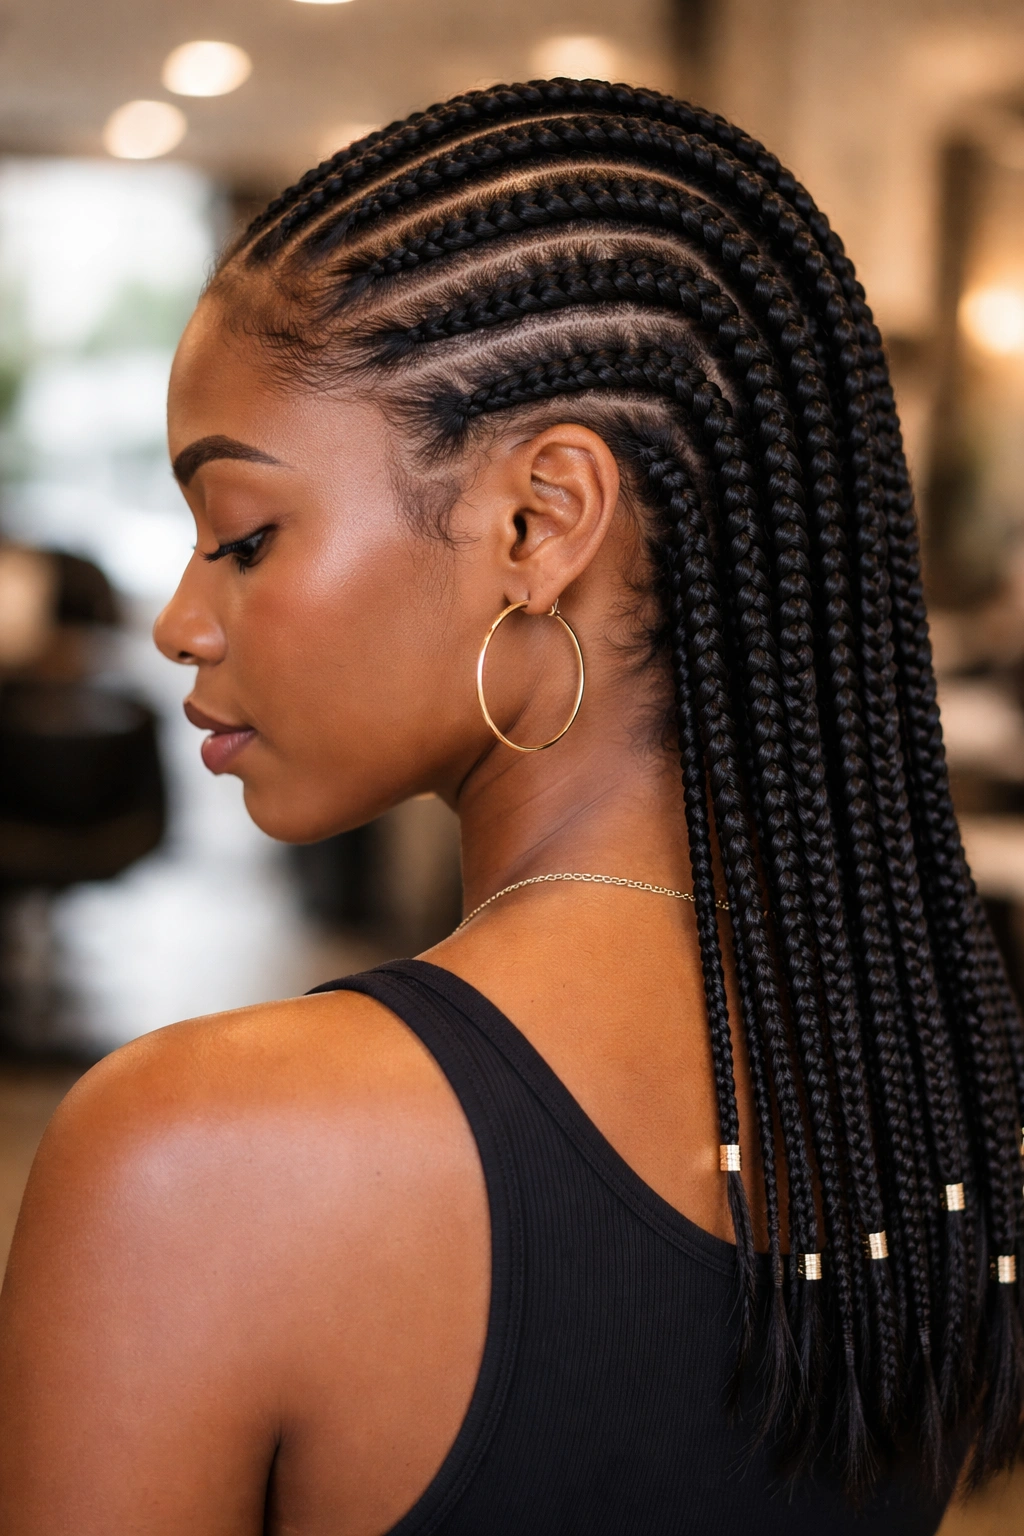
Shorter cornrows at the nape, longer ones at the crown. The graduated length distributes extension weight so the nape (typically the most vulnerable section) carries less strain.
Technical install. Ask for it by name — graduated-length cornrows or length-tapered cornrows.
10. Cornrows with Ceramic Edge Protection
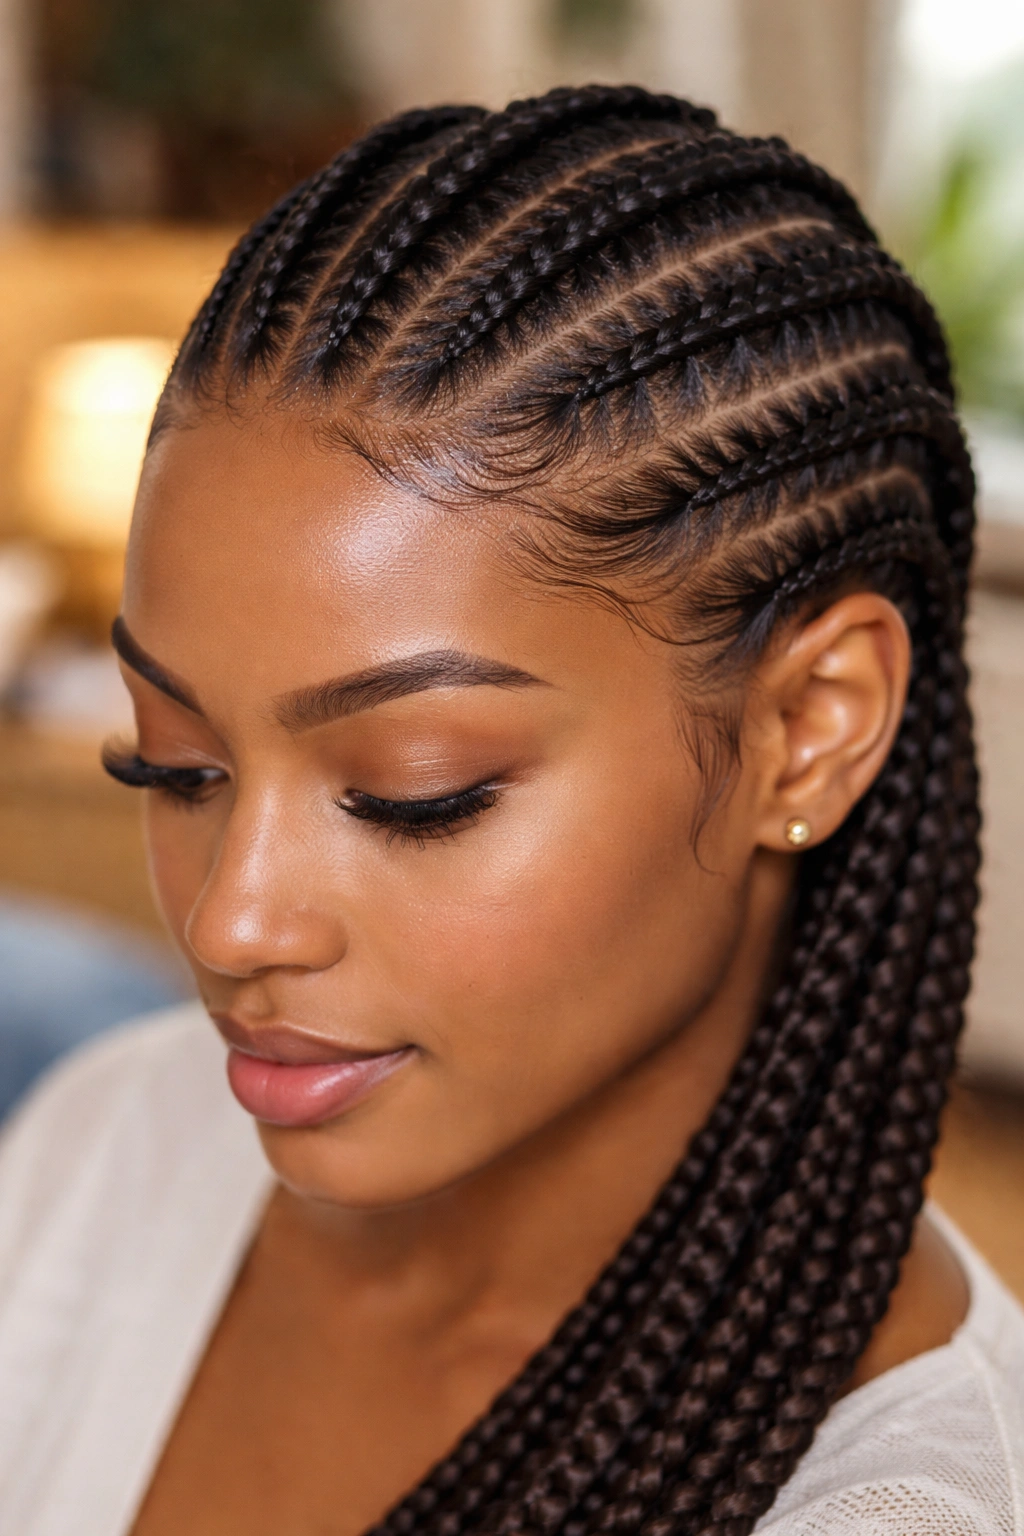
Before laying edges, apply a ceramic heat protectant oil to the hairline. The protectant creates a barrier that keeps gel from penetrating and drying out the baby hairs.
Most women skip this step. Those who do it consistently report visibly healthier hairlines after repeated installs.
11. Cornrows with Double-Stitched Starts
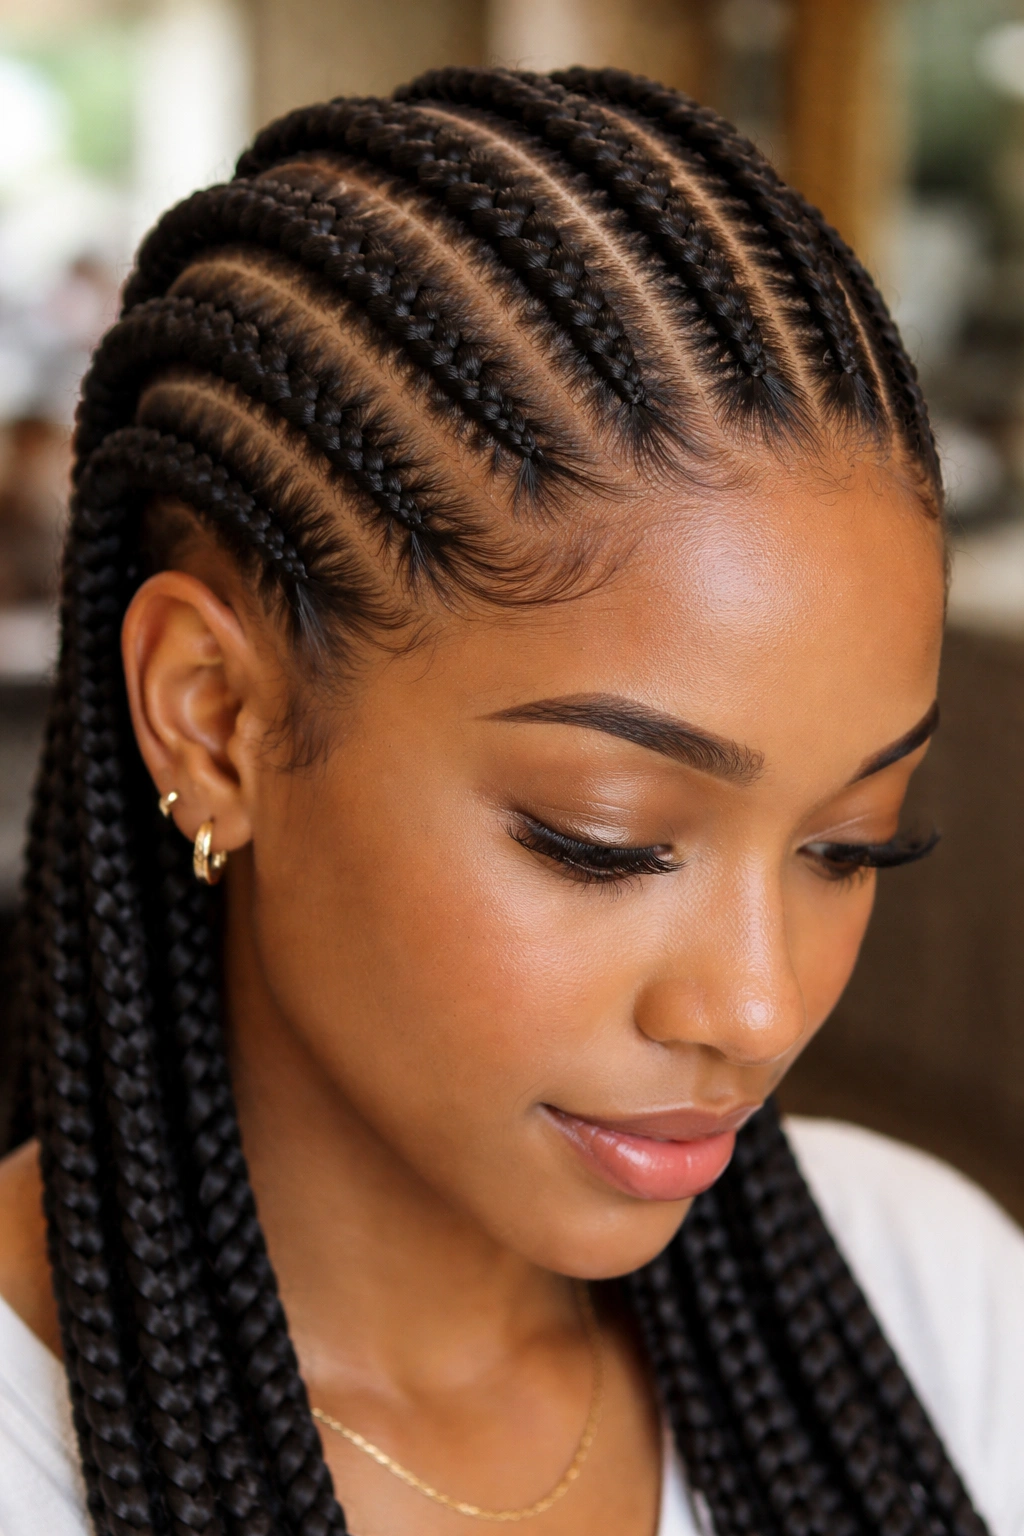
The first two stitches of each cornrow are tied off with a small invisible elastic, creating a secure start that doesn’t need tension to hold. The braid stays anchored without the braider pulling tight at the hairline.
Uncommon technique. Not every braider does it. Ask before booking.
12. Low-Count Cornrows (5-6 Total)
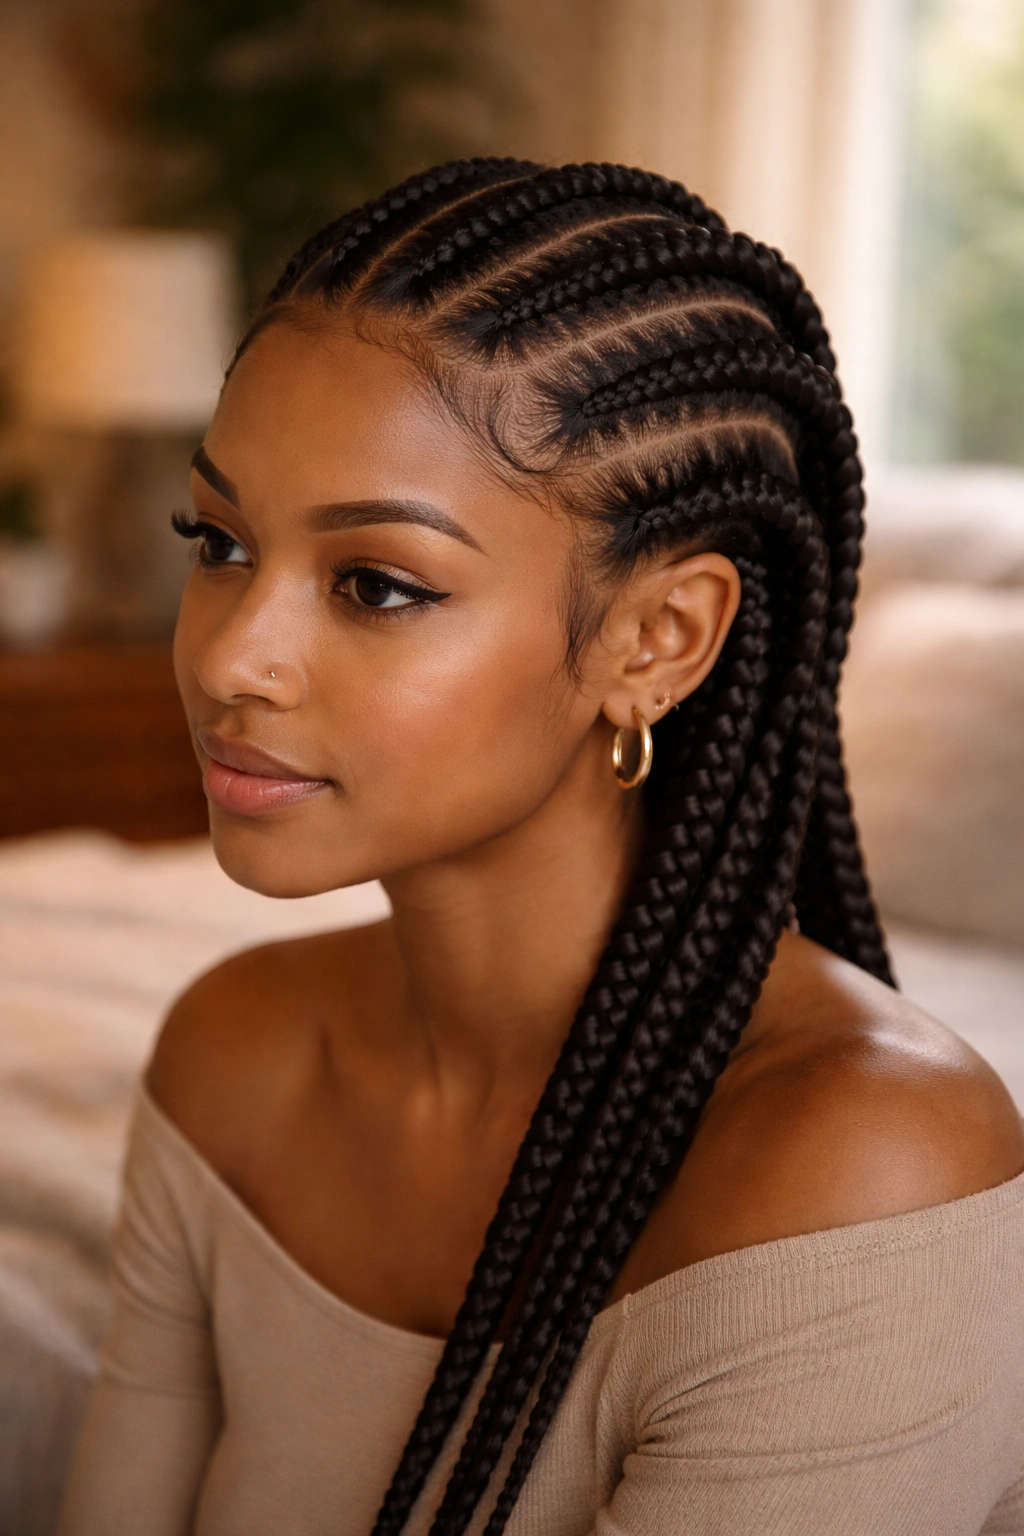
Just 5-6 cornrows across the whole head. Each braid is wide and sits in its own channel with lots of space around it. The low count reduces total tension dramatically.
Visually less dense than standard installs. Reads minimal and intentional rather than elaborate.
13. Cornrows with Silk Liner Pillowcase

Pair the install with a silk pillowcase (not just any satin one — actual mulberry silk). Silk reduces friction significantly more than satin and keeps the braids fresher, the hairline smoother, and the ends protected.
The pillowcase is an investment — quality silk ones run $40-$80 — but it extends every protective install you wear afterward.
14. Cornrows with Weekly Scalp Massage
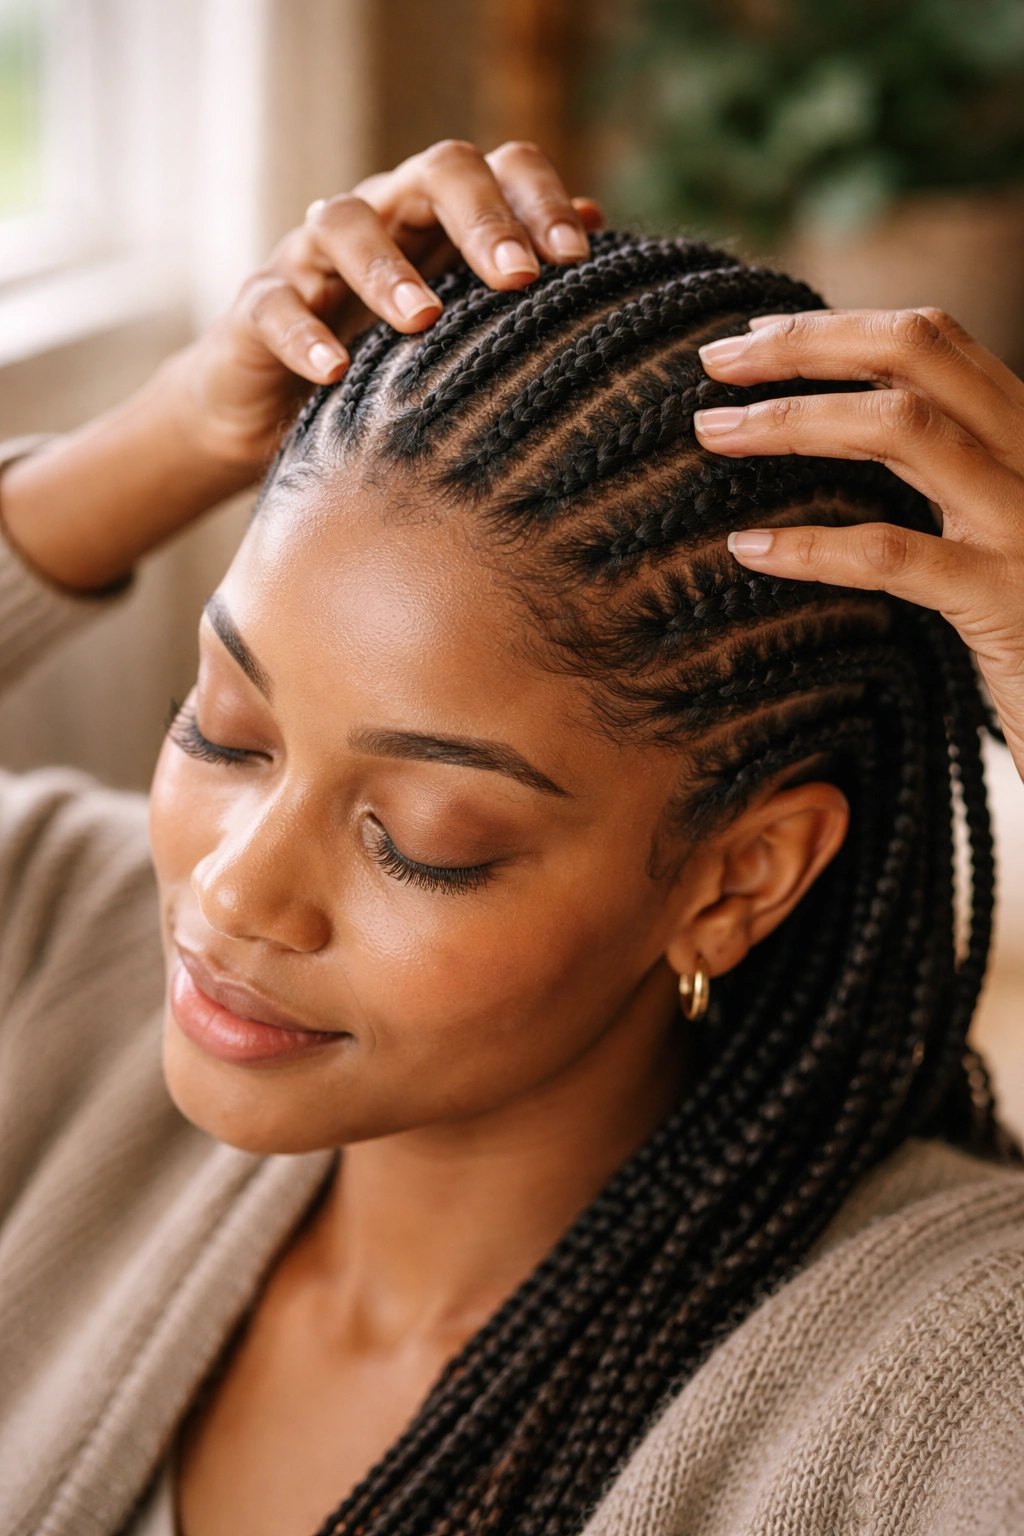
Twice a week during the install, massage the scalp along the part lines with clean fingertips for 3-5 minutes. The massage improves circulation to the follicles, reduces tension, and supports hair regrowth.
What Makes It Different
Most protective installs are passive — you install, you wait, you take down. This approach turns the install into an active recovery period.
- Use a light oil (jojoba or rosemary) for the massage.
- Massage in circles, not straight lines.
- Spend 30-60 seconds per section.
Tip: Do the massage first thing after washing your face. The circulation boost supports morning hair growth cycles.
15. Cornrows with Humidity Sealing
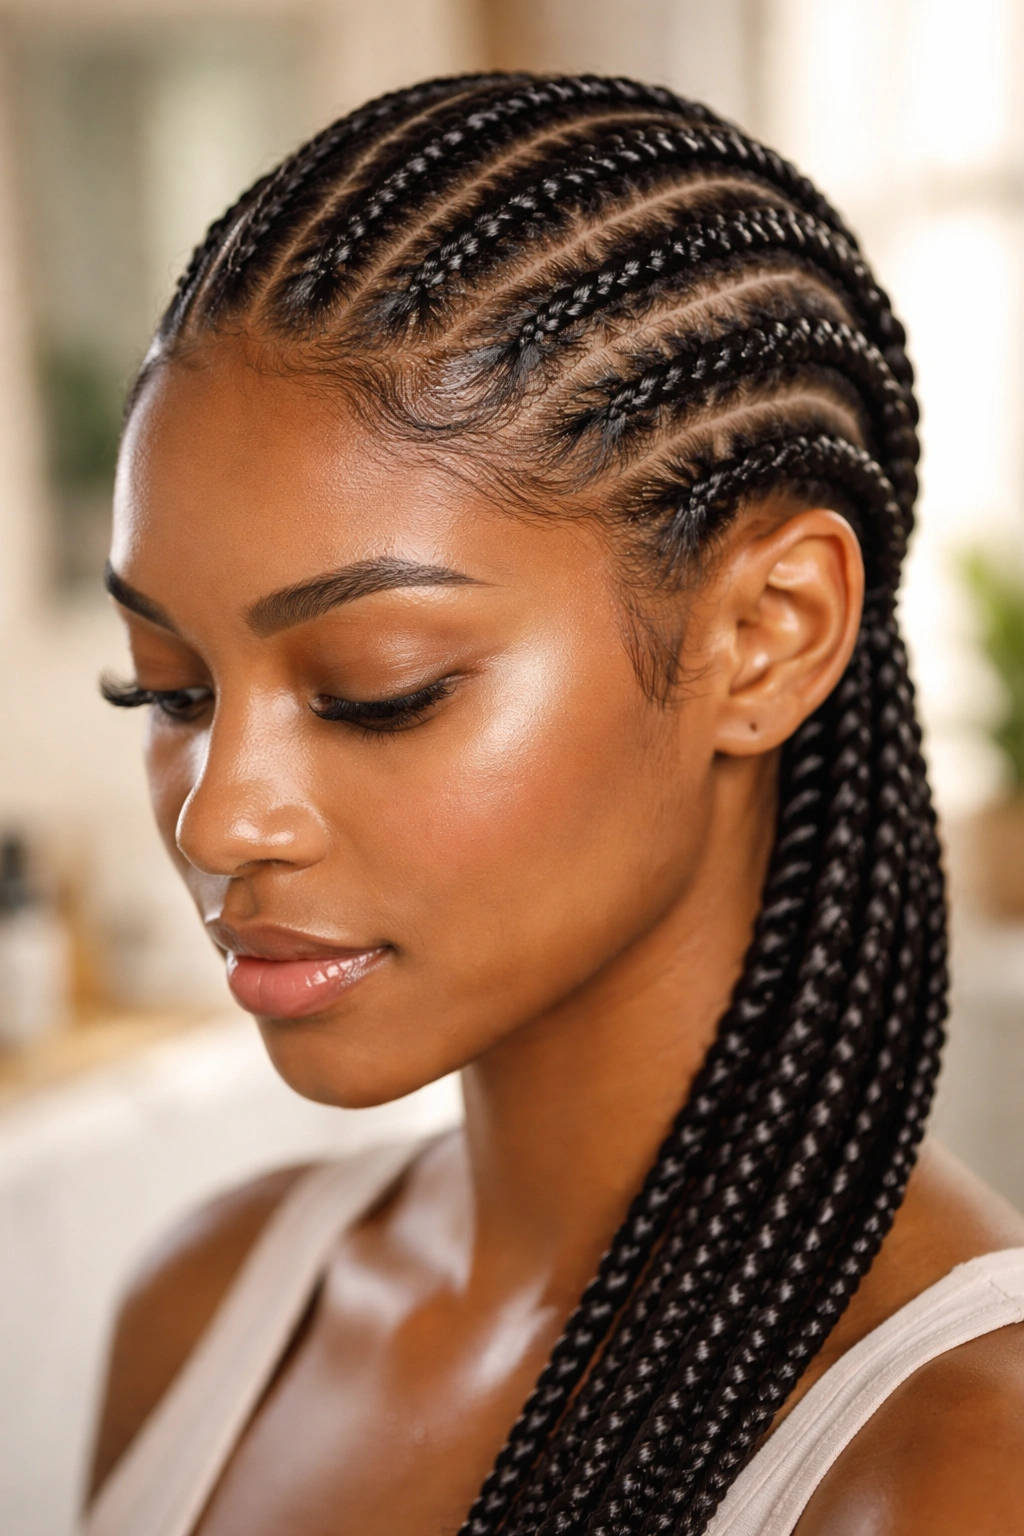
On high-humidity days, the hair can swell and create tension inside otherwise comfortable braids. Pre-emptive humidity sealing — a light silicone-based serum applied along the braids — prevents the swell from causing damage.
Apply the serum once every 2-3 days during humid weather. Skip in dry weather.
16. Cornrows with No Rubber Bands
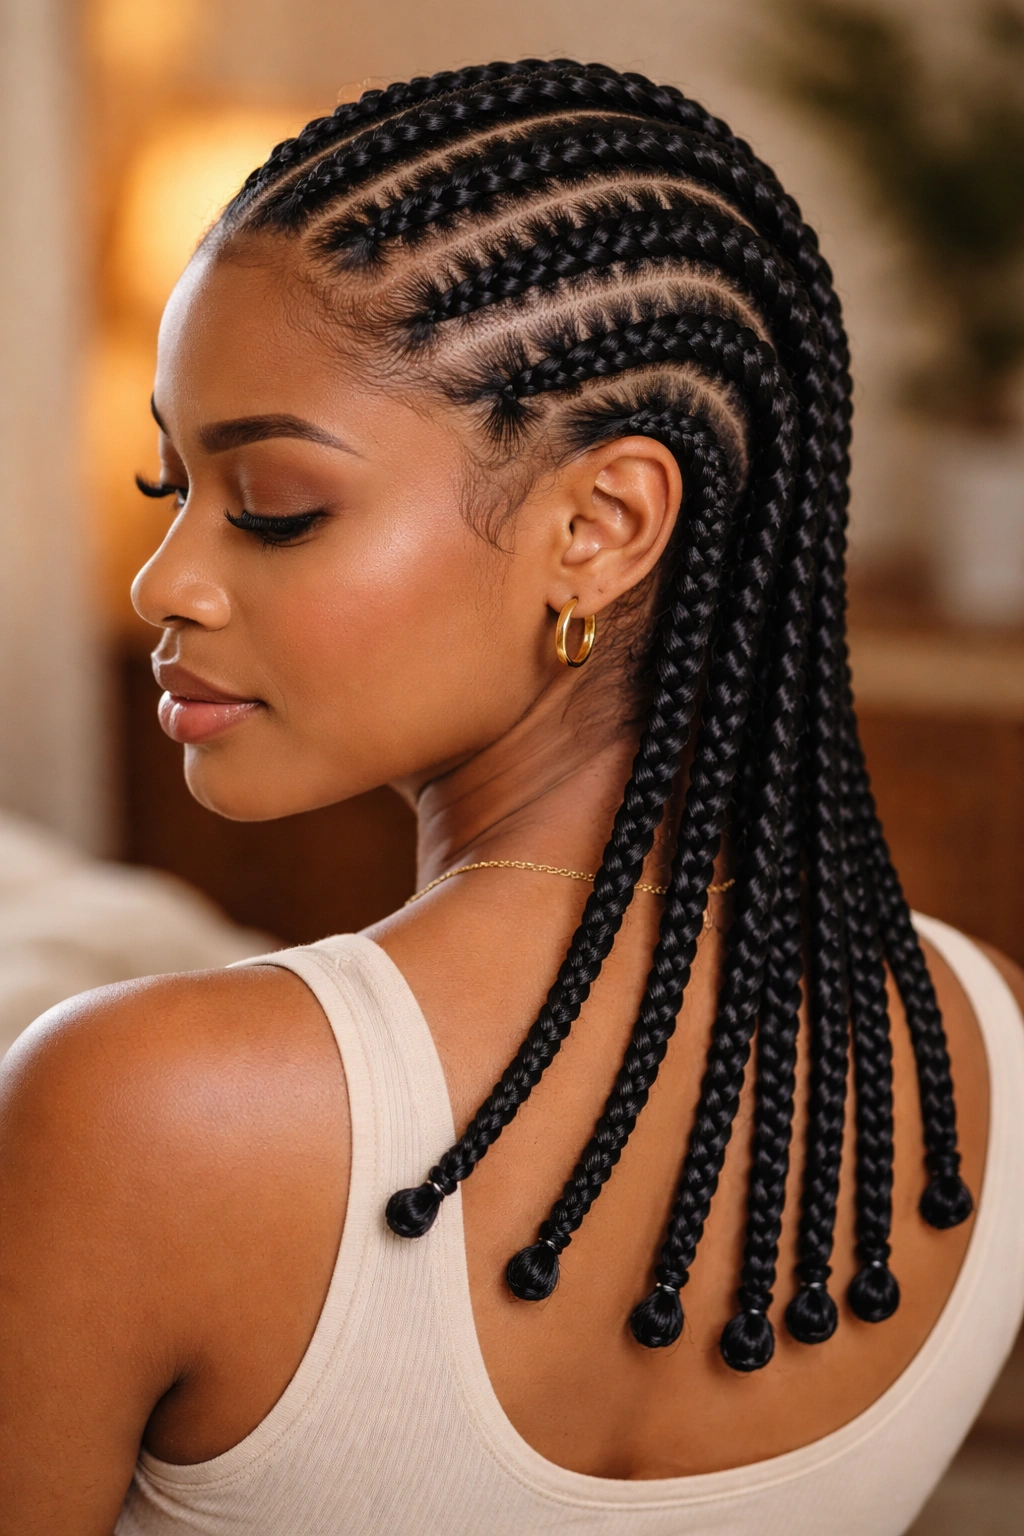
Rubber bands at the braid tips can cause breakage where they compress the hair. Switch to silk thread tied in small knots or heat-sealed ends instead.
Rubber bands are convenient but they trade convenience for damage. A thread tie takes 20 seconds longer per braid and eliminates the breakage point.
17. Cornrows with Gentle Detangling Sessions
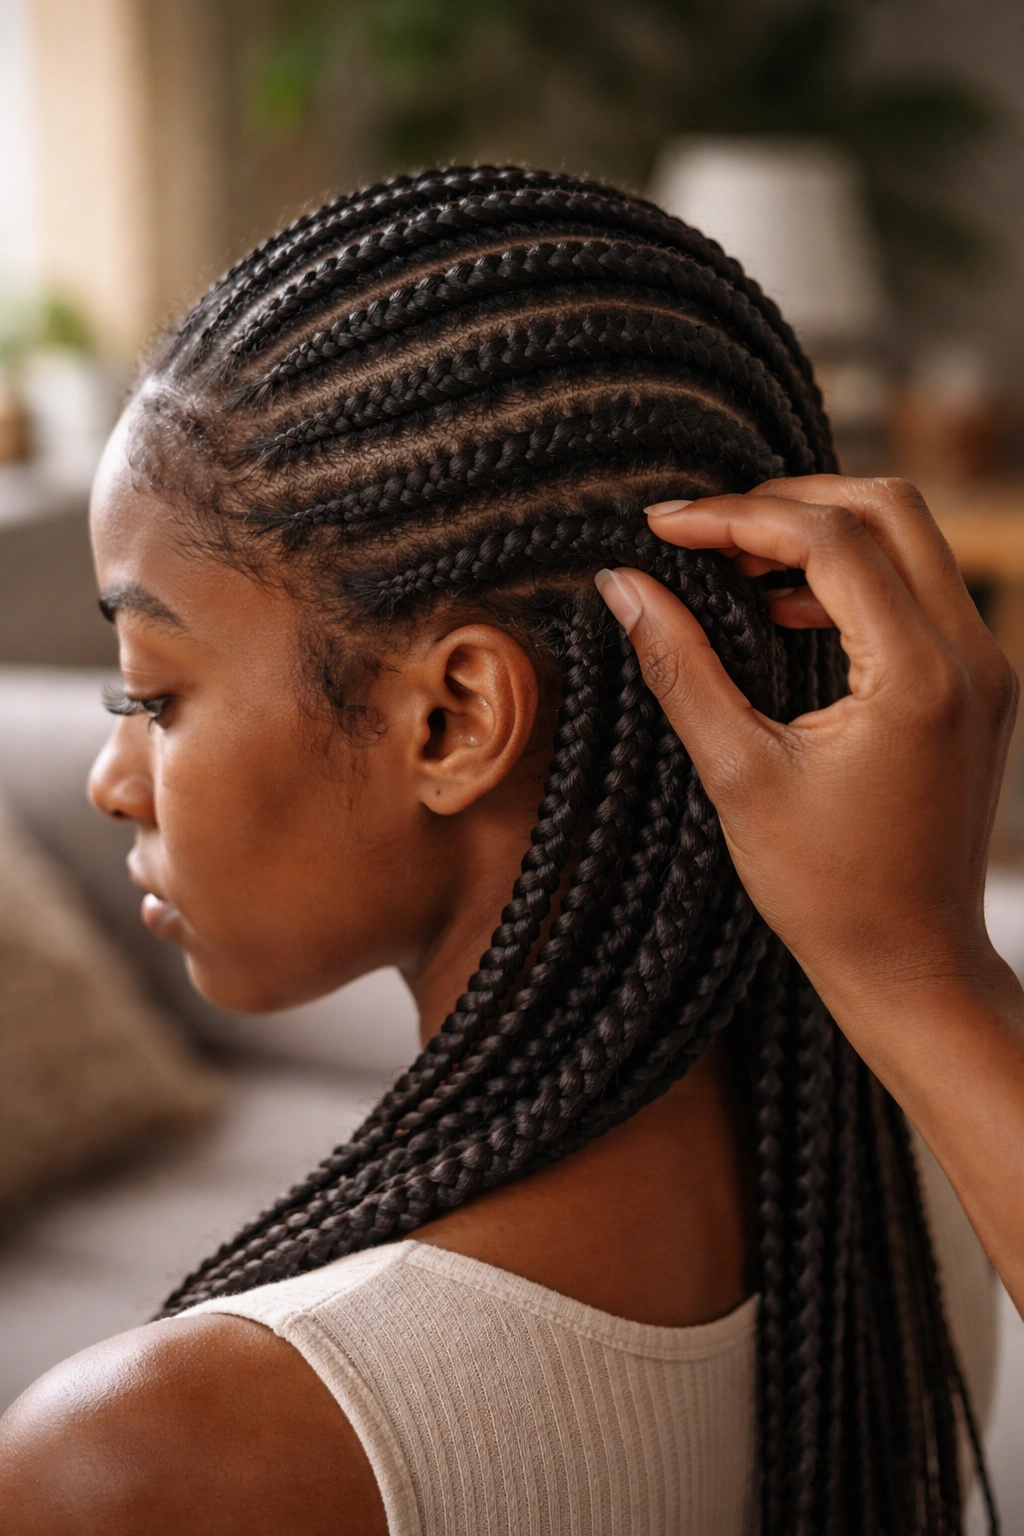
During the install, every 3-4 days spray the braids lightly with a diluted conditioner and gently finger-separate any tightening areas. The mid-install detangling prevents matting that would otherwise form during wear.
Skipping this step is why takedowns on week-three installs often shed more hair than necessary. Mid-install care pays off at takedown.
18. Short Cornrows for Weak Hair
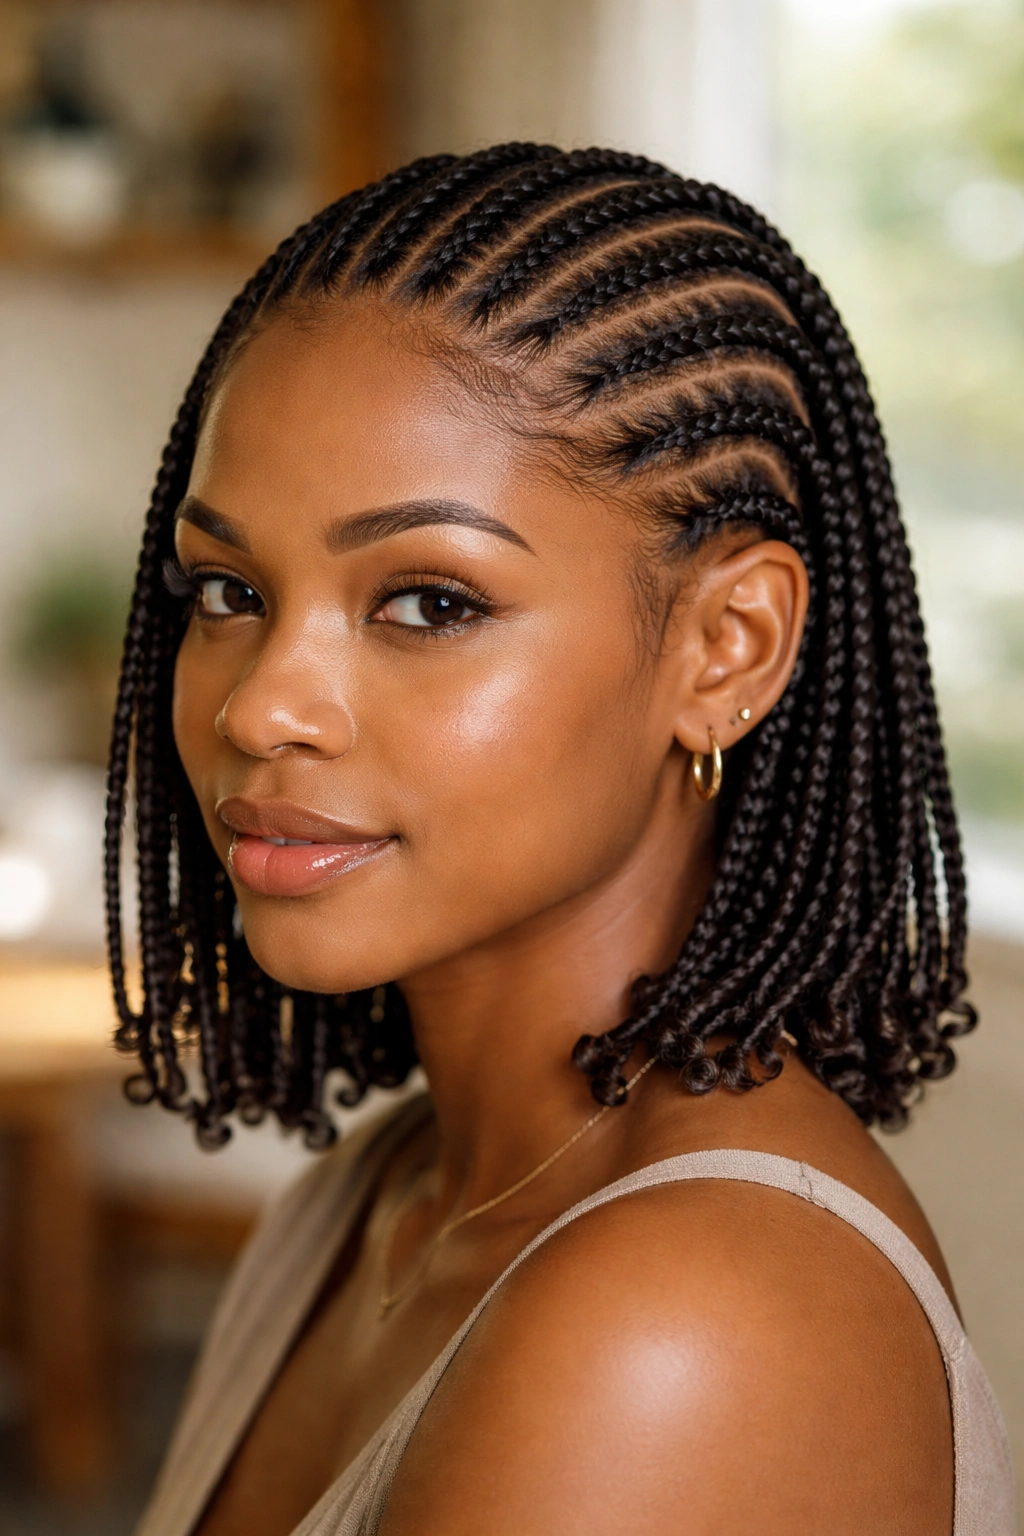
Cornrows that stop at shoulder length or above, rather than waist-length. Shorter braids weigh less. Less weight means less tension on the roots throughout the wear.
Ideal for hair that’s been chemically processed, color-treated, or recovering from previous damage. Short cornrows give recovery without overwhelming fragile strands.
19. Cornrows with Nightly Edge Refresh

A 2-minute routine each night: smooth edges with a fingertip of gel, tie a silk scarf around the hairline, sleep. The nightly refresh extends edge sharpness for the full install and prevents the hairline from fuzzing into breakage territory.
The scarf matters. A bonnet alone doesn’t compress the hairline enough to hold edges overnight. Scarf plus bonnet is the winning combo.
20. Cornrows with Pre-Installation Trim
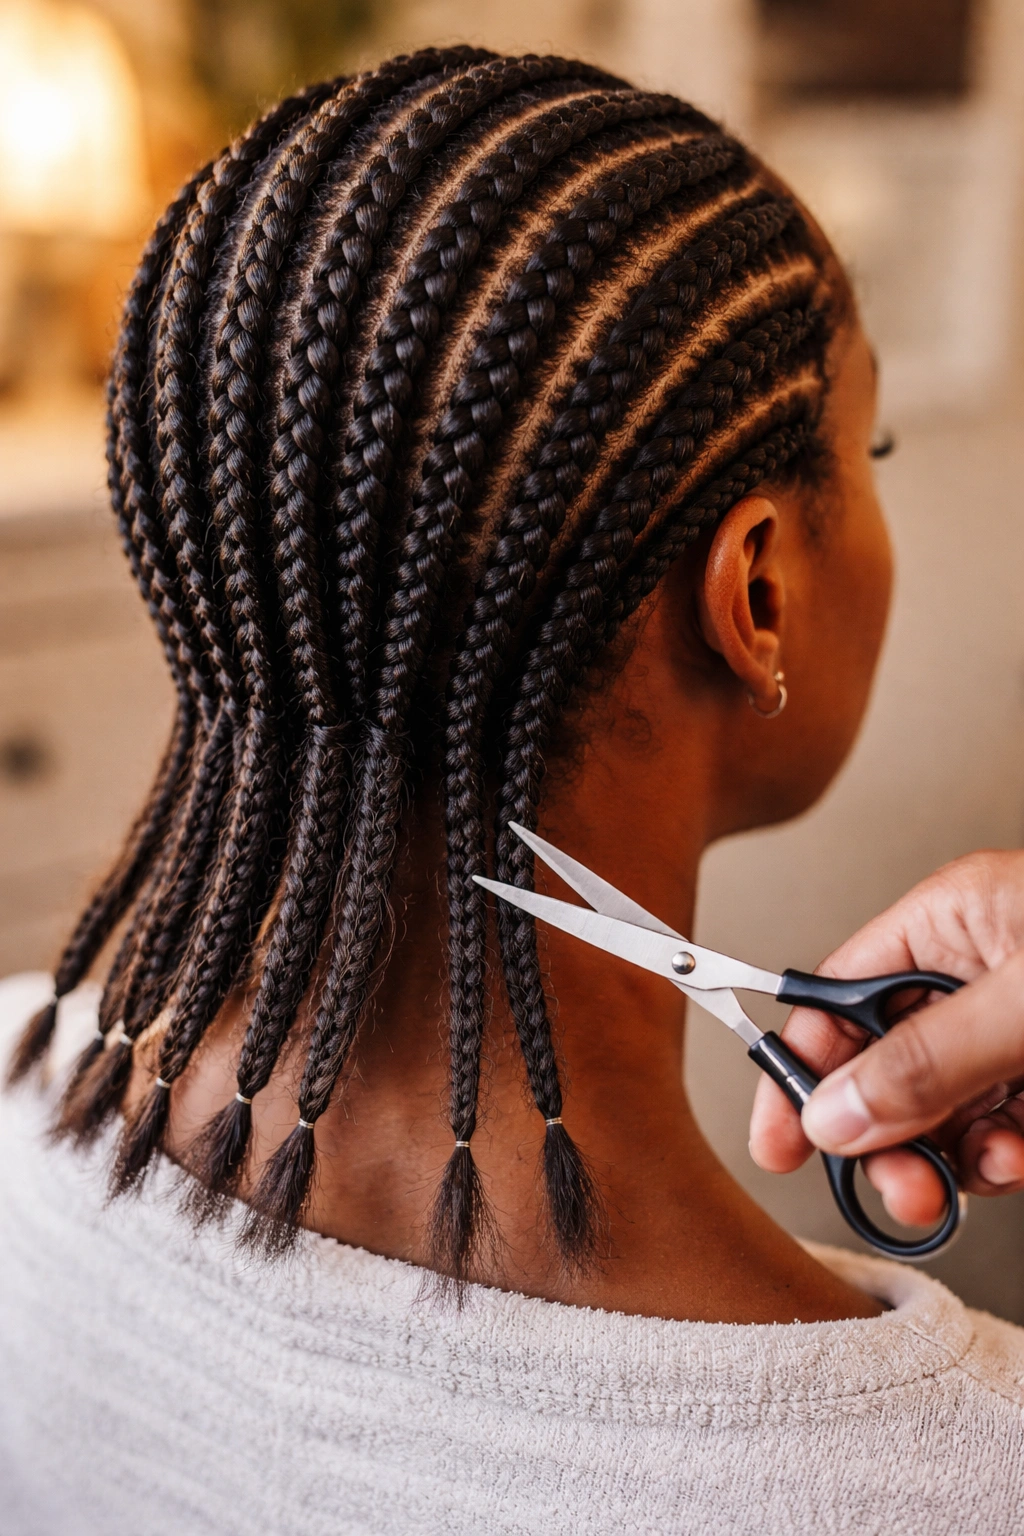
Trim your ends before the install, not after. A 1/4-inch trim removes split ends that would otherwise spread during the install lifespan.
Skipping this trim means wearing the style over already-damaged ends, which get worse during the install and need a bigger trim at takedown.
21. Cornrows Alternating with Free Periods
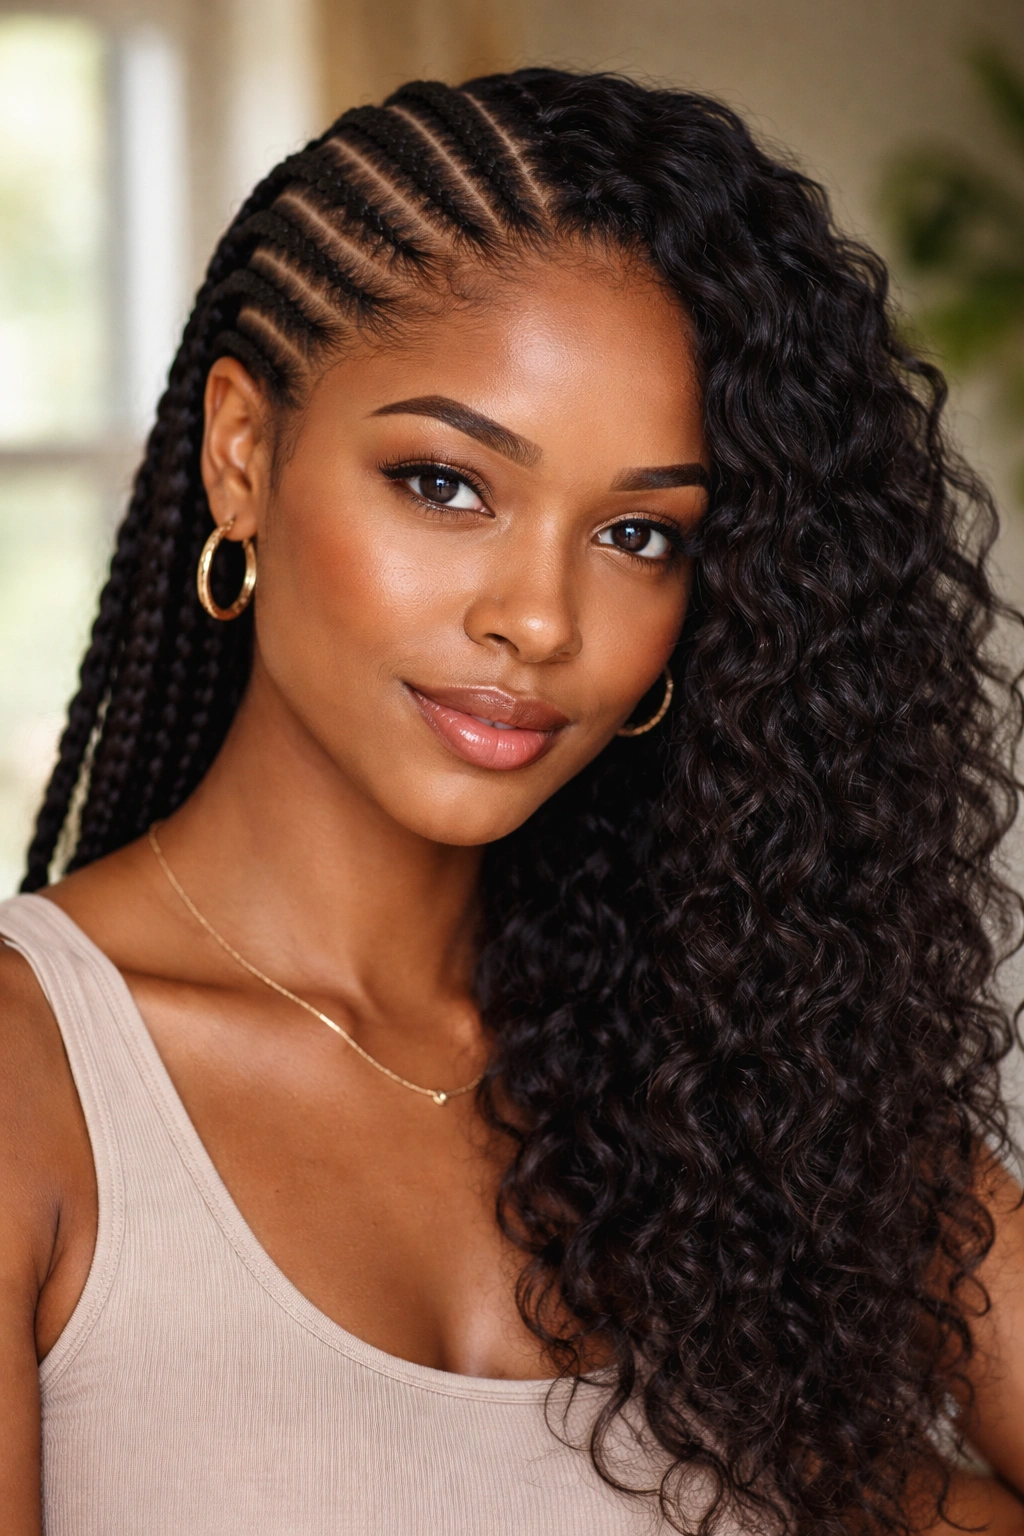
Two weeks in cornrows, then one week free (washing, conditioning, wearing loose styles), then two weeks in a new cornrow install. The cycling gives the hair active rest periods between protective installs.
Who This Is For
Anyone pursuing long-term hair growth. The cycling approach is how women with serious recovery goals structure their year. Continuous back-to-back installs, even protective ones, don’t allow the hair the micro-recovery periods it needs to truly thrive.
- Cornrow period: 2 weeks.
- Free period: 1 week.
- Repeat the cycle.
Tip: During free weeks, deep condition twice, wash once with a clarifying shampoo, and wear low-manipulation styles like puffs or two-strand twists.
22. Cornrows with Professional Takedown
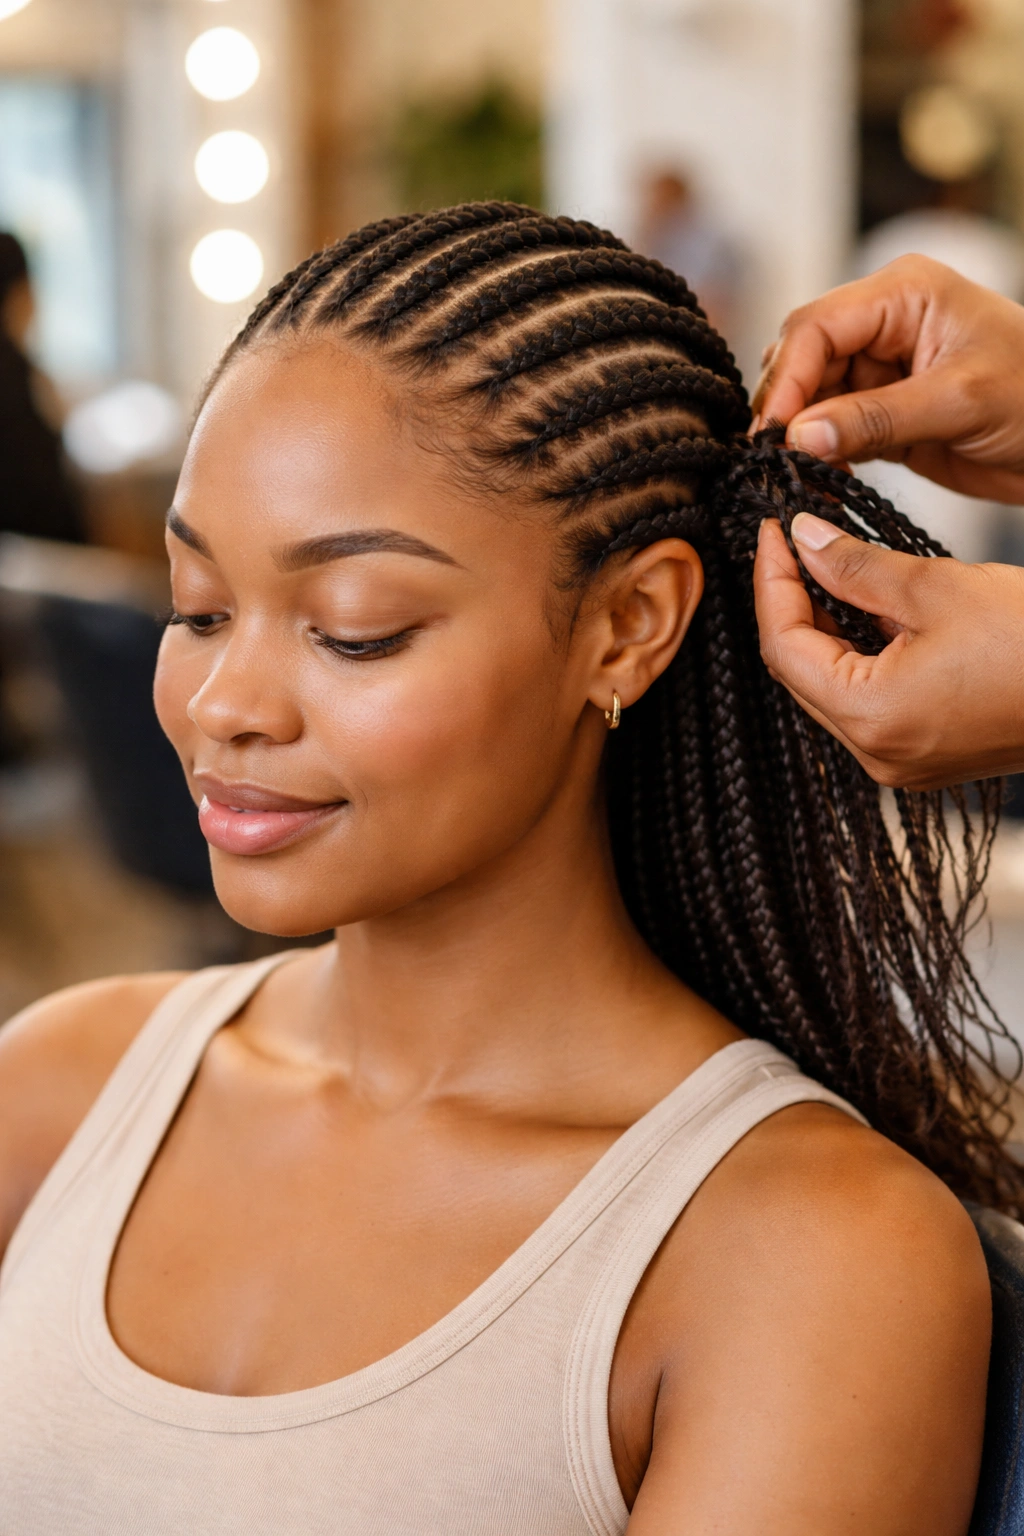
Don’t take cornrows down yourself if you can afford not to. Book a takedown appointment with the braider who installed them. Professional takedowns are slower, gentler, and cost roughly $30-$80 depending on the style.
Home takedowns, even slow ones, tend to break more hair than professional ones. The professional has two hands free to work the braid without yanking.
One appointment per takedown. Worth the money if hair preservation is the goal.
Maintenance That Maximizes Protection
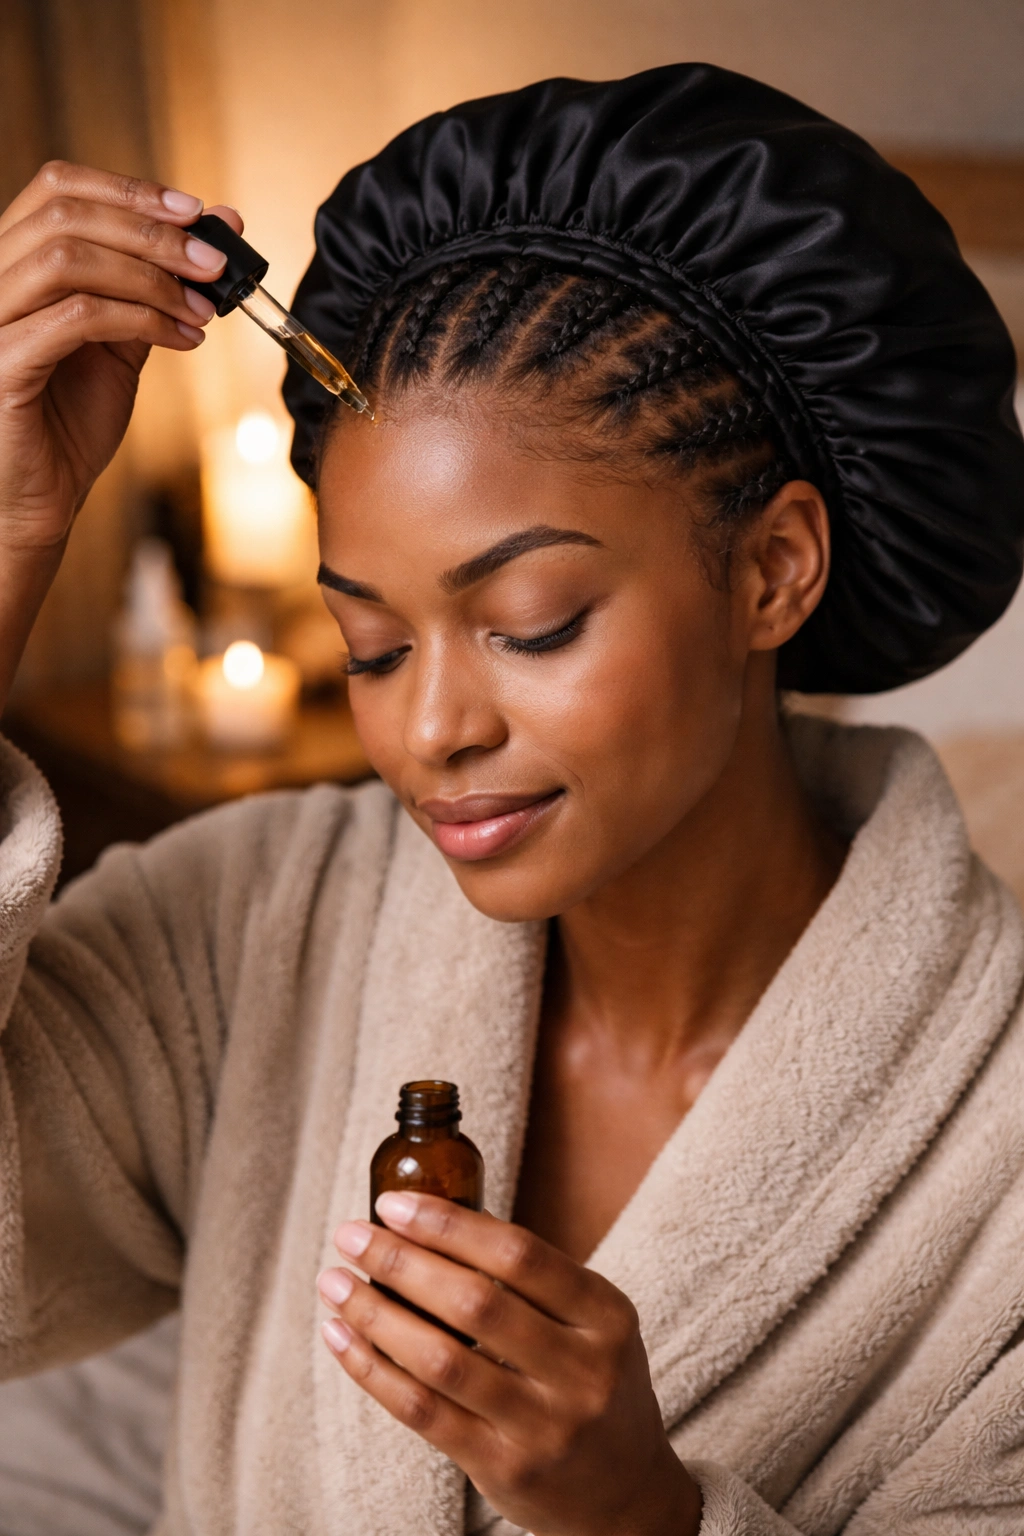
The bonnet is the foundation of protective cornrow care. Satin or silk bonnet every night, no exceptions. Cotton pillows and cotton bonnets undo the protection in a single night.
A light hair oil applied to parts twice weekly. Jojoba, grapeseed, or argan. Heavy oils build up and damage the protection by trapping grime against the scalp.
A light leave-in spray every 2-3 days keeps the braids hydrated. Apply from 8 inches away so the product disperses as a fine mist rather than a wet coat.
Scalp Care Under Protective Cornrows
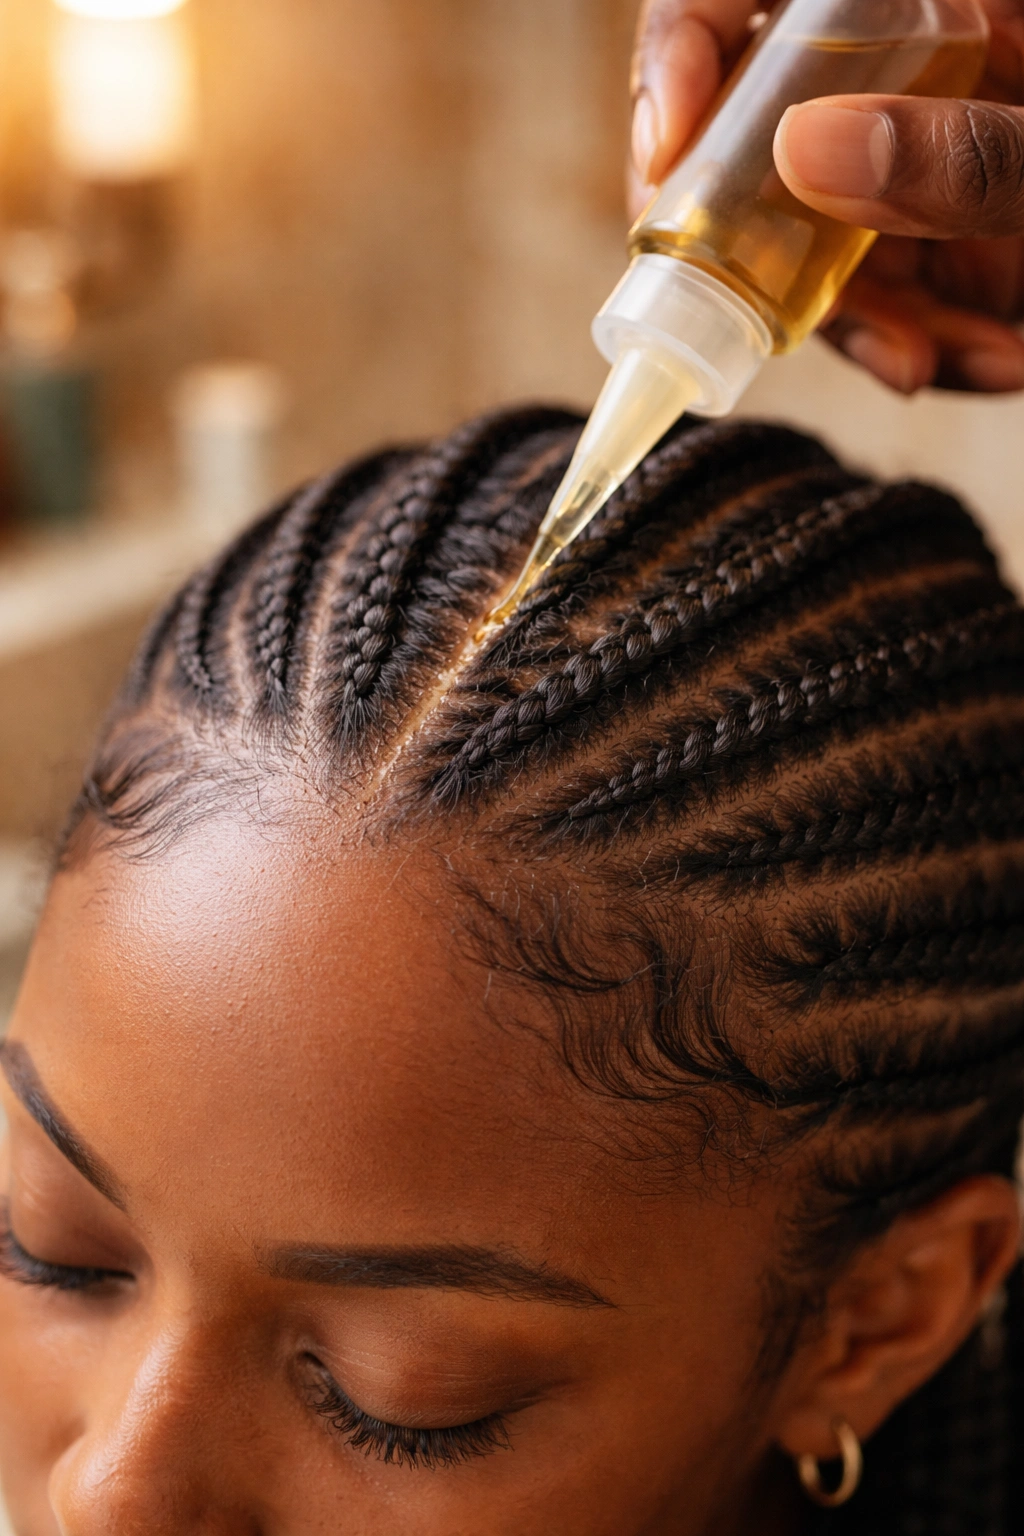
Scalp access matters. Use an applicator bottle with a narrow tip to apply oil directly to the part lines without disturbing the braids.
Avoid heavy buttery products like shea or mango butter during the install. They build up, go rancid, and turn protection into irritation.
If itch appears, diluted apple cider vinegar (1 tablespoon to 1 cup water) in a spray bottle settles it within minutes without stripping the scalp.
Takedown Procedure for Protection
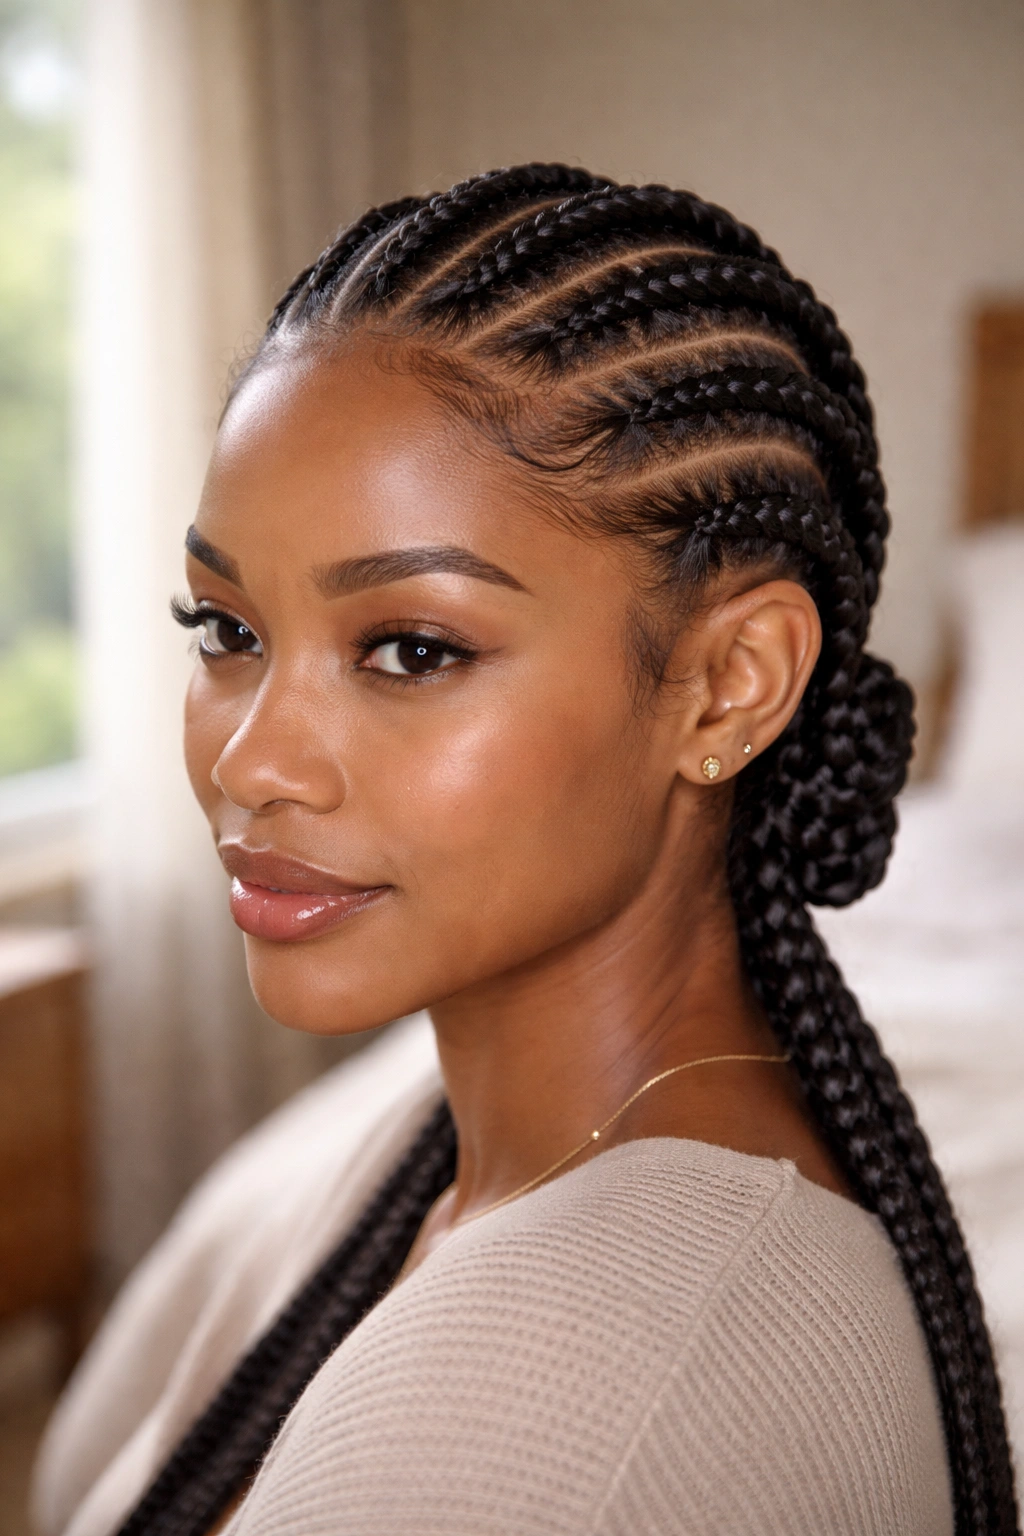
Time is the biggest factor. Allow 3-4 hours for a careful takedown of a two-week cornrow install. Rushing costs hair.
- Saturate each braid with a conditioning detangler.
- Remove any pins, rubber bands, or accessories.
- Unravel from the tail upward, one braid at a time.
- Finger-detangle each freed section thoroughly.
- Wait to comb until finger detangling is complete.
- Wash and deep condition immediately after.
Expect to see shed hair during takedown. Two weeks of shed held in the braids releases at once. That’s normal shedding, not hair loss. Don’t panic at the clump size.
Picking the Right Protective Cornrow for Your Hair
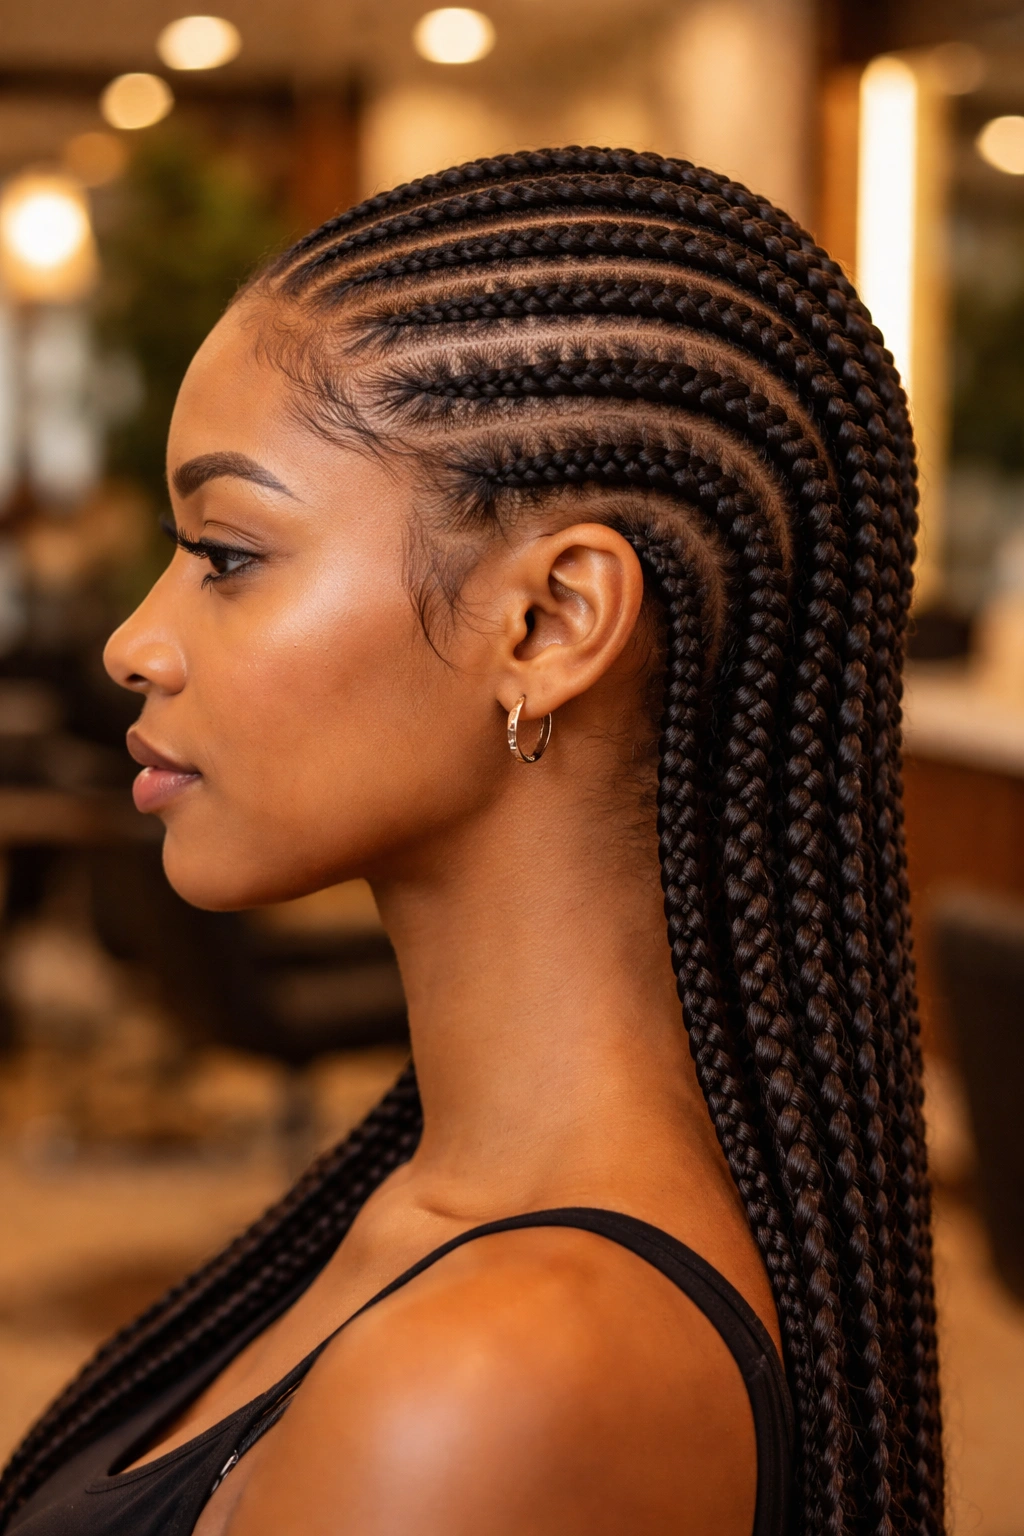
Hair status filters first. Fragile, breaking, or thinning hair needs the gentlest options: knotless, low-count, short length, no rubber bands. Healthy hair in maintenance mode can wear heavier or more elaborate protective cornrows.
Lifestyle filters second. Active lifestyles need cornrow styles with bundled tails. Sedentary lifestyles can wear loose braided tails.
Budget filters third. Professional knotless installs with all the protective bells and whistles can run $200-$400. Solo installs run the cost of extensions and gel.
Time horizon filters fourth. Protective cornrows for a special occasion lean toward wearability and appearance. Protective cornrows as part of a long-term hair growth strategy prioritize technique and wear duration.
The right protective cornrow is the one that matches your hair’s current status and your willingness to maintain it. Choose gentle when your hair needs gentle. Choose elaborate when your hair is strong enough to carry it. Honesty about where your hair is right now is the first protective step. Everything else follows.
