



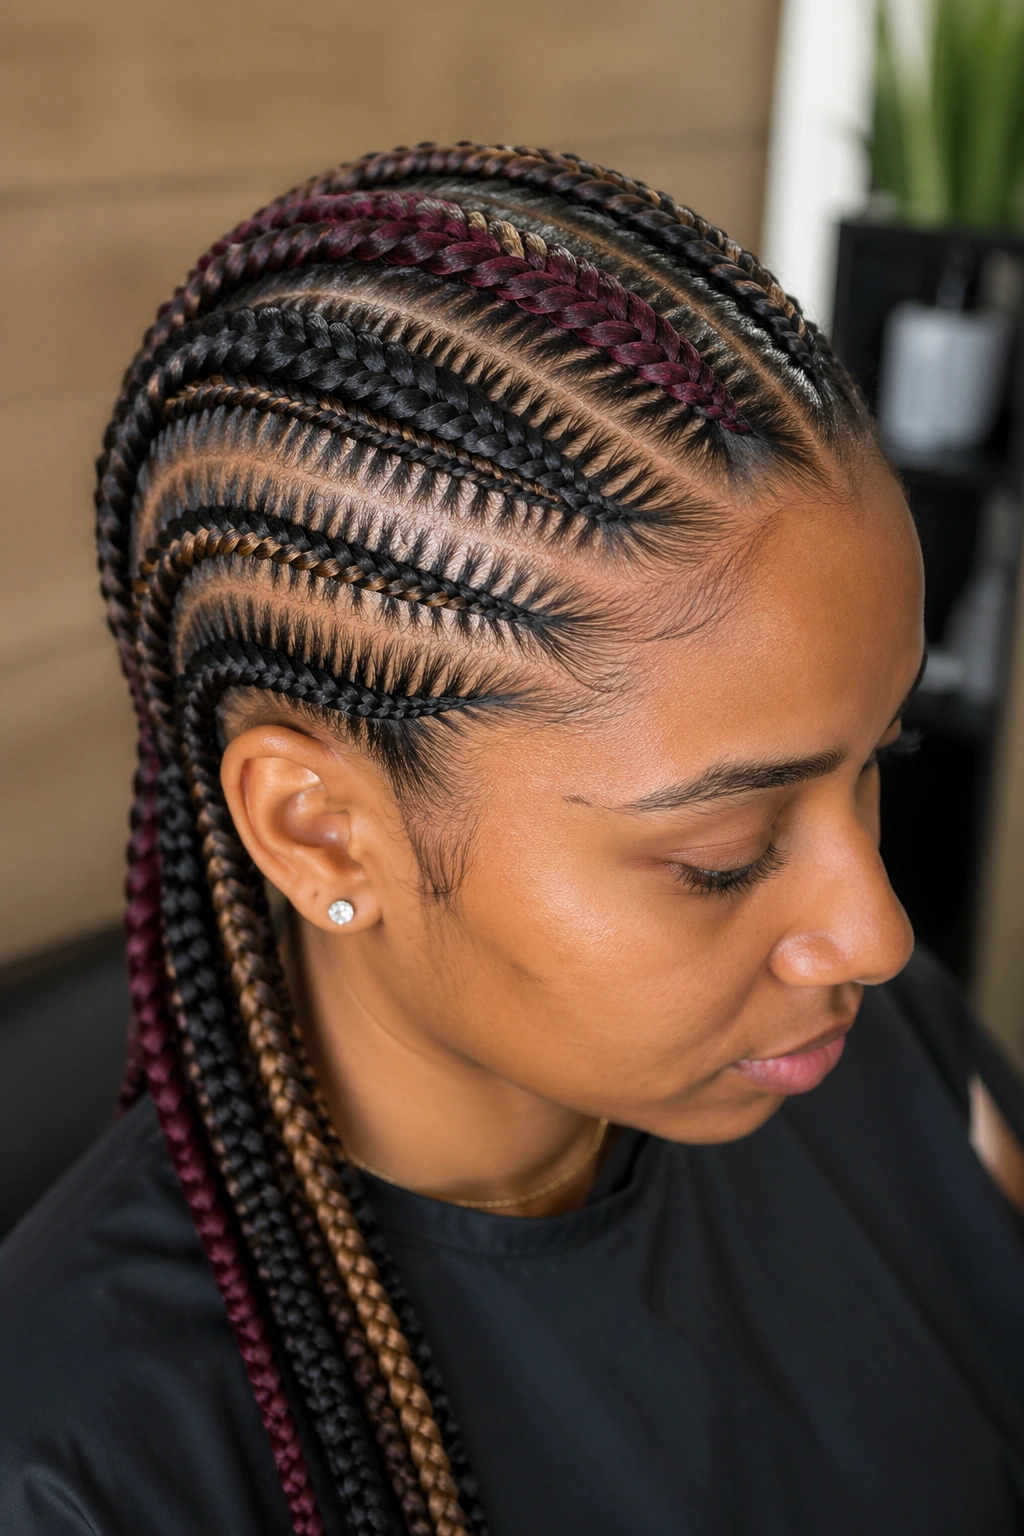
Fishtail cornrows occupy an odd spot in the braid world. They look like fishtail braids — that distinctive woven pattern with the diagonal V-shape running down the length — but they’re flat against the scalp like cornrows. The visual is denser, more textured, and harder to pull off than either parent technique. When done right, they look like rope. When done wrong, they look like a regular cornrow that someone got bored halfway through.
The mechanics are different from a standard three-strand cornrow. Instead of crossing three sections over each other, you split the hair into two sections and pull small pieces from the outer edge of each, crossing them over to the opposite side. The result is a tighter, more intricate weave that takes about 30% longer to braid than a standard cornrow of the same size.
I’ve been wearing fishtail variations on and off for years. I’m not going to pretend they’re easier than regular cornrows — they’re not — but the payoff is a style that reads as deliberate and skilled even when nothing else about your look is doing much. A simple outfit with fishtail cornrows feels considered. The technique itself is the statement.
What follows is 22 fishtail cornrow variations. Some are full-head approaches. Some integrate fishtails as accents in otherwise standard styles. A few are unusual layouts I’ve seen done well by braiders who specialize in this technique.
How Fishtail Cornrows Differ From Regular Ones
The structural difference matters because it affects what the style can do. A regular cornrow has three strands that cross each other in a predictable braid pattern. A fishtail uses two main sections, with thin pieces transferring between them. This creates a flatter weave with a more textured surface.
Visually, fishtails look denser. The lines of the braid pattern are tighter together. From a few feet away, a fishtail cornrow can almost look like a flat rope rather than a braid. That density is the whole appeal.
Practically, fishtails are slightly more delicate. They snag on jewelry and clothing more than smooth cornrows. They also frizz at the surface faster because the texture has more places for stray hairs to escape.
Prep Specific to Fishtail Work
Fishtails need cleaner hair than other cornrow types. Any product residue makes the small transferring pieces stick together, blurring the pattern. Wash 24 hours before with a clarifying shampoo. Skip the leave-in conditioner the morning of braiding — apply it the night before instead.
Edge gel is fine for the hairline. Avoid butters, creams, and oils on the body of the hair until after braiding is complete.
Tools Worth Buying
A skilled fishtail braider needs three things: a fine-toothed rat-tail comb (for separating the small transferring pieces), a soft bristle brush (for smoothing each section before crossing), and small alligator clips for holding sections out of the way.
Cheap clips slip. Buy a pack of professional metal clips from a beauty supply store. They cost a few dollars more and last for years.
Choosing Sizes That Work
Fishtail cornrows look best at medium width. Each braid roughly thumb-width at the root. Smaller sizes lose the texture — the fishtail pattern needs space to read. Bigger sizes look chunky and lose definition.
If you want micro fishtails, accept that the woven pattern will be subtle. If you want jumbo fishtails, plan for the heavier, looser look that comes with the larger scale.
Time Investment to Expect
Fishtails take longer than regular cornrows. Add 2-3 hours to whatever your normal braid appointment runs. A full head of medium fishtail cornrows usually takes 5-7 hours. Block out the day. Bring snacks.
1. Six Fishtail Cornrows Straight Back
The classic introduction to the style. Six even fishtail cornrows running straight back from the hairline to the nape, each one finished with a small elastic.
Why It Works
Six is the right count for medium-thickness hair to show the weave clearly without feeling sparse. Each braid sits about an inch wide at the root, giving the eye enough surface area to register the fishtail pattern.
- Part the hair into 6 even sections from front to back
- Start each braid with tight tension at the root
- Use a smooth, consistent rhythm — irregular tension shows in fishtails more than regular cornrows
- Finish ends with clear elastics or small beads
Tip: Have your braider keep the transferring pieces small and consistent. Big pieces make the weave loose. Tiny pieces make it nearly invisible. Pencil-tip thickness is the target.
2. Fishtail Cornrows With Center Part
Same six-braid setup, but split into a clean center part with three braids on each side. The two innermost braids hug the center part closely, creating a defined symmetry.
A center part on fishtails reads sharper than on standard cornrows because the pattern itself is so detailed. The line down the middle becomes a frame.
This works well for face shapes that benefit from vertical symmetry — round faces, in particular, get visual lengthening from the center line.
3. Side-Swept Fishtail Cornrows
Five or six fishtail cornrows starting from a deep side part, sweeping across the head to converge at the opposite side of the nape. The braids curve gently along the scalp.
The sweeping curve is harder to braid than straight lines. The braider has to maintain the fishtail pattern while also following a curved path — both demands eat into time and focus. Find someone experienced before requesting this one.
The asymmetric finish at the nape leaves one shoulder bare and the other covered with the gathered braids. Pair with off-shoulder tops to lean into the asymmetry.
4. Half-Up Fishtail With Loose Hair
Three or four fishtail cornrows on top of the head, ending at the crown. The bottom half of the hair is left out in its natural texture or in loose twists.
The contrast between the precise top fishtails and the soft bottom hair is the whole point. The fishtails do the visual work; the loose hair adds movement and softness.
This is one of the few protective styles that genuinely works for transitional hair — the period when you’re growing out a relaxer or chemical treatment and have two textures on your head. The fishtails on top hide the demarcation line, and the bottom shows your natural texture.
5. Fishtail Cornrows With Beaded Ends
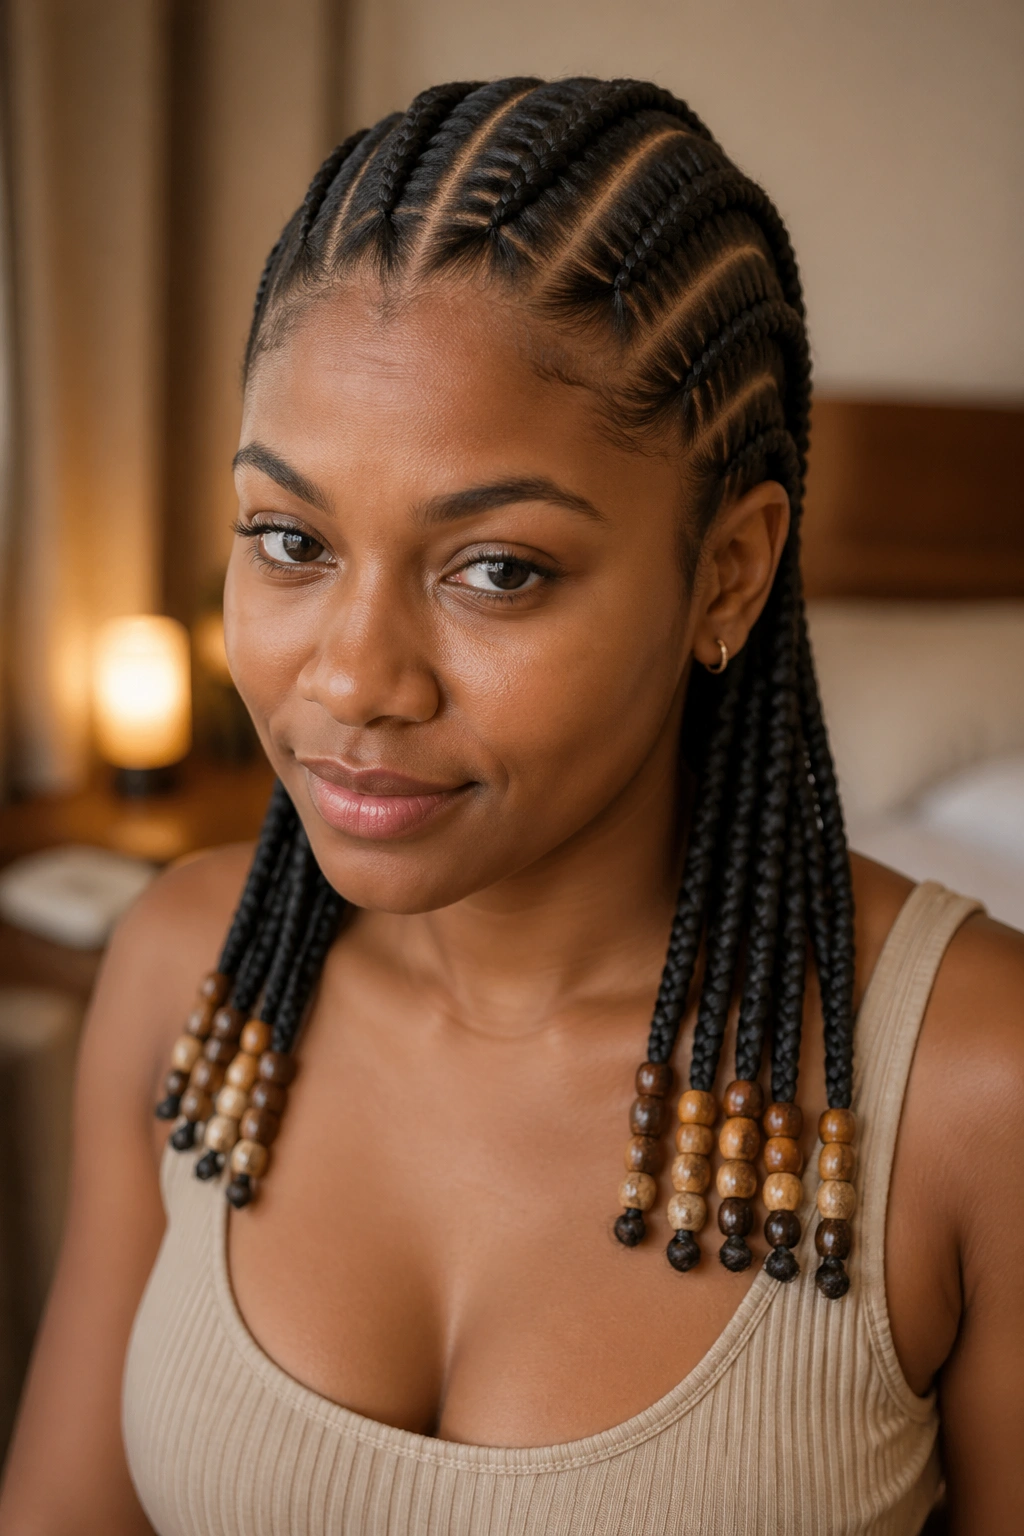
Six fishtail cornrows finished with 4-6 wooden or glass beads on each braid end. The beads click softly when you move.
Bead choice matters more with fishtails because the braids themselves already have so much texture. Simple beads (single color, smooth surface) let the fishtail pattern stay the focus. Patterned beads compete and create visual chaos.
Wooden beads age well — they pick up character with use. Glass beads stay pristine but break easily if dropped.
6. Fishtail With Feed-In Length
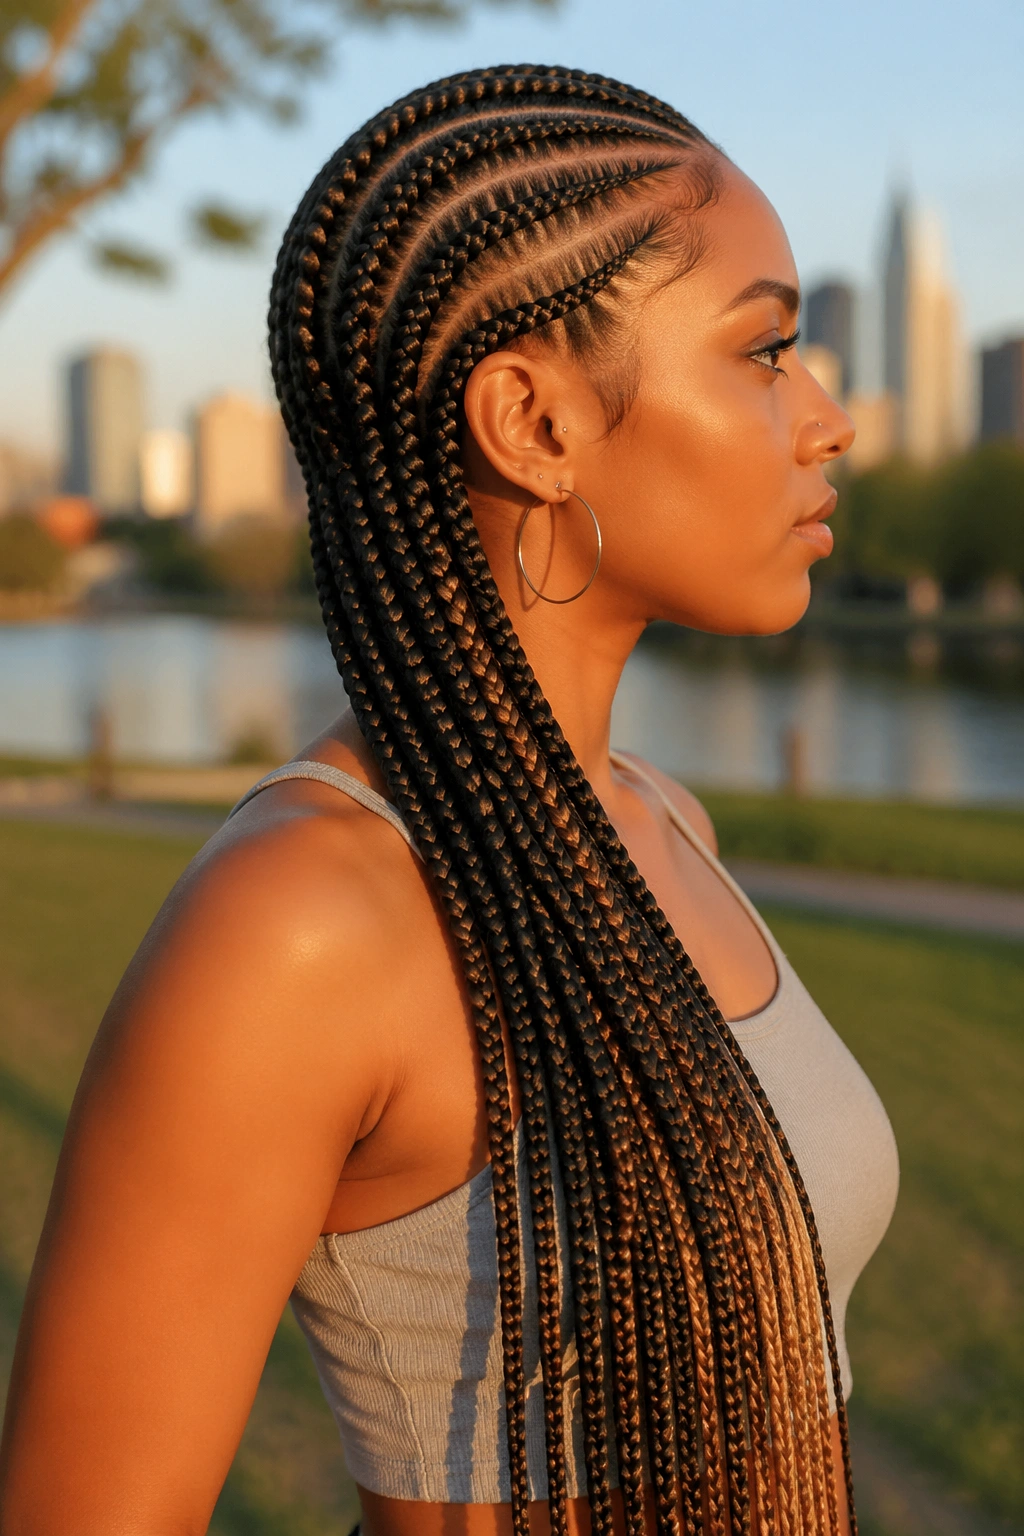
Feed-in technique applied to the fishtail pattern. Extension hair is gradually added as each braid progresses, extending the final length to 18-30 inches.
What Makes It Different
Feed-in fishtails are unusual because most braiders don’t combine the two techniques. The result is a style with the texture of fishtails and the dramatic length of standard feed-ins. Few people will recognize what they’re looking at, which is part of the appeal.
The added extensions need to be pre-stretched and matched closely to your natural color (or chosen as a deliberate color contrast). Mid-tone differences look like accidental fading.
7. Two Jumbo Fishtail Cornrows
Just two large fishtail cornrows, parted down the middle, each one running from the hairline to past the shoulders. Big, dramatic, simple count.
The scale changes the whole feel. Two big fishtails read as bold styling rather than detailed work. The braids themselves become decorative elements you wear like accessories.
This works especially well for shorter wear periods (under 2 weeks) because the large braids loosen faster than small ones. For longer-wear protective styling, go smaller.
8. Fishtail Cornrows With Curved Parts
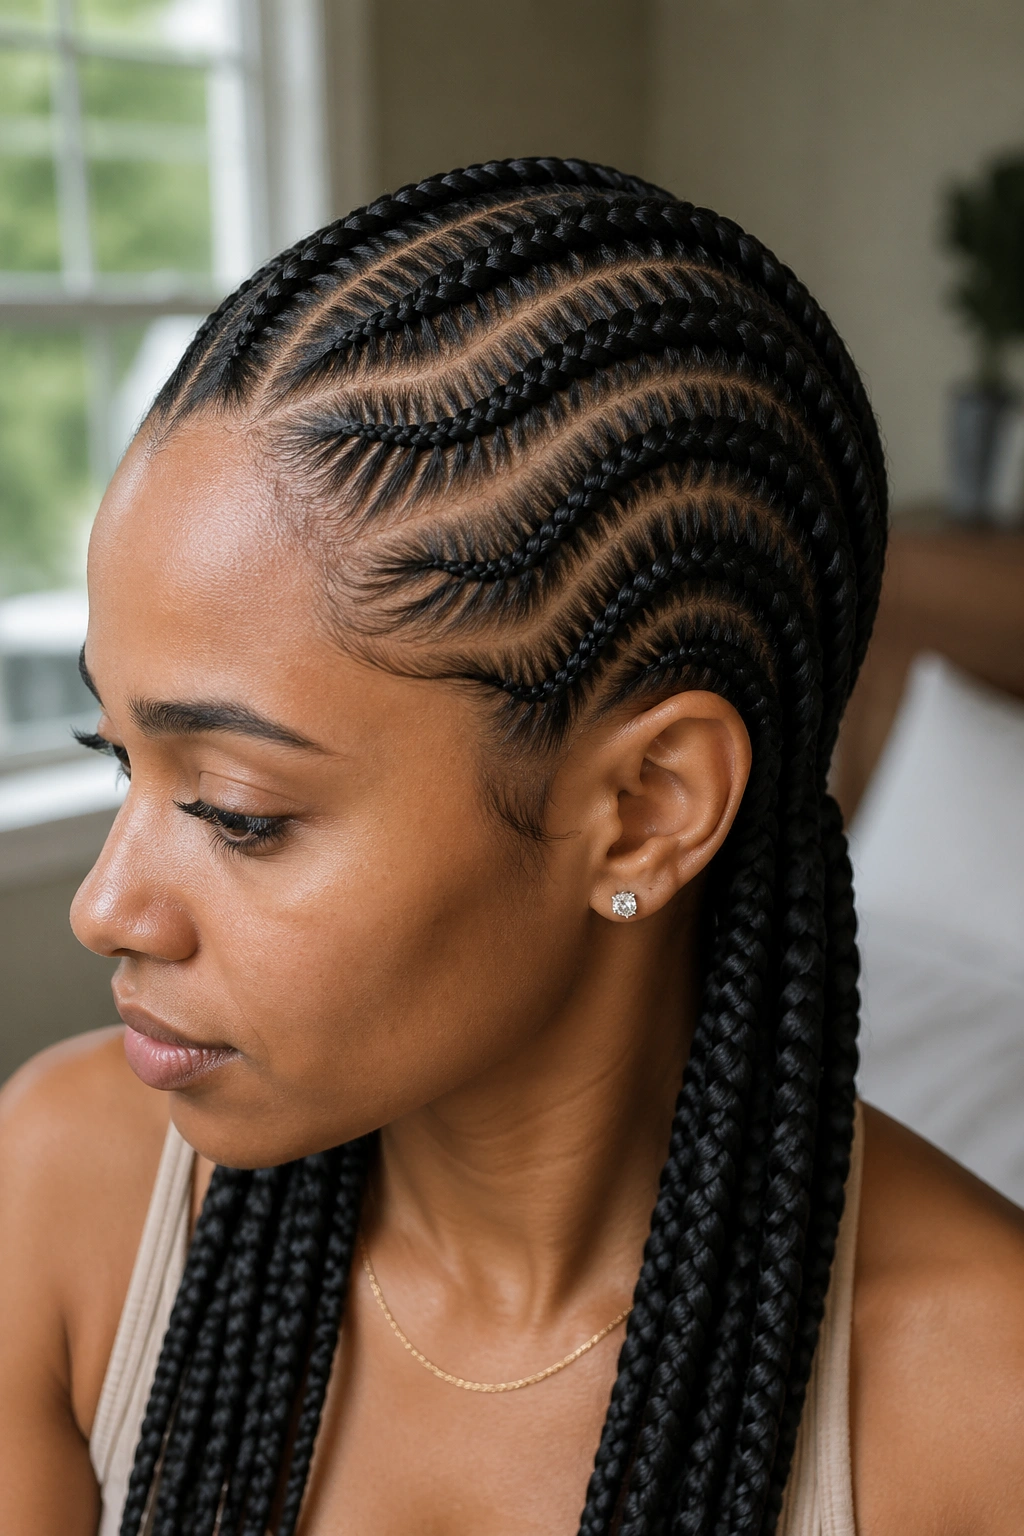
Six fishtails with parts that arc and curve rather than running straight. The pattern looks like swept-back hair frozen mid-motion.
Curved parts add a layer of difficulty on top of the already-complex fishtail braiding. Budget extra time and choose your braider carefully — not everyone can do this.
The curves should be subtle. Aggressive curves fight with the linear nature of the fishtail pattern. Think gentle waves, not zigzags.
9. Fishtail Cornrows With Color Highlights
Some of the braids done in your natural color, others incorporating extension hair in a contrasting tone (caramel, burgundy, honey). The color appears as stripes through the head.
Pick 2 colored braids in a 6-braid setup. Place them asymmetrically — both on one side, or in non-mirroring positions — for a more intentional look. Symmetrical placement (one on each side) reads as too perfect and slightly costume-y.
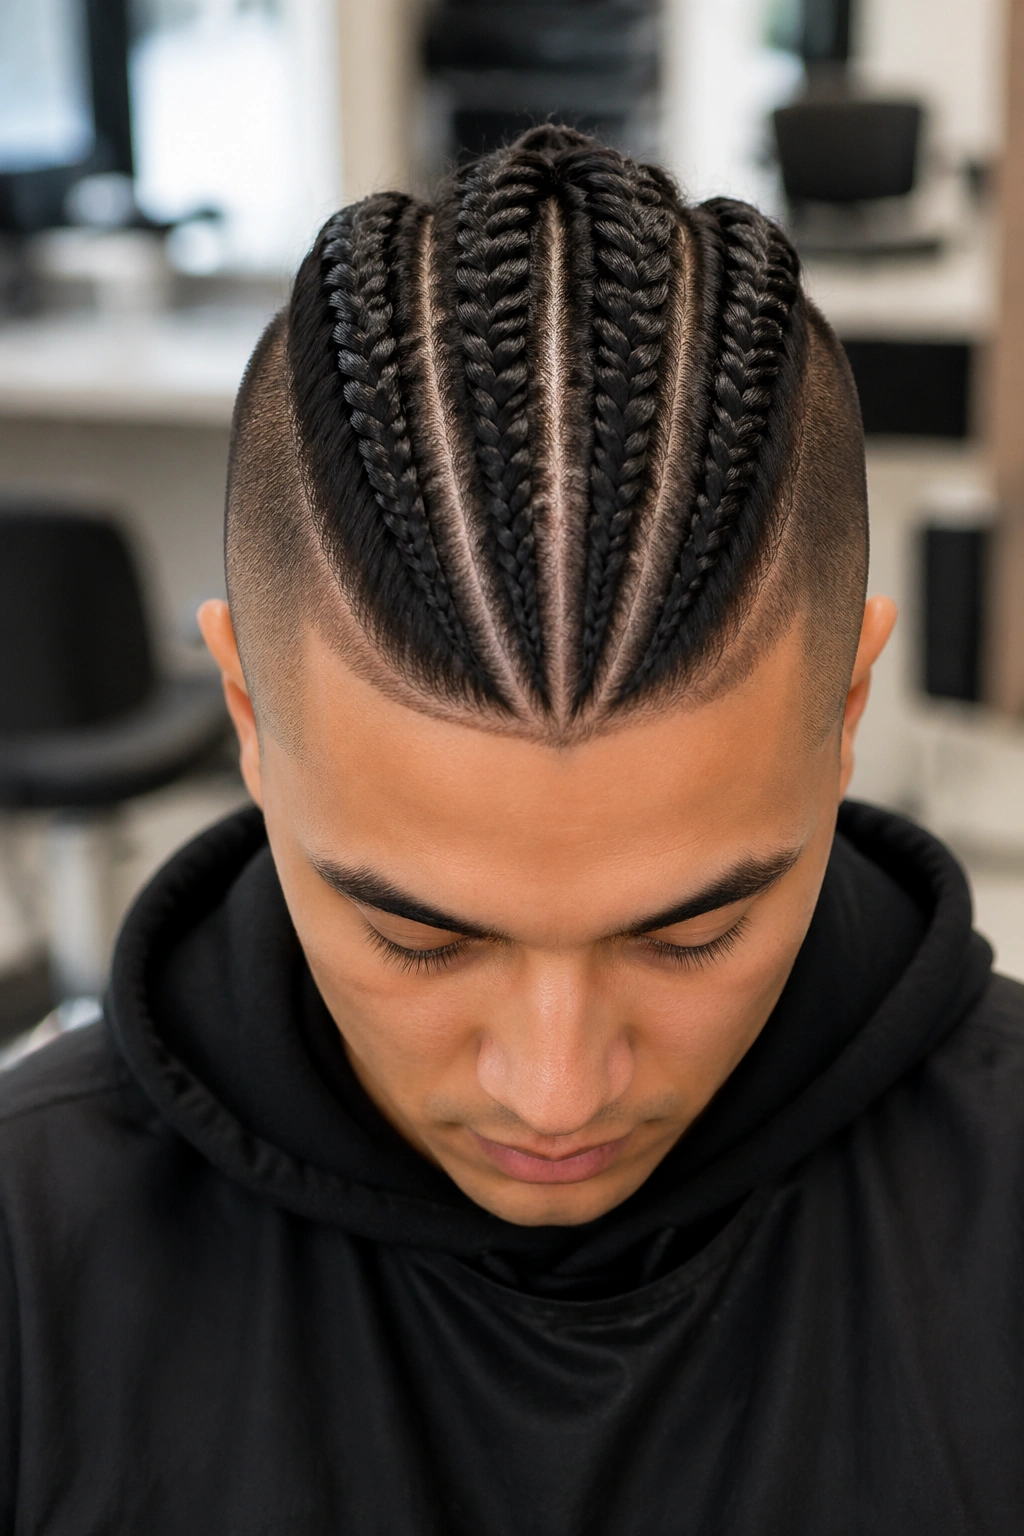
10. Fishtail Cornrow Mohawk
Four to five fishtail cornrows running down the center of the head, with the sides shaved or kept very short. The fishtail pattern becomes a vertical stripe of texture.
This is a commitment style. The shaved sides take weeks to grow back. Don’t try this version if you’re not certain about it.
The fishtails on top should be dense and tight. Loose fishtails on a mohawk look unfinished. Have your braider keep the tension high throughout.
11. Fishtail Cornrows Into Box Braid Tips
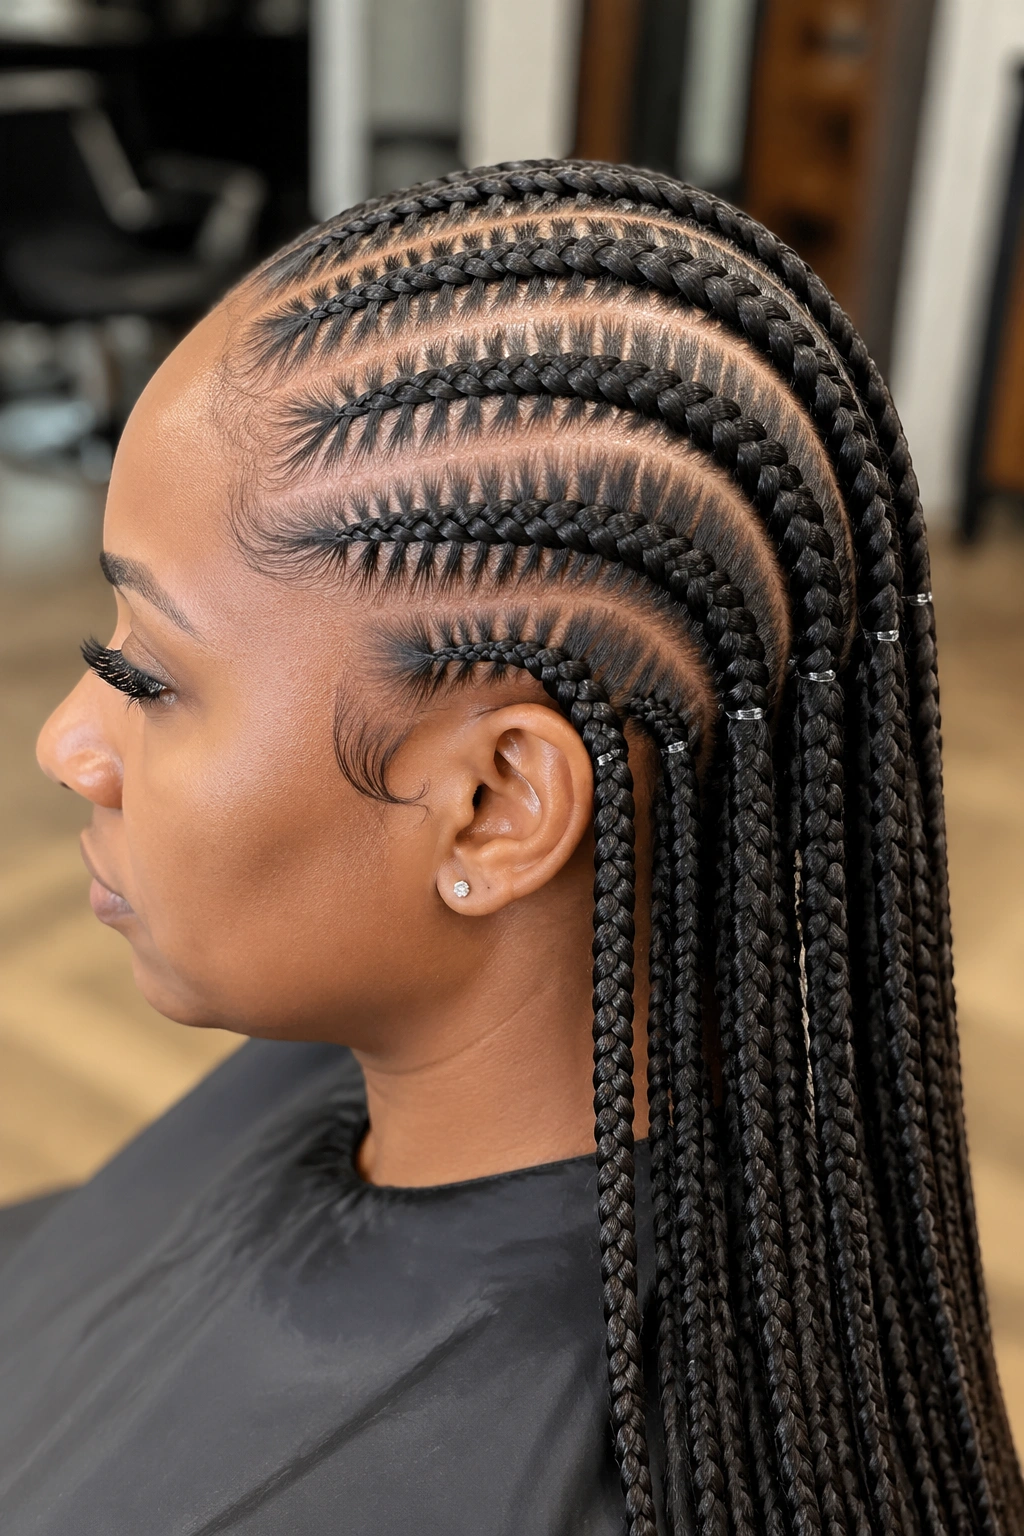
The first 4-5 inches of each braid is fishtail technique against the scalp. After the cornrow leaves the head, the loose hair is converted into individual box braids that hang free.
The transition has to be clean. Ask your braider to finish each fishtail with a small clear elastic, then start the box braid section right at the same point. A visible transition (clear band visible) is fine and even attractive — it shows the technical change.
12. Diagonal Fishtail Cornrows
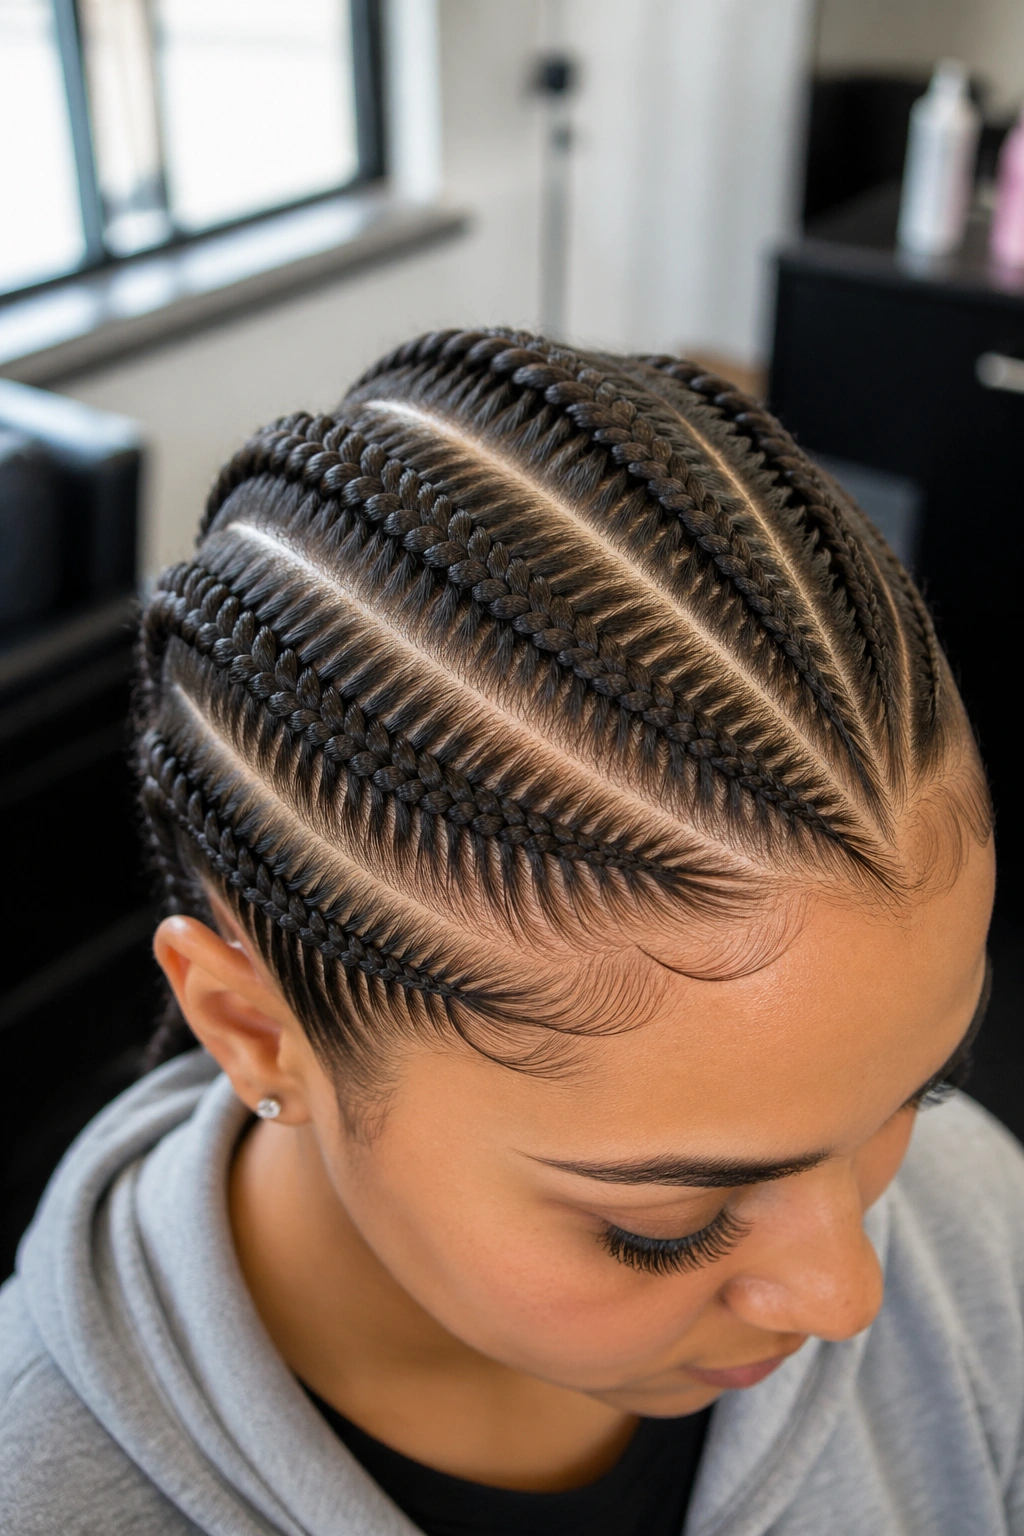
Instead of running front to back, the braids run diagonally across the head from one front corner to the opposite back corner. Six diagonal lines crossing the scalp.
The diagonal layout is unusual and rarely seen. It creates strong visual movement.
This works best on round or square face shapes — the diagonal lines add length visually. On already-long faces, the diagonal can exaggerate the length awkwardly.
13. Fishtail Cornrows With Cuffs
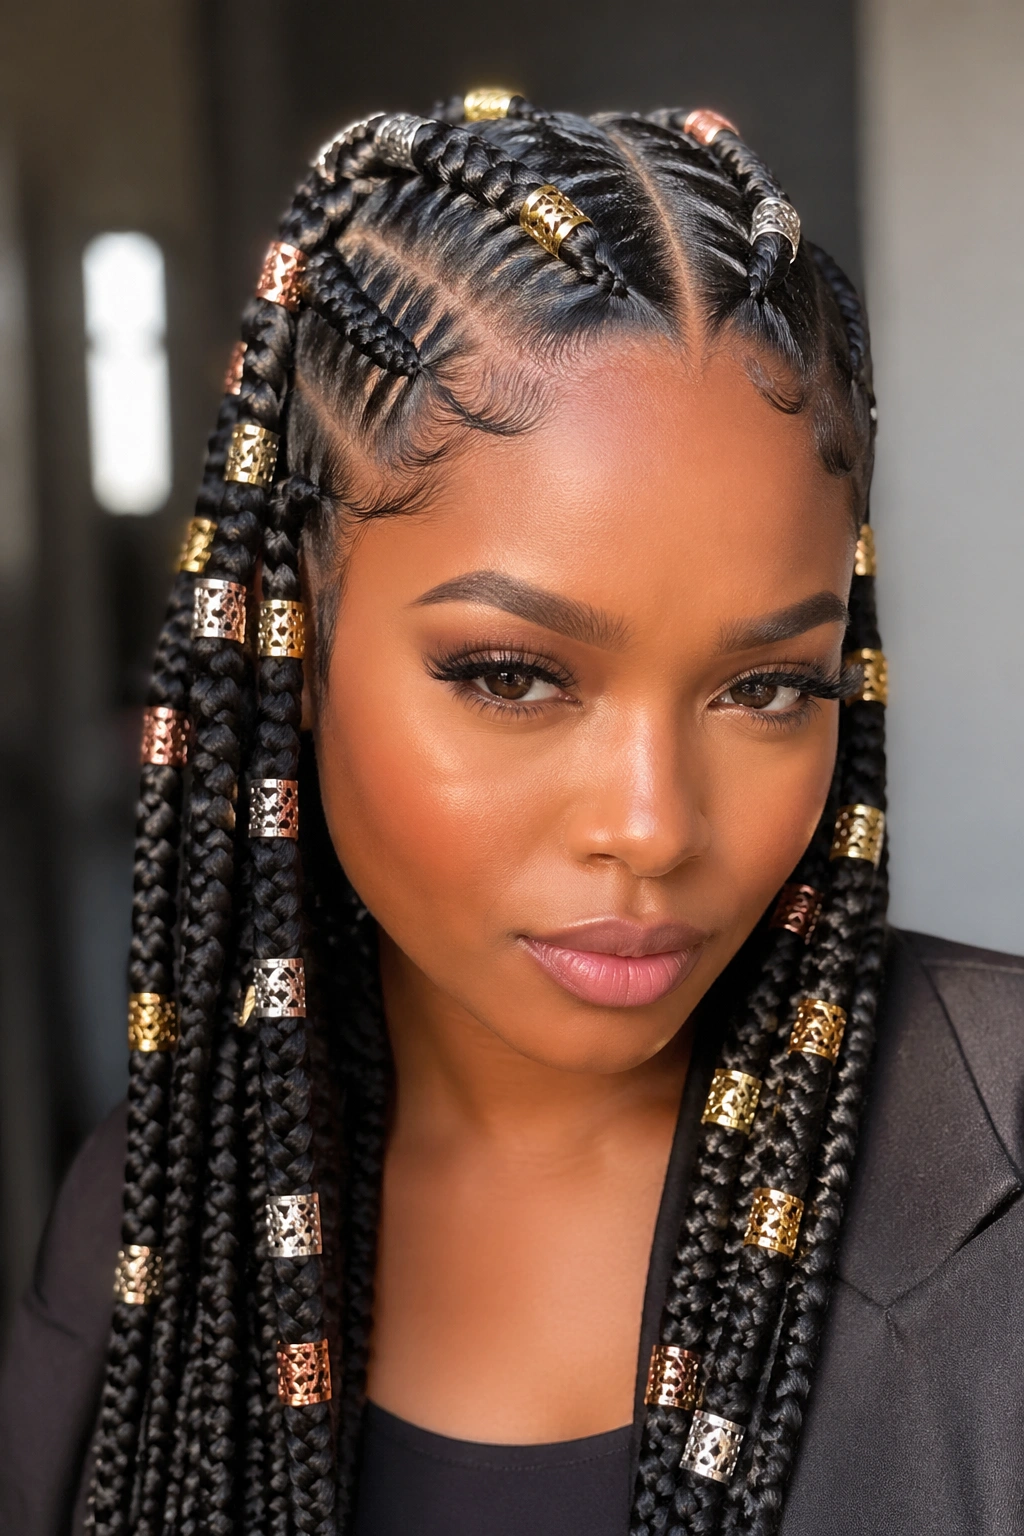
Metal hair cuffs added to the body of each fishtail braid (not just the ends). Three or four cuffs per braid, spaced evenly along the length.
How to Use It
The cuffs add weight and visual punctuation. They also catch the light, drawing attention to the woven pattern of the braid underneath.
Mixed metal cuffs (some gold, some silver, some rose gold) feel more intentional than matching ones. Pick three metal tones that work together and scatter them.
Watch for snagging. Cuffs with rough edges catch on fabric. File any rough edges down with a nail file before use. One bad cuff can put a hole in a sweater.
14. Asymmetric Fishtail With One Pulled Forward
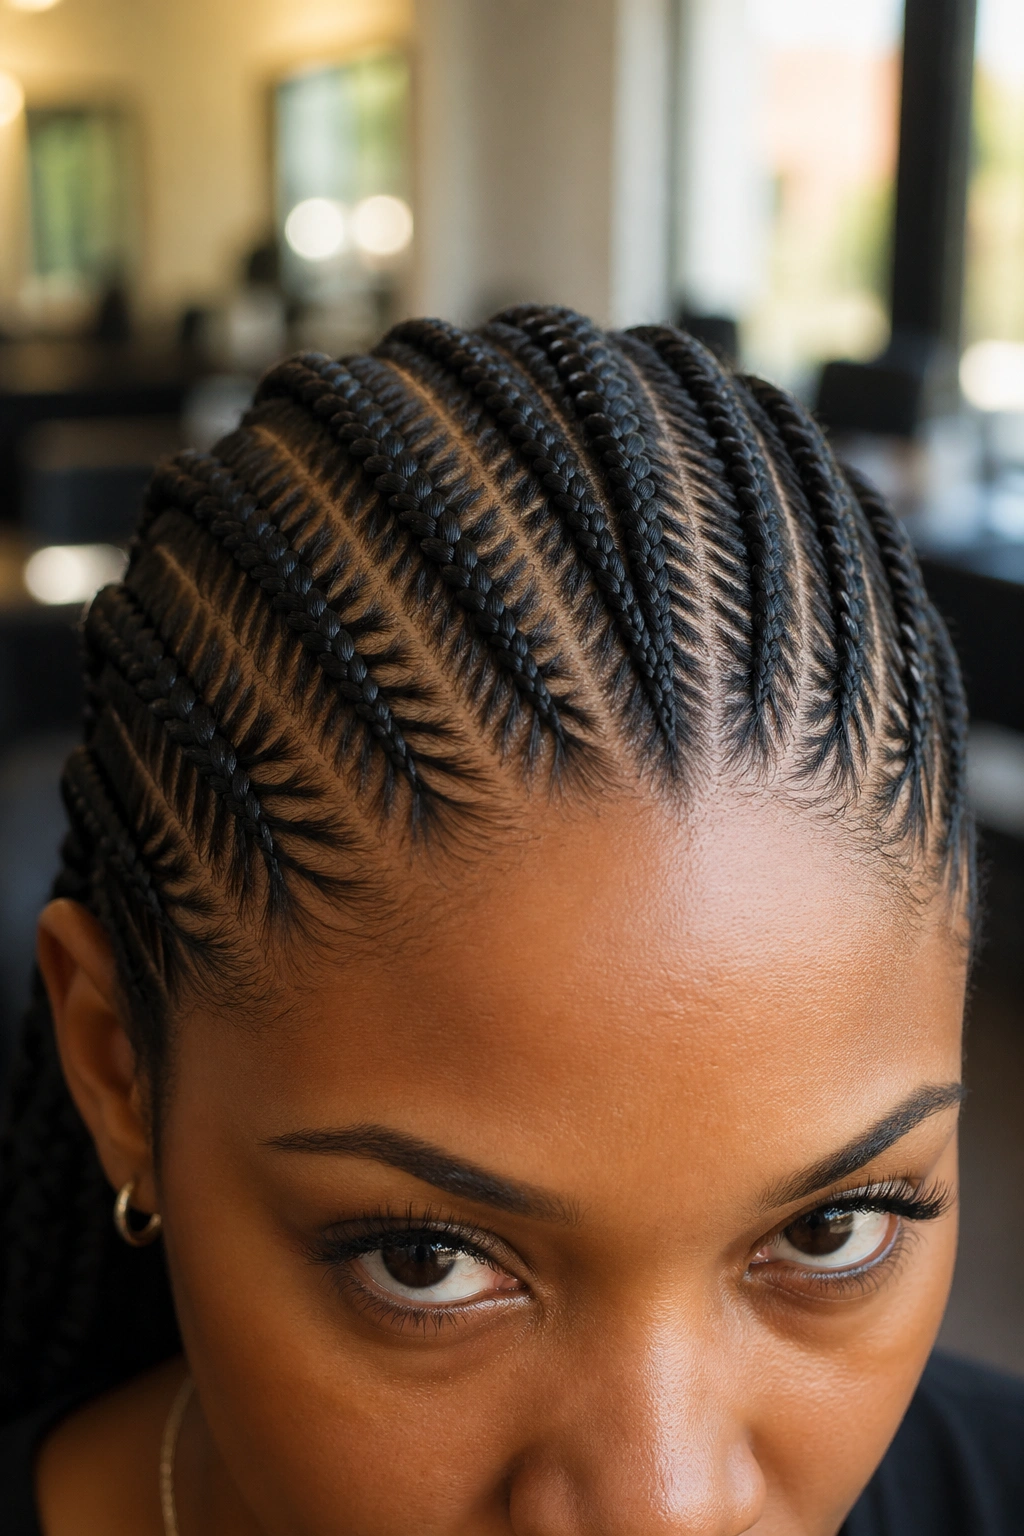
Five fishtail cornrows on one side of the head, all running back, plus one larger fishtail braid pulled forward across the forehead like a soft headband. The forward braid frames the face.
The forward braid takes some scalp tension. Make sure the braider doesn’t pull it too tight at the front — your skin doesn’t take well to constant outward pressure.
This is a romantic, slightly vintage-feeling style. It pairs well with soft makeup and looks great in photographs from the front.
15. Fishtail Cornrows With Geometric Shaved Designs
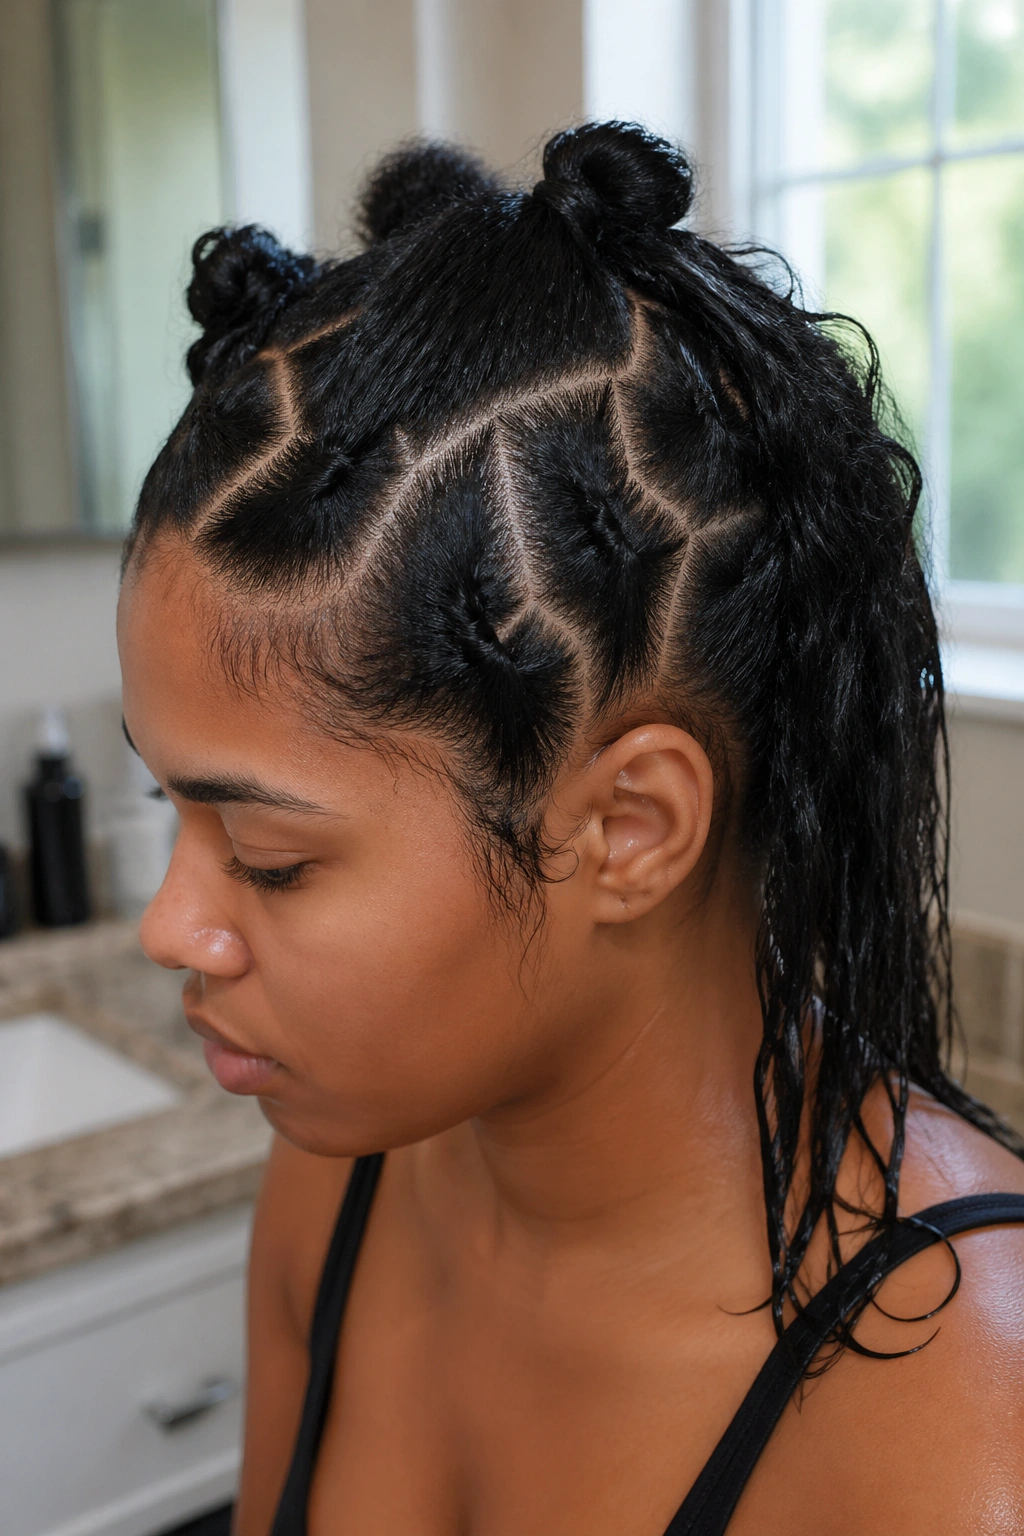
The fishtail braids cover the top of the head. The shaved sides feature geometric razor designs — straight lines, triangles, curves.
The shaved designs and the fishtail pattern have to balance. If the fishtails are intricate, the shaved design should be simple. If the shaved design is detailed, the fishtail count should be lower (4 instead of 6).
Plan to have the shaved areas cleaned up every 2 weeks. Stubble starts to obscure the designs within 10 days.
16. Fishtail Crown Braid
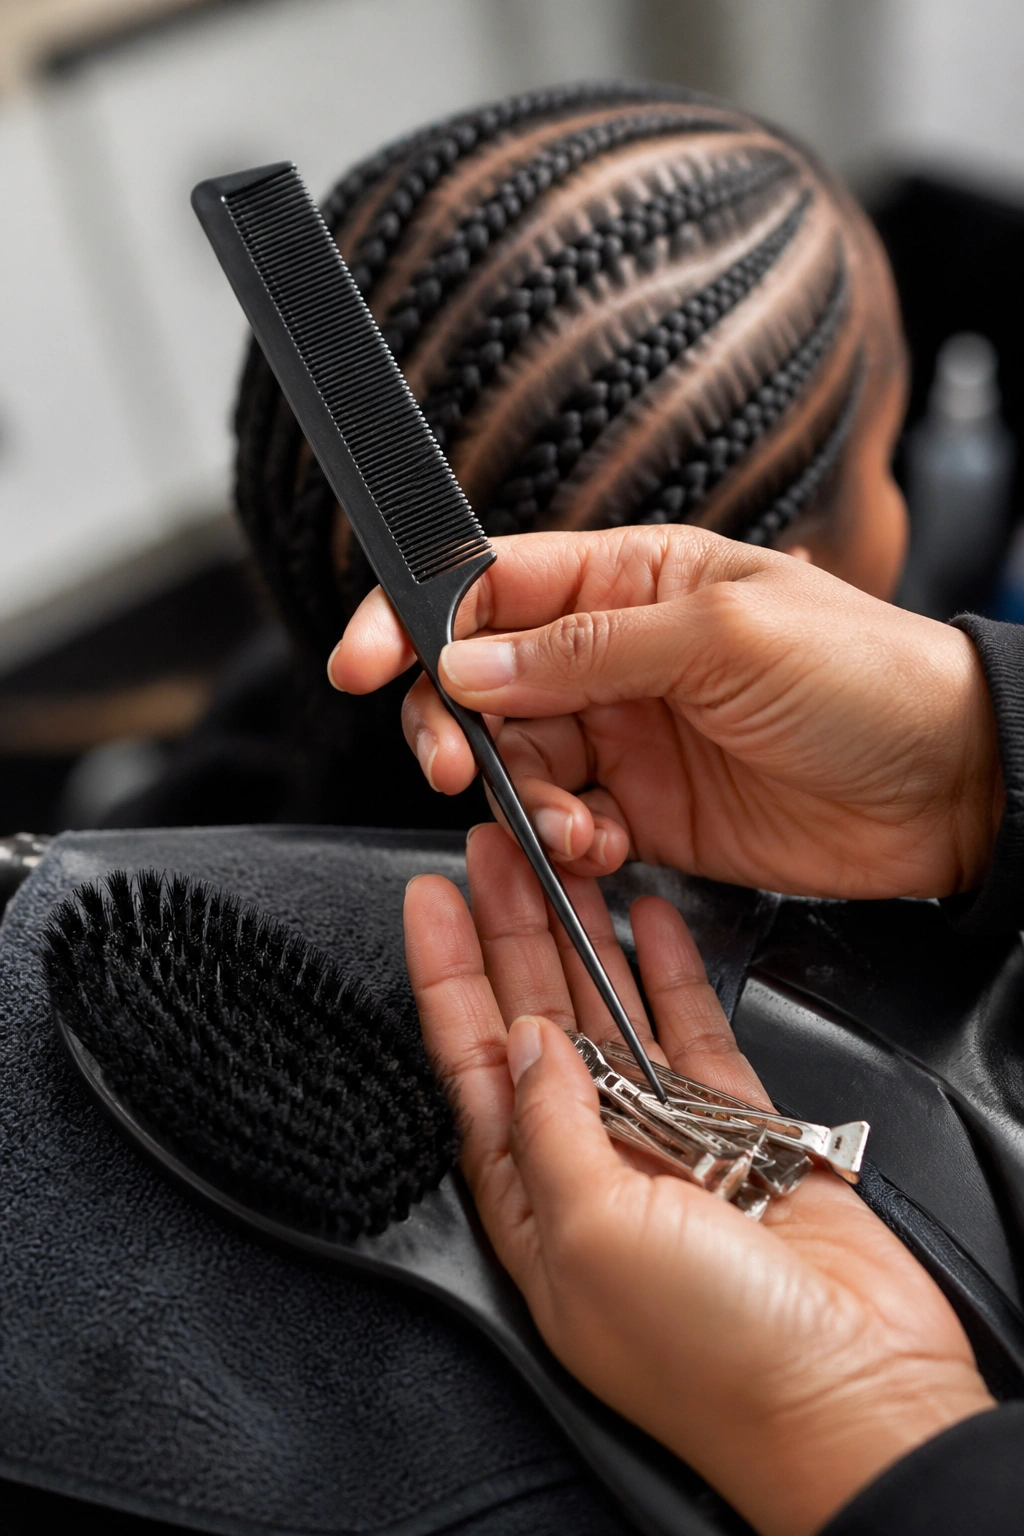
A single thick fishtail cornrow that wraps around the head like a halo. The rest of the hair beneath the crown is either left loose, gathered into a low bun, or styled with smaller flat braids.
Crown braids need length. The braid has to start at one ear, travel up and over the top of the head, and meet at the opposite ear (or wrap fully back to the starting point). Most heads need at least shoulder-length hair, with extensions sometimes added to extend the crown.
17. Fishtail Cornrows With Ribbon Woven In
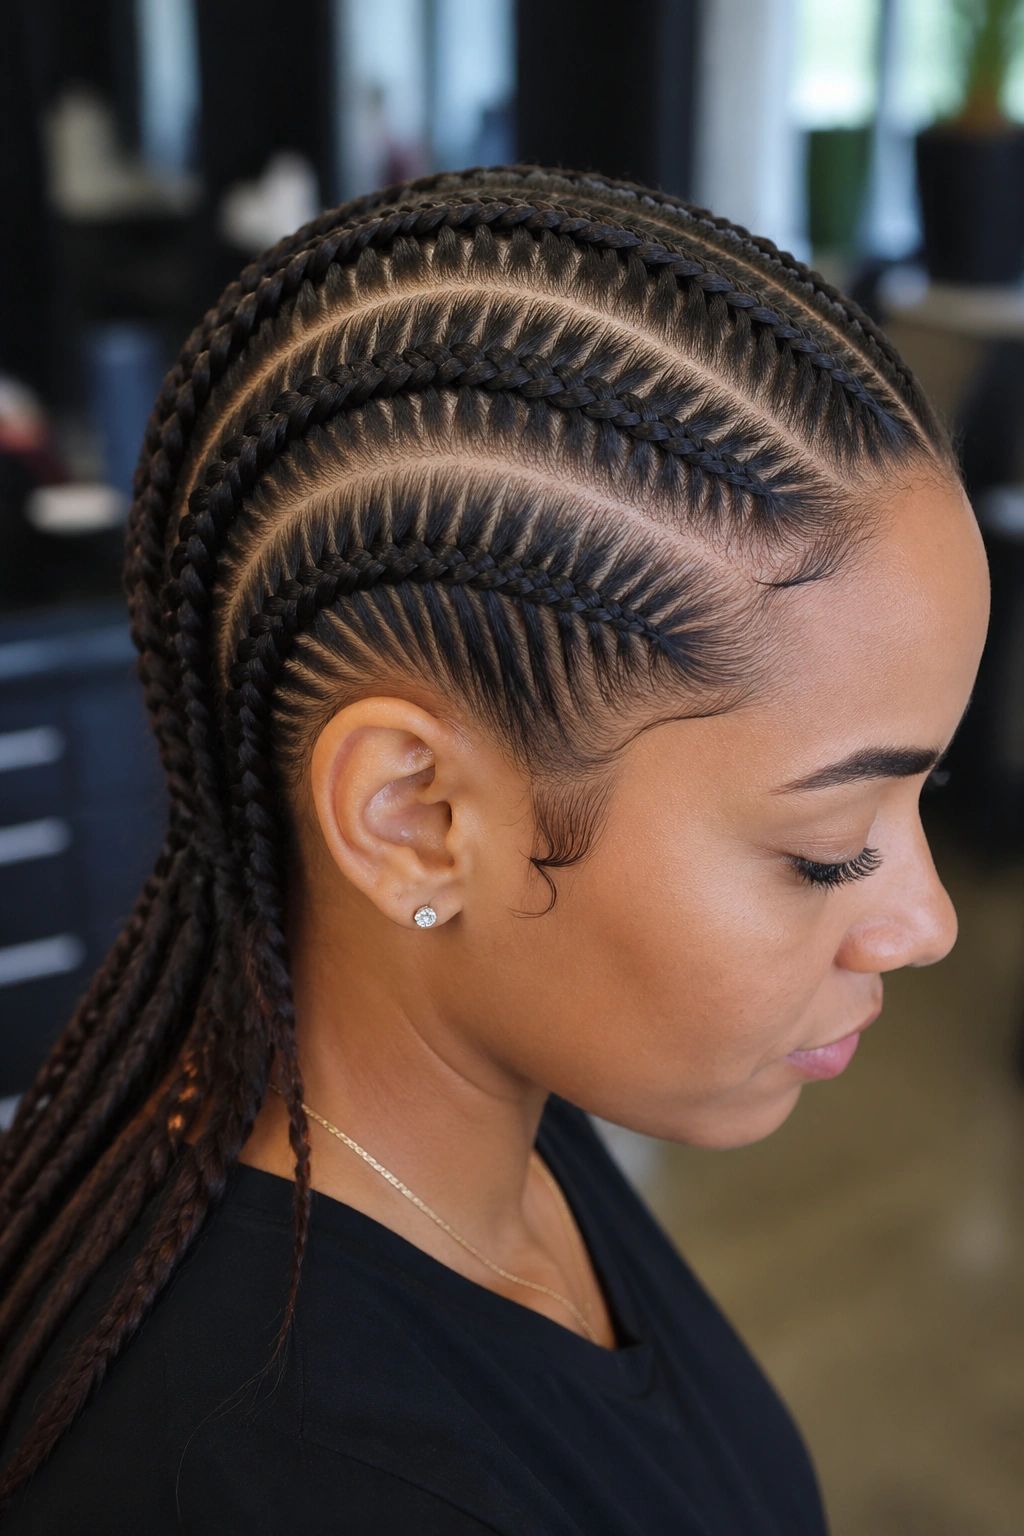
Thin satin or grosgrain ribbon woven through the fishtail pattern as the braid is created. The ribbon shows in flashes along the length, creating a delicate accent.
Use ribbon roughly half the width of the braid itself. Wider ribbon dominates and obscures the fishtail pattern. Thinner ribbon disappears entirely.
Ribbon-woven styles don’t last as long. Friction wears the ribbon down within 2 weeks. Plan accordingly — this is a style for events or short wear periods, not 6-week protective styling.
18. Fishtail Cornrows With Triangle Parts
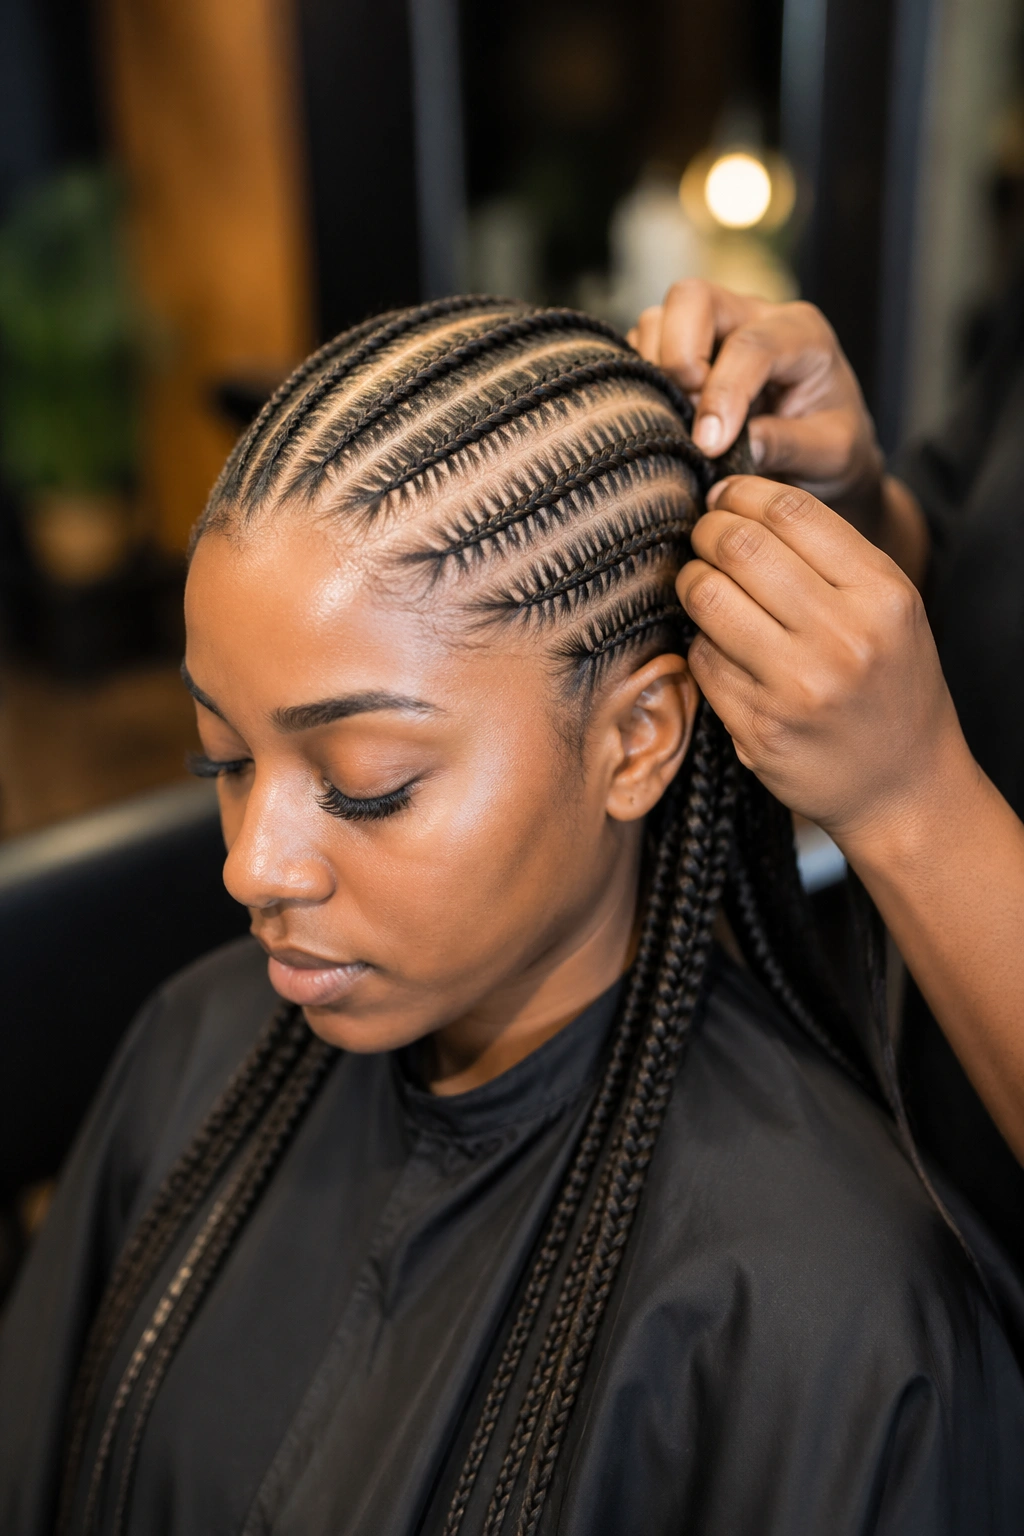
Each fishtail starts from a triangular base part rather than a rectangular one. The triangle bases create a zigzag visual at the hairline.
Triangle parts are popular for individual braids but rarely combined with cornrows. The geometric base meets the linear braid in a way that’s unusual to see.
The triangle bases also distribute hair more evenly than rectangular parts, which can reduce the tension on any single point of the scalp. Useful for anyone with sensitivity.
19. Side-Swept Fishtail Updo
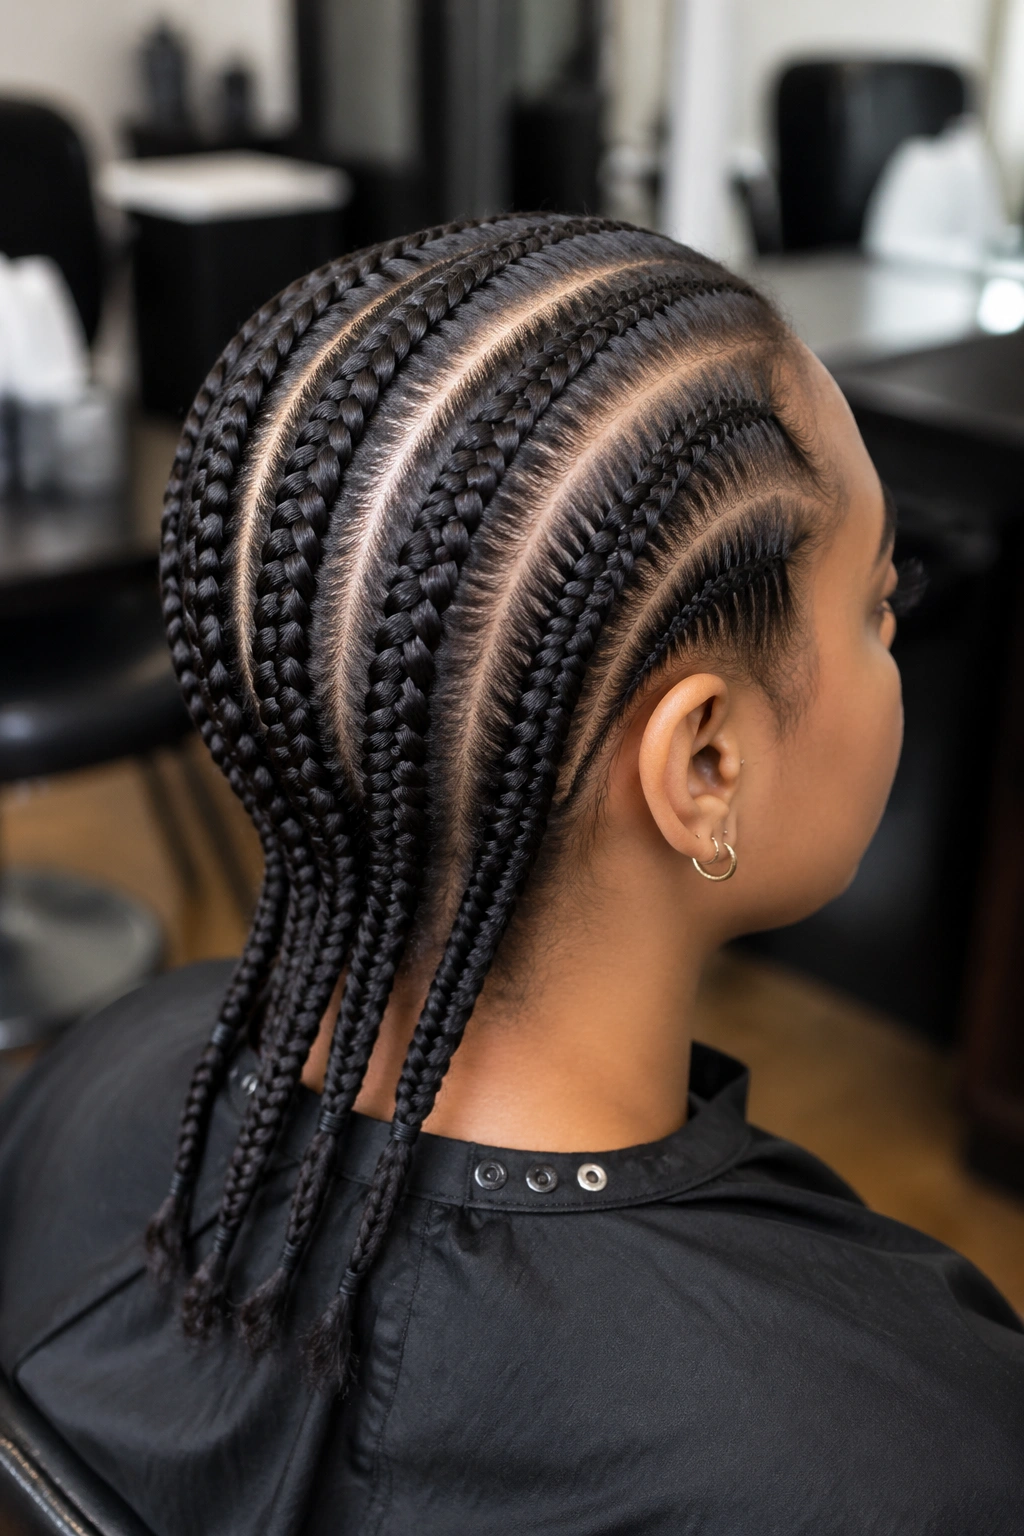
Fishtail cornrows sweep from one side of the head to the other, then gather into a low side bun behind the opposite ear. The whole style sits asymmetric.
This is an event style. It looks polished and intentional, photographs well from multiple angles, and pairs with formal wear. It also takes longer to install than most everyday styles.
The bun should be somewhat structured rather than messy. The fishtail pattern leading into it implies precision, and a casual bun breaks that expectation.
20. Mixed Fishtail and Standard Cornrows
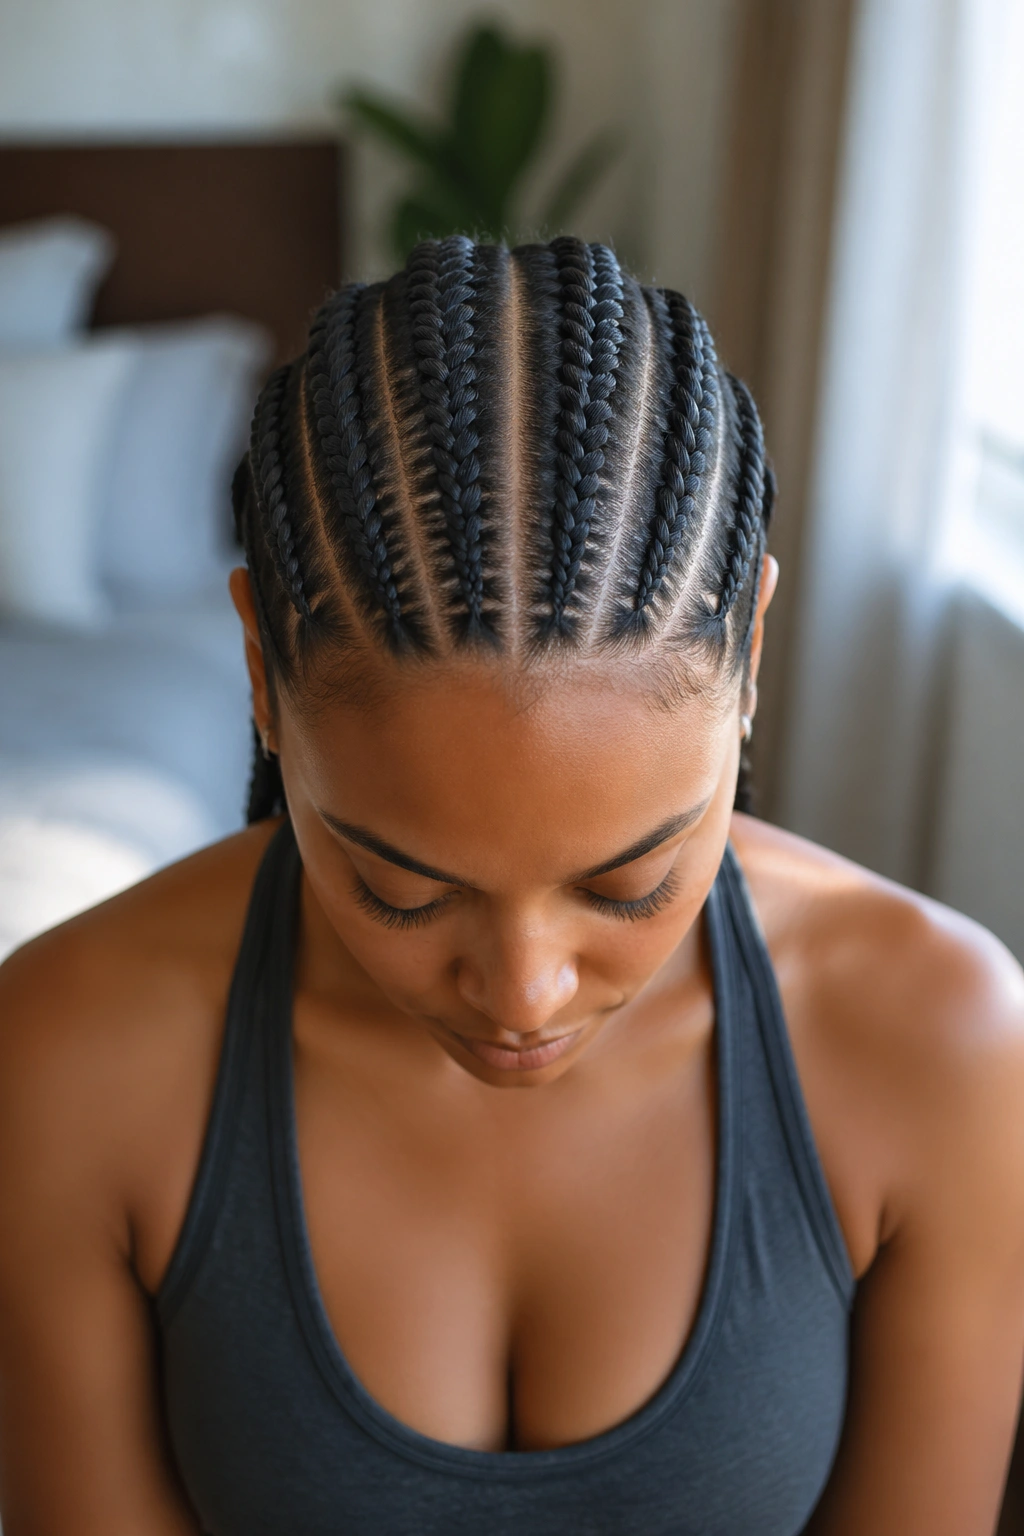
Three fishtail cornrows alternating with three standard cornrows across the head. The alternating texture creates visual rhythm.
The thickness of the two braid types should match. If the fishtails are medium-width, the standard cornrows should be the same width. Mismatched widths look like a styling error.
This is a good introduction for braiders who are learning fishtail technique. They can do half the head in their familiar standard cornrow style and use the other half to develop fishtail muscle memory.
21. Fishtail Cornrows With Decorative Pins
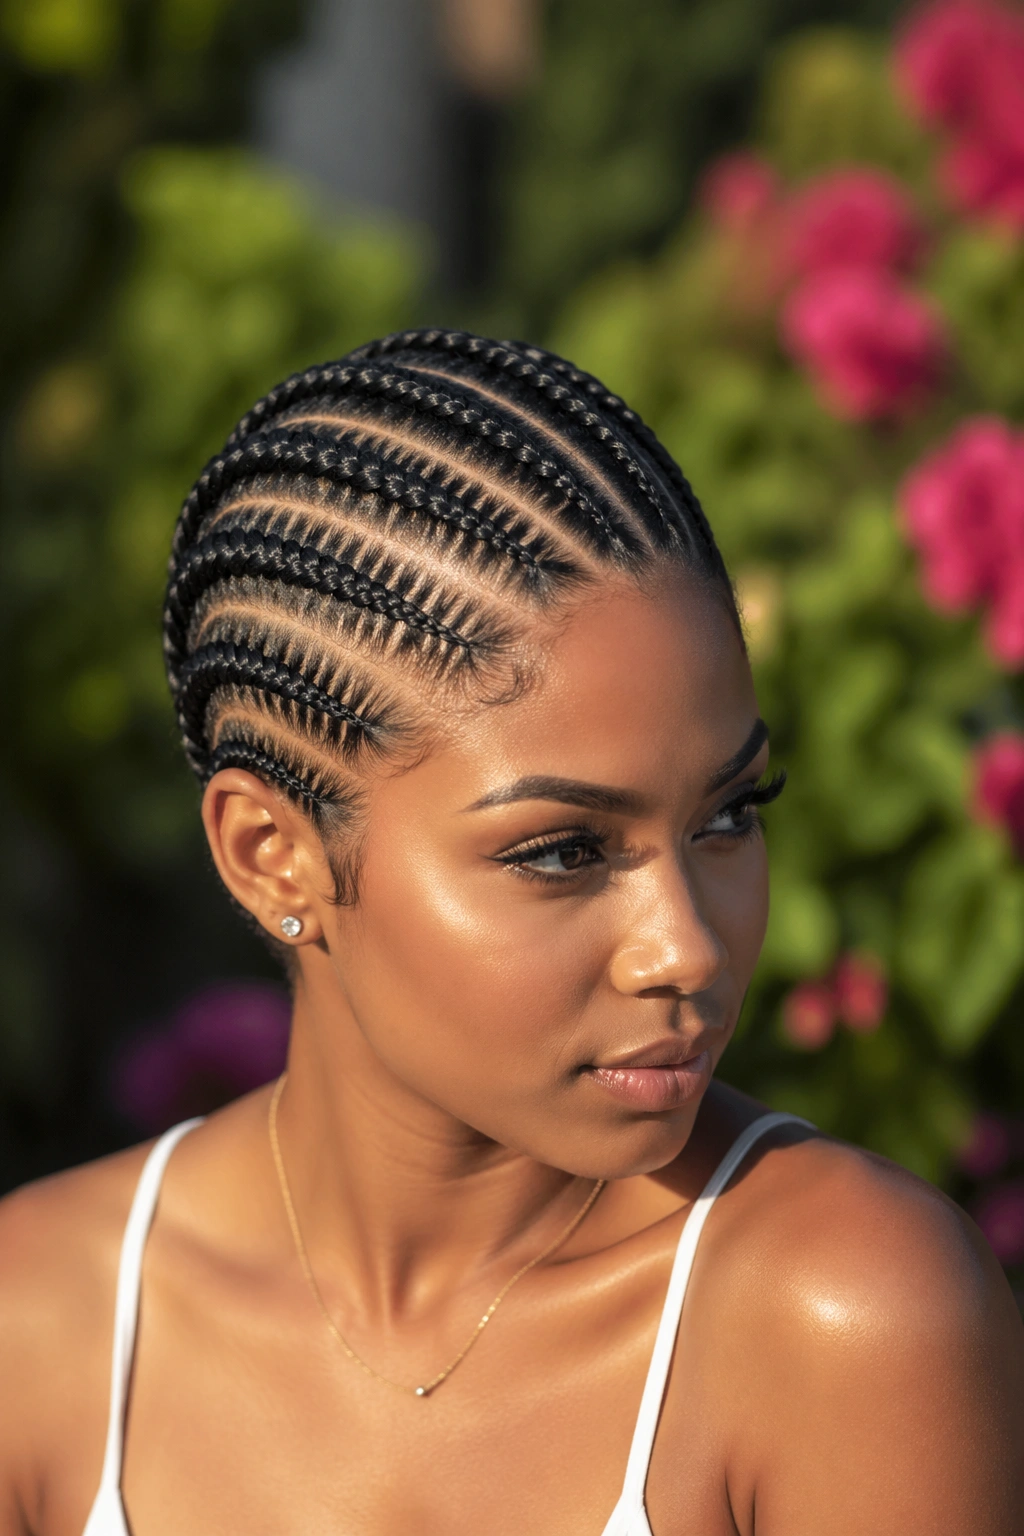
Plain six-braid fishtail layout with decorative metal pins (sometimes called hair pins or hair sticks) inserted into the braids at specific points.
Styling Tips
Choose pins with flat decorative tops — pearls, gemstones, geometric shapes. Avoid pins with long dangling elements that swing and snag.
Place pins symmetrically for formal looks (matching pins on both sides) and asymmetrically for casual styling. Both approaches work; the choice depends on the occasion.
The pins should be inserted after the braids are complete. Inserting during braiding leads to misaligned placement.
22. Full Head of Micro Fishtail Cornrows
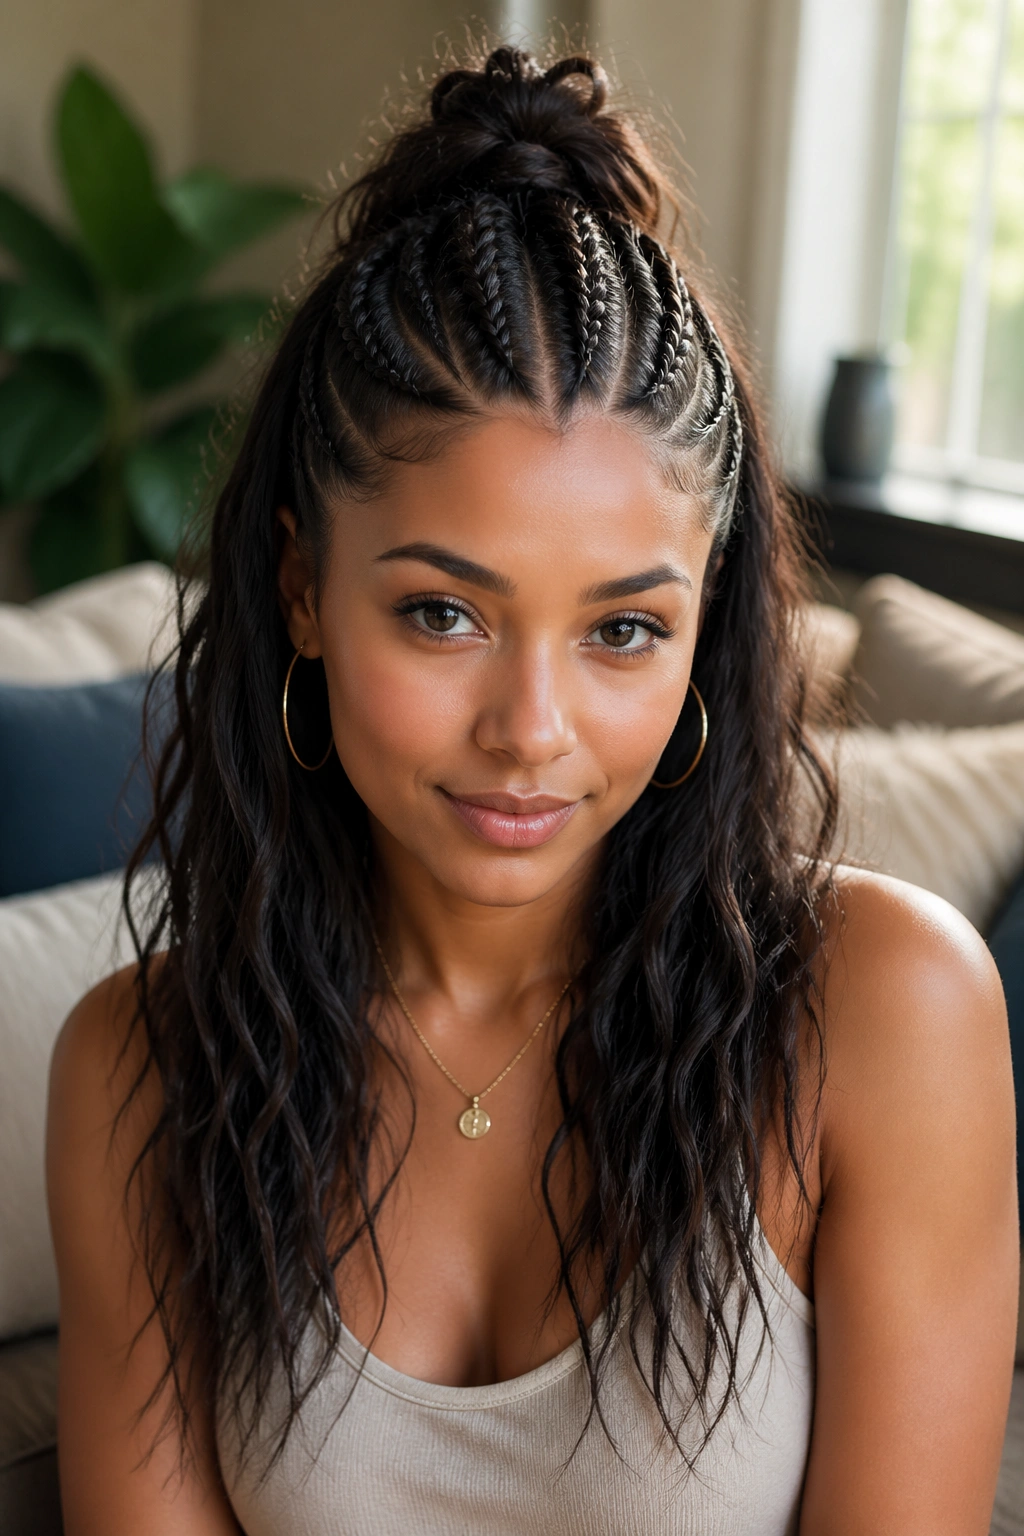
The maximalist version. 12-15 micro-sized fishtail cornrows covering the entire head. Each braid is finger-thin. The texture is dense, almost like a textured cap.
This is a serious time commitment. Budget 8-10 hours for braiding. Some braiders won’t even take this on — the eye strain is real.
The finished look is sculptural. The whole head reads as one continuous textured surface rather than individual braids. From across a room, it looks like a hat made of hair.
Wears for 6-8 weeks if maintained well. Don’t bother with this scale if you’re only planning a 2-week style.
Maintenance That Actually Works
Fishtail cornrows need lighter maintenance than standard cornrows. Heavy product saturates the textured weave and dulls the pattern. Stick to mist-and-go.
Mist with a water-and-leave-in mixture every other morning. Use a small spray bottle with maybe 1 tablespoon of leave-in to a cup of water. Light coverage. The braids should feel slightly damp, not wet.
Sheen spray once a week, applied 12 inches away from the head and allowed to drift onto the braids. Direct application creates greasy spots.
Edge gel only on the hairline. Don’t try to maintain the body of the braids with edge gel — it builds up and obscures the fishtail pattern within days.
Scalp Care for Long Wear Periods
The longer you wear fishtail cornrows, the more attention the scalp needs. Buildup happens whether you can see it or not.
A weekly scalp rinse keeps things moving. Mix 2 tablespoons of apple cider vinegar with a cup of water in a squeeze bottle. Apply along each part line, working slowly. Massage gently with fingertips for 60 seconds, then rinse with cool water (or wipe with a damp cloth if rinsing isn’t practical).
Follow with 4-5 drops of jojoba oil applied with a dropper to the part lines. Do not slather — too much oil will sit on top of the braids and look greasy for days.
If your scalp itches persistently, the issue is almost always buildup. Stronger shampoos, more frequent washing, or a clarifying treatment usually resolve it within a week.
Sleep Care That Preserves the Pattern
Fishtail cornrows lose their pattern crispness faster than standard cornrows when not protected at night. The textured weave catches on cotton and frays at the surface.
Wear a satin or silk bonnet. Tie a scarf over the bonnet for extra security if you move a lot in your sleep. Cotton pillowcases — even soft ones — will undo a fresh braid pattern within a week.
A morning smoothing with a wet toothbrush and a tiny dab of edge gel along the braid surface restores any loss of definition.
Taking Down Fishtails Without Damage
Fishtails are slightly trickier to take down than standard cornrows because the woven pattern resists easy unraveling.
Start at the very tip. Find the small transferring piece on one outer edge and pull it free. Then alternate: pull from one side, then the other, working up the length of the braid. Don’t try to “uncross” multiple pieces at once.
Apply conditioner generously throughout the takedown. The slip helps the small pieces release.
Budget twice the takedown time you’d plan for standard cornrows. A full head of fishtails takes 3-4 hours to remove carefully.
When Fishtails Are the Wrong Choice
Fishtails aren’t right for every situation. A few cases to skip them:
If you’re not committed to a longer install time, get standard cornrows instead. Fishtails take significantly more time to braid and will frustrate you (and the braider) if you’re impatient or short on hours.
If your hair is very fine or thin, the fishtail pattern won’t read well. The textured weave needs density to show clearly. Fine hair will look like it’s missing something.
If you’re planning a workout-heavy week, the textured surface attracts sweat residue faster than smooth braids. Standard cornrows handle exercise periods better.
If you have very sensitive skin, ask the braider to keep tension lighter than usual. Fishtails are often pulled tighter than standard cornrows because the technique demands it, and that extra tension can aggravate sensitive scalps.
Common Errors That Show Up
Three errors come up often with fishtail cornrows:
Inconsistent transfer piece sizes. Some pieces big, some pieces tiny. The braid pattern becomes irregular and reads as poor work even if the rest of the technique is fine.
Loose tension at the root. Fishtails need a tight start to set the pattern. A loose root leads to a sloppy-looking braid that gets worse over time.
Over-styling on top of the pattern. The fishtail weave is detailed enough on its own. Adding heavy accessories, bold color contrasts, and elaborate parting all at once creates visual noise. Pick one or two design elements and let the fishtail pattern carry the rest.
The right fishtail cornrow style suits your hair density, your time commitment, and your occasion. Match those three honestly, find a braider who knows the technique, and the result is a style with a level of craft that most other braids can’t match.
