



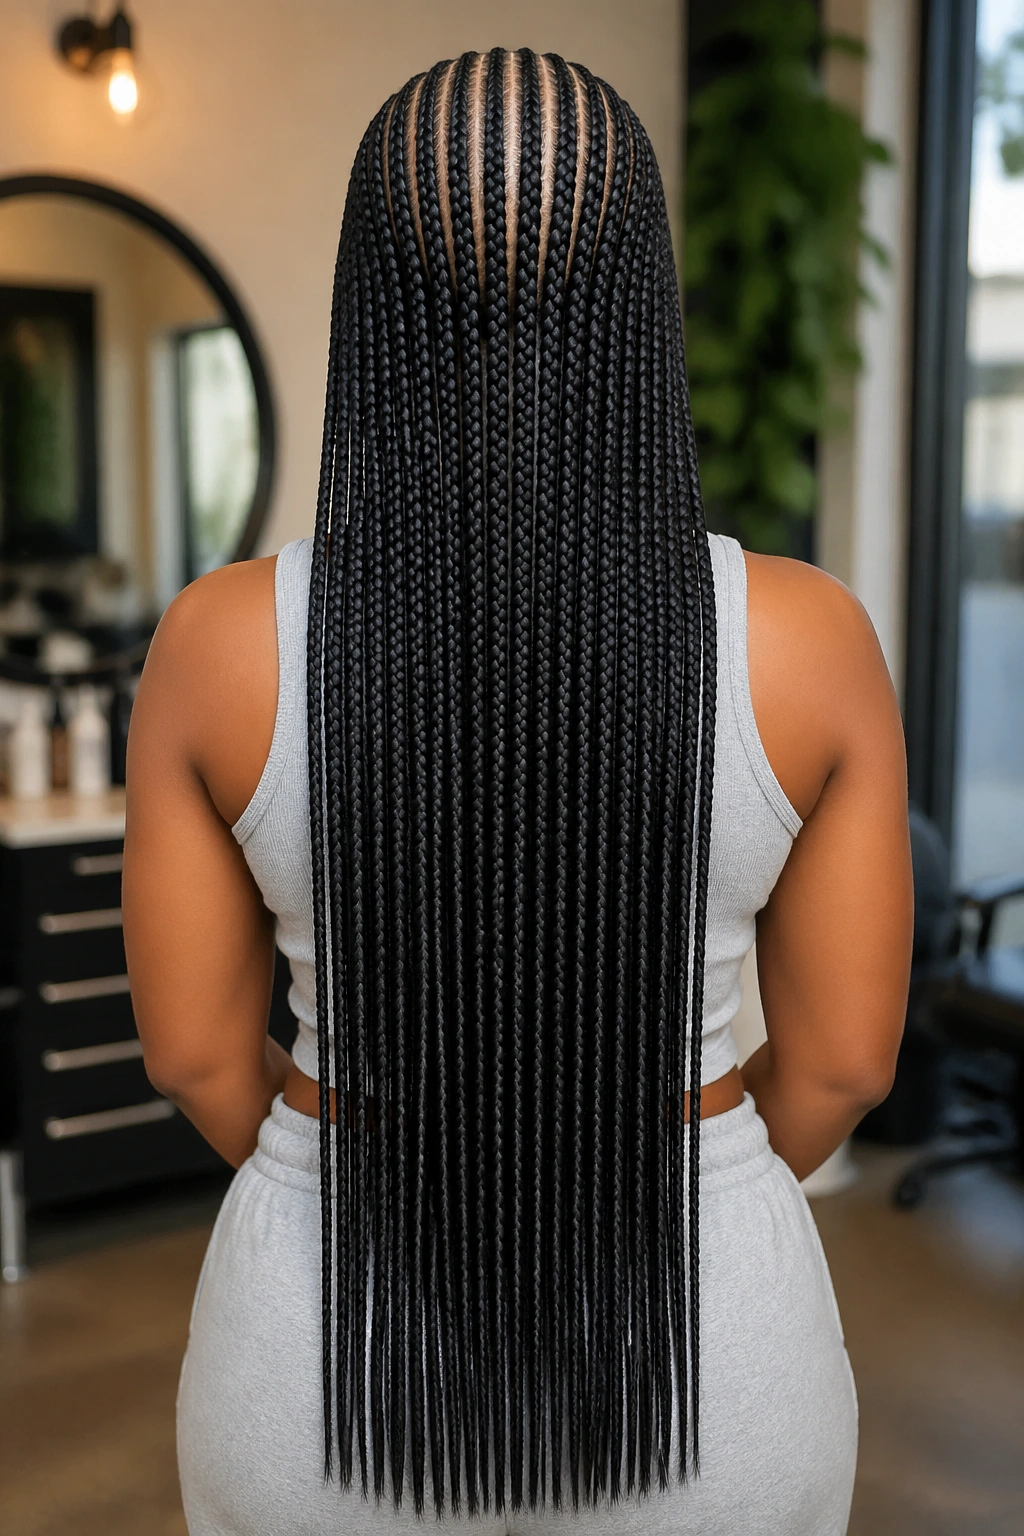
Straight back cornrows with extensions deliver the cleanest silhouette in all of protective styling. Neat parallel rows from hairline to nape, extended out to any length you like, with none of the fussy patterns that demand touchups every few days. This is the workhorse style — the one you wear when you need to look together for two solid weeks, don’t want to fuss with it, and still want that drama of waist-length braids swinging behind you when you walk.
The “straight back” part sounds simple. The extensions part is where it gets interesting. Length, thickness, feed-in versus standard attachment, kanekalon quality, sealing method — every choice affects how the finished style looks, moves, and lasts.
What “Straight Back” Actually Means
A true straight-back cornrow travels in a perfectly parallel path from the front hairline directly to the nape with zero curvature. No Z-patterns. No fishtailing sides. No center-parted swoops. Just straight lines.
The parts between the rows should be equally straight, running parallel to each braid. When you look down at the top of your head, you should see a series of neat vertical stripes — braid, part, braid, part, braid, part. That’s the visual contract of a straight-back style.
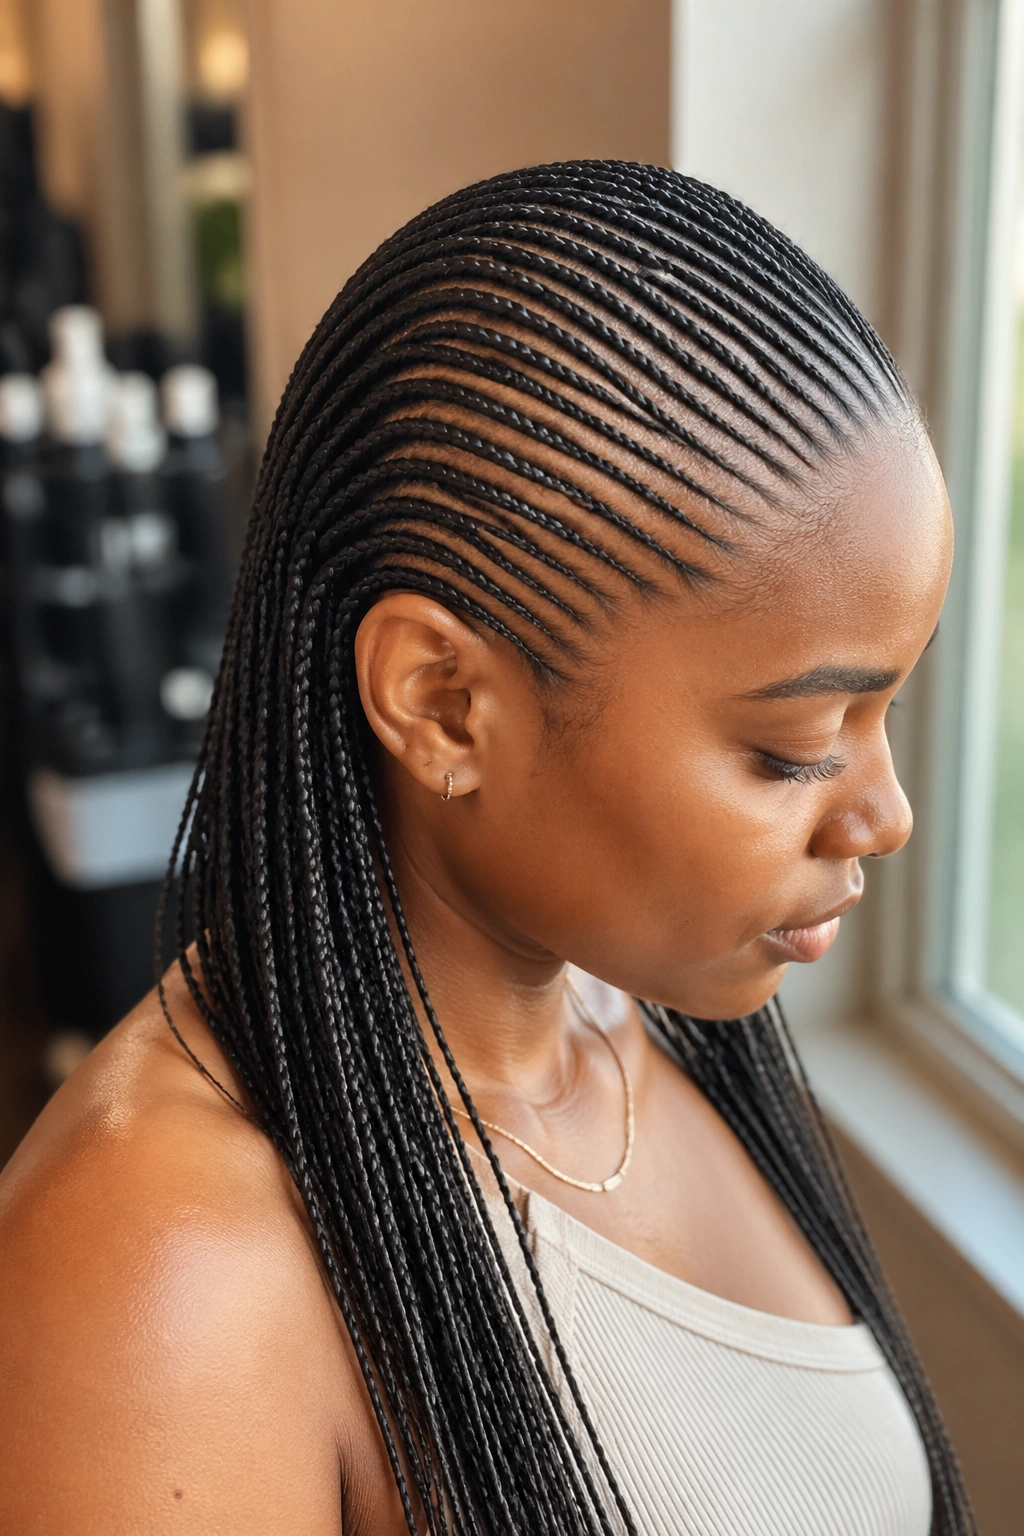
Hairlines don’t always cooperate. Widow’s peaks, cowlicks, and uneven density at the front hairline can throw off the first inch of each row. A skilled braider adjusts the starting angle of each braid at the hairline to compensate, so the rows appear straight even if the roots have to curve slightly to get there.
Why Extensions Change Everything
Natural hair has finite length. Extensions don’t. Add kanekalon (or a higher-end synthetic, or human hair) and suddenly you can have cornrows that reach your waist, your lower back, or your hips.
Extensions also change thickness. Your actual hair might taper to a whisper at the ends, but braided kanekalon stays uniform from crown to tip. That consistency is what gives commercial-looking straight-back cornrows their polished appearance.
The third change is installation time. Extensions add 1-2 hours to what would otherwise be a 2-3 hour session. Budget accordingly. And drink water — dehydrated braid sessions feel twice as long as they are.
Feed-In Versus Classic Extension Attachment
There are two main ways to add extensions to a cornrow:
Classic attachment: The braider folds a strand of kanekalon in half, ties it around the base of your natural hair at the root, and braids the extension into the cornrow from the start. Thick from the root, easier for beginners.
Feed-in attachment: The braider starts with just your natural hair at the root for the first inch or two, then gradually “feeds” small sections of kanekalon into the braid as it goes down. Creates a tapered, natural-looking root that blends into fuller extension length.
Feed-in is the preferred method for straight-back styles these days because it doesn’t leave a thick “knot” at the hairline. The front of each braid blends smoothly into the scalp, which photographs better and feels less harsh against the forehead.
Classic attachment is fine for shorter styles or thicker hair that can hide the knot. For mid-back or longer, always choose feed-in.
Choosing the Right Kanekalon Quality
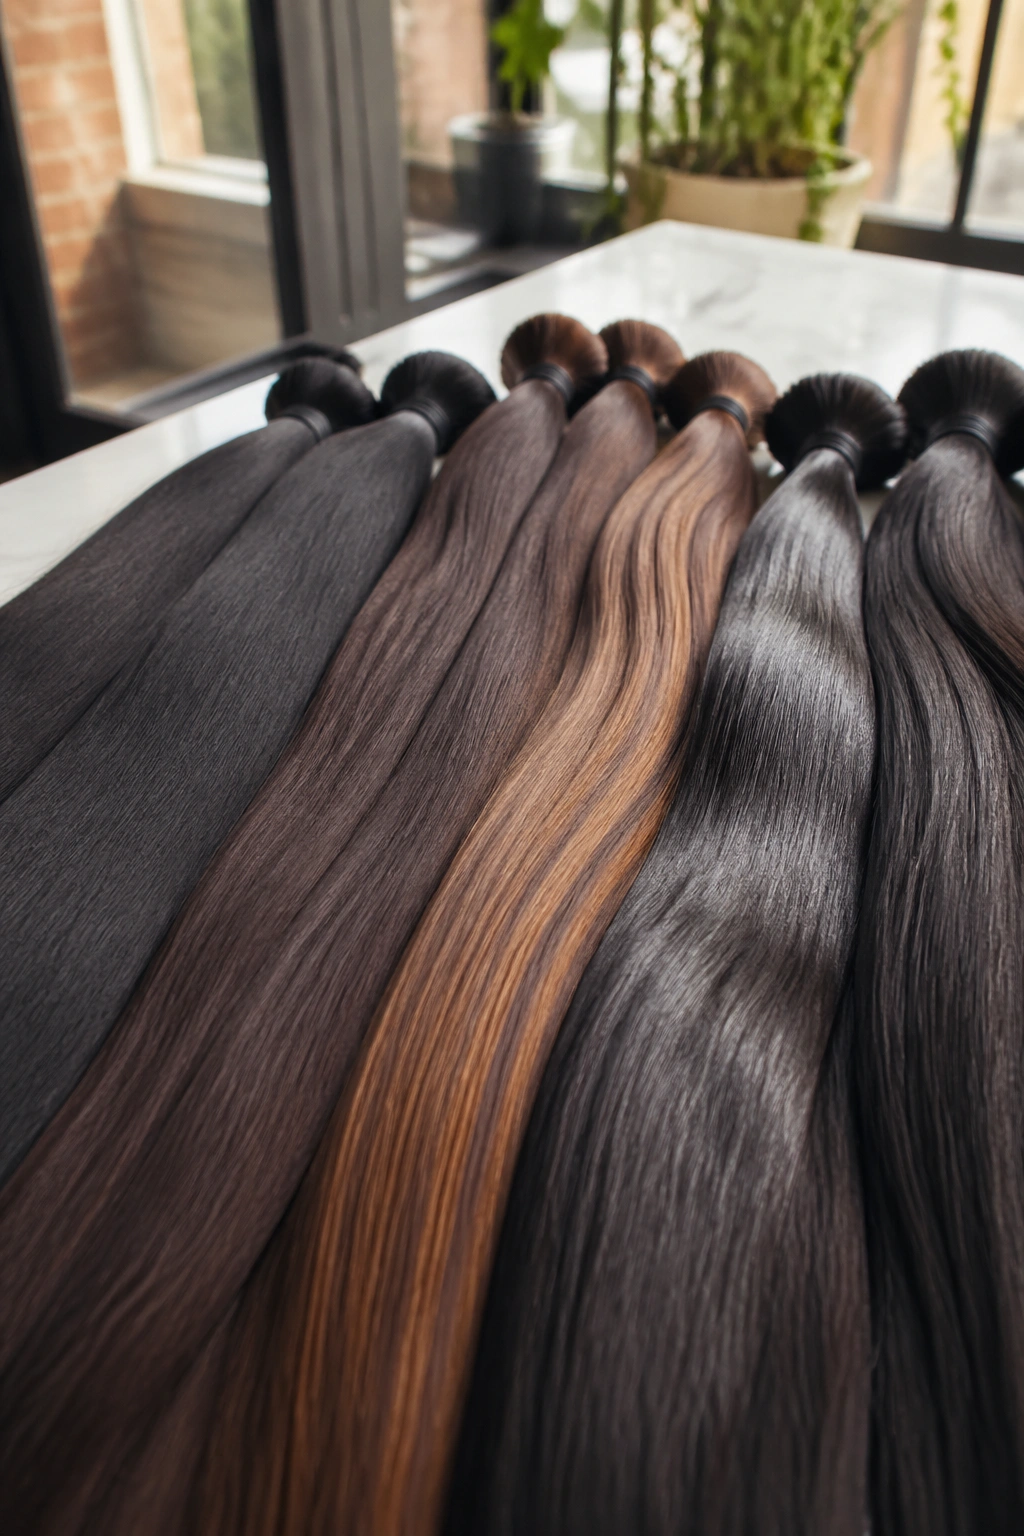
Not all kanekalon is equal. You’ll see packs ranging from $2 to $15, and the difference is real.
Cheap kanekalon is scratchy, sheds like crazy, and develops a weird plasticky sheen within a few days. Mid-grade kanekalon (the common supply store brands — X-Pression, Freetress, RastAfri Silky) is soft enough, doesn’t shed excessively, and holds color well.
Premium kanekalon (Kanekalon Toyokalon, Kanekalon Afrelle) has the softest feel, the most natural matte finish, and the least shedding. Worth the upcharge for styles you’re wearing to events or photographing extensively.
You’ll need 4-6 packs for a full head of waist-length straight-back cornrows. Buy one extra pack. Always buy one extra pack. Running short mid-install is a special kind of braid-day disaster.
Tools That Make the Install Smoother
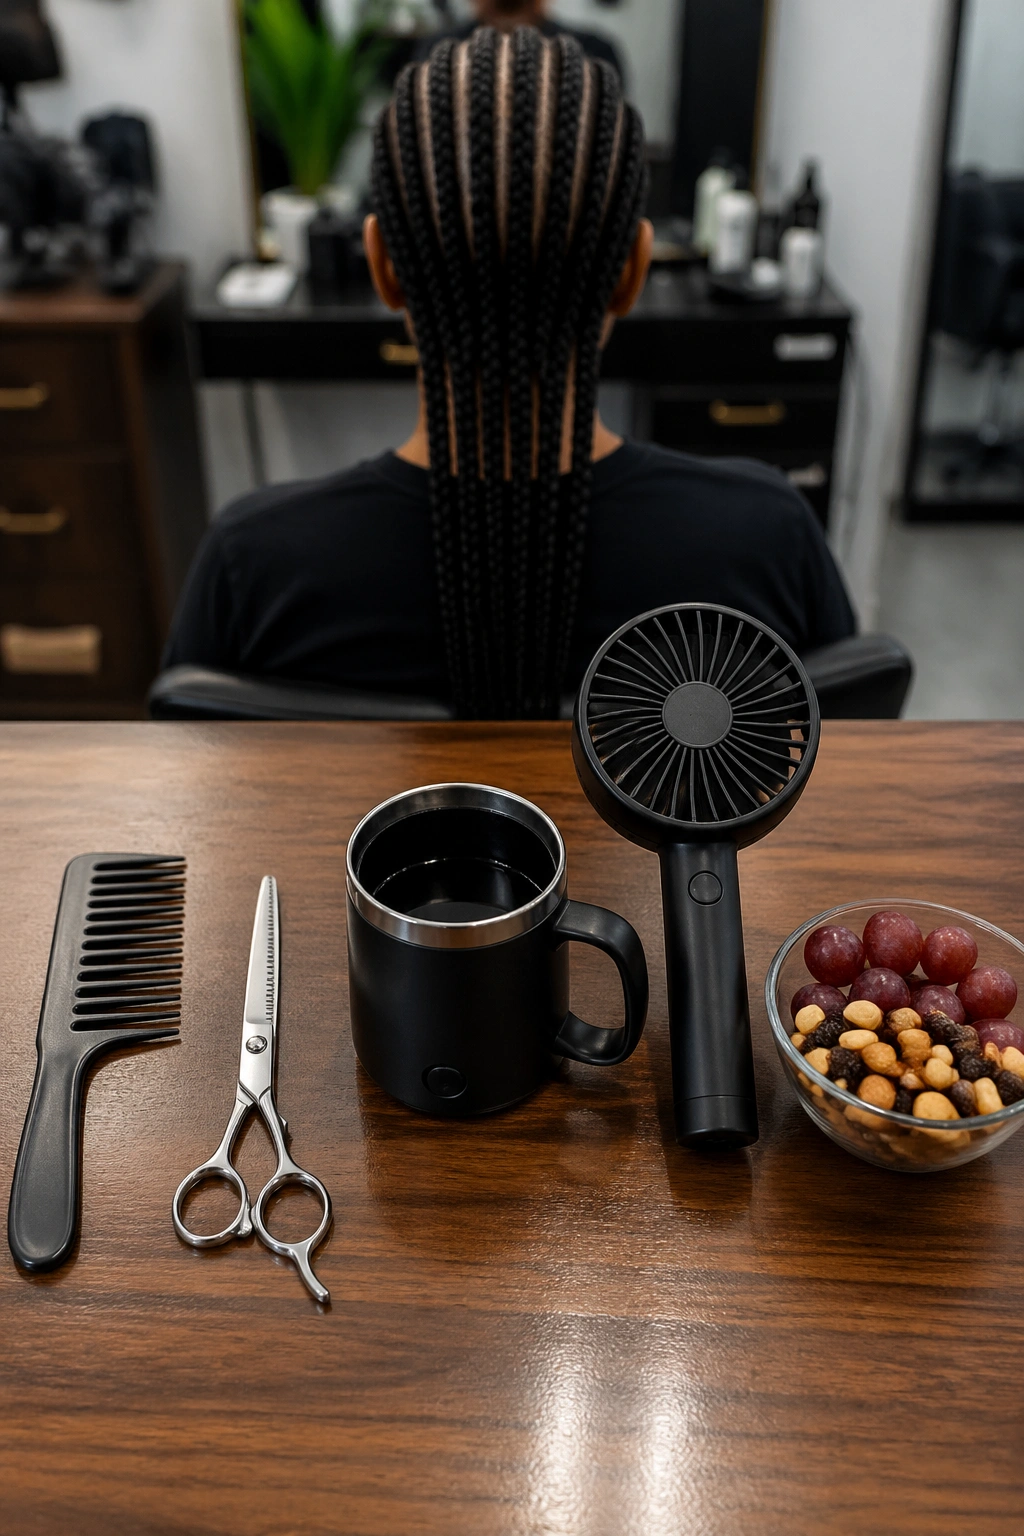
Beyond the basics, a few items earn their place in a straight-back cornrow session:
- Hot water and a mug — for sealing kanekalon tips
- Scissors with serrated blades — for trimming ends cleanly
- A wide-tooth comb — for detangling the kanekalon pack before use
- A handheld fan — the install takes hours and you will overheat
- Snacks with protein — the session is long enough to matter
Some braiders prefer to pre-stretch and pre-fluff the kanekalon before starting; this reduces shedding dramatically. If your braider doesn’t do this, ask why. A good answer is “I prefer the texture without pre-stretching.” A bad answer is “I never thought about it.”
1. Waist-Length Feed-Ins With Sealed Tips
Long, thick feed-in cornrows reach the mid-back and end in flame-sealed tips instead of wraps or dips. The overall read is clean, powerful, and architectural — think sculpted rather than soft.
Why It Works
Feed-in construction means no knot at the root, so the braids lie perfectly flat against the scalp at the hairline. Flame sealing (using a lighter briefly against the tips, done carefully) melts the kanekalon into a smooth, blunt end that won’t fray.
- Length: 28-32 inches of extension
- Extension packs needed: 5-6
- Best for: smooth hair textures, formal occasions, long wear
Pro tip: If you can’t or won’t flame-seal, use the boiling water dip method — pour freshly boiled water over the tips for 30 seconds, then pat dry. Same result, less risk.
2. Ultra-Thin Rows With Lightweight Extensions
Thirty to forty thin cornrows running straight back, each one no wider than a pencil. Extensions are minimal — just enough to add 8-10 inches of length.
The lightweight approach is ideal if you want the look of long straight-back cornrows without the weight of full waist-length feed-ins. Your scalp will thank you, especially if you’ve had issues with thinning edges or headaches from heavy installs.
Thin cornrows also show the scalp more, which creates a more delicate, refined silhouette. It’s a look that pairs well with minimalist jewelry and off-the-shoulder tops — the neck and collarbone stay visible, and the braids frame the face without overwhelming it.
3. Medium Jumbo Rows With Tapered Ends
Six to eight thicker rows (sometimes called “jumbo cornrows” in this category) run straight back. The extensions taper from full thickness at the scalp to a thinner, pointed tip at the bottom.
Tapering is a styling choice. A blunt end looks bold and intentional. A tapered end looks softer, more natural, and reads less “statement” and more “effortless.” Both are right. The tapered version tends to flatter heart-shaped and oval faces because the narrow point below the shoulder elongates without adding visual weight.
The tapering is achieved by trimming the extensions at an angle before or during installation. Some braiders prefer to taper after installation with sharp scissors — faster and more precise, but requires skill to get the angles matched across all rows.
4. Butt-Length Cornrows for Maximum Drama
There are lengths, and then there are lengths. Butt-length straight-back cornrows run past the lower back and tap the top of the legs when you sit down. This is serious commitment.
The install takes longer because longer extensions are harder to handle during braiding. The weight is also significant — full butt-length cornrows add several ounces of extension hair, which your neck and upper back will feel by day three.
Sleep strategy becomes non-optional. A single silk pillowcase isn’t enough — you need a silk bonnet AND a pillowcase, or a specifically-designed long-braid pillow with a channel for the hair. Wake up wrong once and you’ll lose an hour untangling before you’ve had coffee.
What to Watch For
- The weight pulls on the front hairline more than shorter styles — watch for edge stress after week one
- Bathing requires a bucket unless you have a detachable shower head and a lot of patience
- Heat during summer is brutal; plan the install for cooler months if possible
5. Shoulder-Length Straight Back for Lower Commitment
Sometimes you don’t want the commitment of waist-length braids. Shoulder-length straight-back cornrows give you the clean-line aesthetic with about 60% less install time and almost no sleep-wrangling issues.
The cutoff at shoulder length changes how the style moves. Longer braids swing and sway; shoulder-length braids bounce. Pair with button-down collars, blazers, or turtlenecks — shoulder-length braids play well with structured necklines because they don’t compete for visual space.
Extensions for shoulder-length styles are minimal. Often just 1-2 packs of kanekalon trimmed down, which also keeps the cost lower. Good starter style for someone new to cornrow extensions.
6. Mid-Back Length With Natural Gradient Color
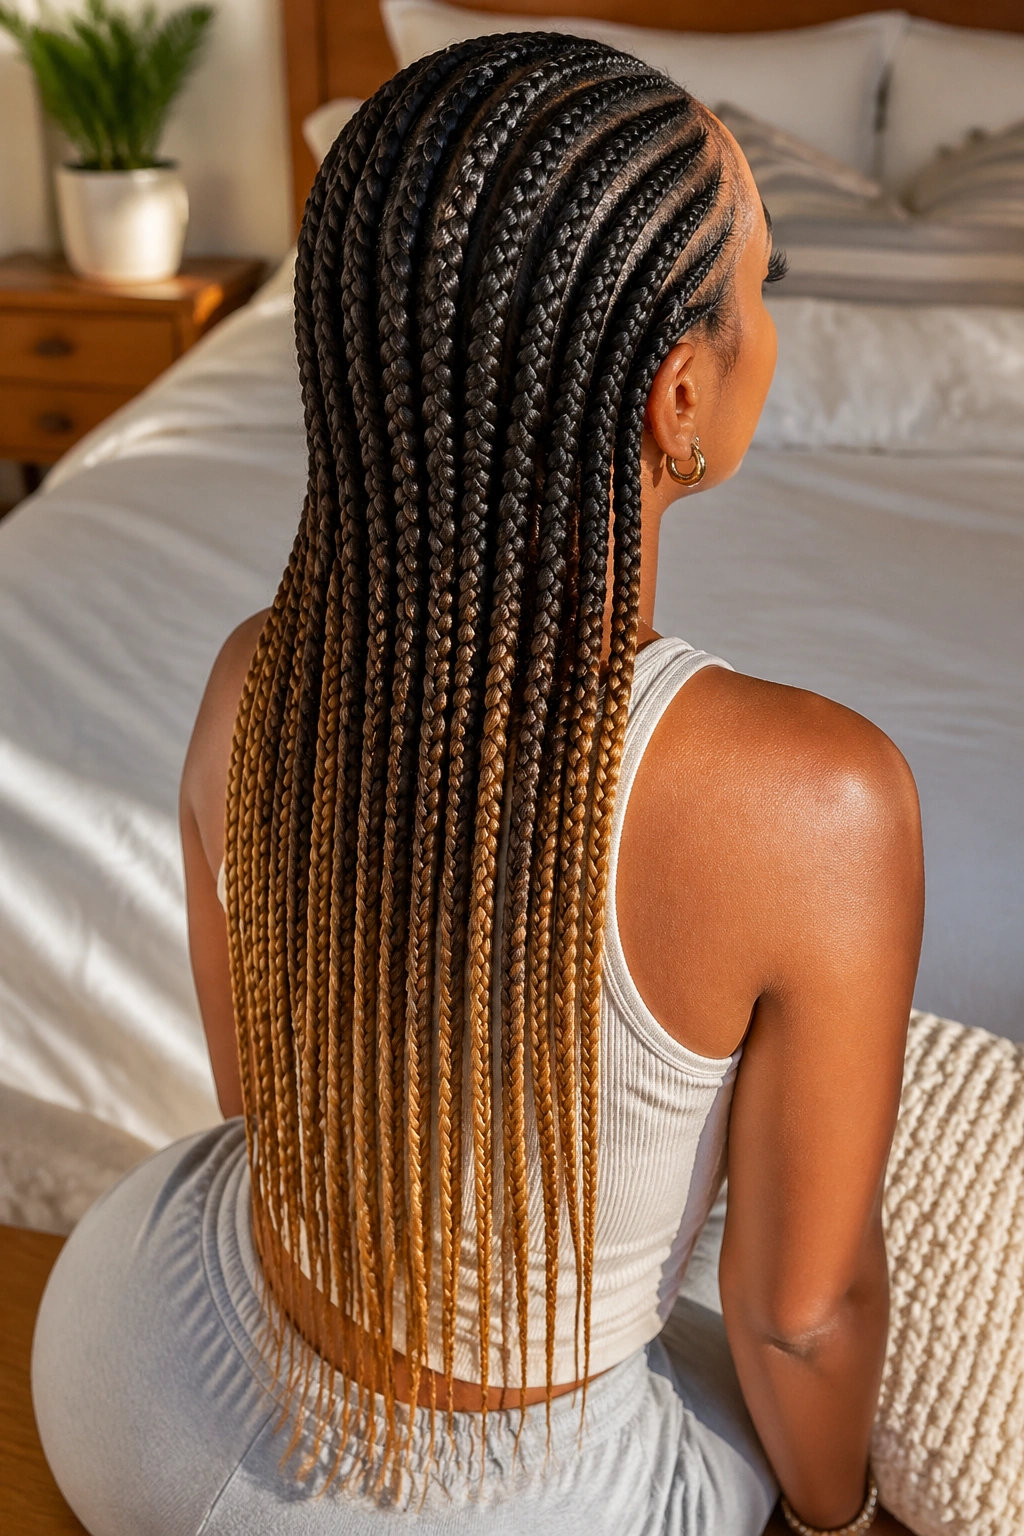
Straight-back cornrows where the kanekalon starts in your natural color at the root and blends into a lighter tone by the tip. Not a sharp ombre — a gradual gradient that looks sun-kissed.
The gradient kanekalon packs are pre-colored, but the blending only works if the braider layers sections correctly during feed-in. Done right, you can’t see where the transition happens — it’s just a smooth darkening from root to tip that echoes how sun bleaches hair naturally.
Honey-blonde gradients flatter warm skin undertones. Auburn gradients work on cool undertones. Ash-toned gradients flatter neutrals. Match the gradient end-color to your undertone rather than your natural hair color for the most natural read.
7. Chunky Feed-Ins With Straight Blunt Cuts
Eight thick feed-in cornrows run straight back and end in a dead-blunt line — no taper, no fray, no wave. The blunt cut is the whole point.
Blunt straight-back cornrows are the most graphic, architectural version of this style. The visual line at the bottom is emphatic; it says “I made this exact decision and I am standing behind it.” They work beautifully with structured clothing and strong eyebrow game.
Getting the blunt cut perfect requires the extensions to be the same length before installation. Measure and trim each bundle on a flat surface before bringing them to the braid chair. Post-install trimming can even out small discrepancies but can’t fix major mismatches.
8. Waist-Length With Decorative Wrap Accents
Full waist-length straight-back cornrows with one or two braids wrapped in metallic thread or colorful cord at random positions.
The wrap is the accent. Three or four inches of a single braid gets wrapped in, say, gold embroidery thread about eight inches below the crown. Another braid on the opposite side gets the same treatment at a different position. Asymmetrical is key — symmetrical wrap placement looks like it’s trying too hard.
Wraps are removable. You can cut them out and the braid underneath is untouched. This makes them ideal for events where you want a specific look and don’t want to commit to it for the full life of the install.
9. Extra-Long Thin Rows With Beaded Tips
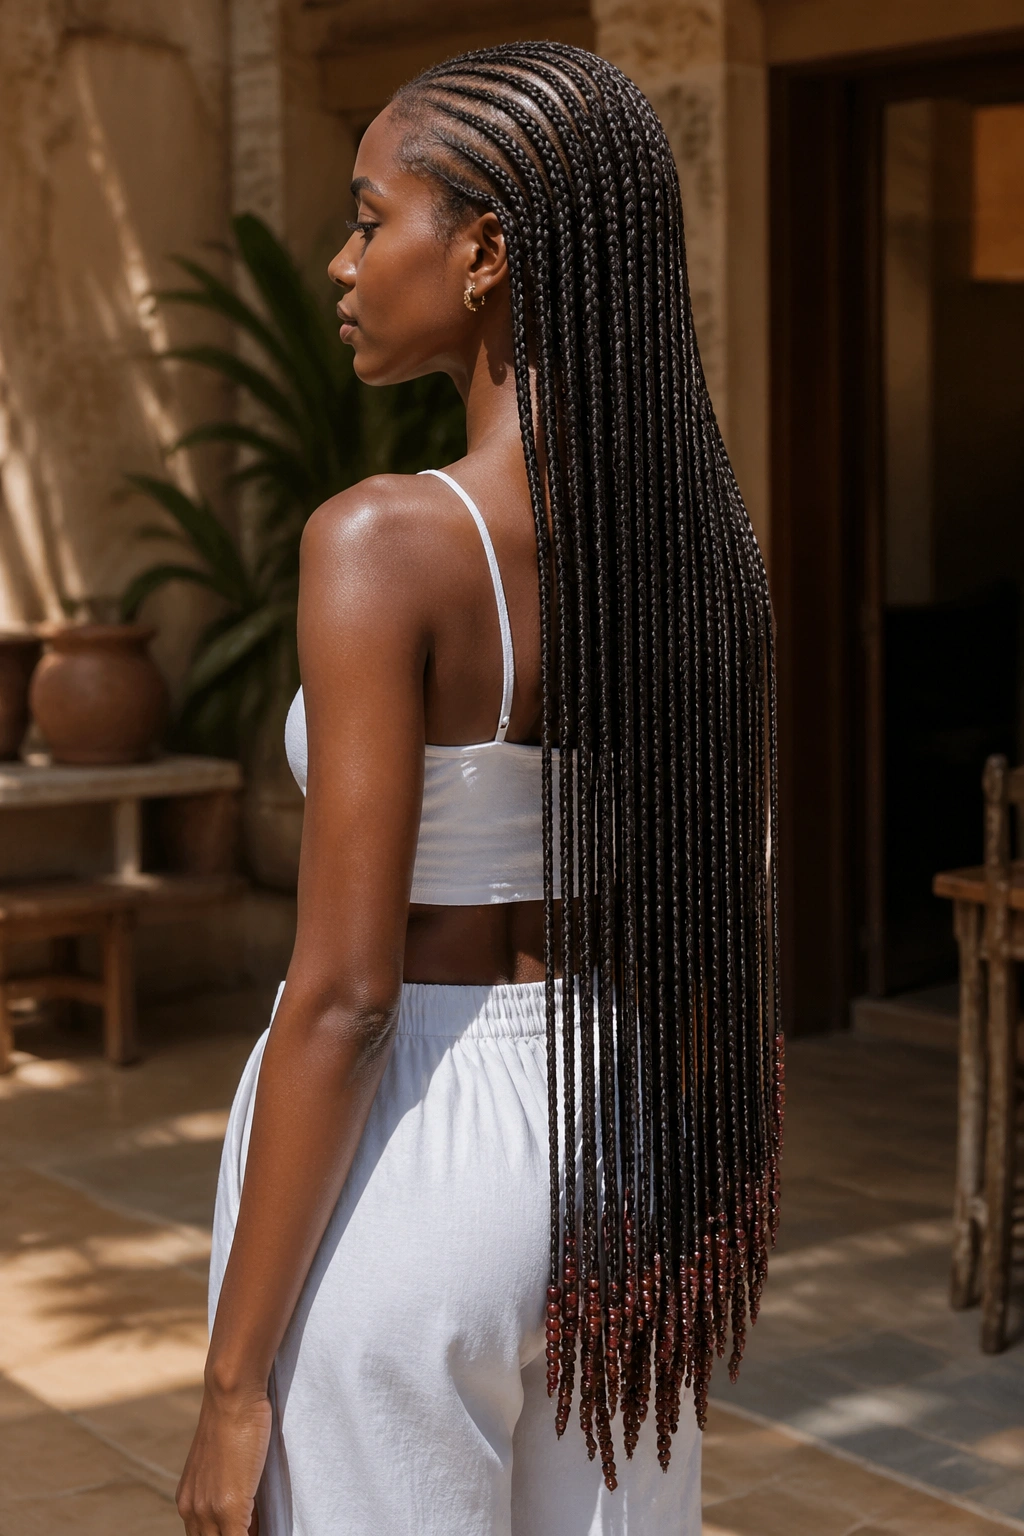
Think thirty braids, waist-length, each one narrow enough to rest between your fingers, and each one finished with a single small bead at the tip.
This is a high-effort, high-payoff style. Install time can run 6-8 hours. The payoff is a cascade of whisper-thin braids that move like a curtain when you turn. The single bead at each tip adds the faintest weighted sway without overwhelming the slim silhouette.
Narrow braids show scalp more, so if your scalp gets oily or flaky quickly, budget for more frequent between-wash refreshers. The slim parts are easier to oil directly, which is a minor benefit.
10. Side-Parted Straight Back With Volume on One Side
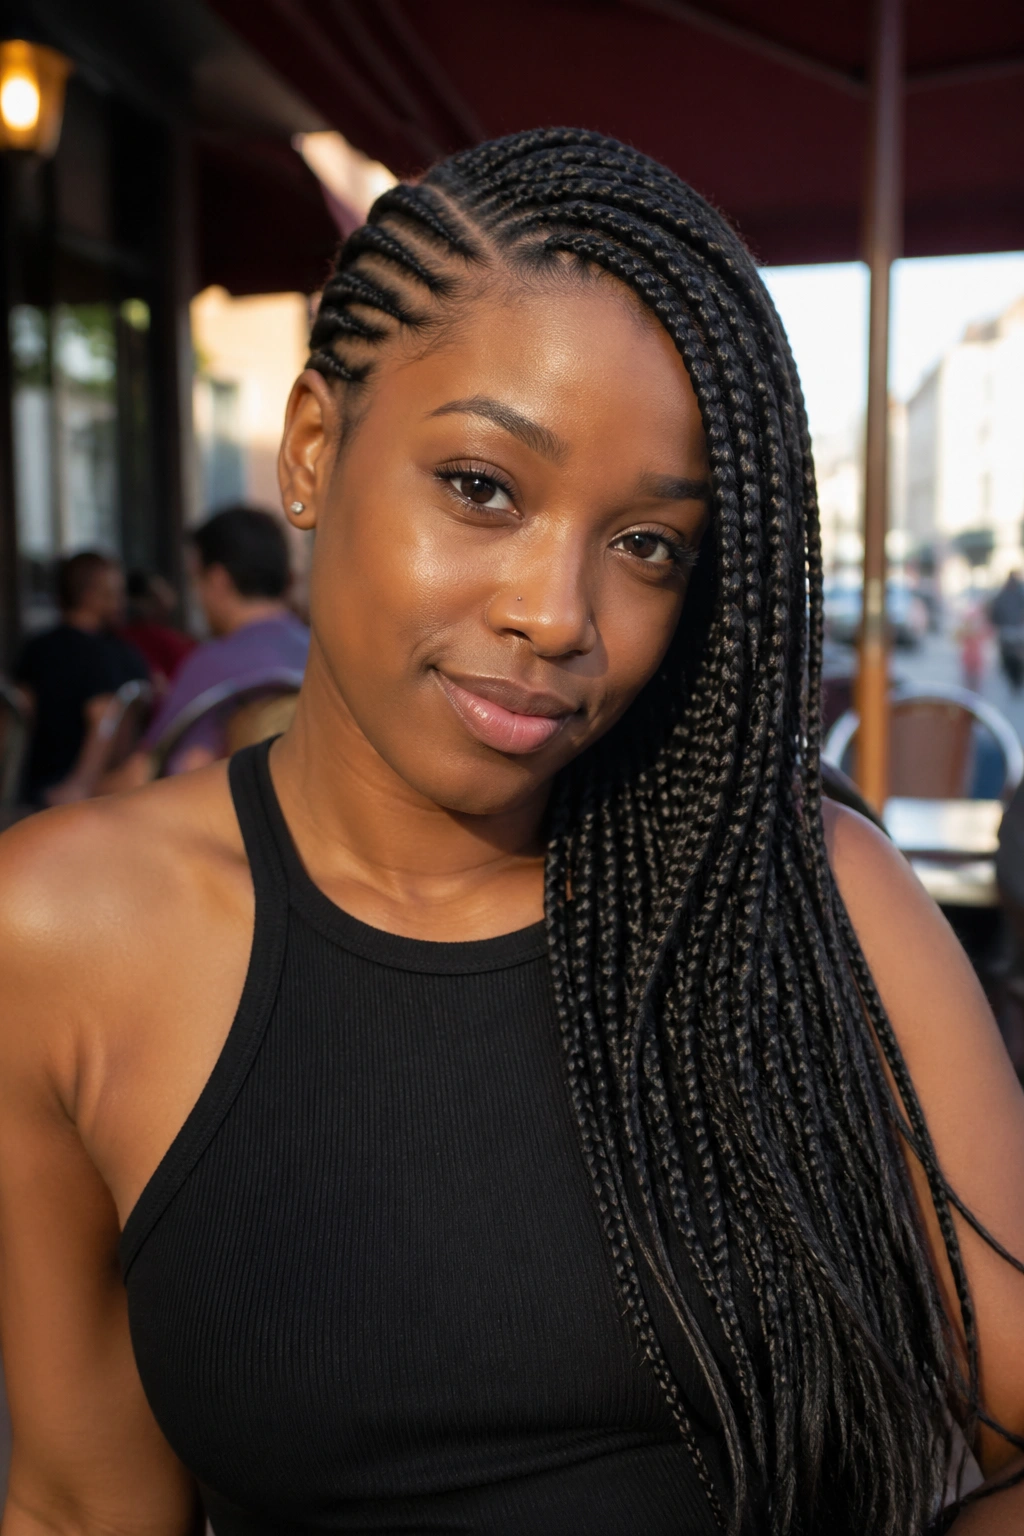
Not quite straight-back in the strict sense, but close. All the braids travel backward, but the parting runs off-center — say, 70/30 — so one side has more braids than the other and visual weight favors the fuller side.
Side-parting flatters asymmetrical faces and people who find dead-center parts unforgiving. The heavier side can be positioned to emphasize your preferred face angle — whichever side photographs better, whichever profile you like more.
How to Style It
- Pull the fuller side forward over the shoulder when taking photos
- Let the thinner side fall naturally — don’t try to match volume artificially
- Wear asymmetrical necklines (cold-shoulder, one-shoulder) to coordinate
11. Straight Back With Jumbo Braid Ends Combined
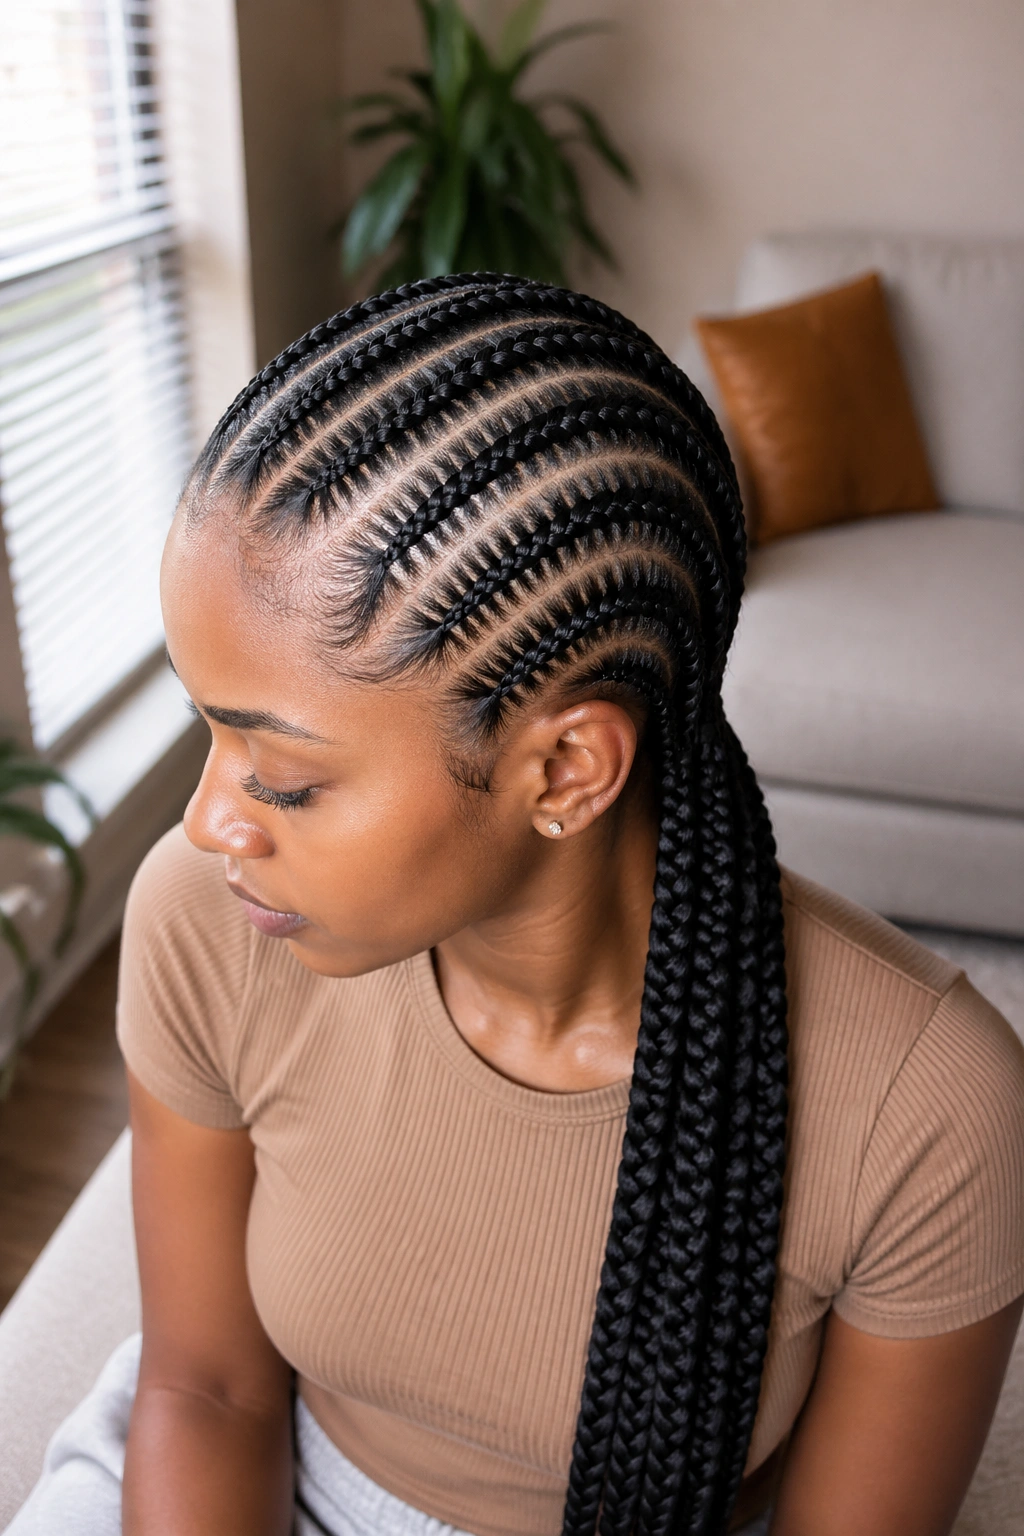
Twelve medium-width cornrows run straight back and then gather at the nape into 3 or 4 jumbo braids that continue down the back. The transition happens cleanly at the neck.
The combined structure solves two problems. Twelve cornrows all the way down looks busy; three jumbo braids start too thick at the hairline. Transitioning from many small at the scalp to few large at the body gives you scalp detail and length volume in balance.
The gathering point at the nape needs to be secured. Most braiders tie off each original cornrow with a tiny elastic, then braid 3-4 of them together into a single jumbo below. Hide the transition with a small silk scarf or a decorative cord wrap at the back of the neck.
12. Straight Back With a Swoop Front
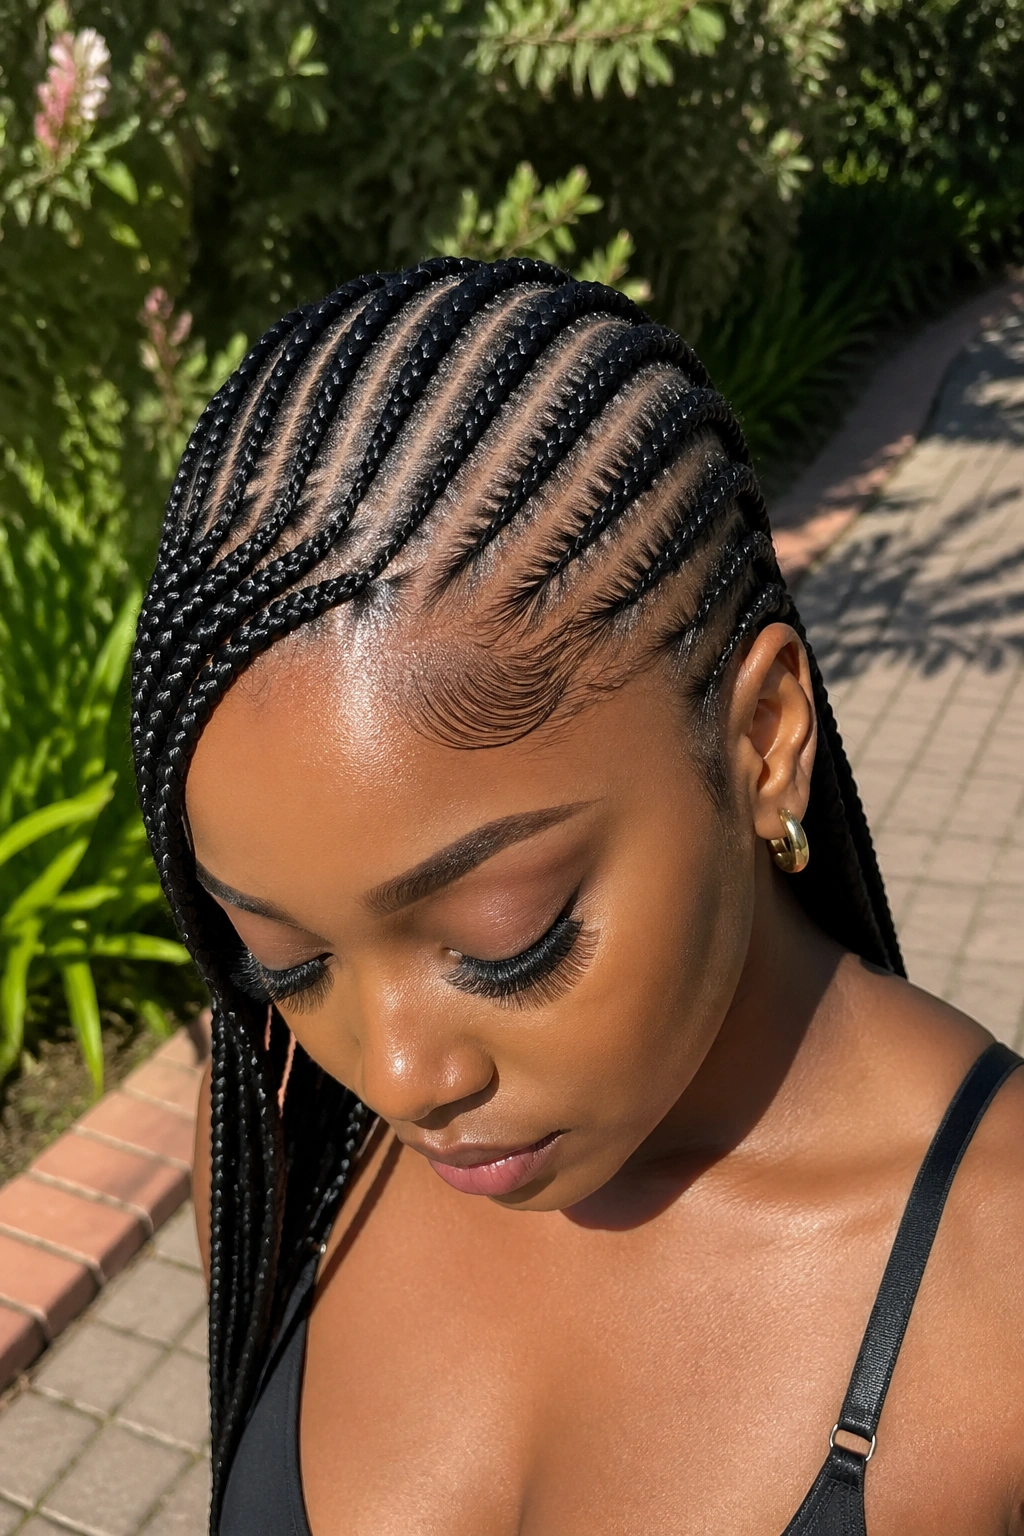
A small section at the front hairline — maybe 2-3 inches wide — gets swept to one side and braided as a swooping diagonal, while the rest of the head stays pure straight-back.
The swoop front softens the severity of straight-back cornrows. It’s the visual equivalent of a side bang on straight hair — adds movement without changing the overall structure. Particularly flattering for high foreheads and square face shapes.
The swoop section has to be pre-planned. You can’t add it after the rest of the braids are in. Discuss it with your braider before anyone touches the comb.
13. Extra-Thick Two-Tone Rows
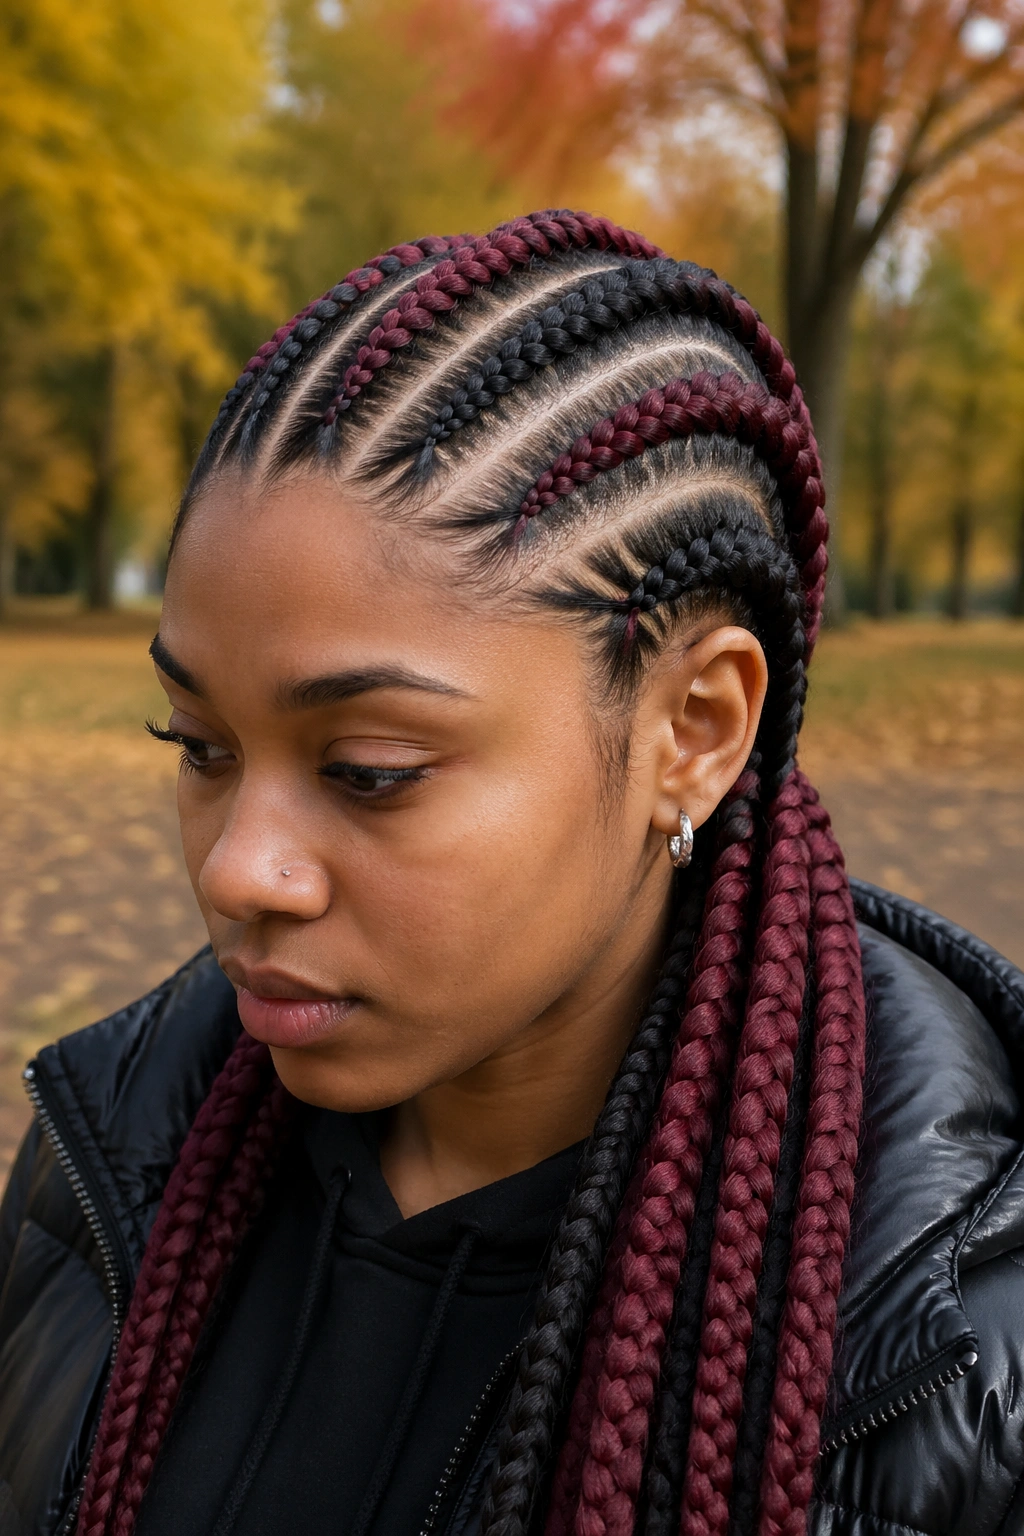
Six or seven very thick straight-back cornrows in alternating colors — say, black and deep burgundy, or natural and honey-blonde.
Two-tone at this thickness reads as architectural rather than costume. The alternating colors let the eye follow each individual row, which adds definition without adding detail work. The braids look bigger and bolder because the color contrast draws attention to the shape of each one.
Pick tones that share warmth or coolness. A warm black with a warm honey looks cohesive. A cool black with a warm auburn looks accidental. When in doubt, bring the kanekalon packs to your face in natural light and see what works against your skin.
14. Straight Back With a Shaved Nape Detail
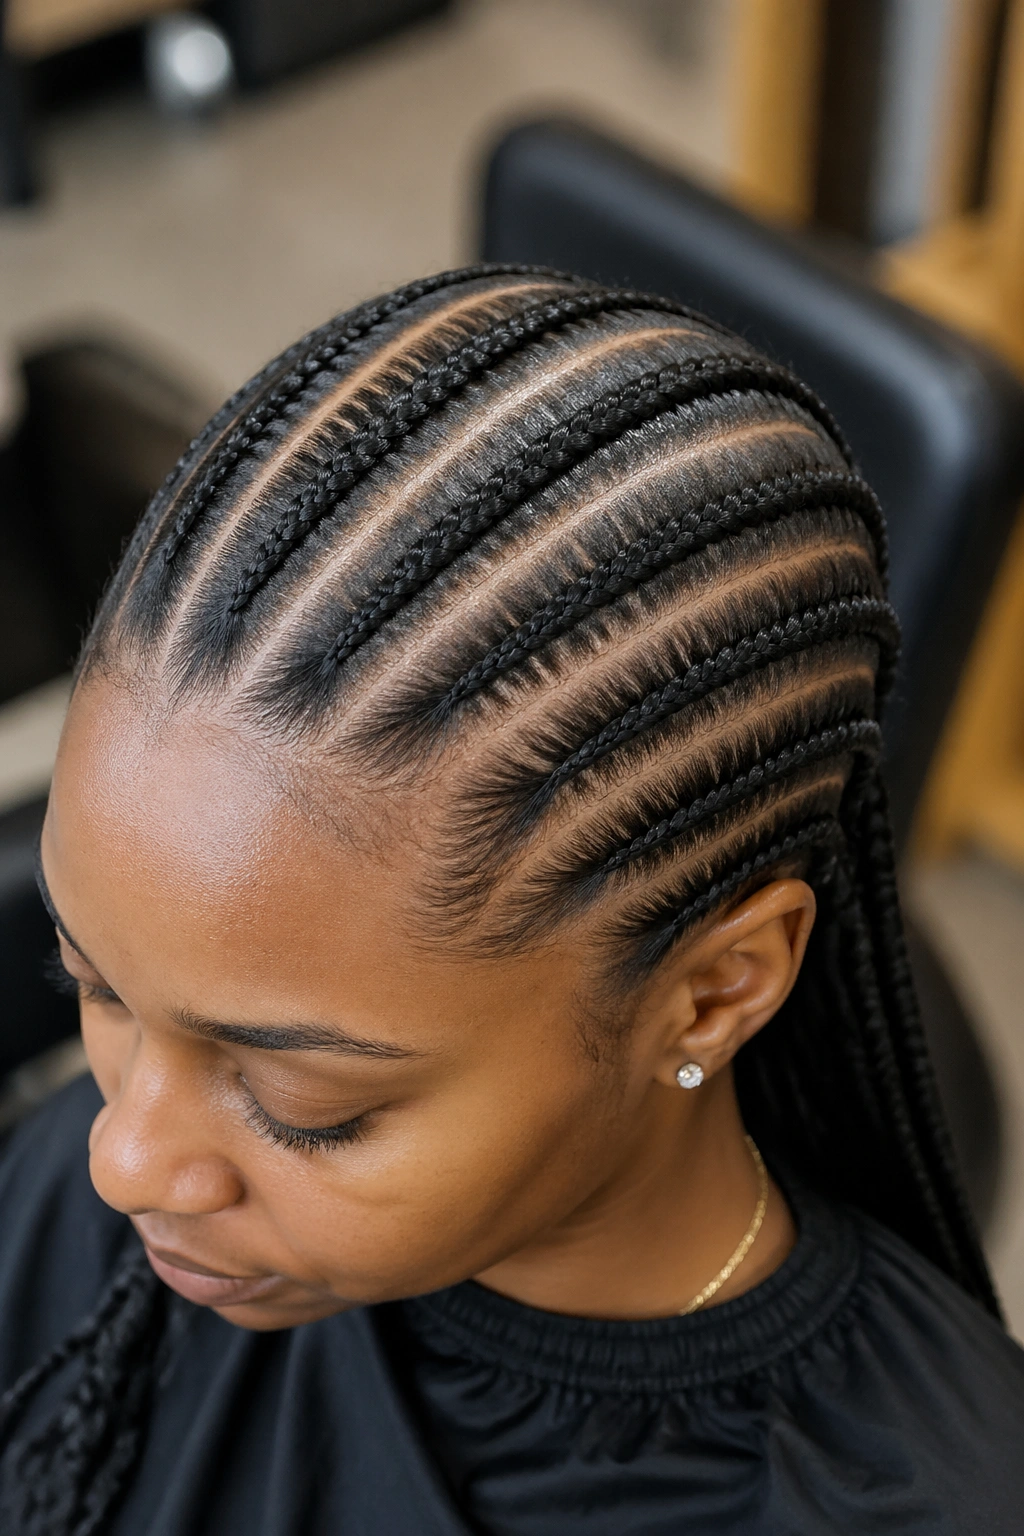
Traditional cornrows from crown to nape, with the bottom inch or two of the nape shaved clean. The cornrows end above the shave line, showing the fresh cut underneath.
The shaved nape adds edge and exposes skin in a way that reads tough and feminine at once. Pairs exceptionally well with off-the-shoulder tops and high collars. If you don’t want to commit to an actual shave, a temporary clipper-faded nape heals out in weeks.
Not all braiders are comfortable with or skilled at cutting hair. Get the nape shave done separately at a barber before the braid appointment, or find a braider who specializes in combined cut-and-braid services.
15. Waist-Length With Triangular Root Parts
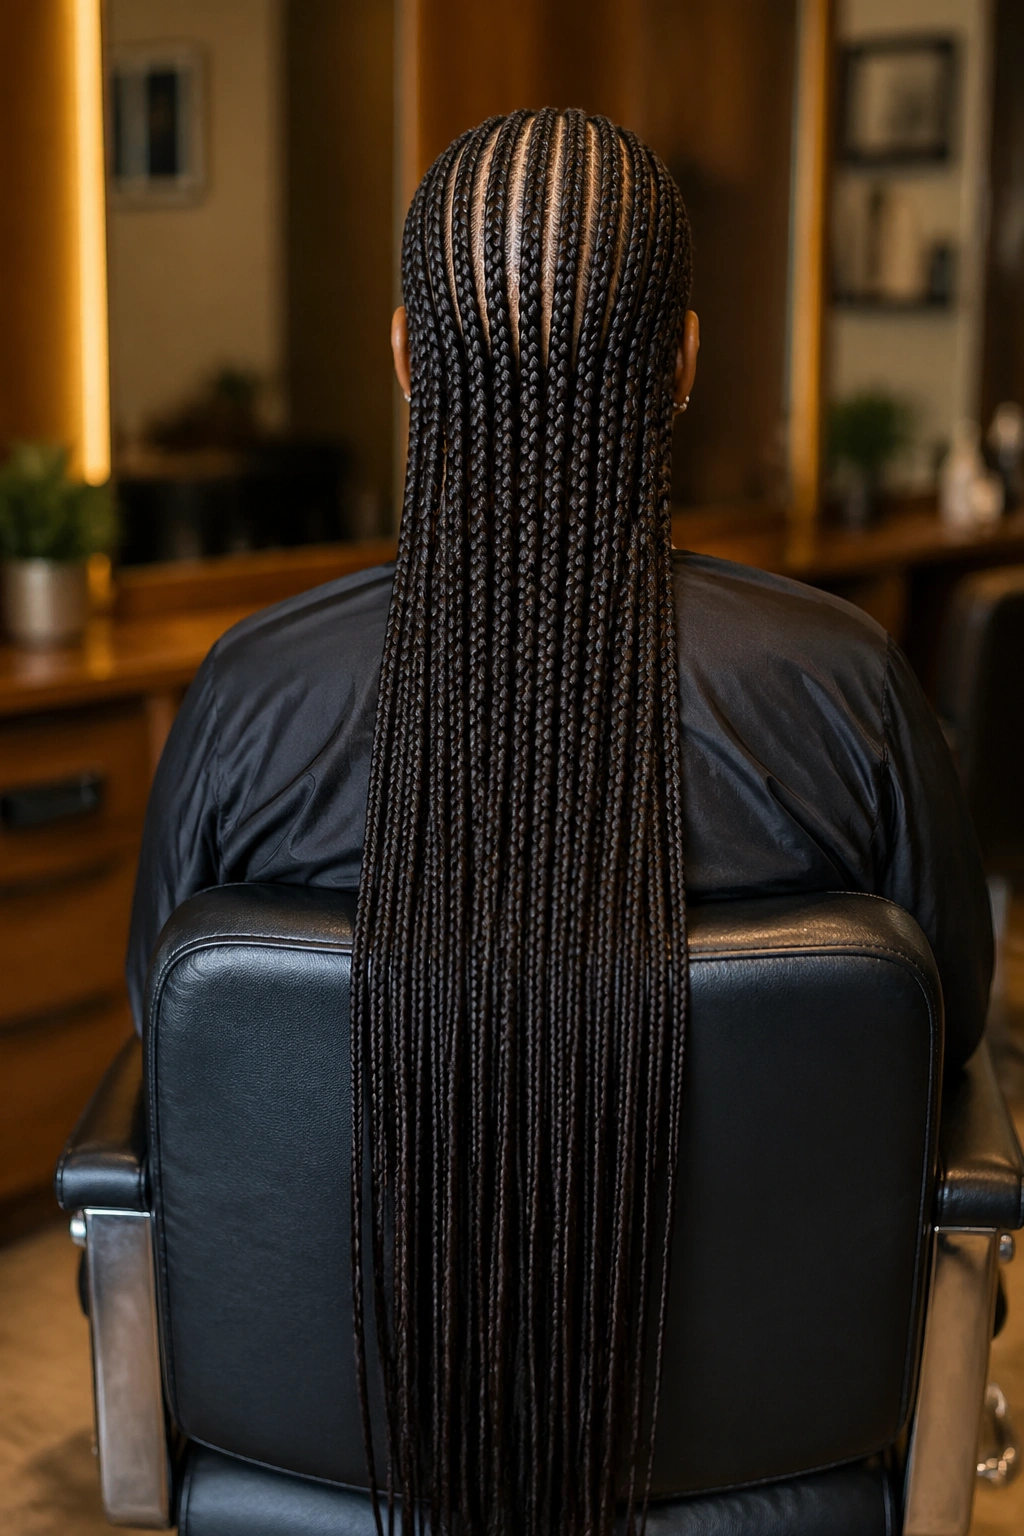
The parts between braids aren’t straight vertical lines — they’re subtle triangles that widen slightly at the crown and narrow at the nape. The overall shape is still straight-back, but the negative space between rows has visual interest.
Triangular parts are a subtle technique that registers as “something’s different” without the viewer being able to say exactly what. Good for people who like a twist on the classic but don’t want to explain their hair to anyone at work.
The triangulation works best on thicker braids where the parts are wide enough to show shape. On thin rows, the triangles get lost.
16. Straight Back With a Halo Bun Base
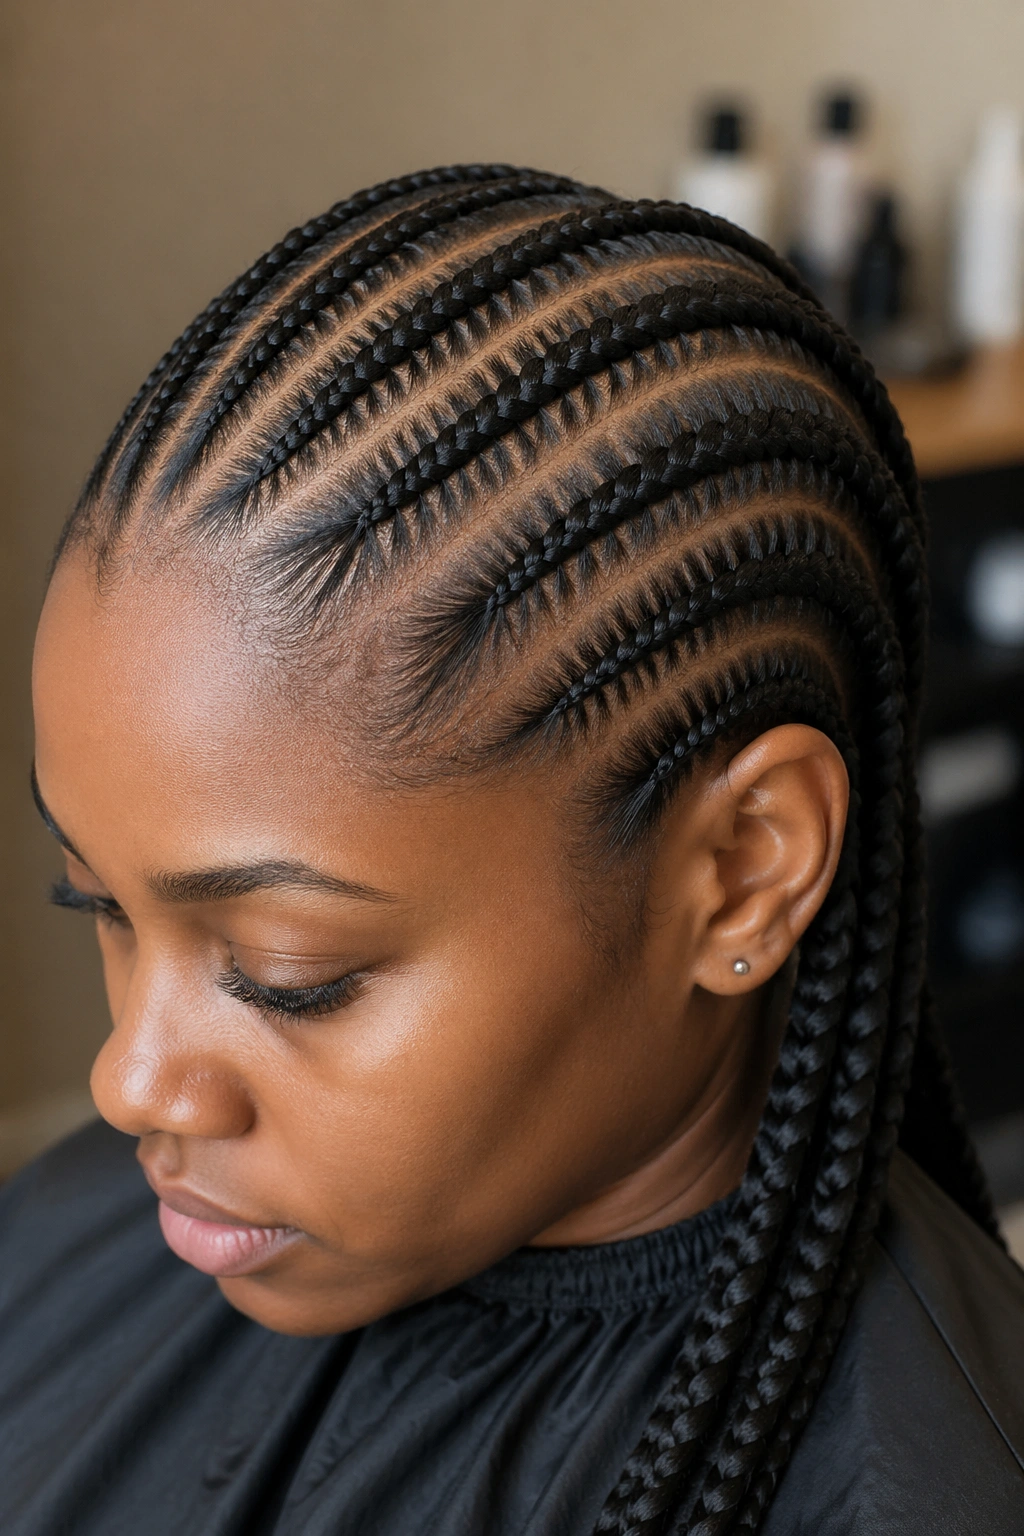
Traditional straight-back cornrows at the front and sides, with a bun at the top of the crown where the hair gathers before the braids start. The bun is natural hair wrapped and secured; the braids extend from the bun base outward and downward.
This is a hybrid style that gives you the protective-styling benefits of extensions while preserving a small area of natural hair visibility. Good for people who want the long-braid look but aren’t ready to fully cover their natural hair.
The bun is wrapped in a silk scrunchie or wrapped with matching-color thread to blend. It can also carry a small scarf tied decoratively — a single knotted silk square adds softness and functions as a temporary accessory you can change daily.
17. Hip-Length With a Natural Curl at the Tips
Straight-back cornrows run to hip length, and the last 3-4 inches are left unbraided and curled into loose waves with boiling water or a curling wand.
The curled tips break the uniform straight-braid line and add a softer, more feminine finish. This is particularly flattering if you want length drama without the severity of perfectly blunt cuts.
Curling kanekalon requires heat. Lower heat than you’d use on human hair — 275-300 degrees max on a curling wand, or the pour-boiling-water method for more natural-looking curls. Practice on a test strand first. Burned kanekalon smells terrible and can’t be undone.
18. Straight Back With a Bold Hairline Edge Design
Precise straight-back cornrows paired with heavily styled edges — laid into sharp curves, spirals, or swoops along the hairline. The baby hair becomes its own art form.
Edge work is a style unto itself, and the strong edges offset the simplicity of straight-back cornrows so the overall look doesn’t feel too plain. Pick one or the other to be the hero — if your braids are the statement, keep edges subtle; if your edges are the statement, keep the braids classic.
Pro tip: Use a toothbrush (not the rat-tail comb) for detailed edge work. The soft bristles let you shape the baby hairs without pulling them, and they distribute edge gel more evenly than a comb or fingertips.
19. Mid-Back Straight Back With Gray Streak Accents
Classic mid-back cornrows in natural black, with a few individual braids in steel-gray or silver kanekalon scattered throughout.
The gray streak is an old-school technique with long roots in braiding traditions. Done subtly — say, 4-5 braids out of 20 in gray — it reads as intentional punctuation rather than a full color change. Bolder placements (10+ gray braids) read as a statement color choice.
Gray looks striking on dark skin in particular, and silver-toned grays photograph better than warm grays under most lighting conditions. Avoid yellow-toned grays if you have warm skin undertones — they can clash.
20. Waist-Length With a Top Knot Option
Straight-back cornrows with enough length that you can gather them into a top knot when you want to. Think of it as a two-in-one styling — down for formal occasions, up for workouts or hot days.
The ability to pull cornrows up into a knot depends on the length and the tightness at the hairline. If the braids are too tight, gathering them into a knot creates uncomfortable pulling at the front. A slightly looser hairline braid (still secure, just not fiercely tight) makes the top-knot option painless.
Use a large silk scrunchie to secure the top knot. Small elastics can snap individual braids or create permanent indentations. A scrunchie distributes the gathering force over more surface area.
21. Mid-Back Straight Back With a Center Stripe Accent
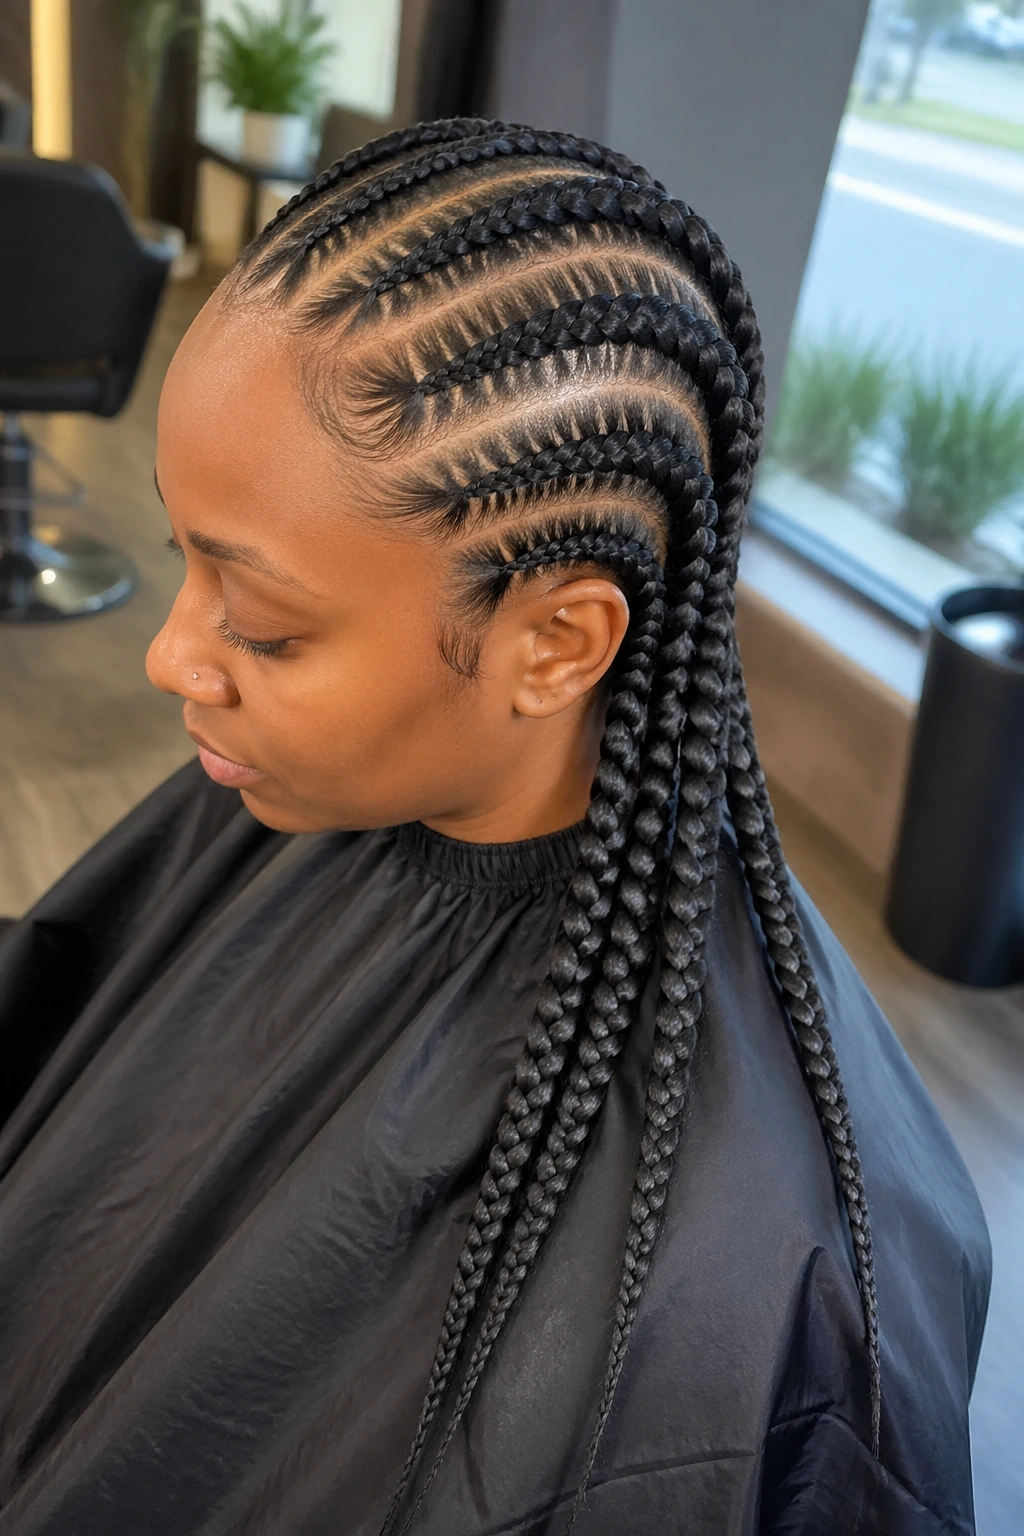
A single braid down the exact center of the head — from the middle of the forehead straight back to the nape — in a contrasting color. The rest of the braids are natural color.
The center stripe is a bold, almost punk-influenced styling. One braid in electric blue or fire-engine red down the middle of an otherwise traditional set of cornrows makes a strong statement without committing your whole head to the color.
The center braid is the first one installed so the braider can align everything else to it. Pick a color that contrasts sharply — subtle color differences disappear against the dark background.
22. Extra-Long Feed-Ins With a Ribbon Tie Finish
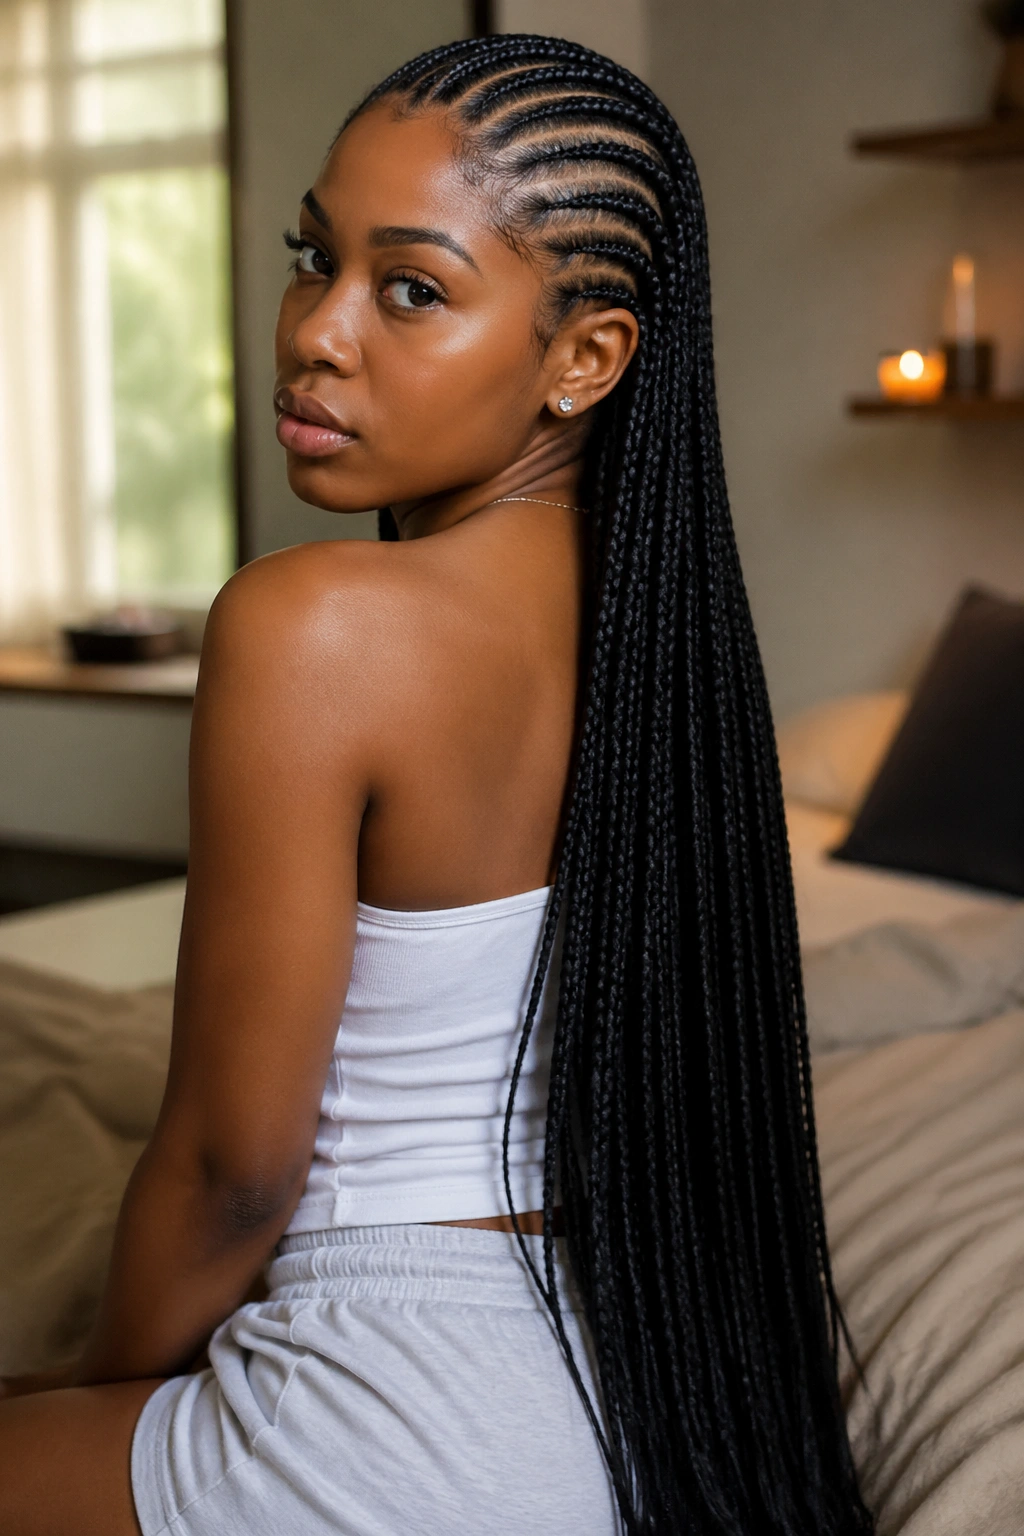
Waist-length feed-in cornrows gathered at the bottom of each individual braid with a thin silk ribbon instead of an elastic or a dip. The ribbon tie adds color and softness.
Ribbons are surprisingly durable if you tie them with a secure knot and trim the tails clean. They last through a full install cycle (2-3 weeks) and can be swapped for different colors on special occasions. A single spool of 1/8-inch silk ribbon in whatever color runs about $3 at a craft store.
Who This Is For
- Anyone who finds bead-weighted ends uncomfortable or noisy
- Formal occasions where you want a subtle color accent
- People who like to change accessories without changing the base style
Caring for Straight-Back Cornrows Through the Full Wear
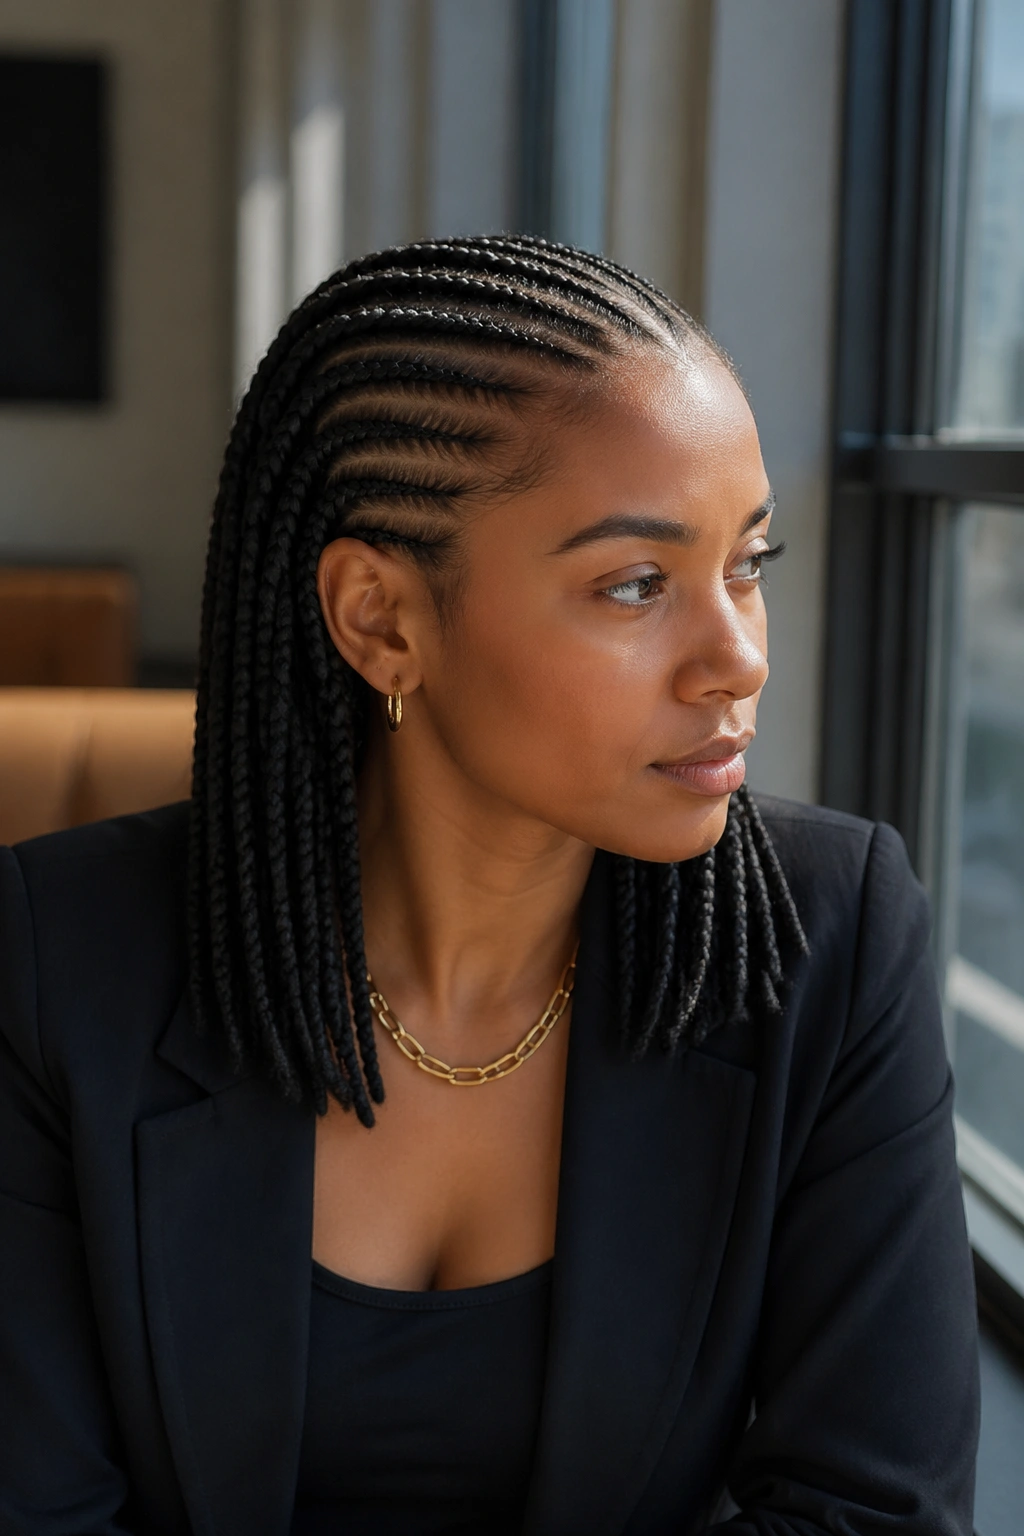
The lifespan of good straight-back cornrows with extensions is 2-3 weeks. Past three weeks, the natural hair at the roots grows enough to make the install look distorted and the tension at the scalp can become uncomfortable.
During the wear, the biggest enemies are:
- Dryness at the scalp — apply scalp oil every 3-4 days, targeting the parts rather than saturating the braids
- Buildup from products — avoid heavy leave-ins and foam conditioners that don’t rinse out fully
- Frizz at the root — mousse sparingly along the roots, smoothed with a soft-bristle brush
- Odor from sweat — rinse scalp with diluted apple cider vinegar (1 tablespoon per cup of water) every 1-2 weeks if you sweat heavily
Avoid putting the braids up in tight ponytails frequently. The weight of long extensions plus the pull of a tight pony creates sustained tension at the hairline, which over time contributes to thinning edges.
Washing Cornrows Without Destroying the Install
Yes, you can wash cornrows with extensions. No, you shouldn’t wash them the way you’d wash loose hair. The difference matters.
Dilute shampoo with water 50/50 in a spray bottle. Spray the roots and scalp only — not the length of the braids. Massage gently with fingertips (never nails). Rinse by standing under the showerhead and letting water run through the hair without agitating. Pat dry with a microfiber towel.
Air dry as much as possible. A hooded dryer on low can finish the job without the heat damage a blow dryer would cause. Fully dry hair is critical — damp cornrows develop mildew at the scalp faster than people realize.
Takedown Without Breakage
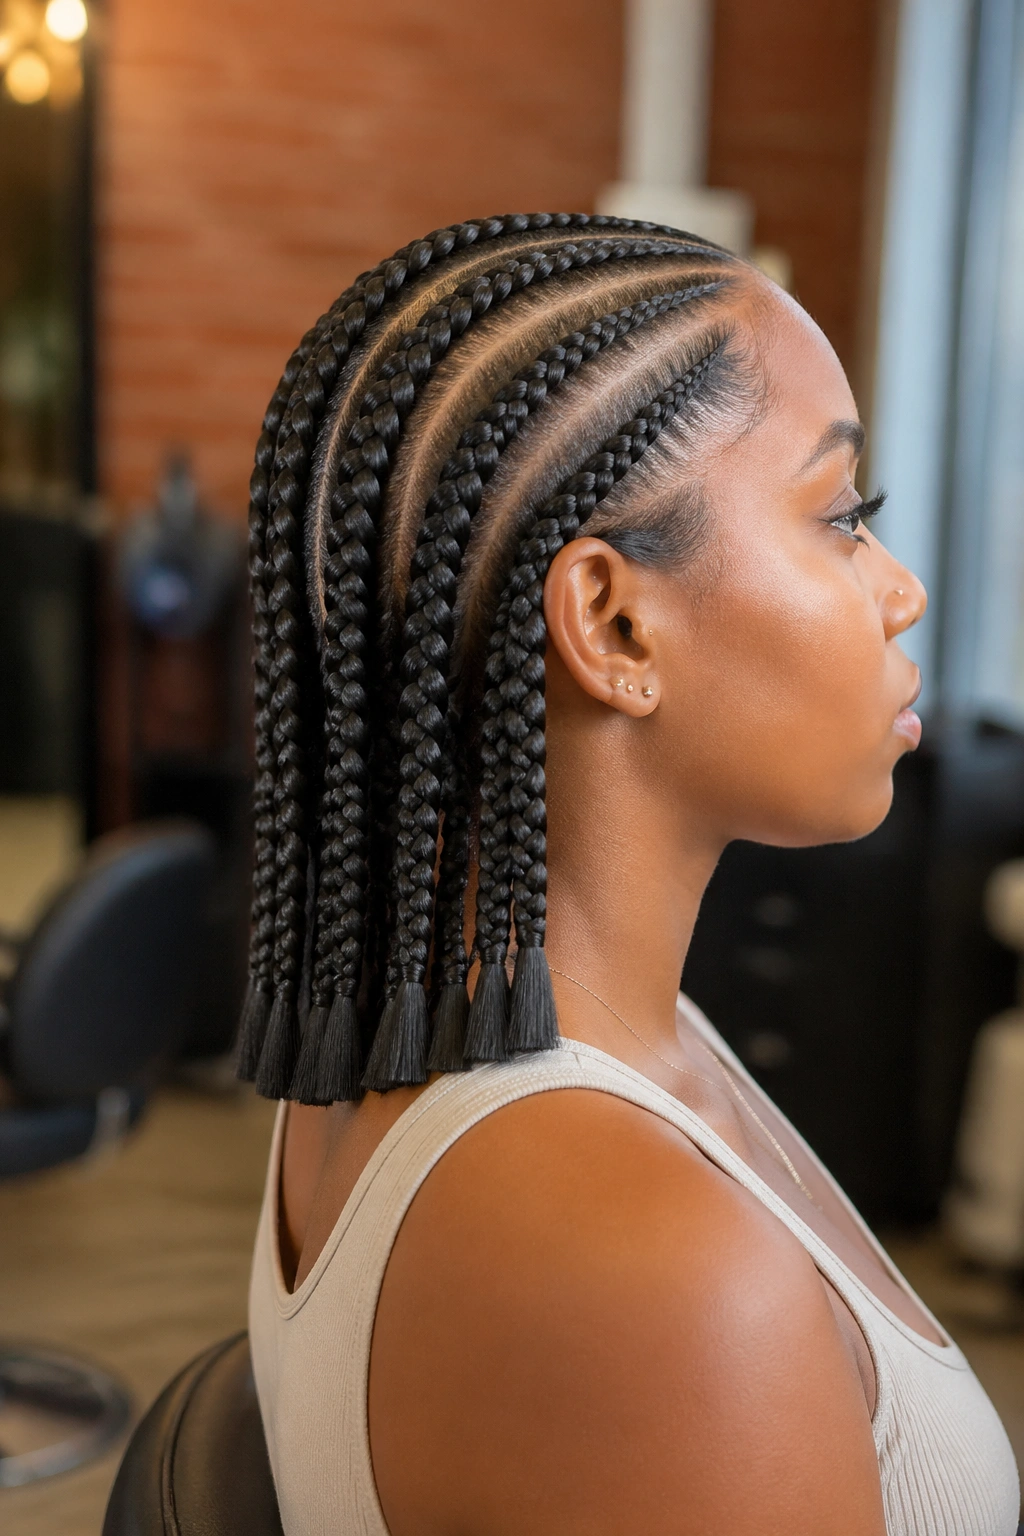
Budget 2-3 hours for takedown of waist-length straight-back cornrows. Rushing breaks hair.
Start at the tips and work up. Unseal or remove whatever’s at the tip — wrap, bead, dip, ribbon. Slowly unravel each braid by separating the three strands, spraying a detangling conditioner as you go. The extension will come out with the braid, often in a single clean piece if the feed-in was well-done.
After takedown, do NOT immediately shampoo. Your hair has accumulated shedding for 2-3 weeks, and that shedding is tangled with your braids. First, finger-detangle with conditioner, then wide-tooth comb, then shampoo. Skipping the detangle step leads to significant tangling during the wash.
Choosing Between Straight Back and Other Cornrow Styles
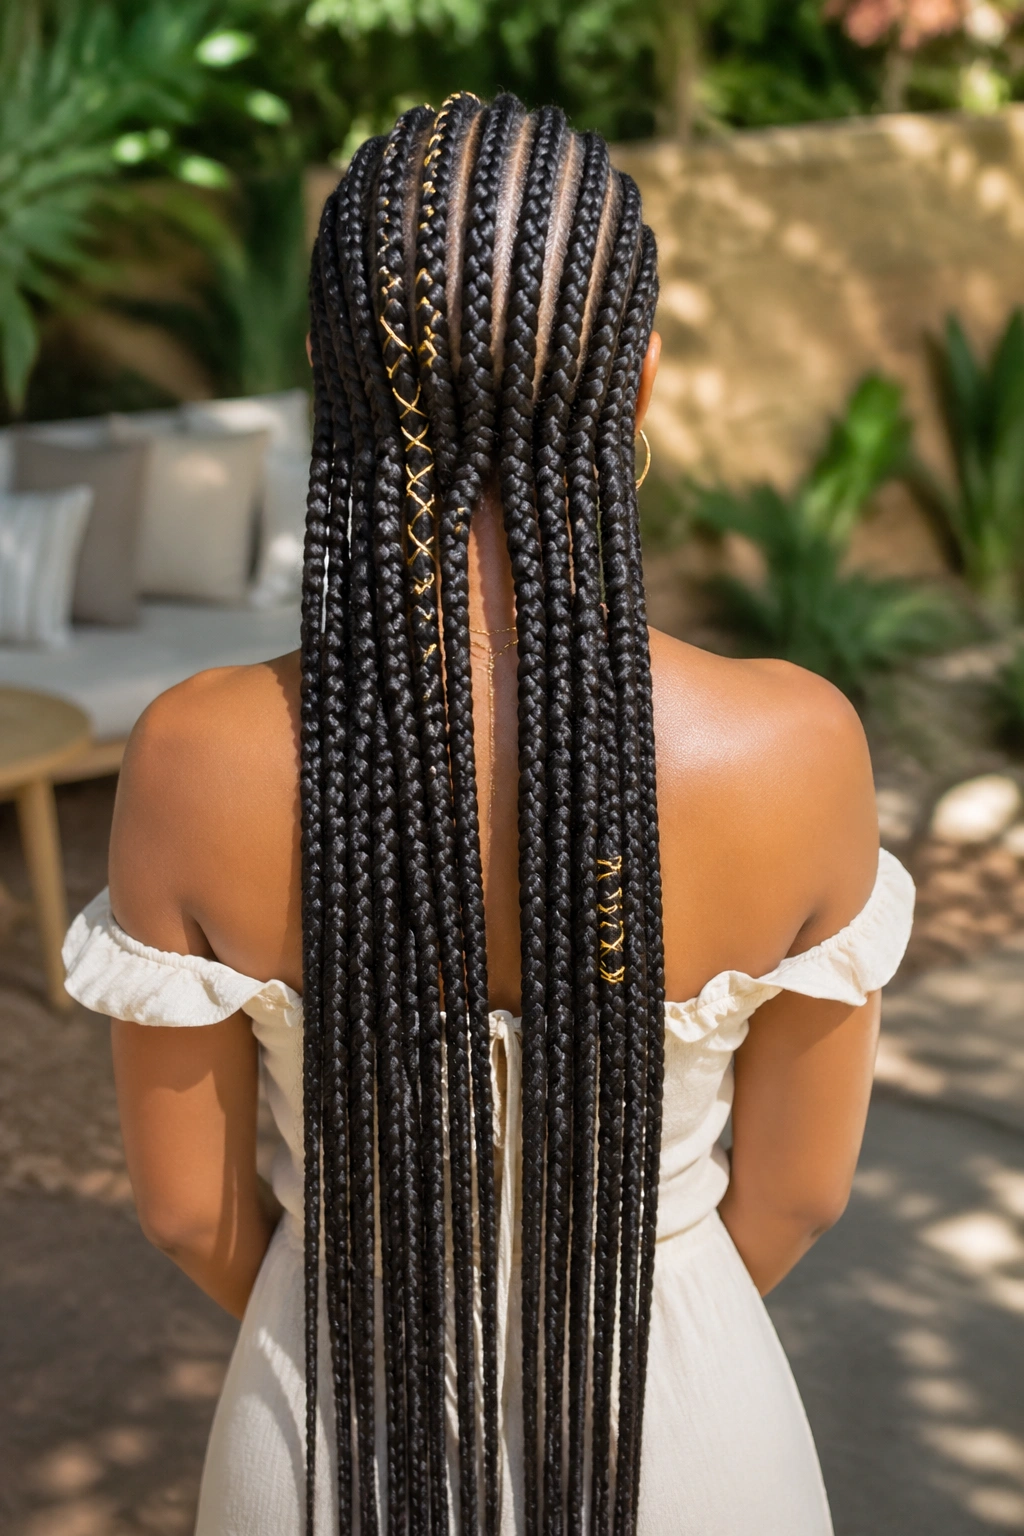
Straight back is the protective style of choice when you want:
- Clean, minimal styling with maximum length
- Easy wear under hats, helmets, or athletic gear
- Low maintenance compared to patterned cornrows
- Versatility — straight back works for gym, work, weddings, travel
Consider other styles when you want more visual interest at the scalp, shorter install commitment, or specific face-framing effects. Stitch cornrows, zig-zag parts, or patterned designs give you more detail but require more maintenance.
The best braid is the one you’ll actually wear, take care of, and take down on time. Straight-back extensions have the lowest floor for someone new to long-term cornrows — hard to screw up, easy to style, forgiving of weather and daily wear.
One final note on investment. A good set of straight-back cornrows with quality extensions runs anywhere from $150 to $400 depending on your region and braider. That’s not cheap. But amortized over two to three weeks of no daily hair time, no heat, no blow-drying, and minimal product — it’s often the most economical hair option available. Calculate the hours you’d otherwise spend on daily styling and the math usually makes itself.
