



Short hair gets dismissed in cornrow conversations, and that frustrates me every time. The assumption that you need shoulder-length-plus to wear cornrows is wrong. Cornrow styles for short hair work — they just require different technique, smaller sections, and a braider who knows how to anchor a braid in 3-4 inches of natural growth. Done right, short cornrows can look as polished and protective as any long install.
The trick is matching the cornrow scale to your actual hair length. Trying to do jumbo cornrows on a TWA (teeny weeny afro) is a setup for failure — the braid loosens within hours because there’s not enough hair length to lock in the pattern. Smaller, tighter cornrows that work with your length, not against it, are how short cornrow installs hold for 2-3 weeks comfortably.
What follows is 25 styles built for hair between 2 and 8 inches. Some use feed-in extensions to extend length; some are pure freehand on natural hair only. Pick based on what you have and what you want.
What Counts as Short
For cornrow purposes, “short hair” means anywhere from 2 inches (just past TWA stage) up to chin-length, roughly 6-8 inches stretched. Shorter than 2 inches won’t hold a cornrow without extensions. Longer than chin length is mid-length territory and most standard cornrow styles work for that range.
The shorter end of this range (2-4 inches) requires either small cornrows close to the scalp or feed-in techniques to add length. The longer end (5-8 inches) gives you more freedom — you can do larger sections, freehand braids, and even some style variations that need length to anchor the pattern.
Knowing where your hair sits in this range tells you which styles are realistic. A 3-inch TWA can’t pull off the same install as a 7-inch tapered cut, even though both are technically “short.”
Why Short Hair Cornrows Are Different
Anchoring is the main challenge. Long hair gives the braider plenty of length to grip and twist. Short hair offers less material per stroke, so the braider has to keep the tension consistent throughout shorter movements.
Short hair also fights the cornrow pattern at the ends. Once a braider runs out of natural hair to braid in, they have to either add extension hair to continue (feed-in) or end the braid and tuck/pin the loose end (freehand). Neither approach is hard, but both require skill to do cleanly.
Edge frizz appears faster on short installs. Less hair length means less weight pulling the braid down and against the scalp, so the braid can lift slightly by day three. Edge gel and silk scarves become non-negotiable.
The upside is install time. Short cornrows take significantly less time than long ones — sometimes half. Less hair to braid through means a 2-hour install instead of 4-5.
Tools You Need for a Short Hair Install
A rat-tail comb with a fine metal tip. The metal tip is critical because plastic tips don’t part short hair cleanly — they slide instead of separating.
Sharp scissors for trimming any uneven ends before the install. Snip stragglers that won’t braid in cleanly.
Strong-hold edge gel. Short cornrows live or die by edge sharpness. A weak gel won’t hold the front section flat against the scalp through a 2-week install.
Hair clips in plenty (10+). Short hair is harder to keep sectioned because gravity doesn’t help — short sections fall back into the working area constantly.
A spray bottle filled with water and a few drops of leave-in. Damp hair grips better than dry. Damp short hair grips even better than damp long hair because the moisture weight helps anchor the section.
Prep for Short Hair Cornrows
Wash 2-3 days before. Same-day washing leaves short hair too slippery to braid tightly.
Detangle thoroughly. Knots in short hair are hard to spot during braiding because there’s less length to comb through. A pre-install detangling session prevents the braider from snagging mid-cornrow.
Stretch the hair if possible. A blow-dry on cool or low heat, or a banding overnight stretch (small sections wrapped with hair ties to elongate the curl pattern). Stretched short hair braids cleaner than shrunken short hair.
Moisturize lightly. Heavy products on short installs cause buildup faster than on long installs because the products are concentrated in less hair.
Choosing Between Freehand and Feed-In
Freehand short cornrows use only your hair, no extensions. The braid ends where your hair ends. This works for hair 4 inches and longer because the natural length is enough to maintain the cornrow pattern through the full braid.
Feed-in short cornrows add kanekalon hair gradually as the braid moves toward the back. This extends the visible length and makes it possible to do styles that need length, like cornrow buns or cornrow ponytails, on naturally short hair.
For TWA and short tapered cuts (2-4 inches), feed-in is almost mandatory if you want any meaningful styling. Freehand on hair this short results in tiny braids that barely show.
For chin-length and longer short hair (5-8 inches), freehand works for most styles. Feed-in is optional — used only when you want extra length or thickness.
1. Six Tight Cornrows on a TWA
The starter style for anyone with 2-4 inches of hair. Six small cornrows running from forehead to nape, no extensions, freehand. Each cornrow ends where your natural hair ends — typically at or just past the crown.
Why It Works
Six cornrows is the sweet spot for short freehand installs. Fewer cornrows means each section has more hair, which gives the braider more material to anchor. More cornrows means each section has less hair, which can result in braids that won’t stay put.
- Cornrow count: exactly 6
- Direction: straight back from forehead
- Ends: tucked under, sewn with thread, or held with a small hairband
- Maintenance: edge gel touch-up every 3 days
Six tight cornrows on a TWA is one of the cleanest looks you can wear. It shows off your scalp lines, frames the face, and lasts up to 2 weeks with proper care.
2. Tapered Cornrows on a Tapered Cut
A tapered cut has longer hair on top and shorter sides. Cornrows on this style follow the cut shape — fuller, longer cornrows on top, thinner shorter cornrows along the tapered sides.
The cornrows on top can be 4-6 inches long if the natural hair length supports it. The sides may be too short for braids and instead get sharply parted lines or designs shaved/parted into the hair.
This style references classic Black barbering culture and pairs cornrow technique with cut technique seamlessly.
Best for anyone who already has a tapered cut and wants to extend the styling options.
3. Side-Part Cornrows With Tucked Ends
Unlike a center-part style, a deep side part runs from the forehead to about 3 inches off-center. Cornrows fall away from the part on both sides, ending behind the ears or at the nape.
The ends are tucked under and pinned with bobby pins. No visible loose ends, no extensions needed. This works for hair 4 inches and longer.
Side parts on short cornrows elongate the face shape and add a touch of asymmetric drama to an otherwise simple style.
4. Cornrow Mohawk on Short Hair
Three to five cornrows running down the center of the head from forehead to nape, with the sides shaved or buzzed short. The cornrow mohawk creates a punk-meets-protective hybrid look that reads as edgy without feeling extreme.
The mohawk strip is typically 2-4 inches wide. Wider feels more balanced; narrower feels bolder.
Side hair management depends on length. Buzzed sides need no styling. Slightly longer sides (1-2 inches) can be slicked down with edge gel for a polished finish.
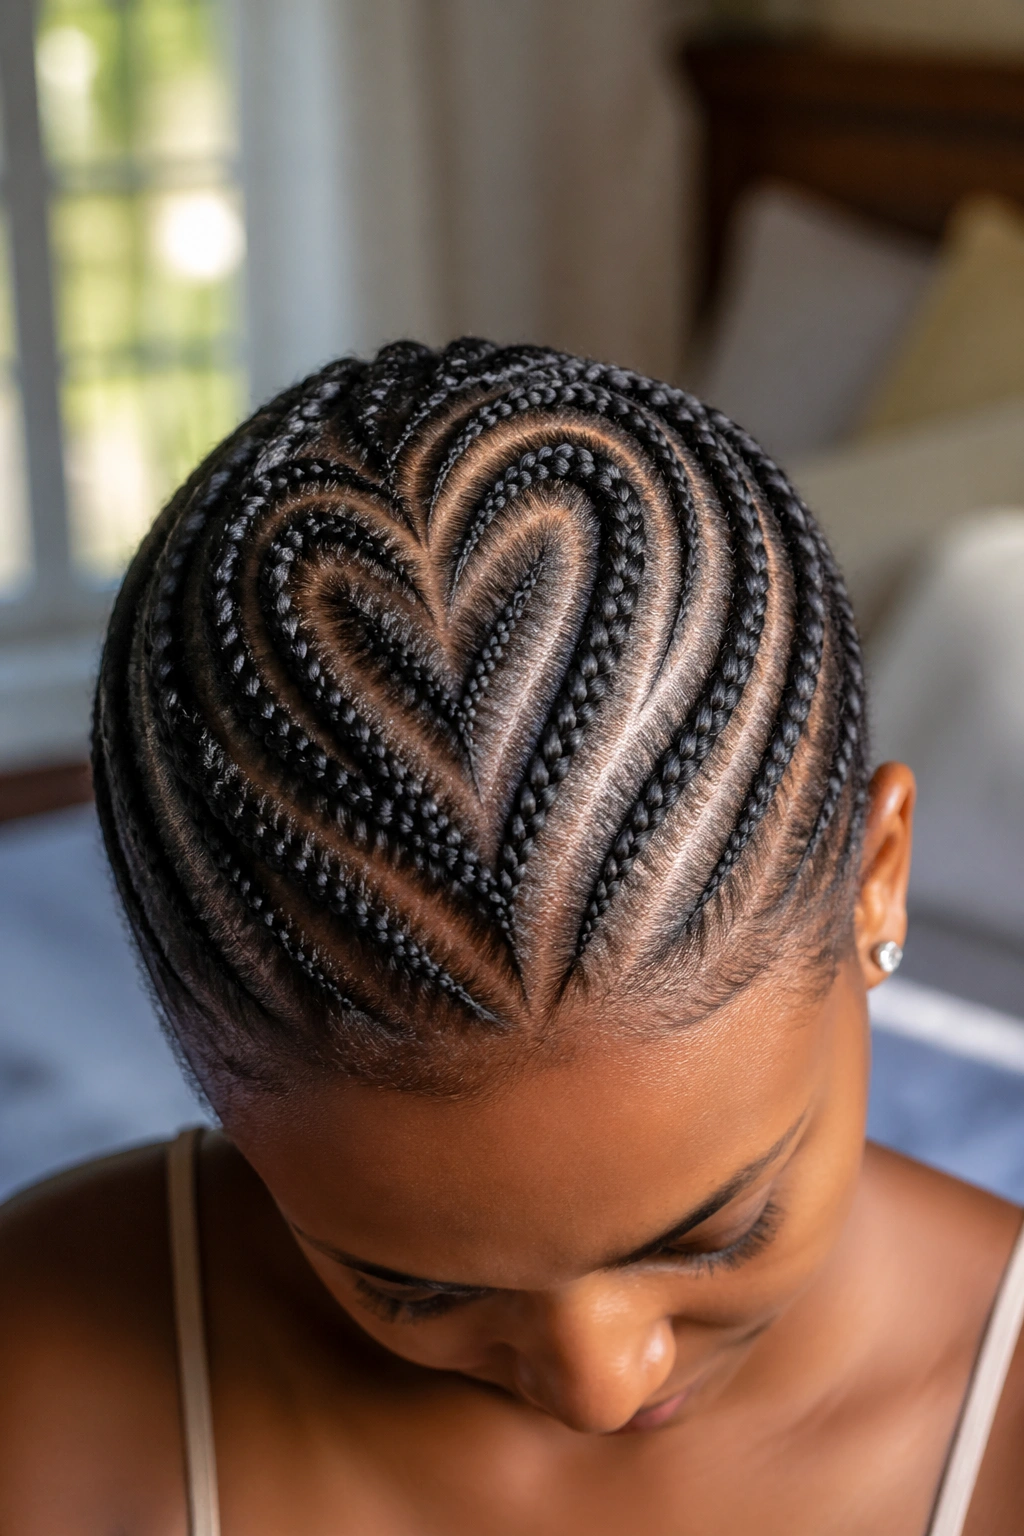
5. Heart-Shape Cornrow on Short Crown
A heart-shaped pattern parted into the crown of the head, with cornrows following the heart outline. The heart sits at the top of the head and is visible from the front and slightly visible from the sides.
This is a detail-heavy style requiring a skilled braider. Plan 3+ hours for the install on short hair.
The heart should be subtle, not cartoonish. Soft curves at the top, gentle V at the bottom. Reference photos help the braider get the proportions right.
6. Feed-In Cornrows With Crochet Ends
Scenario: you have 4-inch hair but want shoulder-length cornrows. Feed-in cornrows extend the braid using kanekalon, but for the truly short hair on the sides and nape, crochet ends finish the look.
The mechanism is hybrid technique. Where natural hair length supports a feed-in braid, that’s the technique used. Where the hair is too short to anchor even a feed-in (typically the very front edges and very back nape), crochet pieces are added.
- Front cornrows: feed-in
- Back/nape cornrows: feed-in or crochet depending on length
- End styling: pre-curled crochet pieces for a textured finish
- Install time: 4-5 hours
This is the workhorse approach for short hair when you want long-style results.
7. Two Cornrows Down the Middle
The minimum-effort short cornrow style. Two cornrows running down the center of the head, parallel, from forehead to nape. The rest of the hair is left in its natural state — afro, twist-out, or whatever your normal styling is.
Two cornrows on short hair takes 30 minutes max. It’s the kind of style you do on a Sunday night to keep your hair off your face for a workout week.
The cornrows can be small and tight or larger and chunky. Both work. Small cornrows look more polished; larger cornrows look more casual.
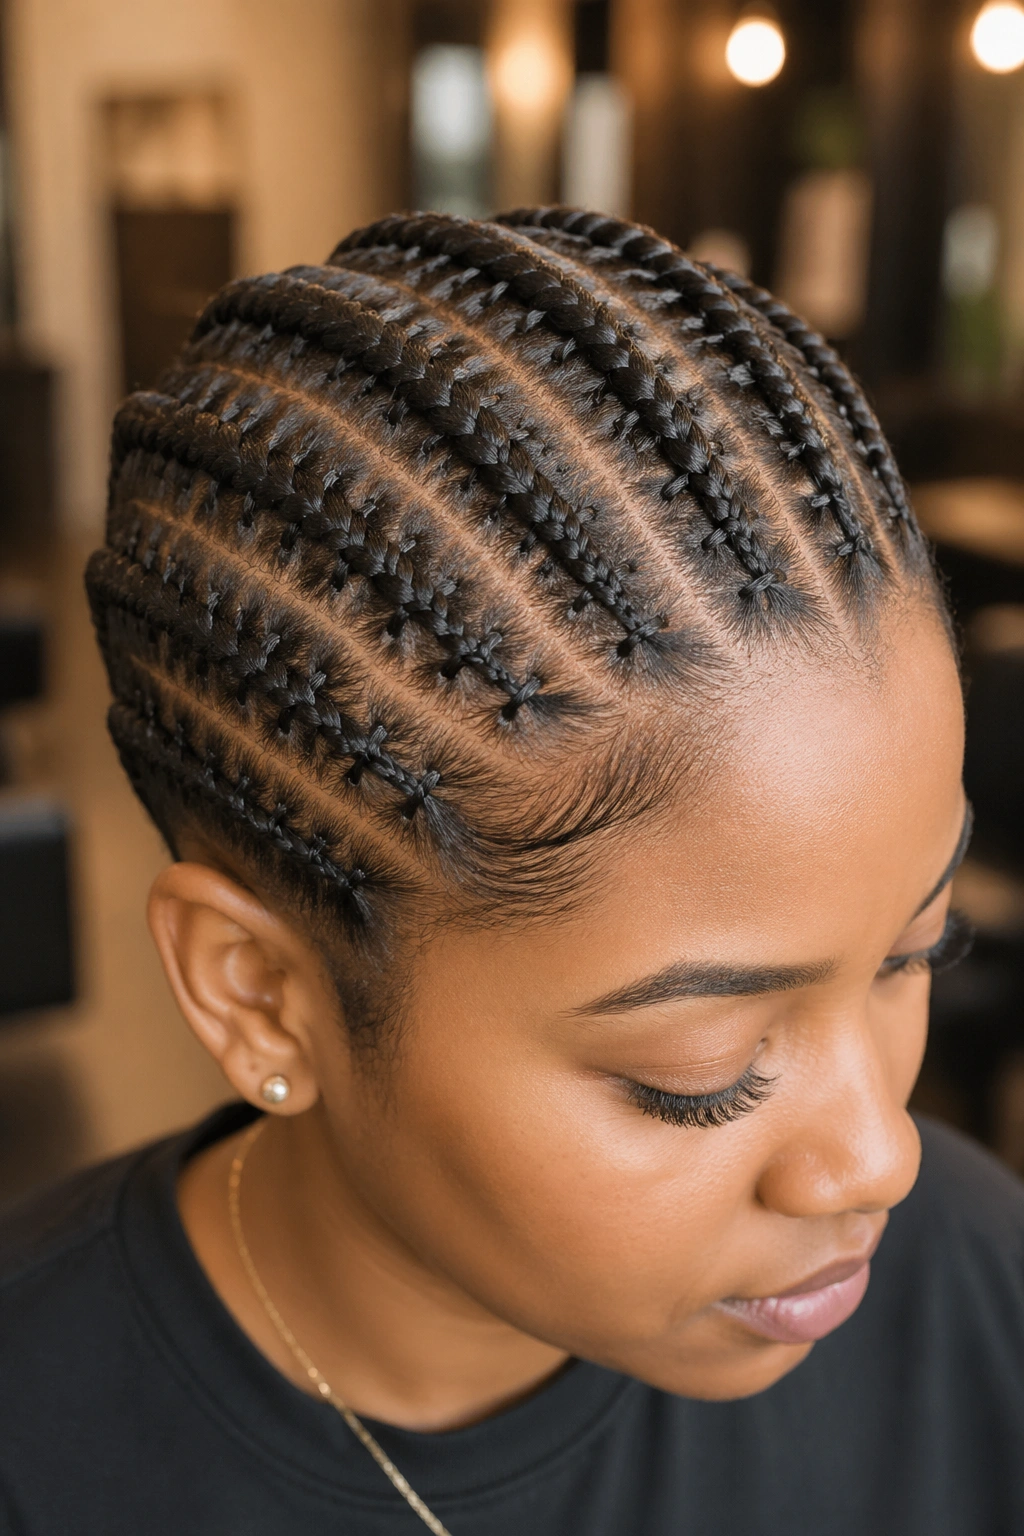
8. Stitched Cornrows on Short Hair
Cornrows with horizontal stitch details — small perpendicular mini-braids crossing the main braid at intervals. On short hair, stitches add visual length to the braid because they create small accents along the limited length you have.
What Makes It Different
Plain short cornrows can read as too simple because there’s not much braid length to look at. Stitches break up the visual monotony and make short cornrows feel more designed.
- Stitch count: 3-4 per cornrow on short hair
- Stitch material: small bits of kanekalon in same color as base
- Stitch placement: even intervals, matching across all cornrows
- Maintenance: stitches need re-tightening at week 2 if they fuzz
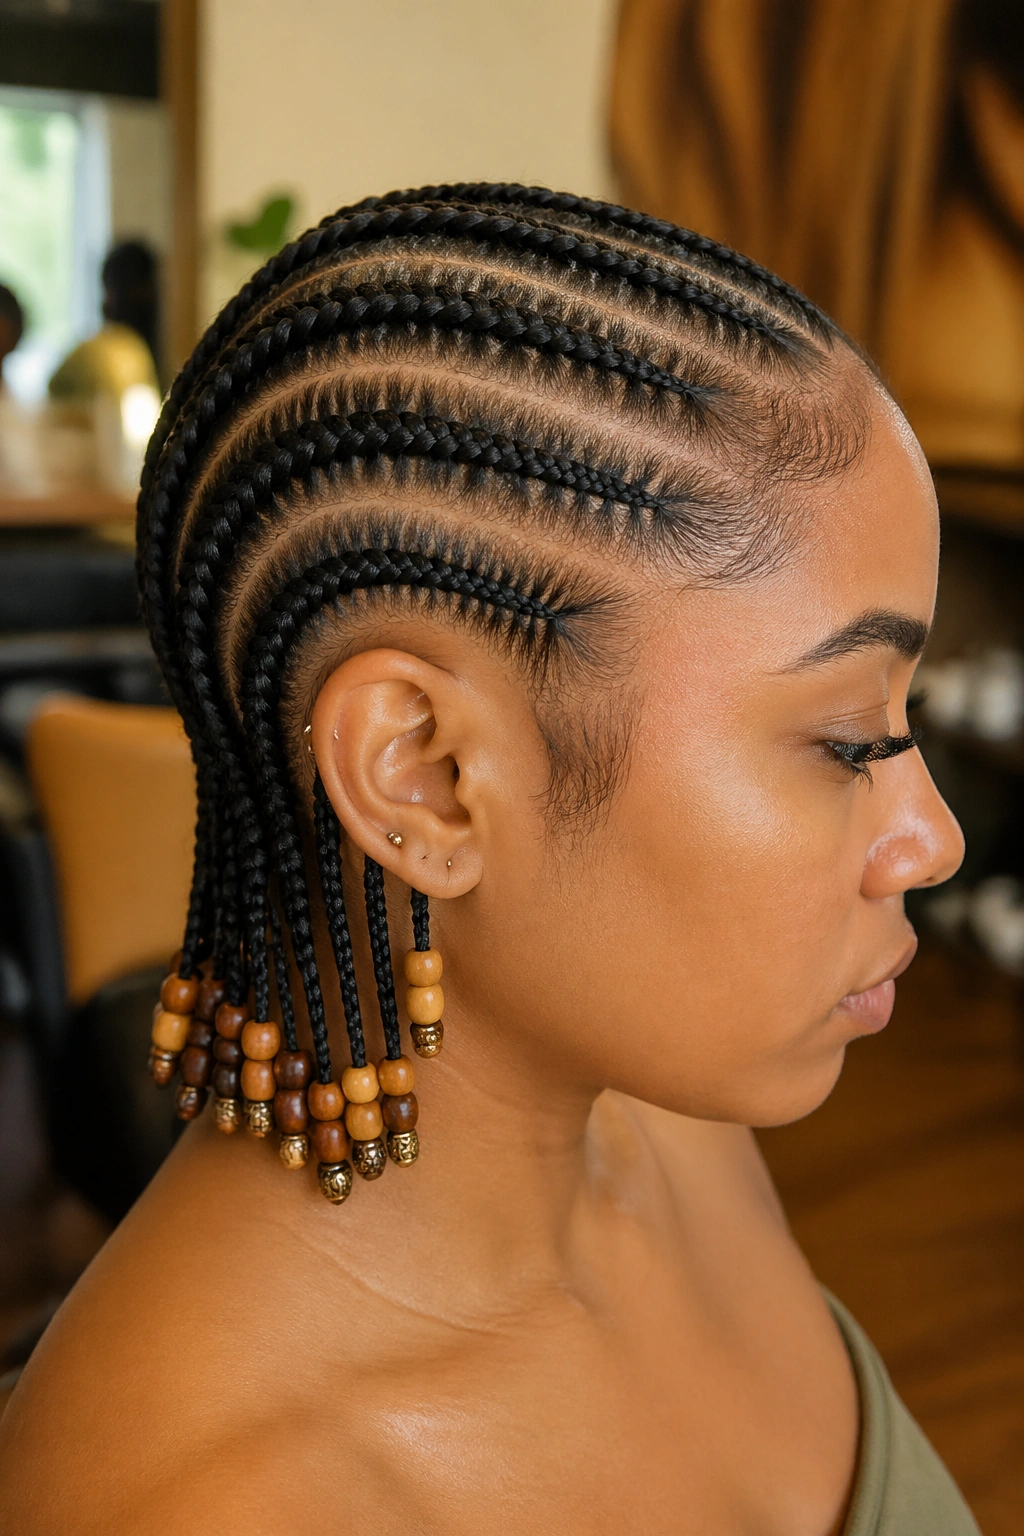
9. Cornrows With Beaded Ends on Short Hair
Where the cornrow ends — at the natural length stop — small beads are attached. The beads add weight to anchor the braid end and provide visual interest.
For 4-6 inch hair, this works without extensions. The cornrow ends about at chin level or behind the ear, and a few beads dangle from the tip.
For shorter hair, you’ll need feed-in extensions to give enough length for beads to actually hang. Beads sitting against the scalp don’t read as decorative — they look pinned on.
Wooden beads are lighter and more comfortable. Acrylic beads are flashier and reflect light. Pick based on event vs. everyday use.
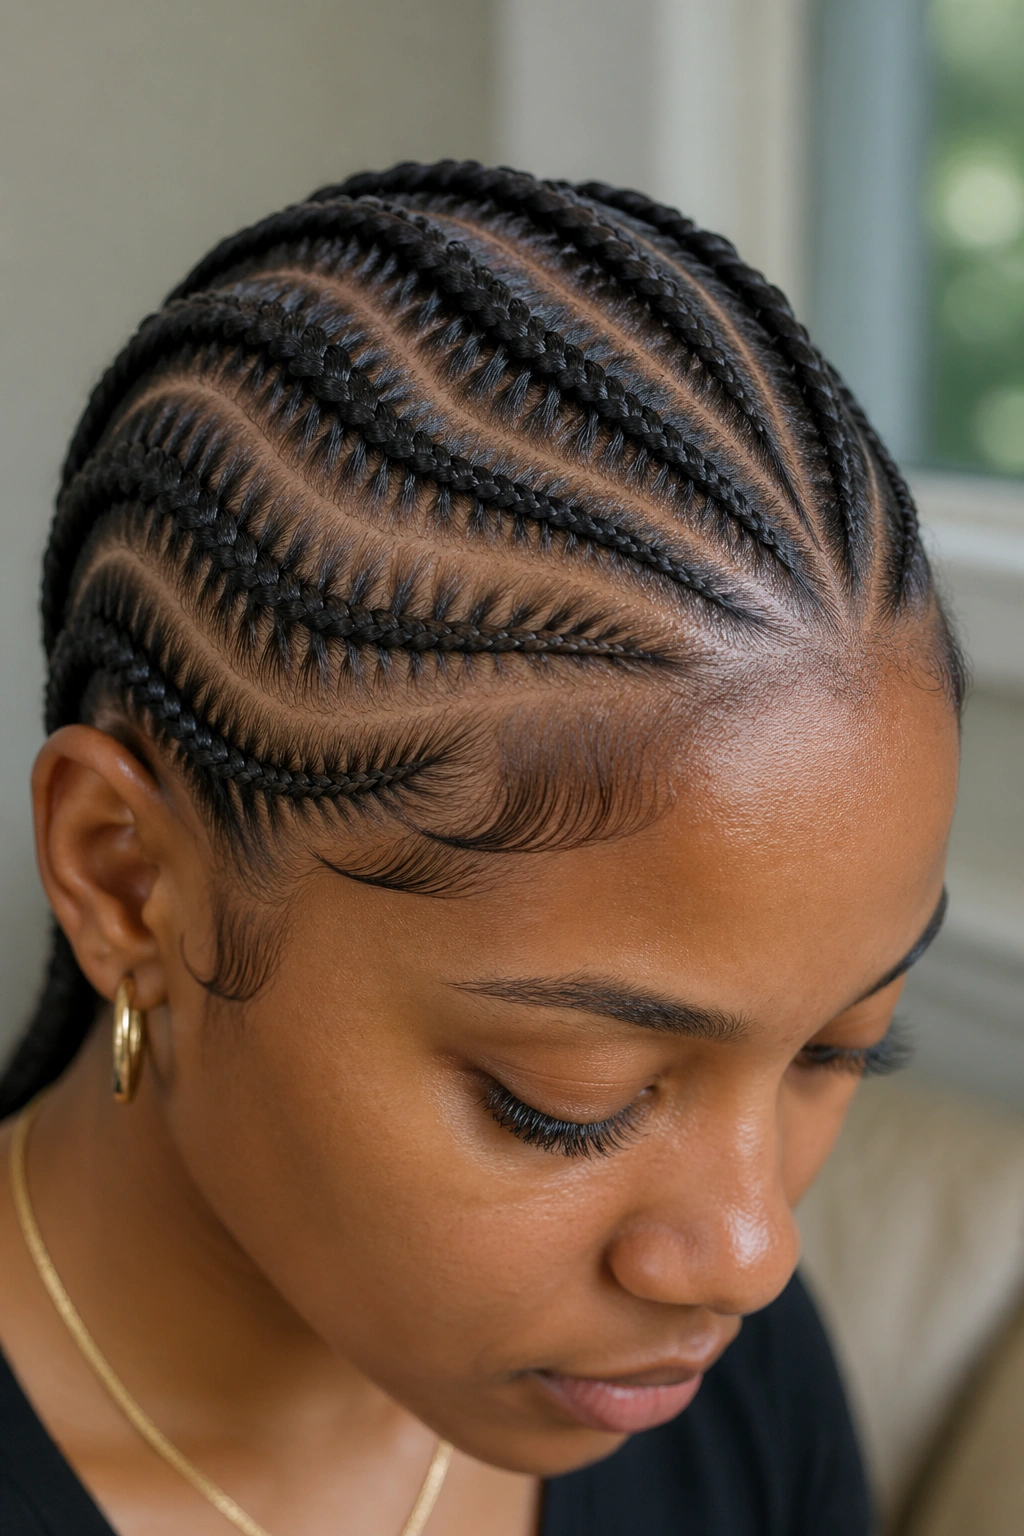
10. Curved Cornrows Along the Hairline
Cornrows that follow the natural curve of your hairline rather than running straight back. They start at one temple, curve along the hairline, and terminate at the opposite temple or at the nape.
This is a technique-forward style. The curves are challenging to braid evenly, and short hair makes it harder because there’s less material to hold the curved tension.
Best for anyone with 5+ inches of hair and a skilled braider. Not recommended for TWAs — the curves don’t show on hair that short.
11. Cornrows With a Side Bun
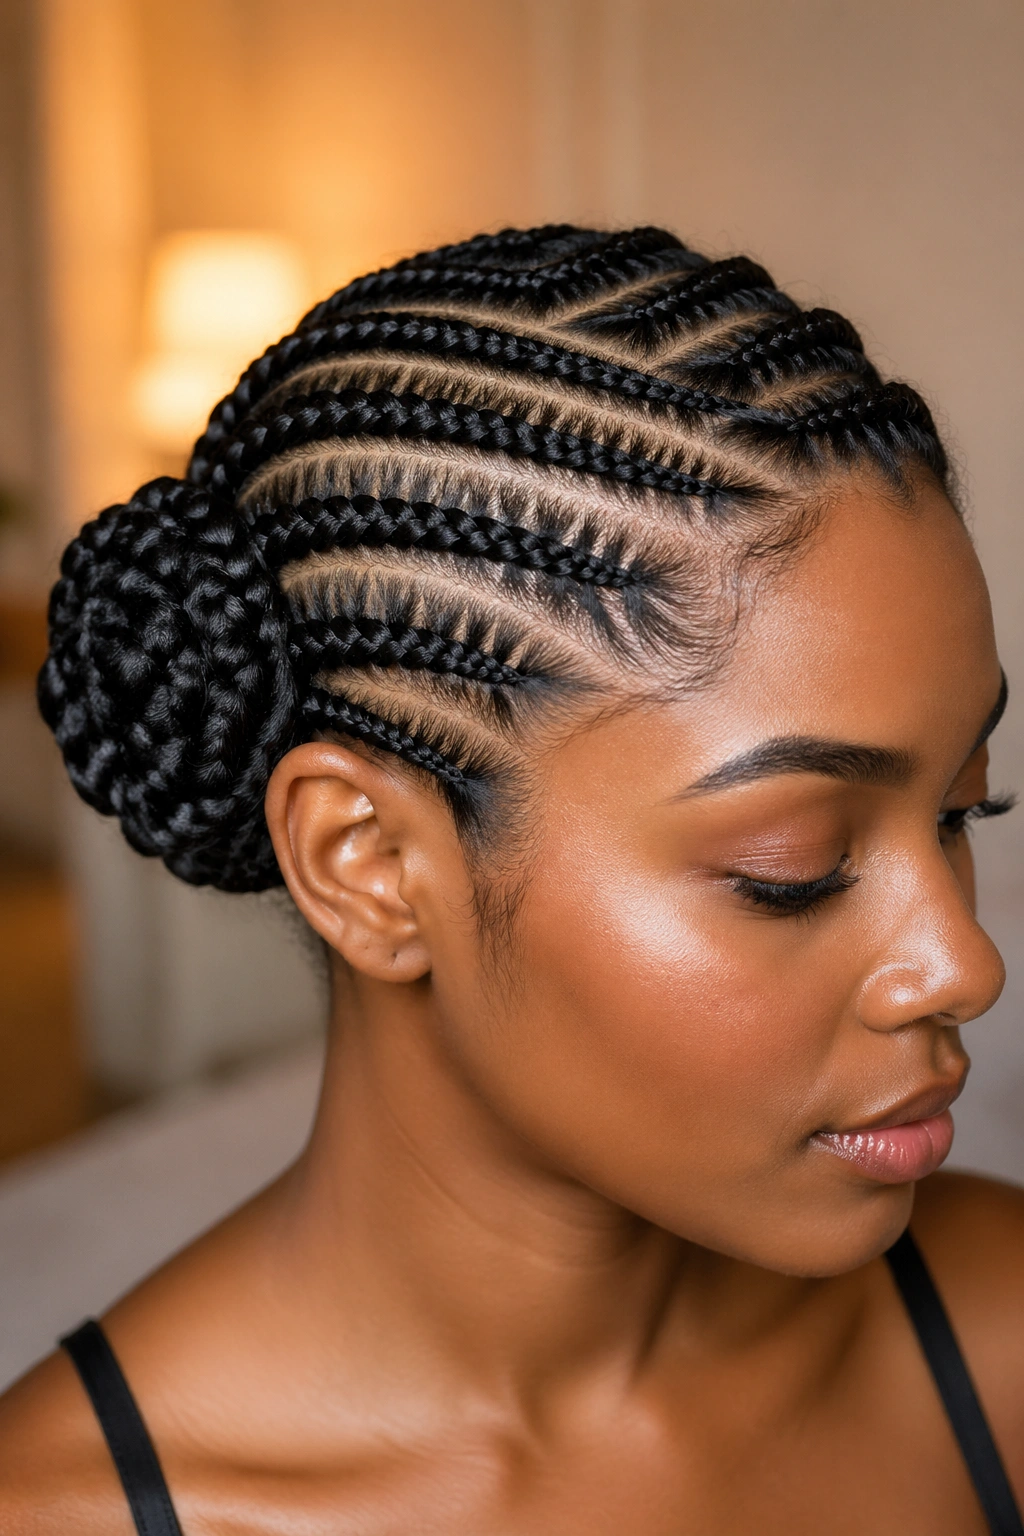
Six to eight cornrows on short hair feeding into a side bun above the ear. The bun is small (because the hair is short) but visible.
If your natural hair is short, the bun is built from the cornrow ends plus a small hair piece pinned in to add bulk. Bun pieces (called “bun makers” or “bun donuts”) are inexpensive and available in matching hair tones.
The side bun position adds asymmetric flair to a style that would otherwise be flat. It’s a good event-friendly style for short hair.
12. Half-Up Half-Down Cornrows
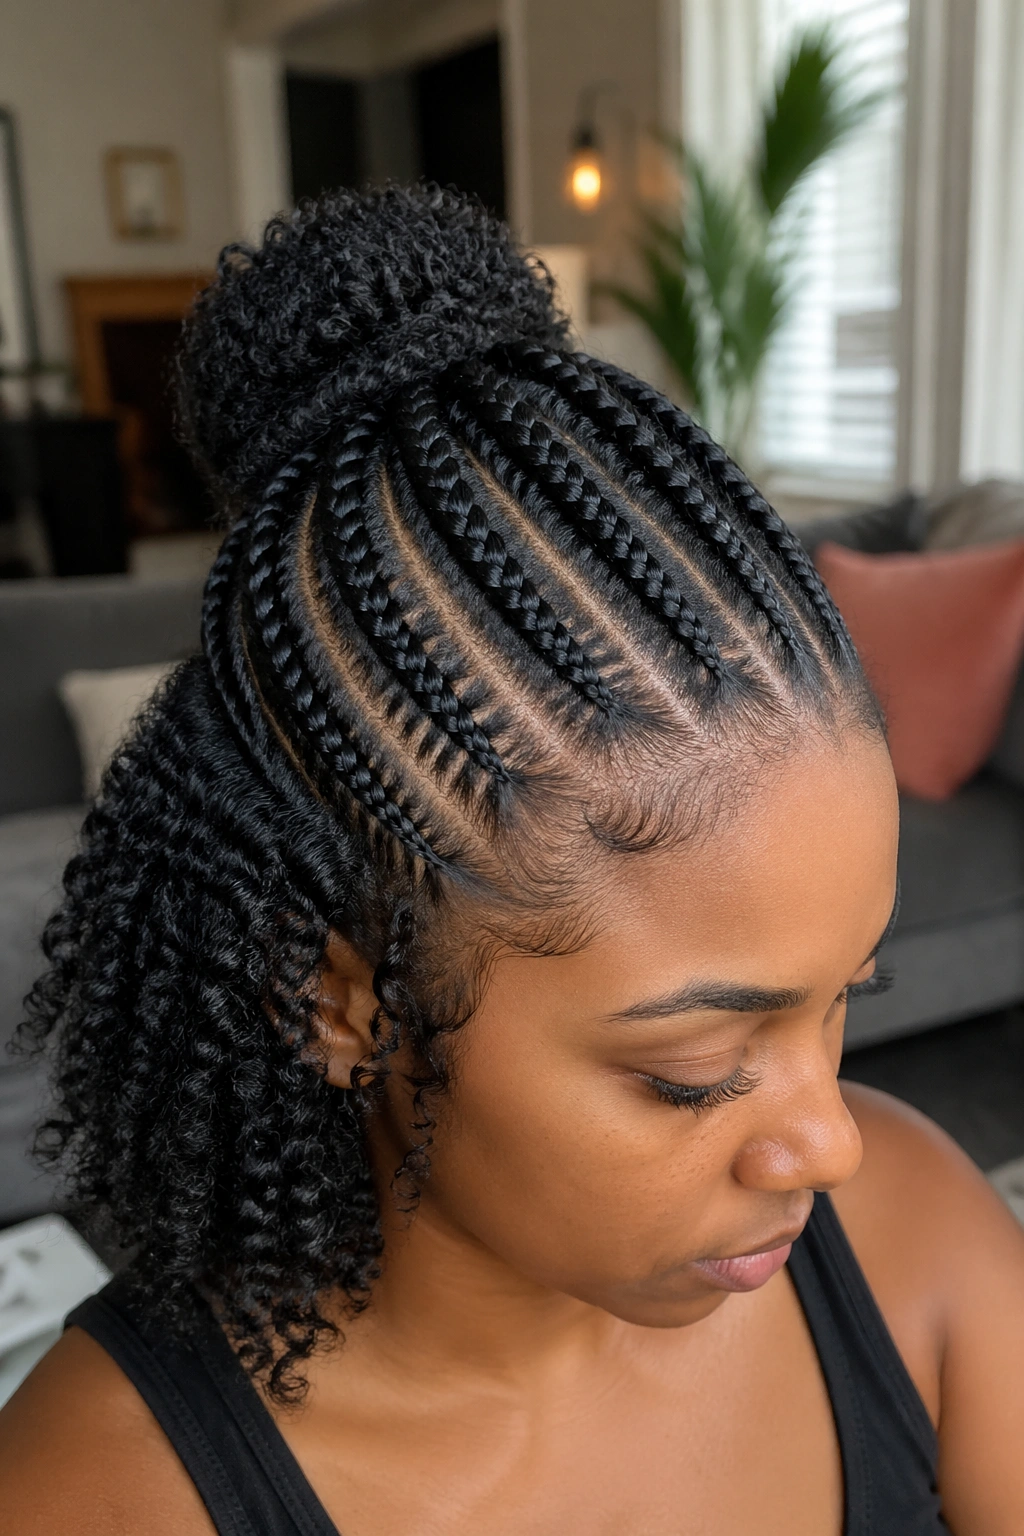
The top half of the head is cornrowed; the bottom half is left out. The top cornrows pull back and gather at the crown, where they’re either pinned flat or tied with a small ponytail holder.
For short hair, the “down” portion is your natural hair below the crown — typically a small fringe of fro or curls.
This style works on hair 4 inches and longer. Shorter than that, there’s not enough “down” portion to read as a half-up style.
Who This Is For
Anyone wanting cornrow detail at the top while showing some natural texture below. It’s a good in-between style for someone transitioning between fully natural and fully braided wear.
- Top cornrows: 4-6 of them
- Down portion: shaped with leave-in and finger styling
- Edge management: smooth at the front, soft at the part transition
- Refresh: re-moisten the down portion every 2-3 days
13. Cornrows With Curly Crochet Pieces
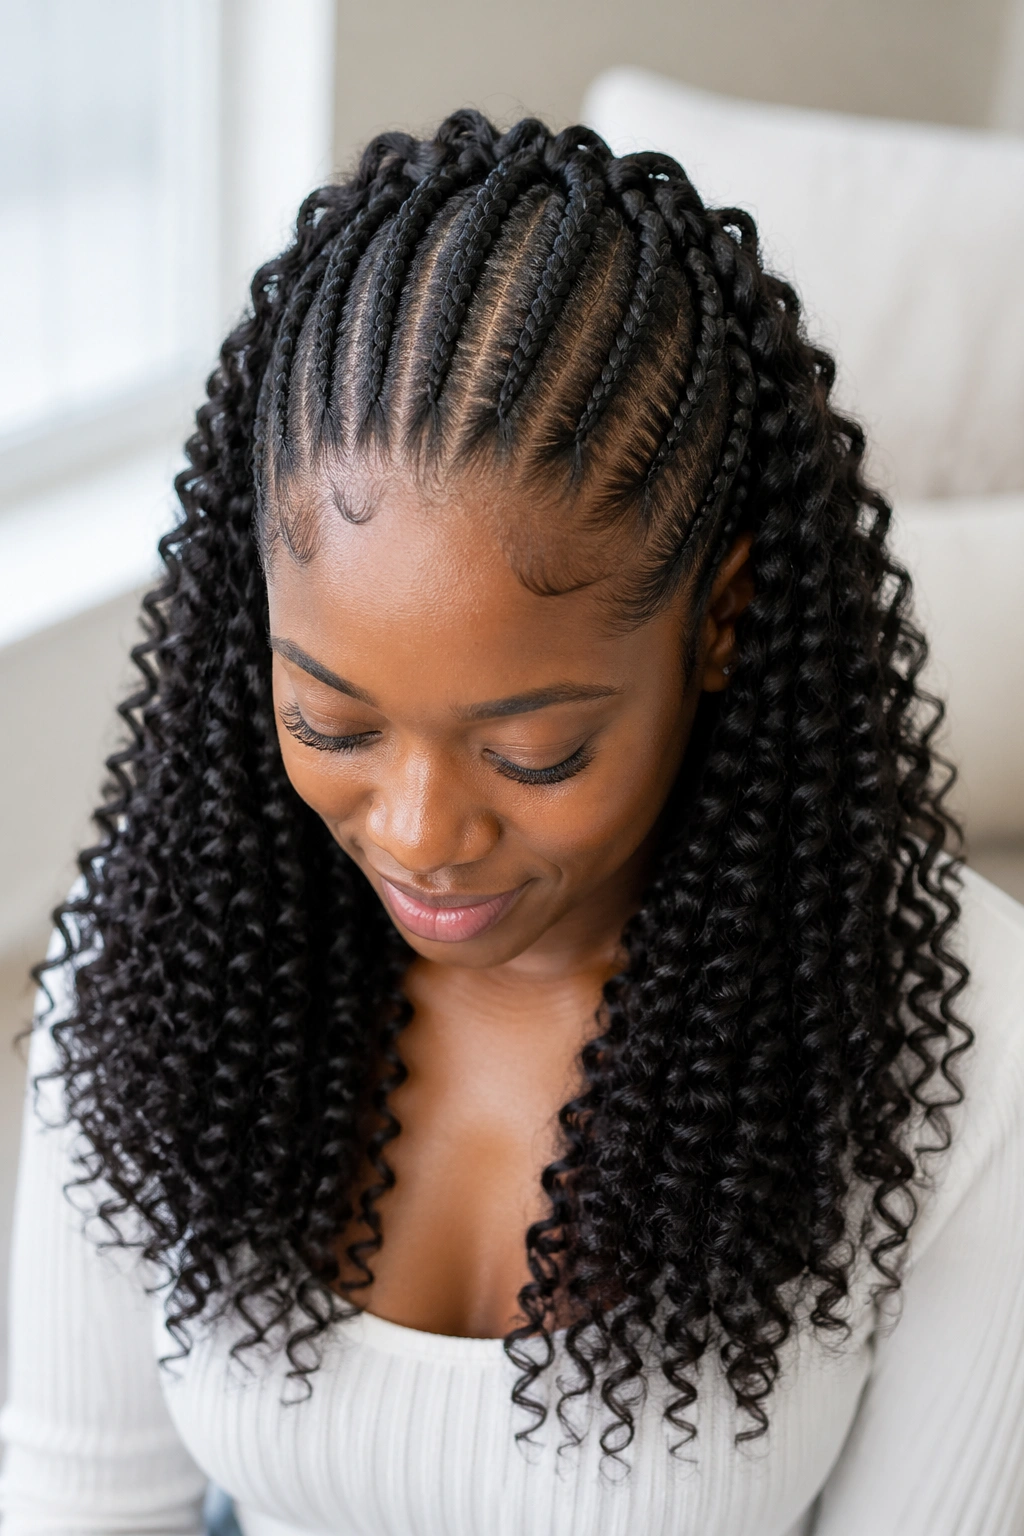
Short cornrows installed with crochet curls attached at the ends. The crochet curls hide the cornrow termination and add visible length without the time commitment of feed-in extensions.
Crochet curl pieces come in pre-shaped curls (loose wave, deep wave, kinky curl). Pick a curl pattern that complements your natural texture for a seamless transition look.
Install method: cornrow first using only your natural hair, then crochet the curl pieces onto the cornrow ends using a small crochet hook.
14. Cornrows With a High Puff Pulled Out
Cornrow the front and sides only, leaving the crown and back hair loose. The loose hair is gathered into a high puff at the back of the head — a small Afro puff or curly puff anchored with a hair tie or stretchy band.
This works for hair 4-6 inches long. The puff is naturally short because the hair is, but it sits prominently at the back and creates a balanced silhouette with the cornrow front.
Edge gel along the cornrow section keeps the front sleek. The puff itself can be moisturized with leave-in and shaped with fingers — no fancy product required.
15. Cornrows With Designs Carved at the Nape
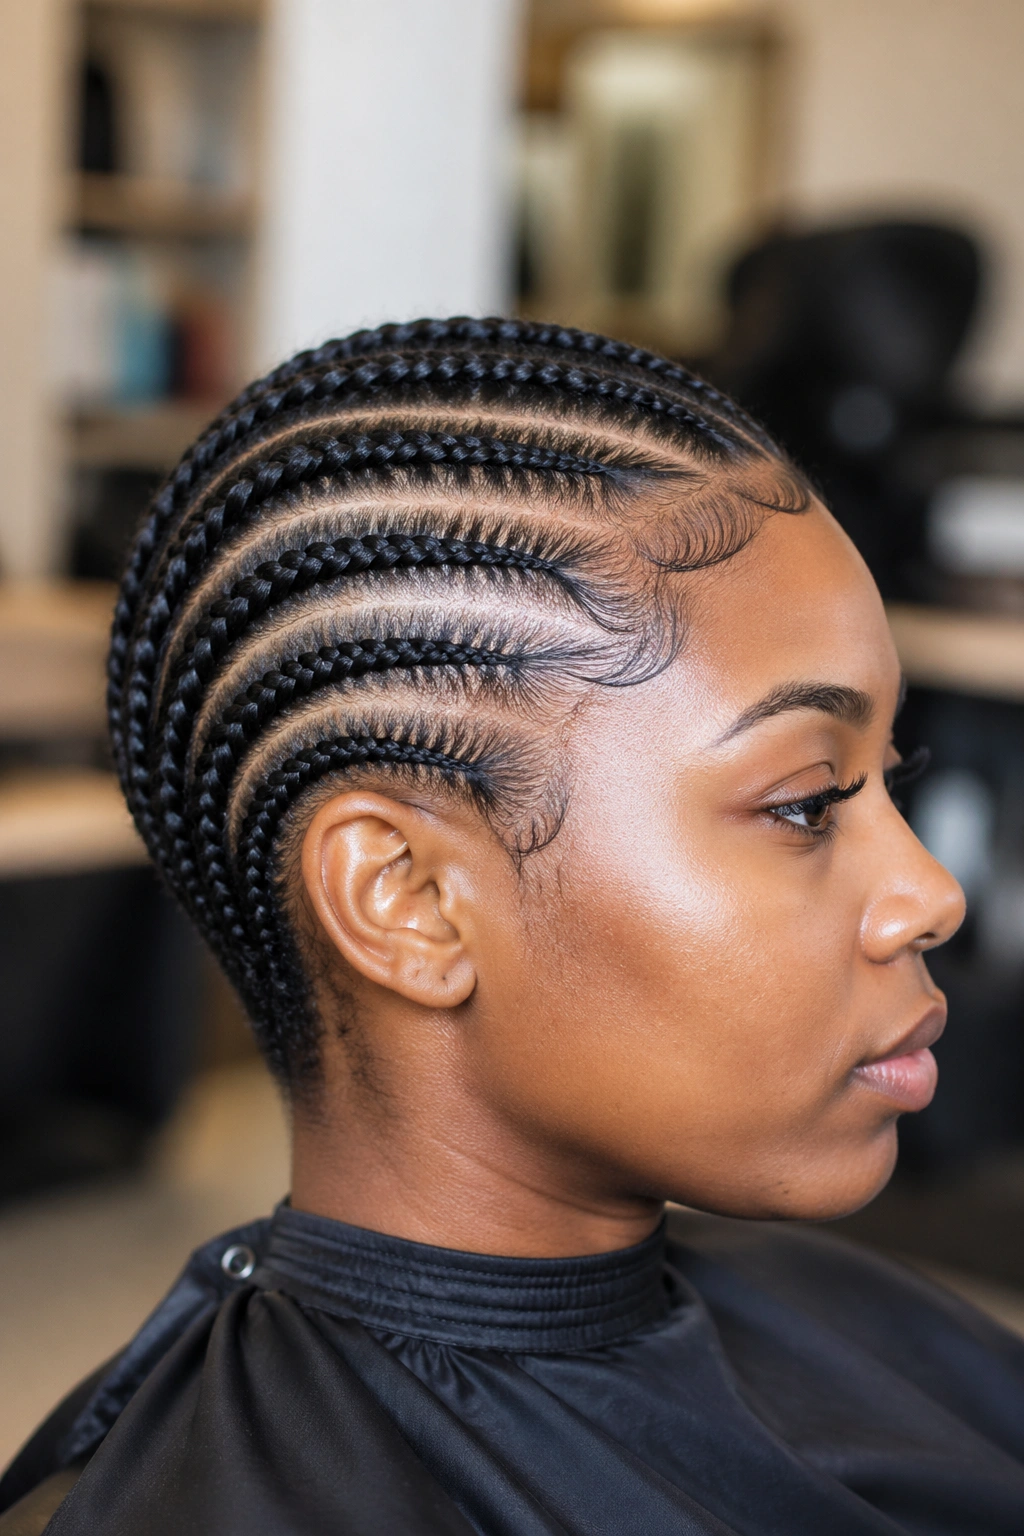
Cornrows on top with shaved or razor-cut designs at the nape. The designs can be simple lines, geometric shapes, or initials.
This requires a barber, not just a braider. Plan two appointments — one for the cornrows, one for the nape designs — unless your braider also does razor work.
The combination reads as edgy and modern. Pairs well with hoop earrings and bold jewelry that draws attention to the neck and ear area.
16. Cornrows With Bantu Knots at the Ends
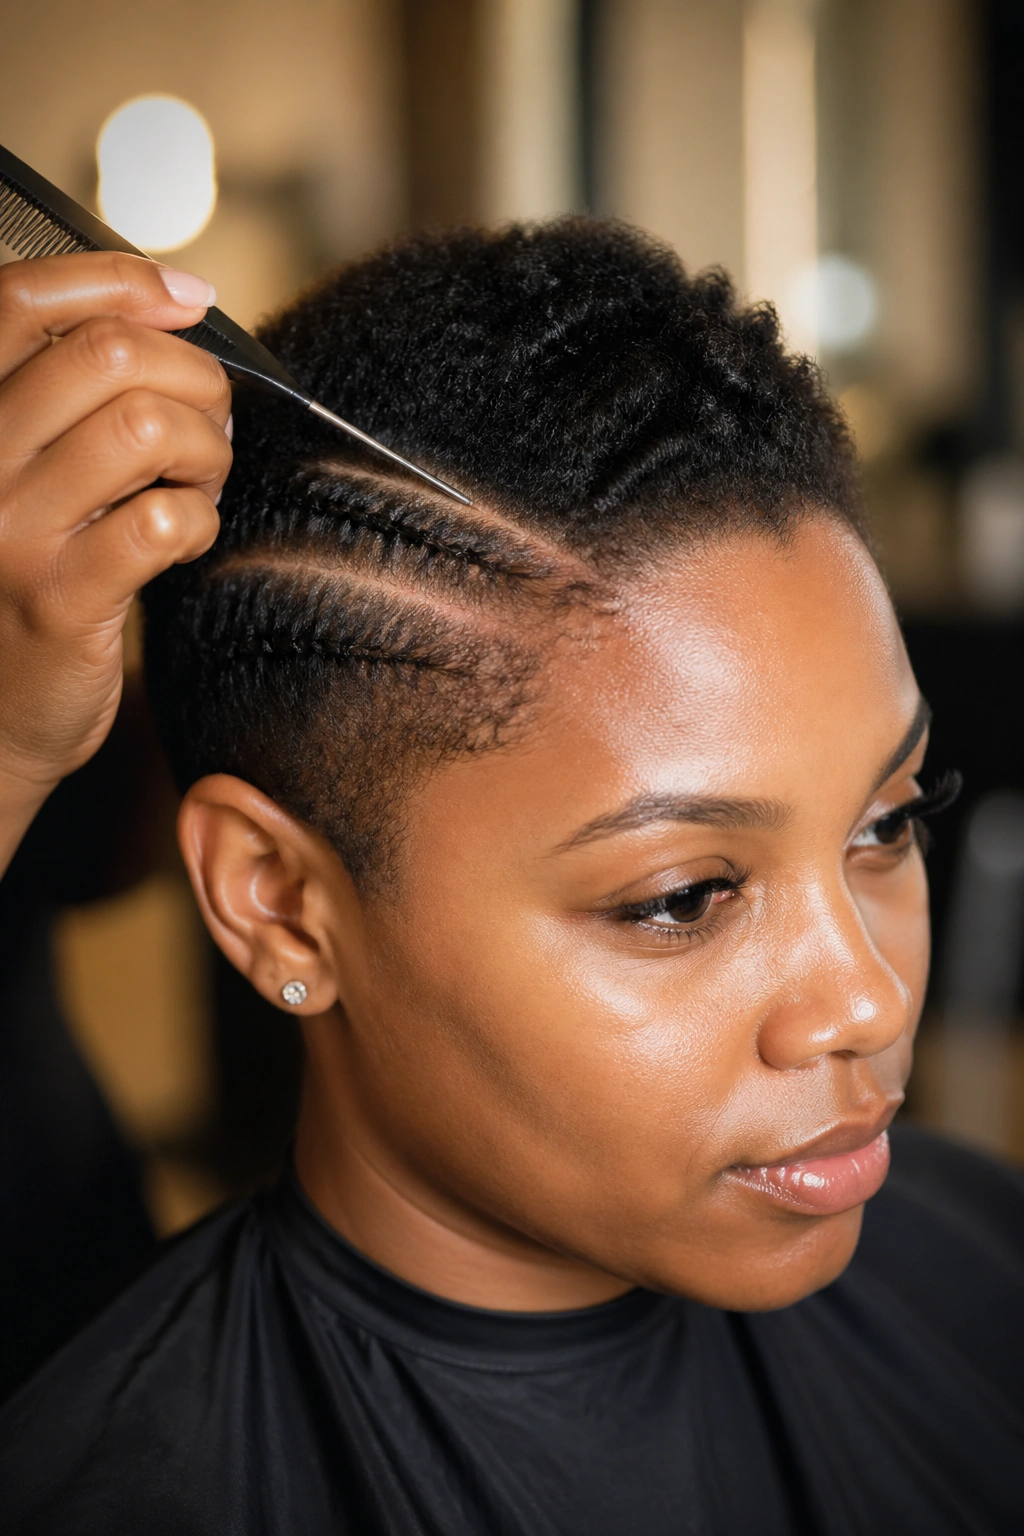
The cornrow ends are coiled into small bantu knots instead of being tucked or beaded. Each cornrow ends in a tight knot pinned to the scalp.
This is a style that lasts 5-7 days max — shorter than most cornrow styles because the knots loosen with movement.
Best for short events: weekend wear, special occasions, photoshoots. Not for everyday wear over 2 weeks.
17. Short Cornrows With Headband Accent
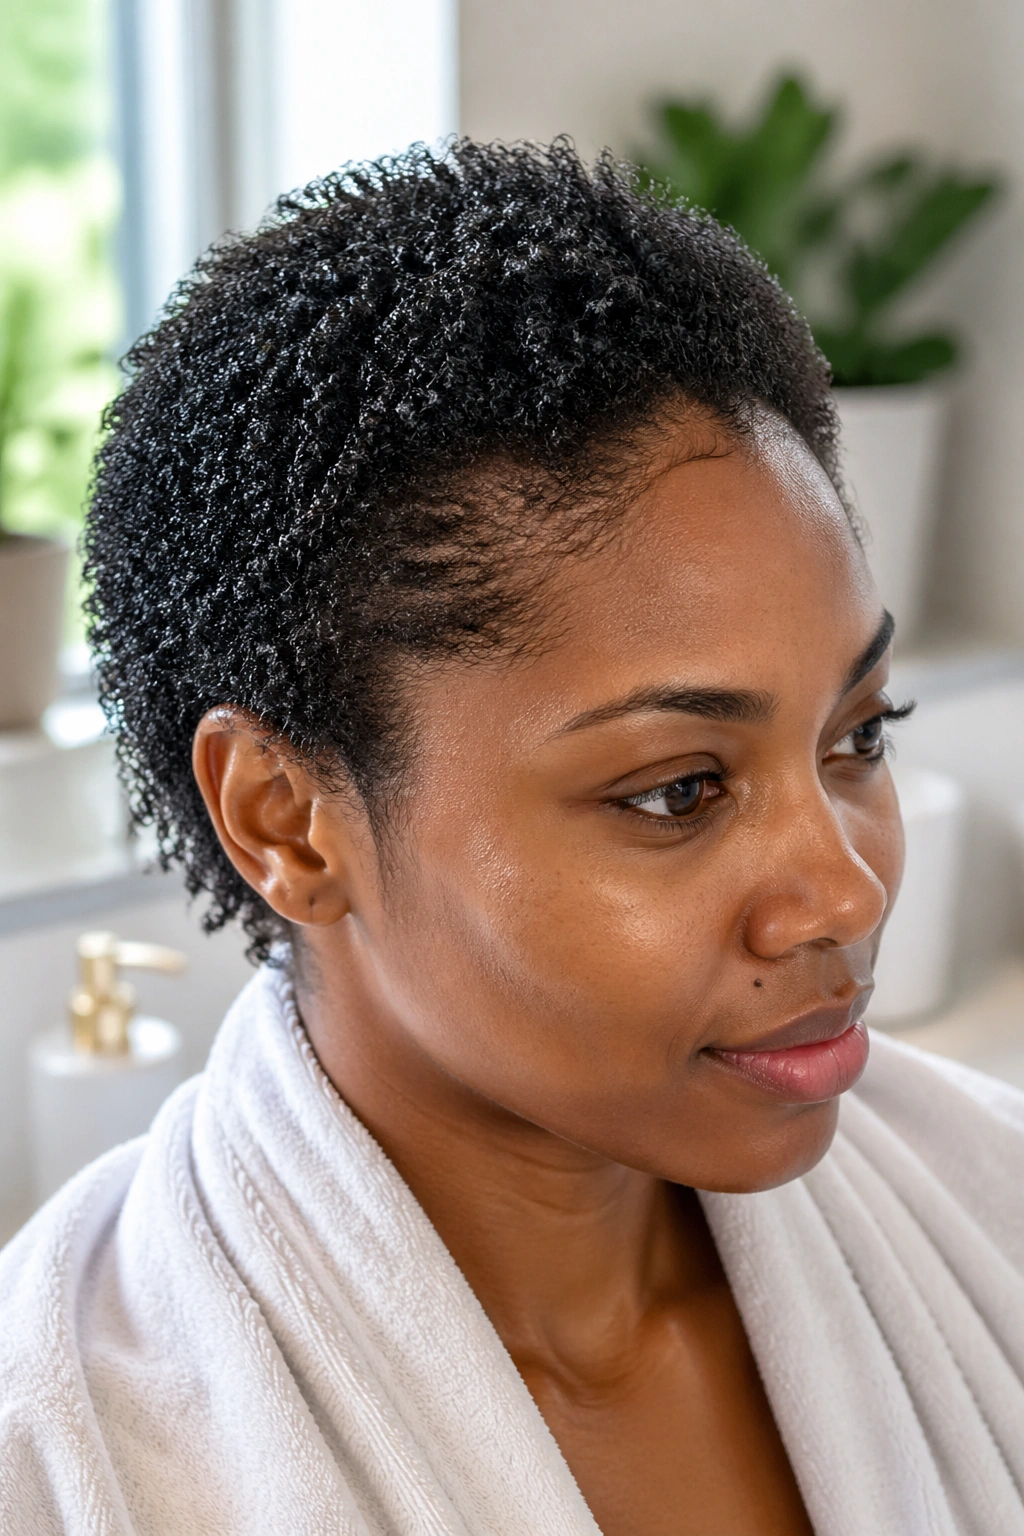
Cornrows installed at small to medium size on short hair, finished with a wide cloth headband across the front. The headband covers the front 1-2 inches of the cornrow base, leaving the rest of the cornrow visible.
Headbands hide loose front edges, frizz, or any imperfection in the front cornrow section. They’re a styling tool for refreshing cornrows that have aged past day 7.
Match the headband color to your outfit, not your cornrows. Contrast headbands look intentional; matching ones look like an attempt to hide.
18. Cornrows With Side-Swept Bangs
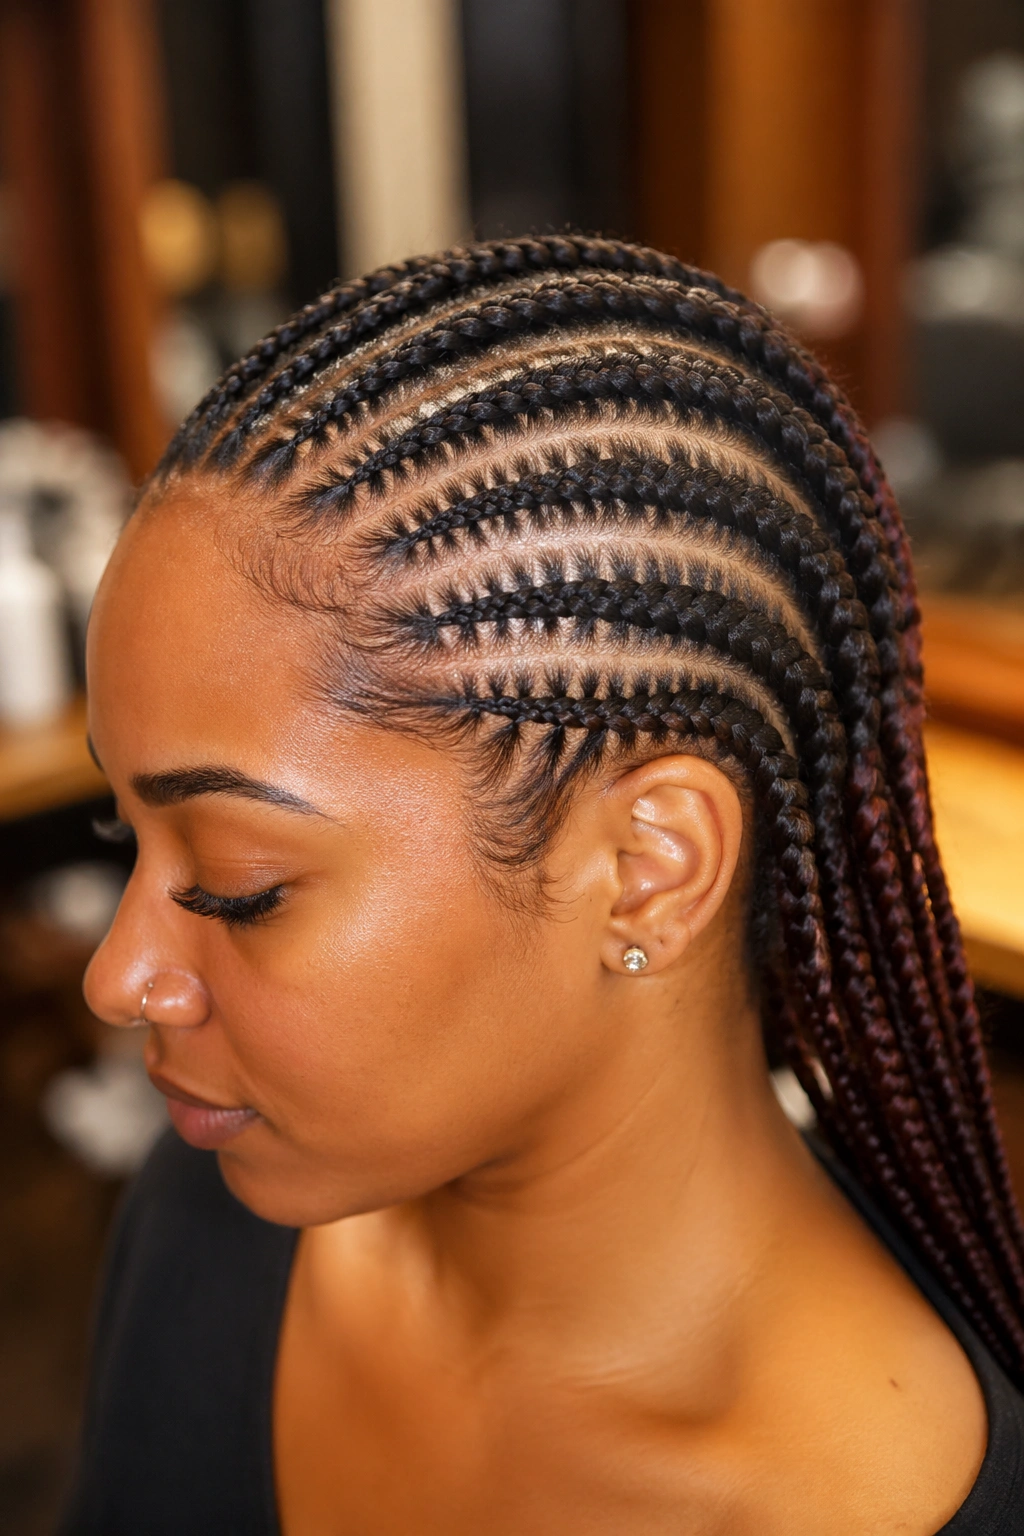
Front cornrows angled to one side, mimicking side-swept bangs. The cornrows themselves form the visual line of the “bangs,” sweeping from one temple across the forehead.
The angle should be steep — about 30-40 degrees from horizontal. Less steep and the bangs look like cornrows that just happen to angle slightly.
This style elongates round faces and softens square jawlines. It draws the eye horizontally across the forehead, balancing facial proportions.
19. Mini Cornrows All Over
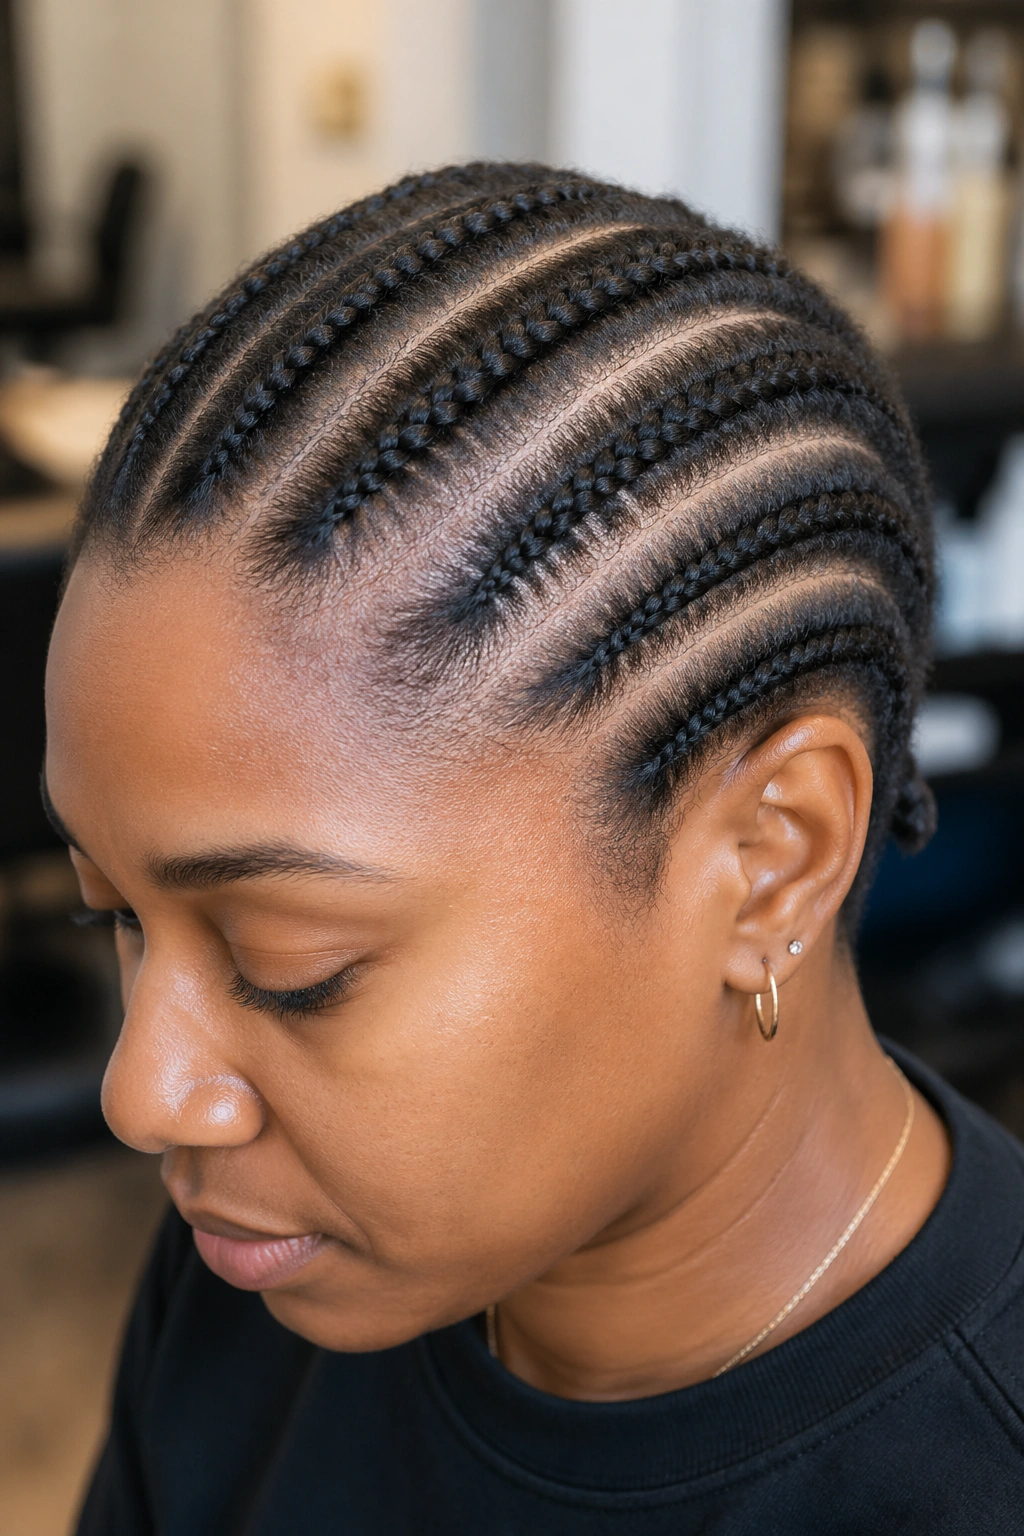
Bold claim: micro cornrows on short hair are one of the most underrated protective styles. They take longer to install but last significantly longer than larger cornrows on the same hair length.
Mini cornrows mean braids smaller than a pencil’s diameter — about half the size of standard cornrows. On short hair, they work because each braid uses very little hair length, so there’s less material straining to pull free.
- Cornrow count: 25-40 depending on head size
- Install time: 4-6 hours
- Lifespan: 3-4 weeks with proper care
- Edge tension: lower per braid because hair is distributed across many anchors
Mini cornrows are gentler on edges than fewer larger cornrows. The tension distributes across more anchor points instead of concentrating on a few.
20. Cornrows Into a Low Side Twist
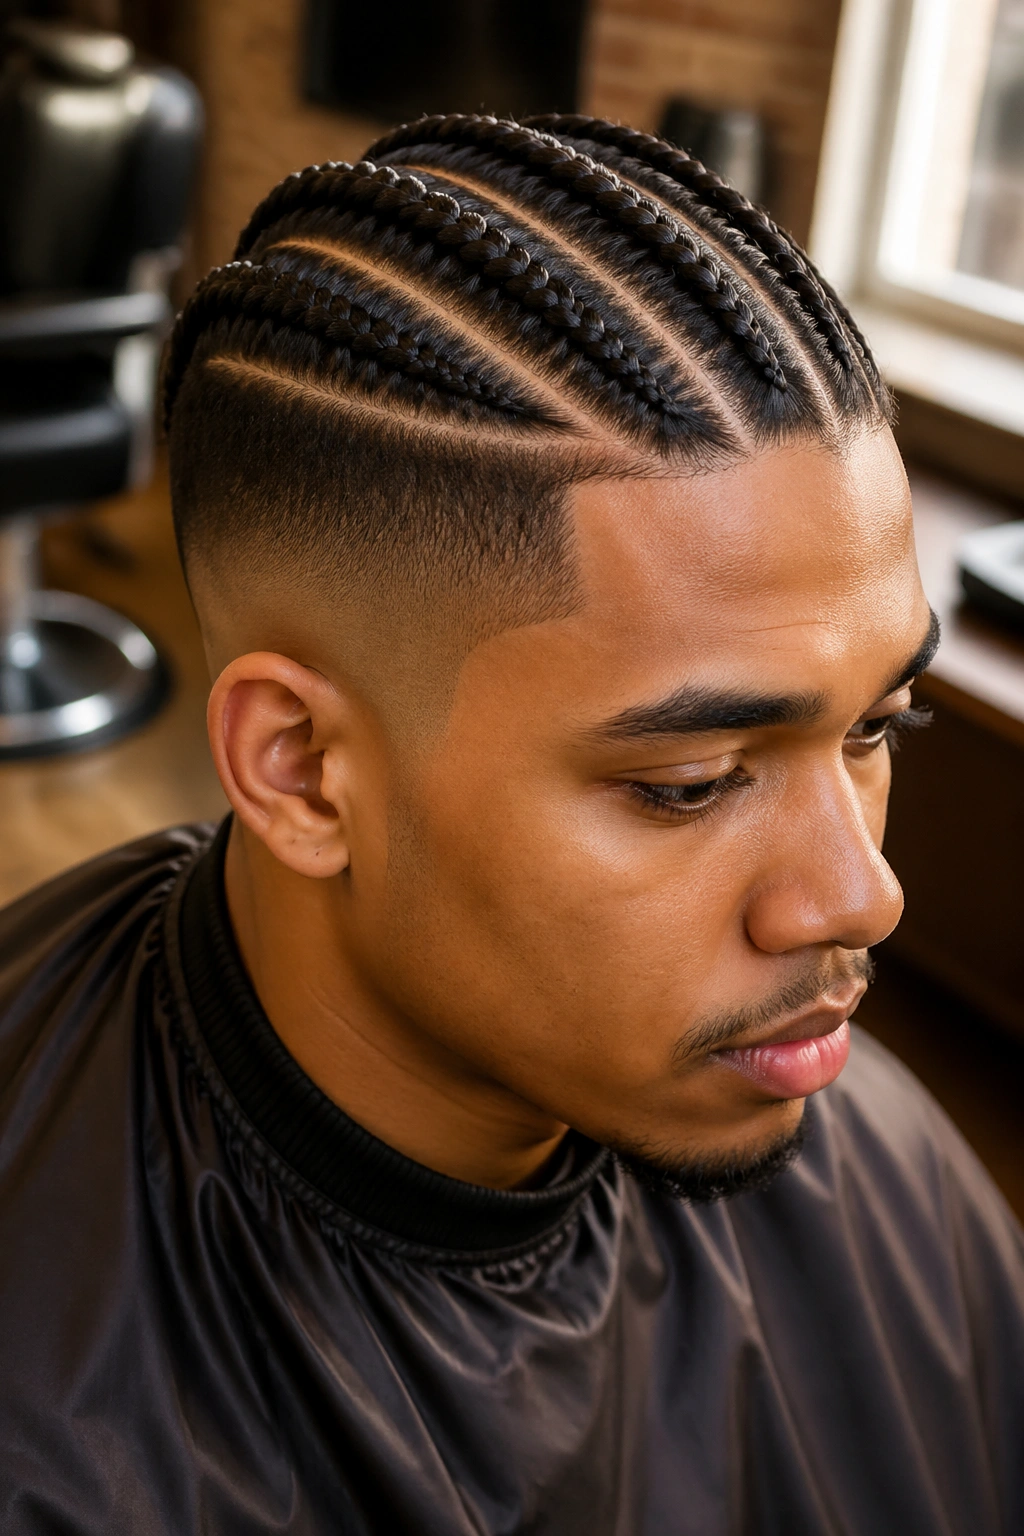
Cornrows on the front and top, gathered at the side and twisted into a low side twist that hangs down past the ear. The twist is two-strand, made from the loose ends of the cornrows plus added kanekalon if needed for length.
This style works for evening events. The twist adds a sculptural detail to an otherwise simple cornrow front.
The twist should be loose enough to drape but tight enough to hold its shape. Practice the twist tension — too tight and it looks like a rope; too loose and it falls apart.
21. Cornrows With Color Streaks
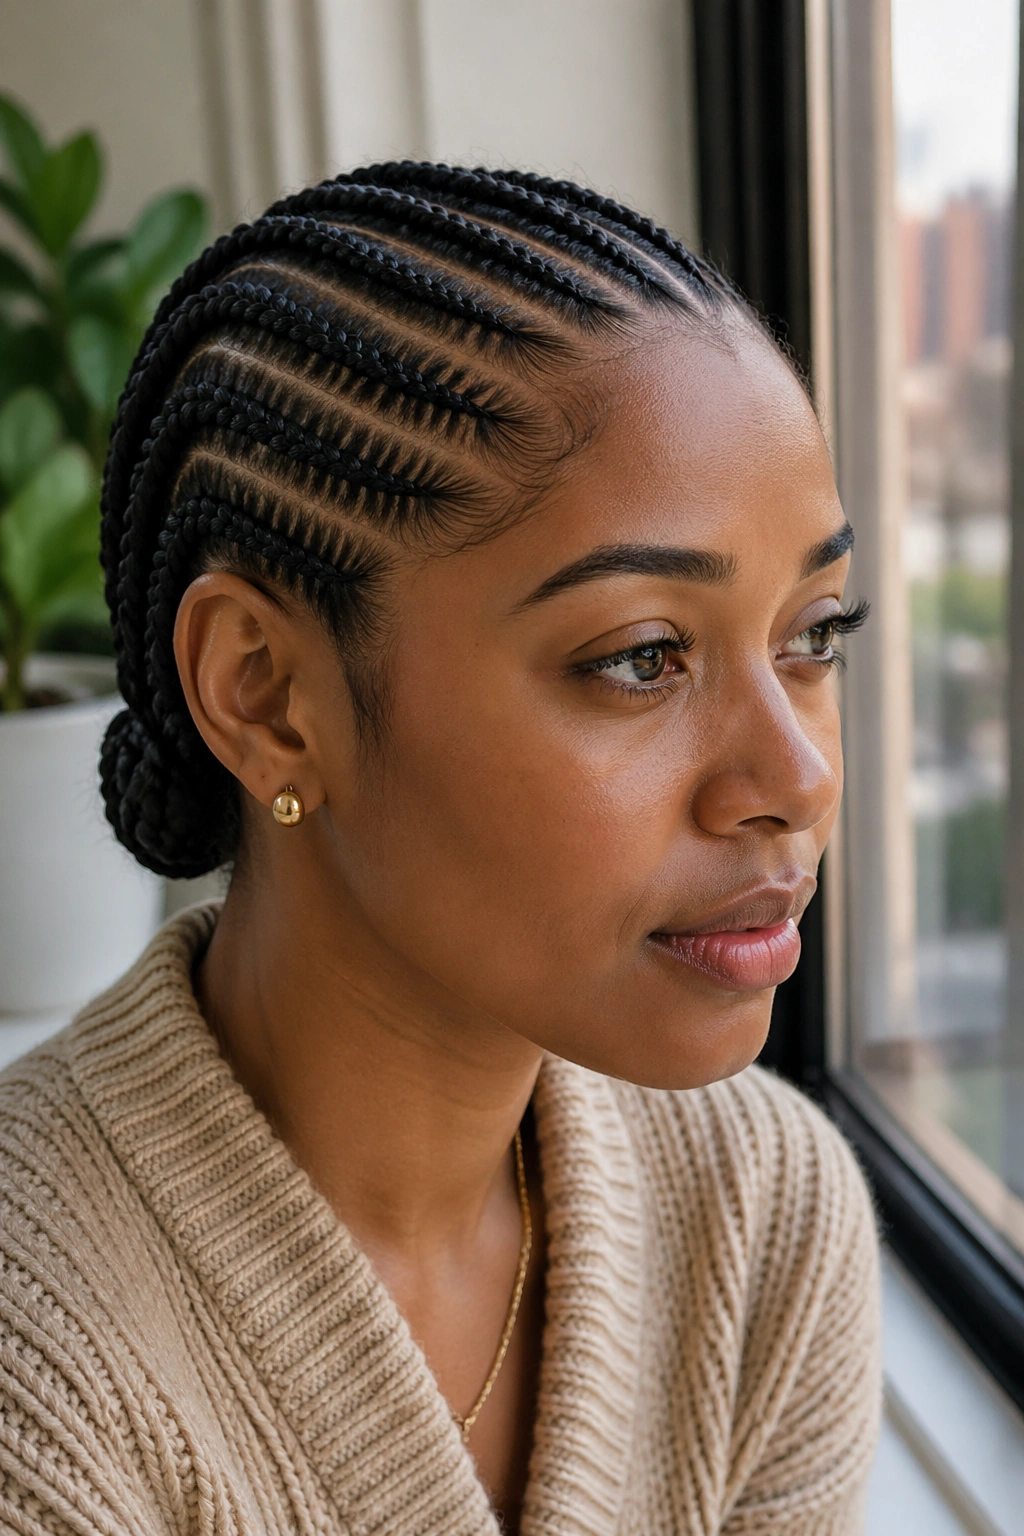
Short cornrows in your natural color with a few cornrows highlighted in a contrast color. The color streaks can be done with extension hair (kanekalon in the streak color woven through specific cornrows) or with temporary hair color sprayed on after install.
Common streak placements: one cornrow on each side of the part, two cornrows in the front, or random distribution for a casual look.
How to Style It
- Streak color: one bold contrast (red, blonde, blue) or one subtle contrast (caramel, copper)
- Streak count: 2-4 cornrows total
- Extension method: more durable, lasts the install
- Spray method: cheaper, washes out, only lasts a few days
22. Cornrows With Front Pomp
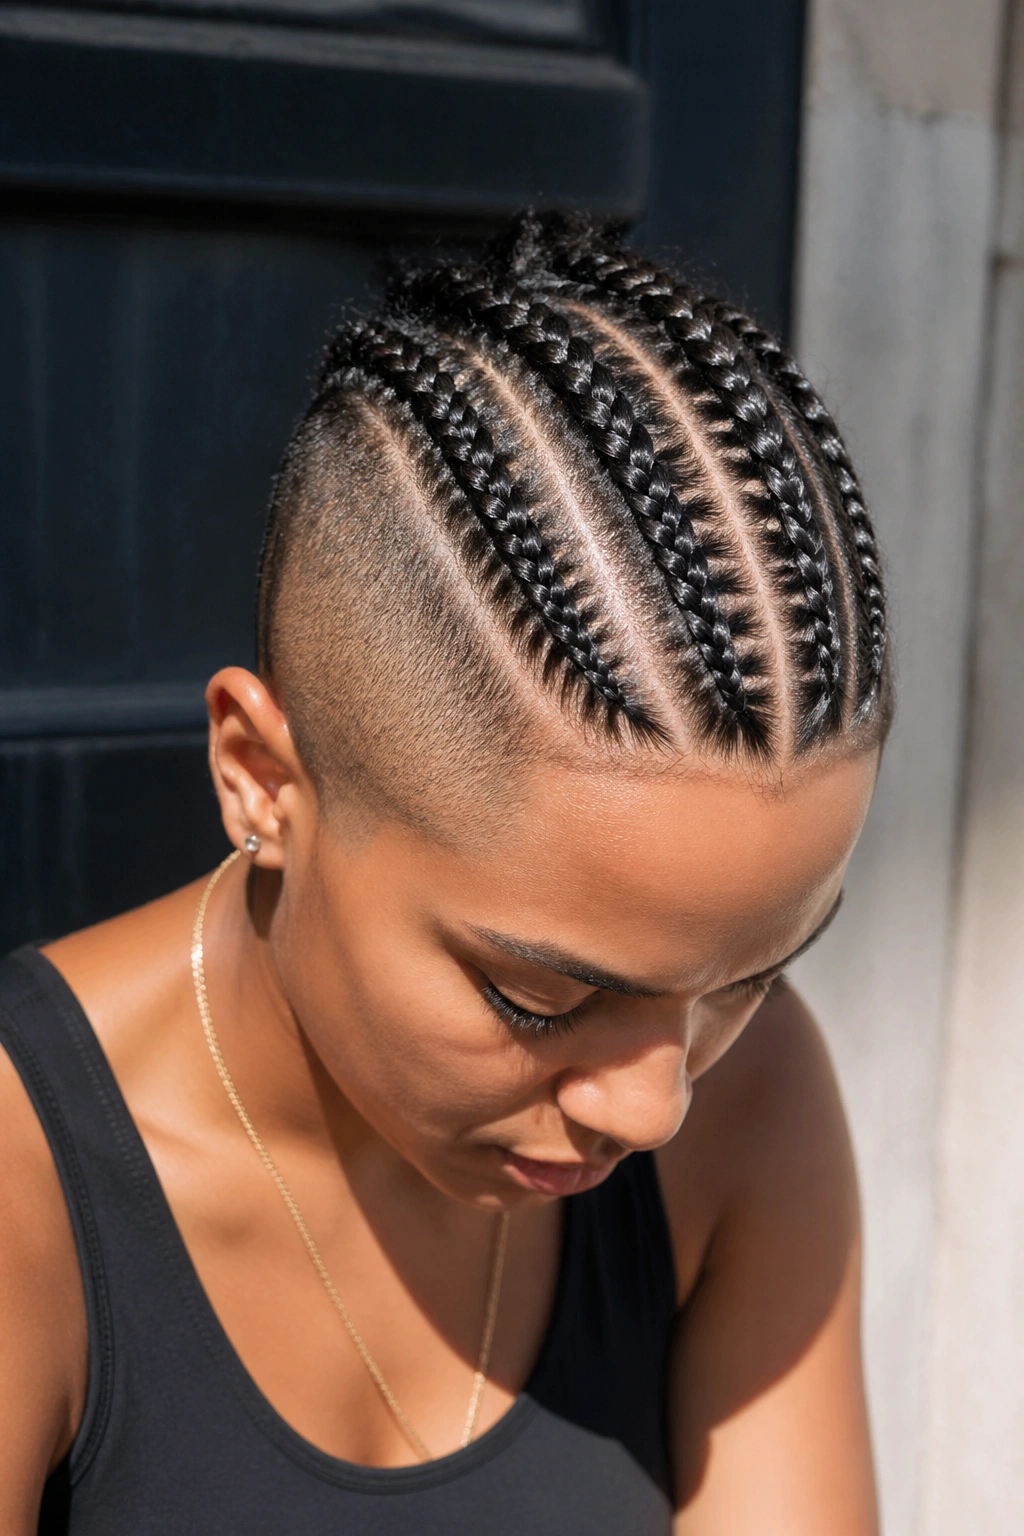
The front section is teased upward into a small pompadour, and the rest of the head is cornrowed back. The pomp uses your own short hair only — typically about 2 inches of hair at the very front.
The pomp adds height where short hair normally reads as flat. It’s a way to create vertical drama on a style that otherwise sits close to the head.
Hold the pomp with edge gel and small bobby pins. A light hairspray sets it.
23. Cornrows With Rope Braid Side
Cornrows on most of the head, with one section converted into a thick rope braid. The rope sits visibly along one side of the head, contrasting with the flat cornrows elsewhere.
Rope braids are two-strand twists wound tightly together — they look like ropes from a distance. They add bold dimensional texture to flat cornrow installs.
Best for events or photoshoots where you want one statement element among otherwise simple styling.
24. Cornrows With Diamond Part Pattern
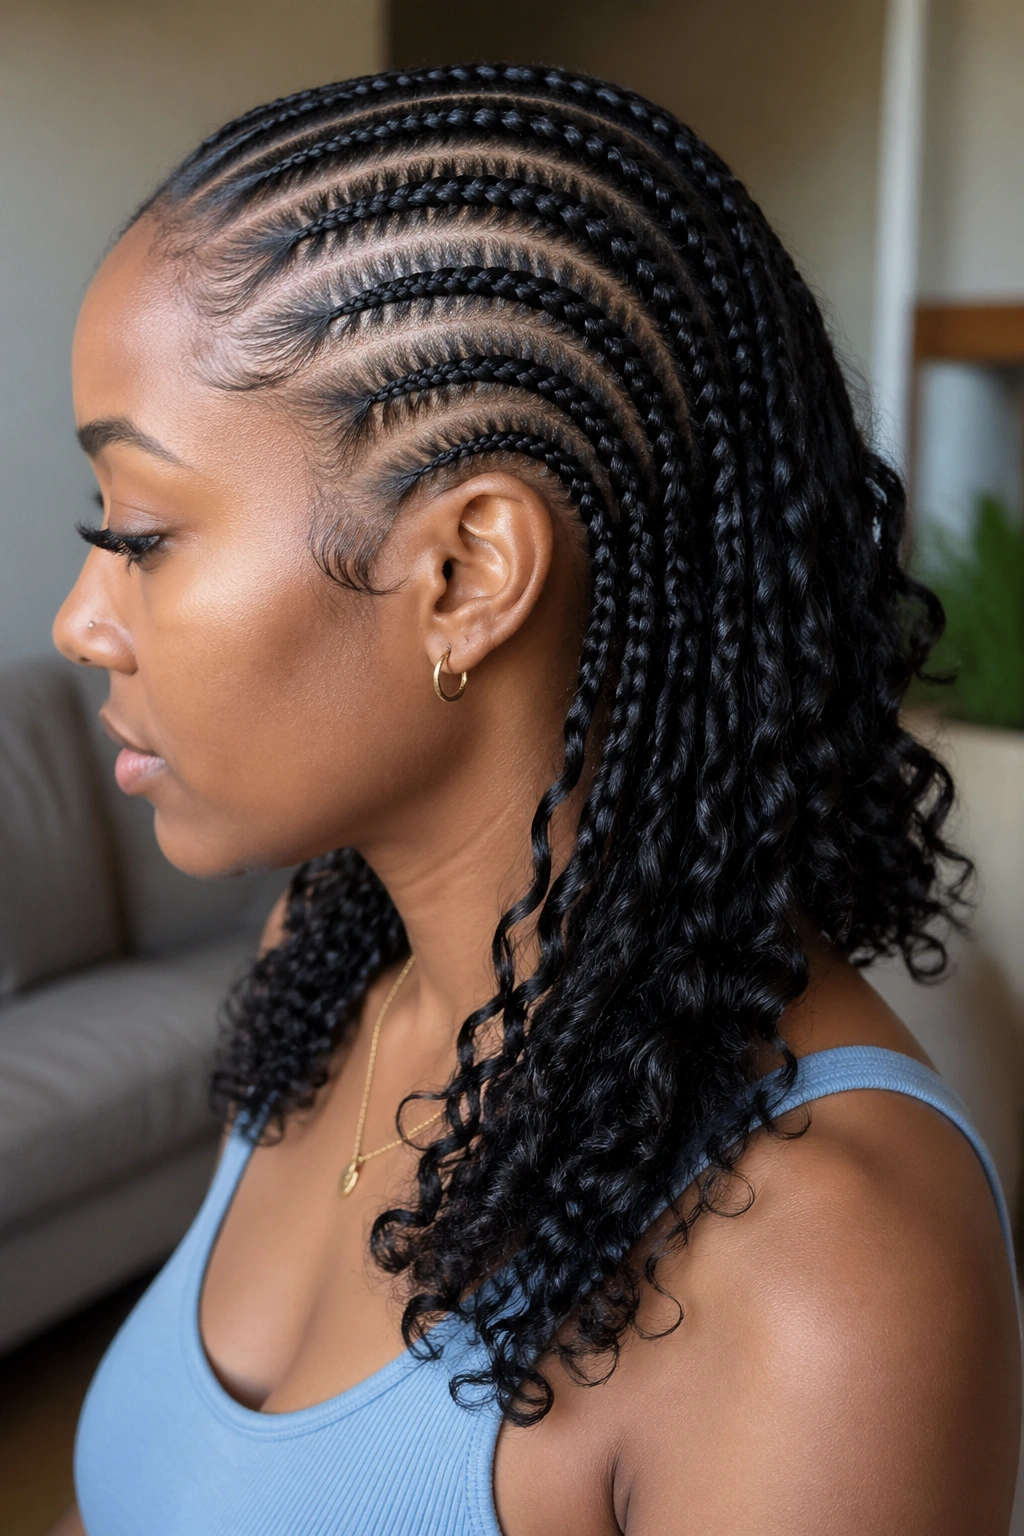
Cornrows separated by parts that form diamond shapes across the scalp. Instead of straight horizontal or vertical parts, the parts angle to create rhombus-shaped sections, with cornrows running through each diamond.
This is a geometric, detail-focused style. The parts are the main visual interest, more than the cornrow themselves.
Best for short hair because the diamond pattern shows clearly when there’s not much braid length distracting from the part design.
25. Cornrows With Faux Locs Mixed In
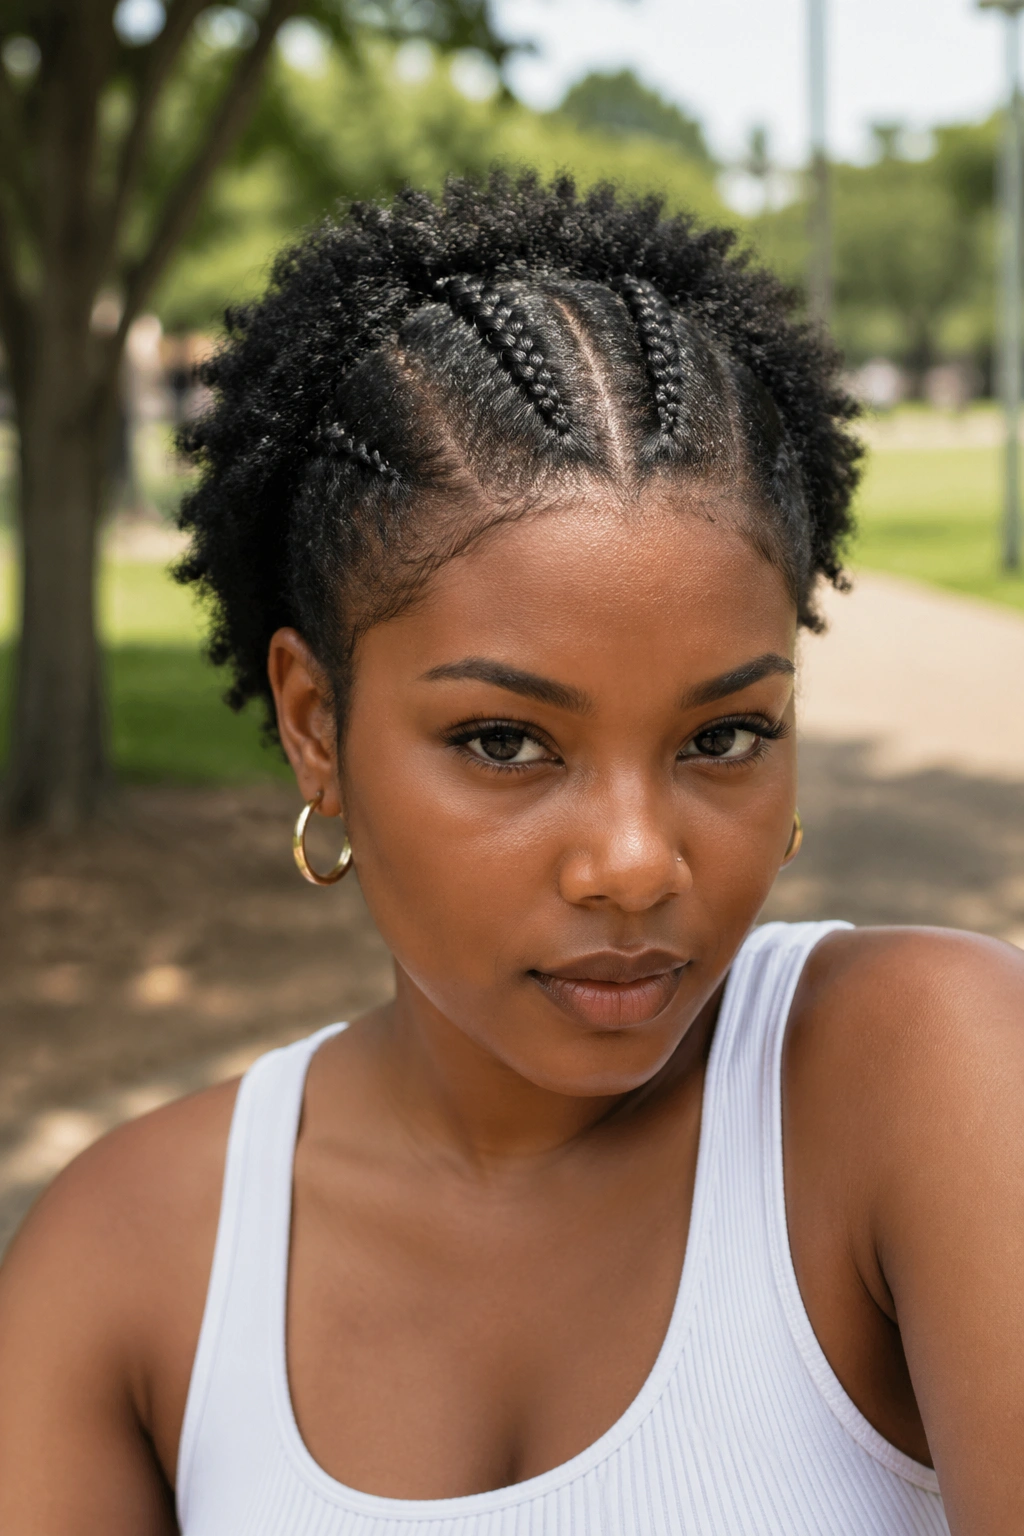
A hybrid style. Some sections are standard cornrows; other sections are faux loc pieces installed alongside or over the cornrows. The mix creates dimensional texture and combines two protective style aesthetics.
Install method: cornrow most of the head, then attach faux loc pieces to selected cornrow ends or anchor them to the cornrow base separately.
This is a style that requires planning. Decide before the install which sections will be cornrows and which will be locs, so the placement balances visually rather than looking randomly distributed.
Sleep Care for Short Cornrow Installs
A satin scarf or bonnet, every night. Short cornrows lift and fuzz faster than long ones because there’s no weight pulling them flat. The scarf compresses them gently against the scalp through sleep movements.
Tie the scarf snug but not tight. Too tight and you wake up with red lines on your forehead. Too loose and it falls off mid-sleep.
Silk pillowcases as backup. If the scarf comes off in the night, the silk surface won’t roughen the cornrows the way cotton does.
Avoid hooded dryer use on the install. Heat dries out kanekalon and your natural hair. If you need to dry the hair after washing, use a microfiber towel and air dry instead.
Refreshing Short Cornrows Mid-Install
Edge gel touch-up every 3-5 days. Apply a small amount to the front edges, smooth with a soft toothbrush, and let dry.
Scalp oil application weekly. Use a pointed applicator bottle to drop oil between cornrows. Massage gently. Avoid putting oil directly on the cornrows themselves — it attracts lint and dust.
If frizz appears between cornrows, smooth it with a tiny bit of edge gel and a fine-tooth comb. Don’t tug; press the gel into the frizzed area and smooth in the direction of the cornrow.
If a cornrow loosens significantly, you have two choices: re-braid that single cornrow yourself (intermediate skill), or have a braider redo just that section.
Common Mistakes With Short Hair Cornrows
Going too tight. Short hair doesn’t need extreme tension to hold. Tight braids on short hair lead to scalp pain and edge breakage faster than on long hair because there’s less hair to absorb the tension.
Skipping the stretching step. Shrunken short hair is hard to cornrow cleanly. The braider can’t see where one section ends and another begins, leading to uneven cornrows.
Using heavy products. Butter-based moisturizers under short cornrows trap moisture against the scalp and cause buildup or smell within a week. Stick with lightweight leave-ins.
Overestimating natural length. If your hair is 3 inches in the front but 5 inches at the crown, the cornrow lengths will be uneven. Plan for the shortest section, not the longest.
Pushing past the install lifespan. Short cornrows look fresh for 2-3 weeks. Past that, they fuzz, loosen, and start looking unkempt no matter how much edge gel you apply. Take down on schedule.
Short hair cornrows challenge the assumption that protective styles need length. They prove the opposite — that the style itself is what protects, not the inches you’re working with. Match the technique to your length, prep the hair carefully, and you’ll find that short cornrow installs photograph just as well, last just as long, and feel just as polished as anything you’d put on shoulder-length hair.
