



Unique cornrows for Black women go far beyond the straight-back braid most of us learned as kids. The craft has layers. Shapes, zigzag parts, diagonal sweeps, embedded beads, hidden tracks of feed-in hair, and patterns that spiral around the crown like a signature. Some styles take thirty minutes. Others take five hours and a cushion for your knees. What unites them all is the quiet confidence of a scalp that feels light and a pattern that looks deliberate from every angle.
I’ve worn cornrows on and off for more than a decade. Tight ones. Loose ones. Ones that hurt so much on day one I slept sitting up. Ones that felt so clean I kept reaching up to check they were still there. The lesson I keep coming back to? A good cornrow isn’t about how fancy the shape is. It’s about the tension, the part, and whether your scalp can breathe on day four. This roundup pulls together 22 cornrow ideas that each bring something genuinely different — a distinct parting map, a texture twist, a tool swap, or a finish you probably haven’t tried yet.
Why Cornrows Still Lead the Protective Style Conversation
Cornrows have been around for thousands of years, and no trend cycle has dislodged them. The technique tucks the hair flat against the scalp, which protects ends from friction against collars, pillowcases, and coats. That’s the functional part. The cultural part runs deeper — cornrows have carried maps, messages, and identity markers across generations.
When you pull your hair back into a clean cornrow pattern, you’re choosing a style that performs on three levels. It protects fragile ends. It looks sharp enough for work, weddings, and weekends. And it lets you stretch wash days out from every three days to every three weeks. That’s a huge win for 4C hair especially, which tends to dry fast and tangle faster.
The range inside the cornrow family is wider than most people give it credit for. Flat cornrows. Lifted ones. Stitch braids with razor-sharp parts. Freehand shapes that wind like rivers. Add kanekalon for length and you get Fulani, boho, ghana braids, lemonade braids, halo braids, and dozens of pattern variations. Each one is a different conversation between your scalp, your hands, and your sense of style.
Prep Work Before a Single Part Is Made
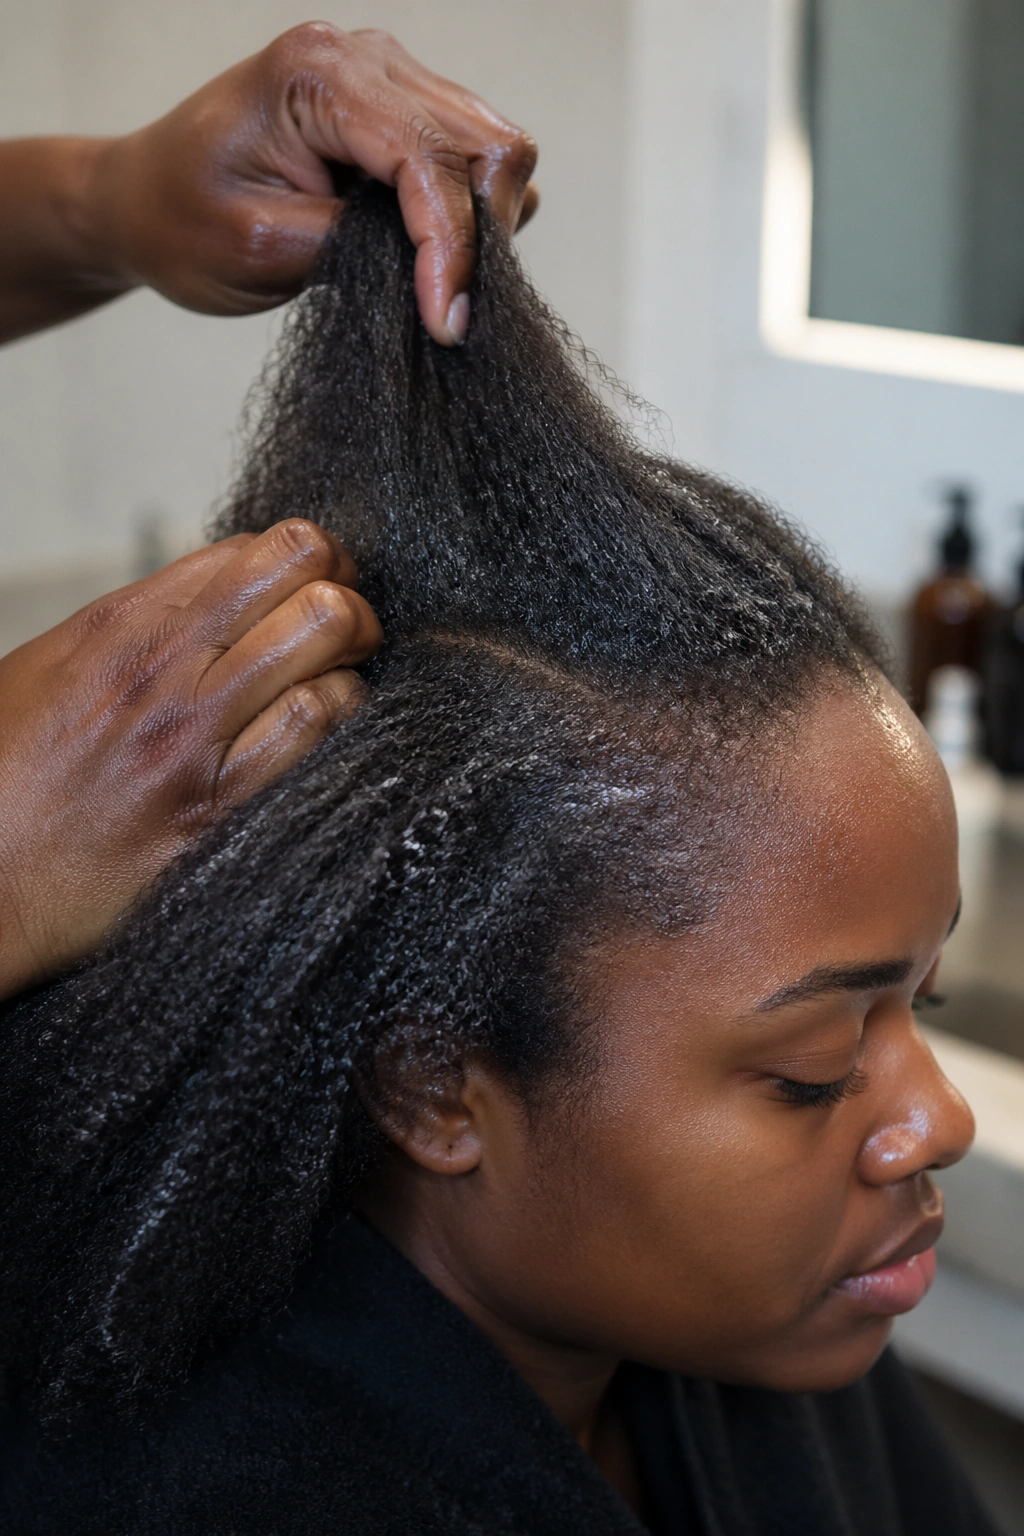
Good cornrows start 24 hours before you touch the comb. Wash with a clarifying or gentle sulfate-free shampoo, deep condition for 30-40 minutes, then stretch the hair. Blow-dry on medium with a tension brush, or use the banding method overnight. Stretched hair parts cleaner, grips the gel better, and sits flatter against the scalp.
Detangle in four sections with a wide-tooth comb and plenty of leave-in. If your hair snaps easily, switch to finger-detangling and save the comb for smoothing the parts. Skipping this step is the single fastest way to end up with lumpy cornrows and a sore scalp.
Small tip that saves hours: trim any split ends before you braid. Frayed ends get tangled inside the cornrow and cause fuzzing by day three.
Tools That Actually Matter
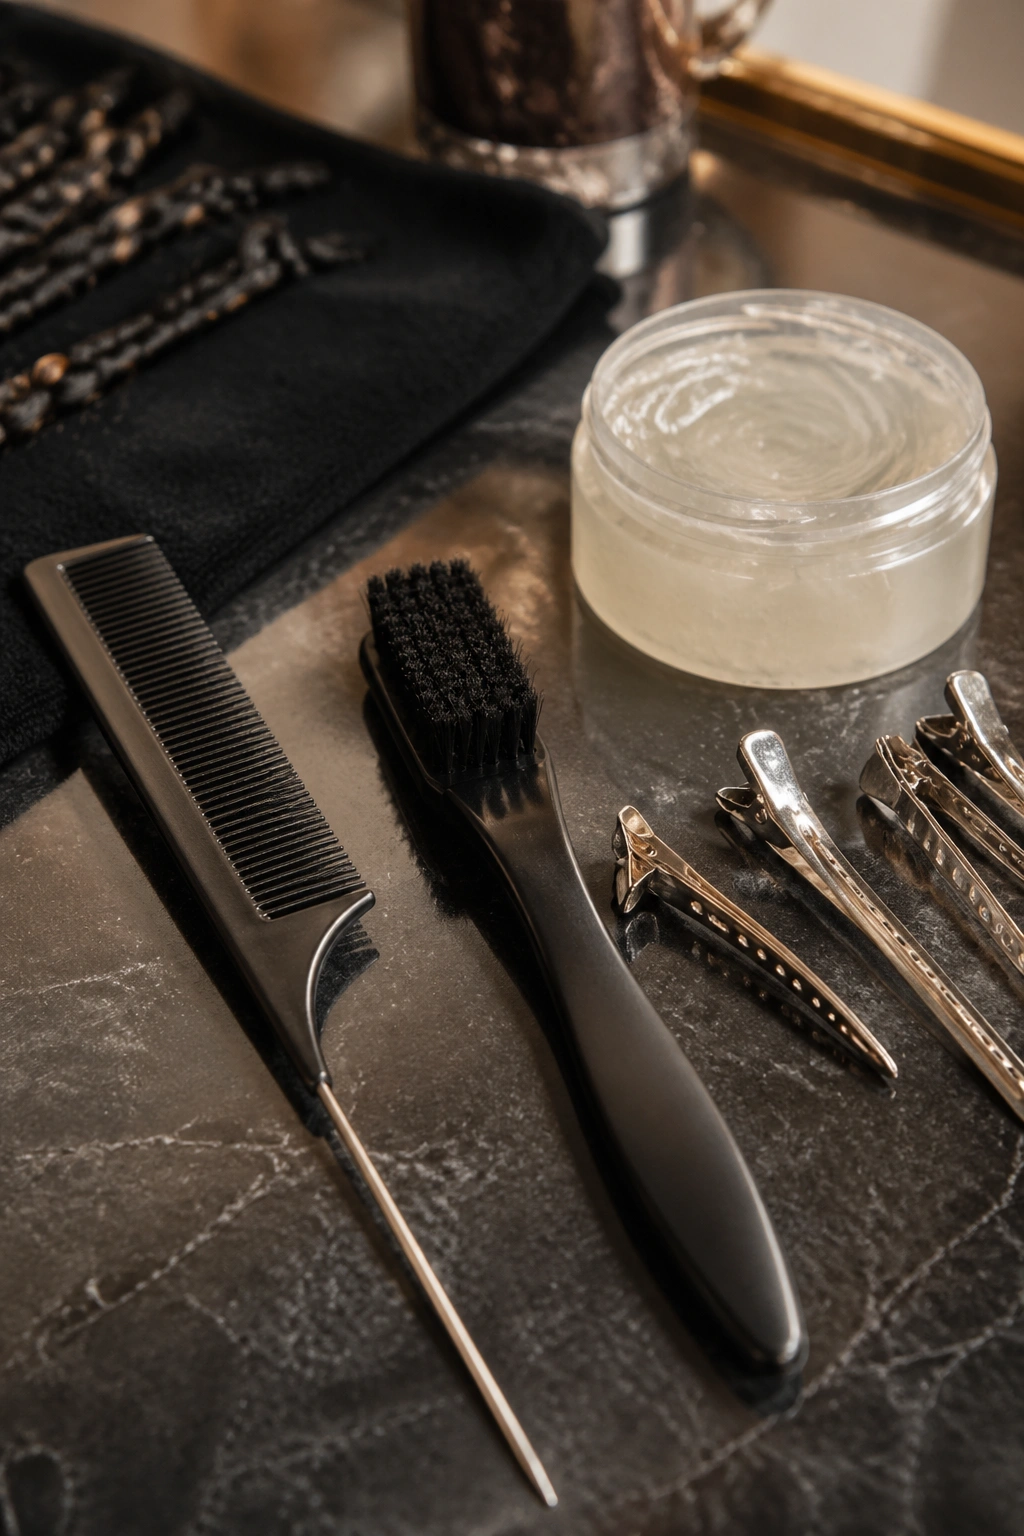
You don’t need a studio full of gear. You need a rat-tail comb for sharp parts, a soft edge brush for the hairline, clips to section, and a gel that doesn’t flake. That’s the core kit. Everything else — hair clips shaped like butterflies, magnetic mirrors, extra-long tension brushes — is preference, not requirement.
On gel: I keep two jars around. One medium-hold for smoothing along the braid path, one strong-hold for edges only. Using a heavy edge gel on the whole head makes the braids crunchy and the scalp itchy.
On hair for extensions: pre-stretched kanekalon saves at least an hour over standard. The ends are already tapered, and you don’t have to dip it in hot water. For beaded looks, softer synthetic blends (Toyokalon or similar) slide through the bead without snagging.
The Technique Beneath Every Cornrow Variation
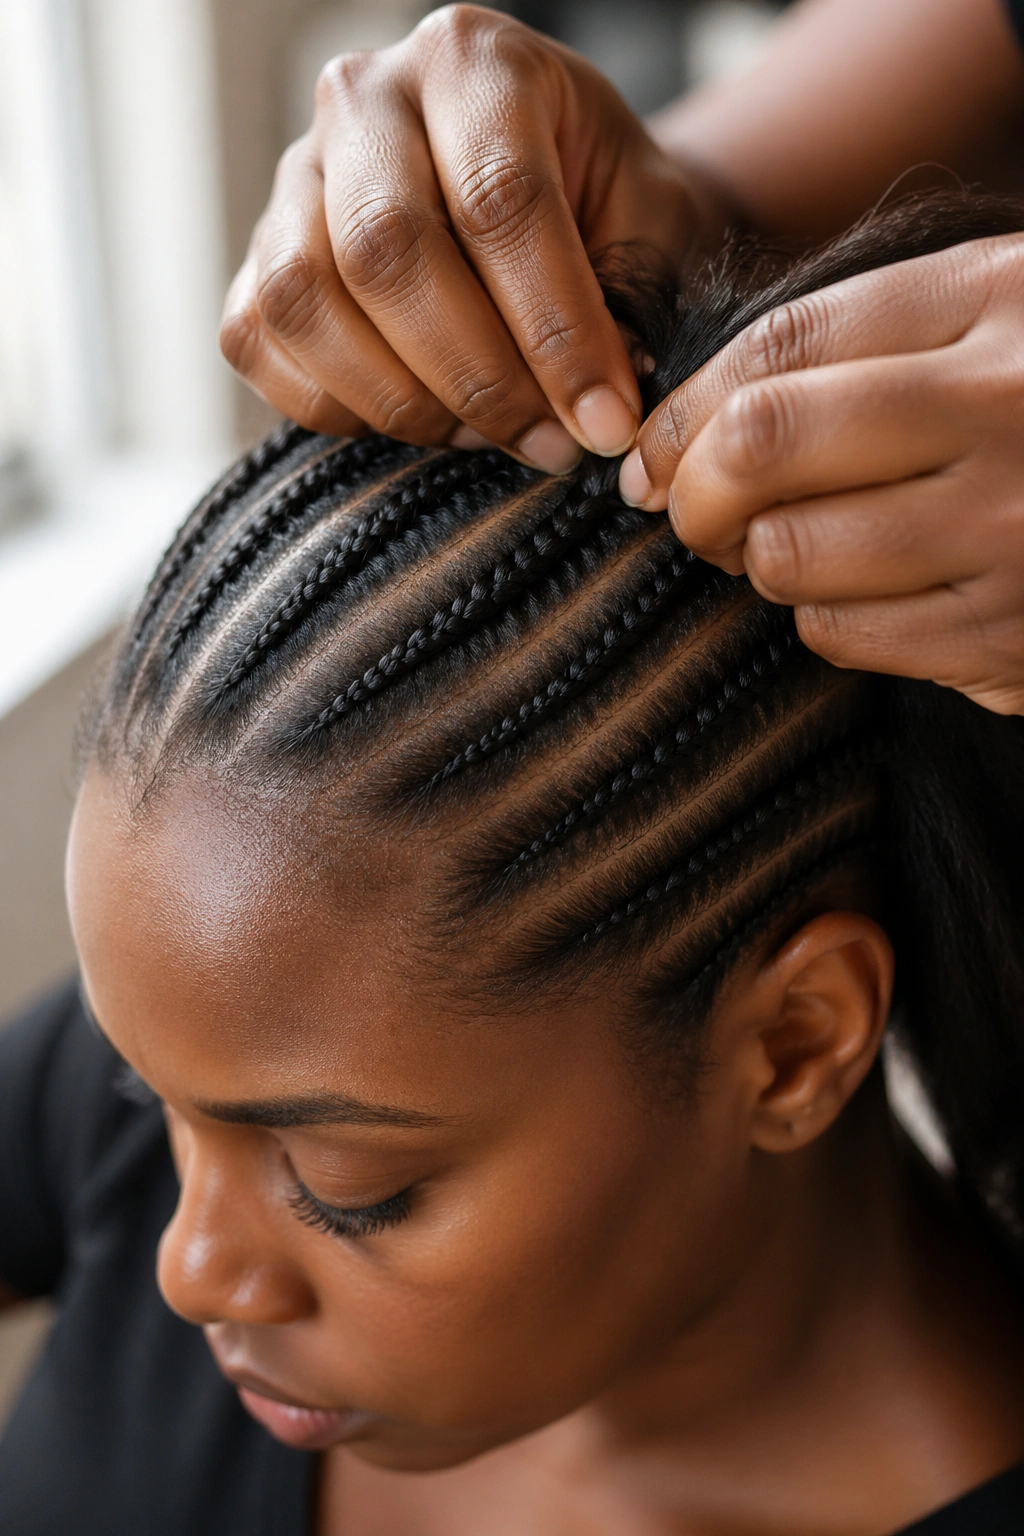
Under every style in this list sits the same core motion. Smooth the section flat. Split into three even strands. Start the cornrow tight against the scalp using under-hand strokes — the outer strand sweeps under the middle, then the other outer strand sweeps under, and you pick up a little hair from the scalp with each pass. That pick-up is what locks the braid to the head.
Over-hand cornrows exist, but they sit up instead of lying flat, which changes the whole look. Stitch braids are a variation where the braider deliberately keeps the feed-ins tighter and the parts crisp, so you can see each tiny stitch along the length.
Tension is the thing beginners get wrong most often. Your scalp should feel light, not tight. If you’re getting a headache in the first hour, the braid is too tight and needs to come out before it damages your follicles.
A Quick Note on Aftercare Before the List Begins
Every style below assumes you’re going to do the basics: tie your hair with a satin scarf or bonnet at night, mist with a water-and-leave-in mix every other morning, and oil the scalp lightly with something non-clogging — jojoba, grapeseed, or a light braid spray. I’ll mention specific aftercare only when an individual style demands something unusual.
1. The Stitch Braid Halo
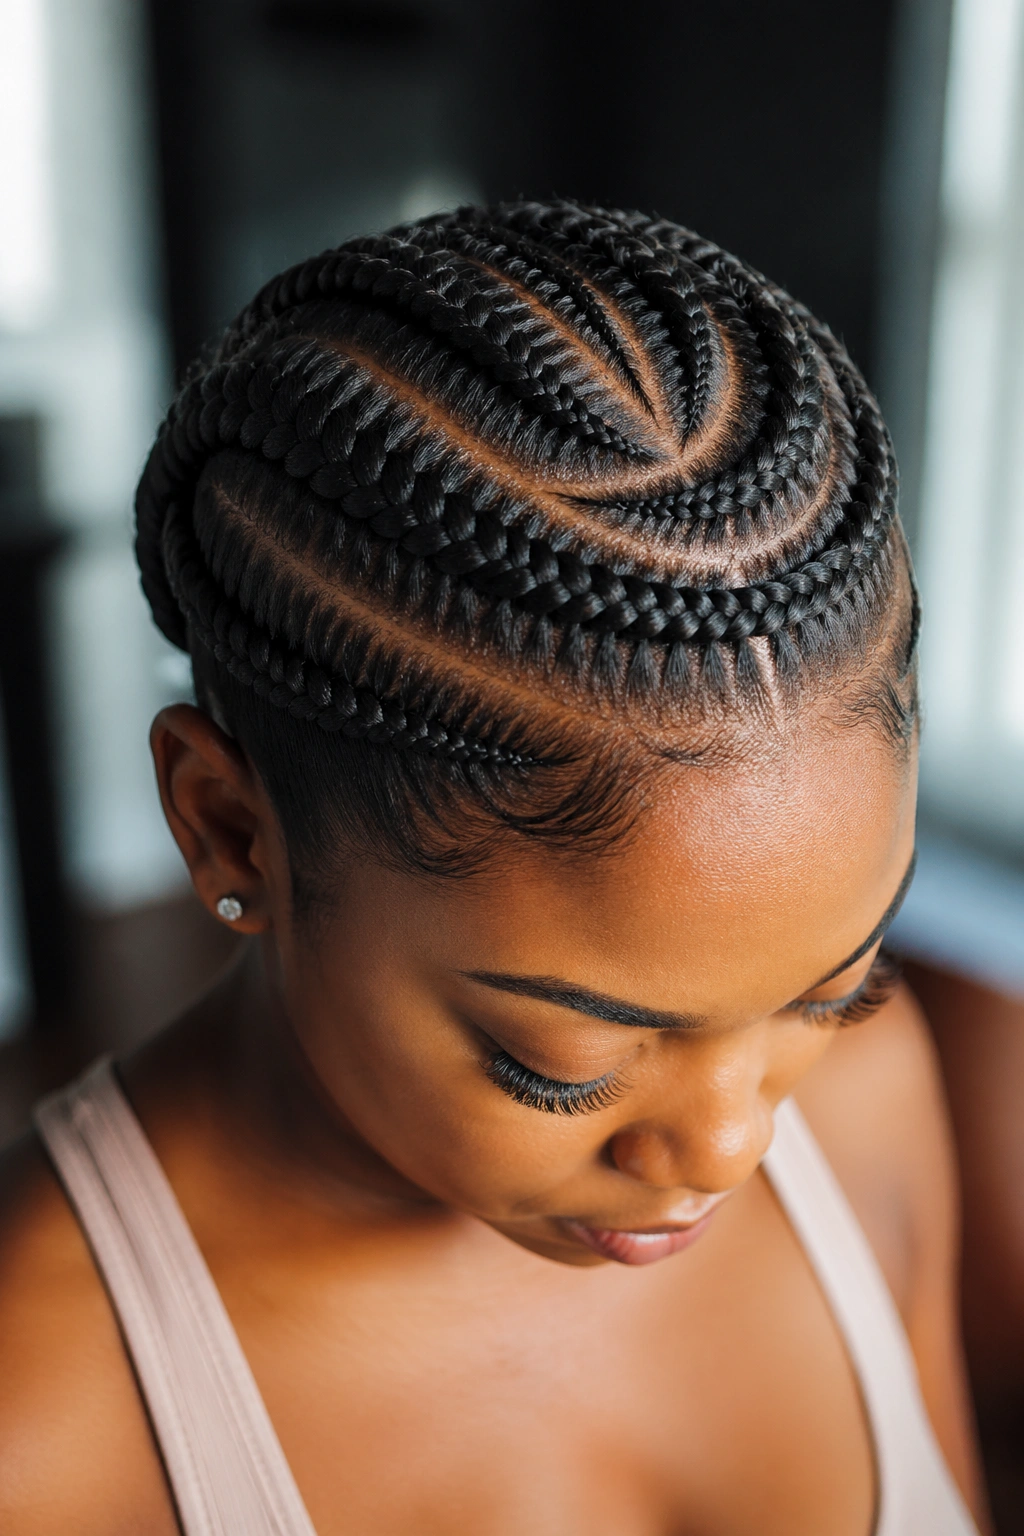
Stitch braids traveled from a studio technique to a household word because of one thing: those razor-clean horizontal lines that show between each pass. Circle them around the crown and you get a halo effect that reads deliberate from the first glance.
Why It Works
Stitch halos show off parting skill more than any other cornrow variation. The scalp parts become part of the design, not something to hide.
- Best on stretched natural hair, length 4-8 inches
- Holds 2-3 weeks with proper edge care
- Pairs well with small gold cuffs at the crown
Quick tip: use a tail comb tip wetted in gel to cut the horizontal stitch parts — a dry comb drags and makes the line wobbly.
2. Diagonal Feed-In Cornrows
Forget the straight-back assumption. Diagonal feed-ins sweep from one temple across to the opposite nape in a single dramatic line. The pattern flatters oval and heart-shaped faces because it pulls the eye across the cheekbone rather than straight up.
The diagonal needs careful planning. Start by drawing the angle with the comb tip before you place any hair. Once you commit to the angle, every other cornrow has to mirror it or the look falls apart. Feed-ins go in slowly at three points: an inch past the start, mid-length, and again near the ends.
What makes diagonal patterns hold longer than straight-back? The angle spreads tension across a wider arc of scalp, which means no single spot takes all the pull. I’ve worn diagonals for three weeks straight with zero loose roots at the hairline.
3. Fulani-Inspired Center Braid
Is the Fulani cornrow pattern still worth picking when your feed looks like it’s had Fulanis on every other post? Yes — because the classic version is different from the Instagram one.
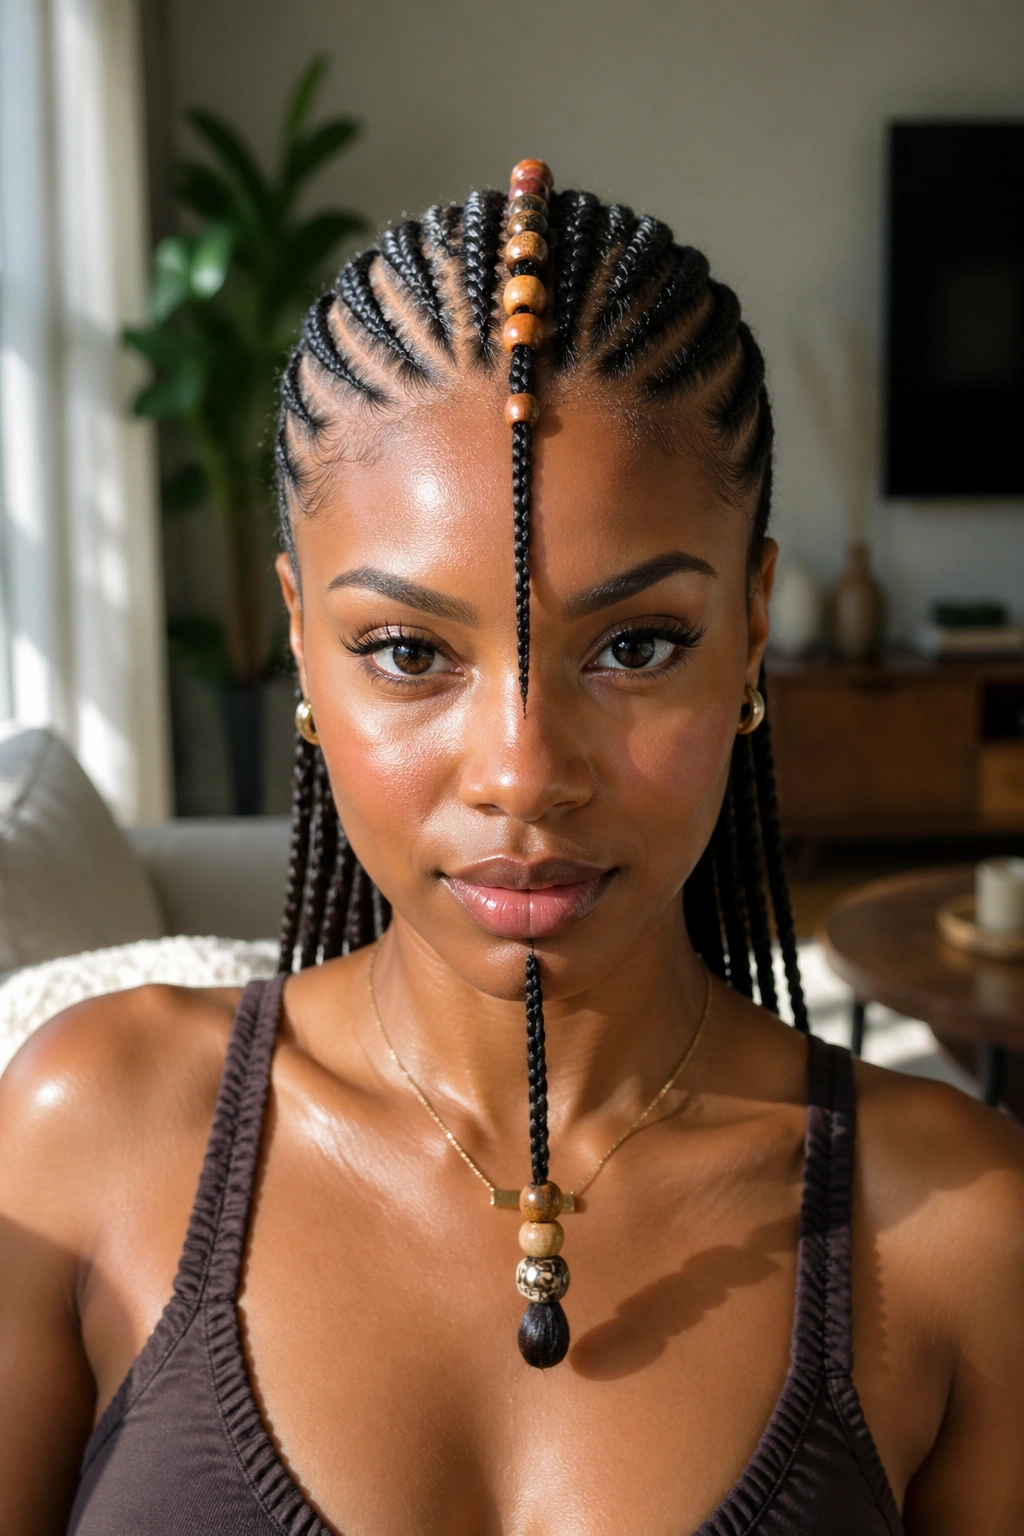
The real Fulani inspiration is a single braid running from forehead to nape, flanked by diagonal cornrows on either side. Beads punctuate the center braid, not the whole head. That restraint is the point.
How to Wear It
Keep the side cornrows simple — three to four on each side — and let the center braid carry the accessory weight. Gold rings, cowrie shells, or a single line of wooden beads work better than mixed metal pieces.
4. Zigzag Parts With Straight-Back Braids
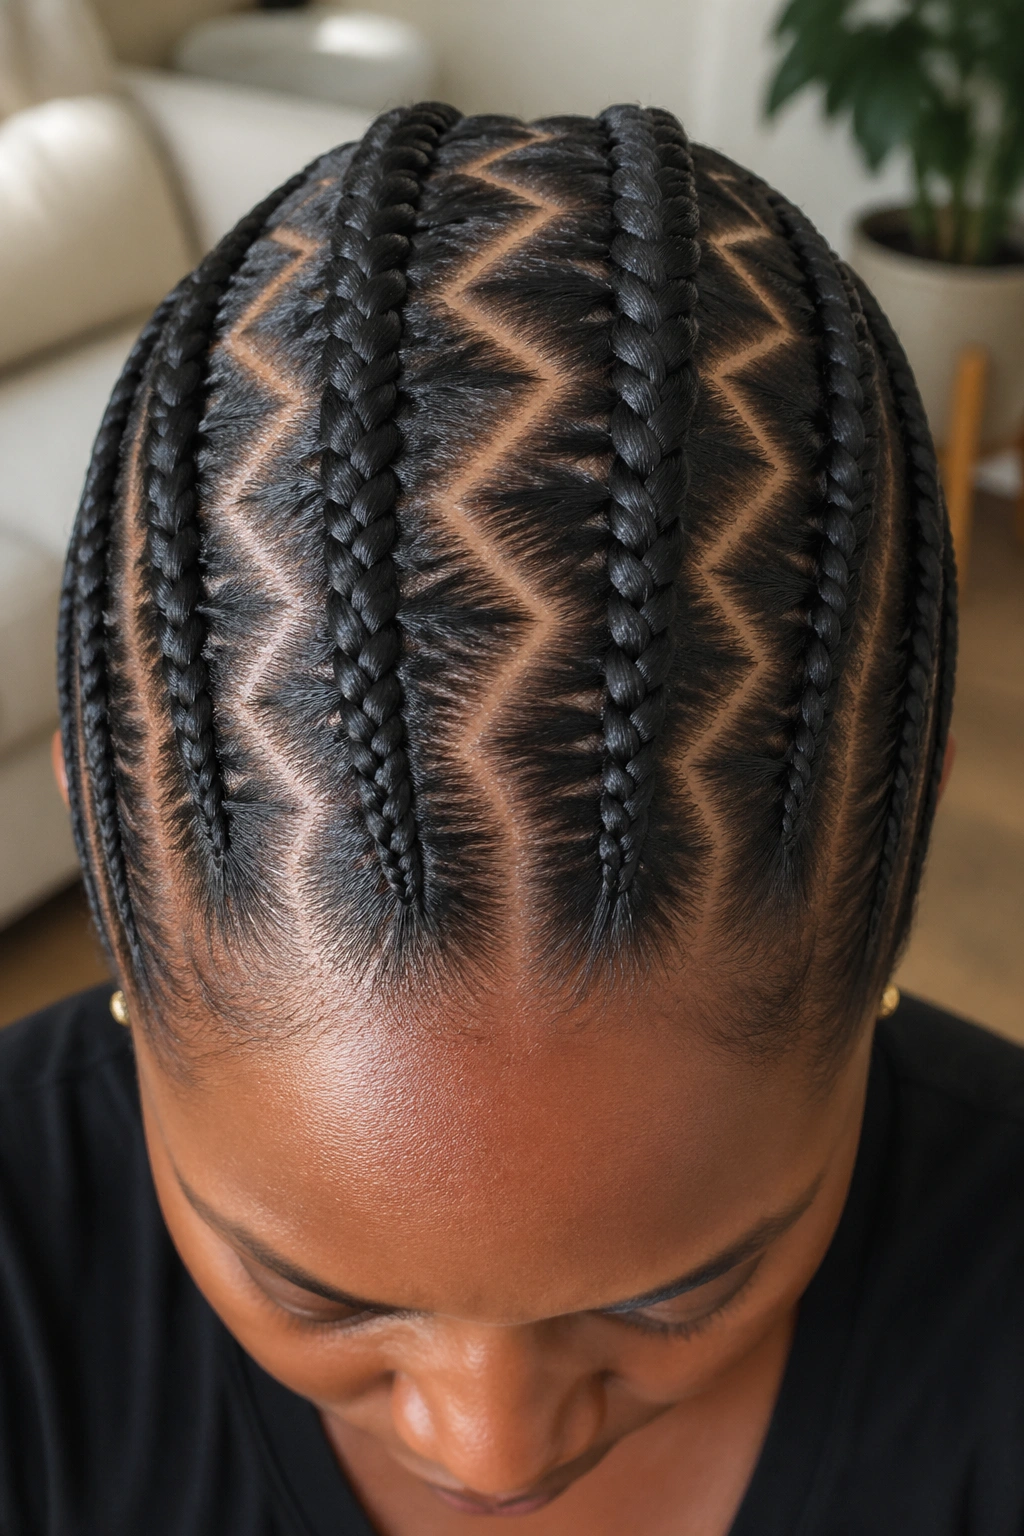
Straight-back cornrows are a staple. Zigzag parts turn them into something else entirely. The zig happens at the parting, not the braid itself — so the cornrows still flow back cleanly, but the scalp between them looks like a lightning map.
The trick is consistency. Every zig should match the one next to it. Use a ruler-shaped comb tool or measure with the rat-tail comb handle so the angles don’t drift.
This style photographs especially well from the top-down angle. It’s one of the few cornrow patterns where the parting work matters more than the braid work.
5. Mohawk Crown With Shaved Edges
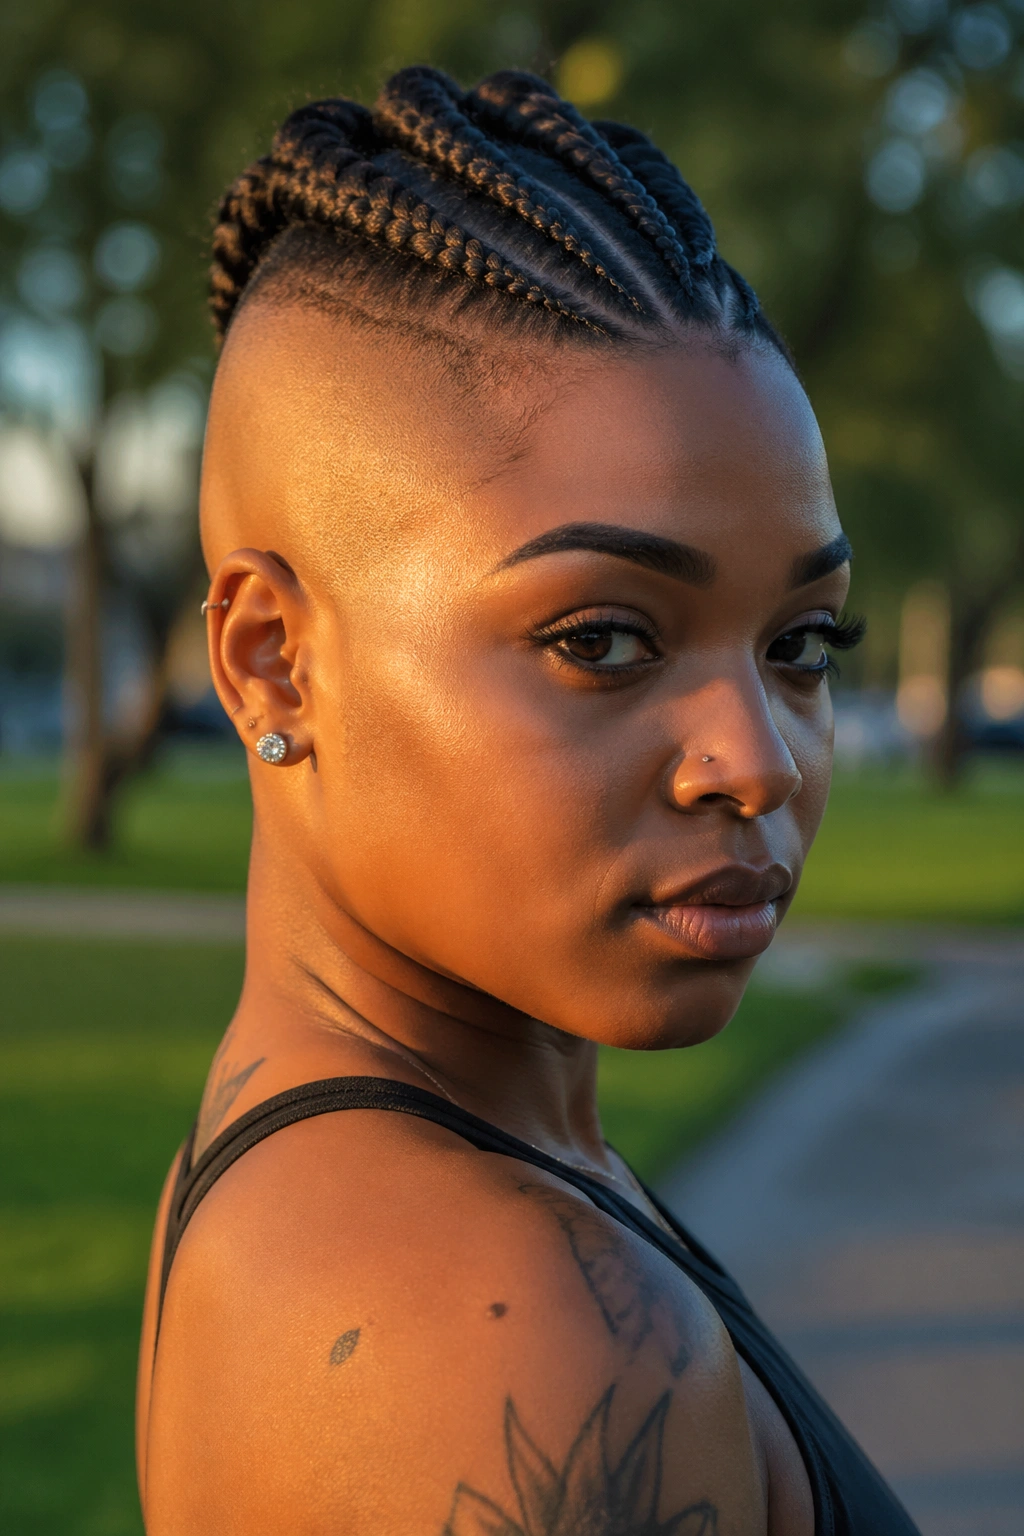
Some styles whisper. This one doesn’t. Three to five thick cornrows run down the center of the head from hairline to nape, while the sides stay cropped short or get a temp fade. The contrast is the whole point — soft braid texture against sharp skin.
Unlike a classic mohawk cut, the braided mohawk keeps most of your hair. You can undo it in an afternoon, wash, and rebraid in any direction. The sides regrow fast if you decide you miss them.
Best for: women with strong bone structure and a willingness to visit a barber every two weeks. The shaved sides need upkeep or the whole silhouette blurs.
6. Crown-Wrapped Cornrows
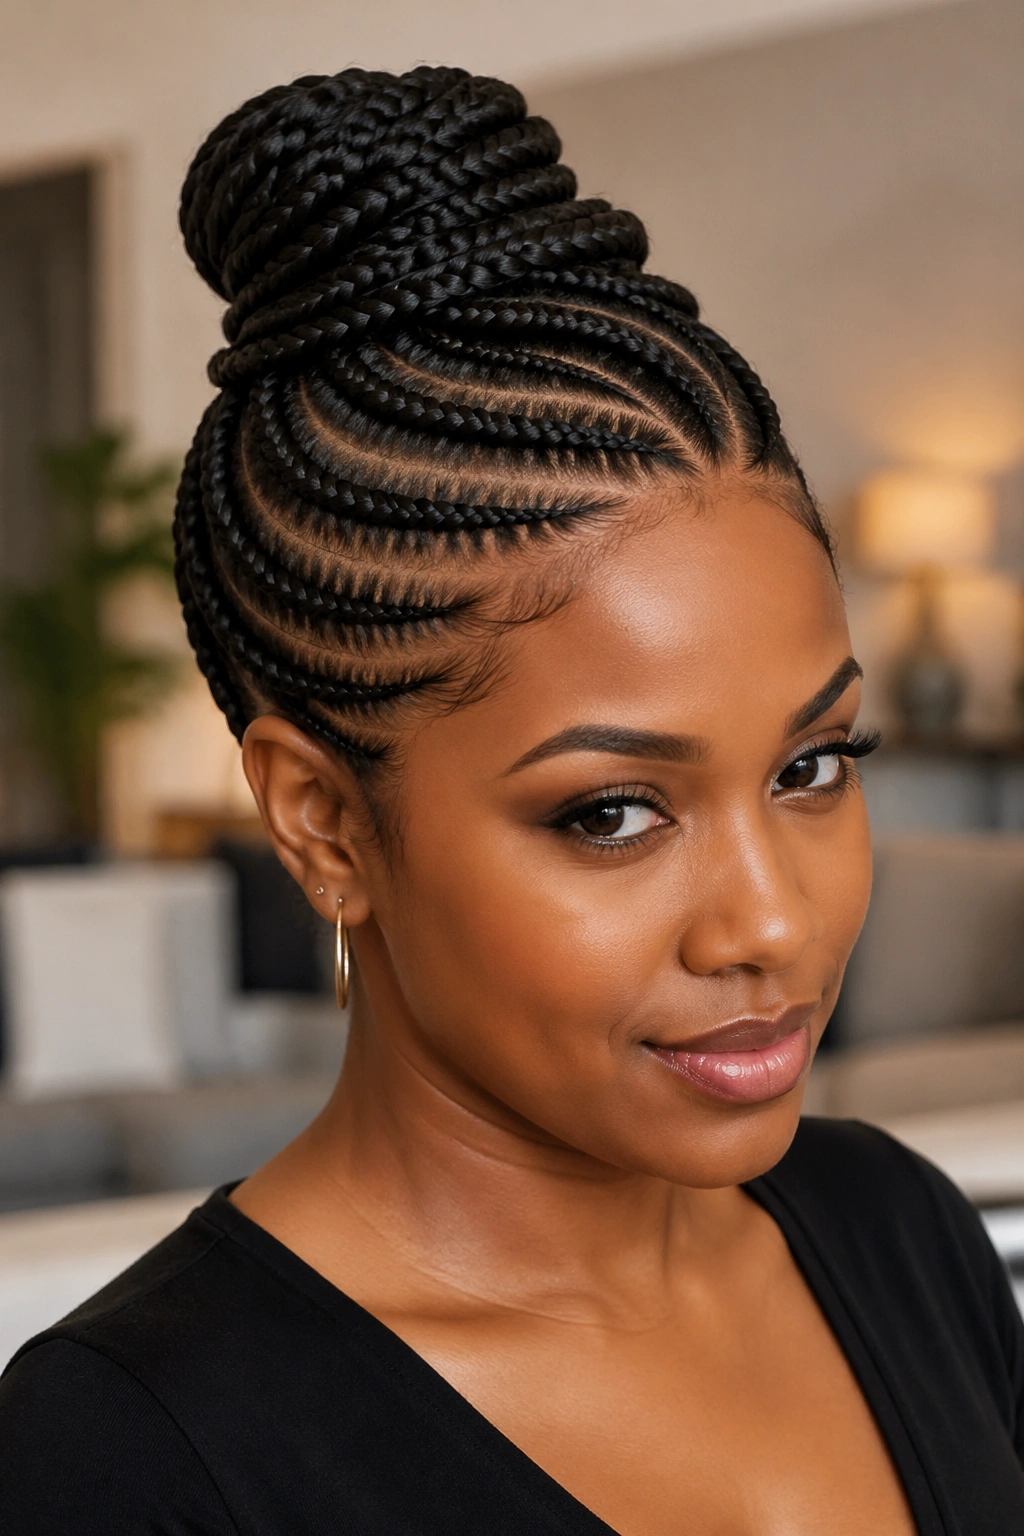
These cornrows start at the nape, travel up and over the crown, and wrap into a bun at the top. Think crown braid, but anchored in a cornrow technique rather than a loose plait.
The wrap needs at least 4-6 inches of real hair to anchor properly. Shorter hair can still get the shape with small feed-ins added near the crown to give the bun some bulk. You end up with what looks like a floral arrangement made of braids — lifted, round, and regal.
Aftercare here is a little different. The crown bun puts constant downward tension on the back cornrows, so mist that area twice daily instead of once.
7. Micro Cornrows All Over
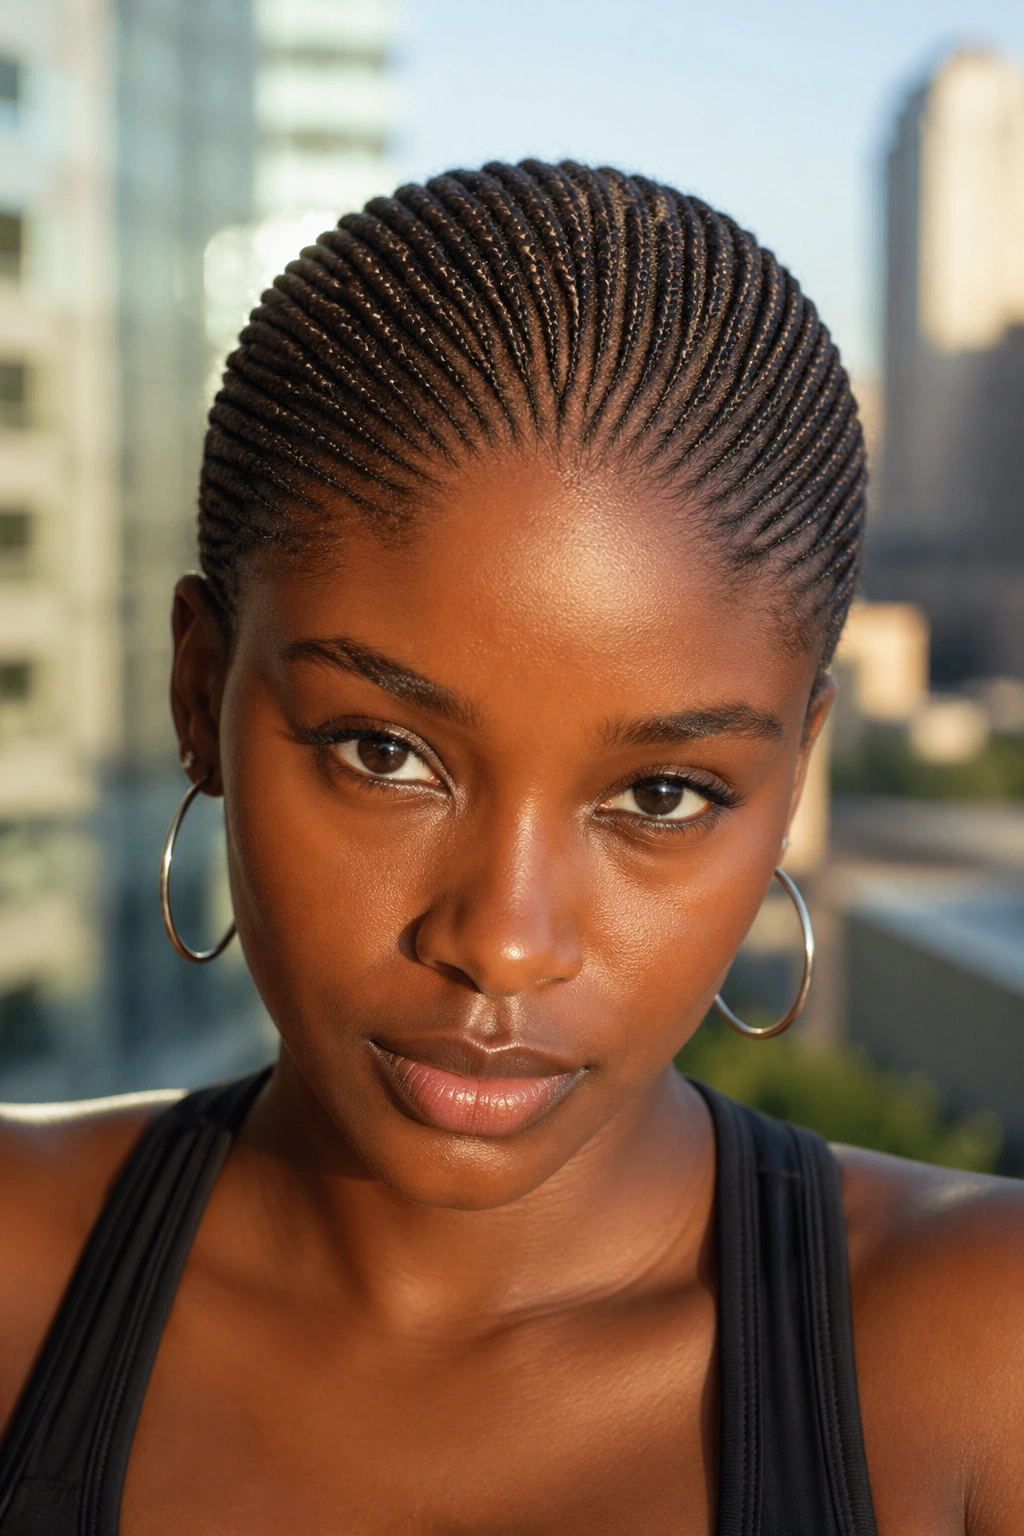
Micro cornrows are thinner than your pinky. On a full head, you might end up with 60-80 individual braids. It takes hours. The payoff is a look that reads almost like a textured cap — intricate, flat, and dense.
Do micro cornrows last longer because they’re smaller? Not automatically. They can actually fuzz faster at the roots because each section is so slim that any new growth shows up fast.
What to Watch For
Don’t leave micros in past week three. The takedown gets exponentially harder because the small braids weave into each other at the nape.
8. Side-Swept Cornrows With a Low Ponytail
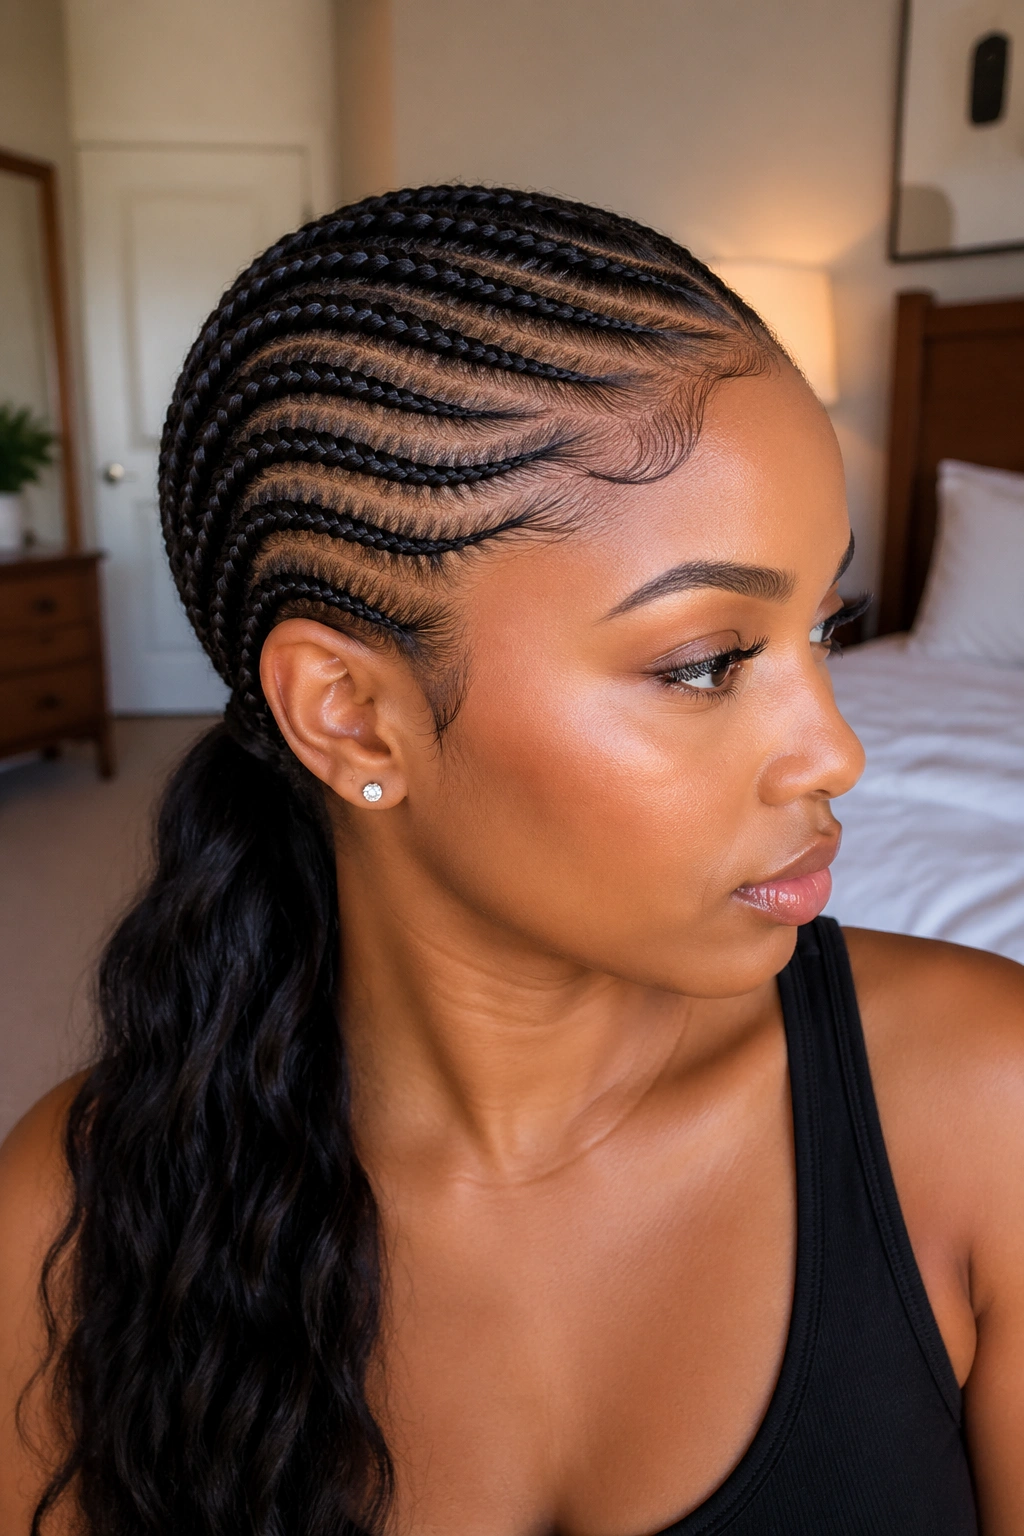
Bold claim: this is the single most flattering cornrow style for women who don’t like how back-swept braids feel on their forehead. The side sweep shifts the visual weight off-center, softening the face frame.
All cornrows travel from one side of the head across to the opposite ear, then feed into a sleek low ponytail. You can leave the ponytail as-is, wrap it with a single braid, or curl the ends with flexi-rods.
What makes this work practically is that all the tension sits on one side of the scalp. If your hairline is fragile on the right, you sweep to the left and vice versa. Let the stronger side do the work.
9. Tribal-Inspired Geometric Patterns
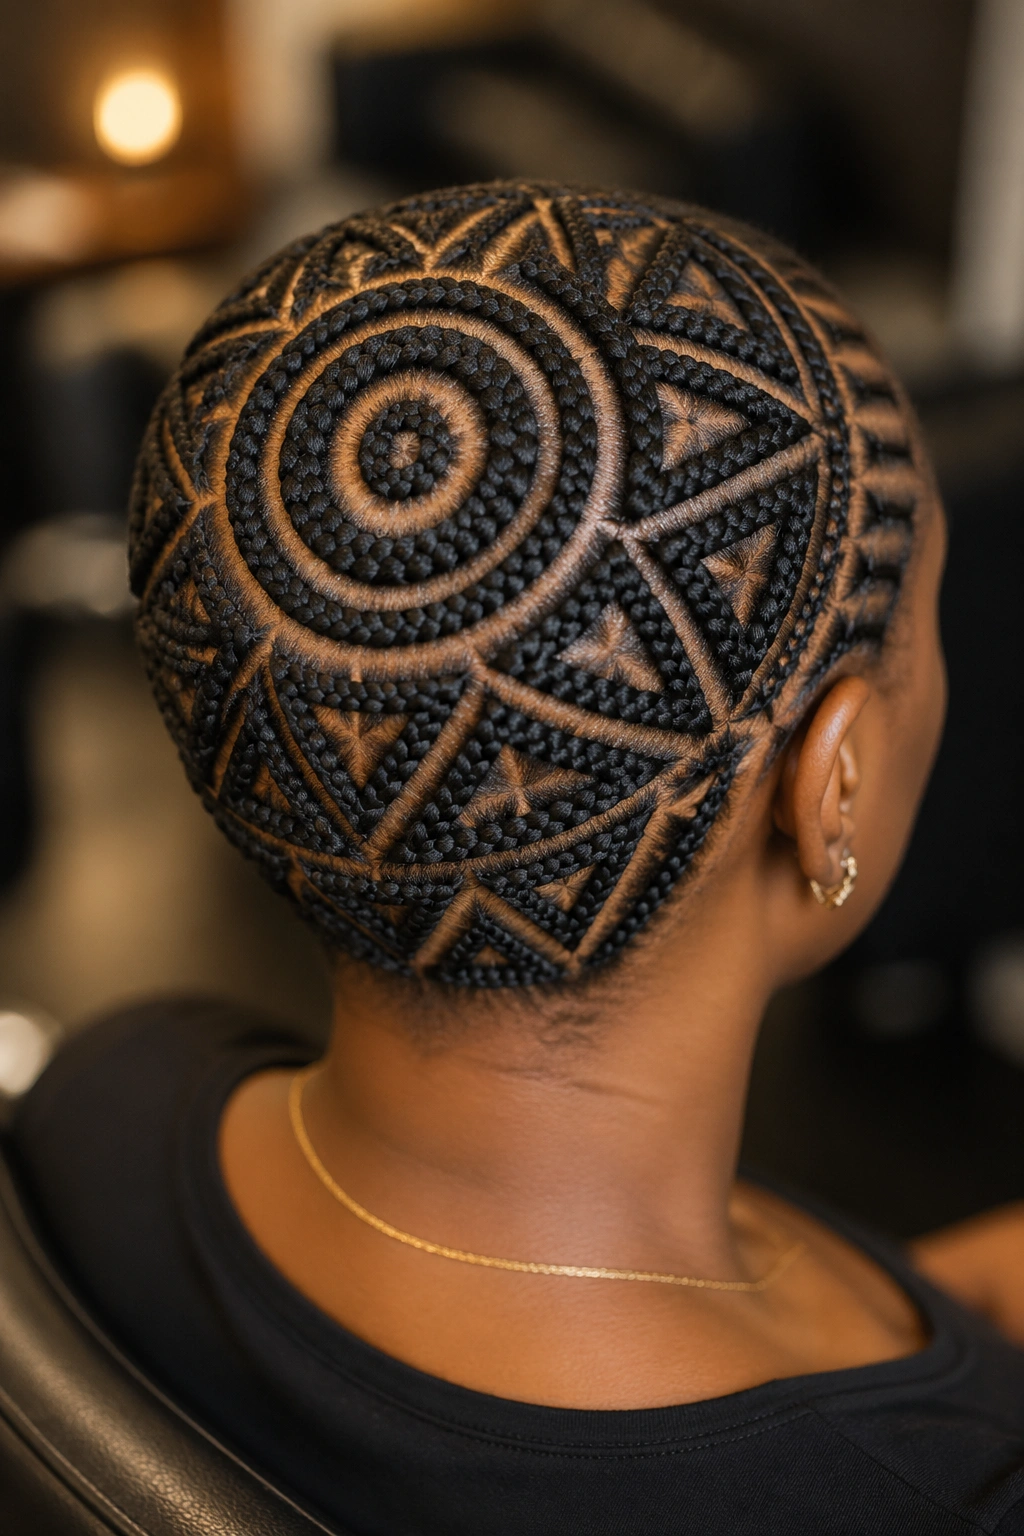
Some cornrow arrangements draw directly from West African and Ethiopian braiding traditions — concentric circles, diamond shapes, interlocking triangles. These aren’t styles you can improvise. They need a braider who has studied the references or who grew up with them.
Ask the braider to show you photos of past work before you commit. Geometric patterns fall apart if any single braid is off-angle.
The finish is worth the search. Worn with simple gold hoops and a clean neckline, a geometric pattern transforms the whole silhouette from the back.
10. Lemonade Braids With Extensions
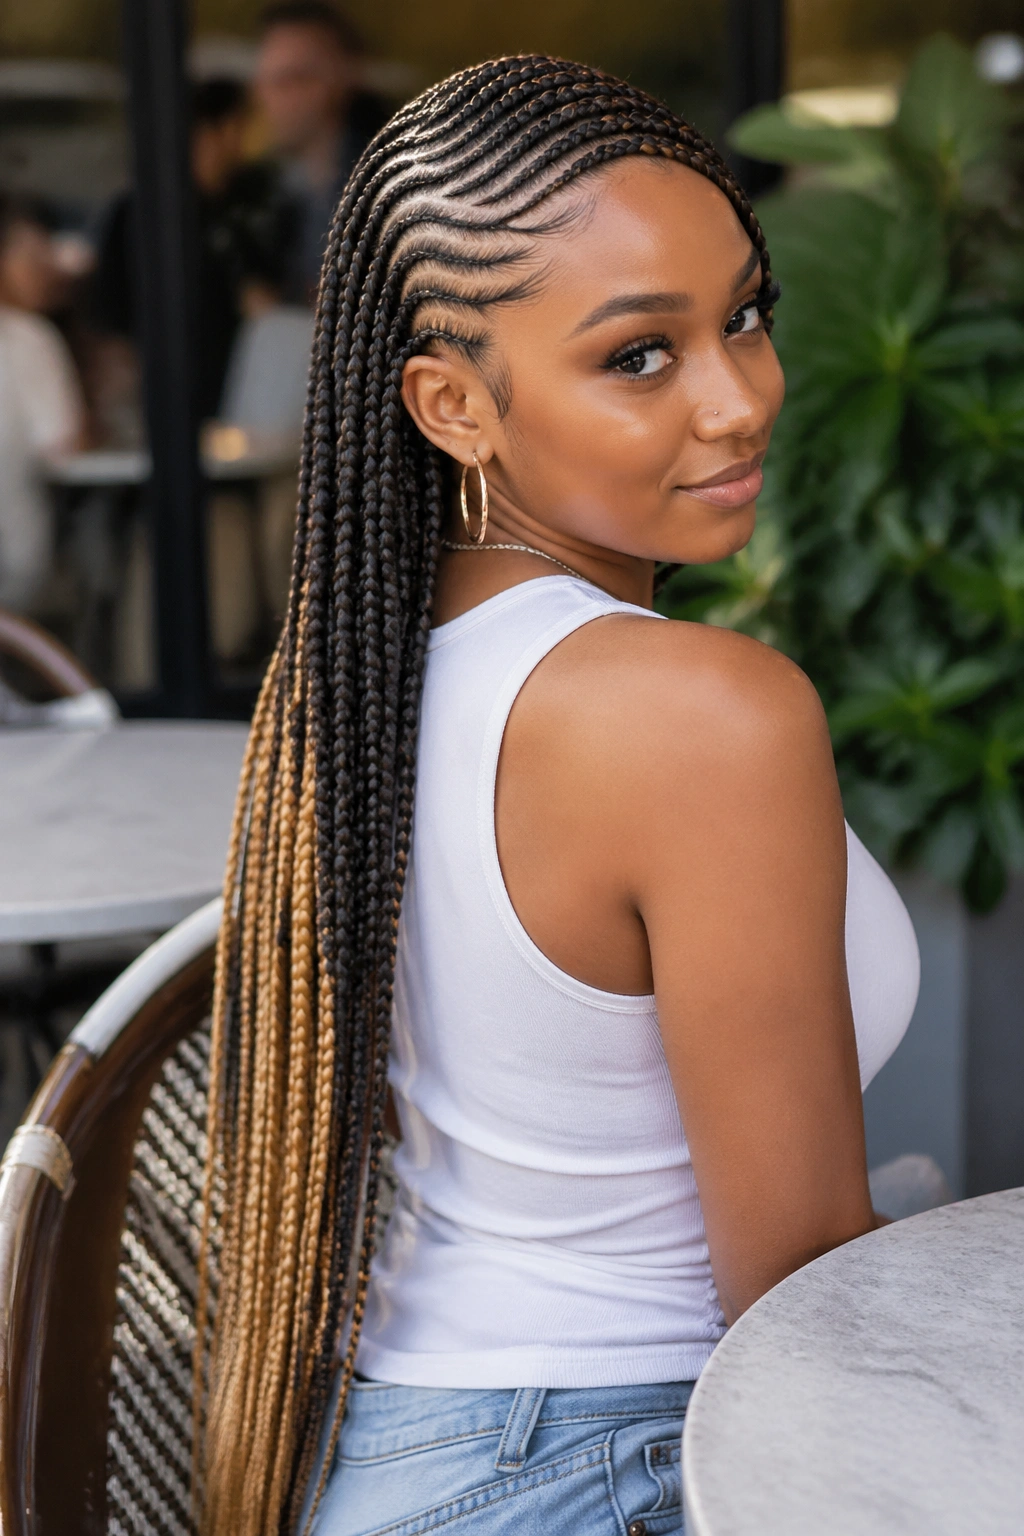
Named after the iconic album look, lemonade braids are side-swept, often long enough to hit the lower back, and always include extensions for length. The classic version uses honey-blonde kanekalon, but the structure works in black, burgundy, or copper.
The side part is what separates lemonade from regular side-swept cornrows. It’s deep — closer to the crown than the temple — and that depth creates the signature dramatic swoop.
- Start with 4-6 inches of real hair
- Use 2-3 bundles of pre-stretched kanekalon
- Feed in color gradually if you want ombré fade
Tip from experience: match the color at the roots, then blend lighter toward the ends. Starting with blonde at the scalp looks harsh and ages the face.
11. Cornrows With Jumbo Box Braids Hybrid
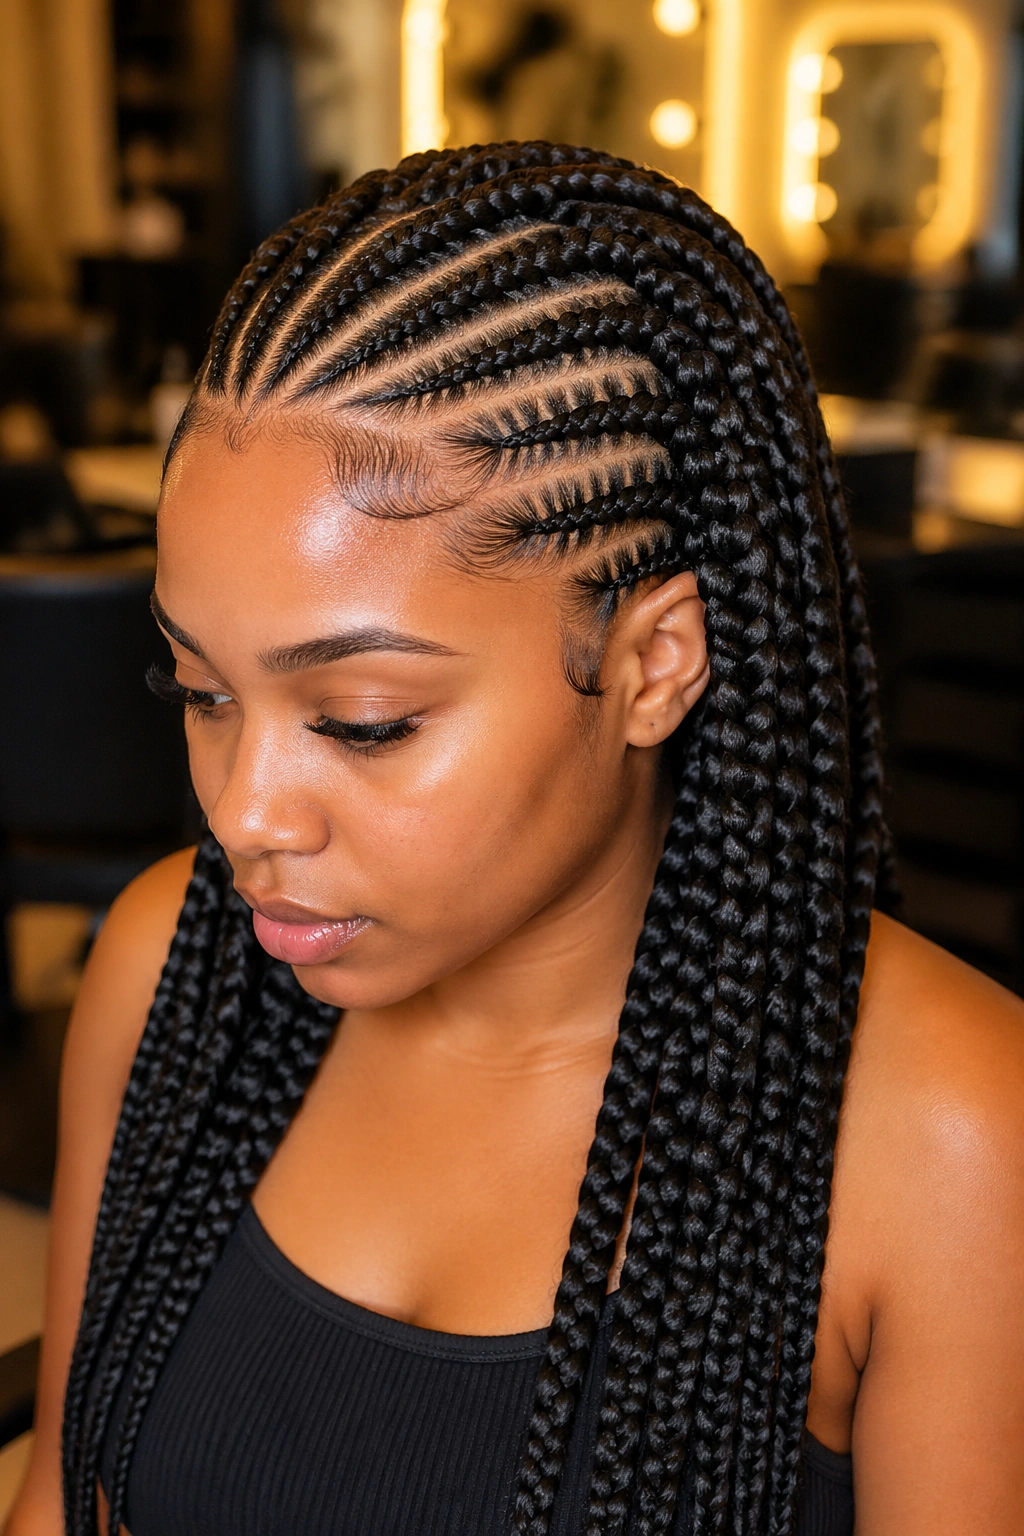
This hybrid starts with cornrows at the front and transitions to jumbo box braids from the crown back. You get the flat-scalp look of cornrows where you want it — forehead, temples, nape — and the swingy movement of box braids everywhere else.
The transition point is the tricky bit. Most braiders solve it with a clean horizontal part running ear to ear across the crown. The cornrows end there. The box braids begin just below.
Why bother combining two styles? Because flat cornrows at the front keep your edges smooth and let you pull everything back into a high ponytail without lumps, while box braids give you more styling options below.
12. Ghana Braids With Curly Ends
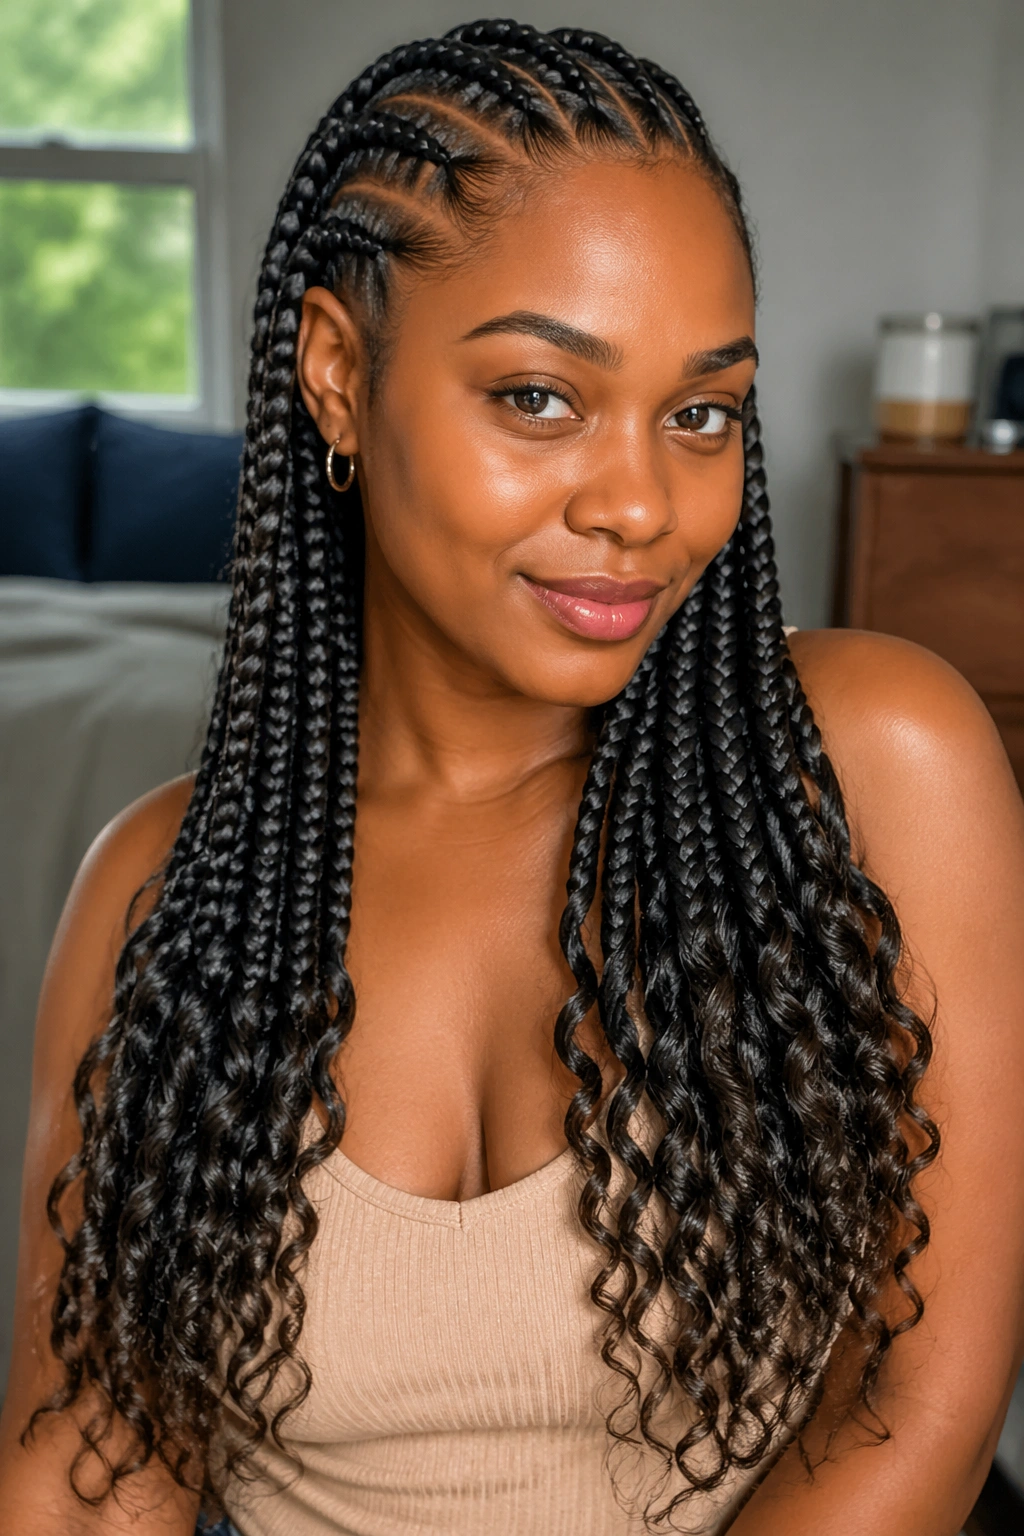
Ghana braids (also called banana cornrows or pencil braids) are thicker at the base and taper toward the ends. Leave those tapered ends loose and curled, and the style gets a completely different mood — still neat at the scalp, but romantic below.
How to Curl the Ends
Use flexi-rods or perm rods on unbraided ends, dip in hot water for 10-15 seconds, and let air-dry overnight. The curl pattern holds a week before it starts loosening.
The contrast between slicked-back braid and curled end flatters almost every face shape. It’s also one of the easier hybrid styles to do at home if you’re comfortable with basic feed-in technique.
13. Freehand Cornrow Shapes
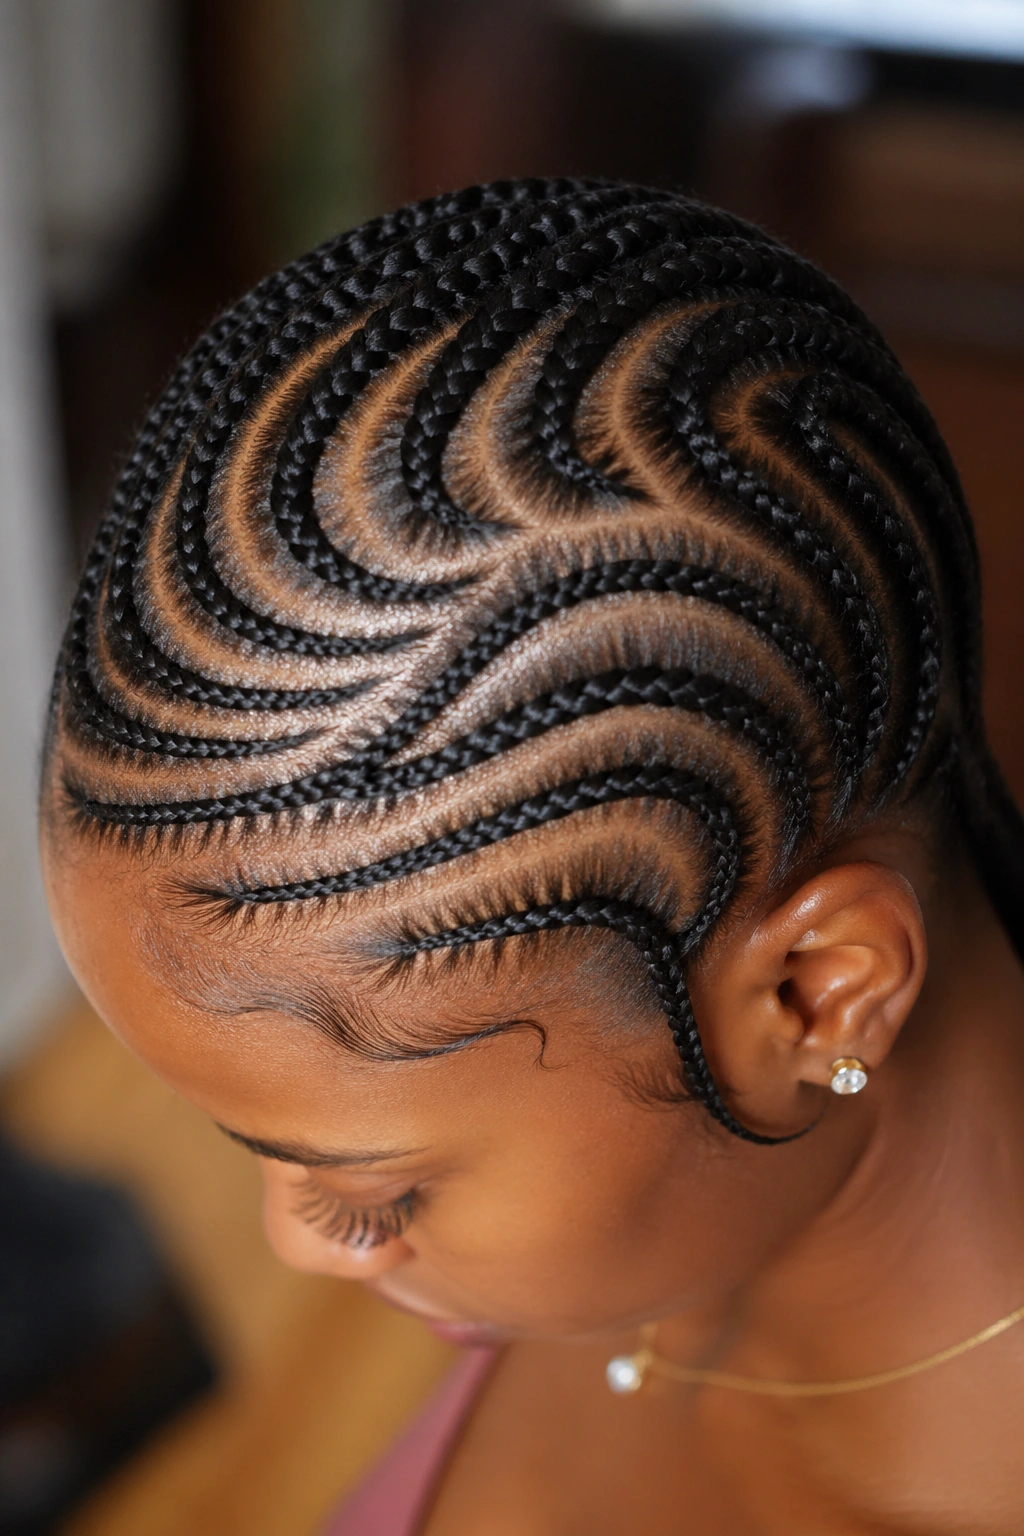
Freehand means no pre-planned pattern. The braider reads your head shape and builds the design as they go, curving braids around cowlicks, following the slope of the crown, and letting the pattern emerge from the anatomy of your scalp.
It’s the least predictable option on this list and the most artistic. You won’t know what you’re getting until you’re halfway through. Two freehand styles done on the same client by the same braider will never look identical.
For clients who want something no one else will have, freehand is the obvious pick. Just make sure your braider has a portfolio of freehand work, not just straight-back examples.
14. Cornrows With Deep Side Part and Swoop
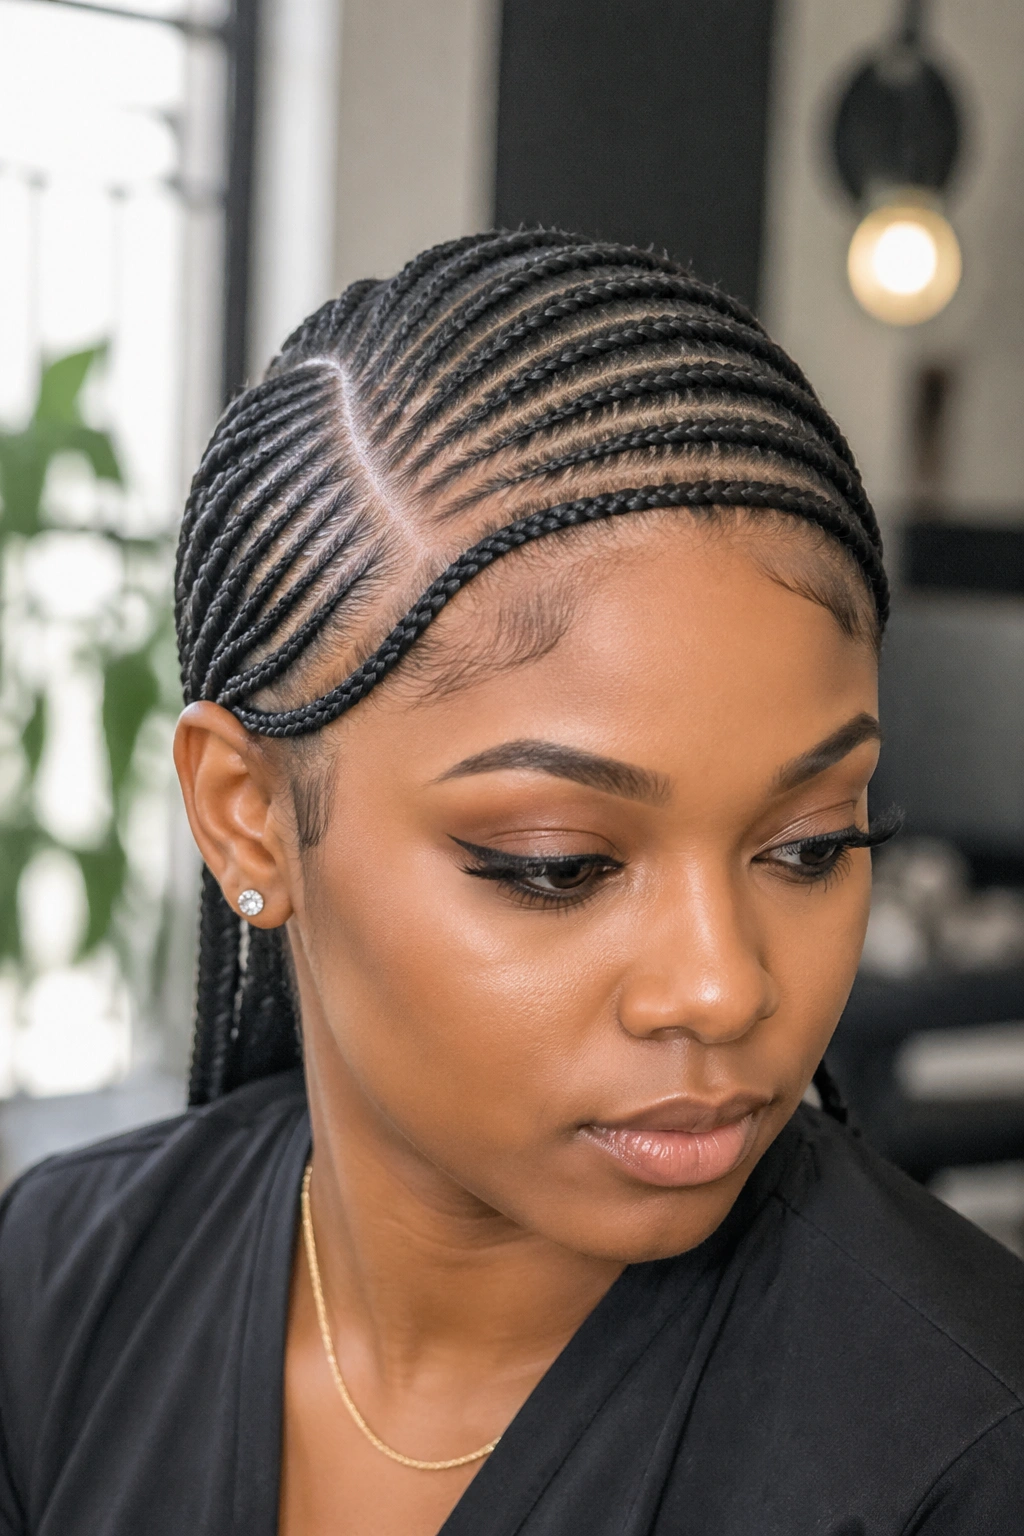
A deep side part plus a single long swoop cornrow at the front creates a dramatic asymmetry. The rest of the head can be cornrowed in any direction you like — straight back, zigzag, or diagonal. The swoop at the front becomes the signature.
Think of it like bangs, but braided. The swoop curves from one temple across the forehead to the other, then joins the rest of the pattern at the ear.
This is a soft style despite the sharpness of the part. It frames the face, softens a square jawline, and works particularly well with rounder cheekbones.
15. Jumbo Two-Braid Cornrows
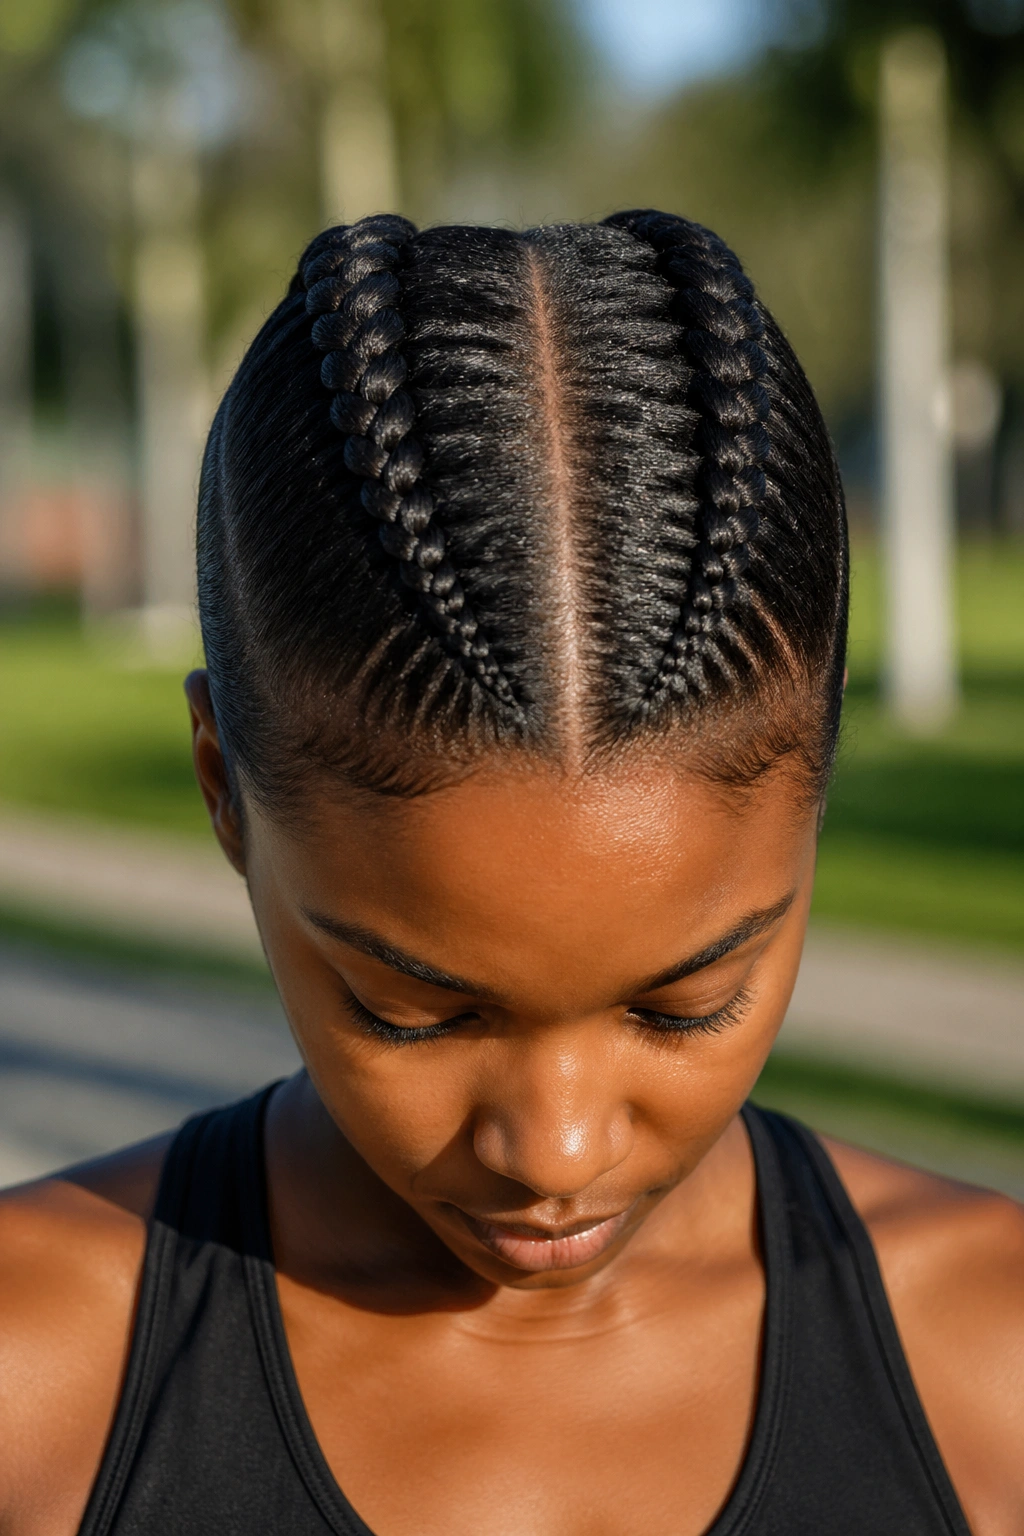
Just two cornrows. Right down the middle of the head, parted cleanly. That’s the whole look. No feed-ins. No beads. Just two thick, clean braids running from hairline to nape.
It’s the sportiest cornrow style on the list. You see it on athletes, dancers, and anyone who wants maximum function with zero fuss.
Why It Works for Workouts
Two braids distribute tension evenly, keep hair off the neck, and stay flat under a helmet, headband, or bike cap. You can shower with them, sleep in them, and redo them in 15 minutes.
16. Heart-Shaped Cornrow Pattern
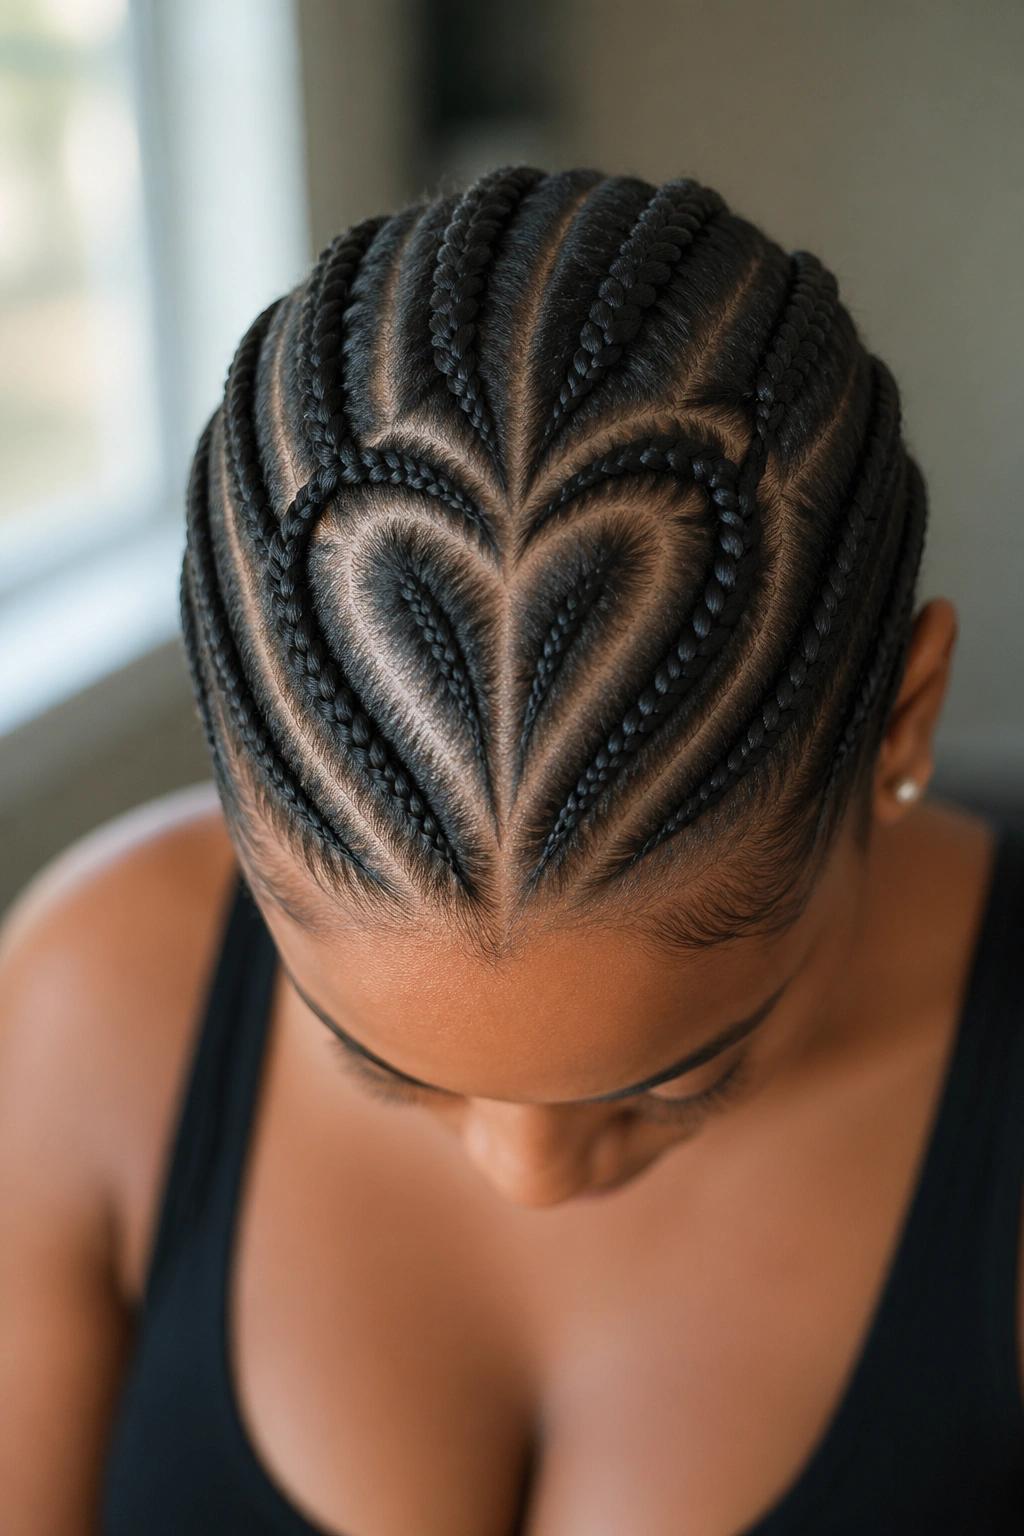
A curved cornrow that traces a heart shape at the crown sounds like it might come off cartoonish. Done well, it reads as subtle as a hairline tattoo — you see it when the light hits a certain way, then it’s gone.
The heart can sit at the very top of the head, at the nape, or tucked behind the ear. Size matters: too big and it looks childish, too small and no one notices.
Best for: a braider with a steady hand and a client willing to do daily edge control to keep the curves sharp. Heart shapes blur first at the curves when fuzz sets in.
17. Chunky Ghana Cornrows With Gold Accents
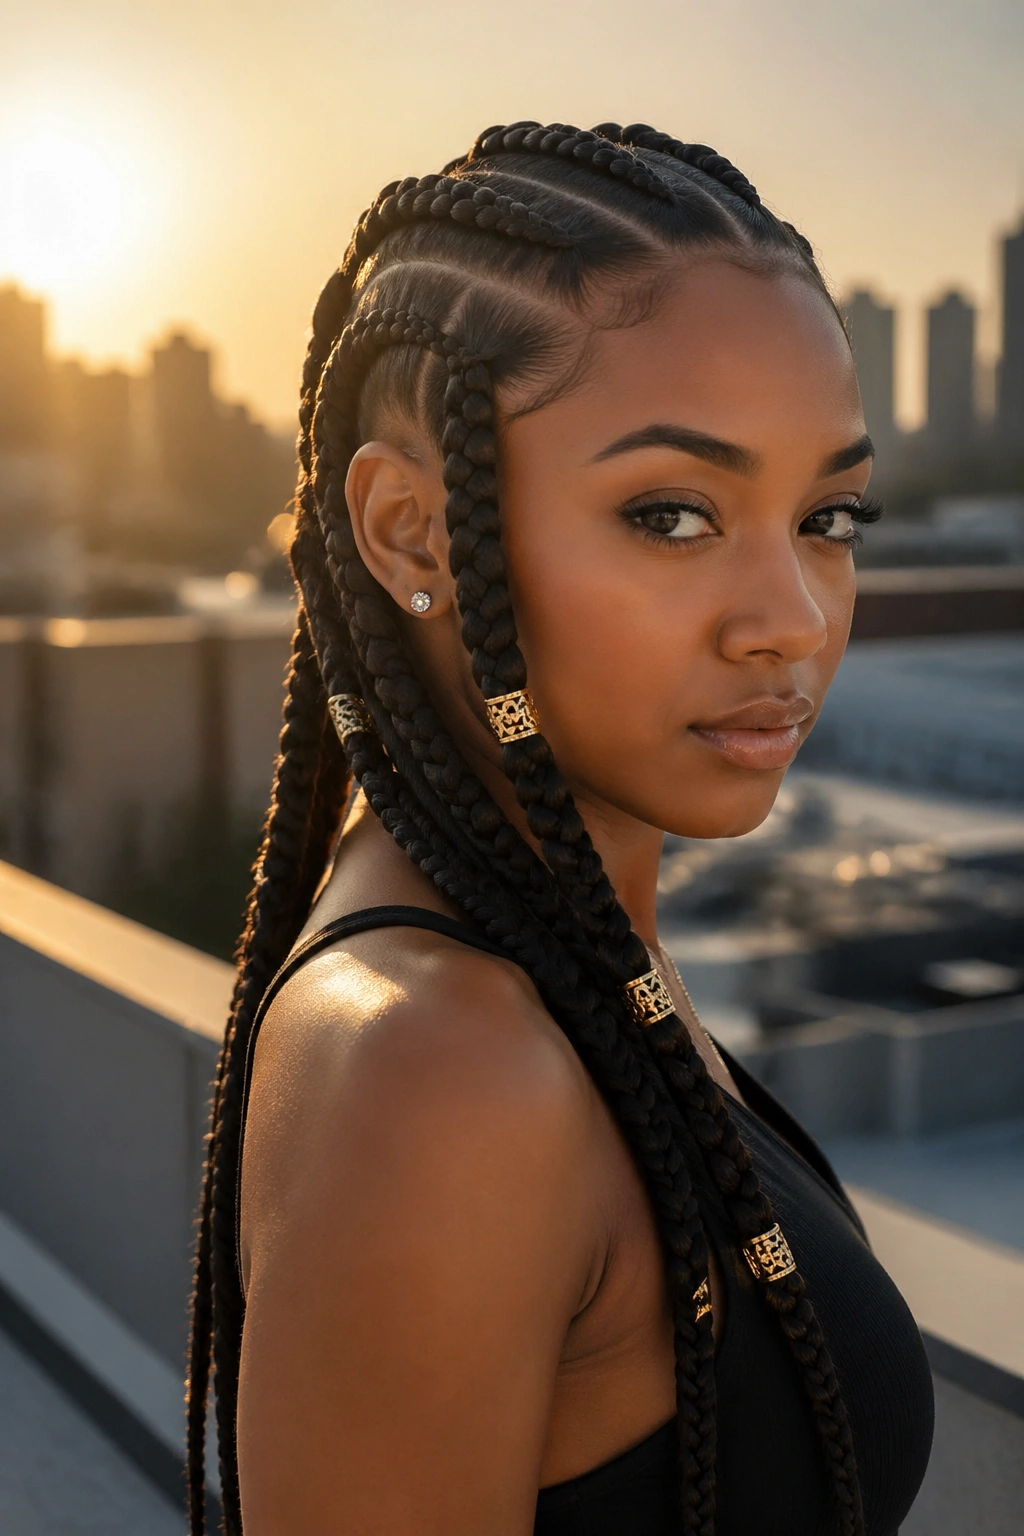
Unlike thin Ghana braids, chunky versions run two fingers thick at the base. They’re bold, sculptural, and read like architecture more than hair. Add three or four gold cuffs at strategic points — always at odd numbers — and the look gets an editorial edge.
- Base diameter: thicker than a standard pencil
- Count: usually 5-8 braids total
- Cuff placement: ⅓ down the braid, ⅔ down, and near the end
Who this suits: women who want a statement style without the full commitment of long braids. Chunky Ghanas hit mid-back length even without extensions because of their thickness.
18. Cornrows With Beaded Ends Only
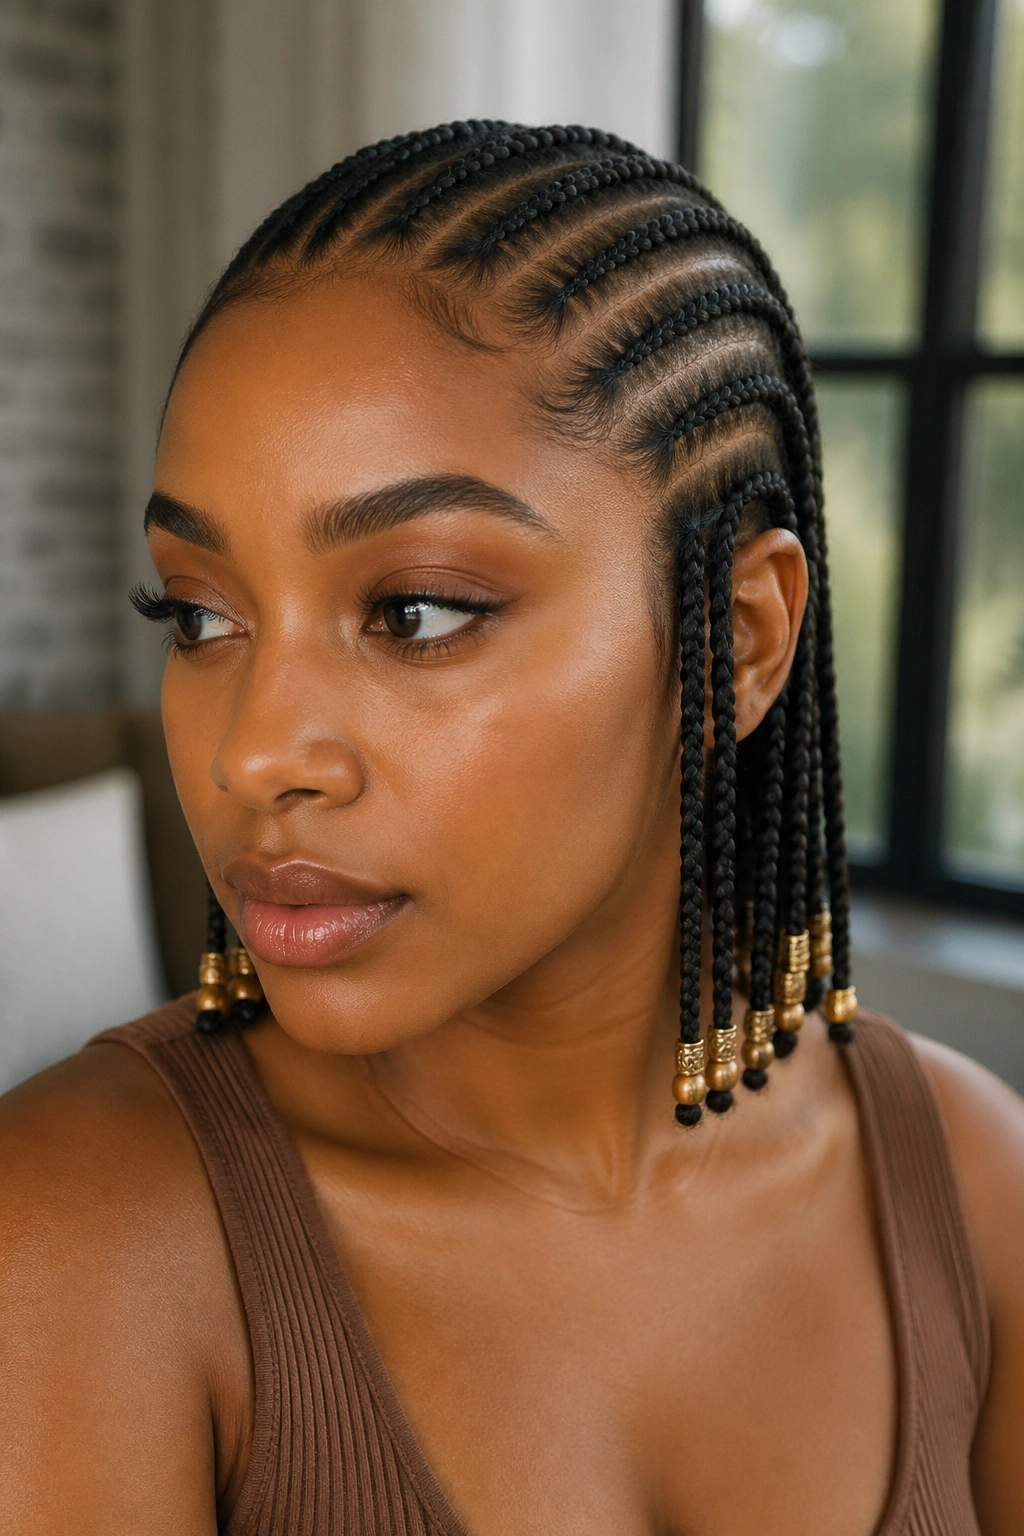
Beads at the ends (not braided through the length) keep the style practical for work environments while still giving the braids a finished, decorative feel. The beads click softly when you move but don’t interfere with pulling the hair up into a bun.
Match bead colors to your wardrobe baseline: gold beads for warm neutrals, silver for cool neutrals, wood for earthy palettes. One color is cleaner than three.
Secure the beads with elastic bands and melt the band end with a quick flame — about two seconds — to seal it so the bead doesn’t slip off.
19. Side Part Cornrows With Shape-Up
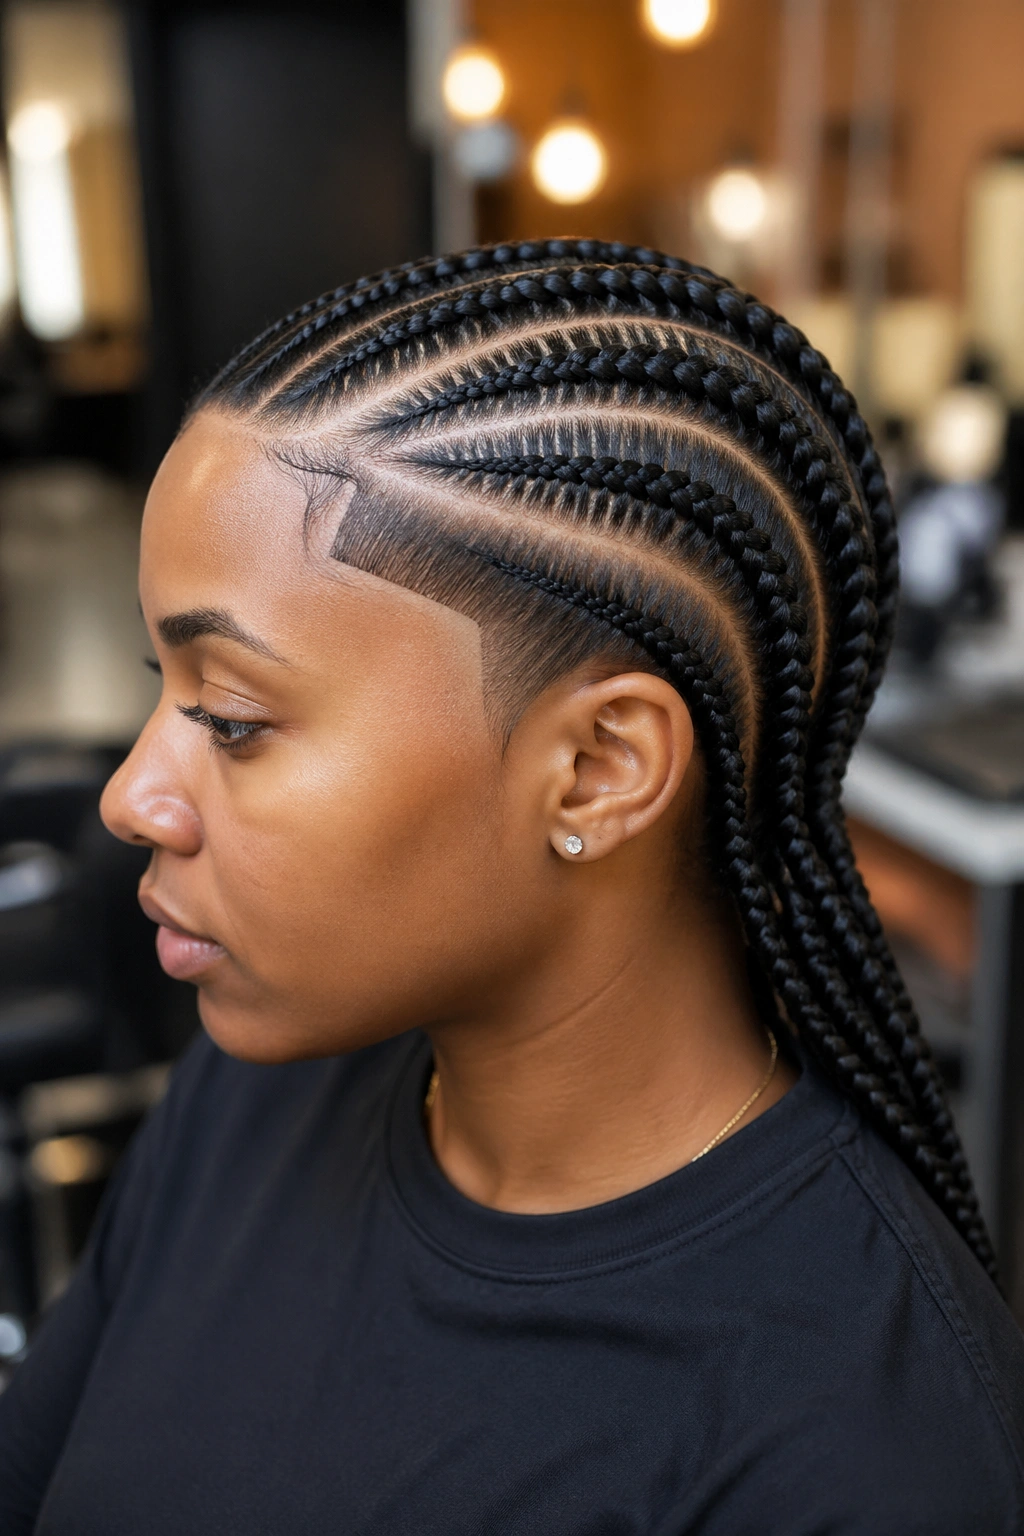
Cornrows plus a barber-done shape-up at the hairline is a look that goes back decades in Black culture. A fresh shape-up frames the face, sharpens the braid angles, and tells anyone looking that you care about the details.
Go to a barber, not a braider, for the shape-up. They use clippers and have the angle training. Get the line-up done the same day as the braids so everything is fresh at once.
The upkeep is real. Shape-ups blur in 7-10 days. If you can’t commit to a touch-up, skip this variation.
20. Cornrows Transitioning to a Bun
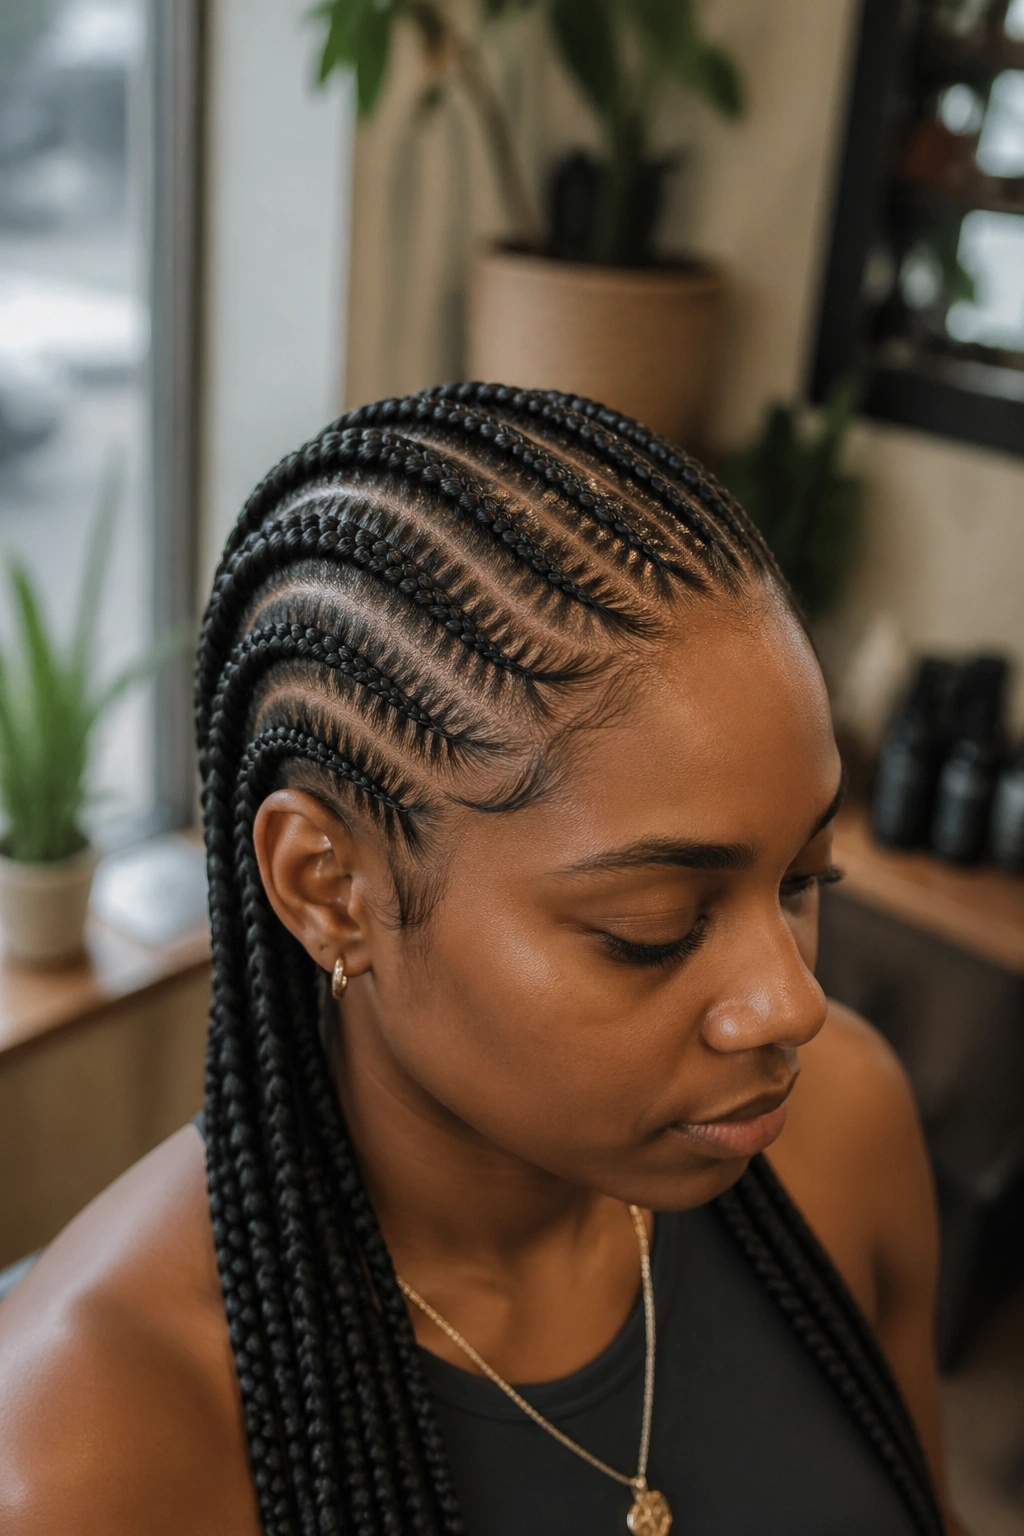
All cornrows sweep back and gather into a high bun or low bun, often wrapped with a single decorative braid. The bun can be sleek, fluffy, wrapped, or looped. The cornrows stay functional while the bun provides the drama.
This is a wedding-appropriate, boardroom-appropriate, gym-appropriate style depending on how you style the bun itself. The same base pattern can shift moods from formal to sporty with a five-minute adjustment.
Quick reality check: if your real hair doesn’t reach the bun point, add extensions during the cornrow process, not after. Adding fake hair to an already-braided ponytail creates a visible seam.
21. Cornrows With Curly Pony Extension
The front and sides stay flat-braided, but the back gathers into a long, loose, curly ponytail — usually achieved by feeding curly kanekalon into the final section. The contrast between sleek braids and bouncy curls is what sells the look.
What Makes It Different
Most cornrow styles commit to a single texture. This one splits the difference — structured on top, soft on the bottom. It reads as dressed-up without being stiff.
The curly hair needs specific maintenance: mousse or curl-defining cream every 2-3 days, sleep in a pineapple wrap under a satin bonnet, and avoid excess water on the curls between refreshes.
22. The Half-Up Half-Down Cornrow
Only the top half of the head gets cornrowed. The bottom stays loose — either in its natural texture or blown out straight. The contrast is the signature.
This is a style for women who love cornrows but don’t want the full committed look. It also works well for occasions where you want to show off your natural hair but keep it off your face.
Compared to a full head of cornrows, the half-up version takes a fraction of the time and lets you refresh the loose hair independently of the braids.
How Long Each Style Actually Lasts
Lifespan varies a lot depending on how much you sweat, how you sleep, and how much edge control you use.
- Small cornrows: 2-3 weeks max
- Medium stitch braids: 3-4 weeks
- Jumbo or chunky: 3-5 weeks
- Styles with extensions: 4-6 weeks
- Styles with beads: shorten lifespan slightly because the weight pulls roots loose faster
When the fuzzing at the hairline bothers you more than the rest of the head looks good, it’s time to take them out.
Scalp Care Between Style Refreshes
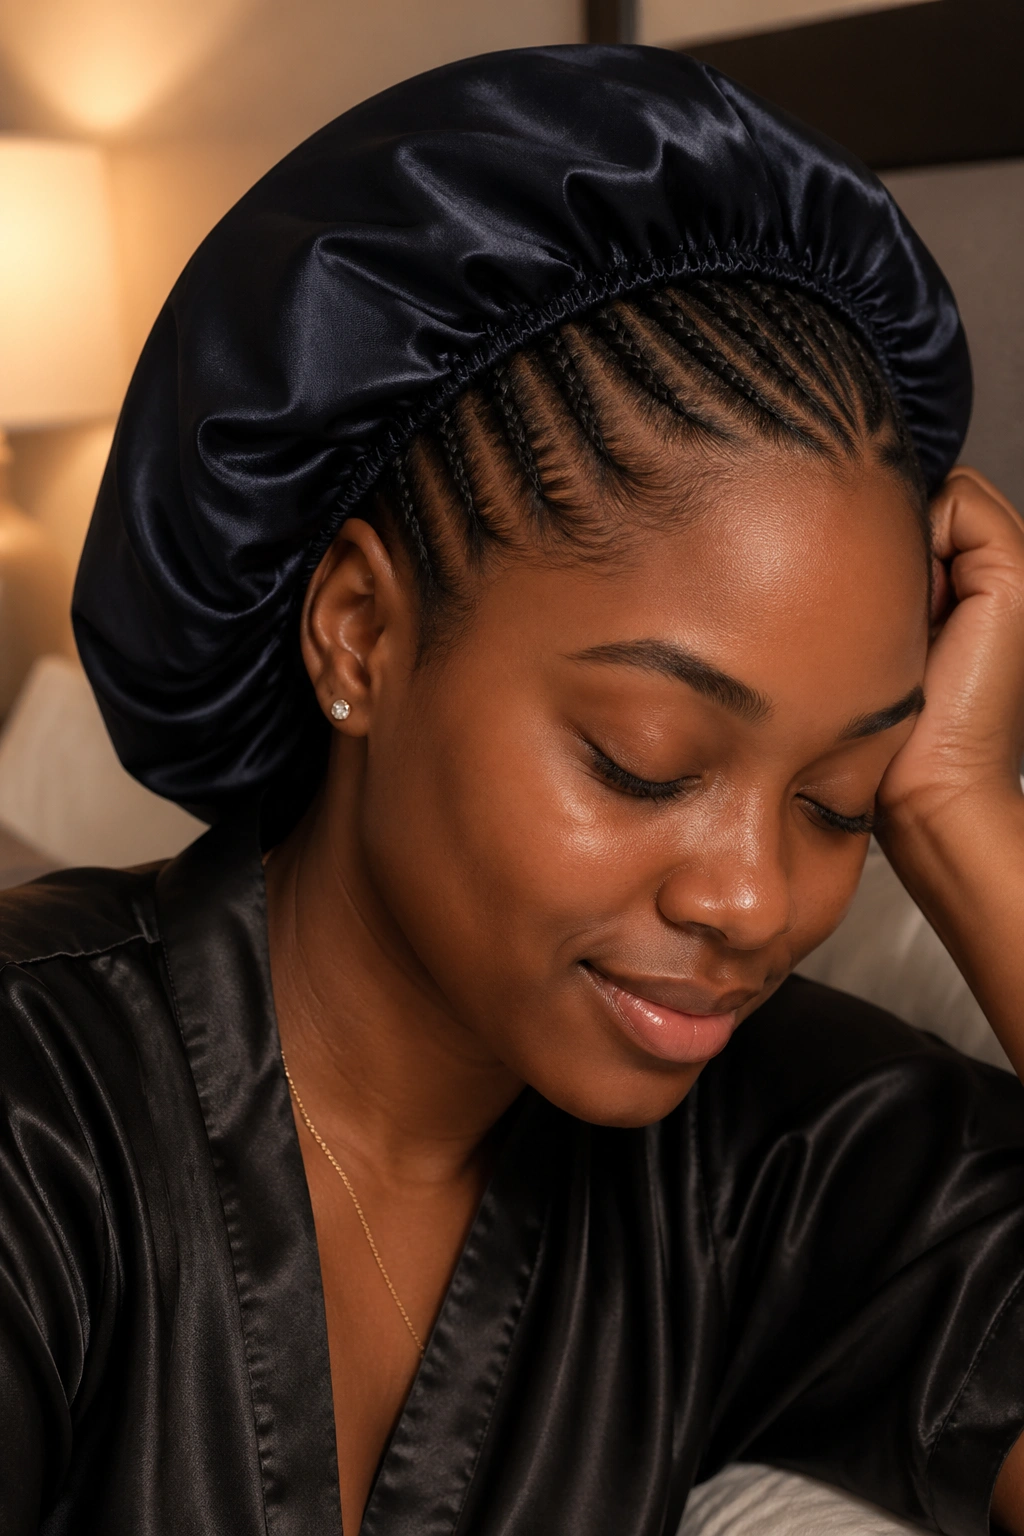
The scalp under cornrows needs attention or it’ll revolt. Itchiness, flakes, and tender spots mean you’re overdue for care.
Mist with a 50/50 mix of water and leave-in conditioner every 1-2 days. Apply a light oil — jojoba, argan, or a dedicated braid oil — to the parting lines twice a week. Avoid heavy butters near the scalp, as they clog follicles and trap lint.
Wash your cornrows every 2-3 weeks with a diluted sulfate-free shampoo. Use a squeeze bottle with a pointed nozzle to direct the shampoo along the parts, massage gently with fingertip pressure, and rinse thoroughly. Skip the washcloth scrubbing — it frays the braids.
Dry immediately and completely. A damp scalp under braids is a mildew invitation. Sit under a hooded dryer on low, or use a blow-dryer on cool with a diffuser attachment for 20 minutes minimum.
Takedown Done Right
Never pull cornrows out dry. That’s how you lose the length you’ve been protecting.
Saturate each braid with a conditioning detangling spray or a 50/50 mix of conditioner and water. Work from the ends up. Unravel slowly. Finger-detangle as you go, then comb gently once the braid is loose.
Wash immediately after takedown with a clarifying shampoo, deep condition for 30+ minutes, and trim any fairy-knot ends. Your hair has been held flat for weeks — it needs moisture and a fresh trim before it goes into the next style.
Picking the Right Cornrow Style for Your Face and Life
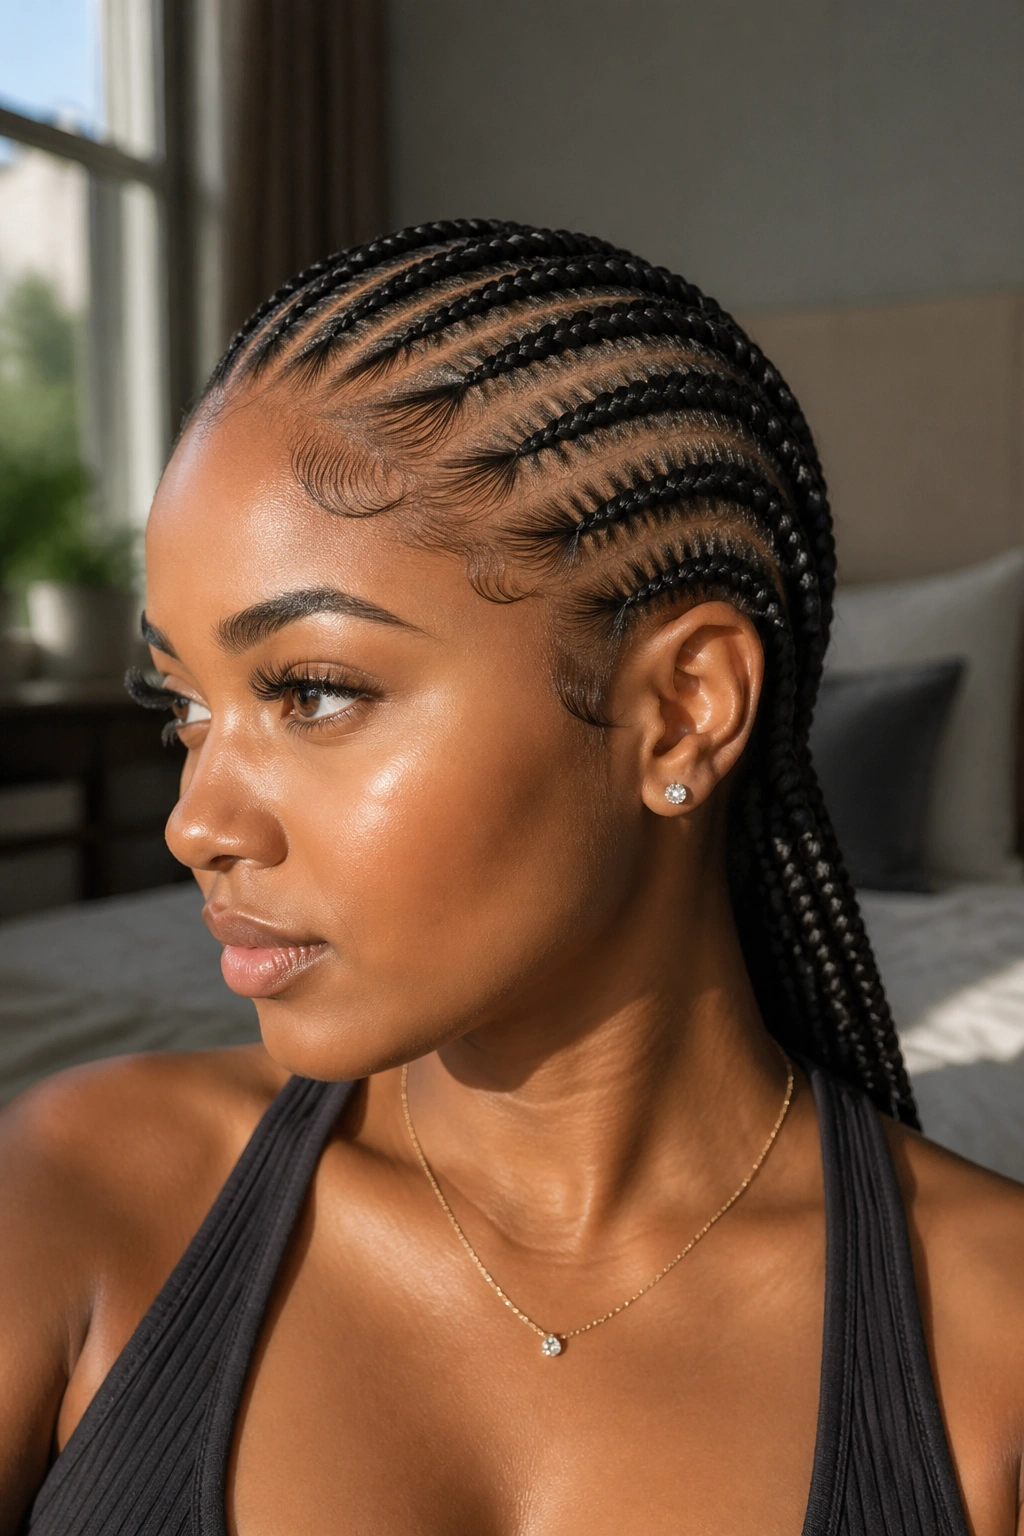
Start with your daily life, not the style inspiration photo. If you work out five days a week, thin micro cornrows will fuzz in days. If you work in a corporate office, a shaved-side mohawk may or may not fit your environment.
Face shape matters less than most tutorials suggest. Most cornrow patterns can be adjusted with a different part placement. The bigger questions: how much time can you spend on aftercare, how often can you re-do edges, and how sensitive is your scalp to tension?
For fragile hairlines, go with larger-section cornrows and avoid anything that pulls tight across the temples. For active lifestyles, choose styles you can wash and redo in a single evening. For dramatic statements, lean into freehand shapes and shaved-side combinations that can’t be undone in five minutes.
Ask your braider for a scalp-tension check an hour into the session. If anything feels wrong, say so — good braiders will loosen specific sections without ego.
Common Cornrow Mistakes (And How to Skip Them)
Number one is going in with unstretched hair. Shrunken coils don’t grip gel, don’t sit flat, and fuzz within days.
Number two is using a single heavy gel across the whole head. Smoothing gel for the braid path, strong edge gel for edges only — these serve different purposes and mixing them creates crunch and flakes.
Number three is sleeping without a satin scarf. Cotton pillowcases absorb moisture and friction against cotton is how you get frizz overnight.
Number four is leaving the braids in too long. Two to four weeks for most styles, six weeks maximum with meticulous care. Longer than that and matting starts at the nape, where new growth, sweat, and takedown tangle meet.
Number five — and this one’s personal — is chasing styles designed for 3B hair on 4C hair without adjusting expectations. A lemonade braid on tight coils behaves differently than on looser curls. Work with your texture, not against it.
The best cornrow style is the one you can maintain, wear confidently, and take down without losing length. Every entry on this list has been chosen because it delivers something specific, not because it’s trending. Pick the one that suits your face, your schedule, and your mood — then commit to the aftercare. Cornrows reward the consistent, and the long game is where the real benefit hides.
