



Straight back cornrow styles run from your hairline to your nape in clean parallel rows. No diagonals. No swirls. No fancy parting tricks. Just rows traveling in the same direction with crisp parts between them. Simple as that — and that simplicity is exactly why this style has stayed popular across decades.
The straight back foundation works for almost everyone. It flatters every face shape because the vertical lines lengthen the silhouette without adding visual width. It handles every occasion from boardroom meetings to red carpets, depending on how it’s finished. And it’s one of the easiest styles to maintain because the symmetry makes upkeep predictable.
Below are 25 distinct straight back cornrow styles. Each one offers something different — a unique row count, a specific finish, an accessory choice, or an extension treatment that sets it apart from every other entry in the list.
What Makes Straight Back Different From Other Cornrow Patterns
Straight back is defined by direction. Every row travels from the front of the head to the back without curving, swirling, or angling. The parts between rows are also straight lines, parallel to one another.
Compare that to side-swept cornrows where rows angle diagonally, or to swirl cornrows where rows curve along curved paths. Straight back is the no-frills, no-tricks version that everything else compares against.
The benefit of all that simplicity: clean lines that flatter, fast install times, easy maintenance, and a pattern that never goes out of style.
The Long History of Straight Back Cornrows
Straight back cornrows trace back centuries to West African braiding traditions. Ancient African sculptures and carvings show women with braided rows running back from the forehead — the exact same pattern still worn today.
The style traveled with the African diaspora and became foundational across Black diasporic hair culture. It’s worn by women in Nigeria, Ghana, the Caribbean, the United States, the United Kingdom, and beyond.
Knowing this history grounds the style in something deeper than fashion. When you wear straight back cornrows, you’re wearing a continuation of generations of practice.
Prep Steps Before Sitting Down
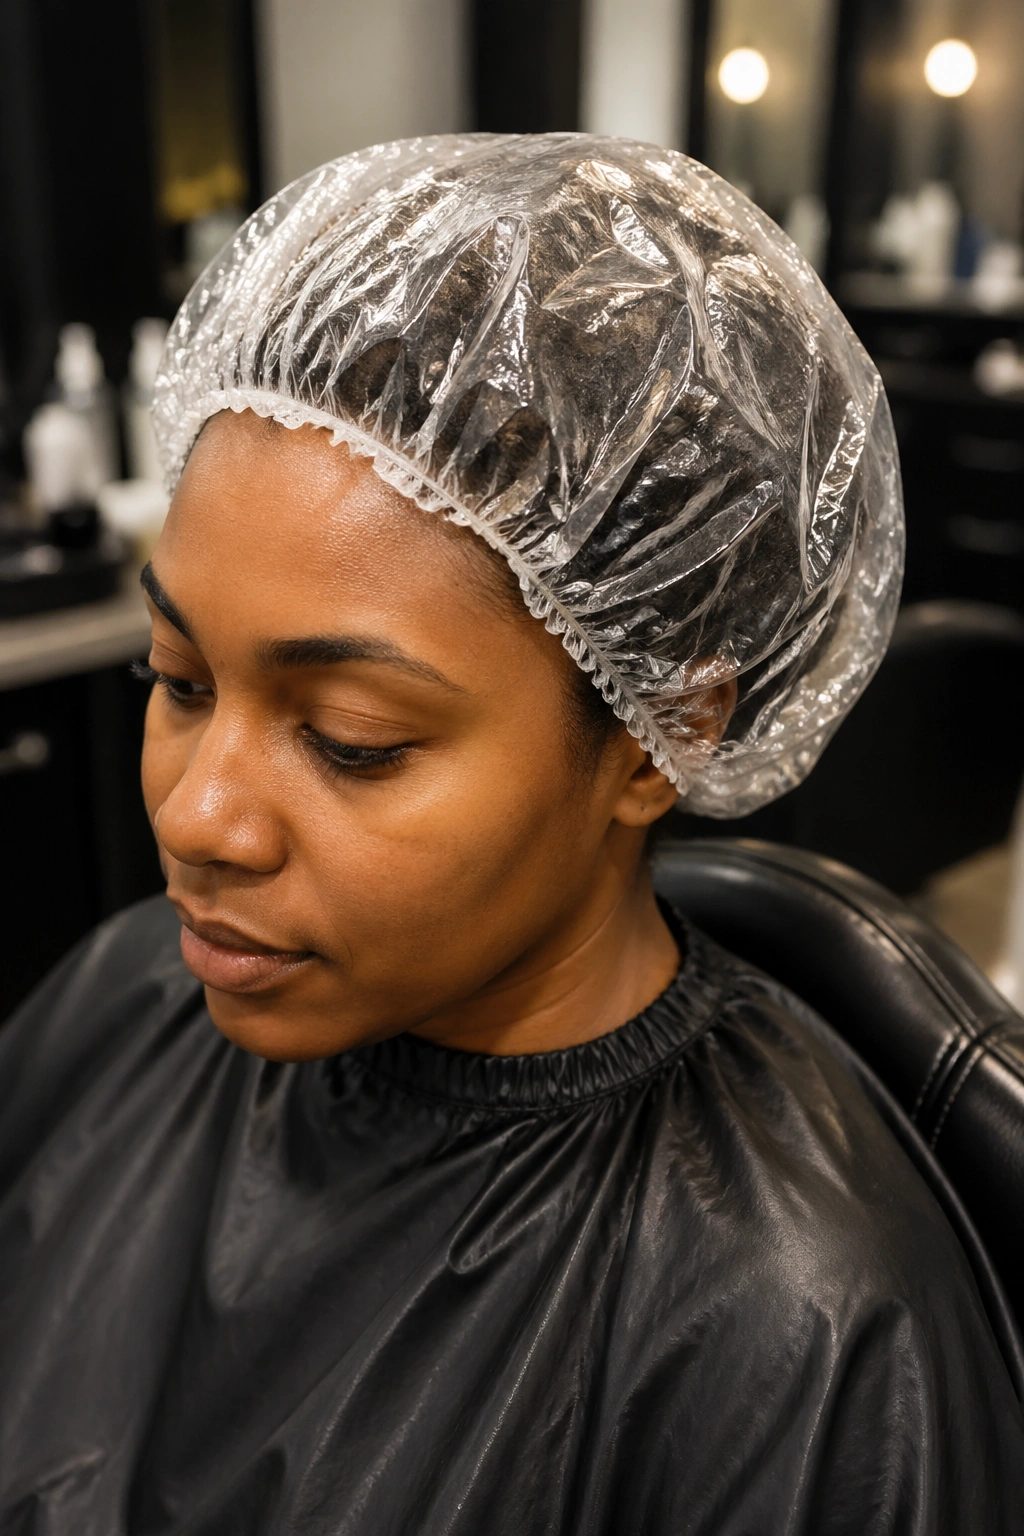
Wash with sulfate-free shampoo. Deep condition for 20-30 minutes under a plastic cap. Rinse thoroughly with cool water. The clean, conditioned hair grips the braid pattern better and won’t slip during install.
Stretch the hair after washing. Air-dry banded in sections, or blow-dry on low heat with a paddle brush. Stretched hair shows even row spacing and doesn’t shrink up between parts.
Apply a leave-in conditioner and a small amount of oil to seal moisture. Don’t go heavy. Slippery hair is harder to braid than dry hair.
Picking the Right Number of Rows
Four to six rows reads bold. Each row is thick, the parts are wide, and the finished style makes a statement. Best for women who want presence without intricate work.
Seven to ten rows hits the standard middle. The most common straight back configuration. Balanced, polished, and works for almost any setting.
Eleven to fifteen rows reads delicate and detailed. Each row is thinner, the parts are tighter, and the finished style looks intricate. Takes longer to install but lasts longer too.
Why Edge Prep Matters Most for Straight Back
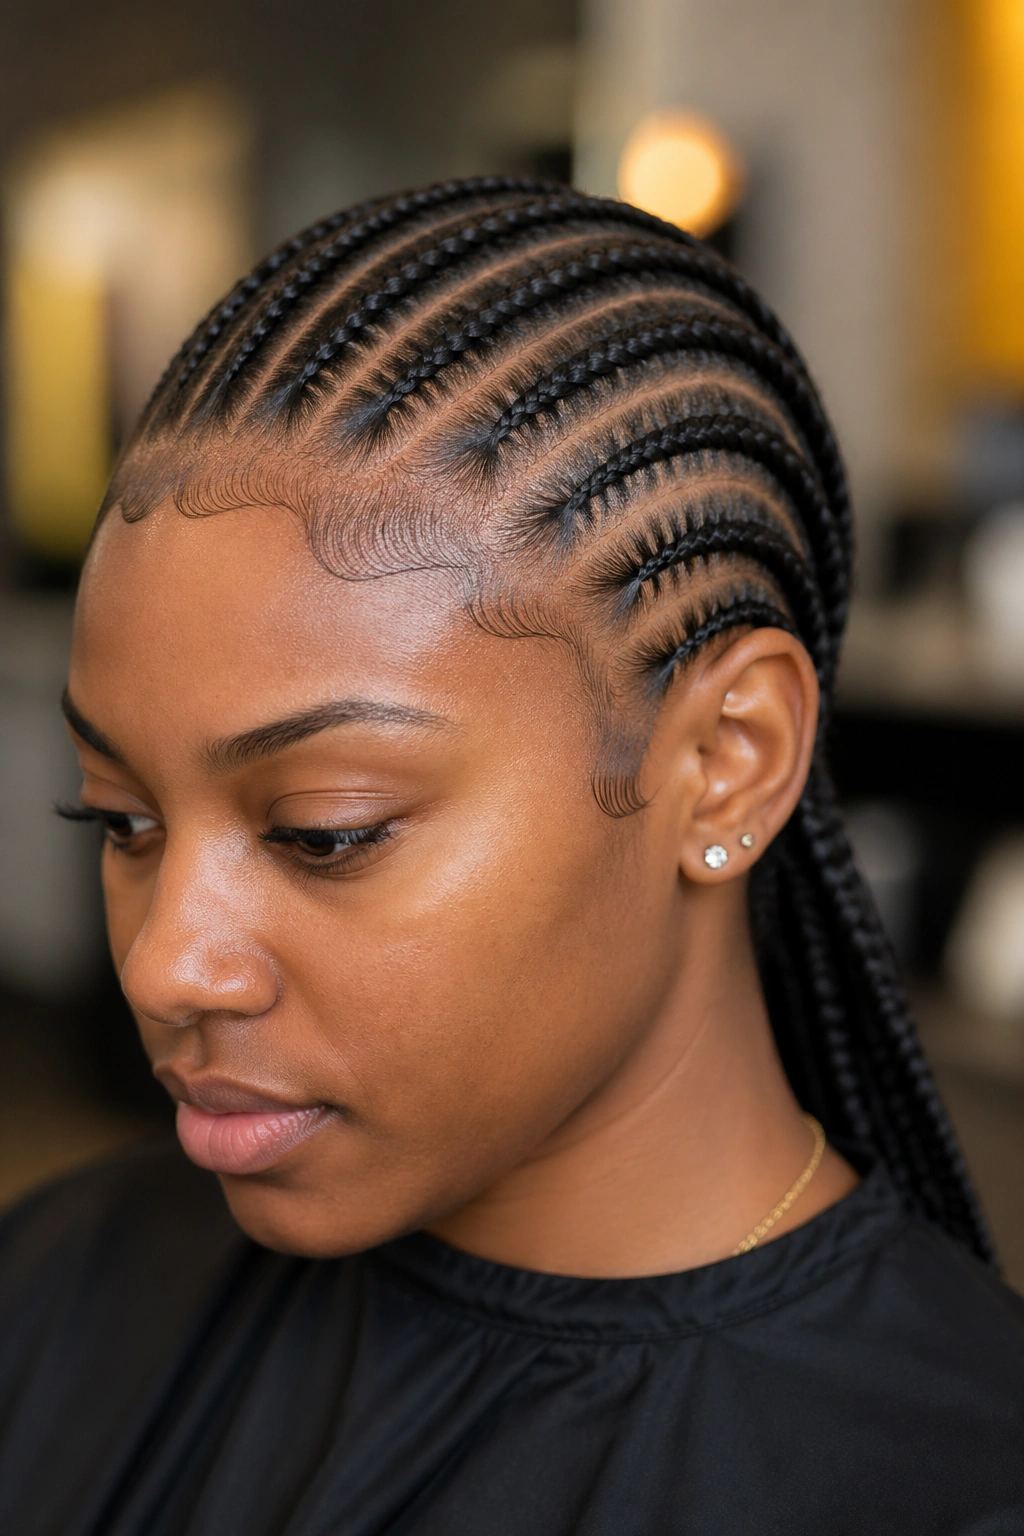
The hairline takes all the visual weight in straight back cornrows. Your edges sit right at the front, on display, with nothing to hide behind.
Cleanly laid edges with a small amount of edge gel make the difference between a polished install and a messy one. Use a soft toothbrush to swoop the edges into the shape you want, then mist with water to set.
Don’t overload the gel. A pea-sized amount per side is plenty. More than that crusts up and looks white as it dries.
1. Six-Row Straight Back, No Extensions
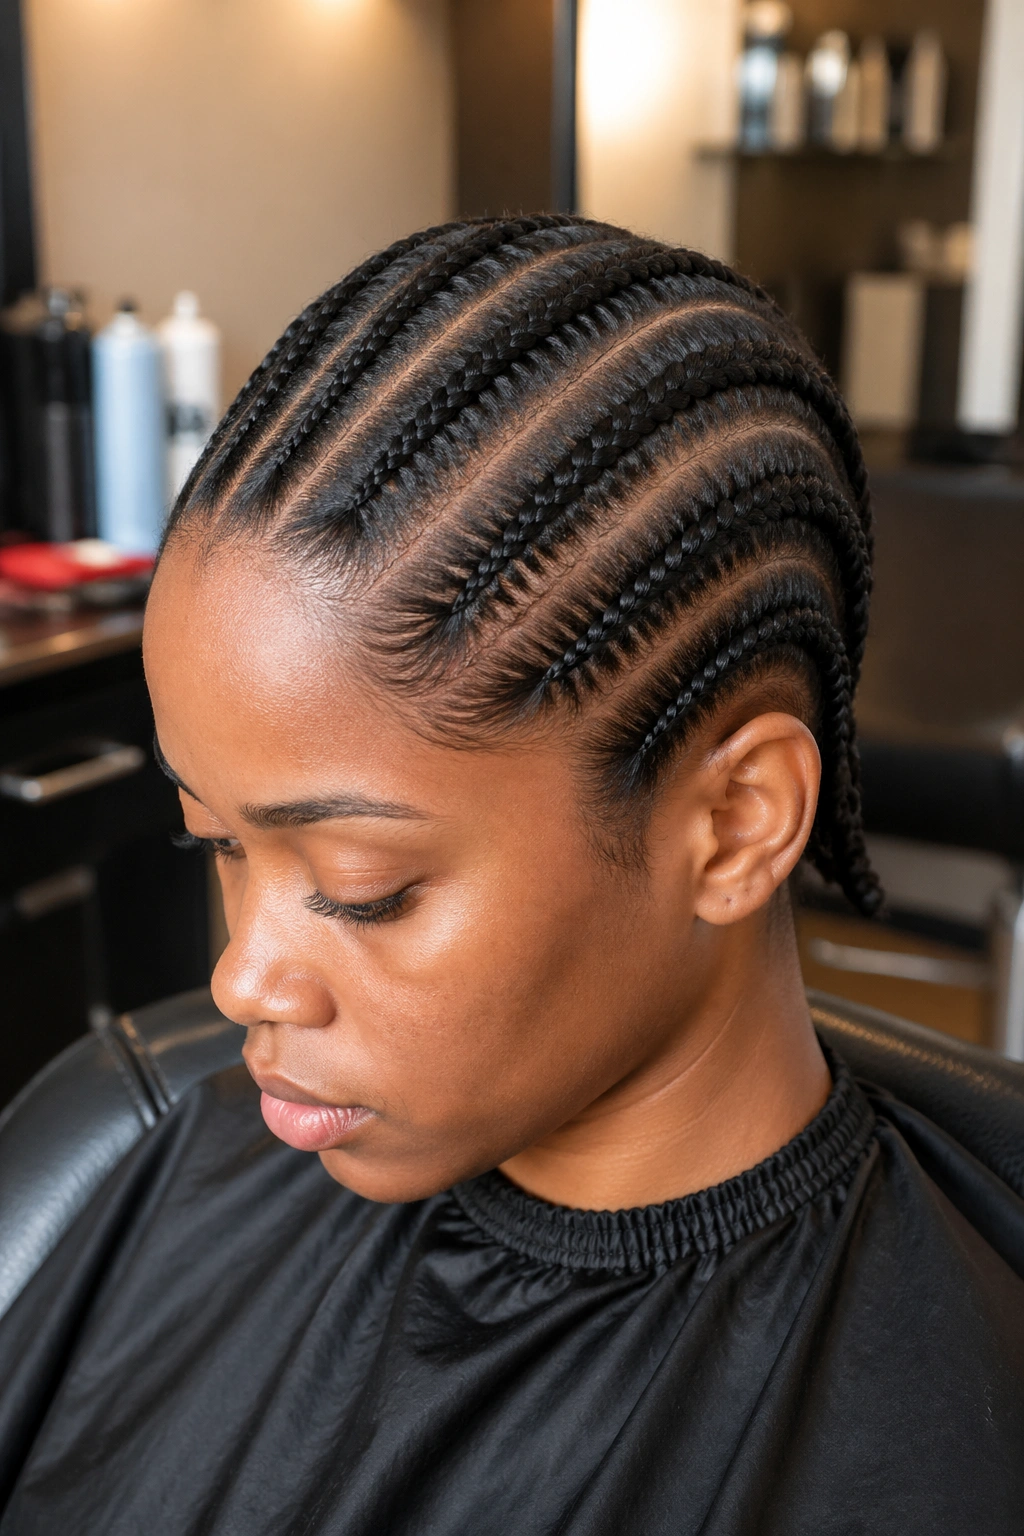
Six clean rows from hairline to nape, using only your natural hair. The foundation style — what every Black woman recognizes the moment she sees it.
Why It Works
- Fast install — under 90 minutes
- No synthetic hair needed
- Shows off your scalp cleanly
- Lasts 1-2 weeks with proper care
Tip: Have your braider angle the outermost rows slightly outward at the temple to follow the natural curve of your skull.
2. Eight-Row Straight Back With Light Feed-In
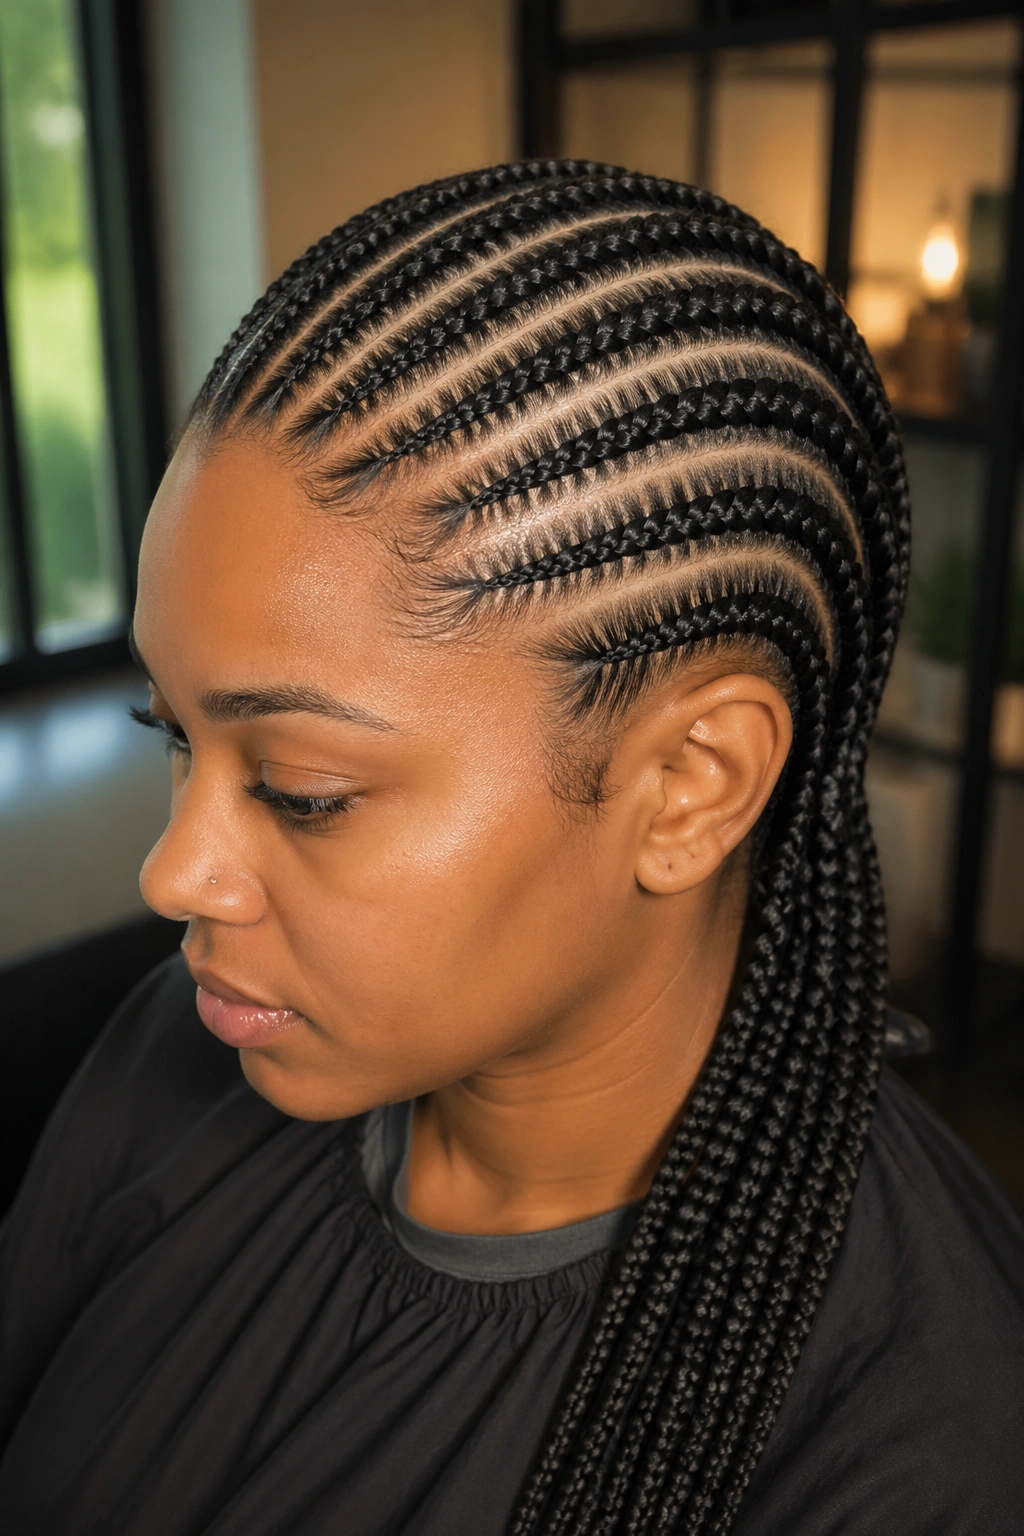
Eight rows running back, each one fed gradually with a small amount of kanekalon to add length without bulk. The ends extend to mid-back or shoulder length.
The feed-in method matters here. Adding extension hair gradually rather than anchoring a thick chunk at the base prevents the bulky knot look at the front.
The result is a style that reads as your own hair grown long, rather than obviously braided in.
3. Twelve-Row Straight Back
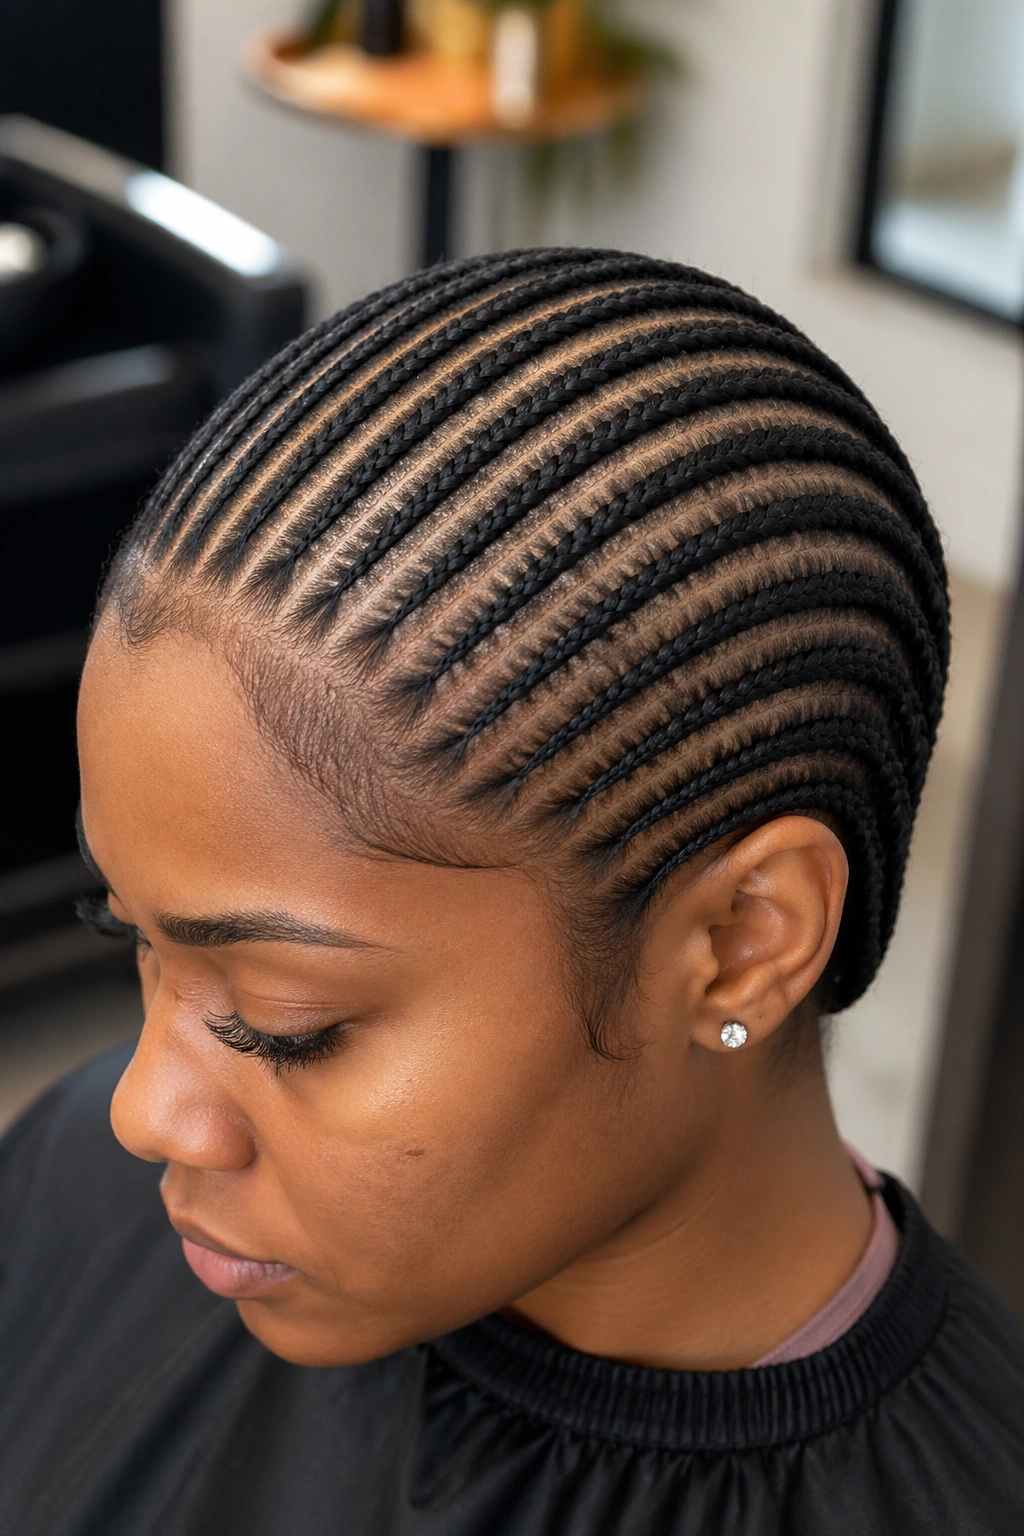
Twelve thin rows, each maybe a half-inch wide, all going straight back. The tighter spacing creates an intricate pattern across the whole head.
This install takes 3-4 hours. Holds 3-4 weeks easily. Worth it for women who love the look of finely detailed braid work.
The thinner rows give a more delicate finish than fewer thicker rows. Reads almost like artwork on the scalp.
4. Four Bold Straight Back Rows
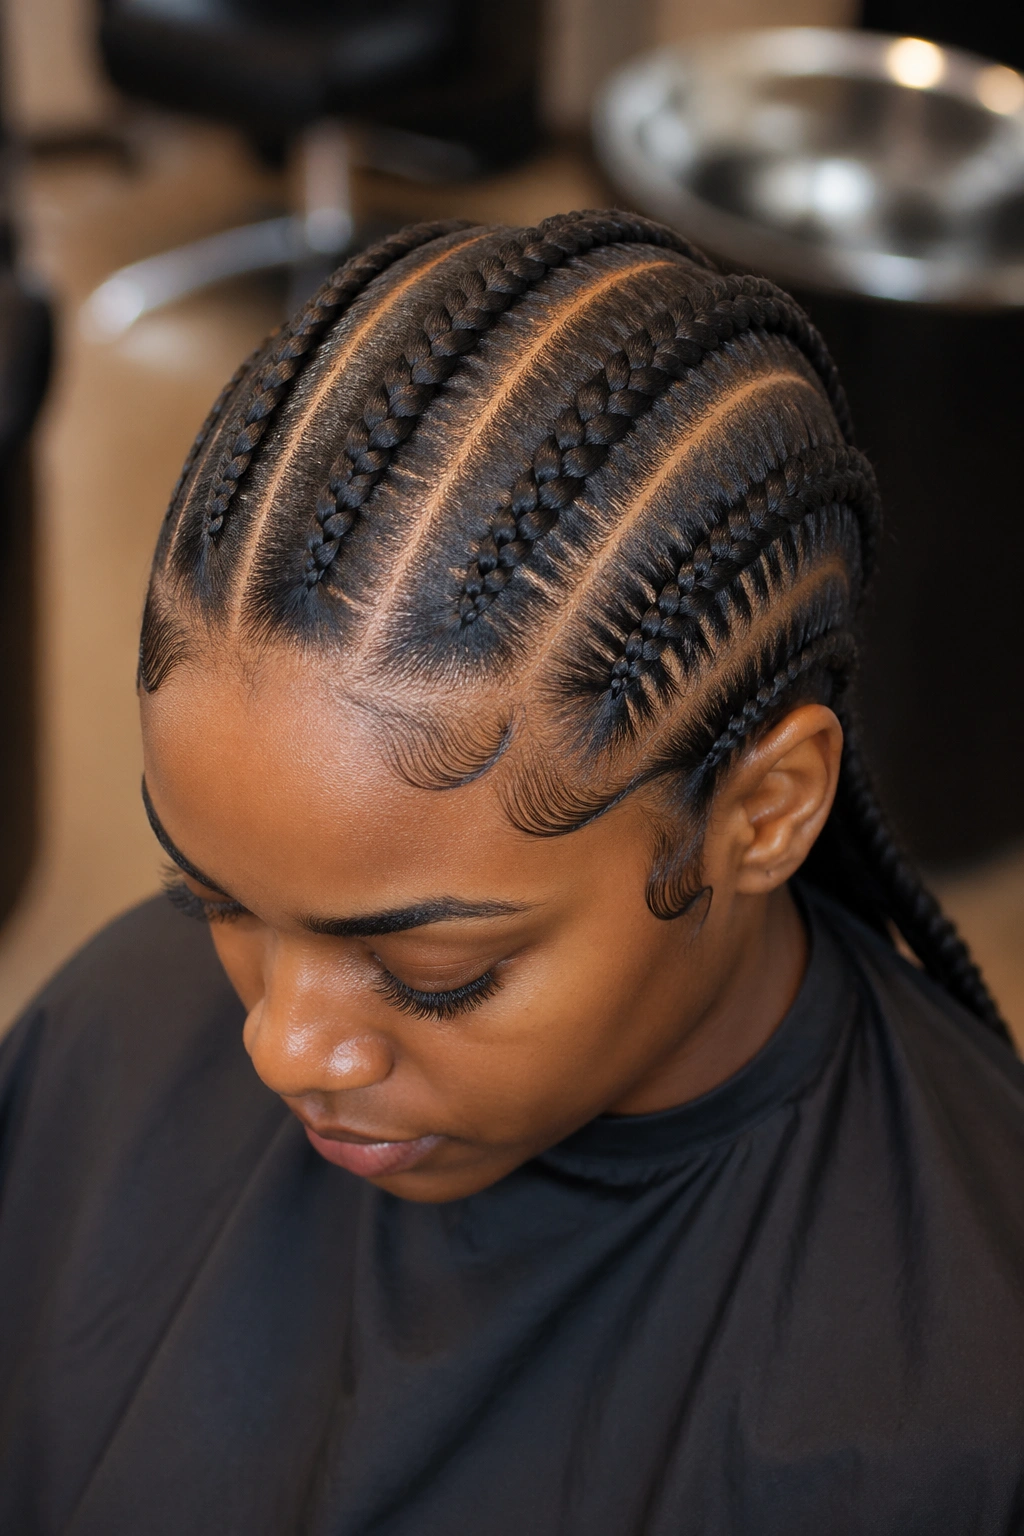
Only four cornrows, each one thick. Maximum bold with minimum row count.
Bold doesn’t have to mean complicated. Four rows of thick, well-installed cornrows can carry an entire look on their own.
Install takes under an hour. Holds 1-2 weeks. Refresh as needed.
5. Straight Back With Heart-Shaped Hairline Detail
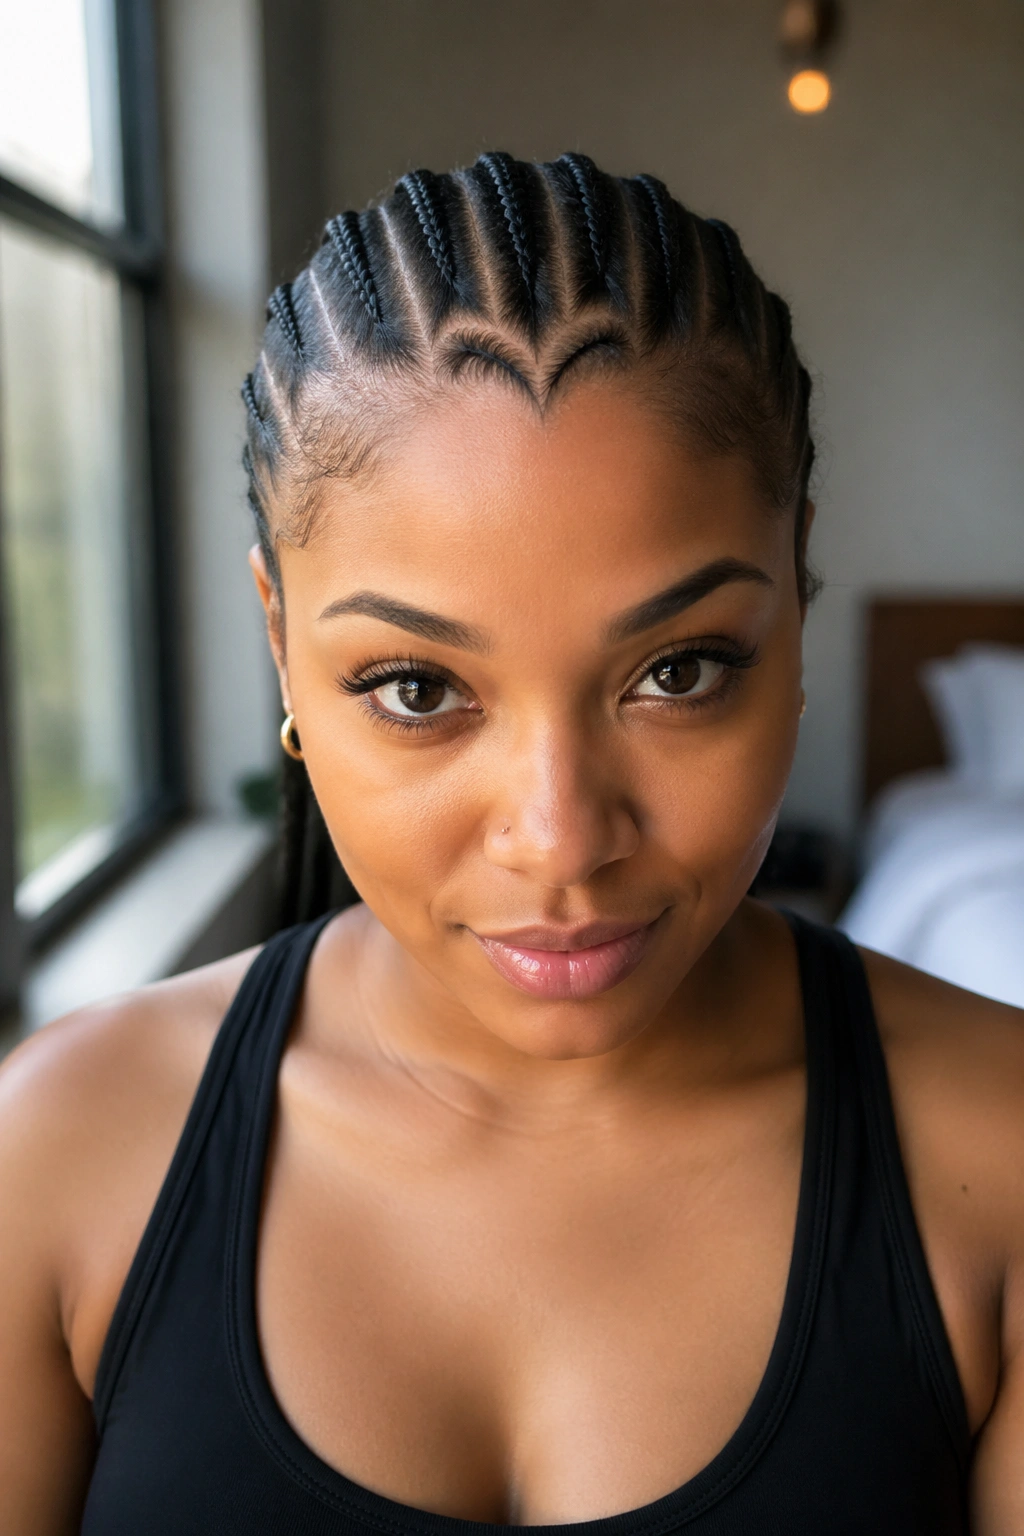
Straight back rows from the hairline back, with a heart shape carved into the front hairline using parts. The heart sits right above the forehead.
The heart adds personality without breaking the clean straight back flow. From the front, the heart shows. From the side, it disappears into the regular pattern.
Best for date nights, anniversaries, or any occasion where you want a hidden detail that catches the eye.
6. Stitch Cornrows Straight Back
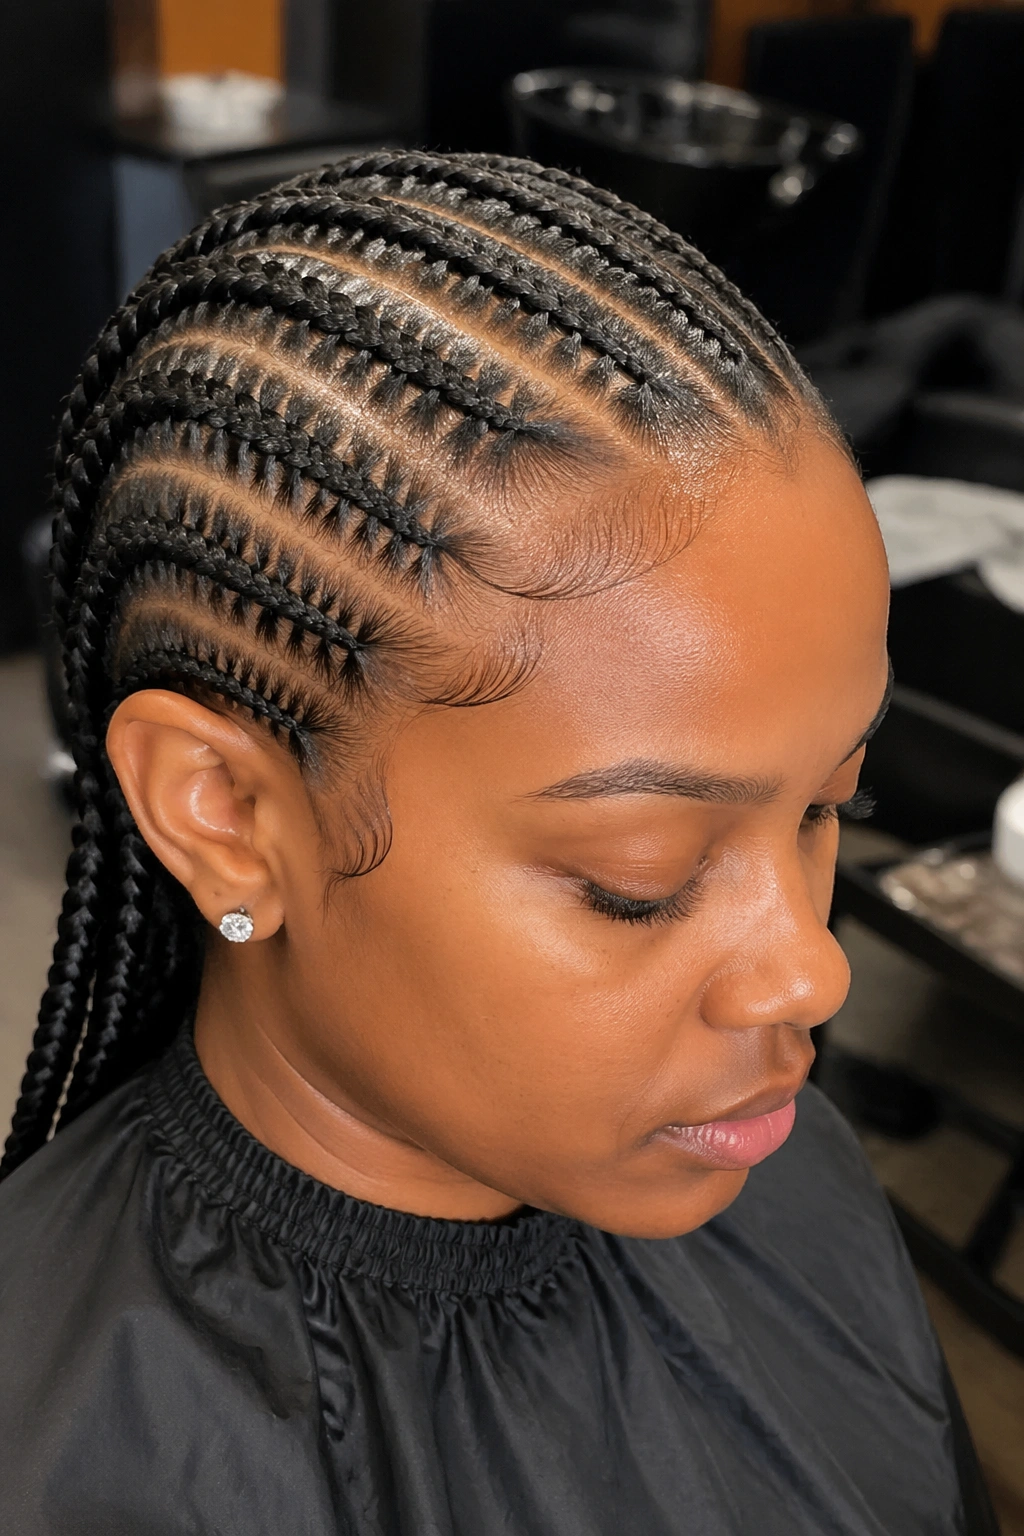
What’s a stitch cornrow? It’s a cornrow with each section of added extension showing as a visible “stitch” along the braid. The technique creates ladder-rung texture along each row.
Straight back stitch cornrows take the standard pattern and elevate the finish with that detailed stitching. Reads salon-fresh for weeks.
How to Style It
Find a braider who specializes in stitch work — not every cornrow installer does this technique. Budget 4-6 hours and 3-4 weeks of holding power.
7. Straight Back With Beaded Ends
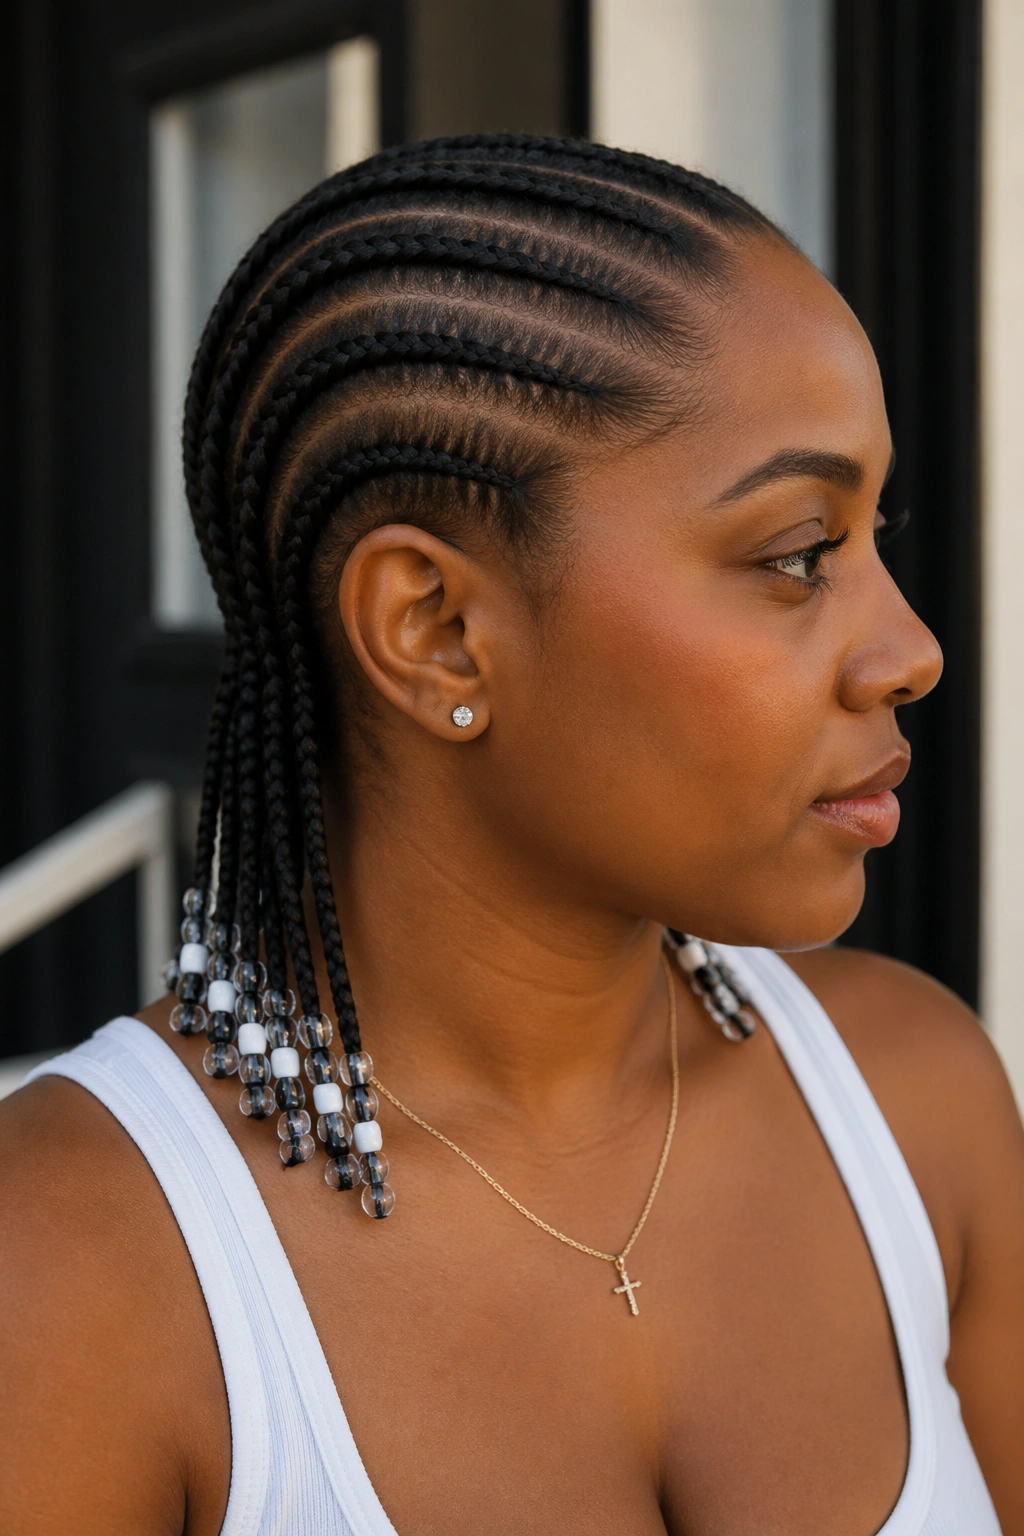
Straight rows from front to back, ends weighted with wooden, brass, or glass beads. The beads click softly when you move and add visual finish.
Bead size matters. Tiny beads disappear against the rows. Medium beads (dime-sized) read clearly. Large beads (quarter-sized) make a statement but can pull on the braids.
Limit to two or three beads per braid. More than that gets heavy.
8. Straight Back Into a Low Ponytail
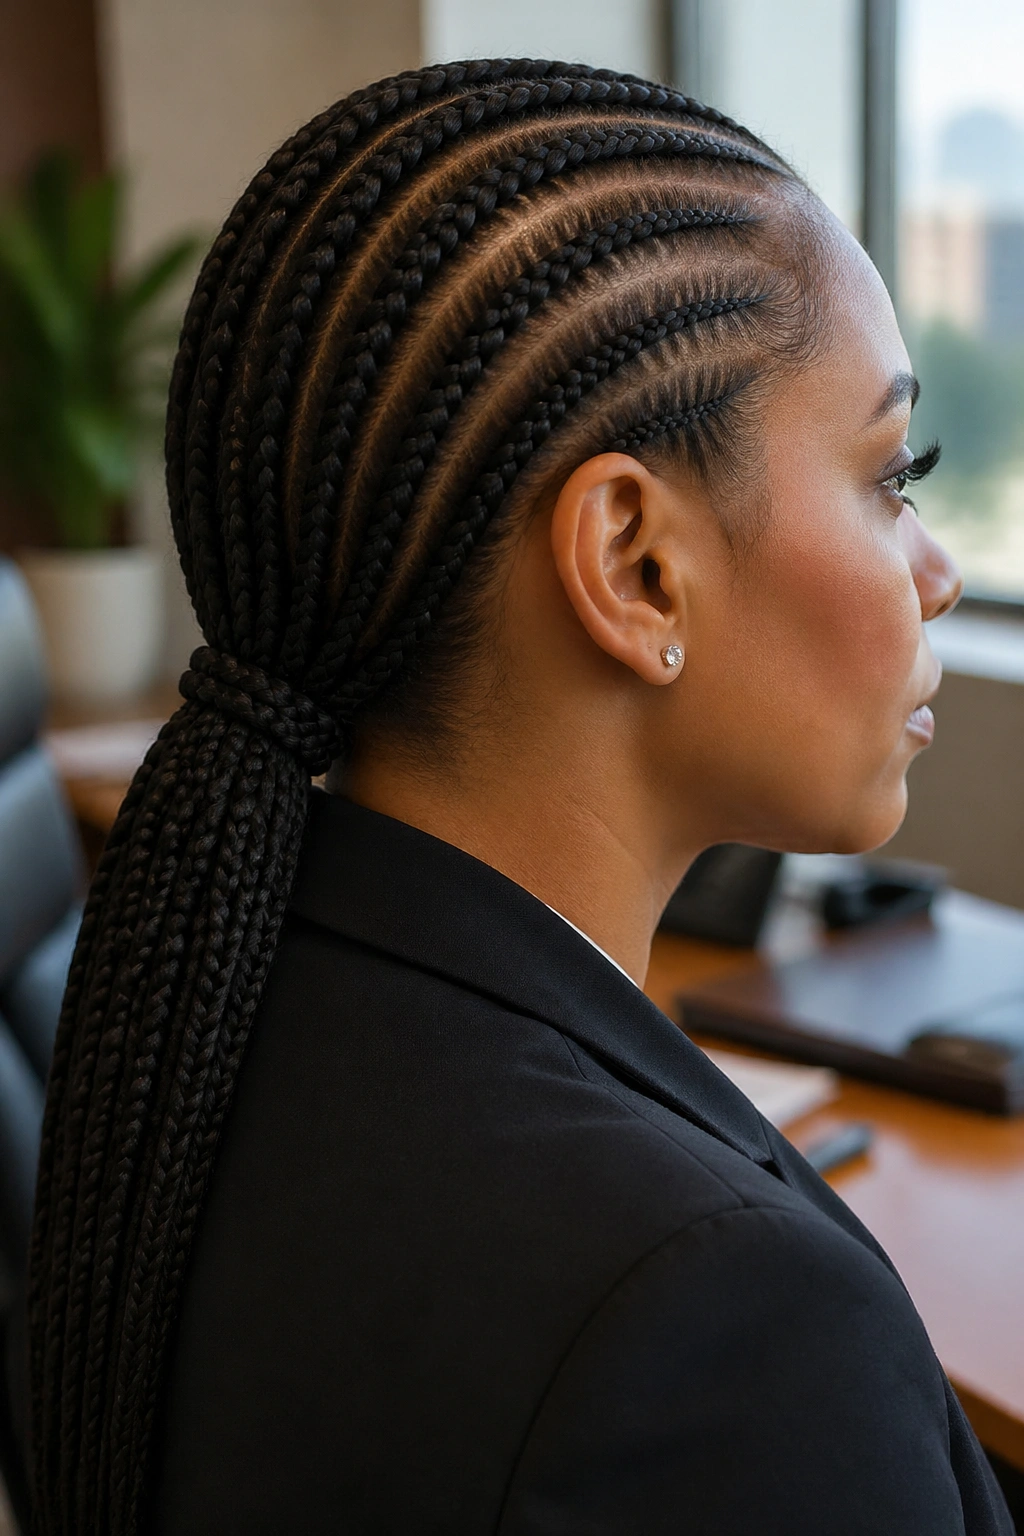
Eight straight rows, all gathered at the nape into a single low ponytail. The pony can be your own length or an extension piece for added drama.
The low pony reads professional and clean. Office-appropriate, dinner-appropriate, and easy to maintain.
Use a braided wrap of hair around the scrunchie instead of a visible elastic. Looks more polished.
9. Straight Back With Single Center Color Streak
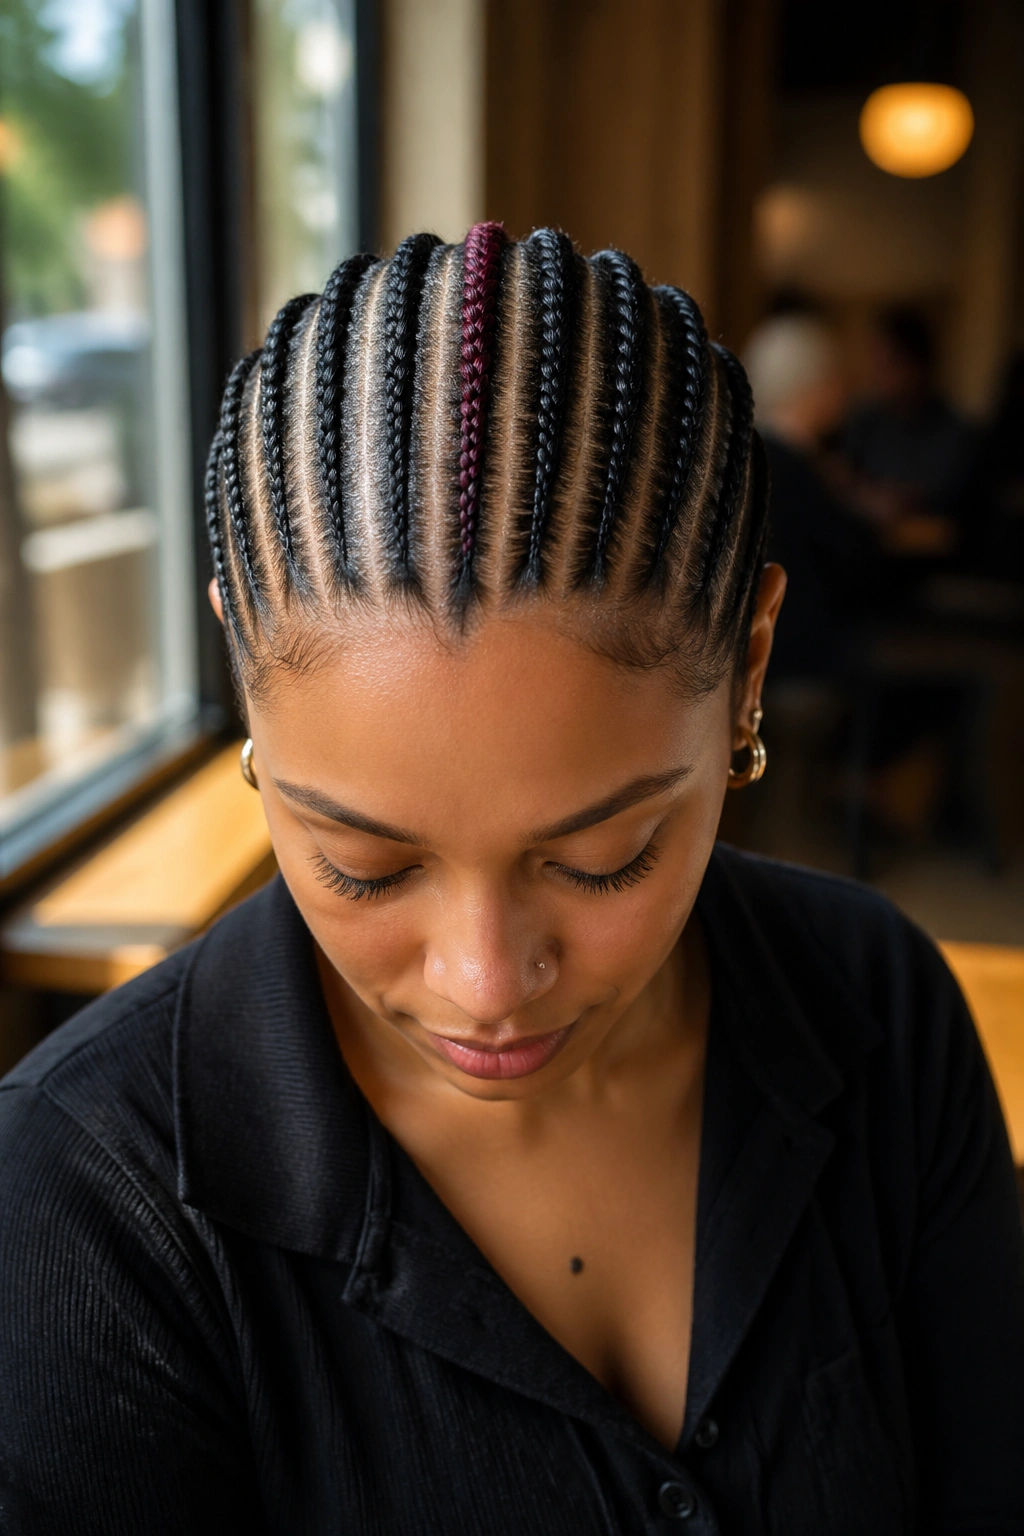
Eight or ten straight rows in natural color, with the dead-center row done in a contrasting color — burgundy, copper, or honey blonde.
The single color streak reads as design rather than decoration. One bold choice draws the eye more than scattered color throughout.
Works because the symmetry of straight back framing emphasizes the center row as a focal point.
10. Straight Back With Side Bun
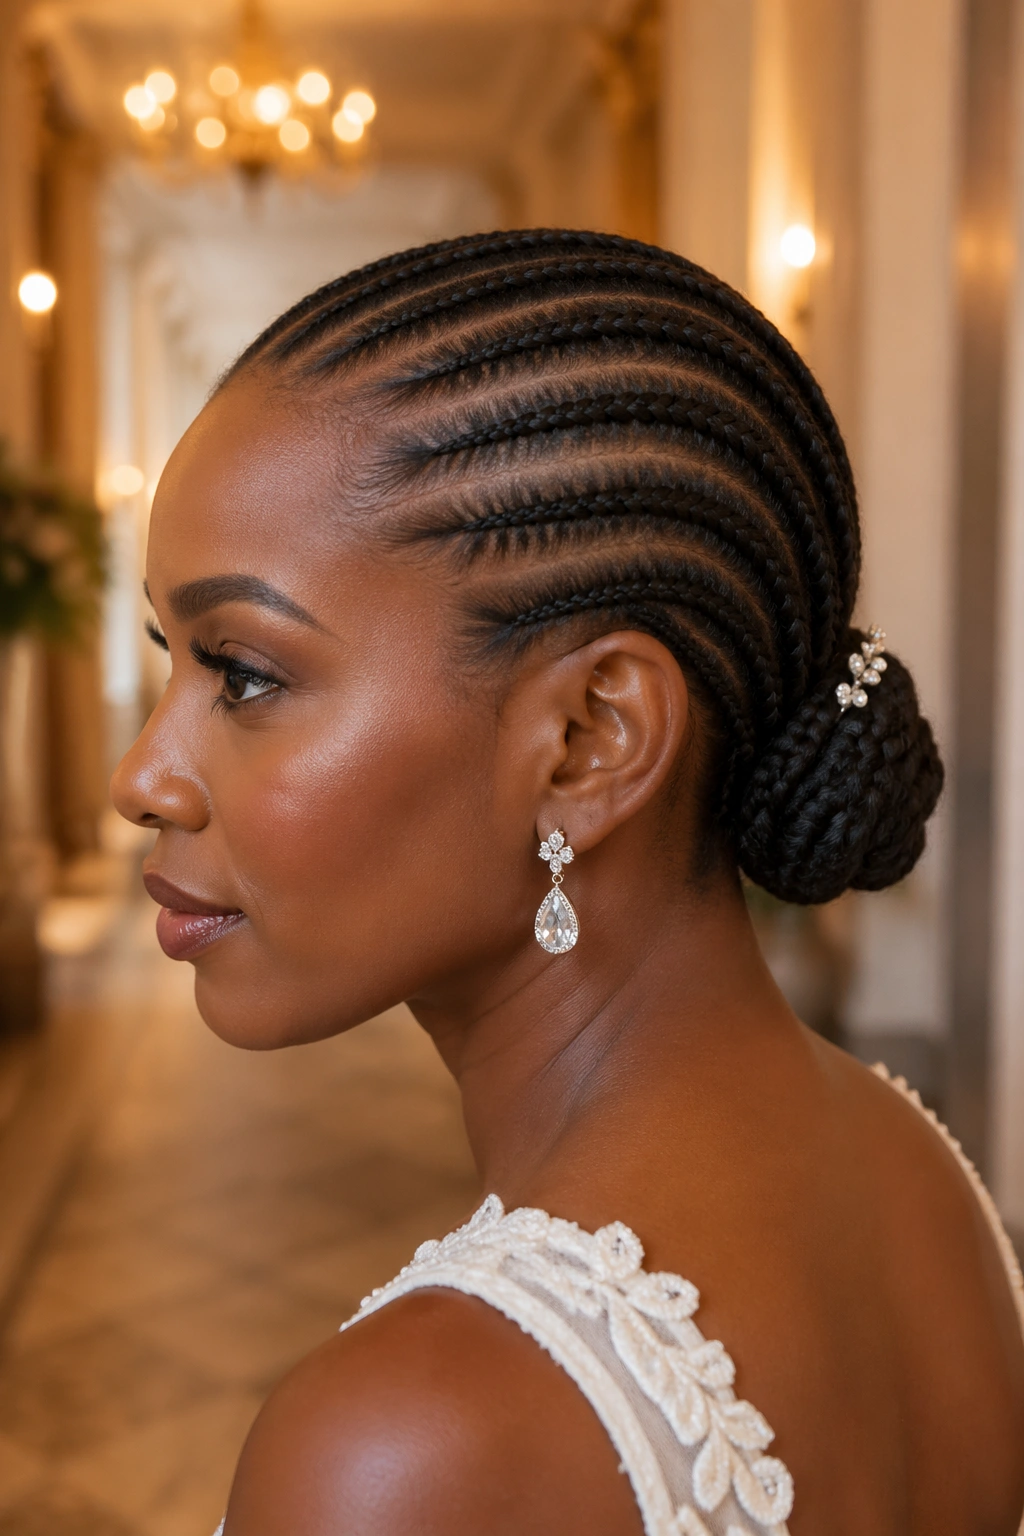
All rows lead back, ends gathered to one side at the nape into a low side bun. The asymmetric finish adds romance to the clean straight back base.
The side bun should sit just behind one ear, low and tucked. Pin securely with hair-color-matching bobby pins.
Best for weddings, formal events, and dinners where you want polish with personality.
11. Long Straight Back to the Waist
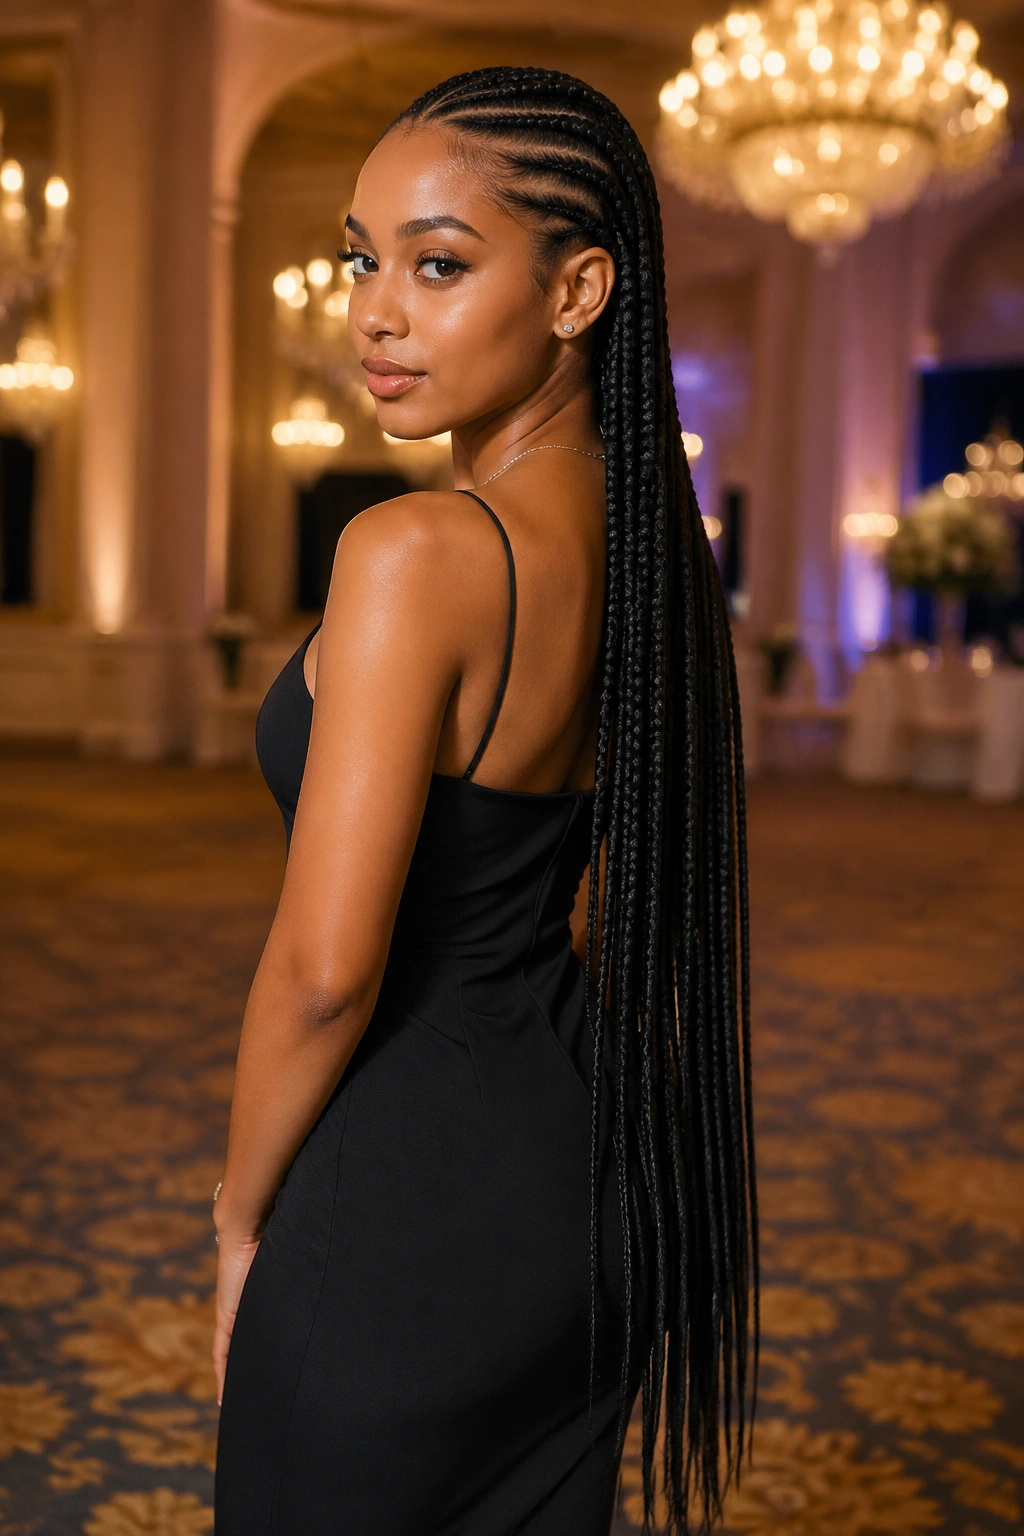
Eight to ten rows fed with kanekalon that extends past the waist. The dramatic length is the entire point.
Heavy. The added kanekalon weight pulls on the scalp throughout the day. Sit ups straight, support your neck during long days, and use a satin pillowcase at night.
Best for special occasions rather than daily wear. Photoshoots, weddings, glam events.
12. Iverson-Style Tight Straight Back
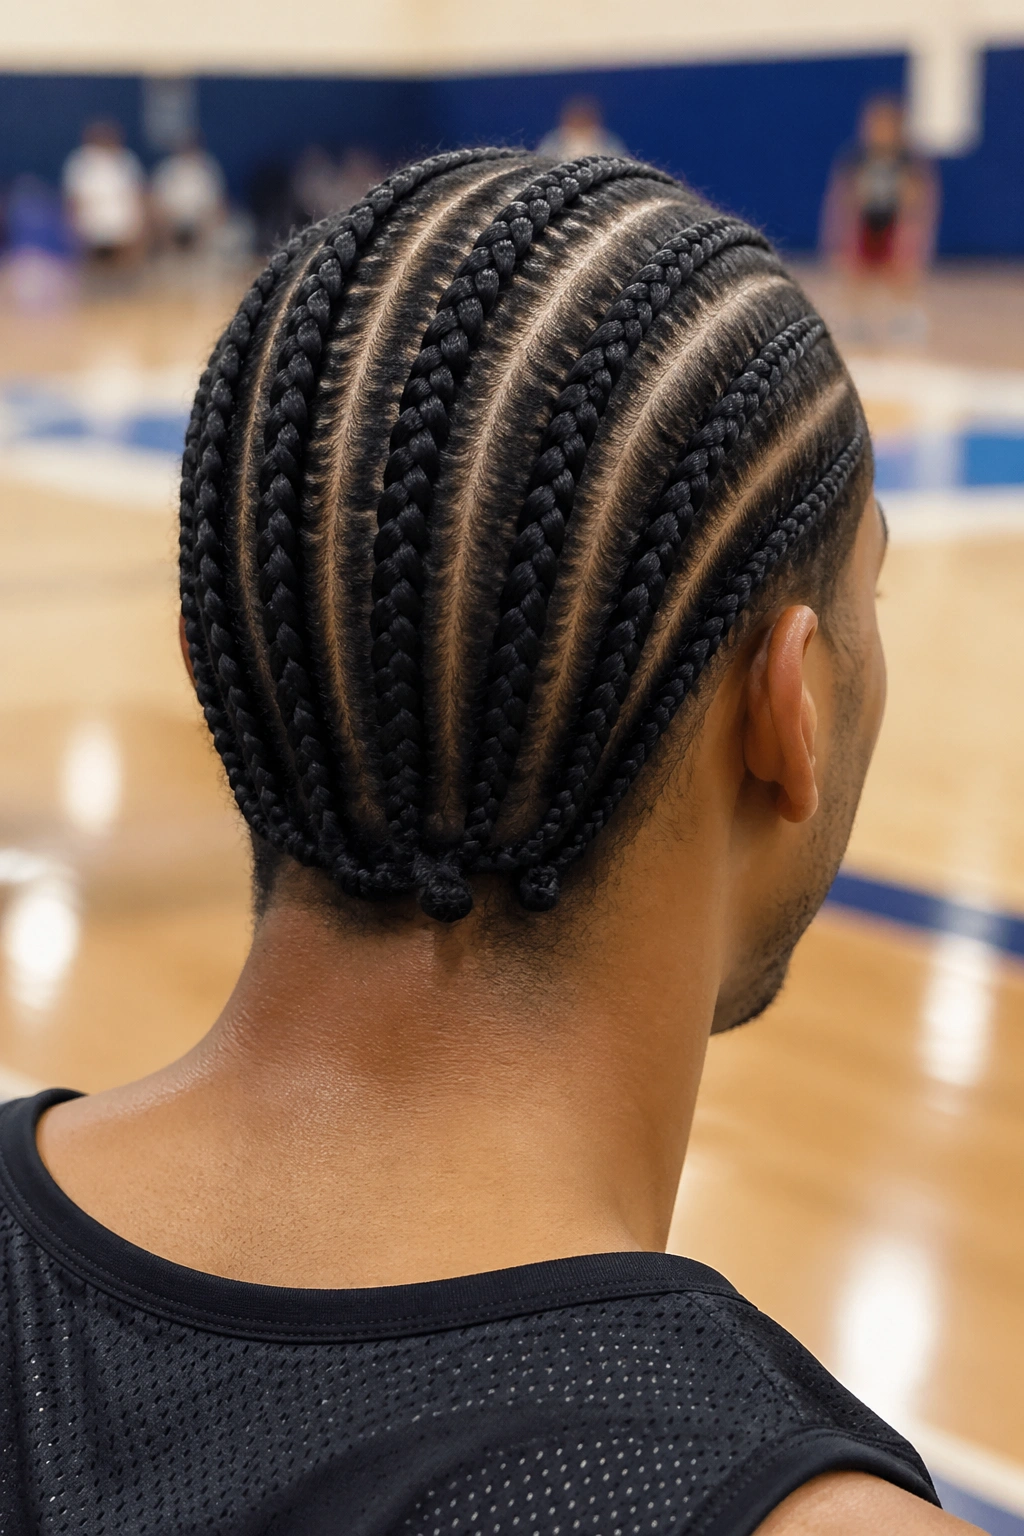
Named for the basketball player who popularized this look, Iverson cornrows are tight, medium-width, and done with no extensions. Six to eight rows, crisp parts, no extra detail.
The tight install gives the rows definition. The lack of extensions keeps the style minimal and sporty.
Lifespan is short — 1 to 2 weeks. But the install is fast and the look reads timeless.
13. Straight Back With Curly Tip Extensions
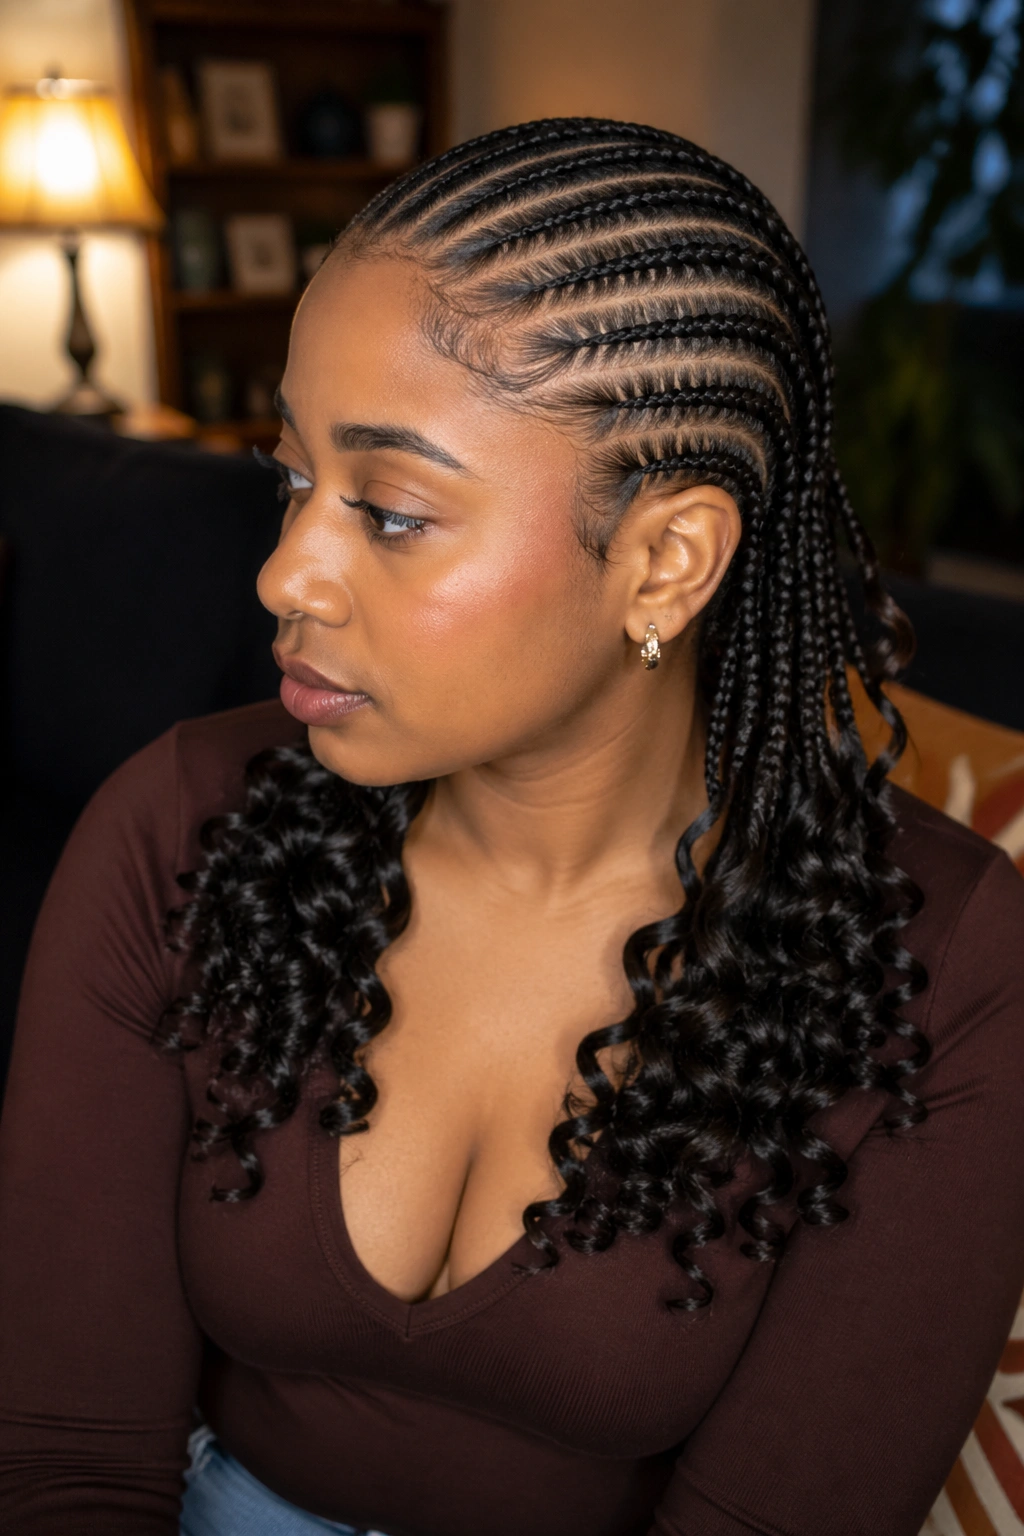
Eight rows fed with kanekalon, but the extension tips are pre-curled rather than straight. The combination of sleek braid and curly bottom creates visual contrast.
Curl Pattern Choices
- Loose beach waves for casual vibe
- Tight spirals for bold drama
- Water waves for romantic finish
Dip the curly ends in warm water periodically to refresh and reshape the curl pattern.
14. Straight Back With Nape Bun
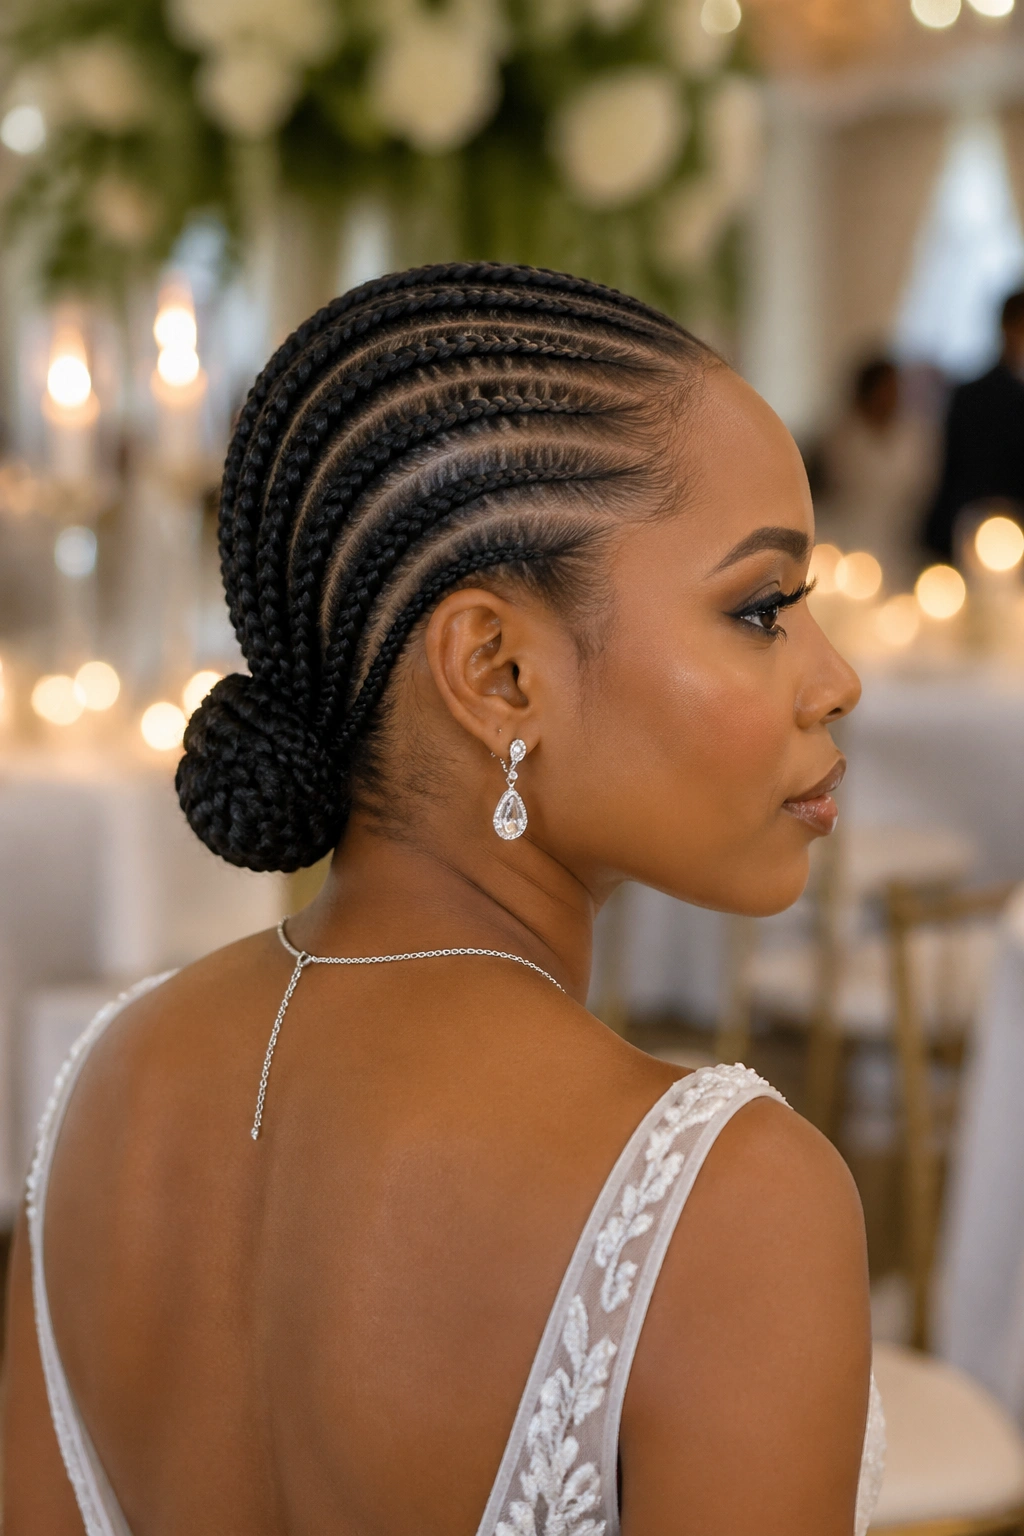
Rows lead to the nape, ends tucked into a small low bun at the very base of the skull. Different from a low ponytail because the ends are tucked, not hanging.
The nape bun reads more formal than a ponytail. Wedding territory, formal dinner territory, business event territory.
Secure with bobby pins. Light hairspray to control flyaways.
15. Straight Back With Diamond Hairline
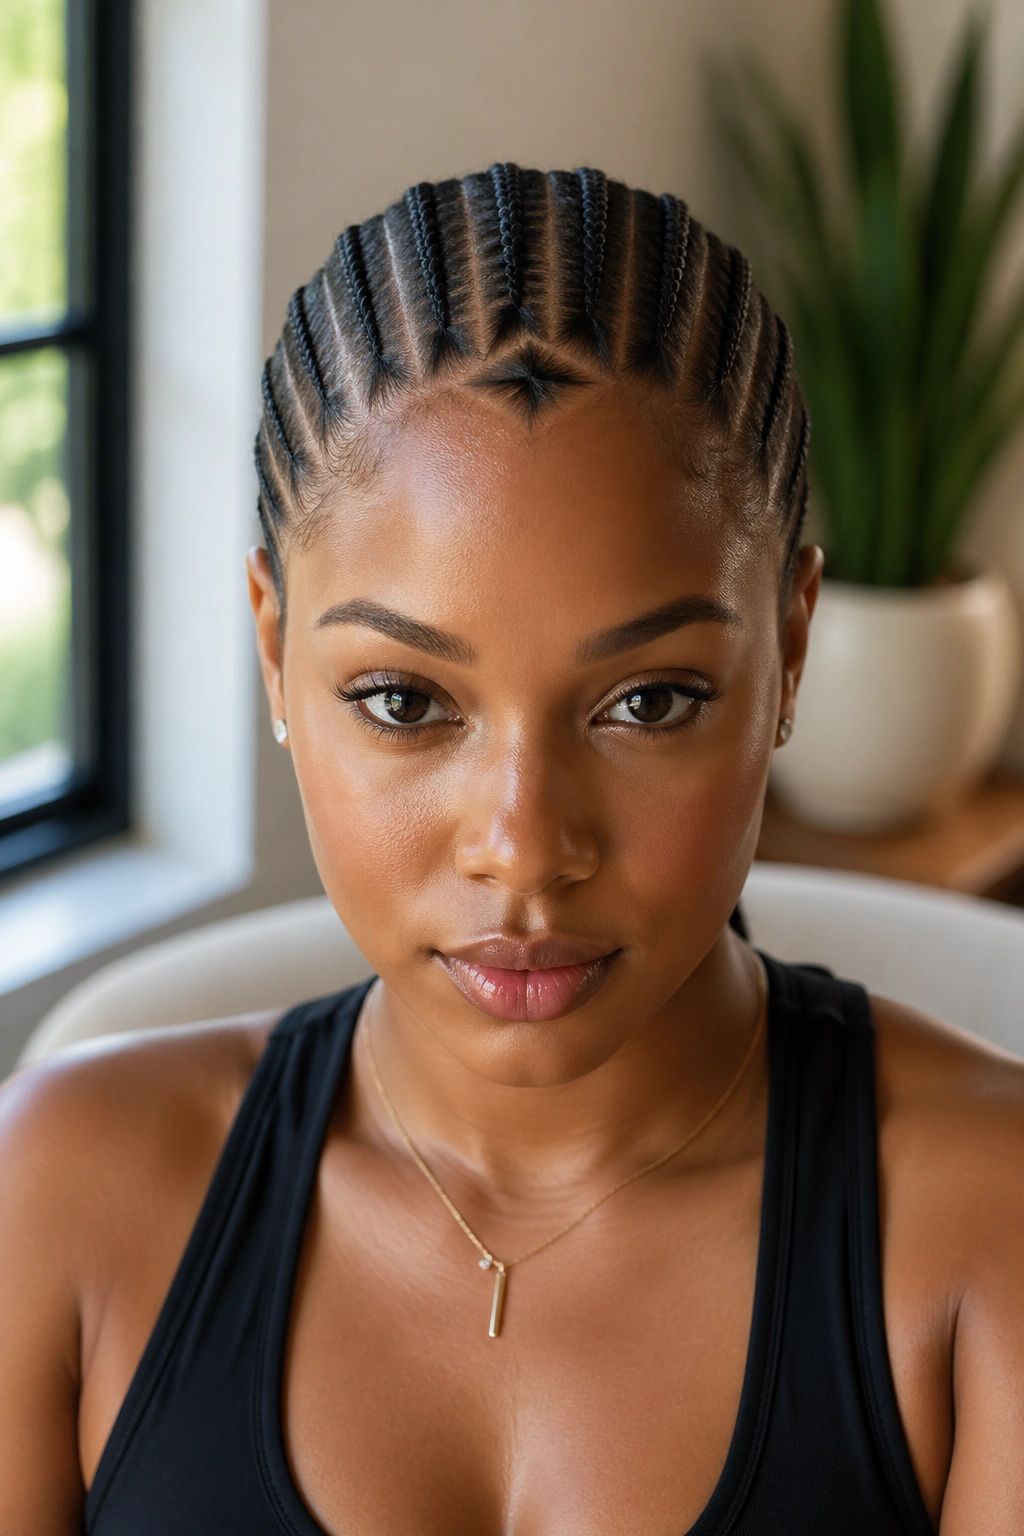
Standard rows running back, with a diamond shape carved into the hairline at the front. The diamond is created using parts rather than physical cuts.
The diamond detail adds geometric interest to the front view while maintaining the clean straight back pattern from other angles.
Best for women who like understated detail rather than full-head decoration.
16. Straight Back Mohawk Look
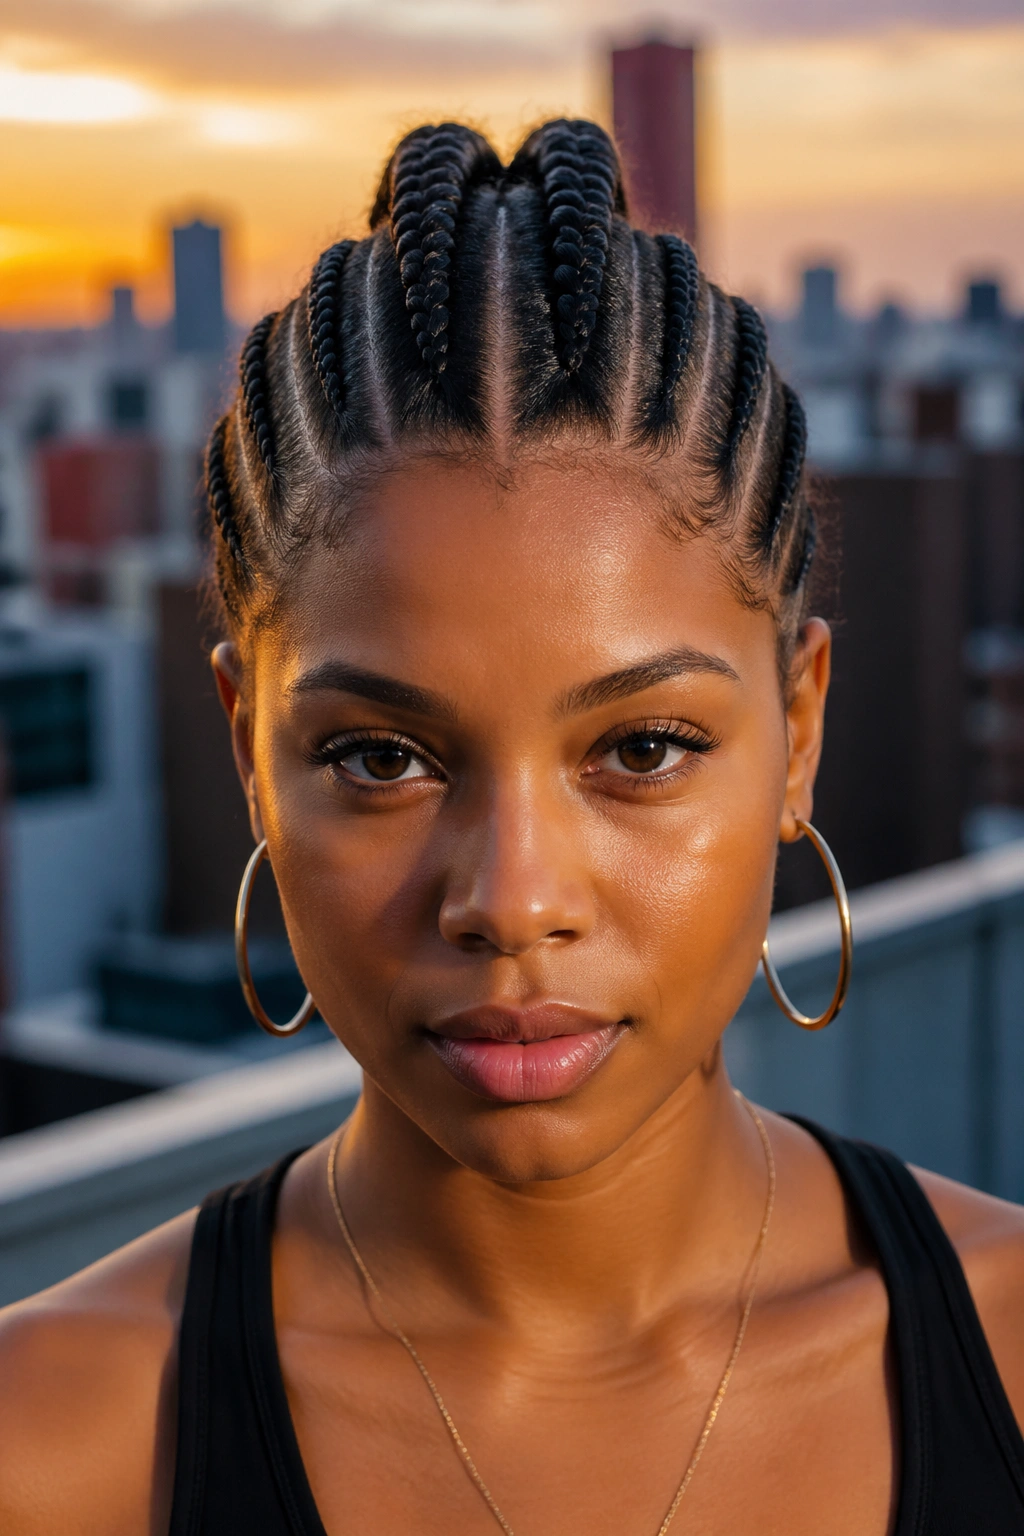
Straight back rows, but the center two rows are styled higher than the side rows. The center can be braided thicker, raised slightly, or topped with a small puff.
Creates a mohawk silhouette without any actual shaving. Reversible style for women who want the edgy look temporarily.
Pair with bold makeup and statement earrings for full commitment to the look.
17. Straight Back With Side Parting
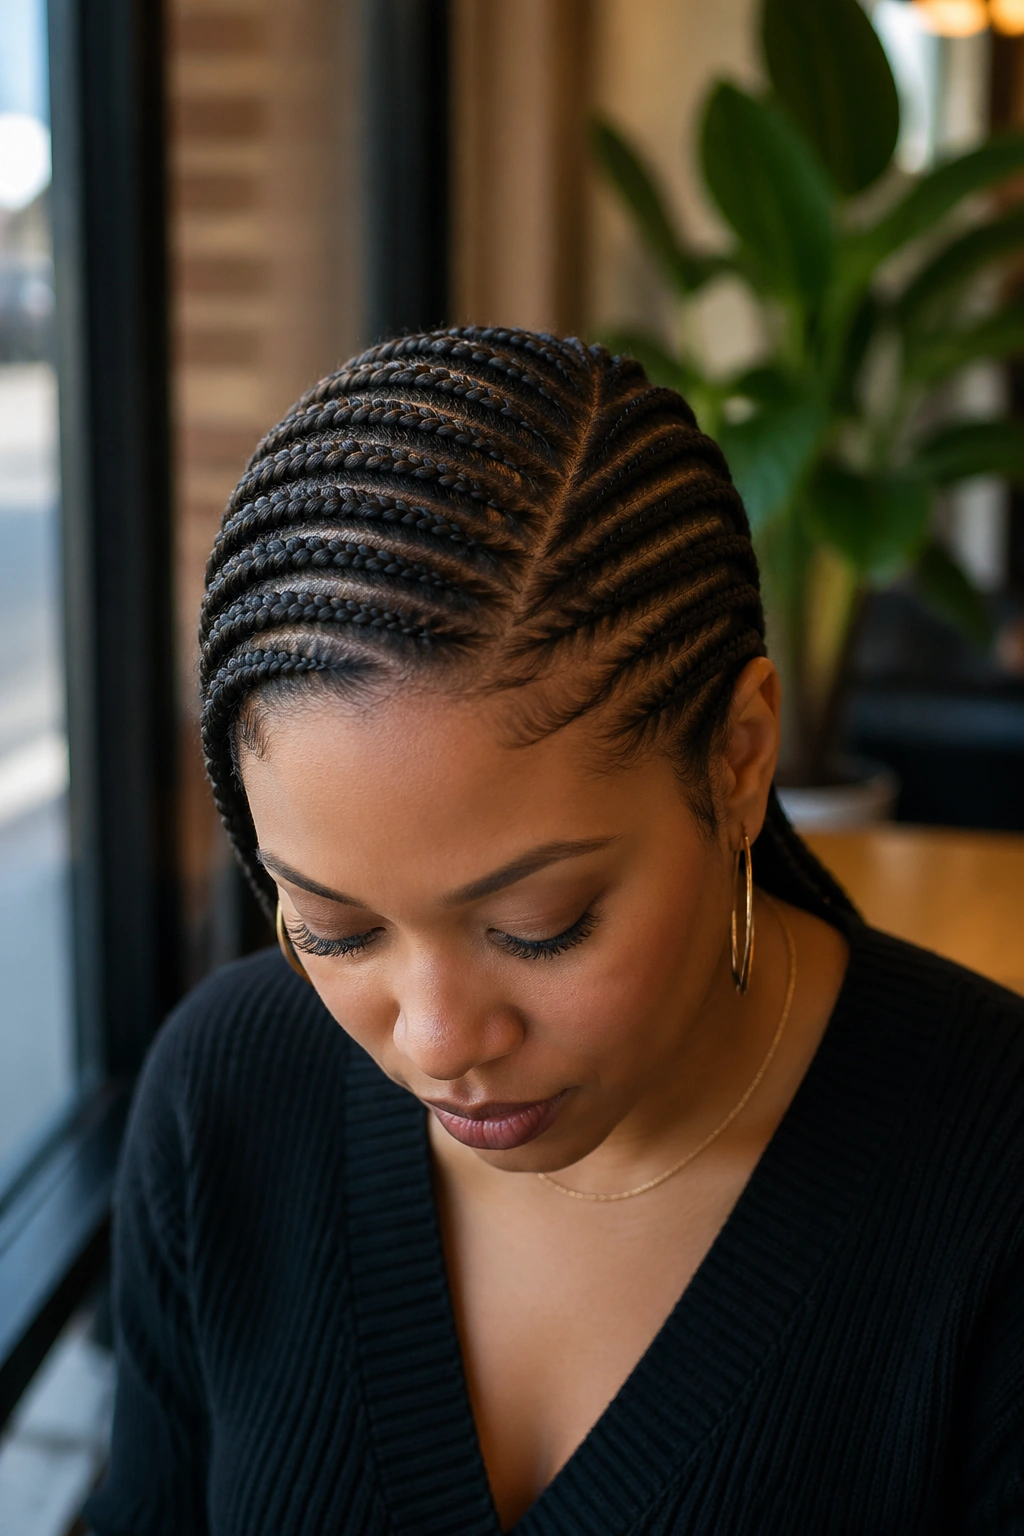
All rows still go straight back, but a deep side part opens up one side of the head. The side with more rows reads fuller; the side with fewer reads sleeker.
The side part breaks the symmetry of standard straight back without changing the row direction. Subtle asymmetry that flatters most face shapes.
Style the part slightly off-center for the best effect. Dead-center looks accidental.
18. Straight Back With Cuff Accents
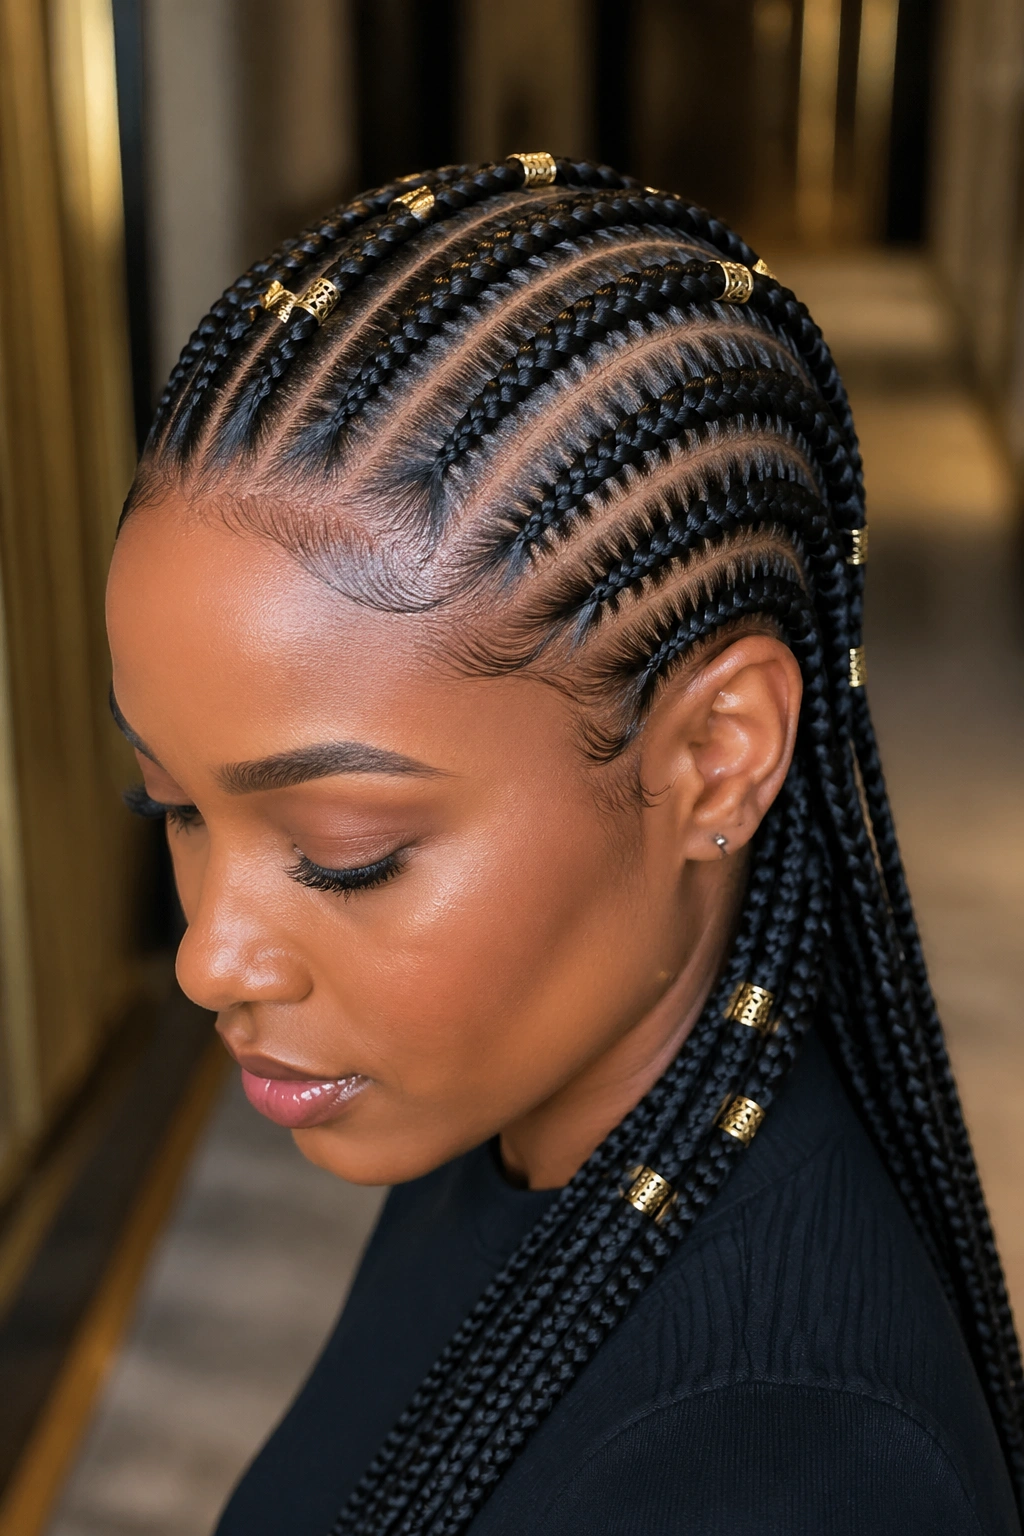
Straight back rows decorated with small metal cuffs — gold, silver, brass, or copper rings that clip onto select braid sections.
Cuffs stay where placed, unlike beads that hang freely. That precision lets you create patterns — three cuffs evenly spaced down a single braid, or cuffs only at the crown level.
Pick cuff metals that match your jewelry. Coordinated metals look polished.
19. Straight Back With Two Symmetric Buns
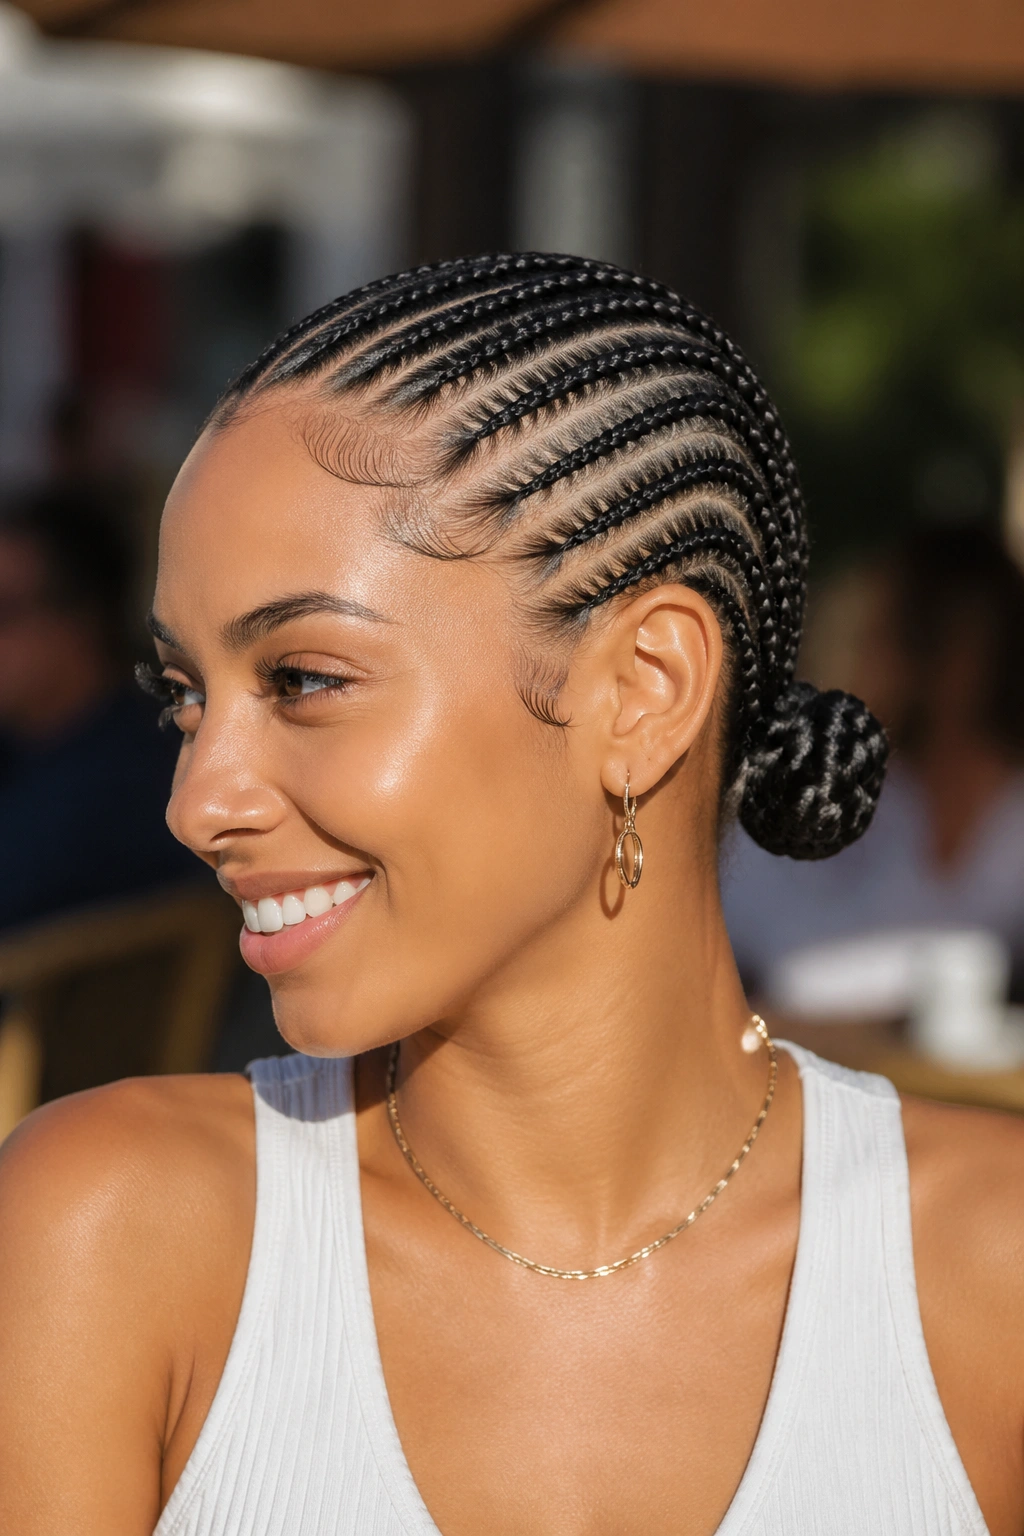
All rows end at the nape, ends split and gathered into two small buns side by side. Symmetric, polished, slightly playful.
The dual nape buns work for women with longer hair and enough density to fill out two buns evenly. Thin hair might not have enough volume.
Reads playful and feminine. Works for first dates, casual outings, and brunch settings.
20. Straight Back With Color Block
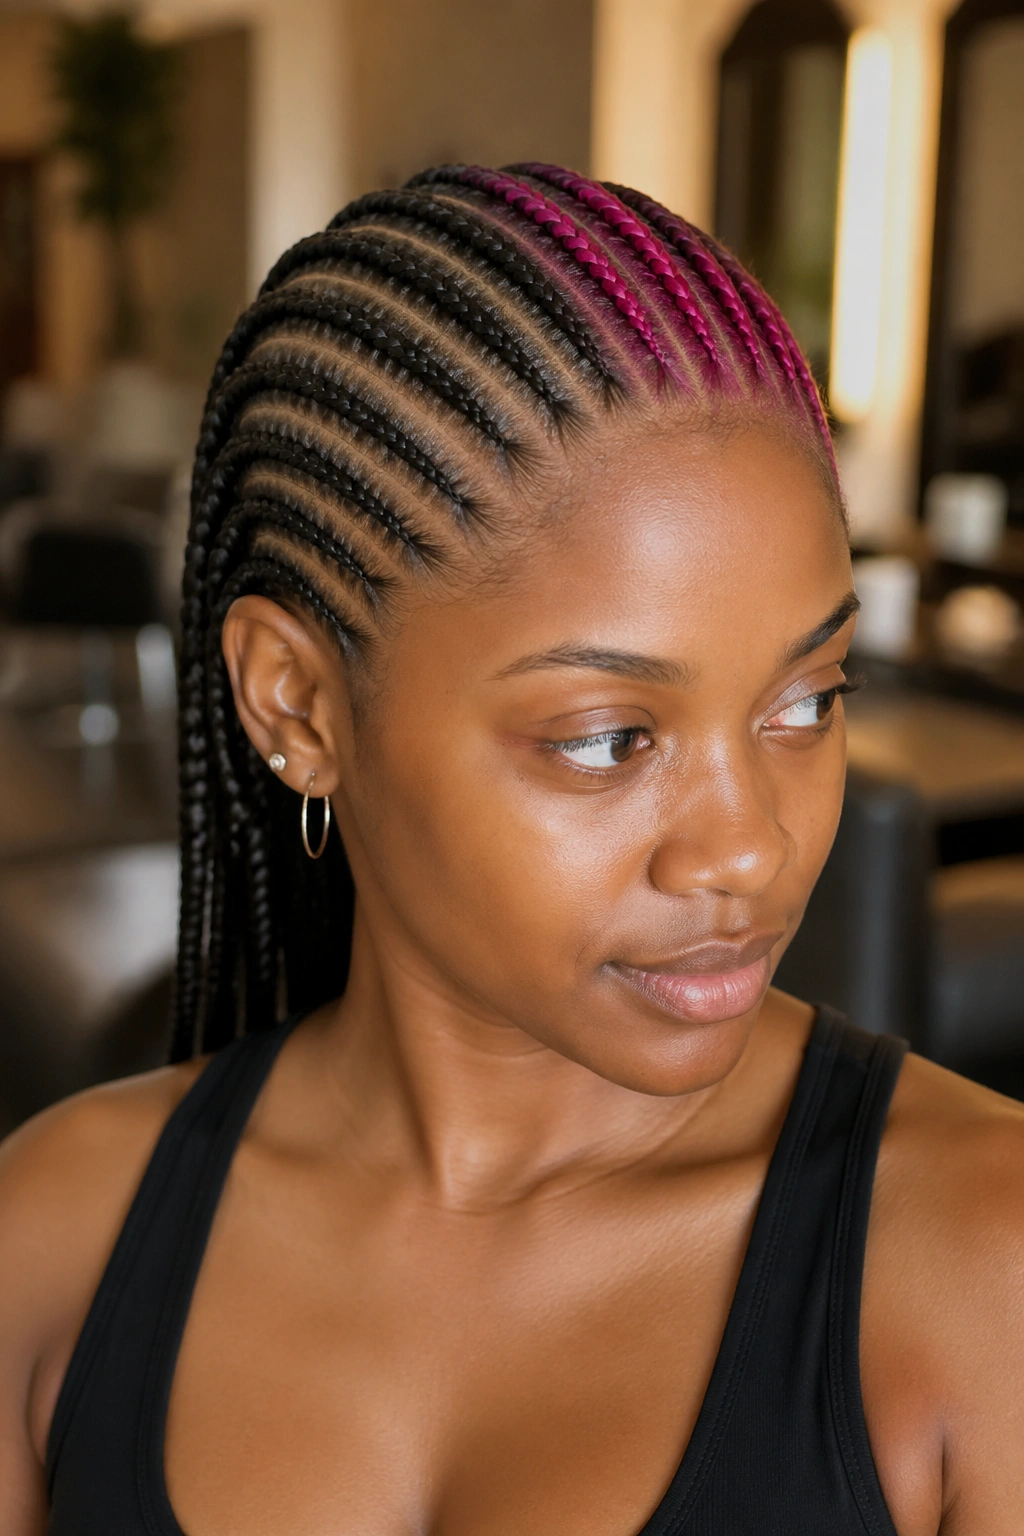
Half the rows in natural color, half in a contrasting color. The split can be left-half/right-half, or alternating row by row.
Bold choice. The color block reads as a statement and demands attention.
Pre-colored kanekalon makes this possible without dyeing your real hair. Pick contrasting tones for clear visual impact.
21. Tight Micro Straight Back
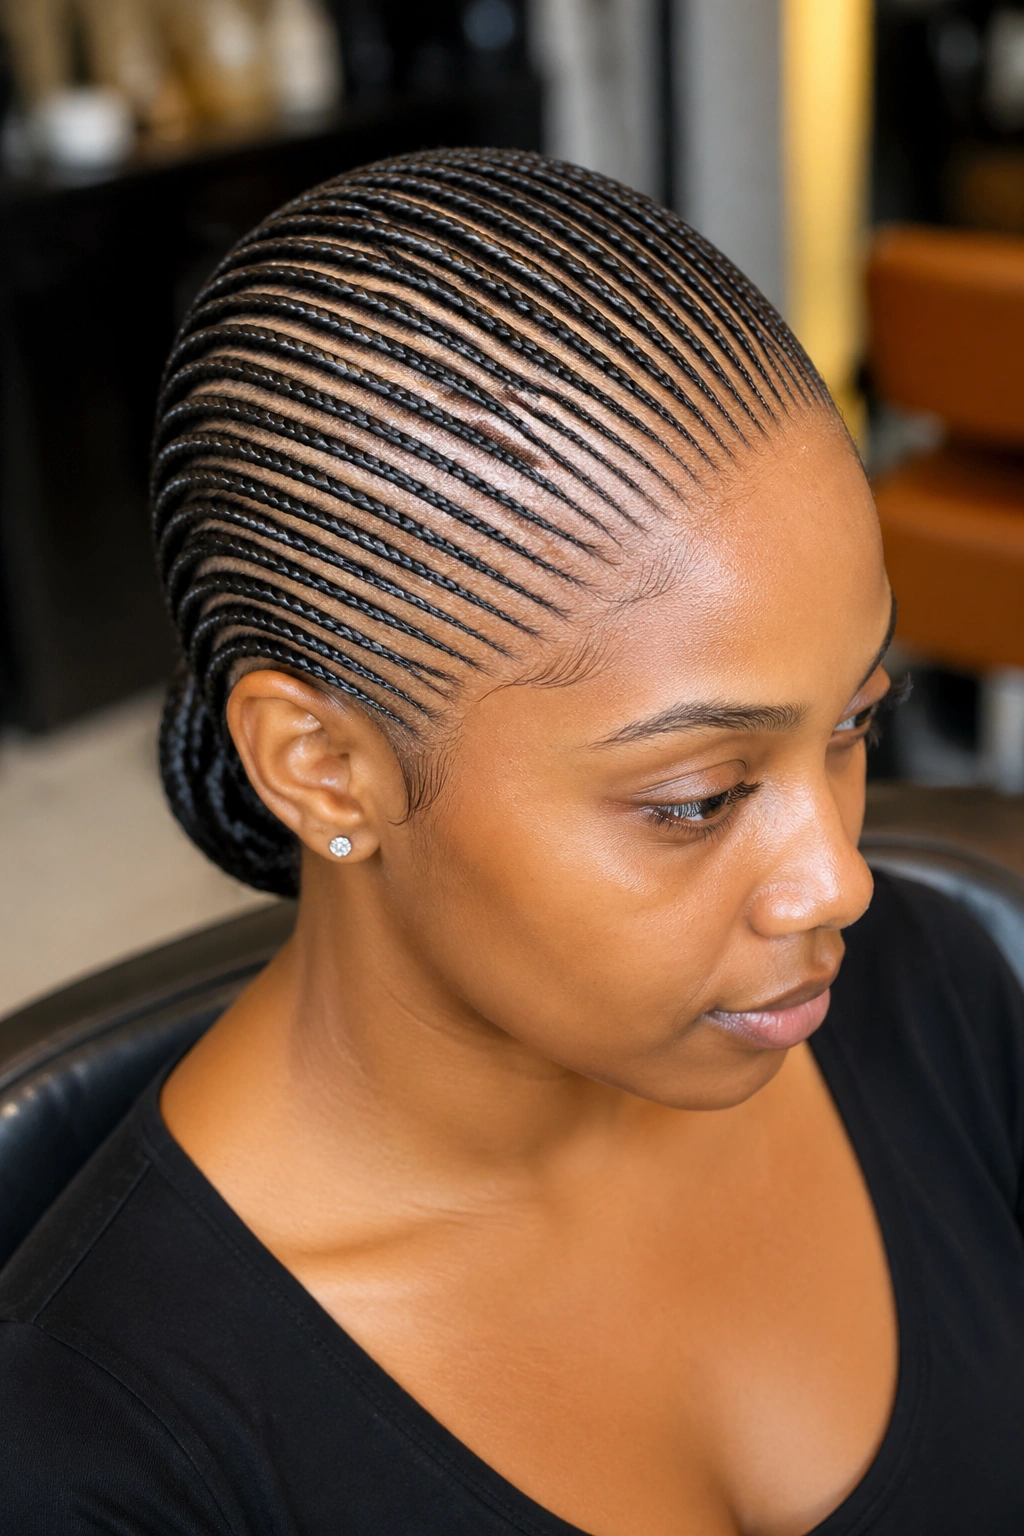
Twenty or more thin rows, each about a quarter-inch wide, all running straight back. The micro rows create an intricate, almost crocheted look.
The Catch
- Install takes 5-7 hours
- Holds 4-6 weeks
- Best on women with patience and dense natural hair
The micro pattern shows off true skill from the braider. Not for budget installs — quality matters here.
22. Straight Back With Decorative Wraps
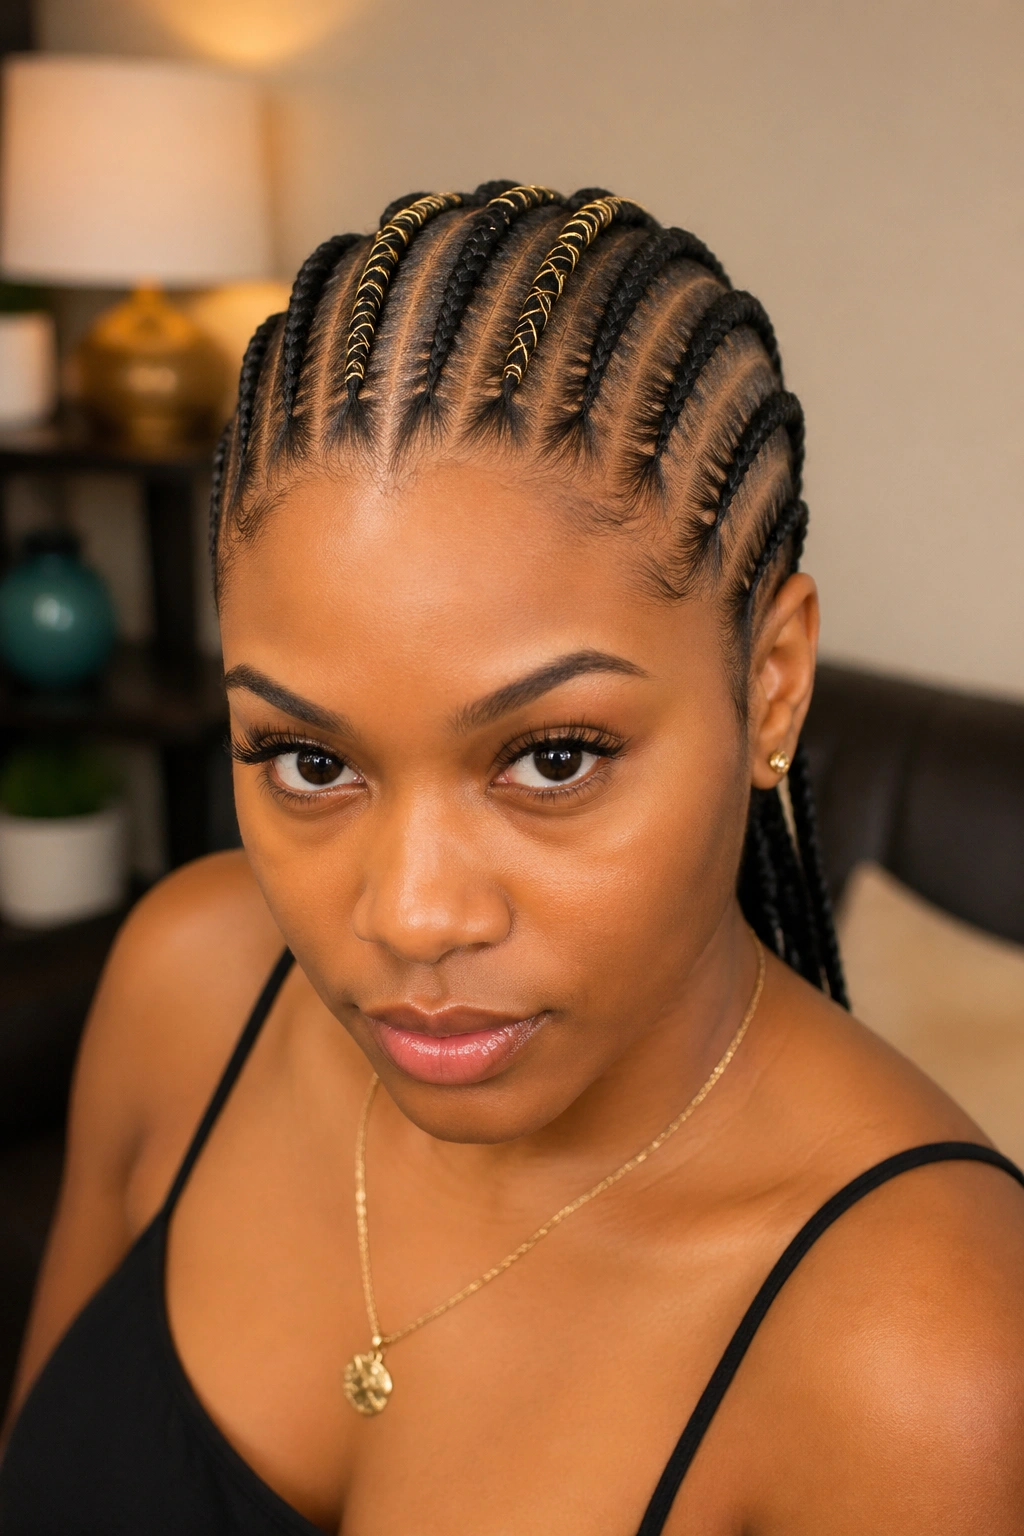
Straight rows with select braids wrapped in metallic thread or fabric. The wrapped rows become accents within the standard pattern.
Don’t wrap every row. That reads costume-y. Wrap two or three strategic rows for accent.
Wrap colors should contrast with hair color for visibility. Gold on dark hair, silver on lighter shades.
23. Straight Back Ending in a Single Thick Braid
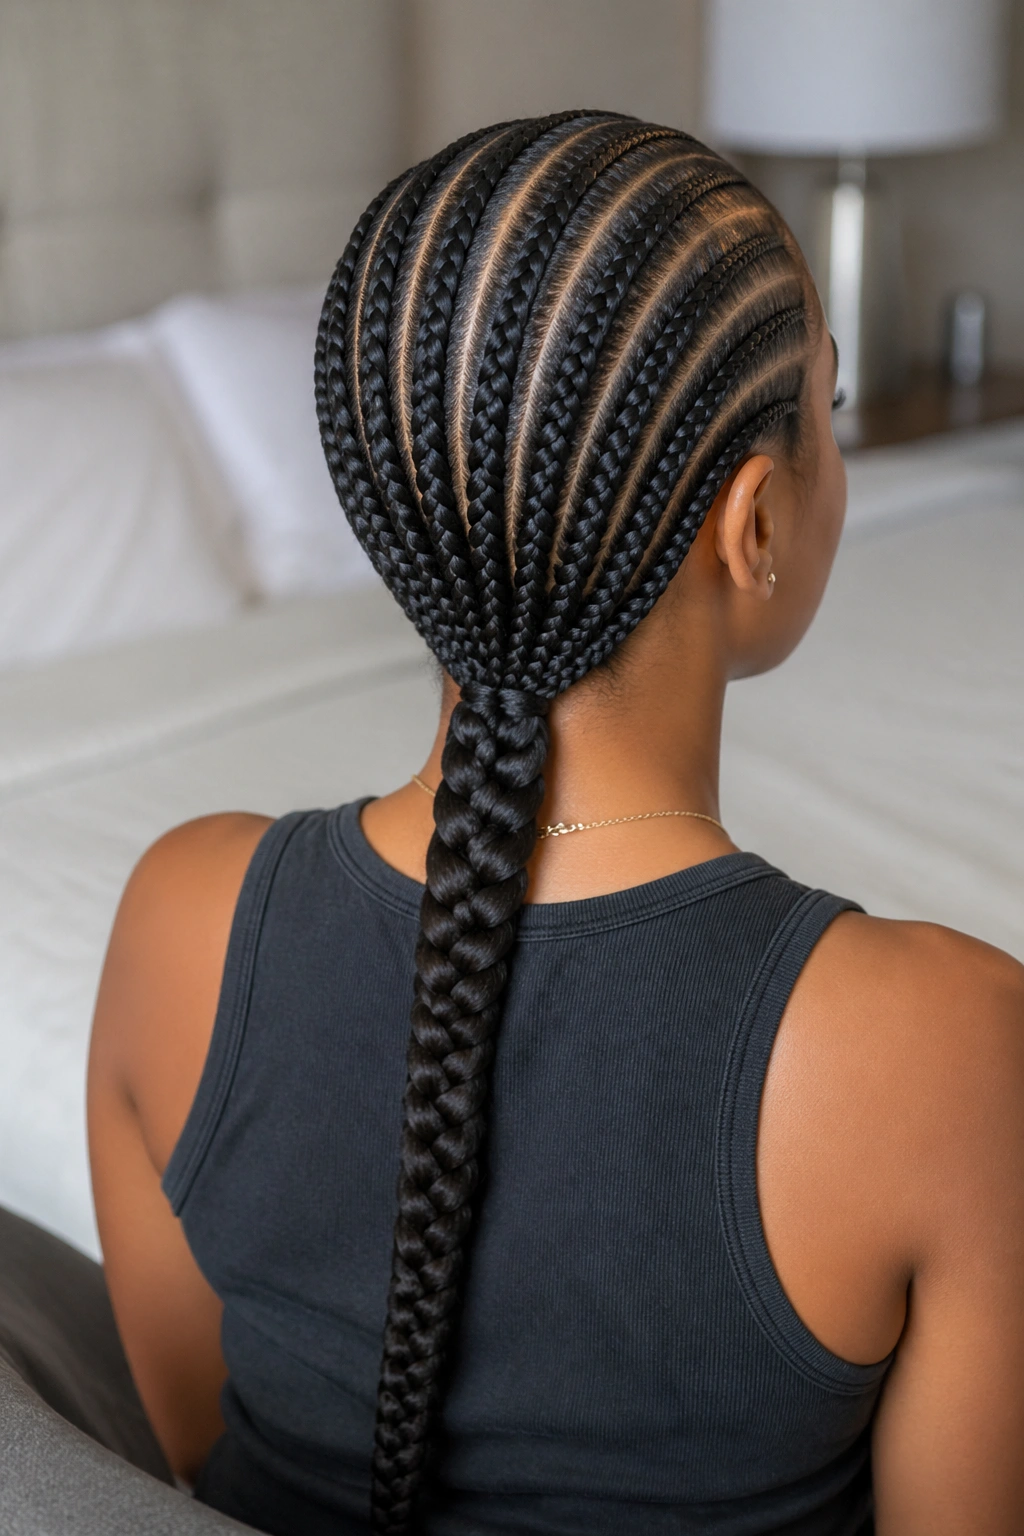
All straight back rows lead to the back, where they’re combined into one massive braid running down the back. Like a thick rope of all the braids gathered together.
The combination braid can be a basic three-strand or a more decorative five-strand. Either way, it makes the back of the head a focal point.
Length-wise, this works on hair past the shoulder. Shorter hair won’t combine into a full back braid.
24. Straight Back With Crown Detailing
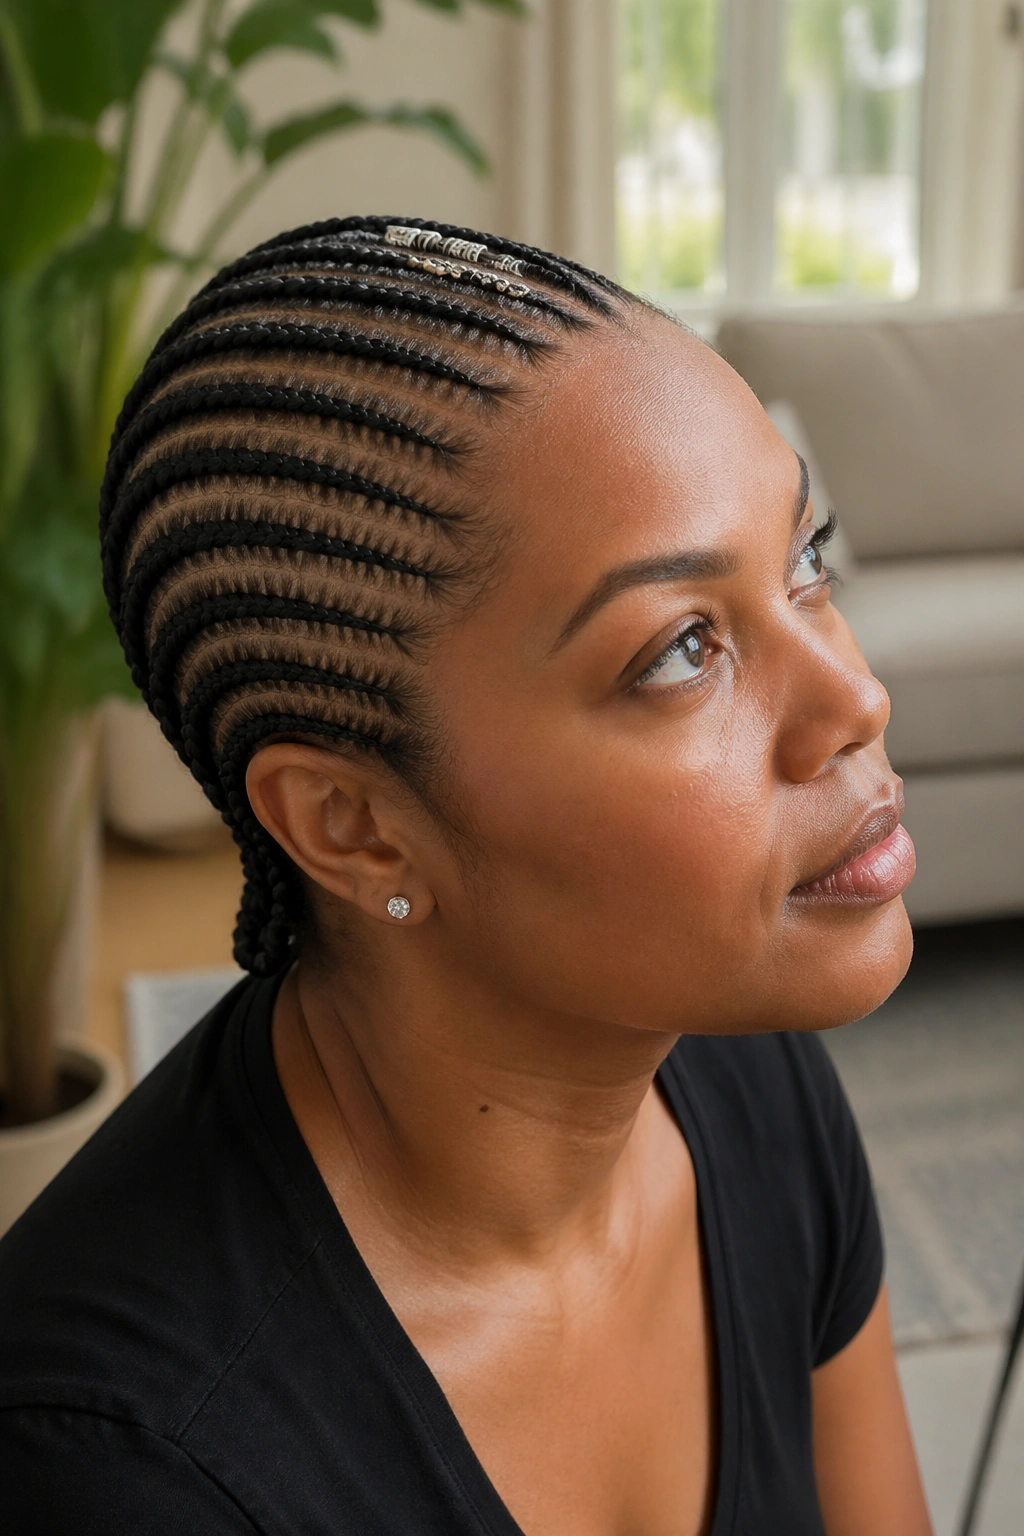
Straight rows from hairline to nape, with crown-area detail work. Could be a small twist accent at the crown, beaded section, or extra parting work in that specific area.
The crown is where light naturally catches. Decoration there reads as a halo effect.
Limit detail to the crown only. Front and back stay simple. The contrast is what makes the crown work.
25. Long Straight Back With Honey Blonde Tips
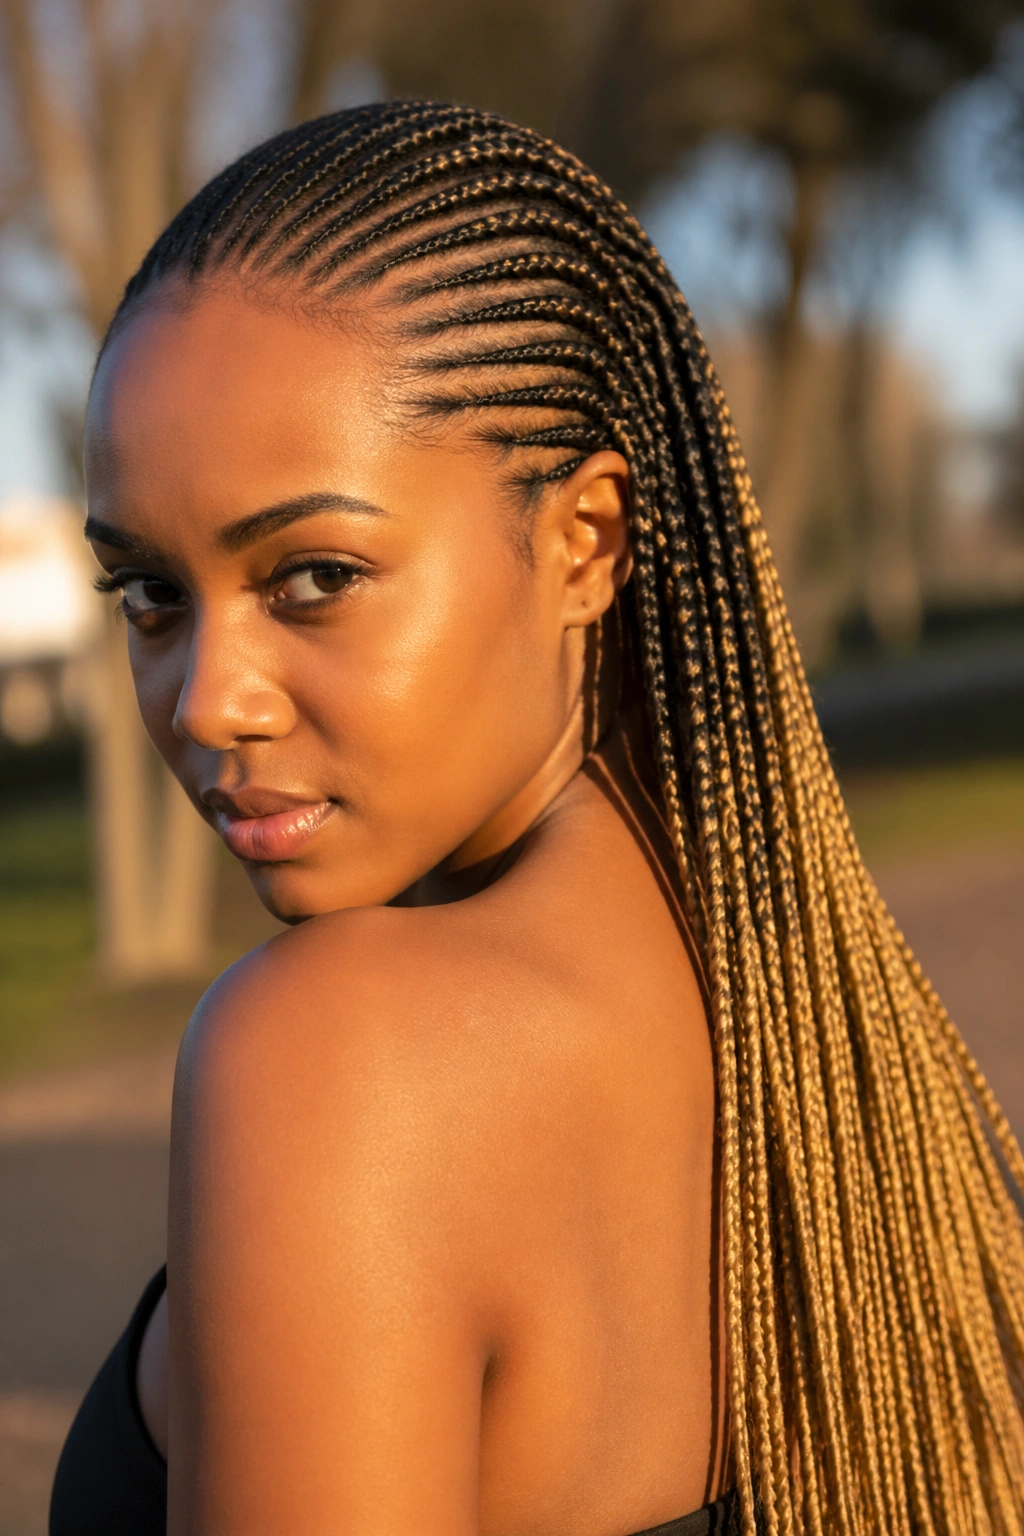
Natural color at the scalp, transitioning to honey blonde at the tips of the long extensions. Pre-colored ombre kanekalon makes this possible without chemicals on your real hair.
The blonde tips add warmth and dimension. Reads sun-kissed without sun damage.
Pair with bronze-toned makeup or warm jewel tones for cohesion.
How to Wash Straight Back Cornrows
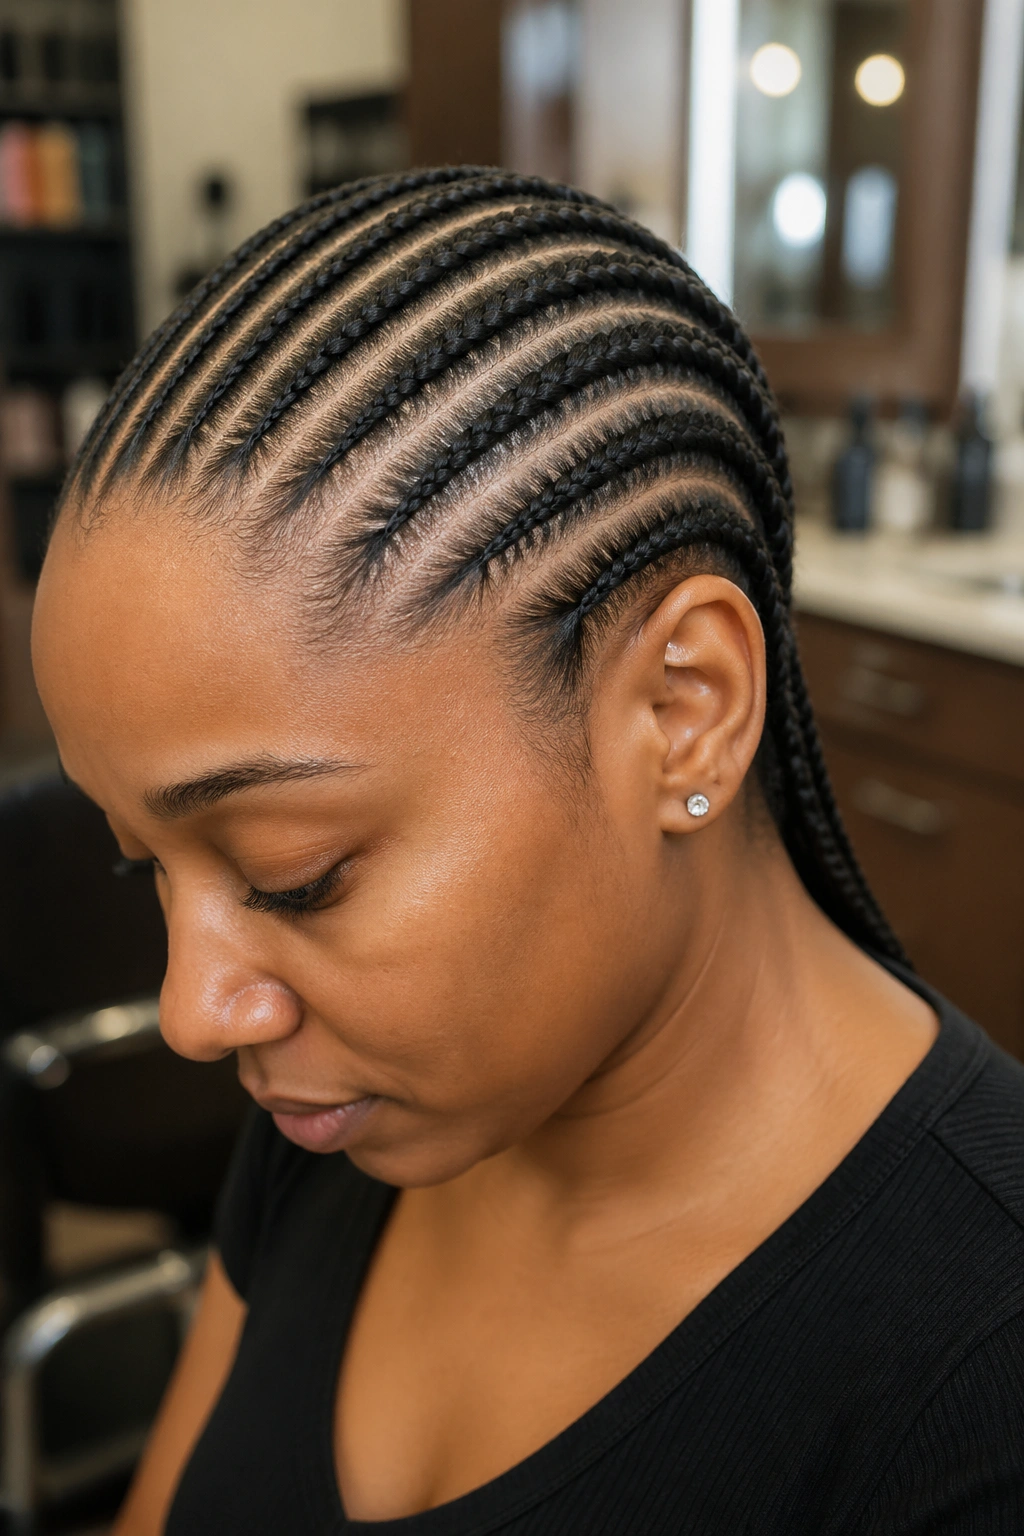
Yes, you can wash them. Dirty scalps under braids cause itch and irritation.
Dilute sulfate-free shampoo with water in a squeeze bottle. Apply along the part lines. Massage gently with fingertips, not nails. Rinse thoroughly with cool water.
Follow with light conditioner along the scalp. Don’t condition the braid shafts — that can cause buildup and softening that loosens the rows.
Air-dry. Sit under a hood dryer on low heat if you need speed. Avoid blow dryers — they cause frizz that won’t smooth.
Moisturizing Through the Wear Cycle
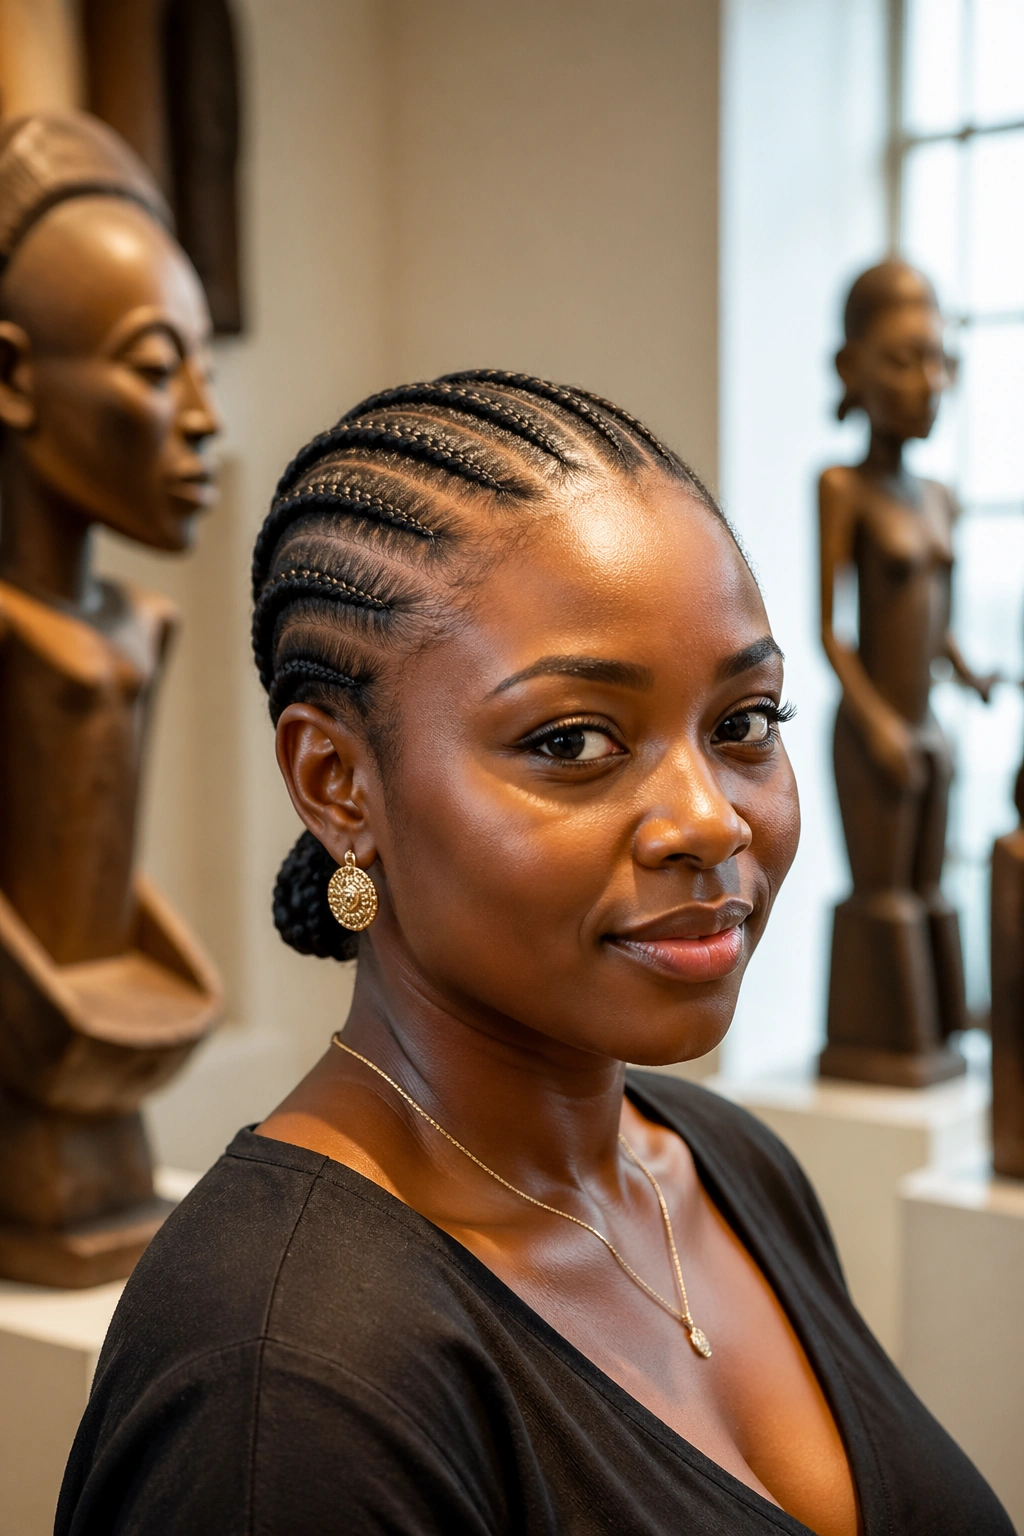
Water-based mist daily. A simple spray bottle with water and a few drops of leave-in conditioner does the job. Mist along the parts and lightly along the braid shafts.
Follow weekly with a light oil — jojoba, argan, or grapeseed. These absorb without sitting heavy. Avoid coconut and castor for daily use; they attract lint and build up.
Focus on the scalp. A healthy scalp keeps the braids looking fresh longer.
Sleep Routine That Preserves the Pattern
Satin or silk bonnet over the head every night. Tie snug but not tight. Cover all the way to the nape.
For long extension styles, gather the braids into a loose ponytail or single braid before bonnet placement. Keeps the length contained and prevents tangling overnight.
Pillowcase should be silk or satin even with bonnet wear. Backup if the bonnet shifts.
Picking a Skilled Straight Back Braider
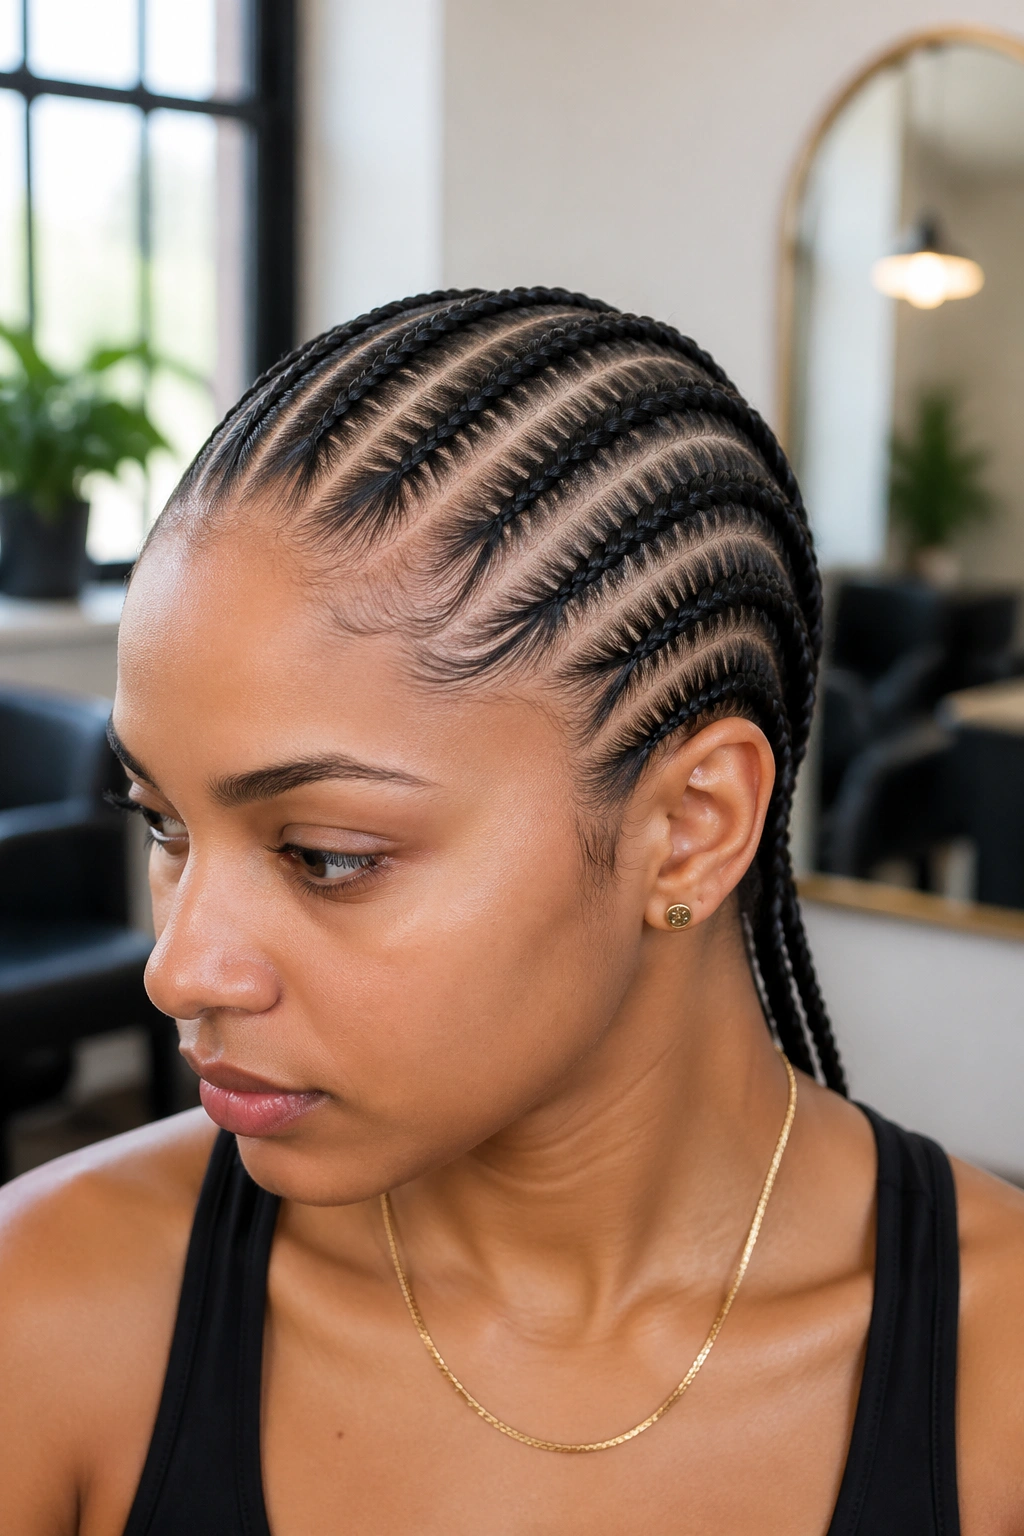
Look at portfolios. Rows should be parallel, parts should be straight, and each braid should be the same width as its neighbors.
Wonky rows or uneven parts signal a less experienced installer. Don’t accept “it’ll loosen up” as an excuse — straight back cornrows should look crisp from day one.
Ask about install time. A skilled braider can do six rows in 90 minutes. Eight rows in 2-3 hours. Twelve rows in 3-4 hours. Times much longer than that suggest inefficiency, not extra care.
