Twisting your own hair at home is one of those skills that looks impossible until you’ve done it once, and then suddenly you can’t remember why you ever thought you needed a salon for it. I’ve been doing my own twists for longer than I want to admit, and every style on this list has been through my own fingers at my own bathroom counter, some at 6 a.m. before work, some at midnight with a movie playing in the background.
These 25 twist styles for afro hair at home range from twenty-minute refreshers to weekend-commitment looks. Some work on two inches of hair. Some need six or more. A few call for added hair or accessories. Most don’t need anything you wouldn’t already own. Every one of them is a style you can actually do in your own space, without a chair, without a stylist, without anyone else’s hands.
The at-home part is what matters. When you do your own twists, you learn your hair — where it grips easily, where it slides, where it shrinks the most, which sections go frizzy first. That knowledge is worth more than any tutorial. So treat this list not as a copy-me recipe book but as a menu of techniques you can make your own.
Before we jump into the individual styles, let’s talk about the foundations that apply to every twist style on this list. Getting these basics right saves you from the most common at-home twist mistakes — and there are a lot of common ones.
Setting Up Your Space Before You Start
Home twisting goes better when your space is ready. You need a stable mirror — not a hand mirror, a real one you can work in front of without holding. A second mirror behind you helps for back sections, but you can get by with just a phone camera if needed.
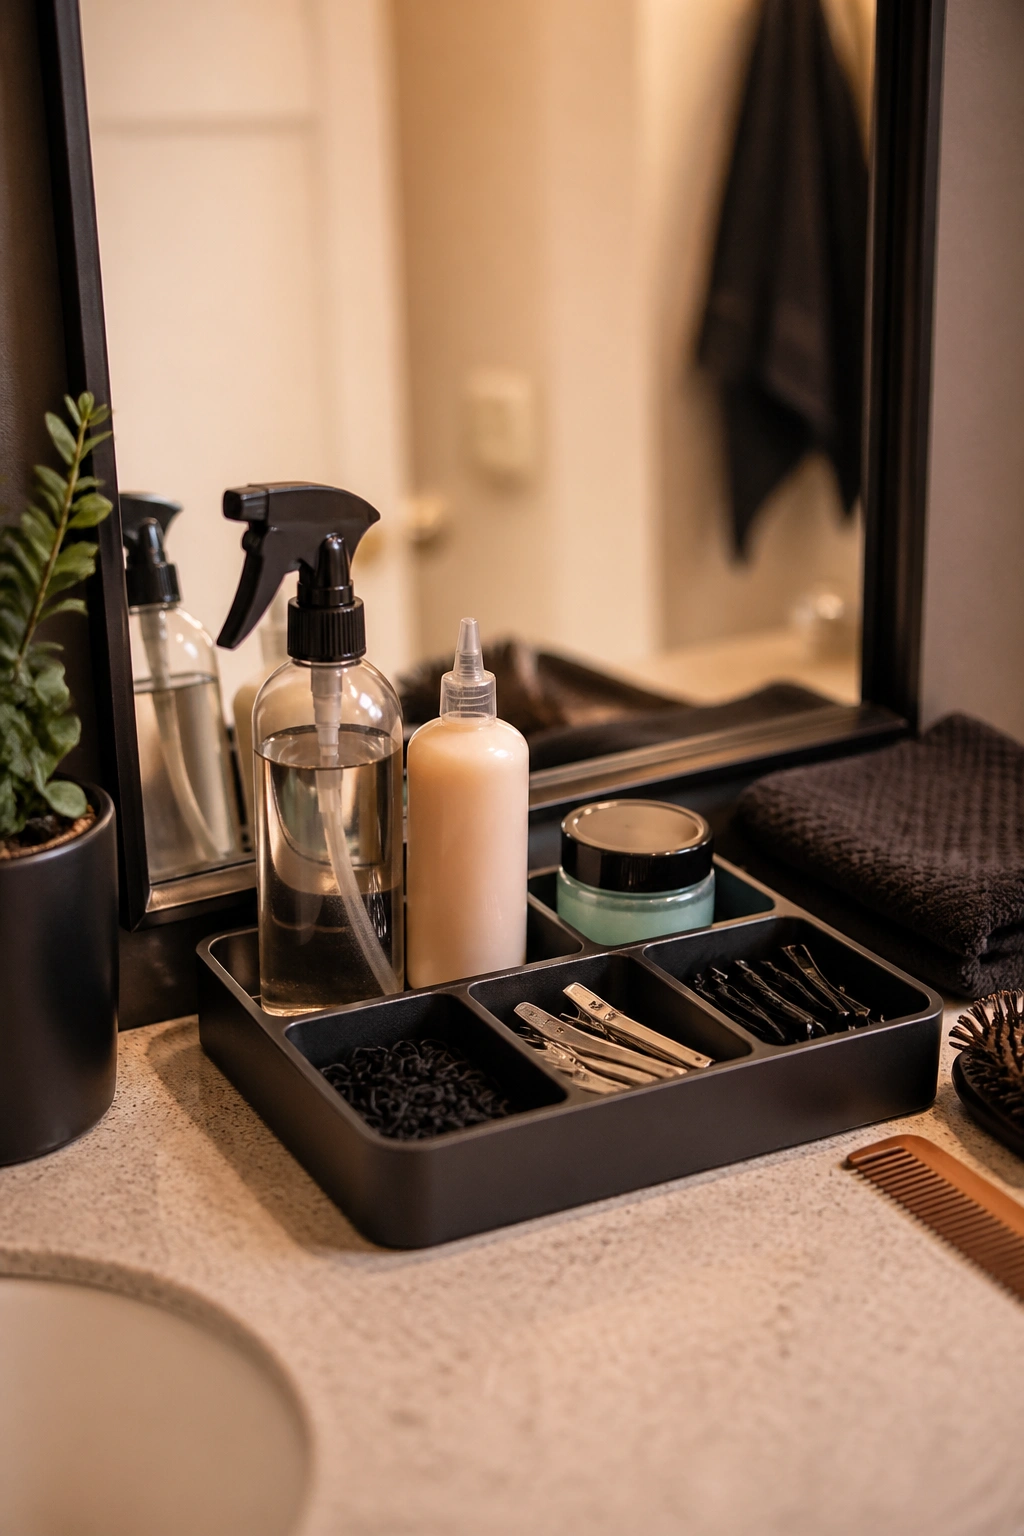
Keep all your supplies within arm’s reach before you start parting. Nothing kills momentum like having to get up mid-style to find a missing clip. I use a small tray — a bathroom organizer, really — that holds my spray bottle, leave-in, edge gel, hair ties, and clips. Everything in one place.
Play music or a podcast. Home styling can take an hour or more, and doing it in silence makes it feel twice as long. Something you can half-listen to while your hands work.
Essential Tools and Products
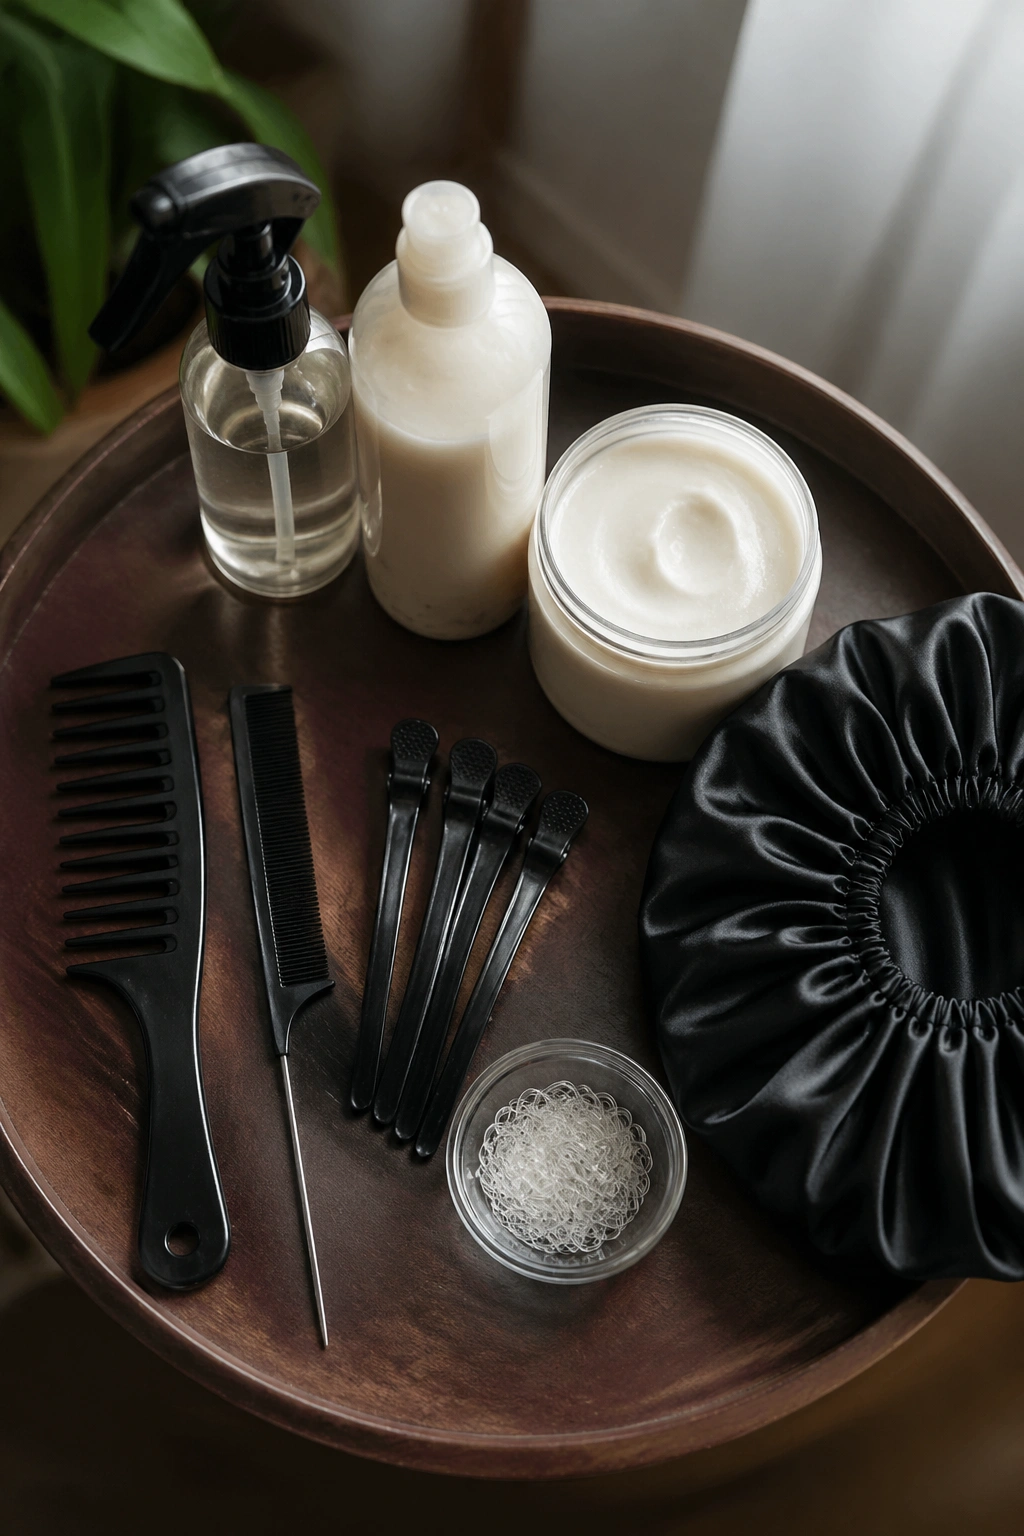
You need a wide-tooth comb for detangling, a rat-tail comb for parting, a spray bottle, duckbill clips for holding sections out of the way, and a leave-in conditioner plus a styling cream or butter for the twists themselves.
For the twist cream, look for something with slip — ingredients like shea butter, coconut oil, or flaxseed gel. Overly watery products don’t give enough hold. Overly thick products make the twists look heavy and crusty.
Small hair elastics — the clear rubber kind, not the fabric ones — secure the ends of each twist cleanly. Skip the metal-ended ones because they snag.
A satin or silk bonnet for nighttime protection. This isn’t optional. Twists deflate, frizz, and loosen dramatically overnight without proper coverage.
How to Part Cleanly for Twists
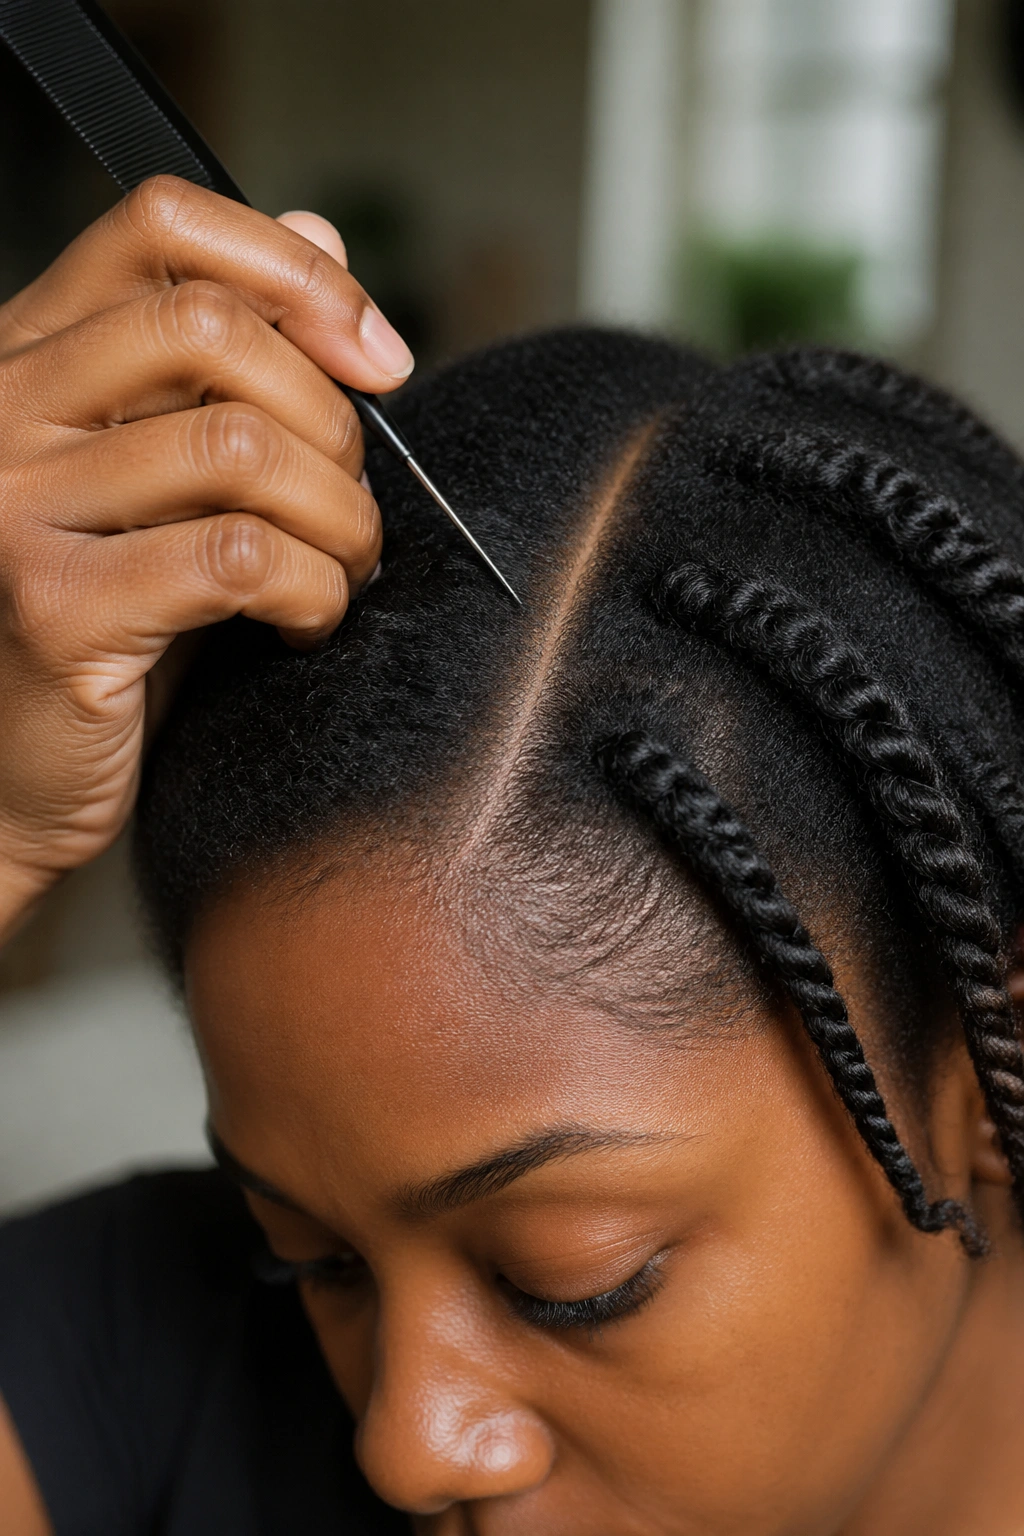
Clean parts are the difference between twists that look hand-done beautifully and twists that look hand-done badly. Take your time with the parts even if the twist itself is fast.
Use your rat-tail comb and draw the part line with the tip. Go slowly and keep the comb in light contact with the scalp. Don’t drag — let the comb find the line. Once drawn, secure the hair on one side with a clip so you’re only working with the section you’re twisting.
Parts don’t have to be perfectly straight unless the style calls for it. Natural-looking styles can have slightly wavy parts that follow the curve of your head. Structured styles need crisp straight lines.
Preparing Your Hair for Twisting
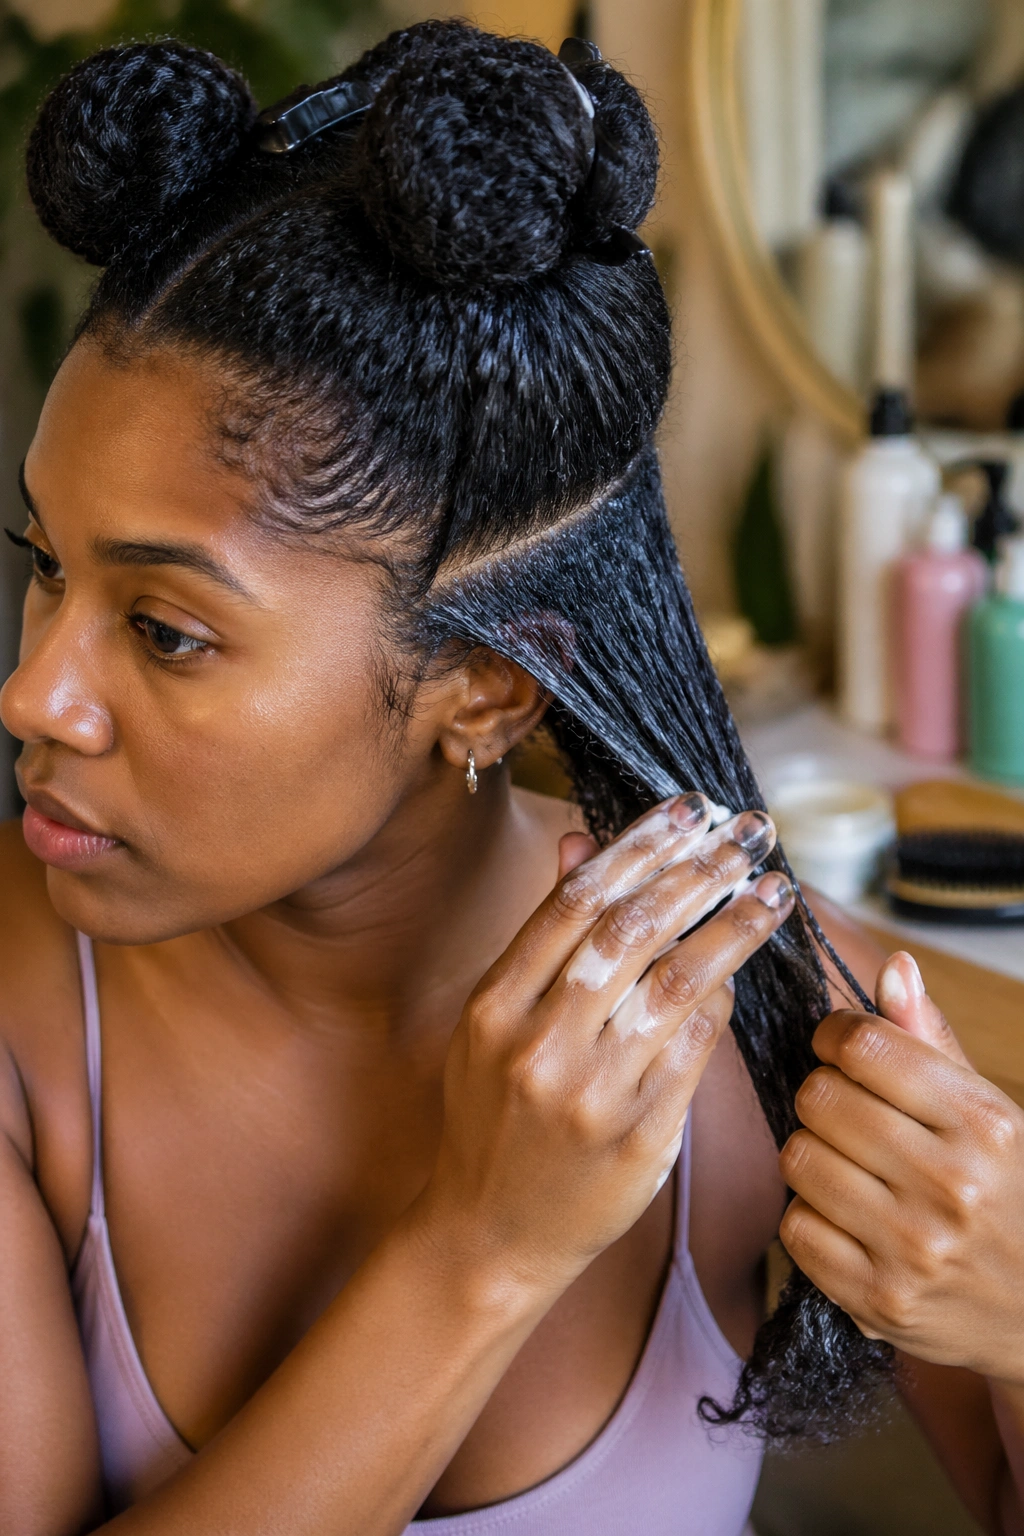
Twisting works best on freshly washed, deep conditioned, and slightly damp hair. Not soaking wet — that makes the twists heavy and slow to dry. Not fully dry — that causes dragging and uneven texture.
After washing and conditioning, apply your leave-in conditioner while the hair is still damp, then work section by section with your styling cream as you twist. Each section should feel moisturized but not greasy, pliable but not dripping.
If your hair shrinks significantly when wet, stretch a bit first with banding or a gentle blow-dry using a comb attachment. Stretched hair makes for longer, cleaner twists.
How Twist Size Changes Everything
The size of your twists controls everything about how the finished style looks and how long it takes. Small twists create dense visual texture and take longer to install but also last longer and give better twist-outs. Medium twists strike the balance between speed and longevity. Large twists are fast but look chunkier and loosen faster.
There’s no right answer — just the right match for your goals. Quick style tonight that’s coming down tomorrow? Large. Week-long protective style? Small. Something in between? Medium.
For beginners, start with medium twists. They teach you the basic motion without the patience demand of small ones or the sometimes-awkward chunkiness of large ones.
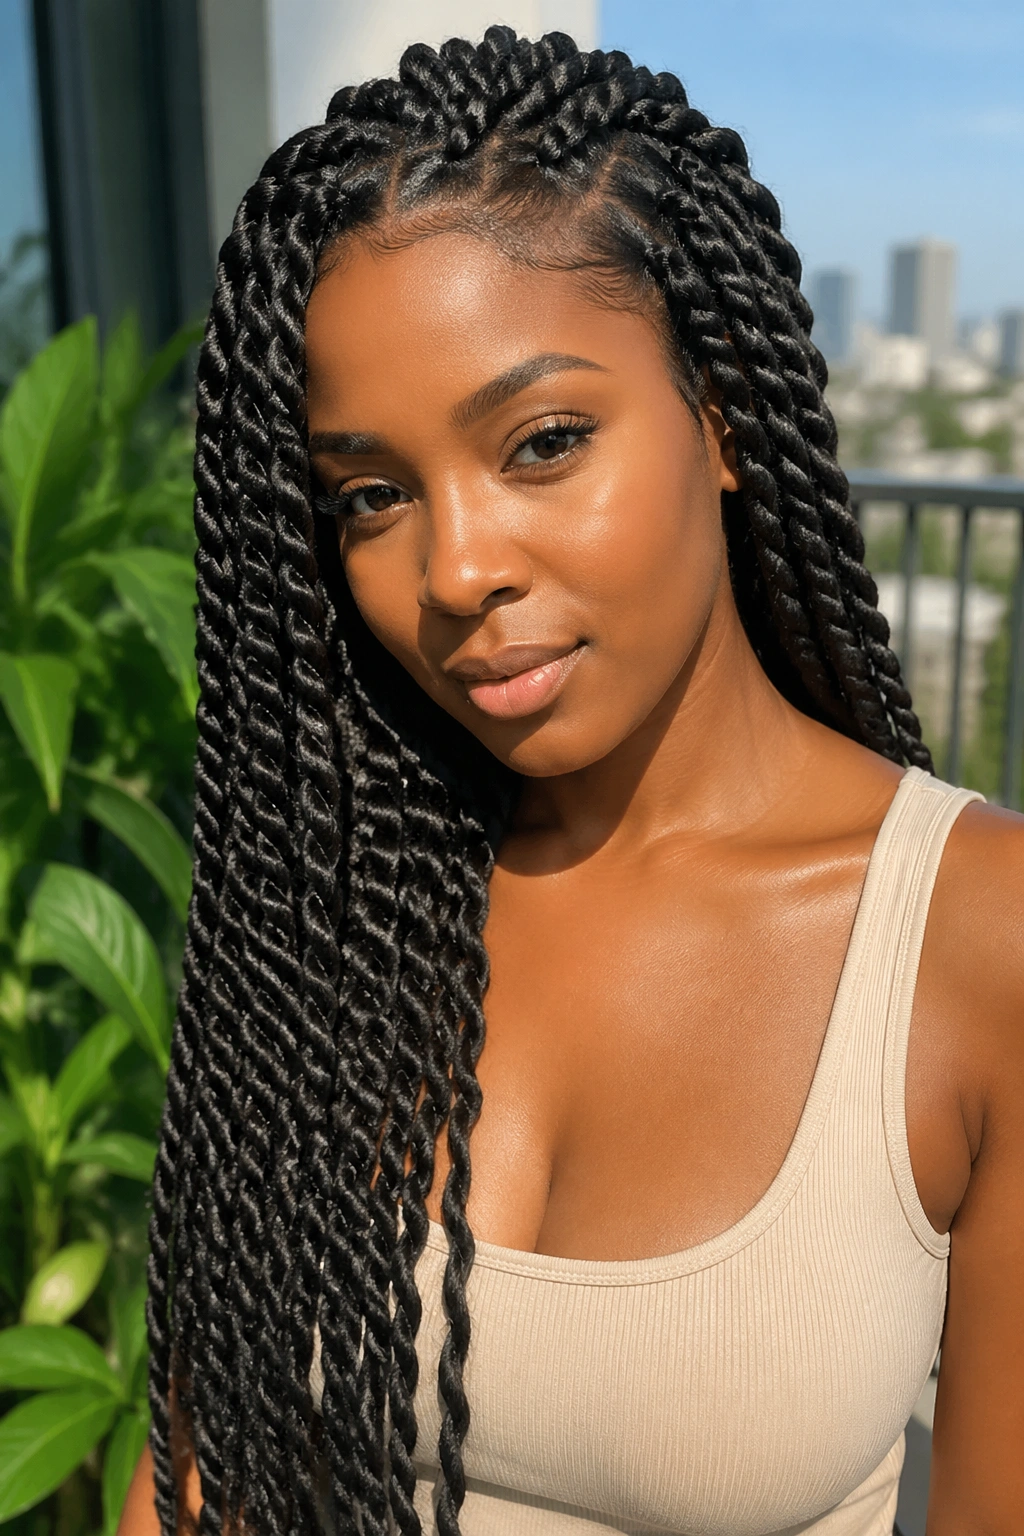
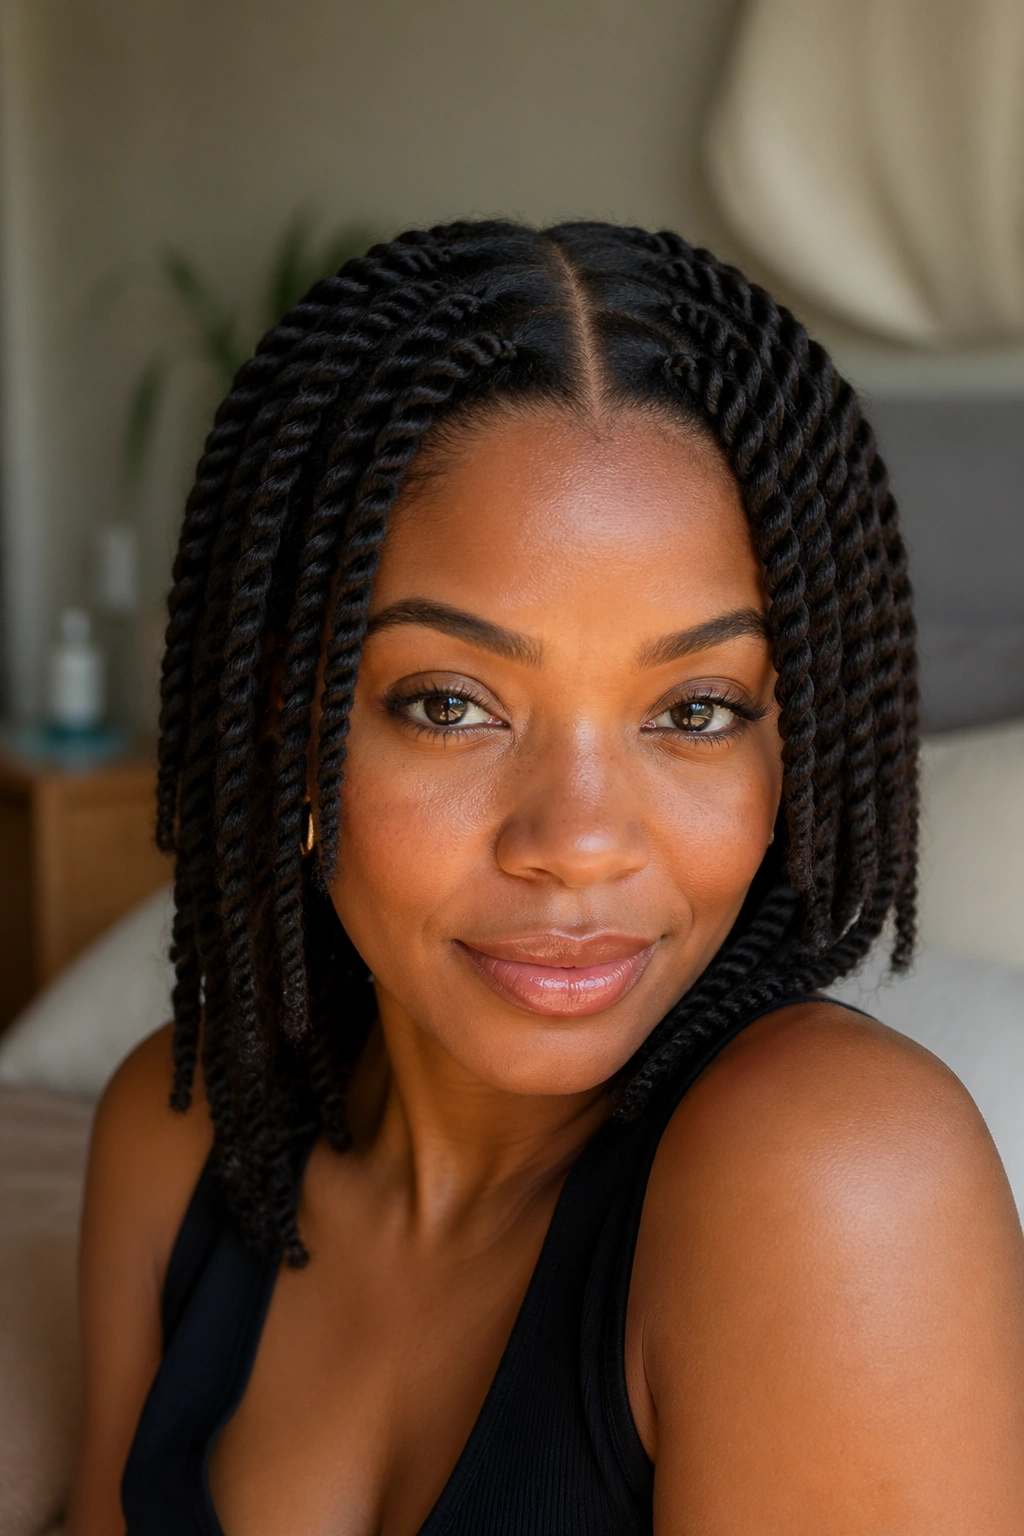
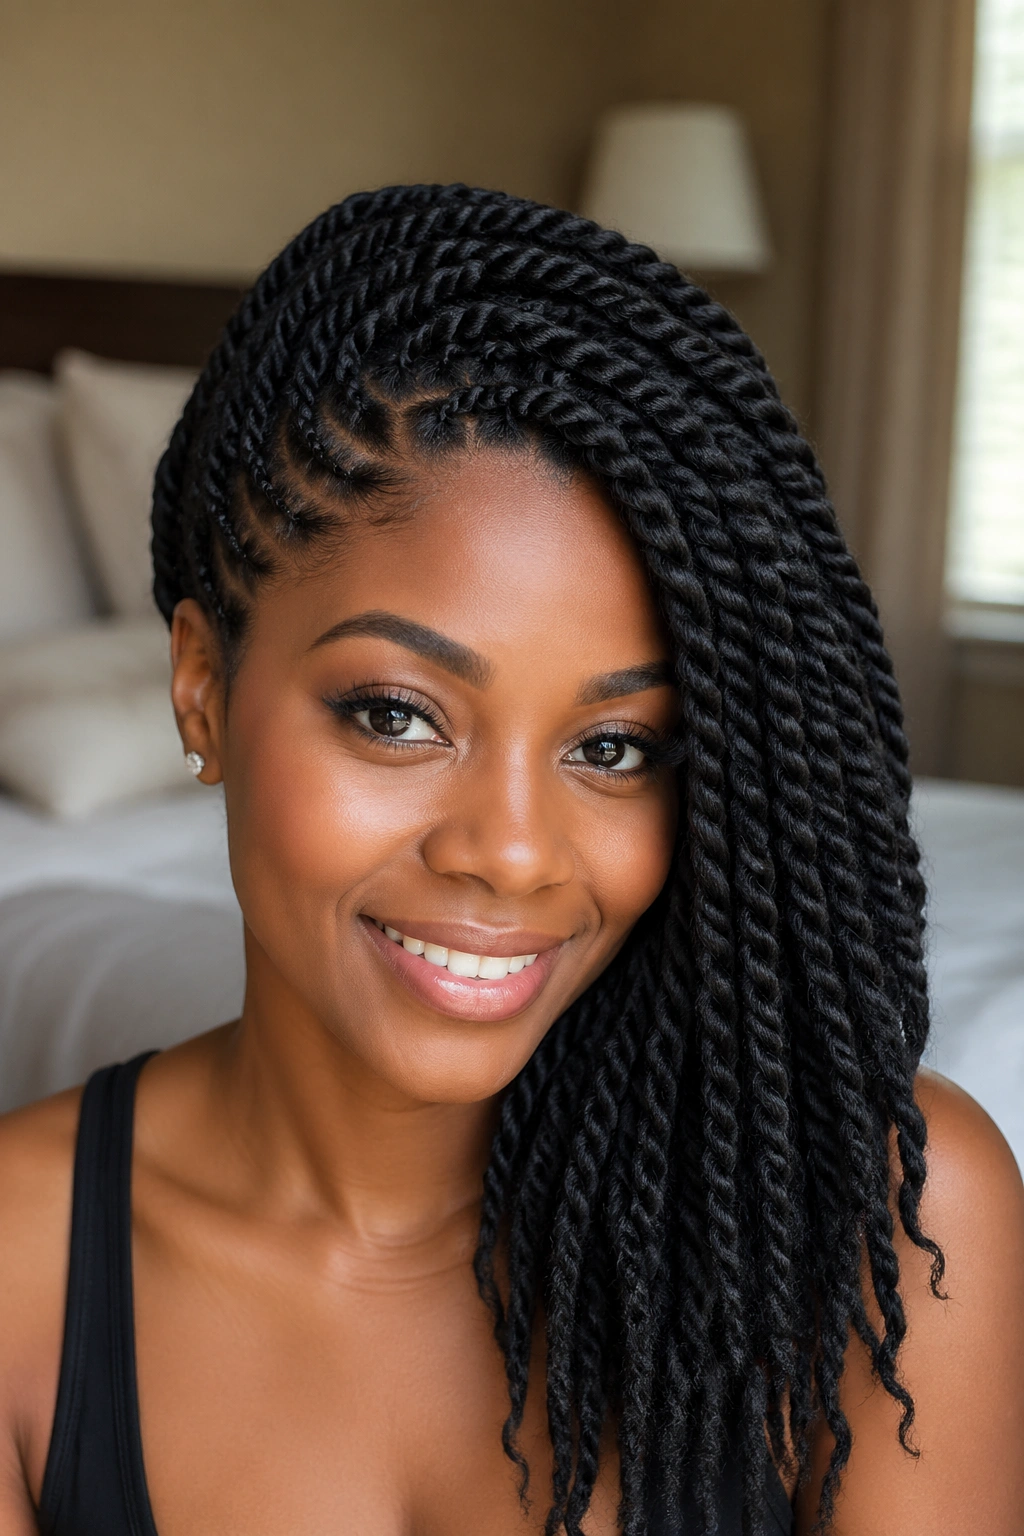
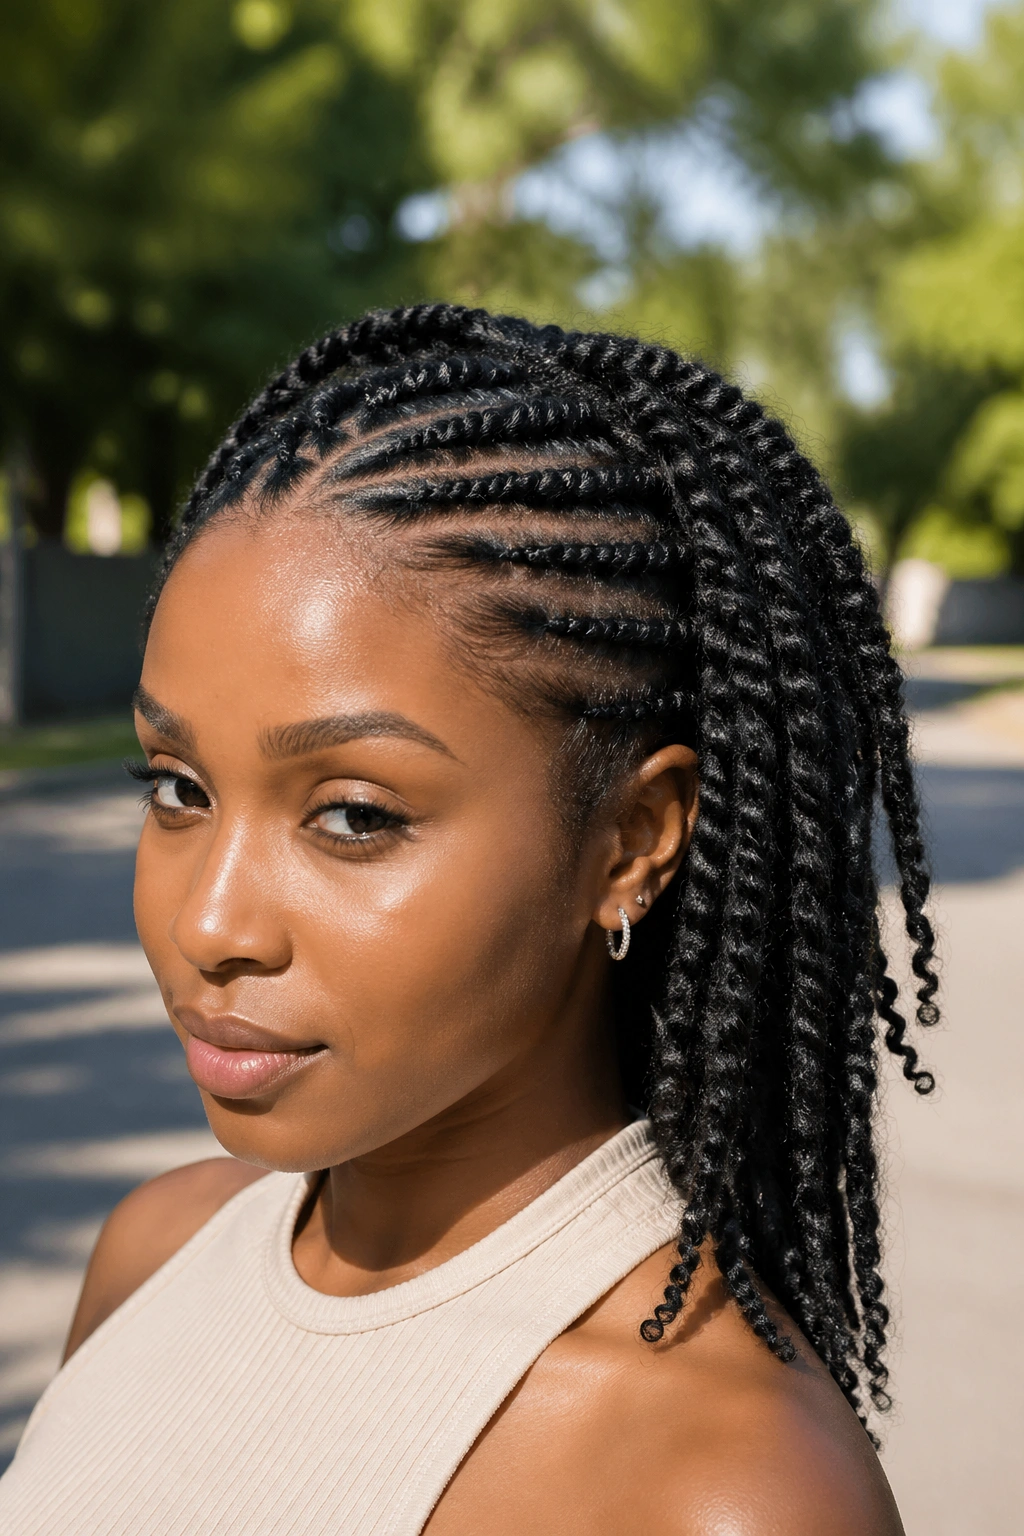
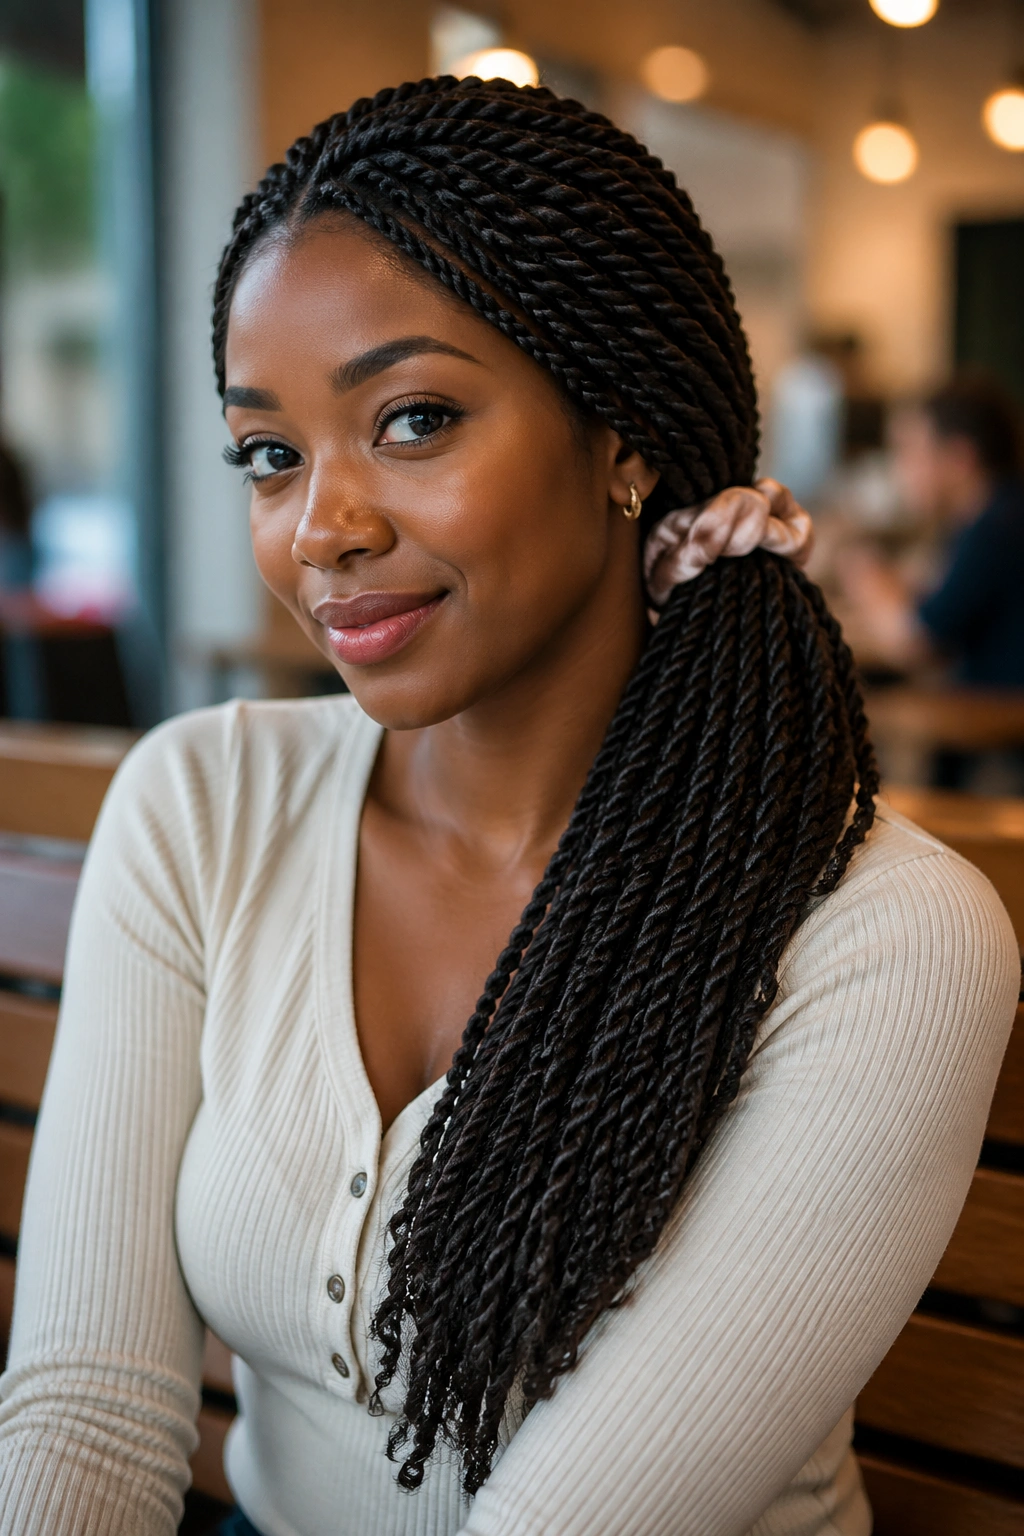
1. Basic Two-Strand Twists All Over
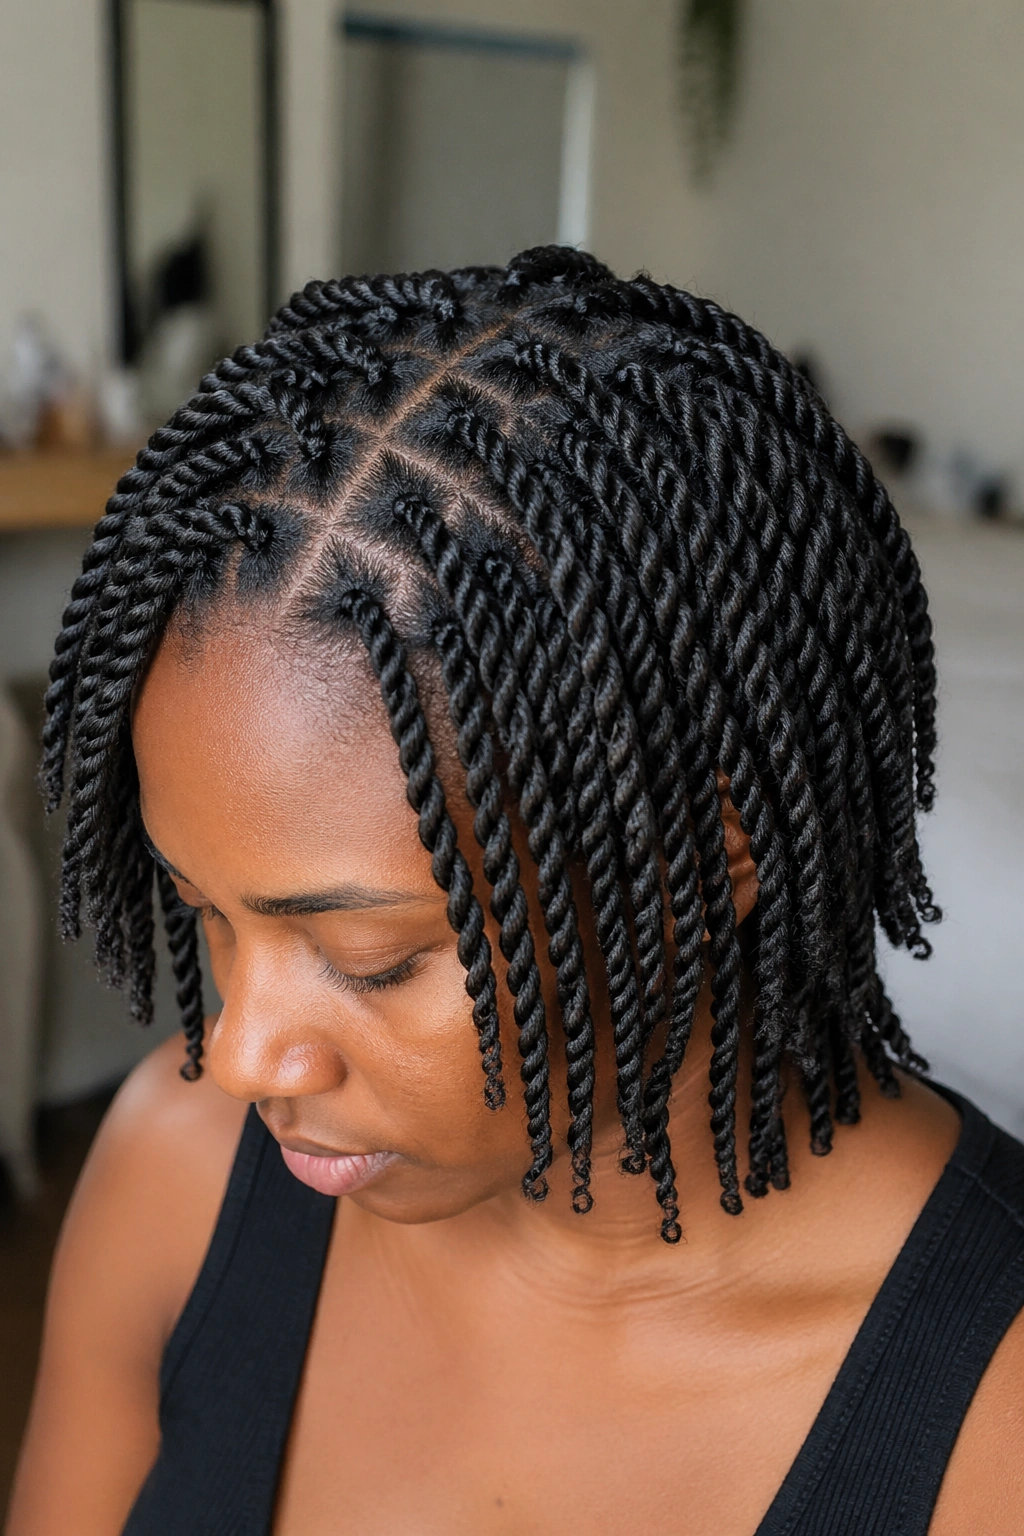
The foundation of twist styling and the style I tell every beginner to start with. Part your entire head into roughly one-inch square sections and do a two-strand twist in each. That’s it. The twists cover the whole head evenly and create a uniform texture.
Why It Works
- It’s the foundation — everything else builds on this technique
- It takes an hour to an hour and a half once you’re practiced
- It lasts five to seven days with nightly covering
- The takedown gives you a gorgeous twist-out as a second style
Pro tip: Keep your sections square rather than rectangular. Square sections sit more evenly and the twists all finish at roughly the same length.
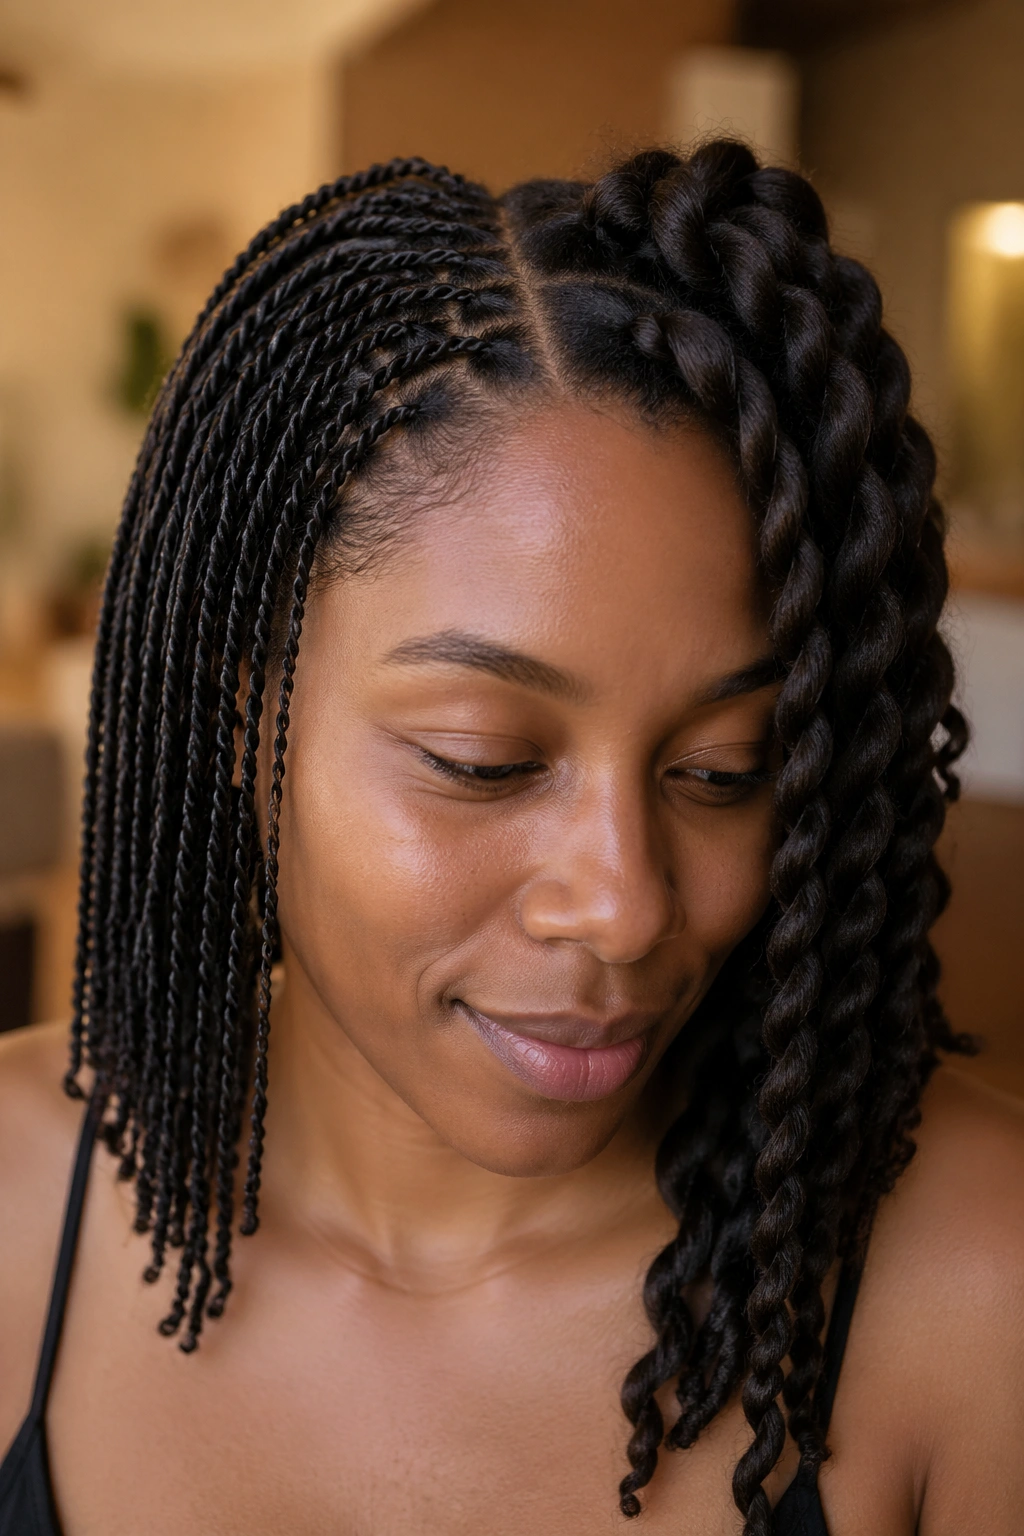
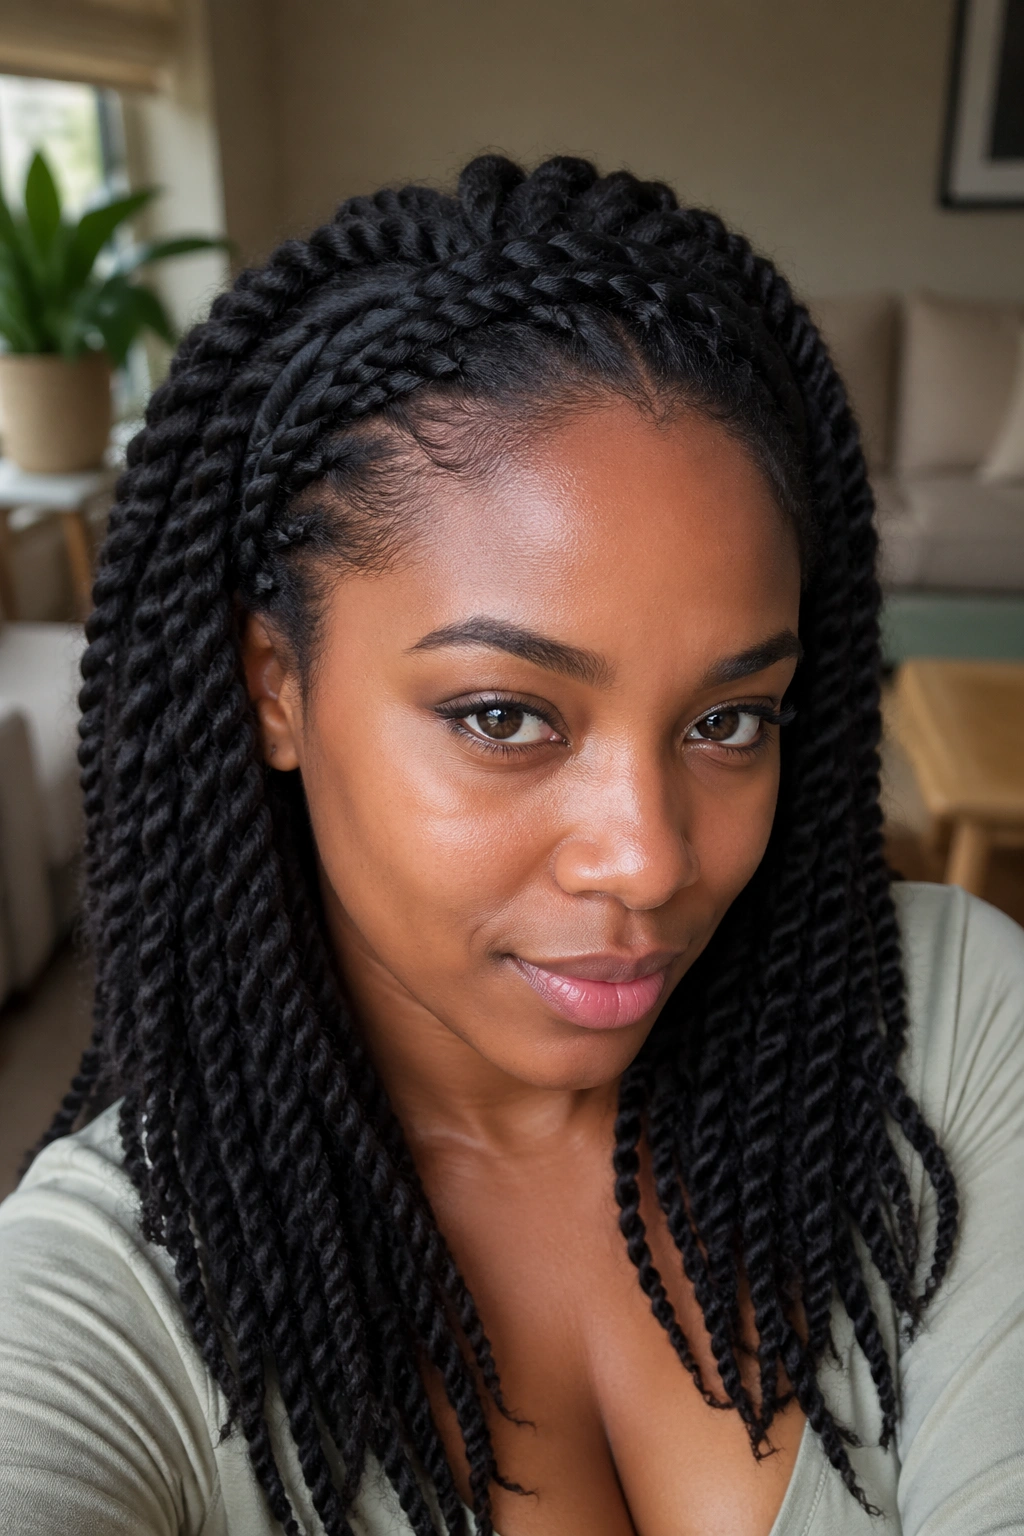
2. Mini Two-Strand Twists
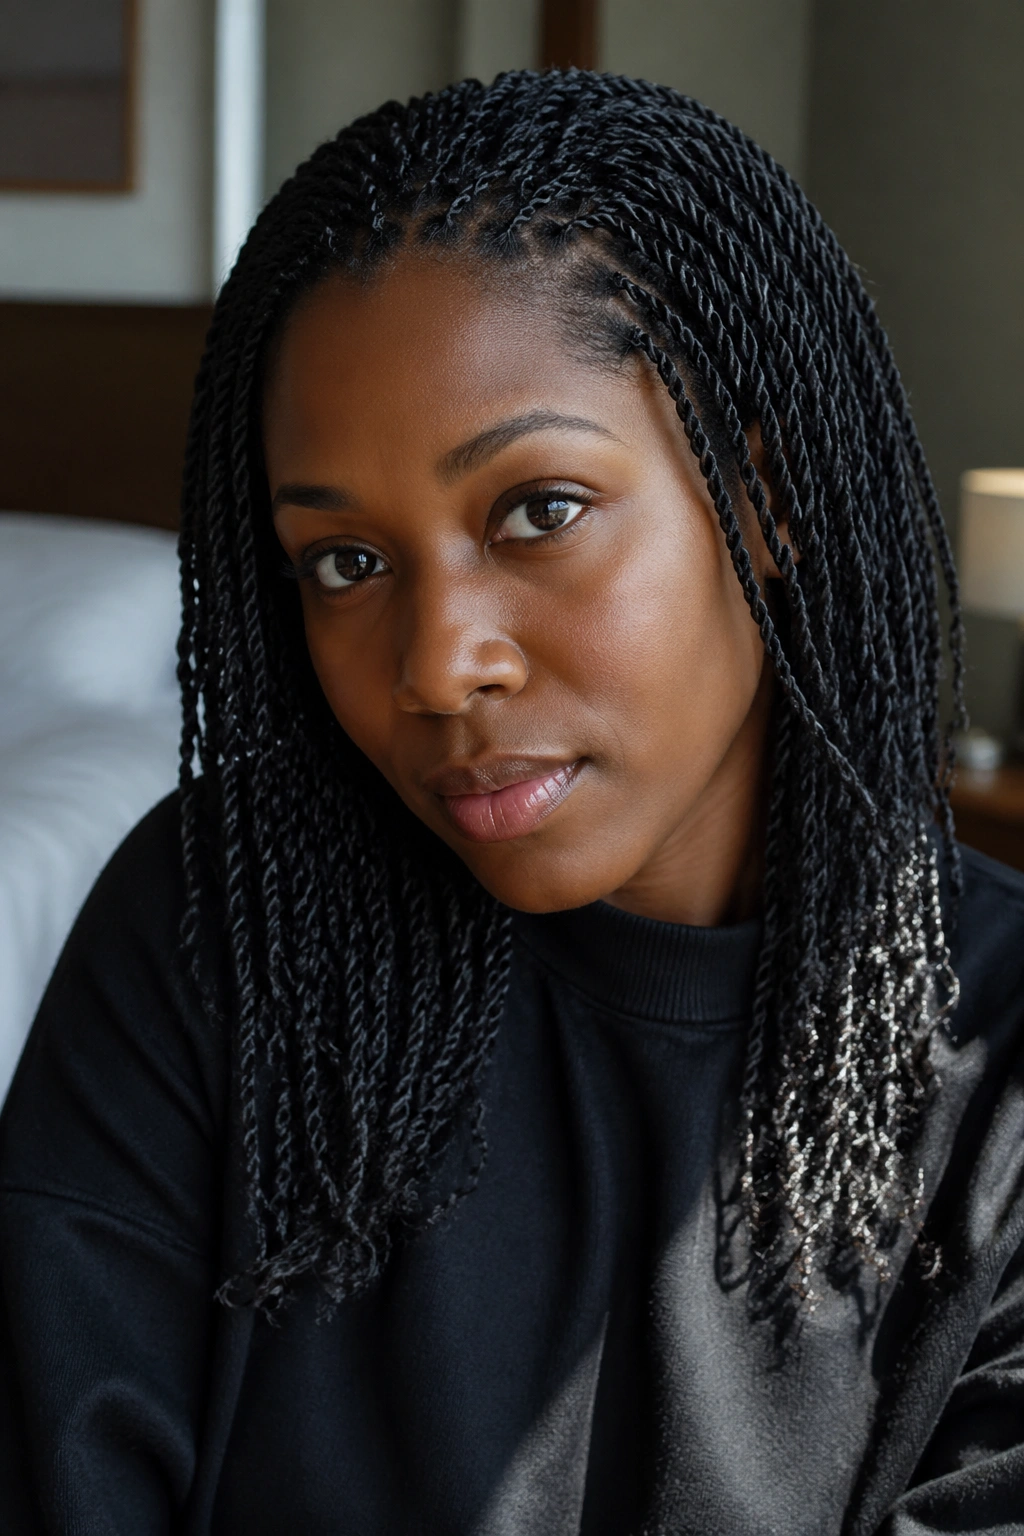
Same technique as basic two-strand twists, but with much smaller sections — half-inch or smaller. The installation time doubles or triples (budget three to four hours), but the result is spectacular. Dense, detailed texture that looks expensive.
Mini twists last longer than standard twists. Two weeks is normal. They also give a more defined twist-out when taken down because the smaller coils spring back more tightly.
The downside is the time investment. Plan a full afternoon or break it into two sessions over two days. Your hands will get tired around hour two — take breaks.
3. Chunky Jumbo Twists
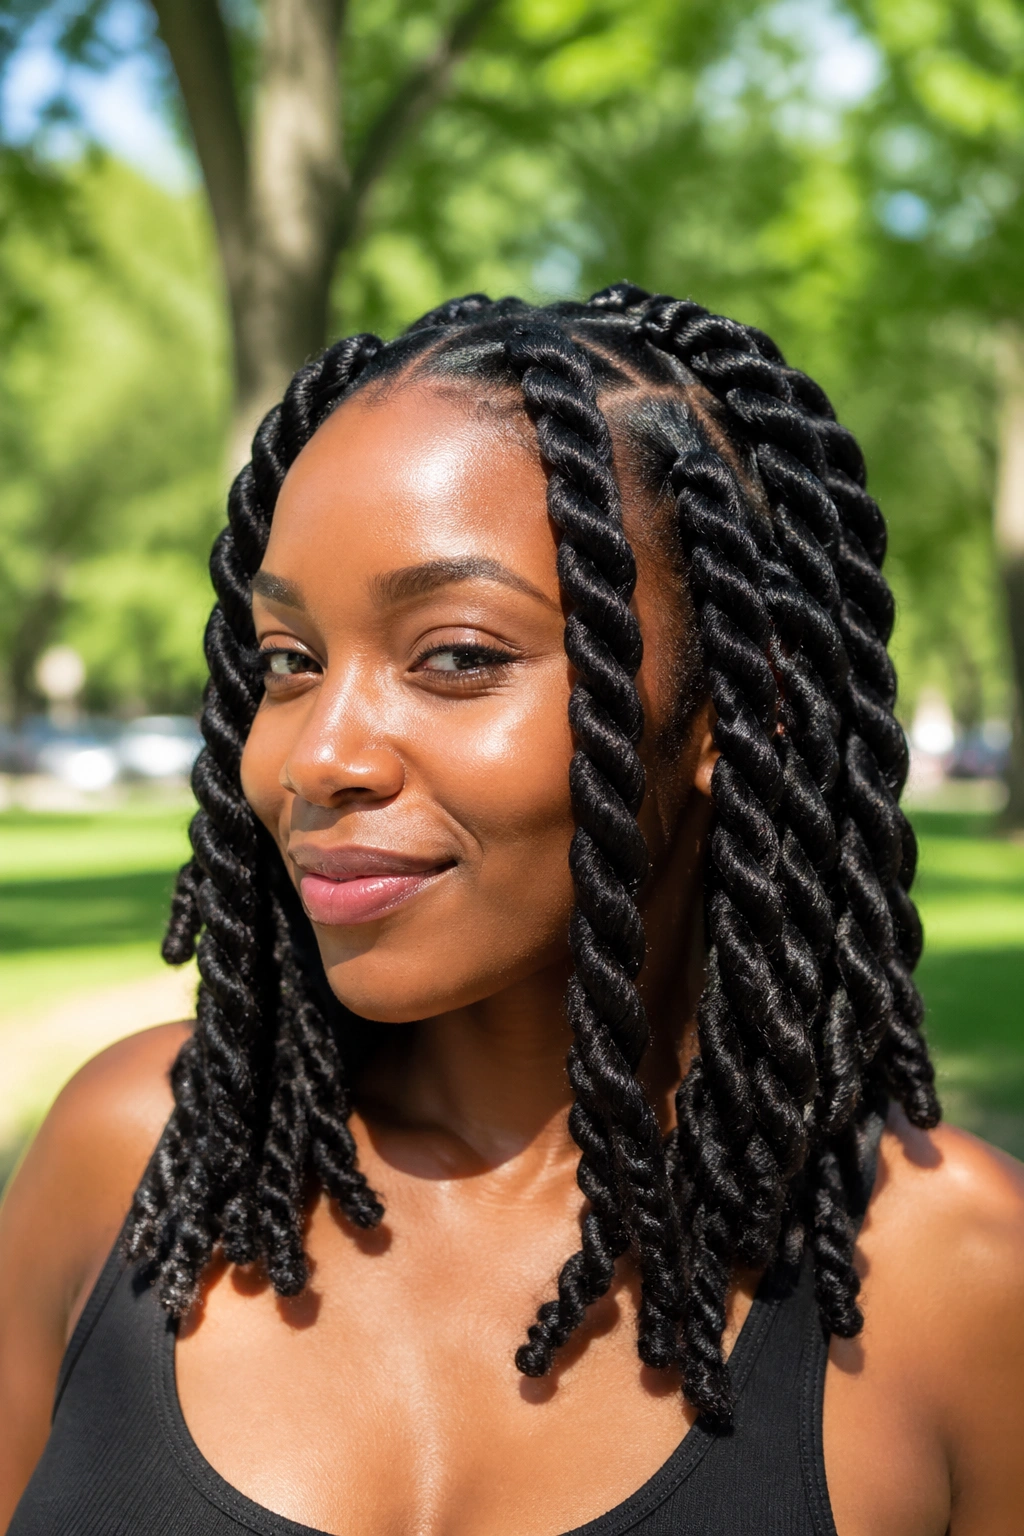
If mini twists are for patience, jumbo twists are for speed. Huge sections, one to two inches across, twisted into thick ropes all over the head. The whole install takes about thirty minutes if you’re moving quickly.
Jumbo twists don’t last as long as smaller versions — maybe three or four days — but they’re the perfect choice for a one-night look that you’ll take down afterward. Or for a quick protective style when you just need to get your hair out of your way.
The twist-out from jumbo twists is loose and wavy, almost beachy. That’s a bonus style in itself.
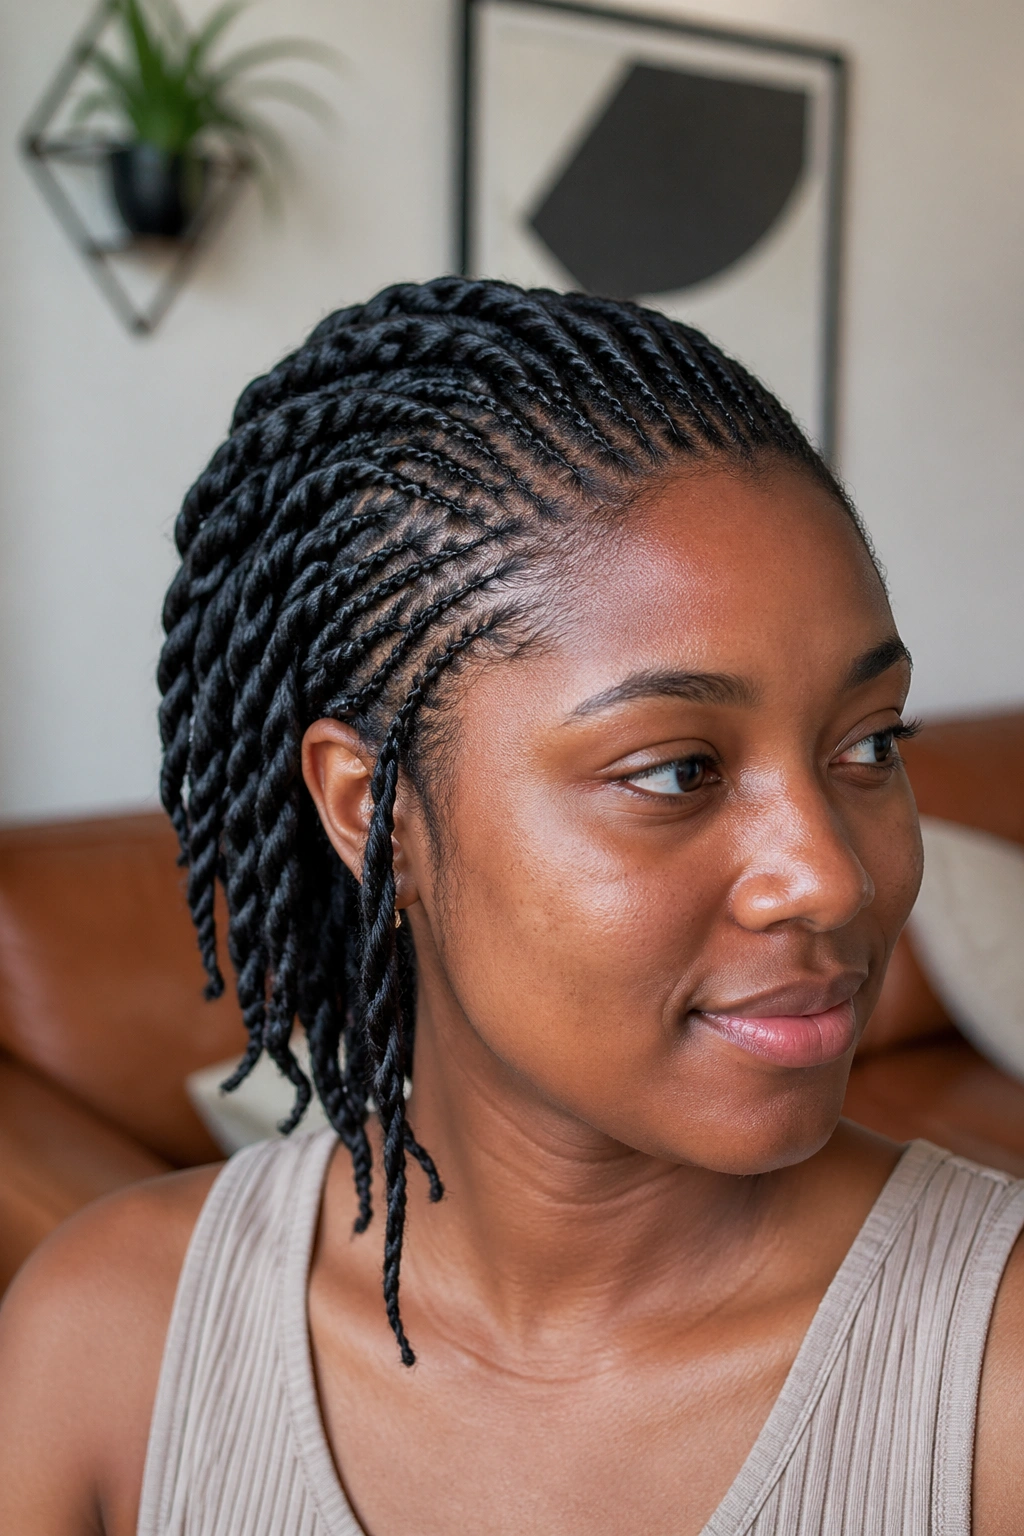
4. Flat Twists Along the Sides
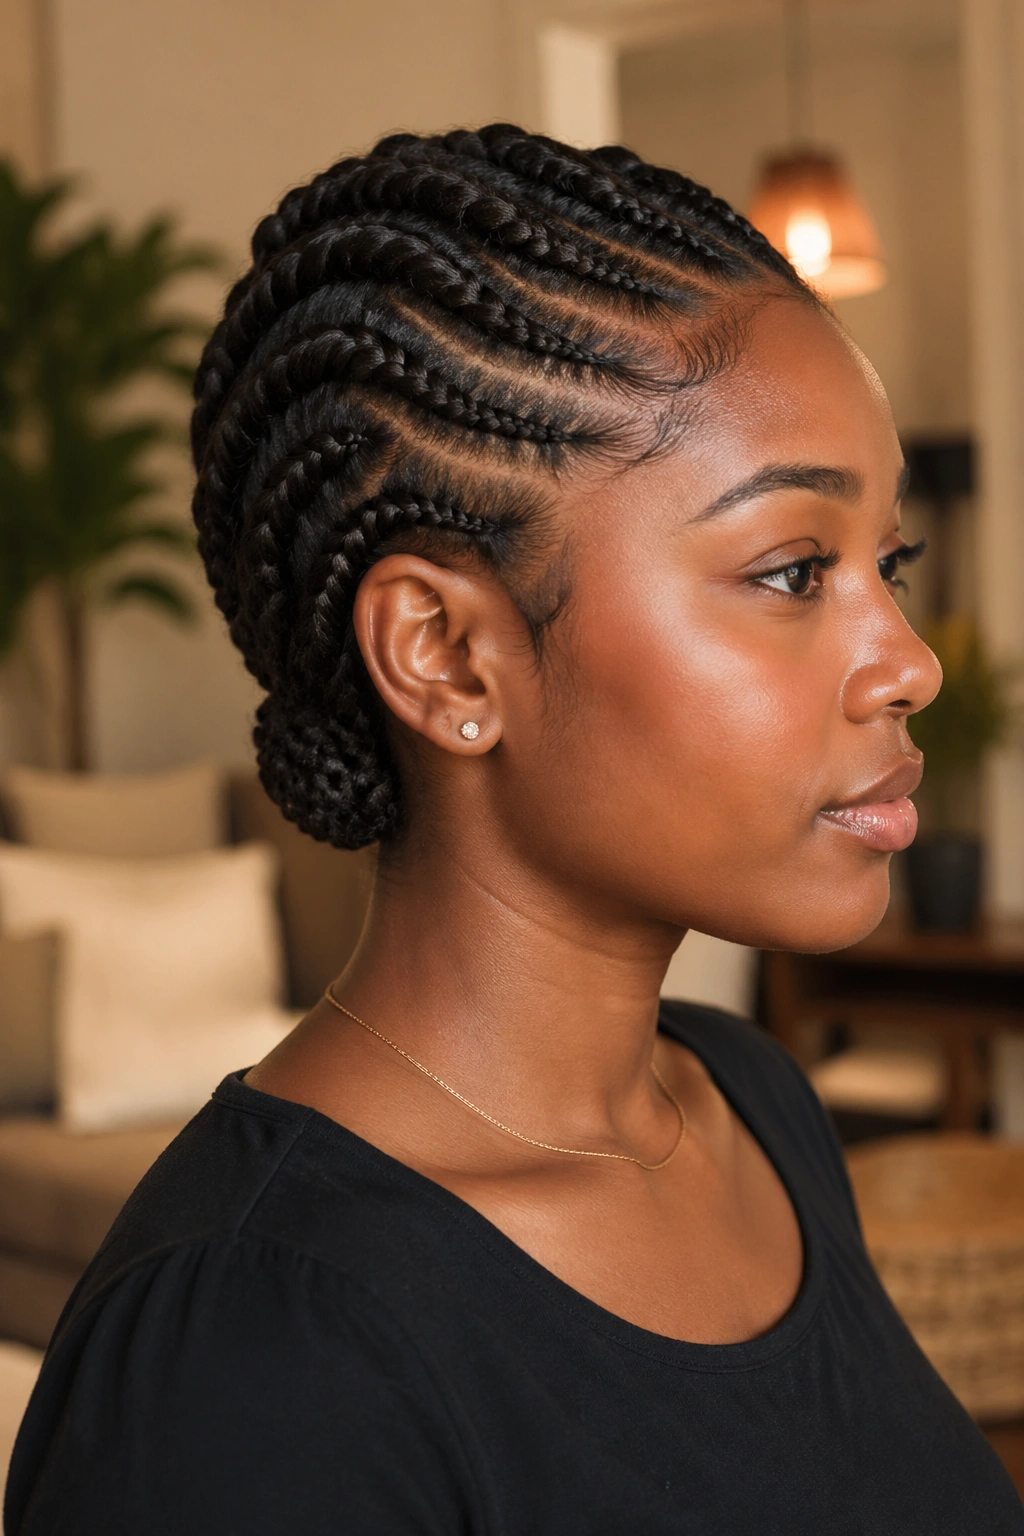
Flat twists stay close to the scalp, like a cornrow but with two strands instead of three. Start at the hairline, gather a small section, and twist it along the scalp, adding new hair as you go — exactly like a cornrow, just with the two-strand motion.
Flat twists are faster than cornrows once you get the hang of them, and they’re softer on the scalp because there’s less tension. They work beautifully on the sides of the head as part of a larger style or all over for a full flat-twist look.
Use more product when flat twisting than when free twisting. The close-to-scalp motion needs extra slip to move smoothly.
5. Two-Strand Twists With Added Length
For a more dramatic look without the commitment of box braids, add kanekalon hair to two-strand twists. The added hair blends with your natural section at the root, and the whole twist reaches further than your natural length alone.
Start with your natural section, split it in two, and tuck the added hair under the split point. Then twist the combined strands together. The addition stays in place because the twist motion wraps around it.
This is a good intermediate skill. Practice with shorter added hair first to learn the technique before committing to longer extensions.
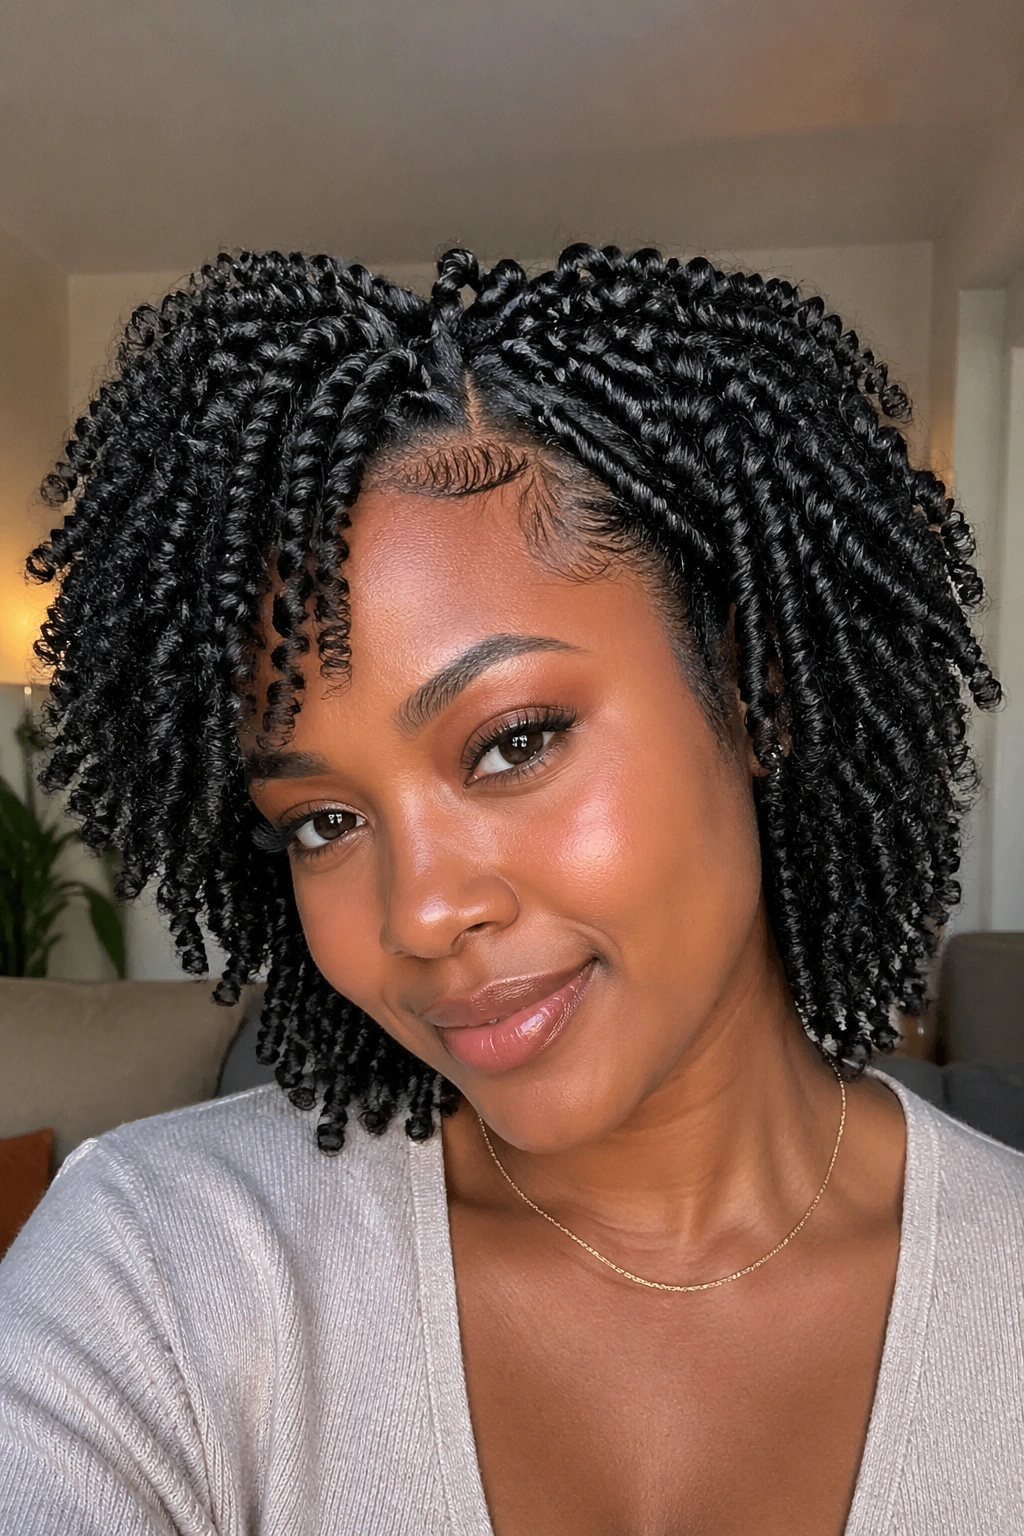
6. Twist-Out From Day-Old Twists
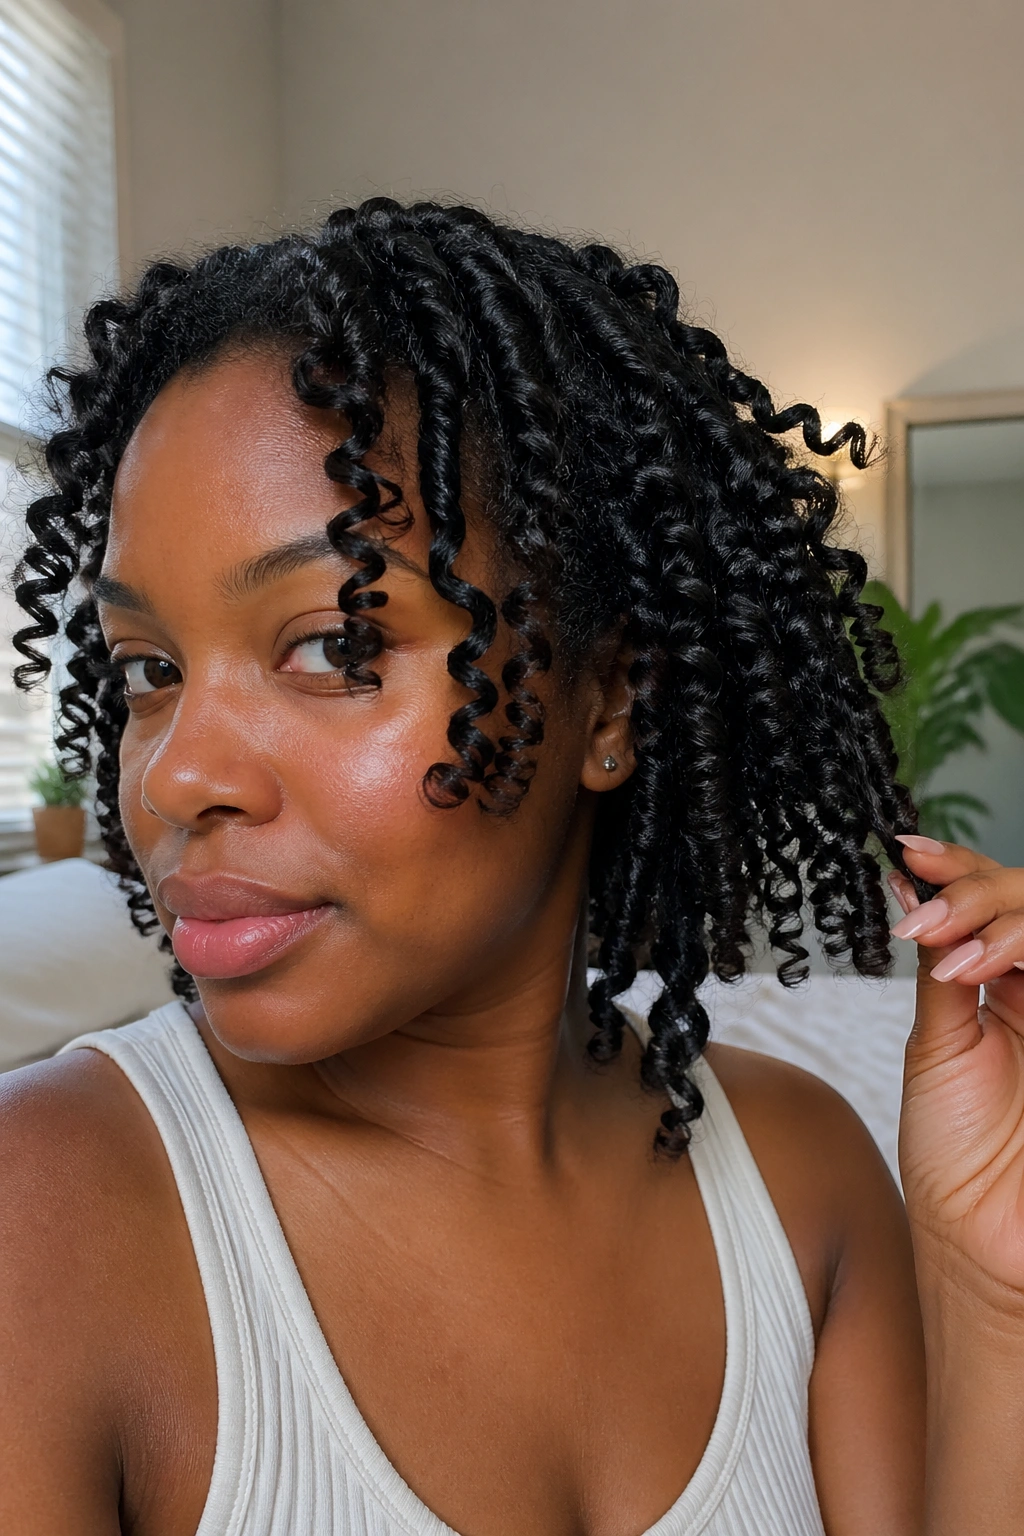
Can day-old twists give a better twist-out than fresh ones? In my experience, yes. The twists have had time to set, and the coil pattern is more defined when you unravel them. Fresh twists sometimes unravel too loosely.
Install your twists as usual, sleep on them, refresh lightly in the morning, and then take them down the second night for the twist-out. The result is springier and holds its shape better.
Use a small amount of oil on your fingertips when unraveling to prevent frizz. Work section by section and don’t pick or separate too aggressively.
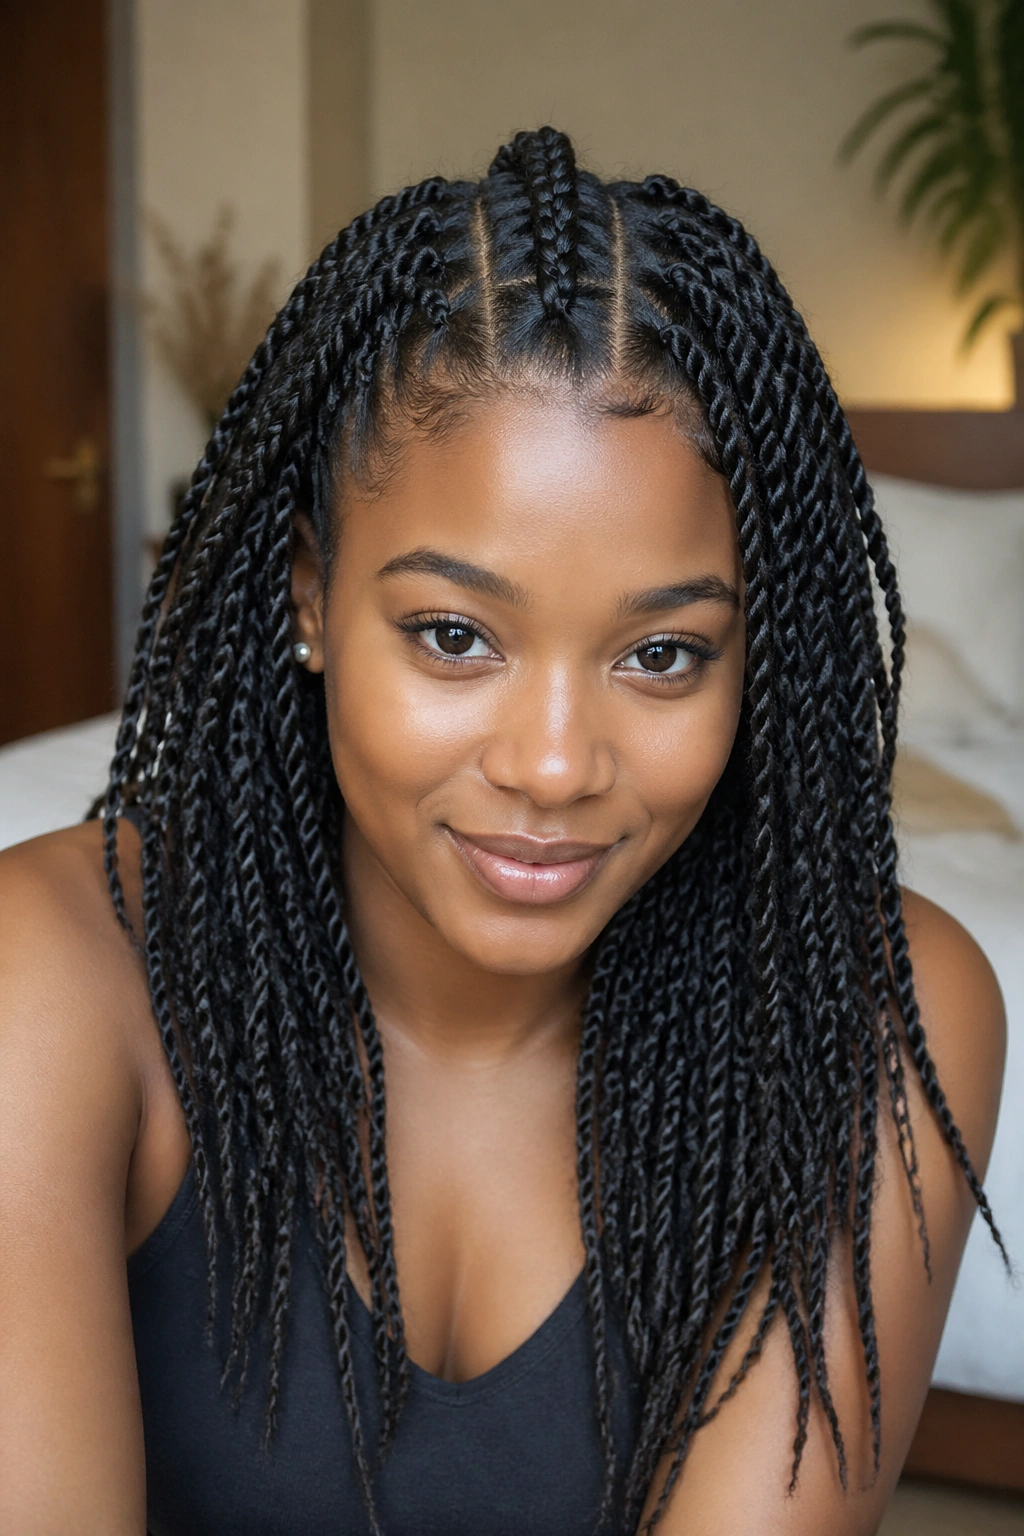
7. Twists With a Center Part
A clean center part down the middle of the head, with two-strand twists on either side. Simple, flattering, and easy to execute at home because you can work one side at a time while clipping the other out of the way.
How to Use It
Use a rat-tail comb and a mirror to draw the center part from forehead to nape. Take your time getting it straight because a crooked center part is very visible and hard to ignore.
After parting, clip one side back with a large duckbill clip and work the other side completely before switching. This prevents the sections from mixing together and keeps the center line clean.
8. Side-Parted Twists Sweeping to One Side
A deep side part with all the twists pulled and angled toward the opposite side of the head. The volume sits on one side, the part exposes the scalp on the other. It’s an asymmetric style that photographs beautifully and looks more formal than a center part.
The side part should be deep — two to three inches from the center of the forehead. A shallow side part looks indecisive.
Angle the twists consistently toward the opposite side as you work. All the twists should flow in the same direction for a clean finished look.
9. Twists With Beads at the Ends
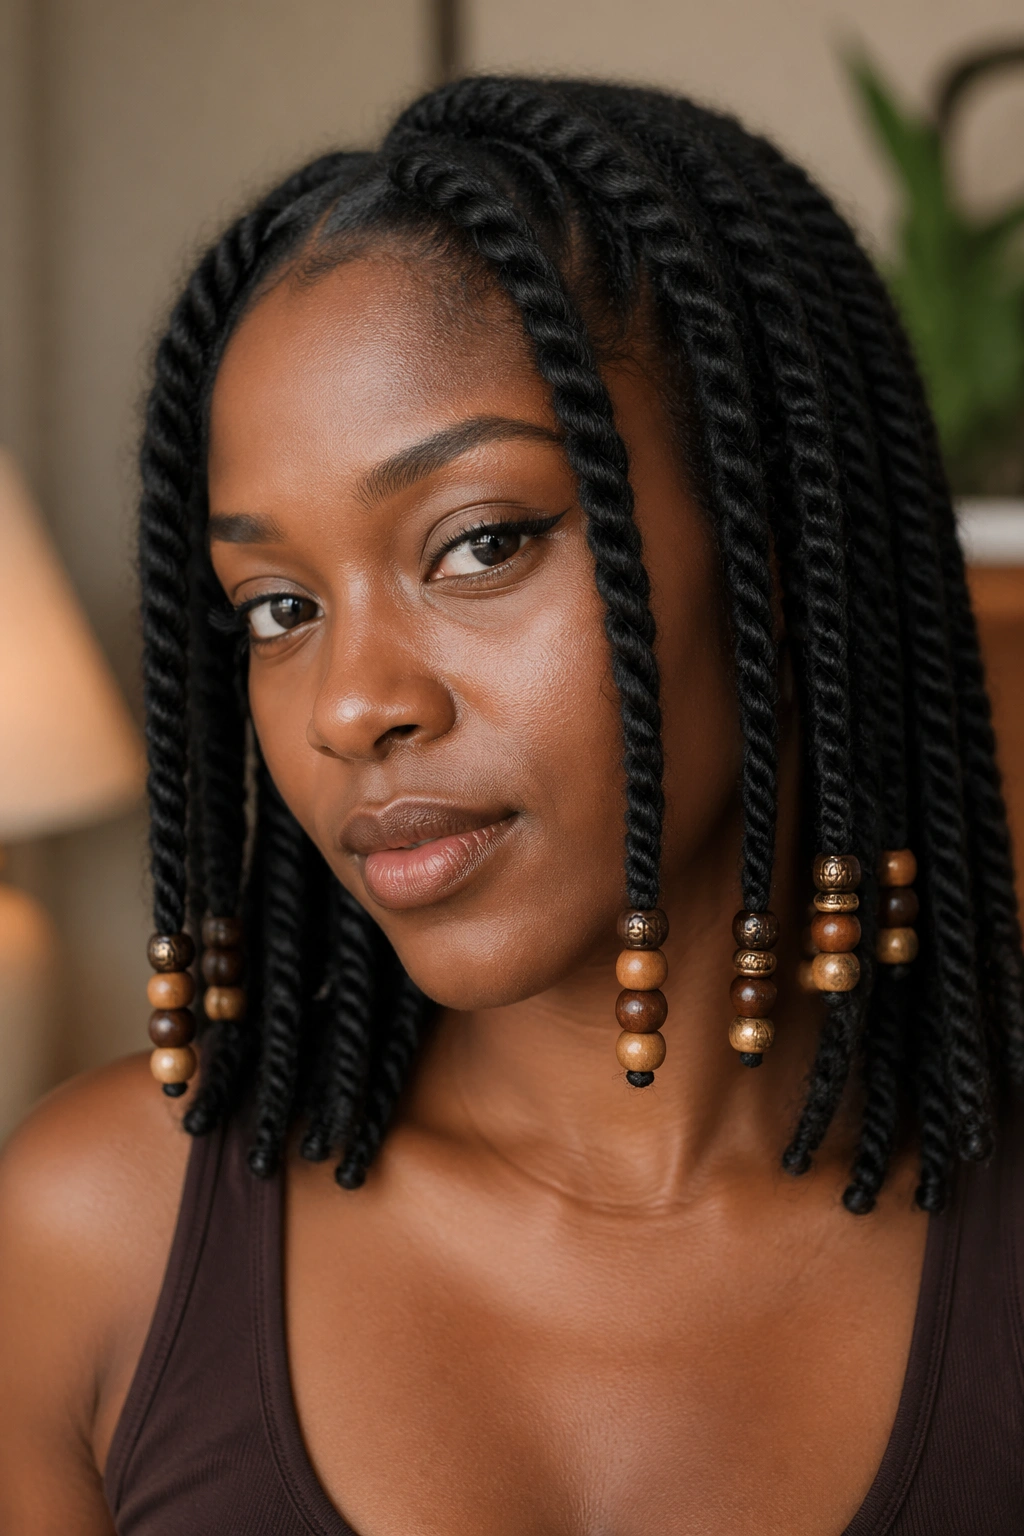
Add wooden or gold beads to the ends of each twist for a decorative touch. The beads stay on with small rubber bands tied just above them. Choose beads in natural colors — brown, honey, deep walnut — for a refined look.
Beads add weight to the twists, which helps them hang longer and move with more motion when you walk. They also add a soft clacking sound that some love and others find distracting.
Don’t over-bead. Three to five beads scattered across your whole head of twists looks intentional. Twenty beads looks cluttered.
10. Twists Into a High Puff
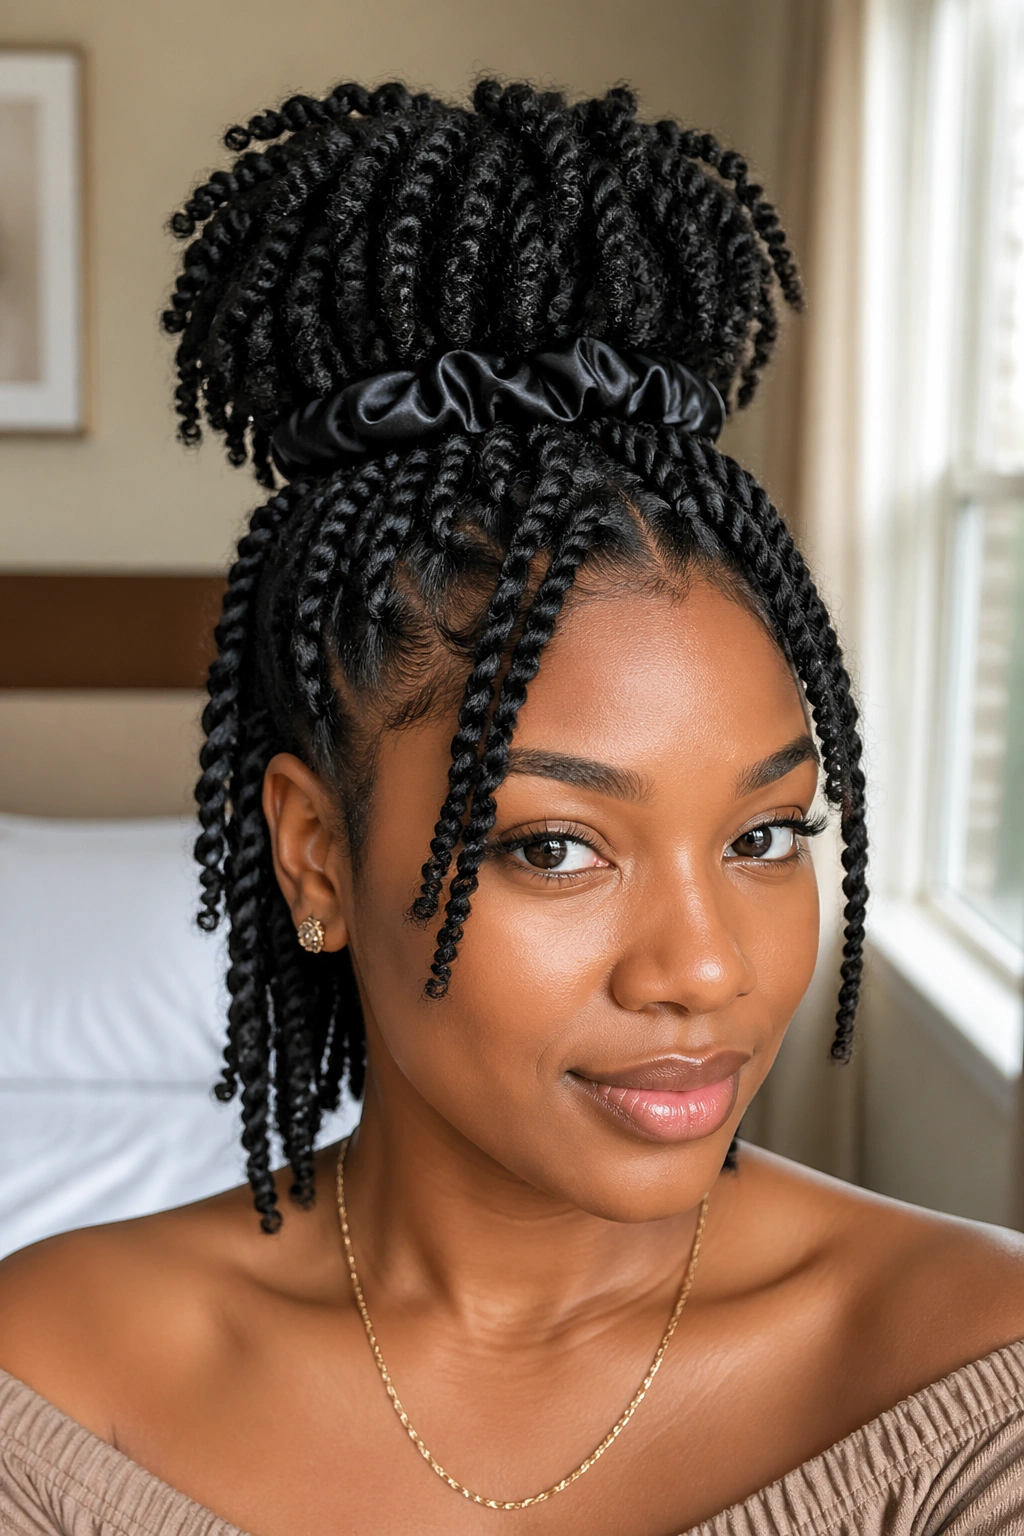
Install two-strand twists all over, then gather the back and top sections into a high puff using a satin scrunchie. The front and sides remain loose in twist form, and the puff becomes the focal point at the crown.
The puff gives you height and a defined silhouette without disturbing most of the twists. At night, you can wrap the puff loosely and keep the rest of the twists protected with a bonnet.
This is a good way to extend the life of a twist style. When the twists start to fuzz by day four or five, pull them up into a puff and suddenly they look fresh again for another day or two.
11. Twists in a Low Bun

The low bun version is work-appropriate, elegant, and low-maintenance. Twist your hair into small or medium twists, then gather everything at the nape of your neck and wrap into a low bun. Secure with bobby pins or a large clip.
The bun holds the twists in place, which actually extends the twist style because the twists are compressed and protected rather than hanging loose and frizzing.
Wear the low bun to work for five days and then take it down for a twist-out on the weekend. Two styles from one install.
12. Twists With a Side Swoop

One section of twists is pulled or swooped across the forehead to create a soft curtain of twists on one side of the face. The rest of the twists hang naturally. The swoop becomes the face-framing element.
Who This Is For
- Women with high foreheads who want softening
- Faces that benefit from diagonal lines rather than symmetry
- Anyone wanting a subtle asymmetric detail without a full side part
Secure the swooped section with a bobby pin hidden beneath an overlying twist. The pin should be invisible from the front.
13. Half-Up Twist Ponytail
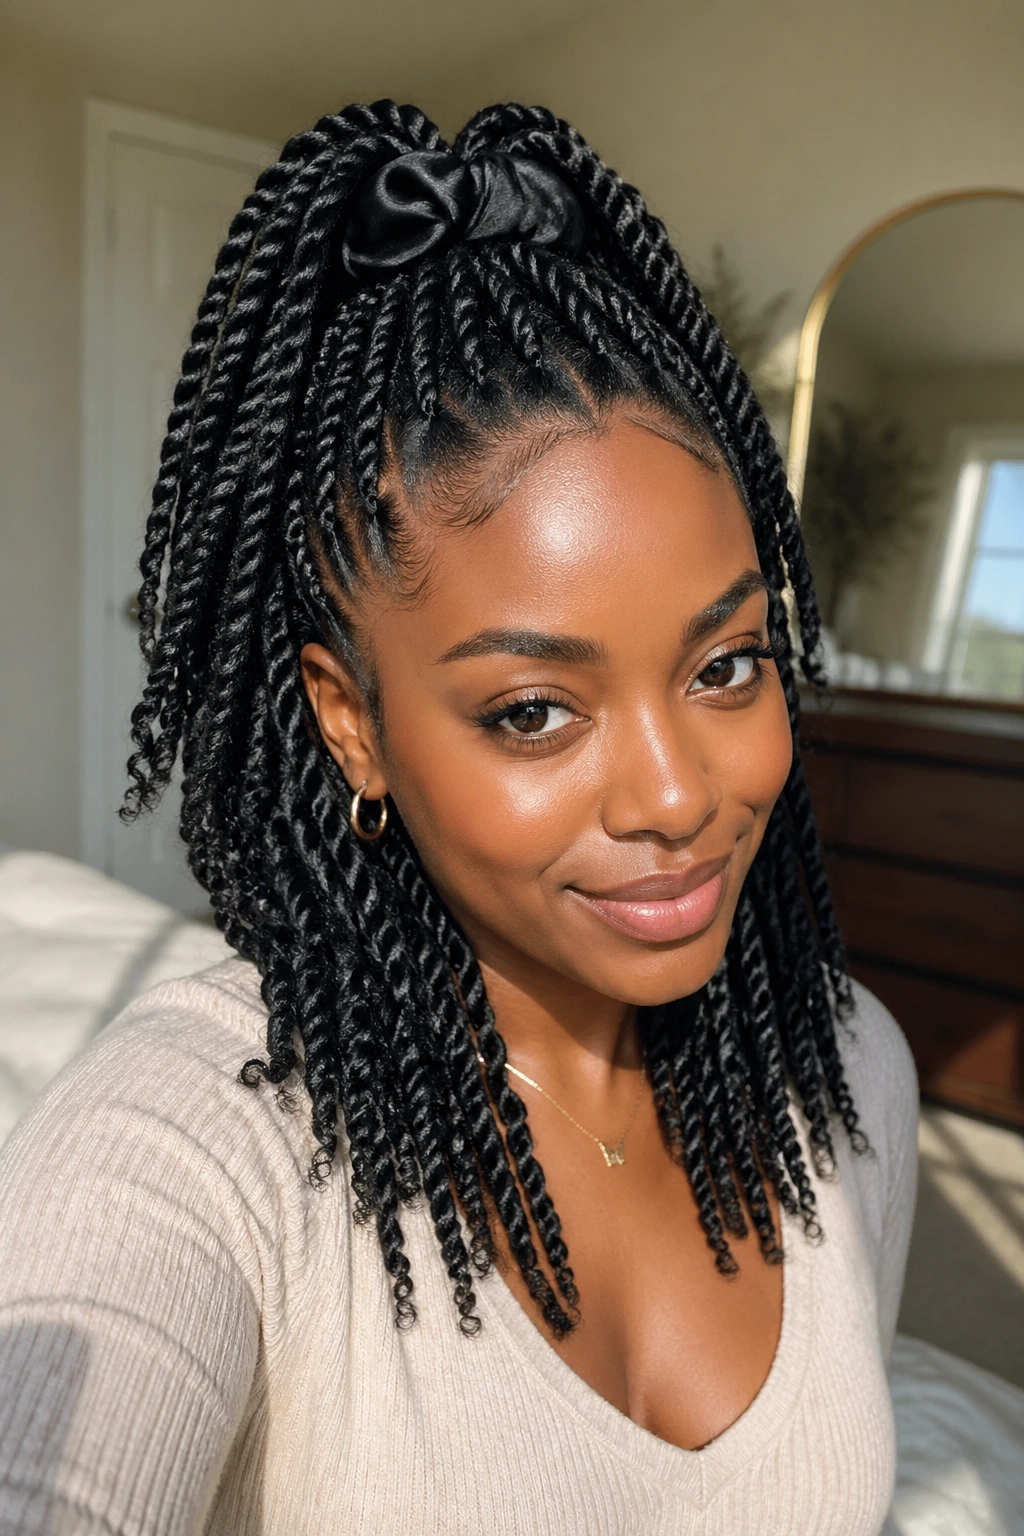
The top half of your twists gets gathered into a ponytail at the crown, while the bottom half hangs loose. This classic half-up style works perfectly with twists and is surprisingly fast — maybe ten minutes once your twists are already installed.
This is my go-to for “I have twists but I want them to feel different today” moments. The shift in silhouette makes a familiar style feel new.
Use a satin scrunchie or a gentle hair tie. Elastic bands with metal clips can catch on the twists and snag them.
14. Twists With a Headband
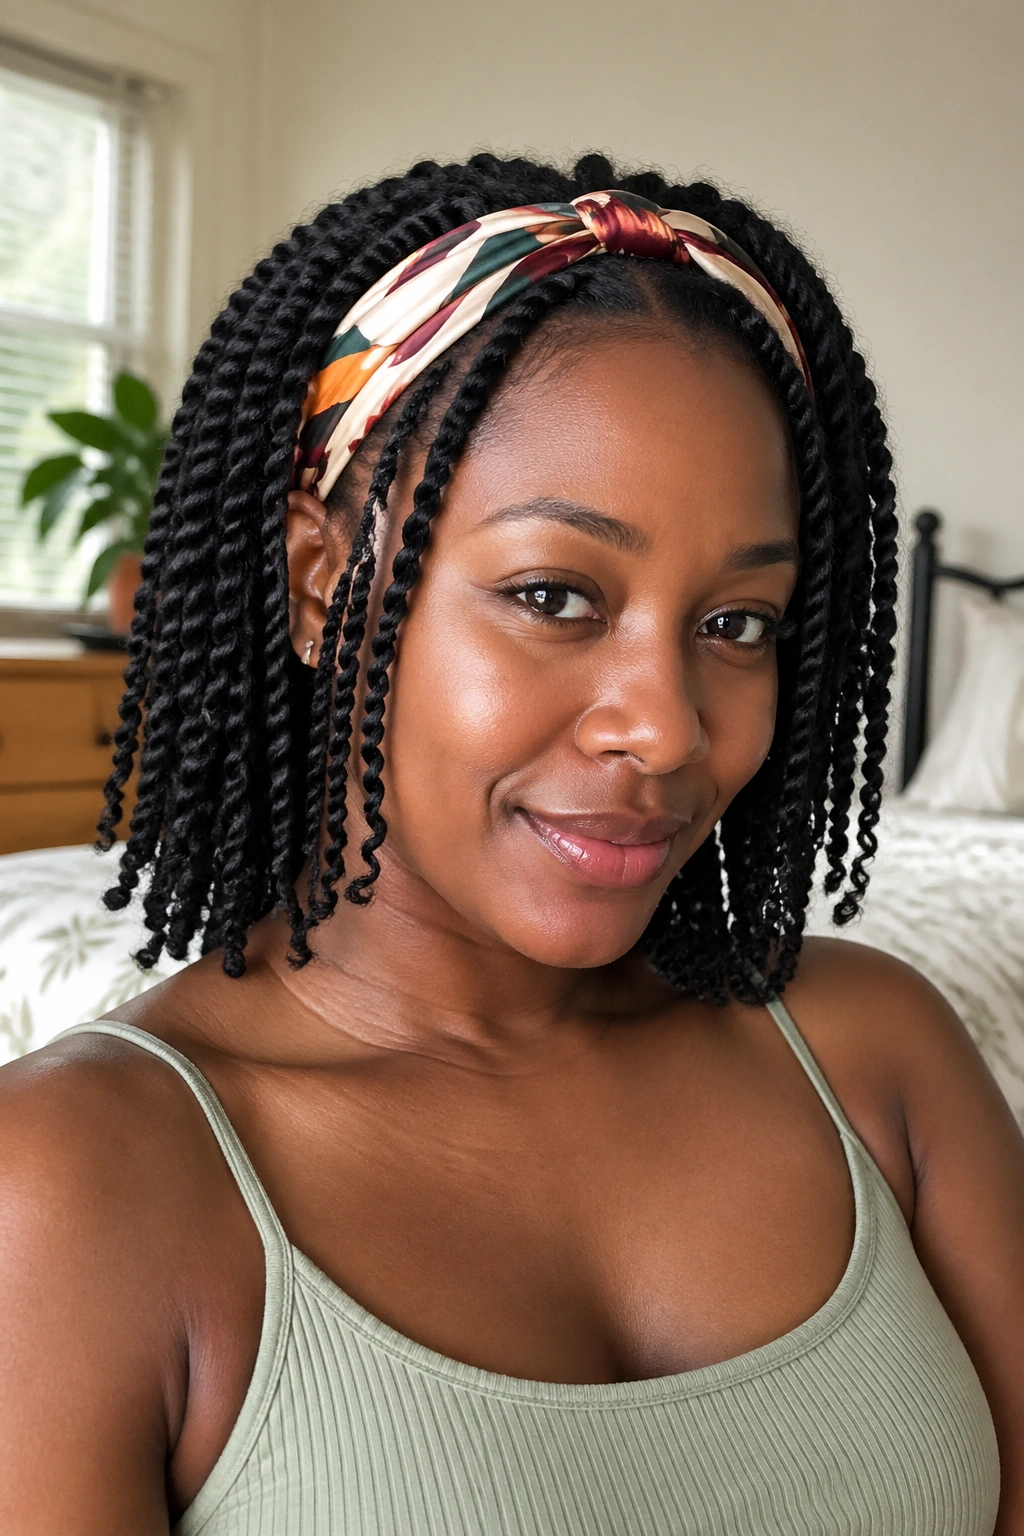
A simple fabric headband — silk, satin, or even a wrapped scarf — worn across the top of your head with twists hanging beneath. The headband adds color, texture, or pattern and dresses up a basic twist style for any occasion.
The headband can sit at the hairline for a more bohemian look, or further back on the crown for a polished look. Experiment with placement to find what works for your face shape.
Tie the headband at the back of the head or tuck the ends under for a clean finish. Let the twists flow around and over the headband naturally.
15. Flat Twists Front, Free Twists Back
The front third of your hair gets flat twisted close to the scalp, and the back two-thirds stays as free-hanging two-strand twists. The contrast between flat and free creates visual interest and also frames the face cleanly.
The flat twists should run front to back, ending at the point where the free twists begin. A clean transition line between the two sections makes the style look intentional.
This is a good style for hot weather because the flat twists keep hair off your face and neck while the back twists provide some volume and movement.
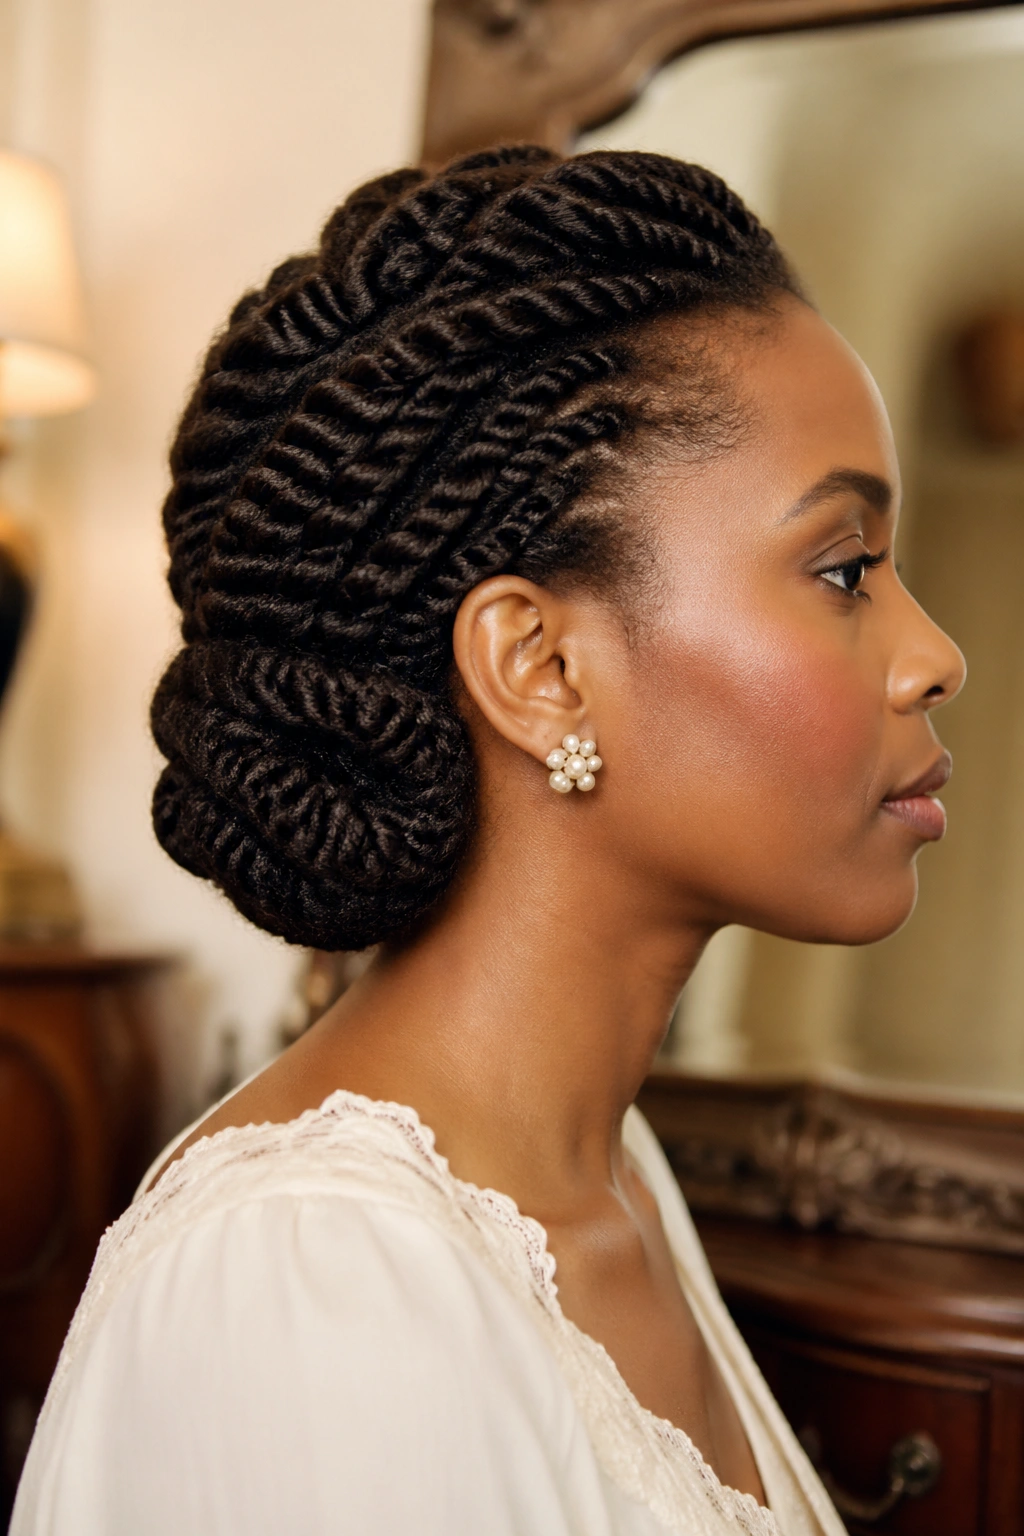
16. Twists in a Crown Around the Head
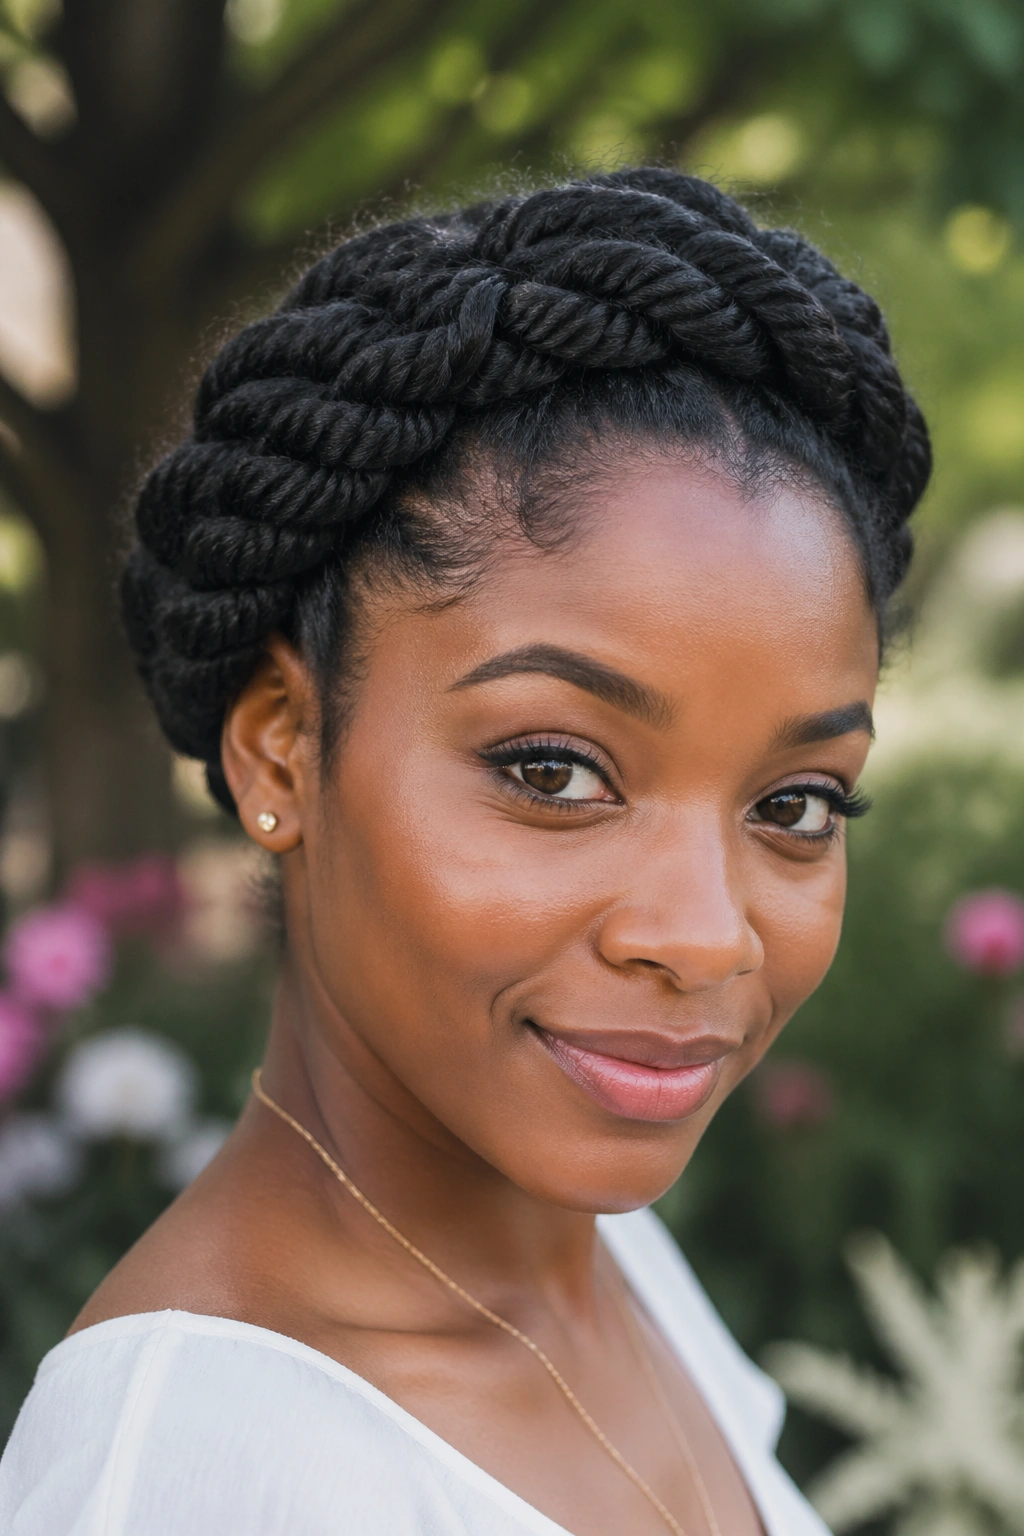
Wrap twists around the crown of your head like a tiara. Start with a twist at one side of your hairline, wrap it over and around the top, securing with bobby pins as you go, until it meets the other side.
This style takes existing twists and transforms them into an updo without taking anything down. Perfect for events, photos, or whenever you want a formal look without the work.
The wrapping requires enough twist length to reach across the crown — usually at least chin-length twists work well. Shorter twists won’t have enough reach.
17. Twist Out With Defined Roots
After twists have been in for two or three days, take them down carefully but preserve the defined coil pattern. The roots should look smooth and defined rather than fluffy, because you’ve given the twists time to set that pattern.
This is really a technique rather than a style — the finished look depends on how you wear the twist-out. You can wear it loose, pull half up, put in a puff, or shape into an updo.
The secret is patience. Taking the twists down too early means the roots haven’t set. Too late means the hair is dry and frizzy.
18. Twists With Cuffs and Rings

Add metal cuffs and rings to select twists for a boho, jewelry-like detail. The cuffs slide onto the twist and pinch gently closed, holding in place without rubber bands.
Choose cuffs in gold, silver, or rose gold to match your personal style. Four to six cuffs distributed across your twists give enough visual impact without overcrowding.
The cuffs work best on medium-sized twists. Very small twists are too delicate to support the weight of cuffs, and very large twists can hide cuffs within the volume.
19. Two-Strand Twists With Smaller Partings at the Front
The back of the head gets regular medium twists, while the front section gets smaller, more detailed twists. The transition from fine front twists to chunkier back twists creates a visual gradient.
This works because the front of the head is what people see first, and more detail in that zone reads as more effort and more intention. The back, which is less visible, can be simpler without losing the overall polish.
Spend extra time on the front. It’s worth the attention.
20. Twists in a Low Ponytail Over the Shoulder
Gather all your twists into a low side ponytail and let them drape over one shoulder. It’s a soft, feminine style that works for brunches, dates, casual office days — anywhere you want twist styling without a fully-updo look.
The side ponytail is especially flattering on oval and heart-shaped faces because it draws attention to the neck and shoulder on one side.
Use a satin scrunchie at the ponytail base. The ponytail holder should be invisible or tonal, not a contrasting color.
21. Twists With a Braided Headband
A single braided section runs along the top of the head from ear to ear, acting as a headband, with twists flowing below it on either side. This uses a small amount of braiding to add structural contrast to an all-twist style.
What Makes It Different
- Braiding and twisting in one style
- The braid adds structure and definition
- The twists soften the look
- Reads more complex than either alone
Install your twists first, then braid the headband section. Alternatively, braid first and twist second — whichever feels easier with your hand positioning.
22. Twists With a Center Dutch Braid
A single Dutch braid running down the center of your head, with two-strand twists flowing out from each side. The Dutch braid adds dimension and structure while the twists provide volume.
A Dutch braid is the same as a French braid but with the strands crossed under rather than over, which makes the braid stand out from the head rather than lying flat. The raised texture is the point.
This style is more advanced but rewards the effort. It photographs beautifully from the front, three-quarter, and side angles.
23. Twists Tucked Under in a Vintage Roll
Twists rolled under at the ends and pinned flat against the head create a vintage-inspired look. Similar to a 1940s roll but adapted for natural hair texture.
The rolls sit at the shoulders or along the bottom of the hairline, curving inward. Pin securely because the weight of the twists wants to pull the roll loose.
This is a special-occasion style. I wouldn’t wear it daily, but it’s striking for weddings, formal events, or vintage-themed parties.
24. Twists in a Space Bun Style
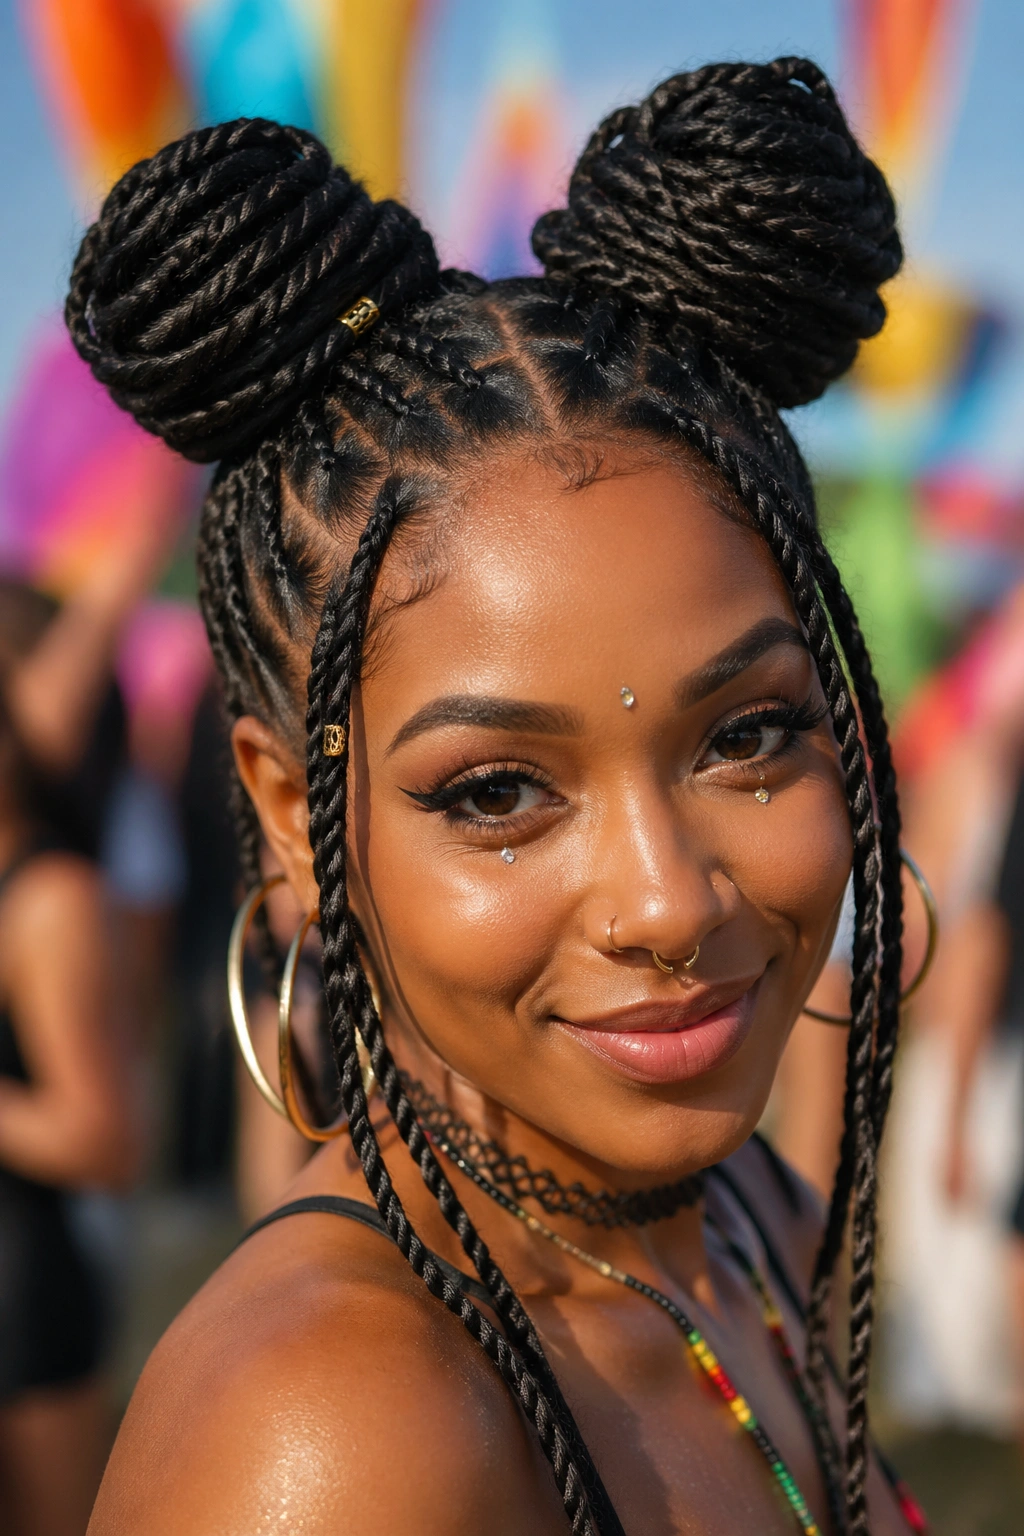
Two round buns on top of the head, one on each side, made entirely of twists. Playful, bold, and unmistakable. Works for fun events, concerts, photo shoots, anywhere you want to stand out.
Divide your twists down the center, gather each half into a bun above the ear, and secure with a satin scrunchie or pin. The buns should be high enough to stand above the crown.
This style doesn’t work for everyone. It reads young and playful, which is great for some occasions and wrong for others. Know your audience.
25. Twists With a Full Front Roll

The front section of your twists is rolled upward and back into a single rolled pompadour shape. The rest of the twists hang free behind. The rolled front creates a dramatic, retro-modern silhouette.
The roll requires medium to longer twists at the front — enough length to roll without flattening. Pin the roll securely because the weight pulls.
This is a statement style. It looks incredible with formal wear, bold earrings, and a confident neckline. Wear it to an event where you want to be noticed.
Nightly Care for Twist Styles
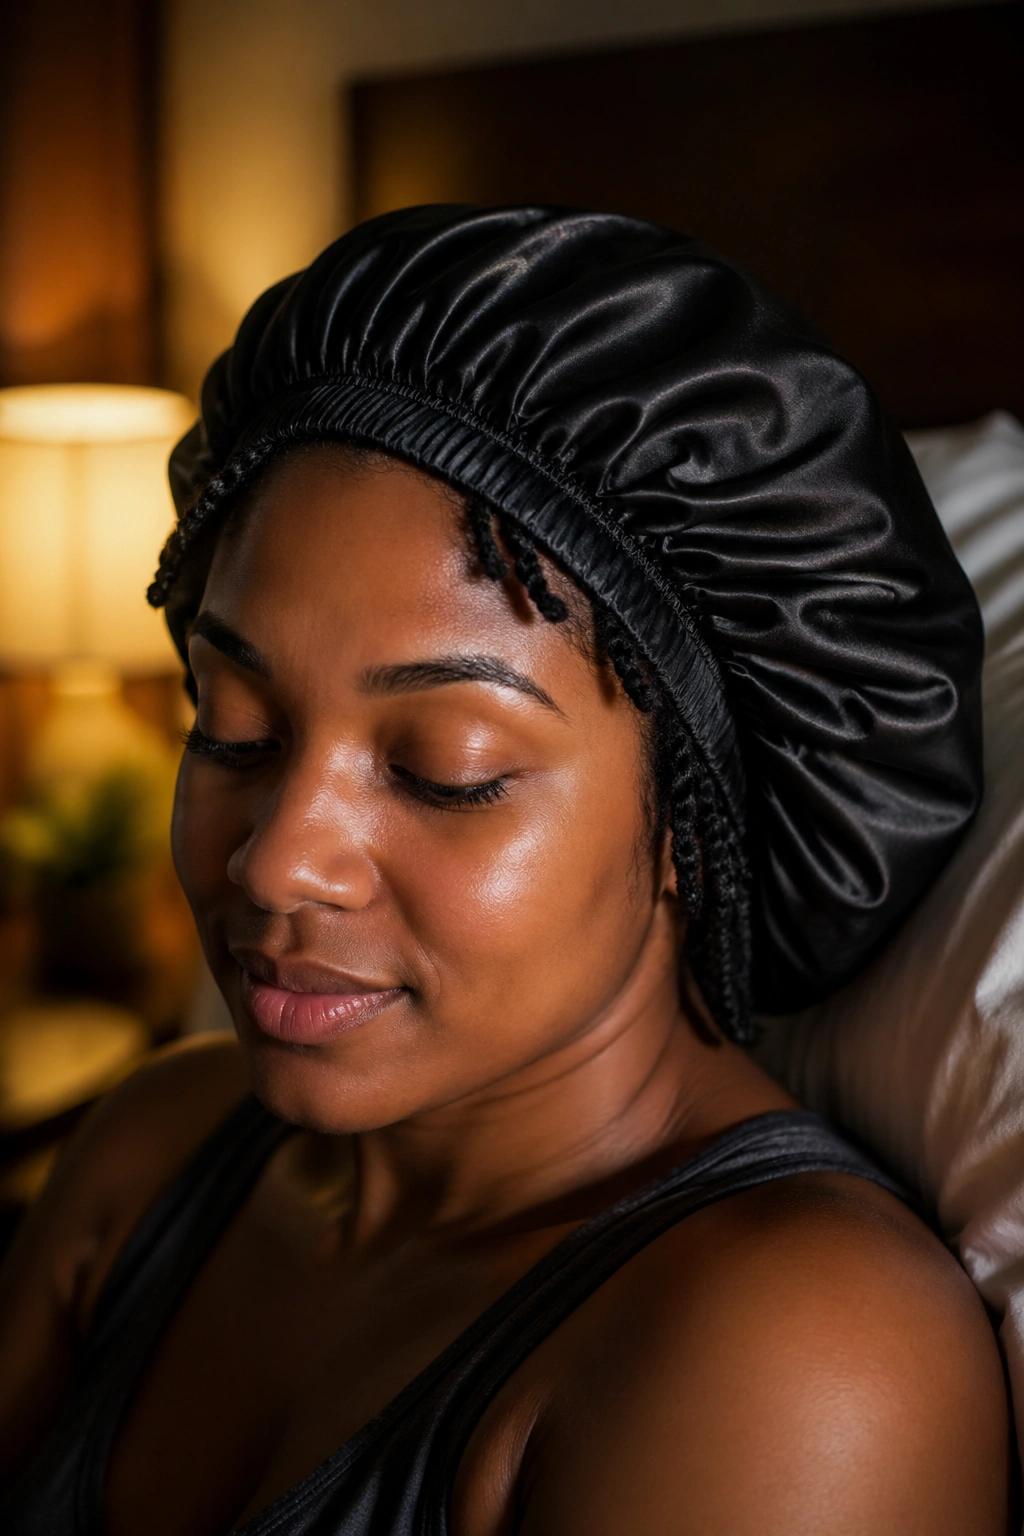
Every twist style on this list needs nightly protection. A satin bonnet or scarf covers the twists and keeps them from rubbing against your pillow — friction is the enemy of twist longevity.
Before covering, check that no twists are bent or folded awkwardly. Let them hang naturally. A quick fluff with your fingers smooths everything before you wrap.
For styles with more structure — buns, puffs, rolls — loosen the structure slightly before wrapping so you’re not sleeping on tight tension all night. Your scalp will thank you.
In the morning, mist lightly with water and leave-in to refresh any dry spots. A small amount of oil on your fingertips helps smooth frizz at the roots without flattening the twists.
Common At-Home Twisting Mistakes

Skipping detangling. If you try to twist through tangles, you’ll create knots that are almost impossible to undo later. Always detangle thoroughly before twisting, even if it takes an extra twenty minutes.
Using too much product. Heavy product weighs twists down and makes them look crusty as they dry. Use a quarter-sized amount per section, no more.
Rushing through parts. Crooked, uneven parts are the most visible sign of rushed work. Slow down and get the parts right — it’s worth the extra minutes.
Inconsistent twist tension. Some twists tight, some loose, and the whole style looks lopsided. Use the same pressure throughout.
Skipping the takedown step. If you plan to wear a twist-out after the style comes down, take down carefully and slowly. Ripping through defined twists destroys the coil pattern you’ve been building all week.
When Twists Aren’t Working

Some days, twists just don’t cooperate. Hair that’s too dry won’t hold the twist shape. Hair that’s too wet stretches out and looks stringy. Hair that hasn’t been conditioned feels crunchy and refuses to slip.
If you start a twist style and it’s not working by the third twist, stop. Go back and fix the problem — moisture, product, sectioning — before continuing. Pushing through when things aren’t working just means redoing the whole style later.
And sometimes, hair just needs a wash day. Buildup from previous products can prevent new products from absorbing, and suddenly every twist looks flat and unresponsive. A clarifying wash resets things.
Choosing the Right Twist Style for You
If you’re new to home twisting, start with basic two-strand twists all over. Learn the motion before adding complexity.
If you want longevity, go smaller. Mini twists and small medium twists last longer than chunky versions.
If you want speed, go bigger. Jumbo twists and flat twists move fast.
If you want workplace-friendly, stick to styles with buns, ponytails, or contained updos. Loose hanging twists are sometimes too casual for formal settings.
If you want bold and noticeable, pick styles with color, beads, cuffs, or dramatic rolls and curls.
And honestly? Try a few. Your hair will teach you which techniques and sizes work best, and within a couple of months of experimenting, you’ll have your personal rotation of go-to looks. That’s the real payoff of learning to twist at home — you get a customized styling vocabulary that fits your hair specifically.
Your hands know more than you think. Start, trust the motion, and let the twists teach you the rest.